wlma

Tag: Carol Graff Beavercreek Library

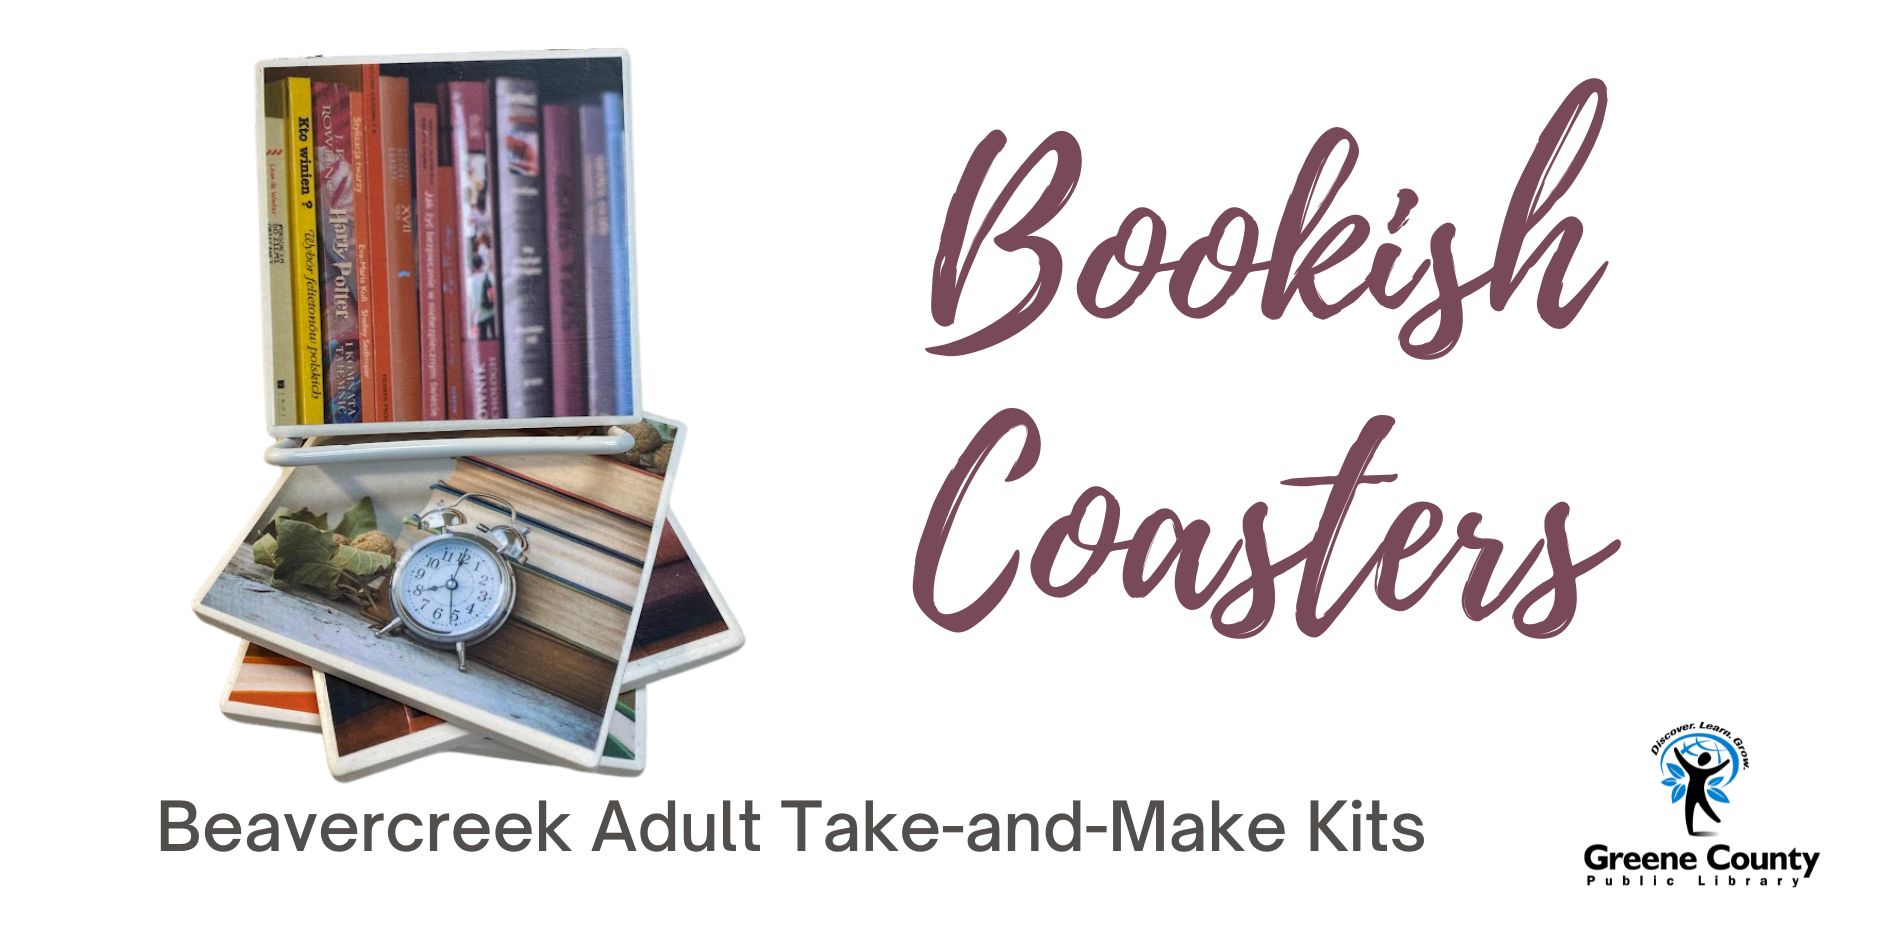
  • Beavercreek Adult Take-and-Make: Bookish Coasters

    Happy March, Crafters! This month is a relatively quick and easy craft – coasters!

    Click here to register for your kit:  https://greenelibrary.bibliocommons.com/events/65e208e349ea29b614e15f4d

    Included in your kit:

    4 ceramic coasters

    4 cork stickers for the bottom (may already be applied to coasters)

    4 bookish pictures

    1 paintbrush

    1 container Mod Podge

    Instructions:

    1.  Apply a thin layer of mod podge to the entire top of the coaster.  
    2.  Cut out one of the book pictures and apply to the top of the coaster.  Make sure there are no bubbles and that the edges are secured.  Let dry for a few minutes.
    3.  Apply a thicker coat of mod podge on top of the picture making sure to get the edges.  If any bubbles appear, smooth out and apply a little more mod podge to the area.  Allow to dry for a few hours.
    4. Repeat steps for the next 3 coasters.

    Tip:  Don’t worry if you have some areas that don’t look so good right after you apply the mod podge.  I found that after they dried completely, the areas with bubbles were hardly noticeable.

    Happy Crafting!  See you next month!

    -Morgan
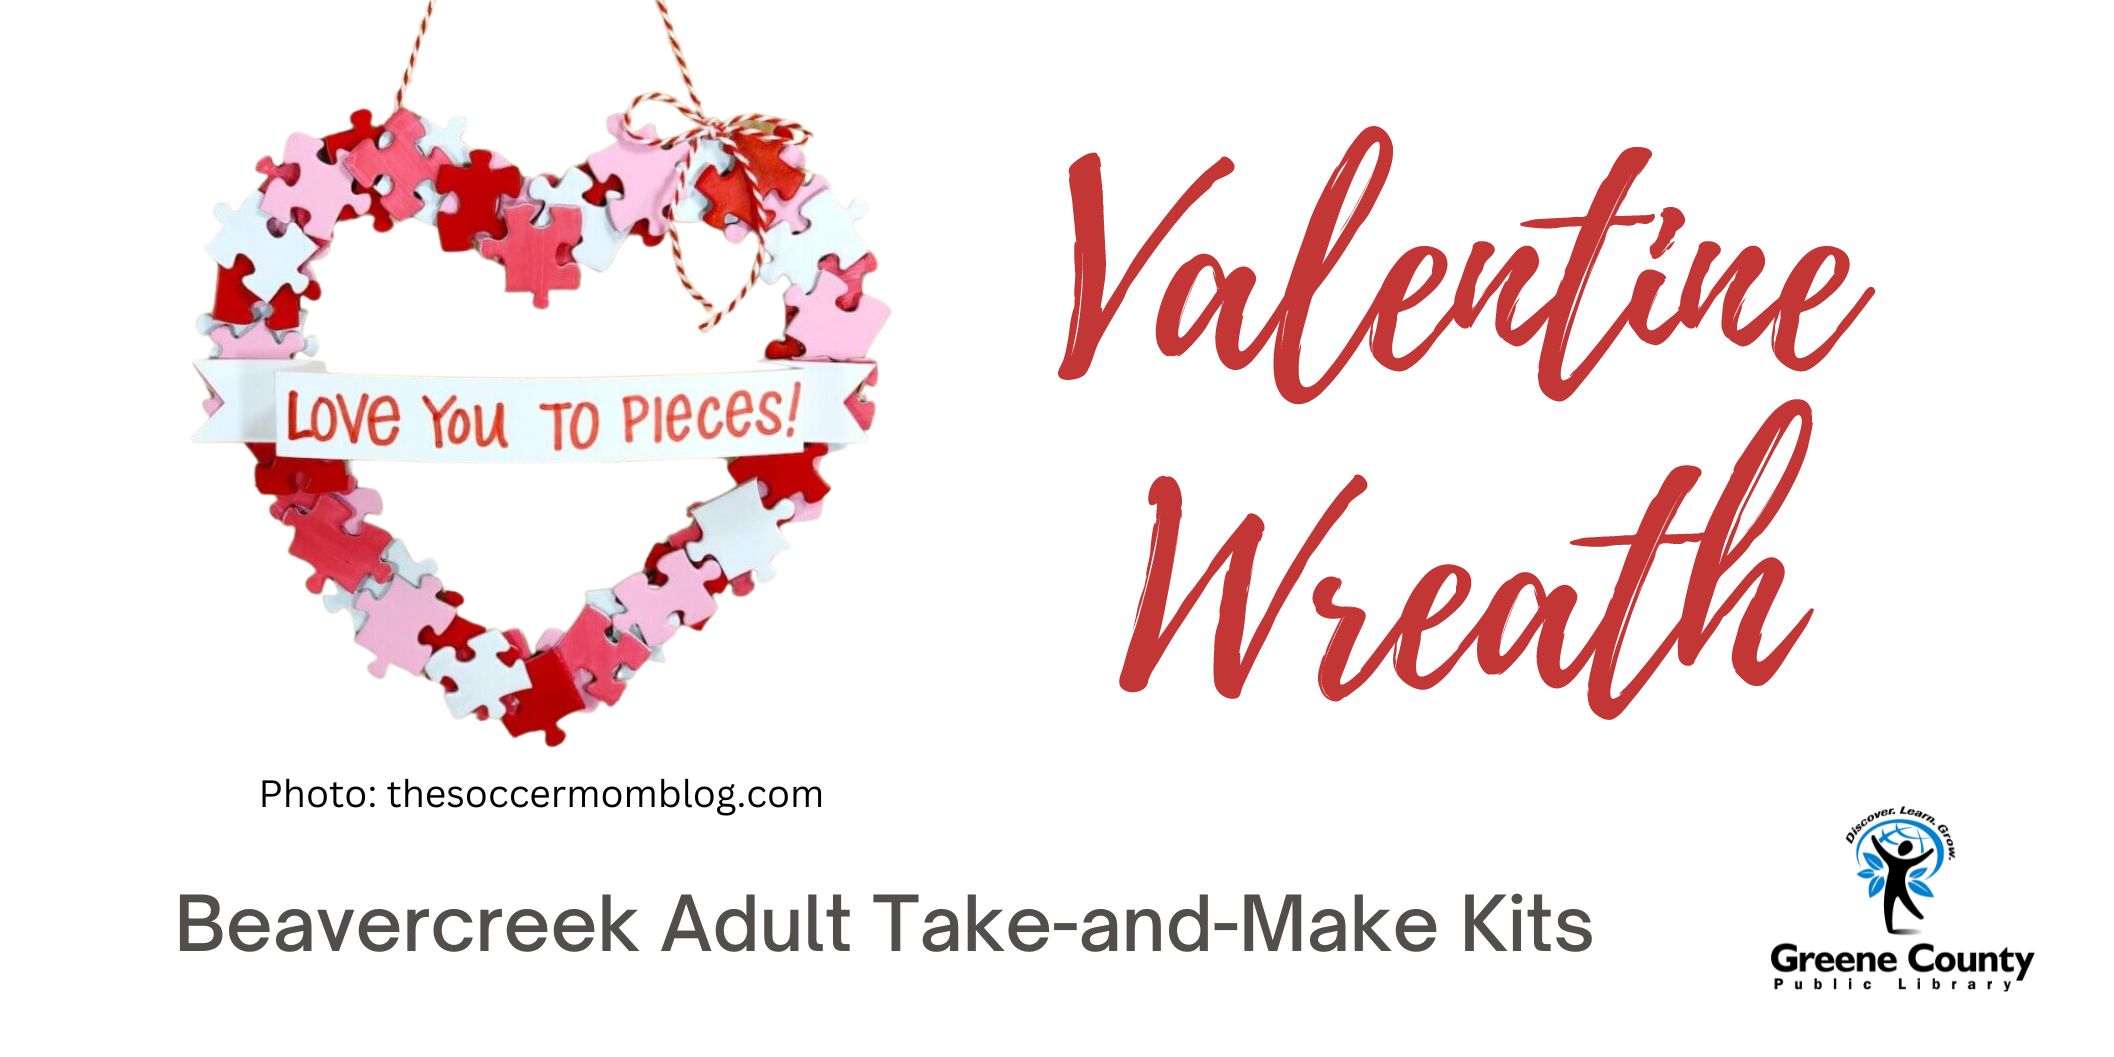
  • Beavercreek Adult Take-and-Make: Valentine Wreath

    Hello Crafters!  I hope you are surviving this winter season!

    This month, we’re making a valentine wreath made from puzzle pieces! (originally posted on thesoccermomblog.com)

    Snag your kit here:  https://greenelibrary.bibliocommons.com/events/65bcfc2ba51db44c007d4b37

    Included in your kit:

    • 100 blank puzzle pieces
    • craft paint (red, white, pink)
    • paintbrush
    • twine
    • cardstock and template
    • variety of sayings to put on the front

    Not included in your kit:

    • scissors
    • glue or glue gun

    Instructions:

    The instructions (including a video) can be found here:  https://thesoccermomblog.com/diy-valentine-wreath/

    Happy Crafting!

    -Morgan
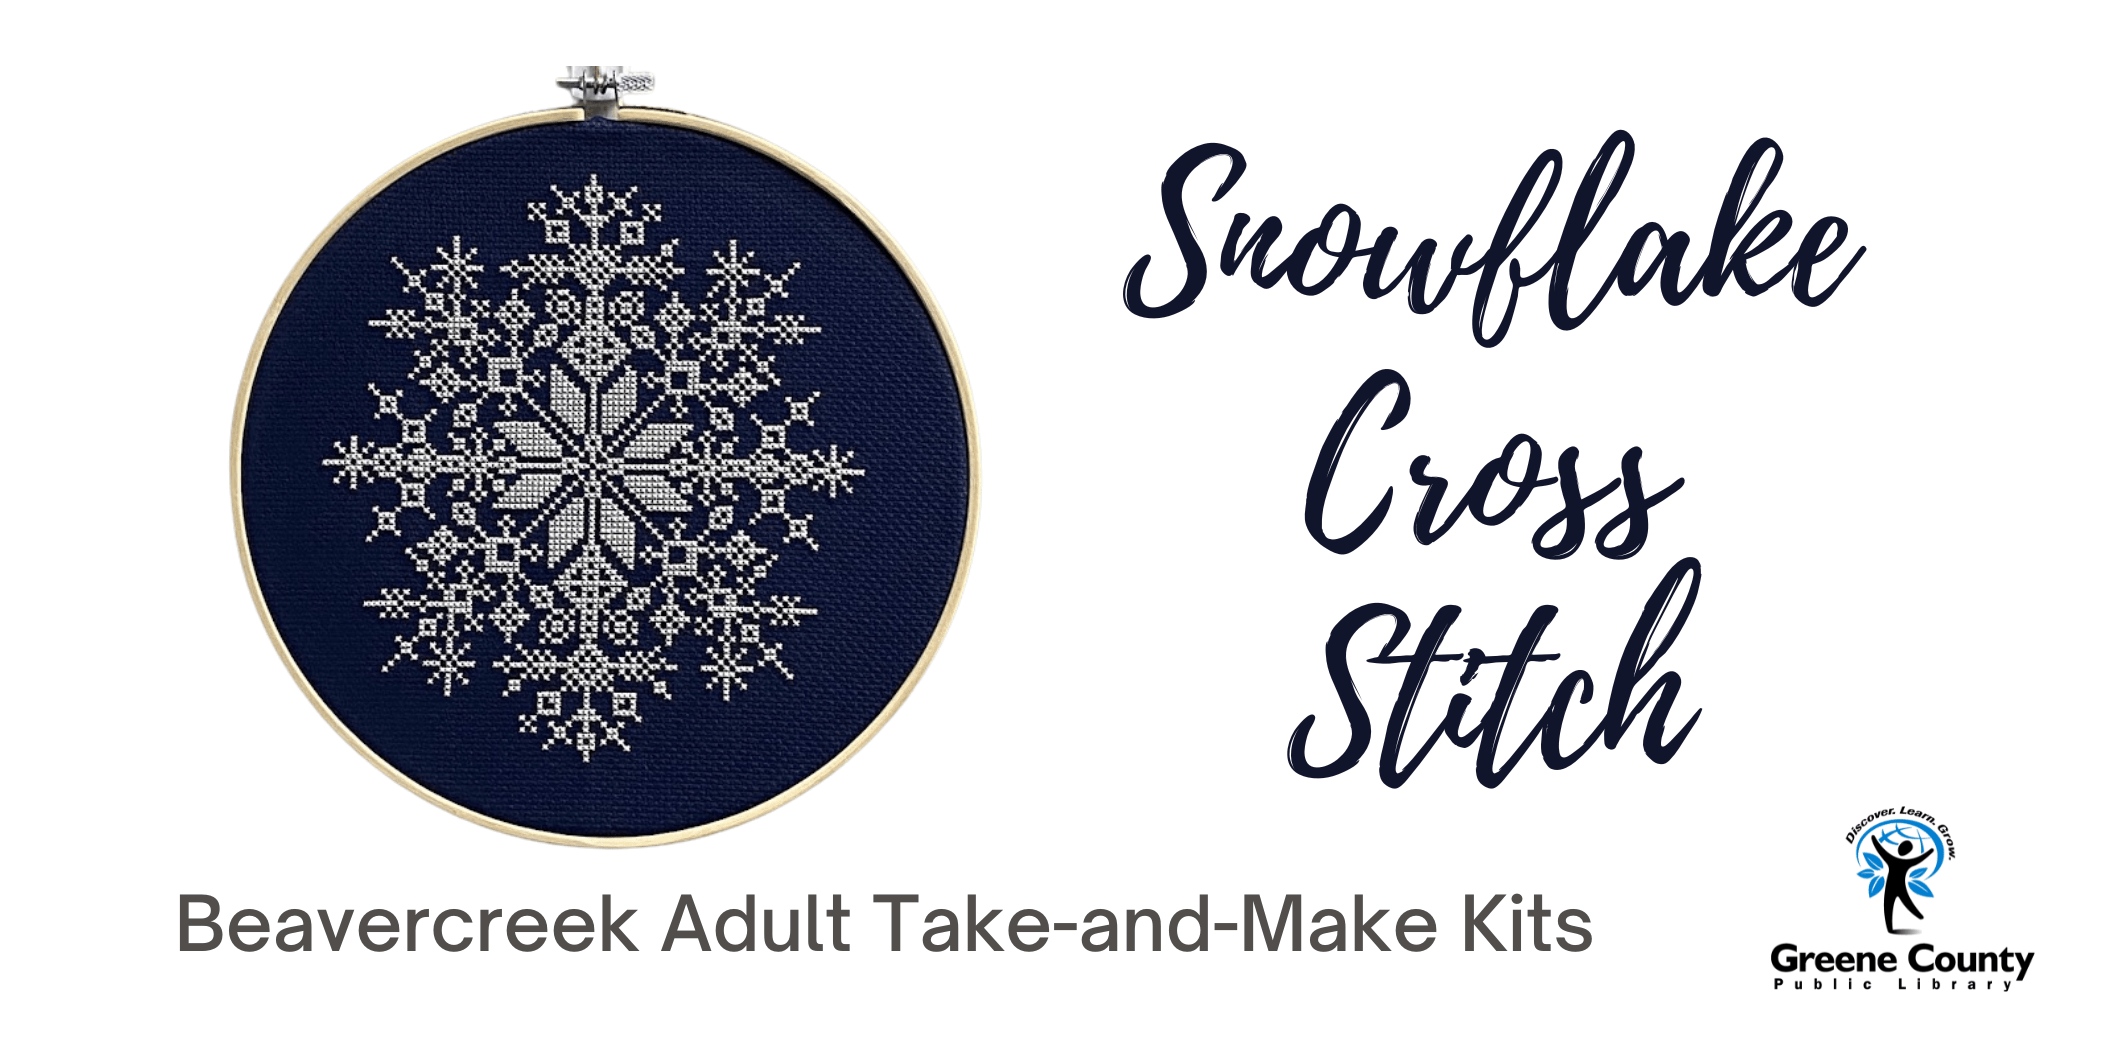
  • Beavercreek Adult Take-and-Make: Snowflake Cross Stitch

    Welcome to 2024, Crafters!  I hope you have a wonderful holiday season!

    This month, we’re making this adorable cross stitch snowflake!

    Snag your kit here:  https://greenelibrary.bibliocommons.com/events/6595ae0a0825261328f63845

    Included in your kit:

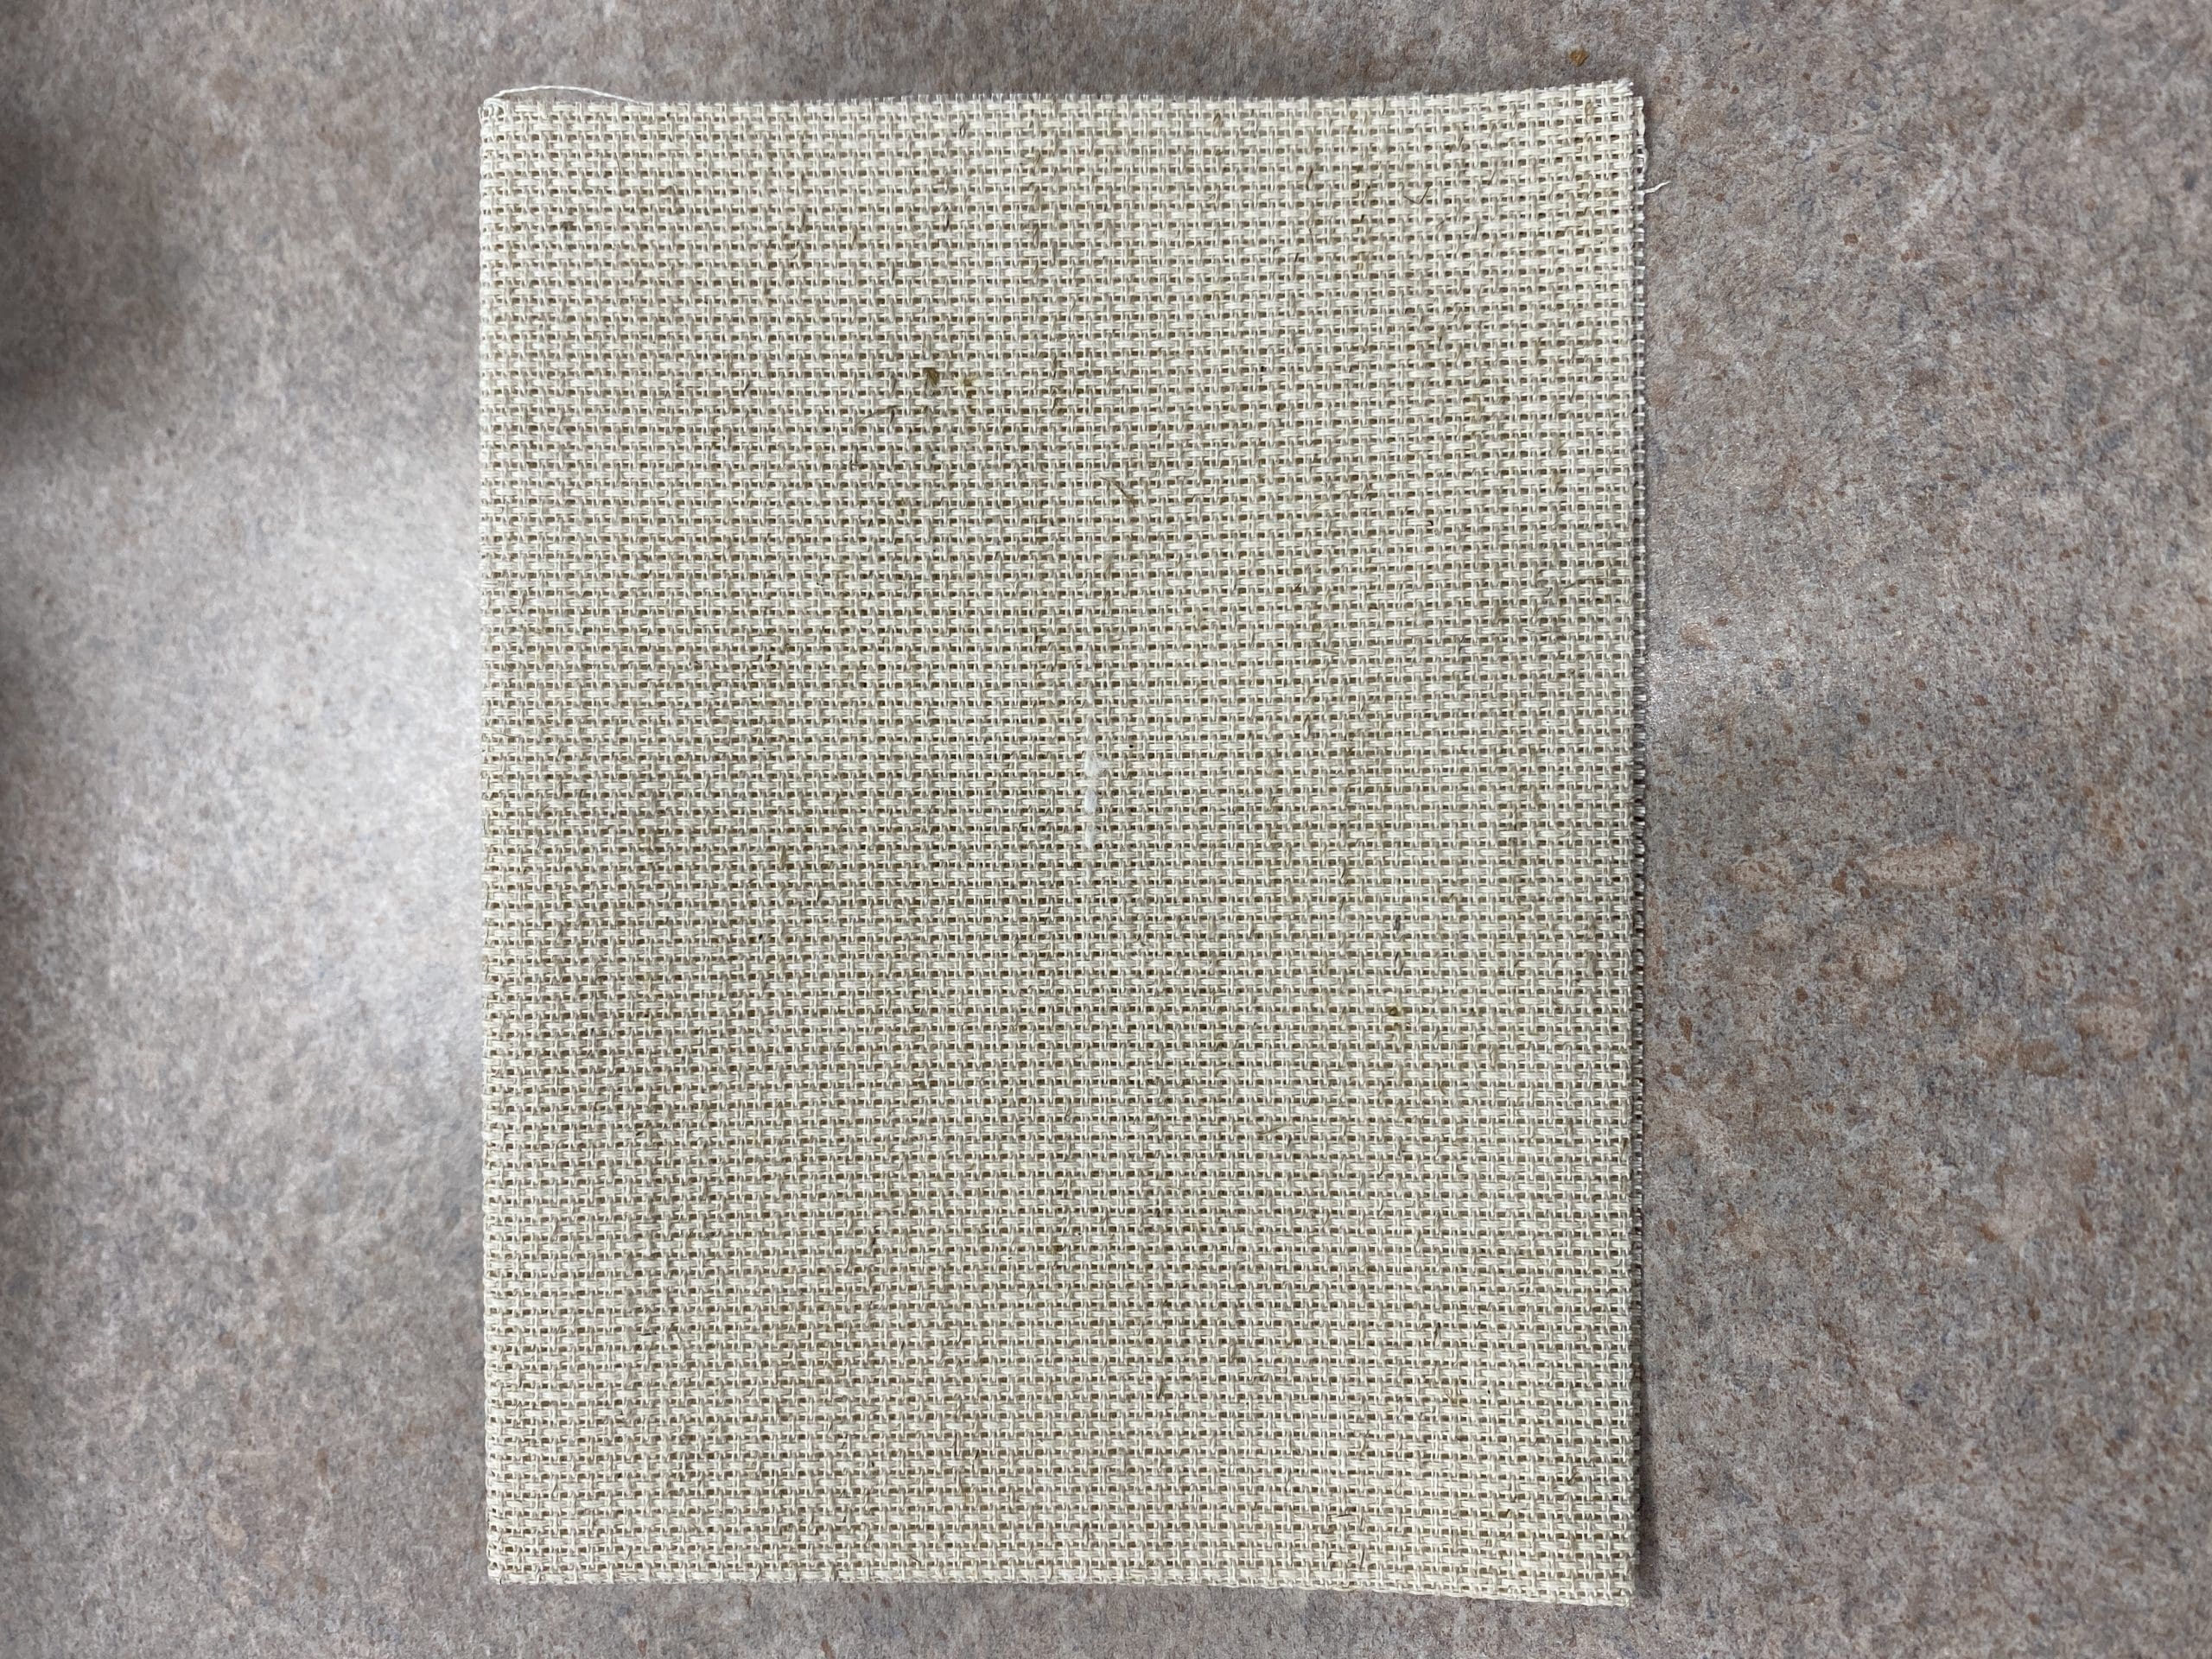
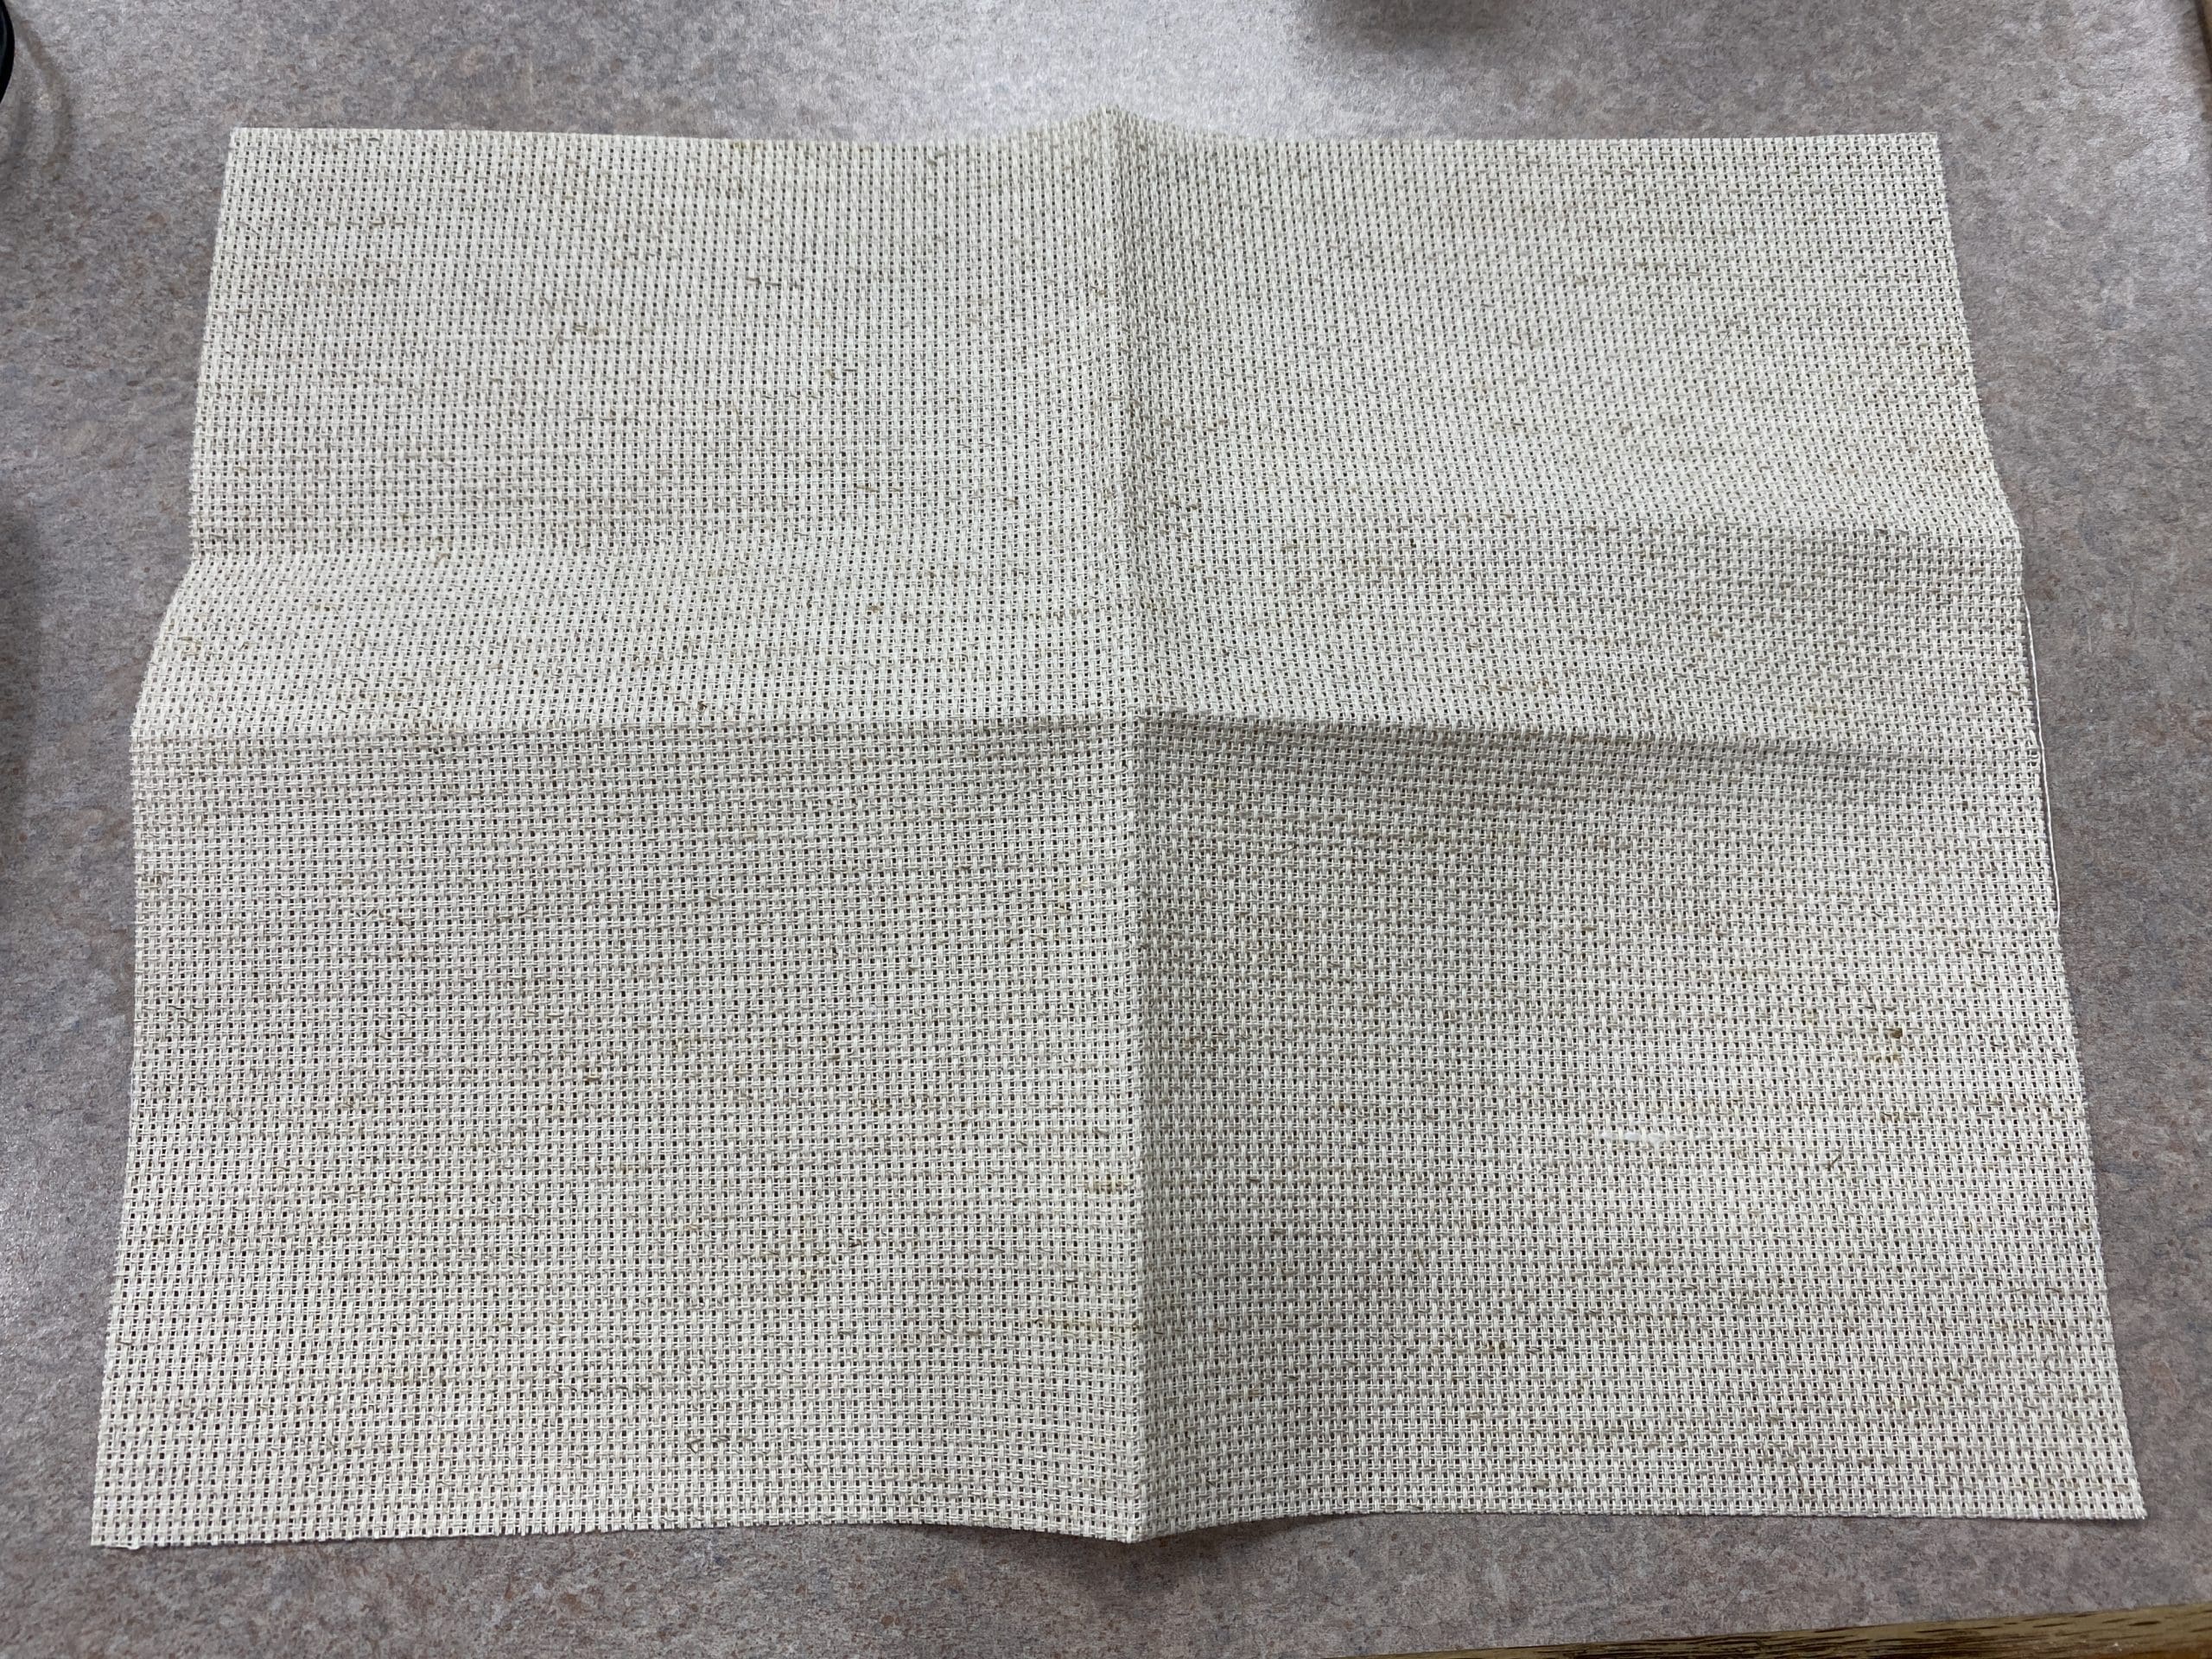
    • 1 12″x12″ piece of Navy aida fabric (14 count)
    • 1 9″ round embroidery hoop
    • 2 skeins of white embroidery floss
    • 1 snowflake pattern
    • 1 piece of felt for the backing
    • 1 needle

    Not included in your kit:

    • scissors

    If you’re new to cross stitching, watch this tutorial for some basic instruction:

    Instructions:

    1.  I recommend ironing your piece of fabric before starting to get rid of any creases.
    2.  Fold your Aida cloth in half and then in half again.  Unfold it and you should see the center point of the fabric.  I usually mark this center point with the needle. 
    3.  Secure your fabric into the embroidery hoop centering the needle marking the center of the fabric in the hoop.
    4.  From the center of your fabric, count up 50 stitches.  That will be where you’ll stitch the very topmost stitch.  Work your way down from there. 
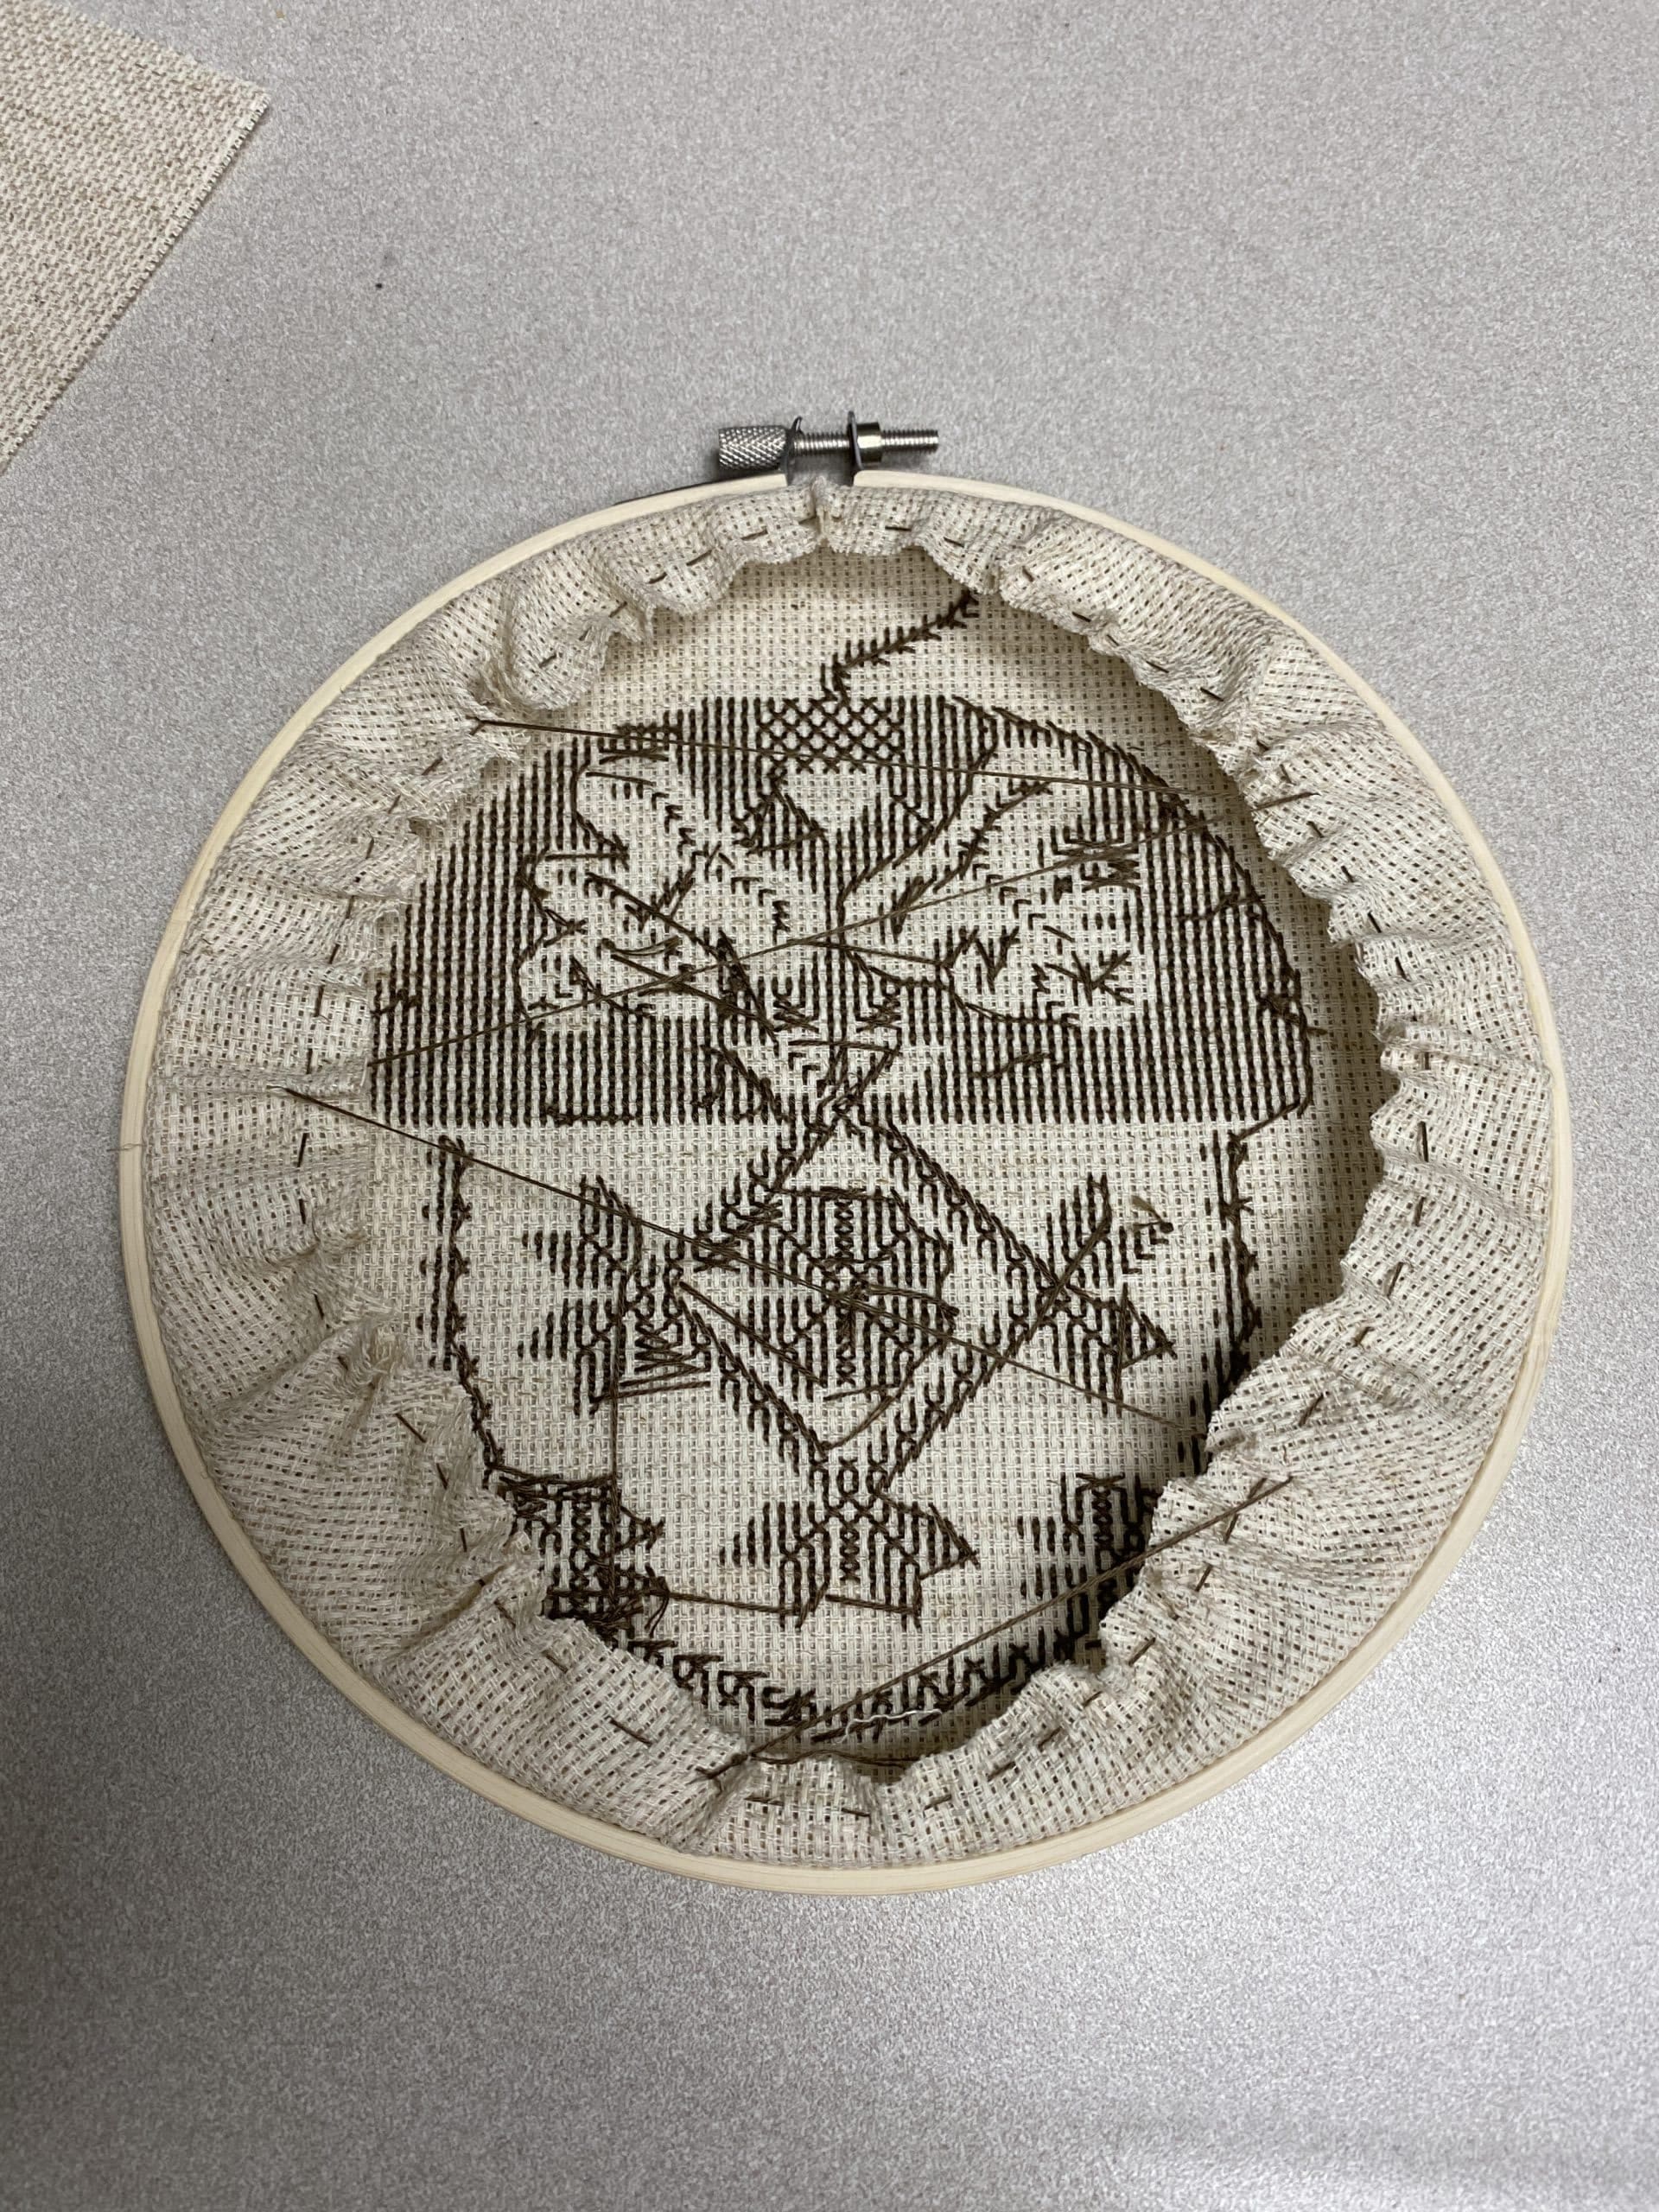
    5.  When you’ve finished stitching and are ready to finish it, first make sure the design is centered in the hoop.  Then cut the excess fabric around the outside in a circle leaving 1.5-2″ all the way around.  Sew around the outside to gather the fabric and then I zigzag from side to side for added stability (see picture and video at the end).                                           
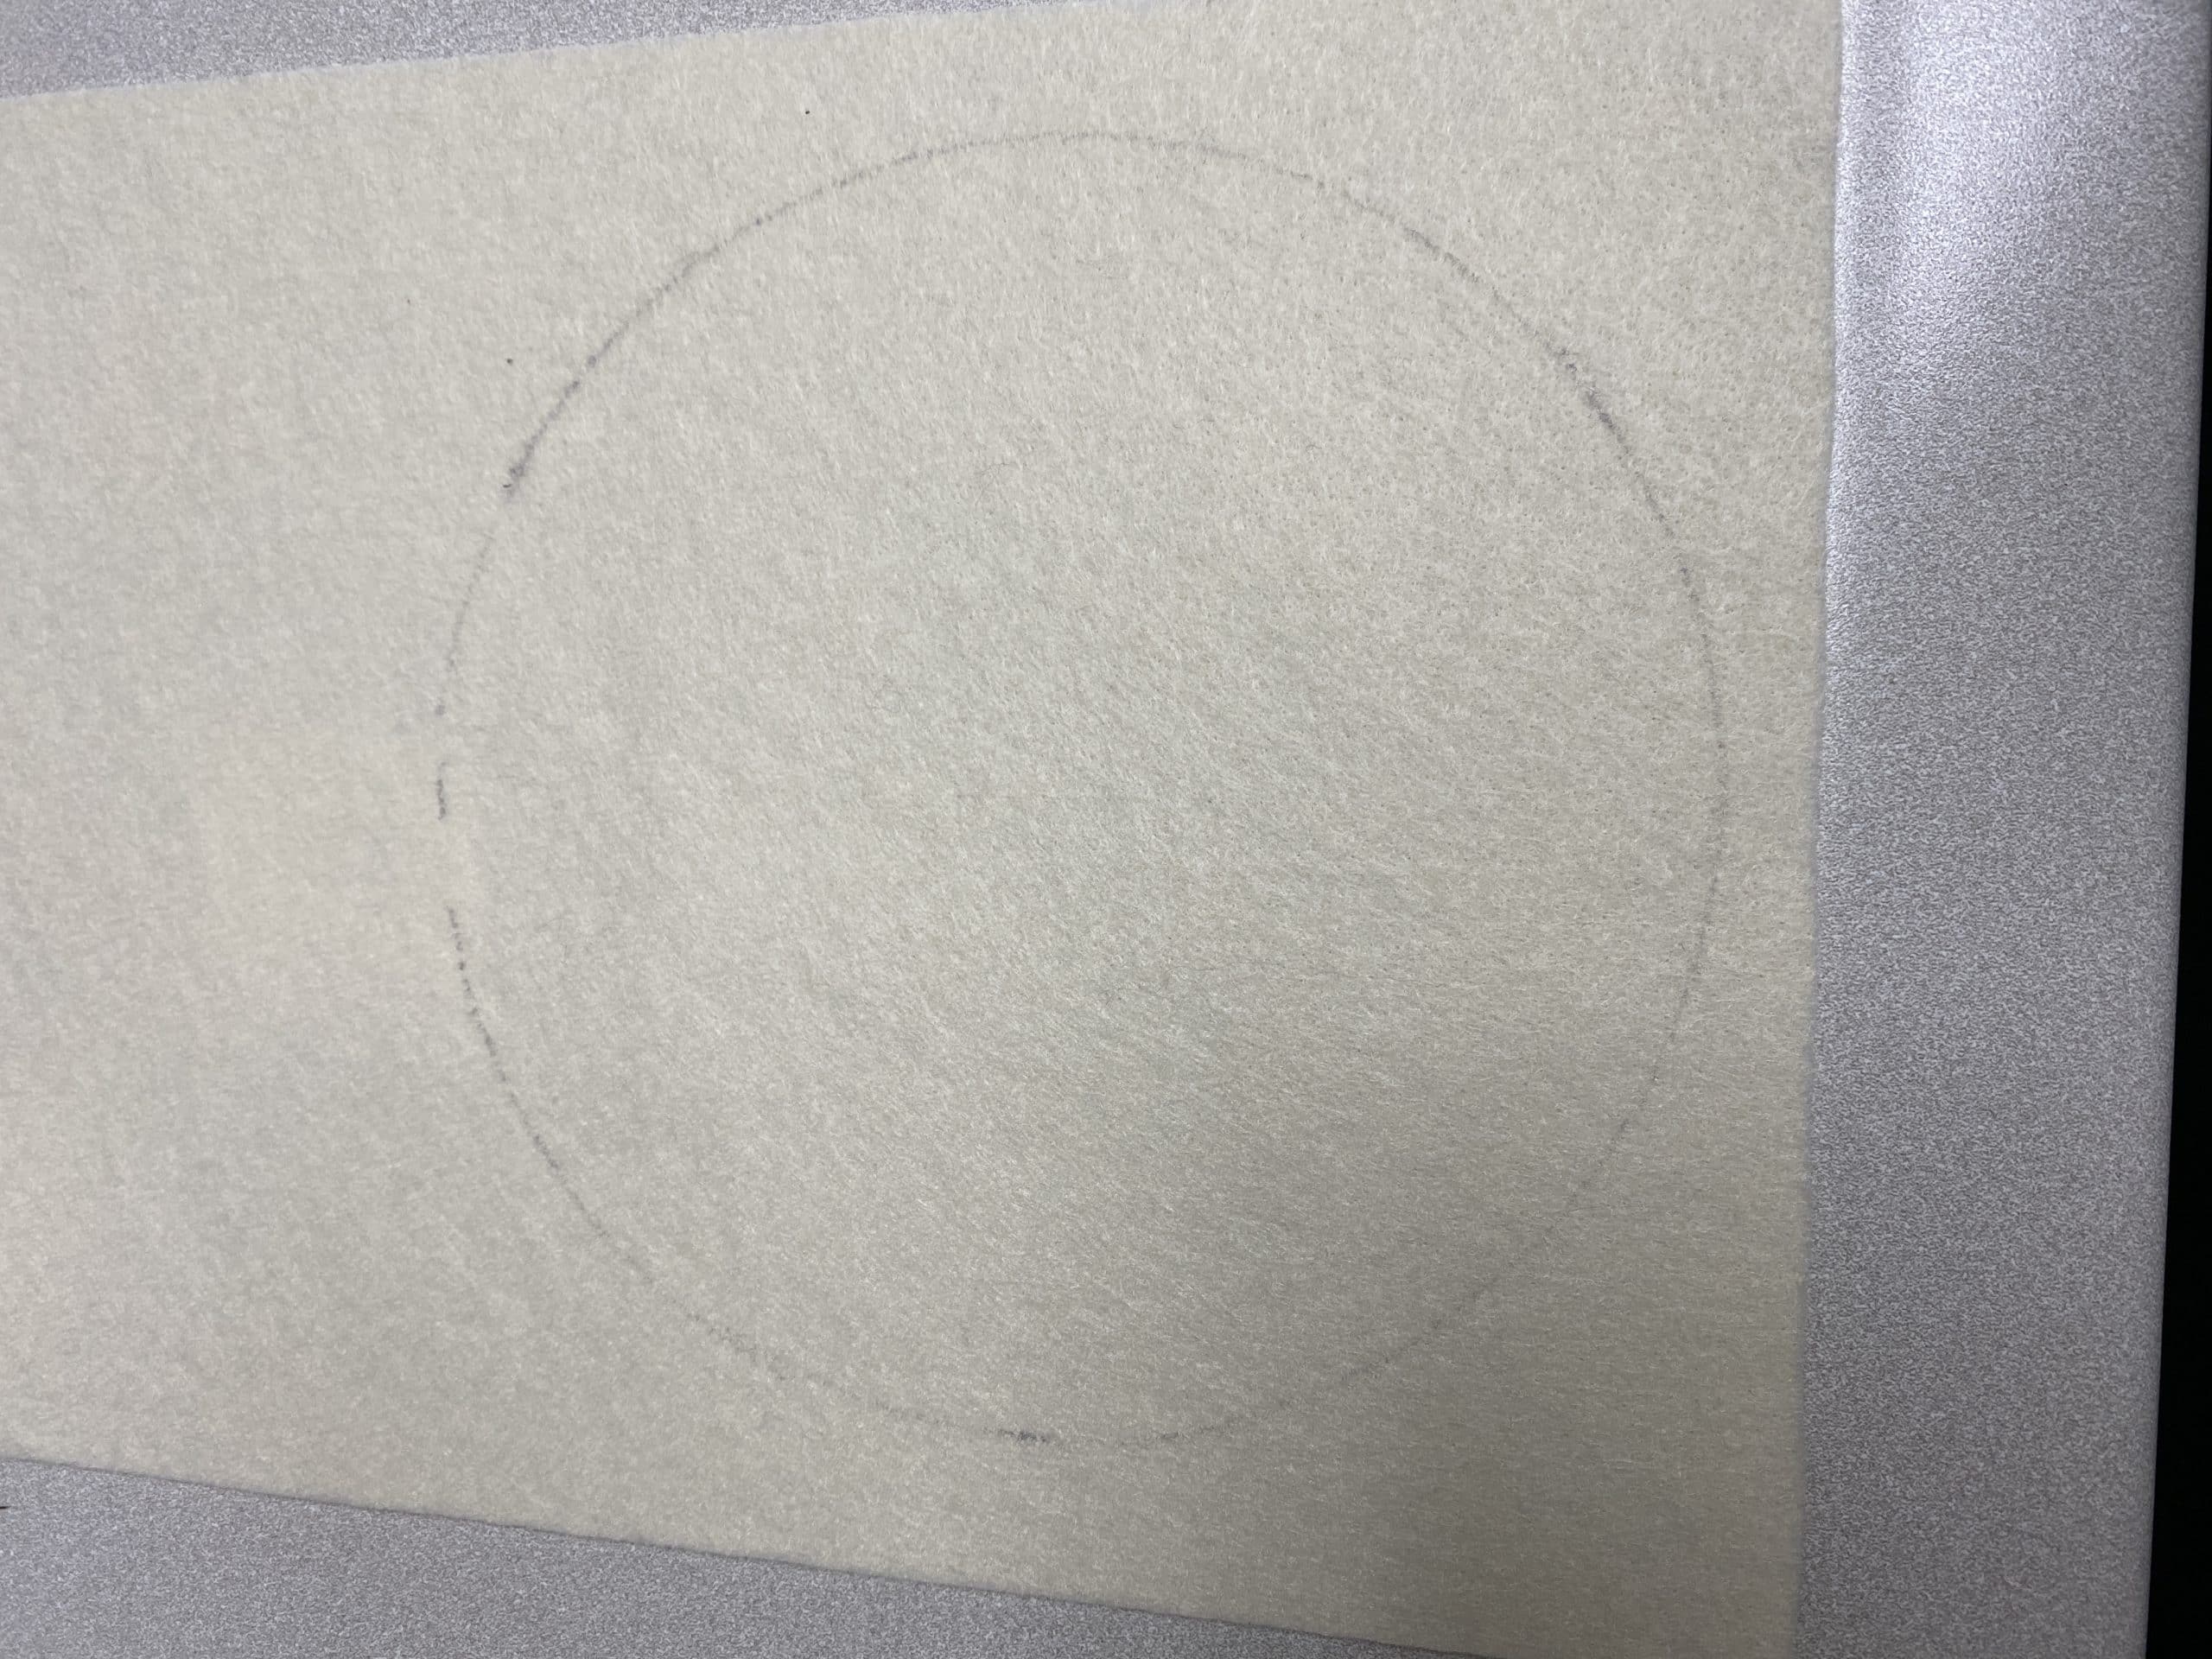
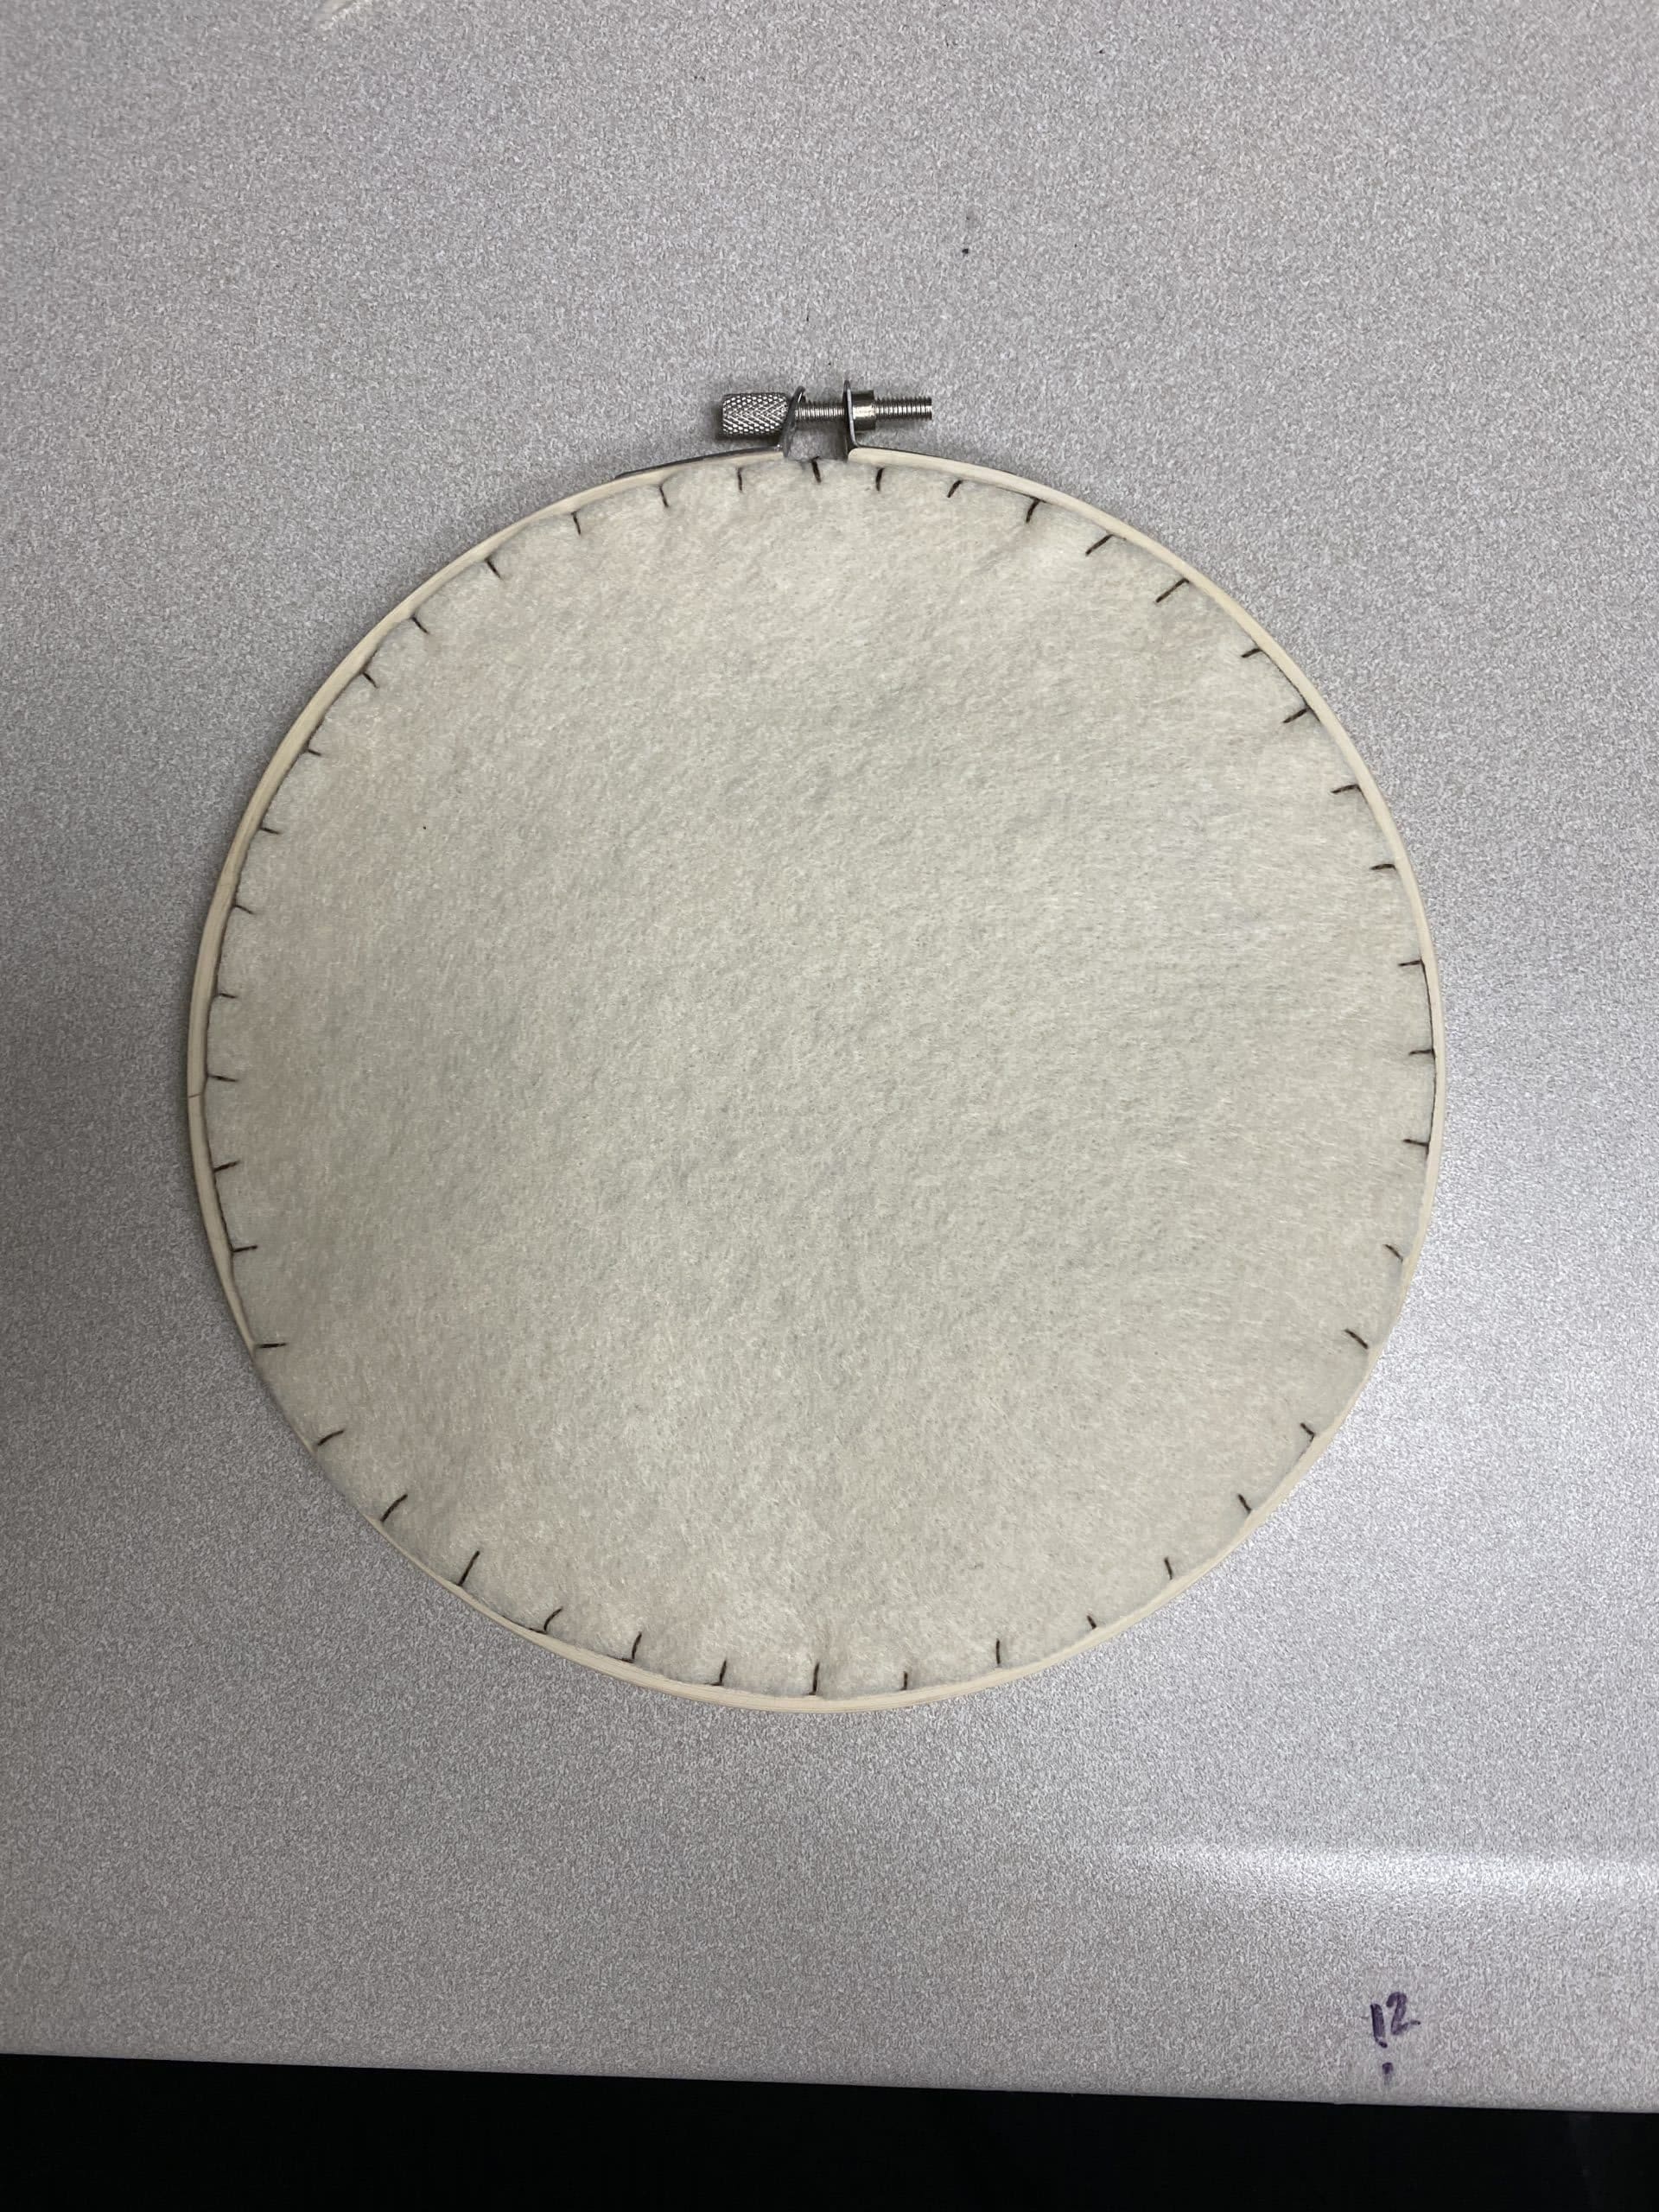
    6. Next, trace around the hoop on the piece of felt and cut it out.  Use a blanket stitch to attach to felt to the back of the fabric.  See the video for more detailed instructions.                 
    7.  Secure the felt to the back of your hoop using the blanket stitch.  Instructions on how to do that are here:  https://www.youtube.com/watch?v=eJqp0gpja8g
    8. That’s it!  I hope you enjoyed this winter project!

    -Happy Crafting! -Morgan
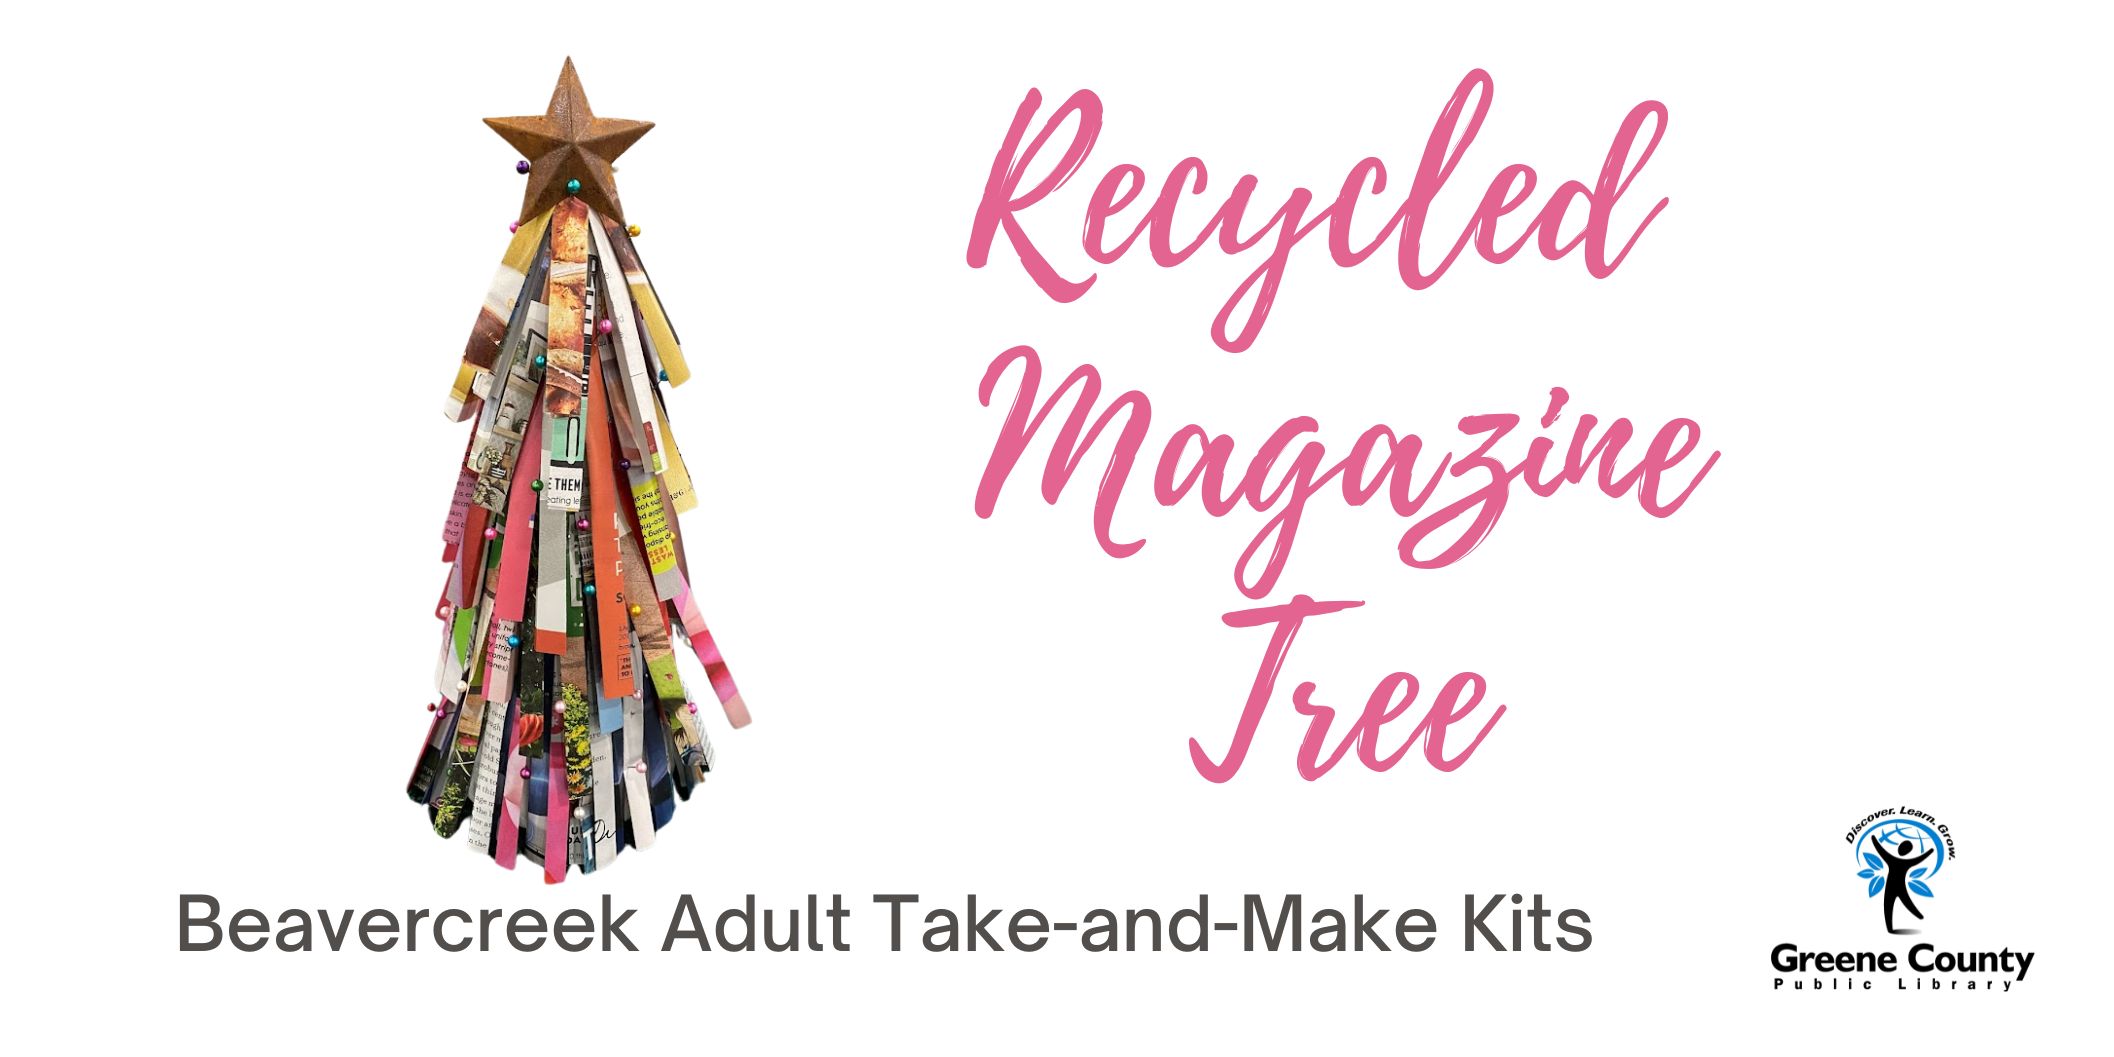
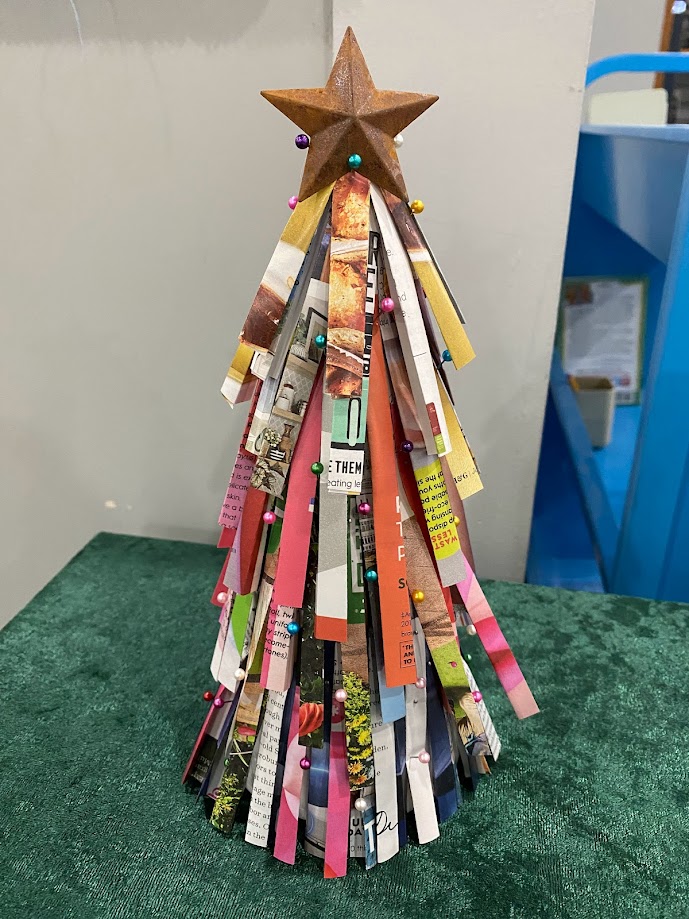
  • Beavercreek Adult Take-and-Make: Recycled Magazine Tree

    Happy December, Crafters!

    This month we’re making a holiday tree out of recycled magazines!  This helps us here at the library because it’s time to make room for the new 2024 magazines.  Now we can put some of the old ones to good use!

    Reserve your kit here:  https://greenelibrary.bibliocommons.com/events/6569fd5d61803d36006f6f50

    Included in your kit:

    1 styrofoam tree

    1 magazines

    1 bag of straight pins

    1 bag of sewing pins

    1 rustic star

    Not included in your kit:

    scissors

    hot glue (optional)

    Instructions:

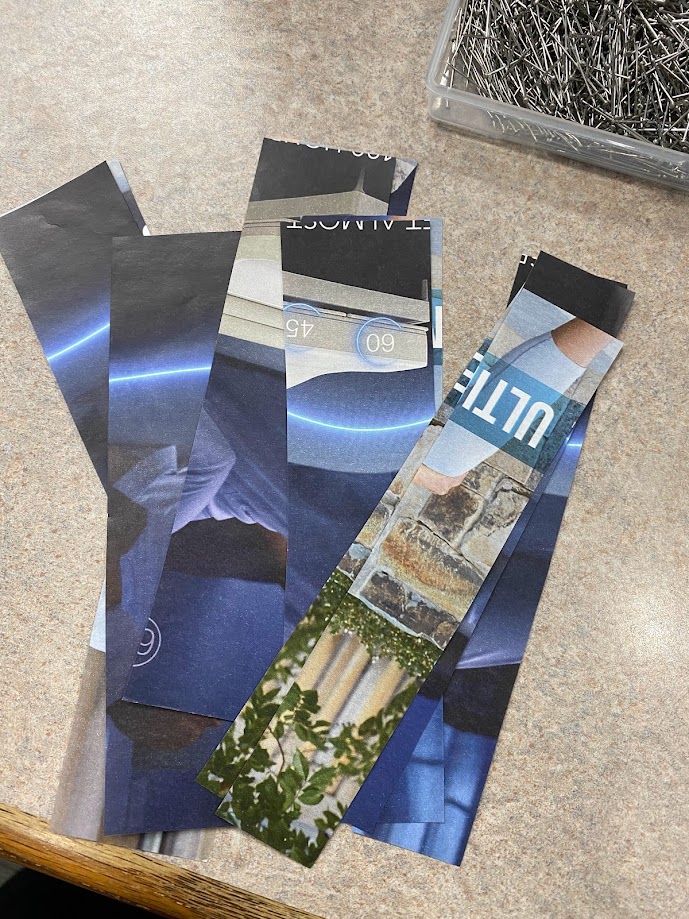
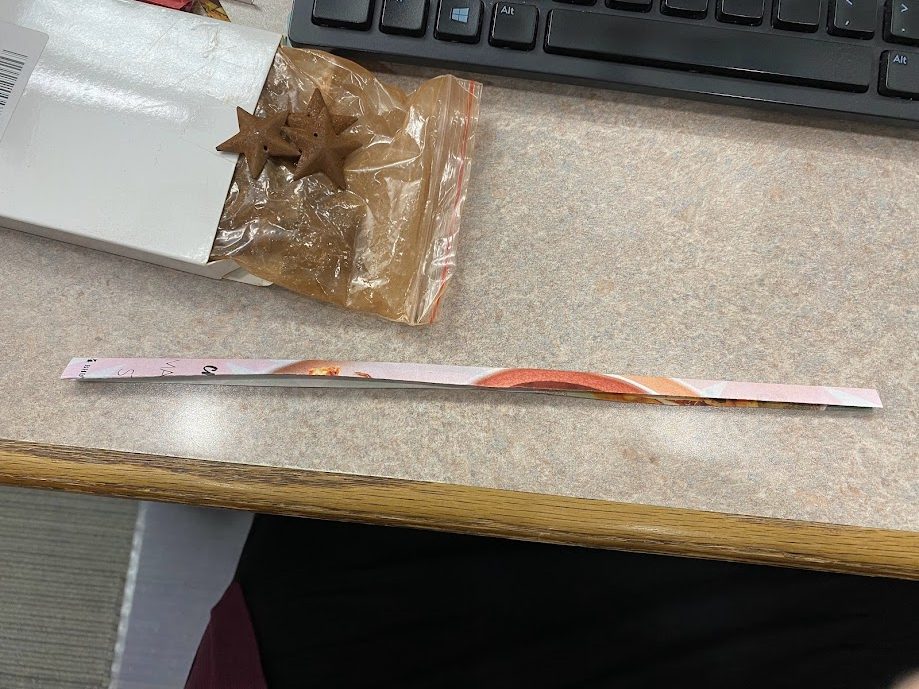
    1.  Tear some pages out of your magazine and cut into strips.  Be sure to choose pages that have pretty colors.
    2. Fold the strips a few times over to make skinnier strips. 
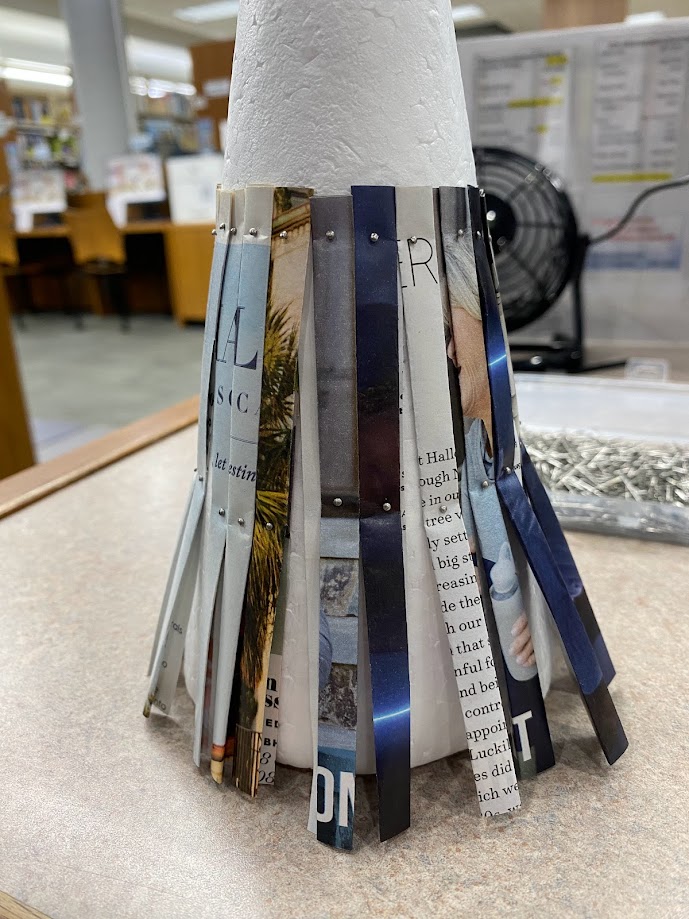
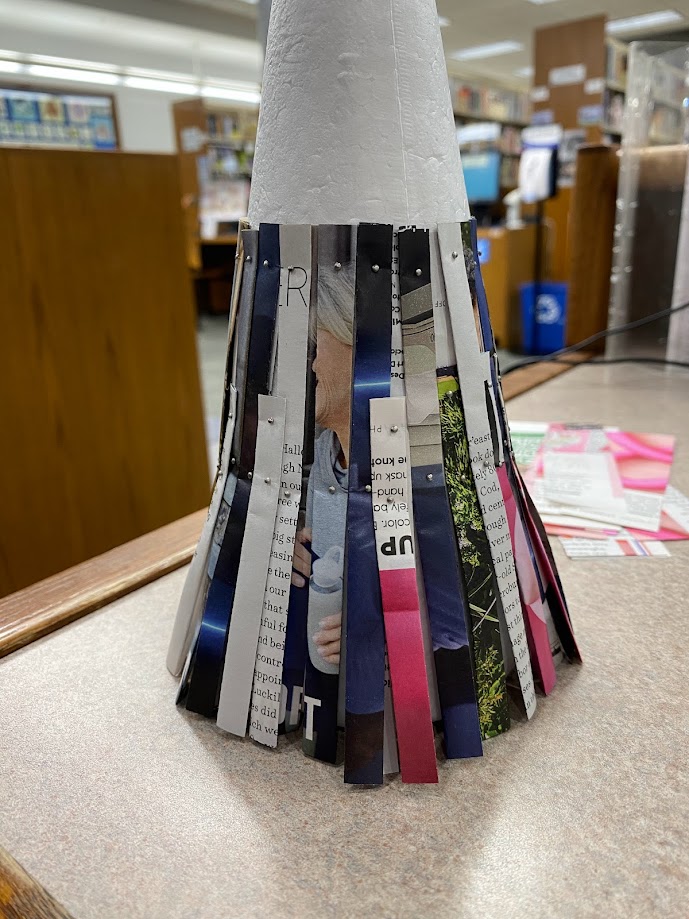
    3. Attach the strips to the styrofoam tree using the straight pins with the small head.  Make one layer all the way around the bottom.  It’s ok if there are gaps at this stage.
    4. Continue to make strips and begin to layer them on top.  Continue this process while moving up the tree.
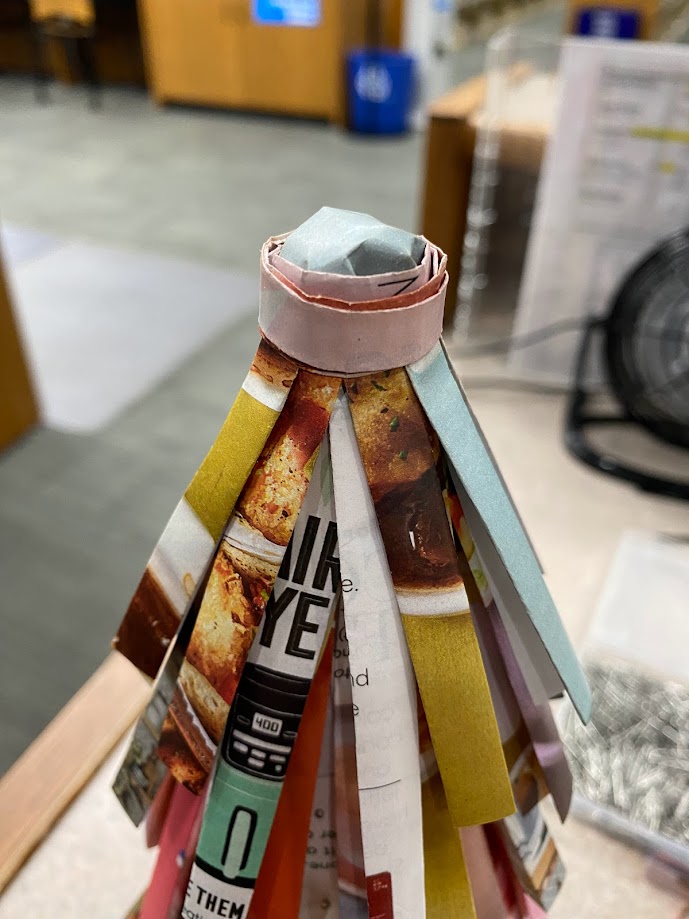
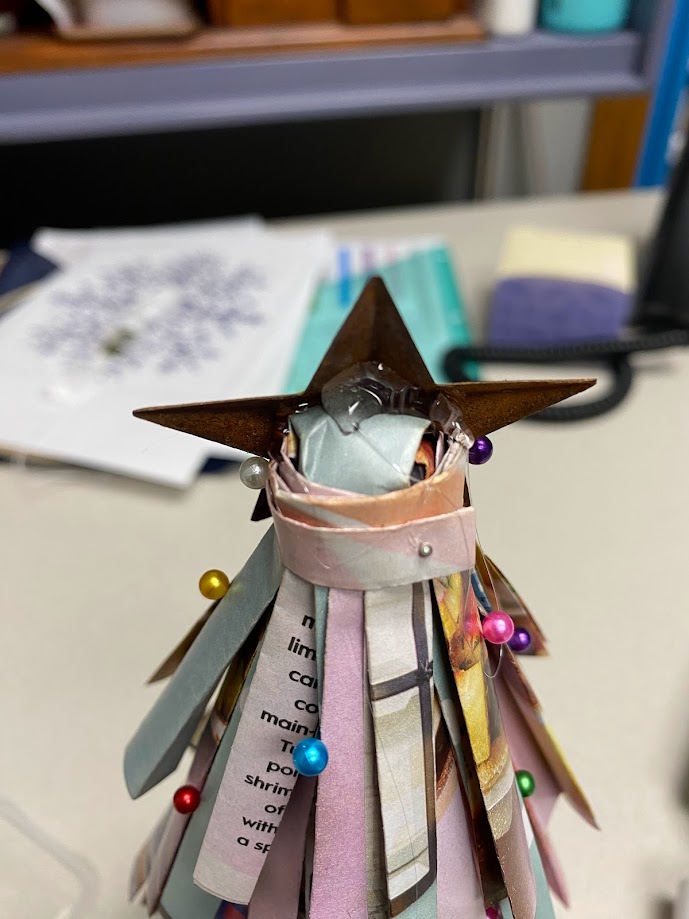
    5. When you get to the top, you can hide the edges of the paper by wrapping a strip around the top a few times and securing it with a pin.                                 
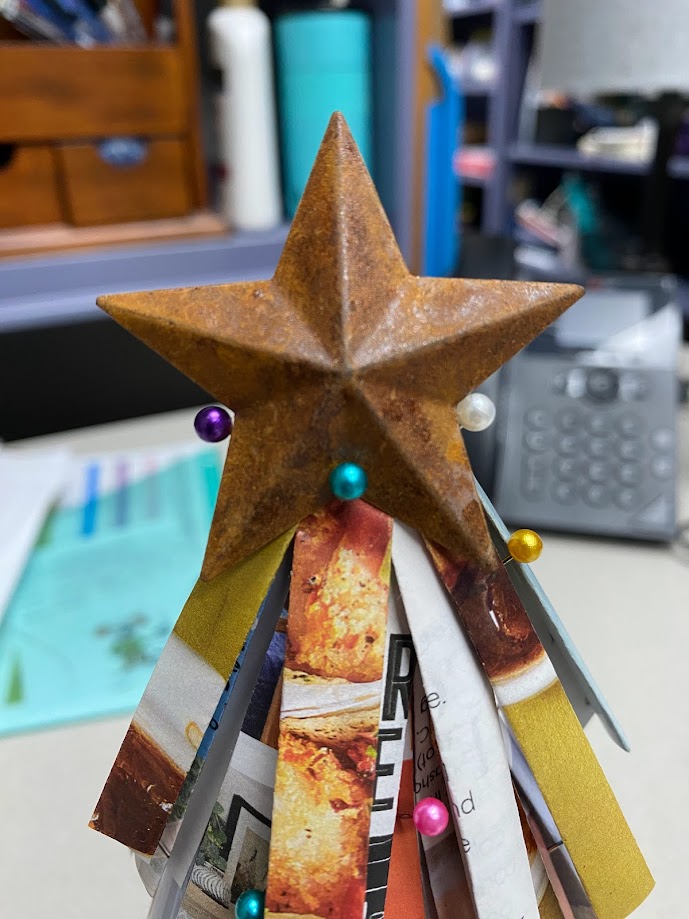
    6. Arrange the sewing pins with the large heads to around the tree to look like Christmas lights/ornaments.
    7.  Attach the star at the top by using pins to secure it.  If that’s not enough, use a little glue between the star and the top.
    8. Voila!  

    I hope this was fun to make – I know I enjoyed it!  Happy Crafting!

    -Morgan
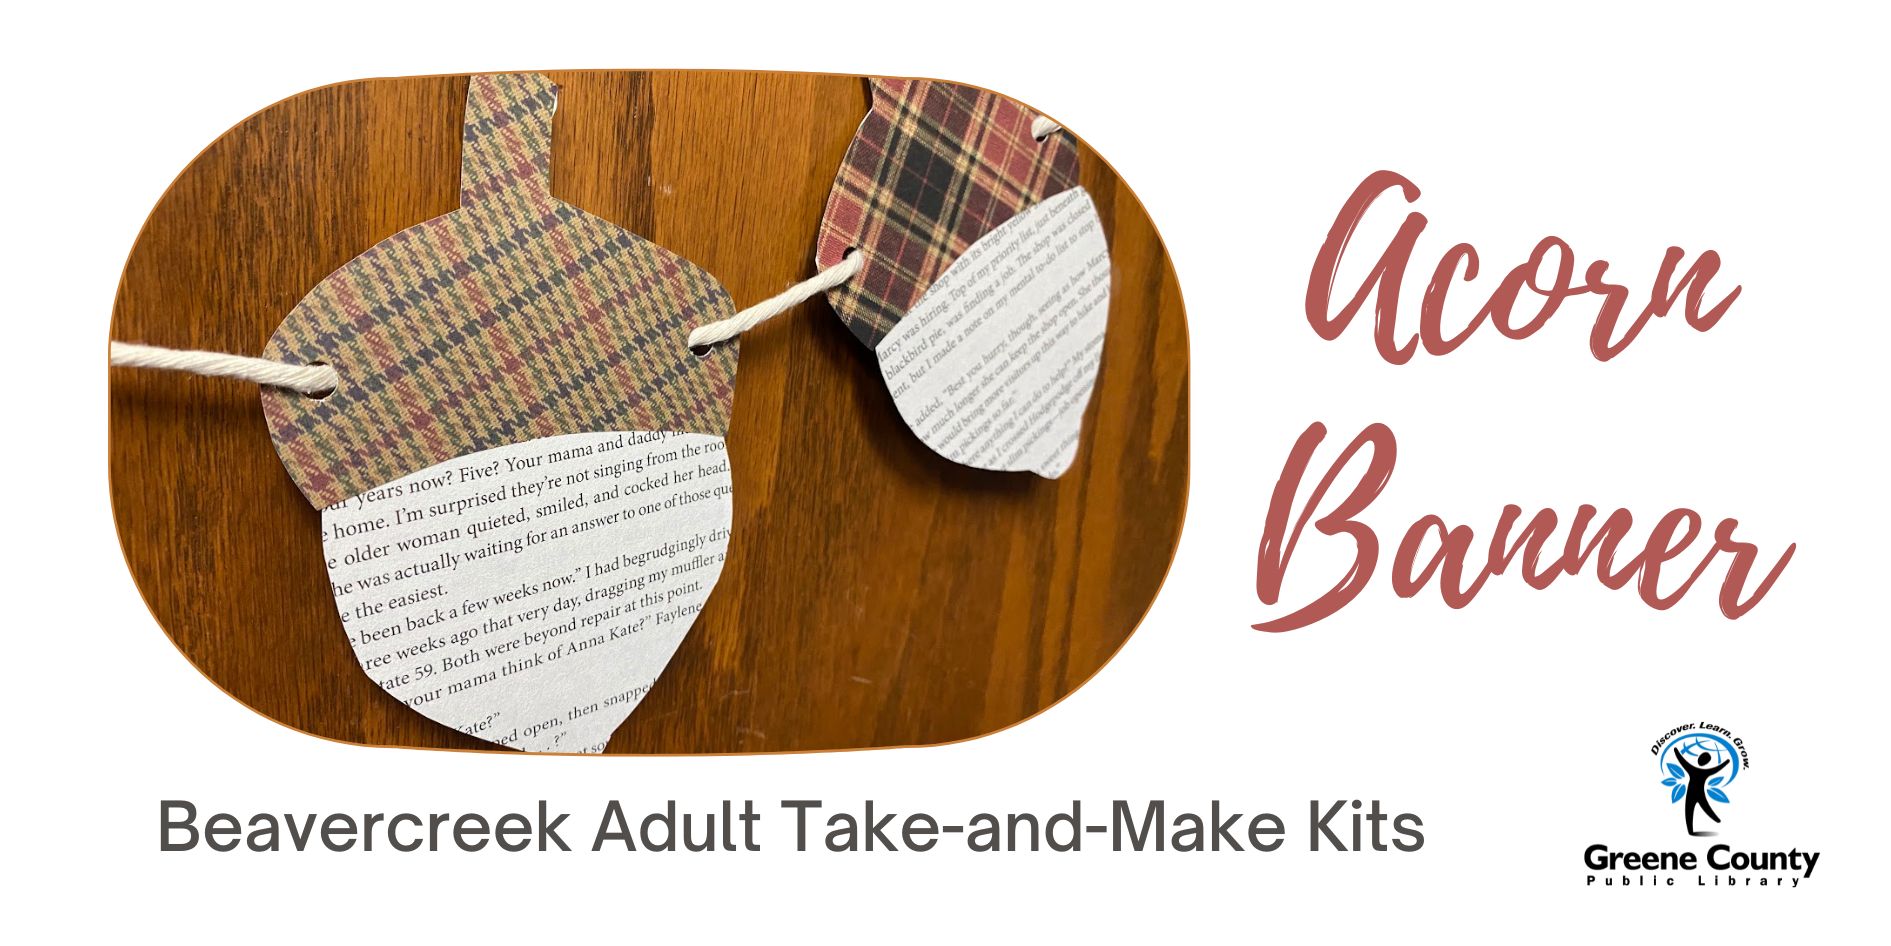
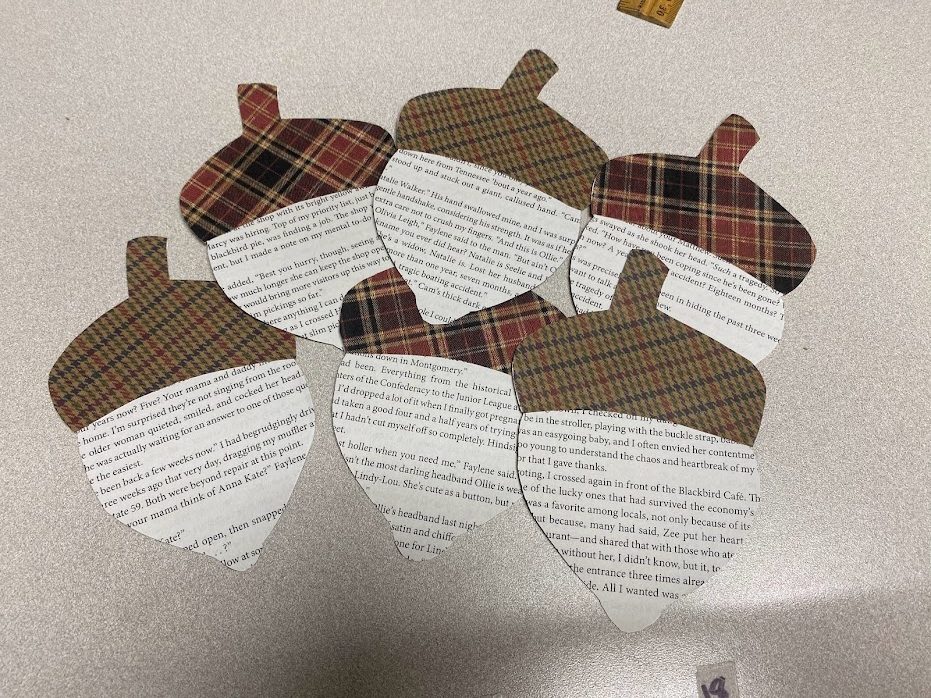
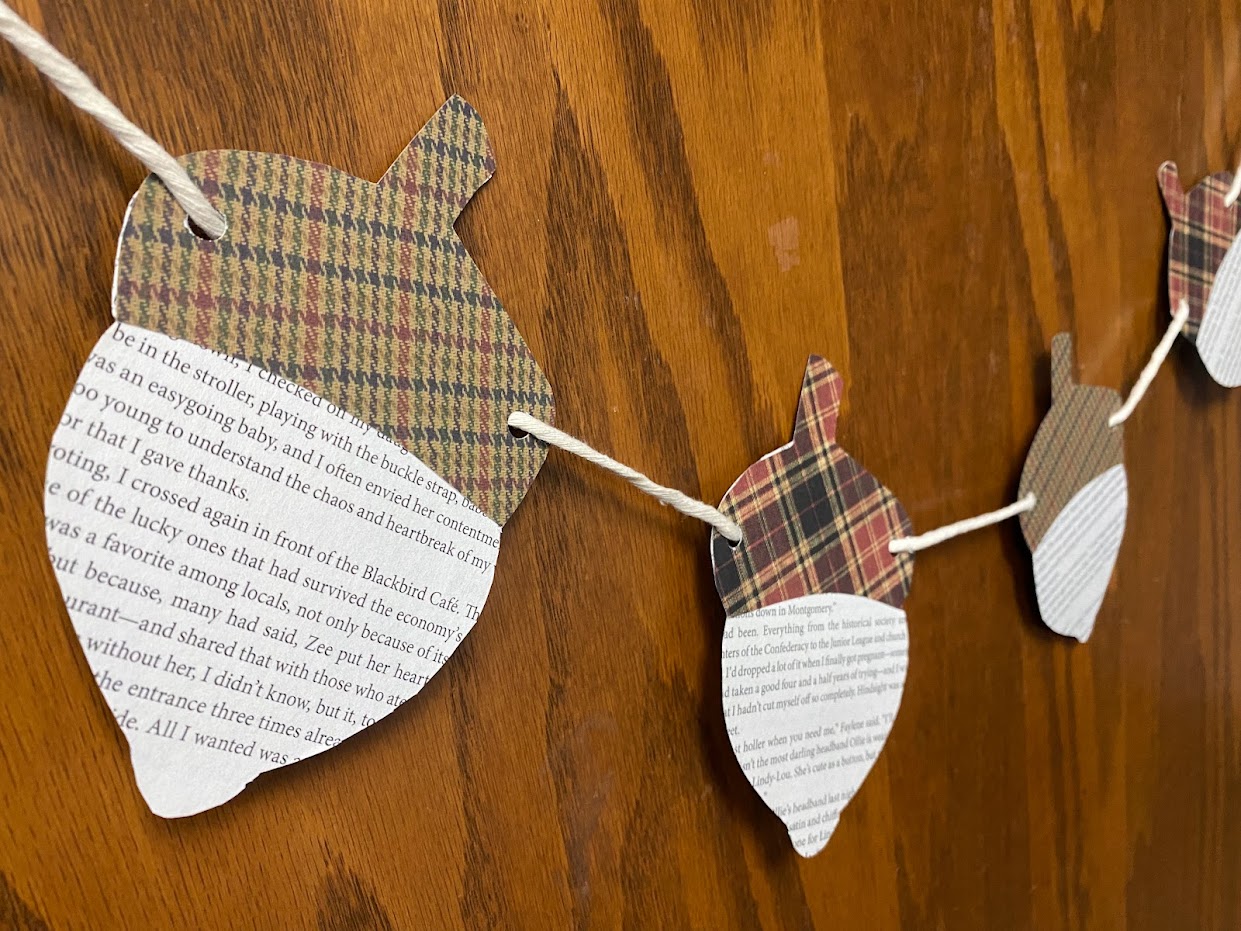
  • Beavercreek Adult Take-and-Makes: Acorn Banner

    Hi Crafters!

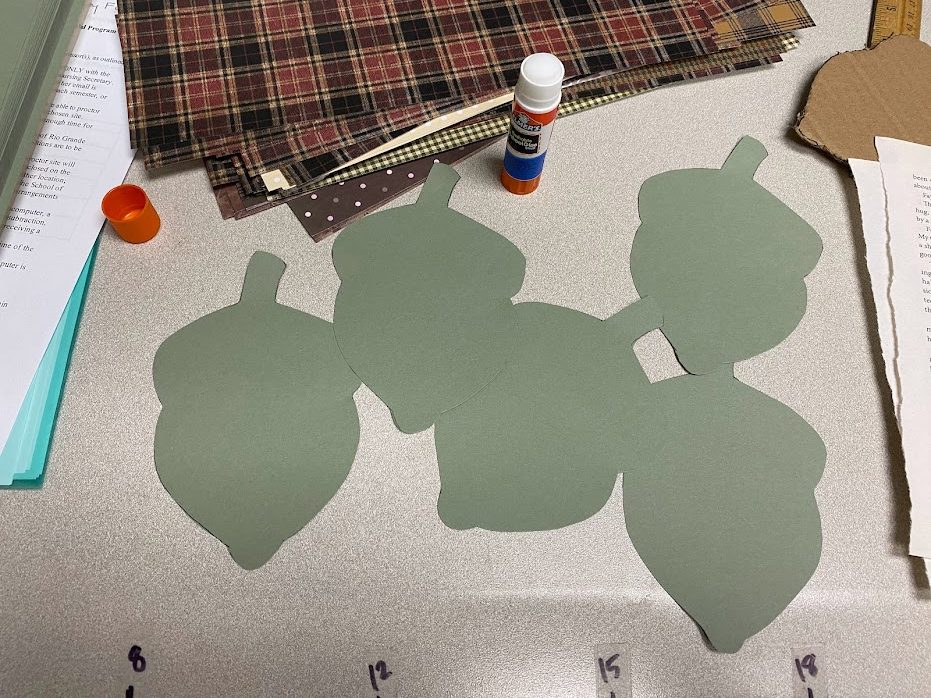
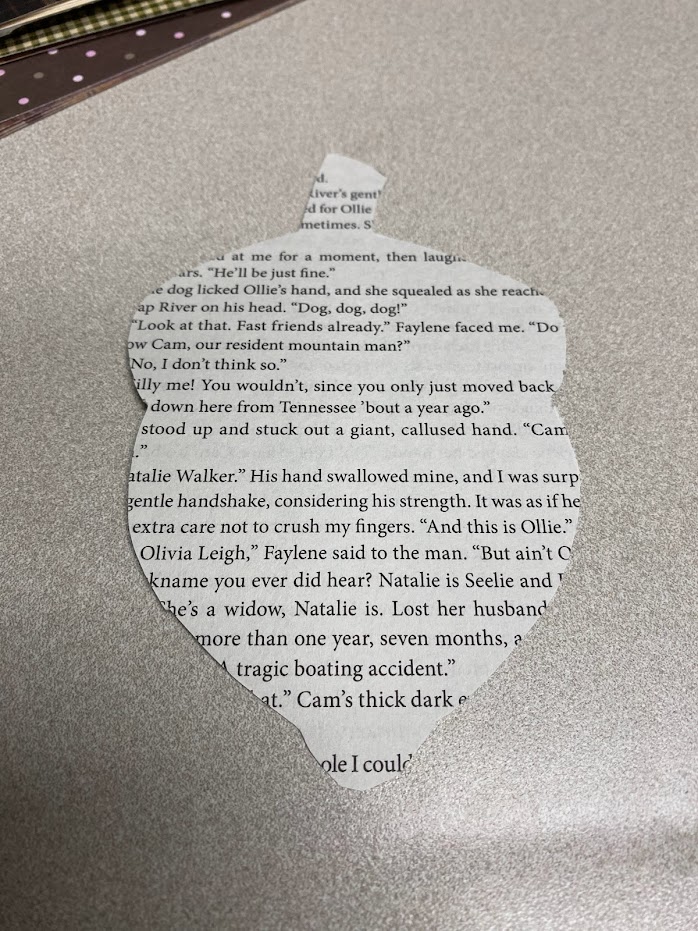
    This month we’re making a cute acorn banner from old book pages!

    To snag your kit, click here and register:  https://greenelibrary.bibliocommons.com/events/6543b15c13fa6ed3414ece72

    Included in your kit:

    1 acorn template

    2 6×12 pieces of cardstock (either green or beige)

    2 6×12 pieces of brownish scrapbook paper

    6 book pages

    4 feet of macrame cord

    1 glue stick

    Not included in your kit:

    scissors

    hole punch

    Instructions:

    Cut out the acorn template.

    Trace the acorn template on the solid color cardstock to get 6 acorns.

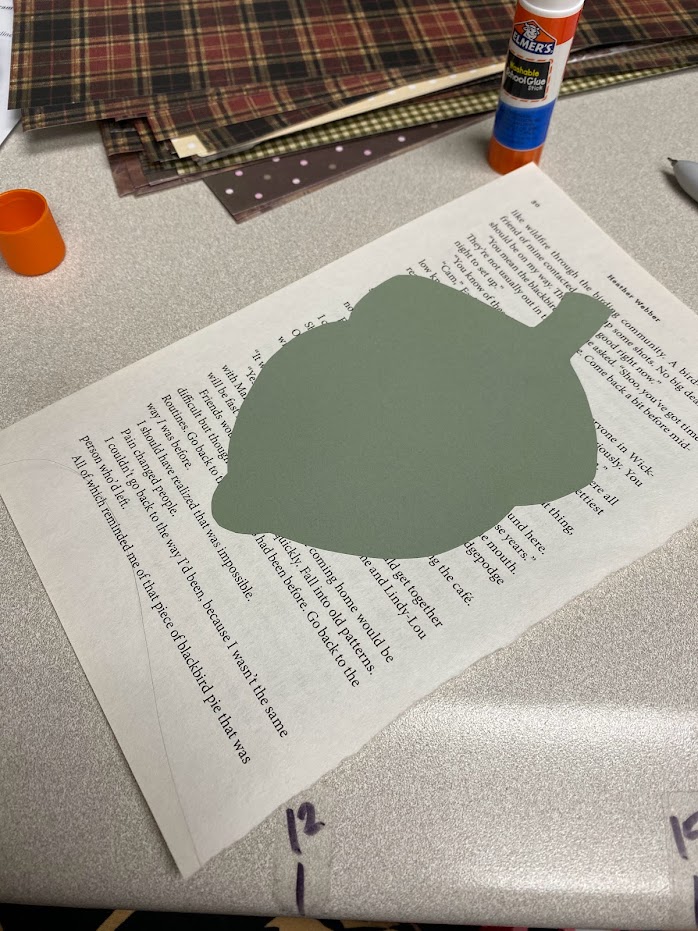
    Glue the cardstock acorns to the book pages.  Once dry, cut off the excess paper.

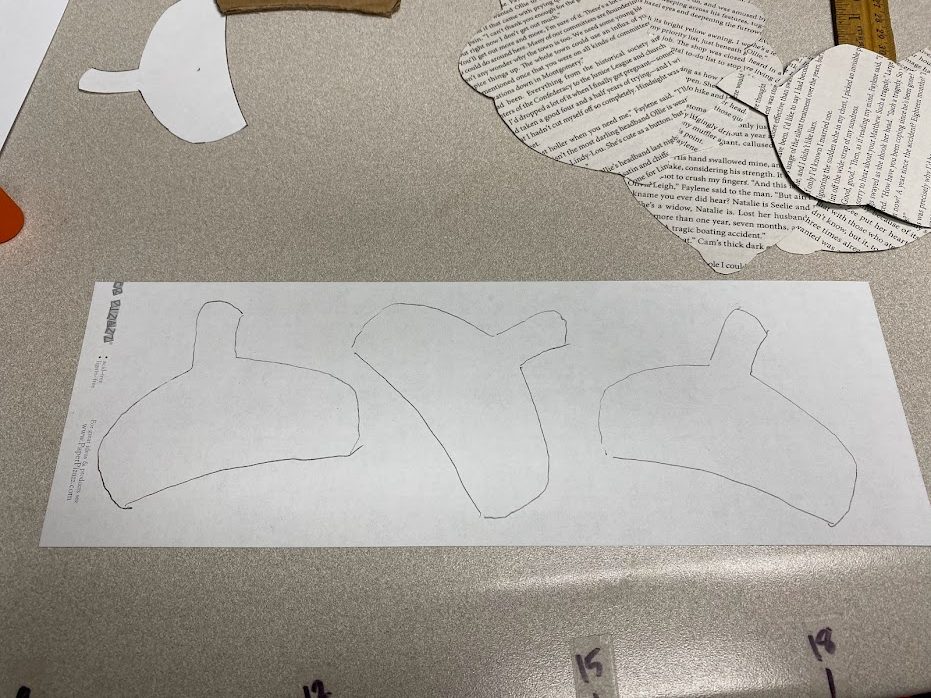
    Cut the top off your acorn template.

    Trace the top of the acorn onto the scrapbook paper to get 6 acorn tops.  MAKE SURE THEY ARE GOING THE RIGHT DIRECTION.

    Glue the acorn tops over the book pages to complete the acorns.

    Punch a hole on both sides of the acorn tops and thread the macrame cord through.  I put a knot at the end of the cord so it doesn’t fray.

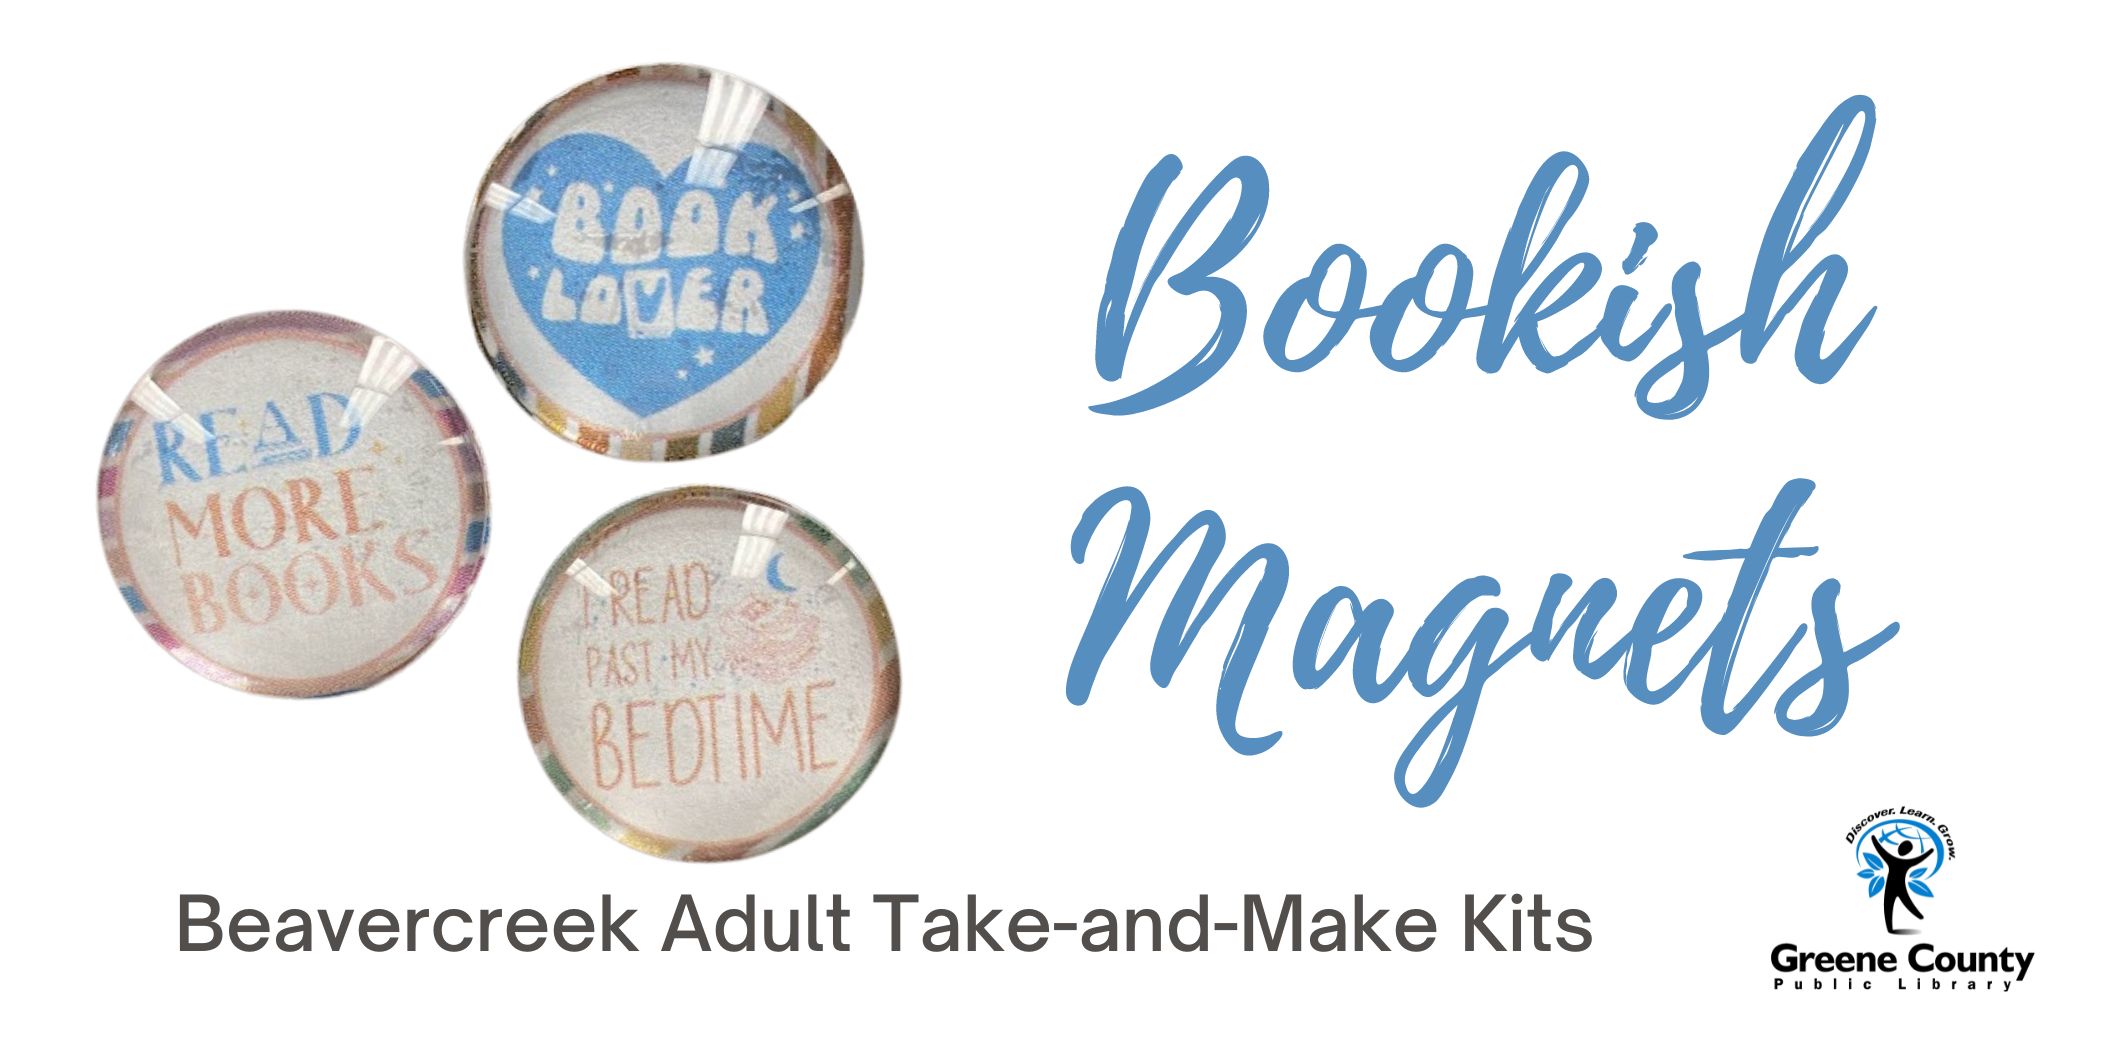
  • Beavercreek Adult Take-and-Make: Bookish Magnets

    Hey Crafters!

    This month’s take and make is super quick and simple, but makes something very useful!

    Sign up for your kit here:  https://greenelibrary.bibliocommons.com/events/651d71162d0219cf8b5f2215

    Included in your kit:

    3 glass domes

    3 magnets

    bookish designs

    Not included in your kit:

    scissors

    clear glue or mod podge (very small amount)

    Instructions:

    1.  Decide on 3 bookish designs for your magnets and cut them out.  You can also use a 1″ round paper punch if you have one.  You can also use any other picture as long as it’s 1″ round.
    2. Put a small amount of clear glue or mod podge on the top of the design and attach it to the flat side of the glass dome.  Allow to dry.
    3. Once dry and firmly attached, peel the red adhesive cover off the magnet and attach it to the back of the design.
    4. That’s it!  

    Happy Crafting!

    -Morgan
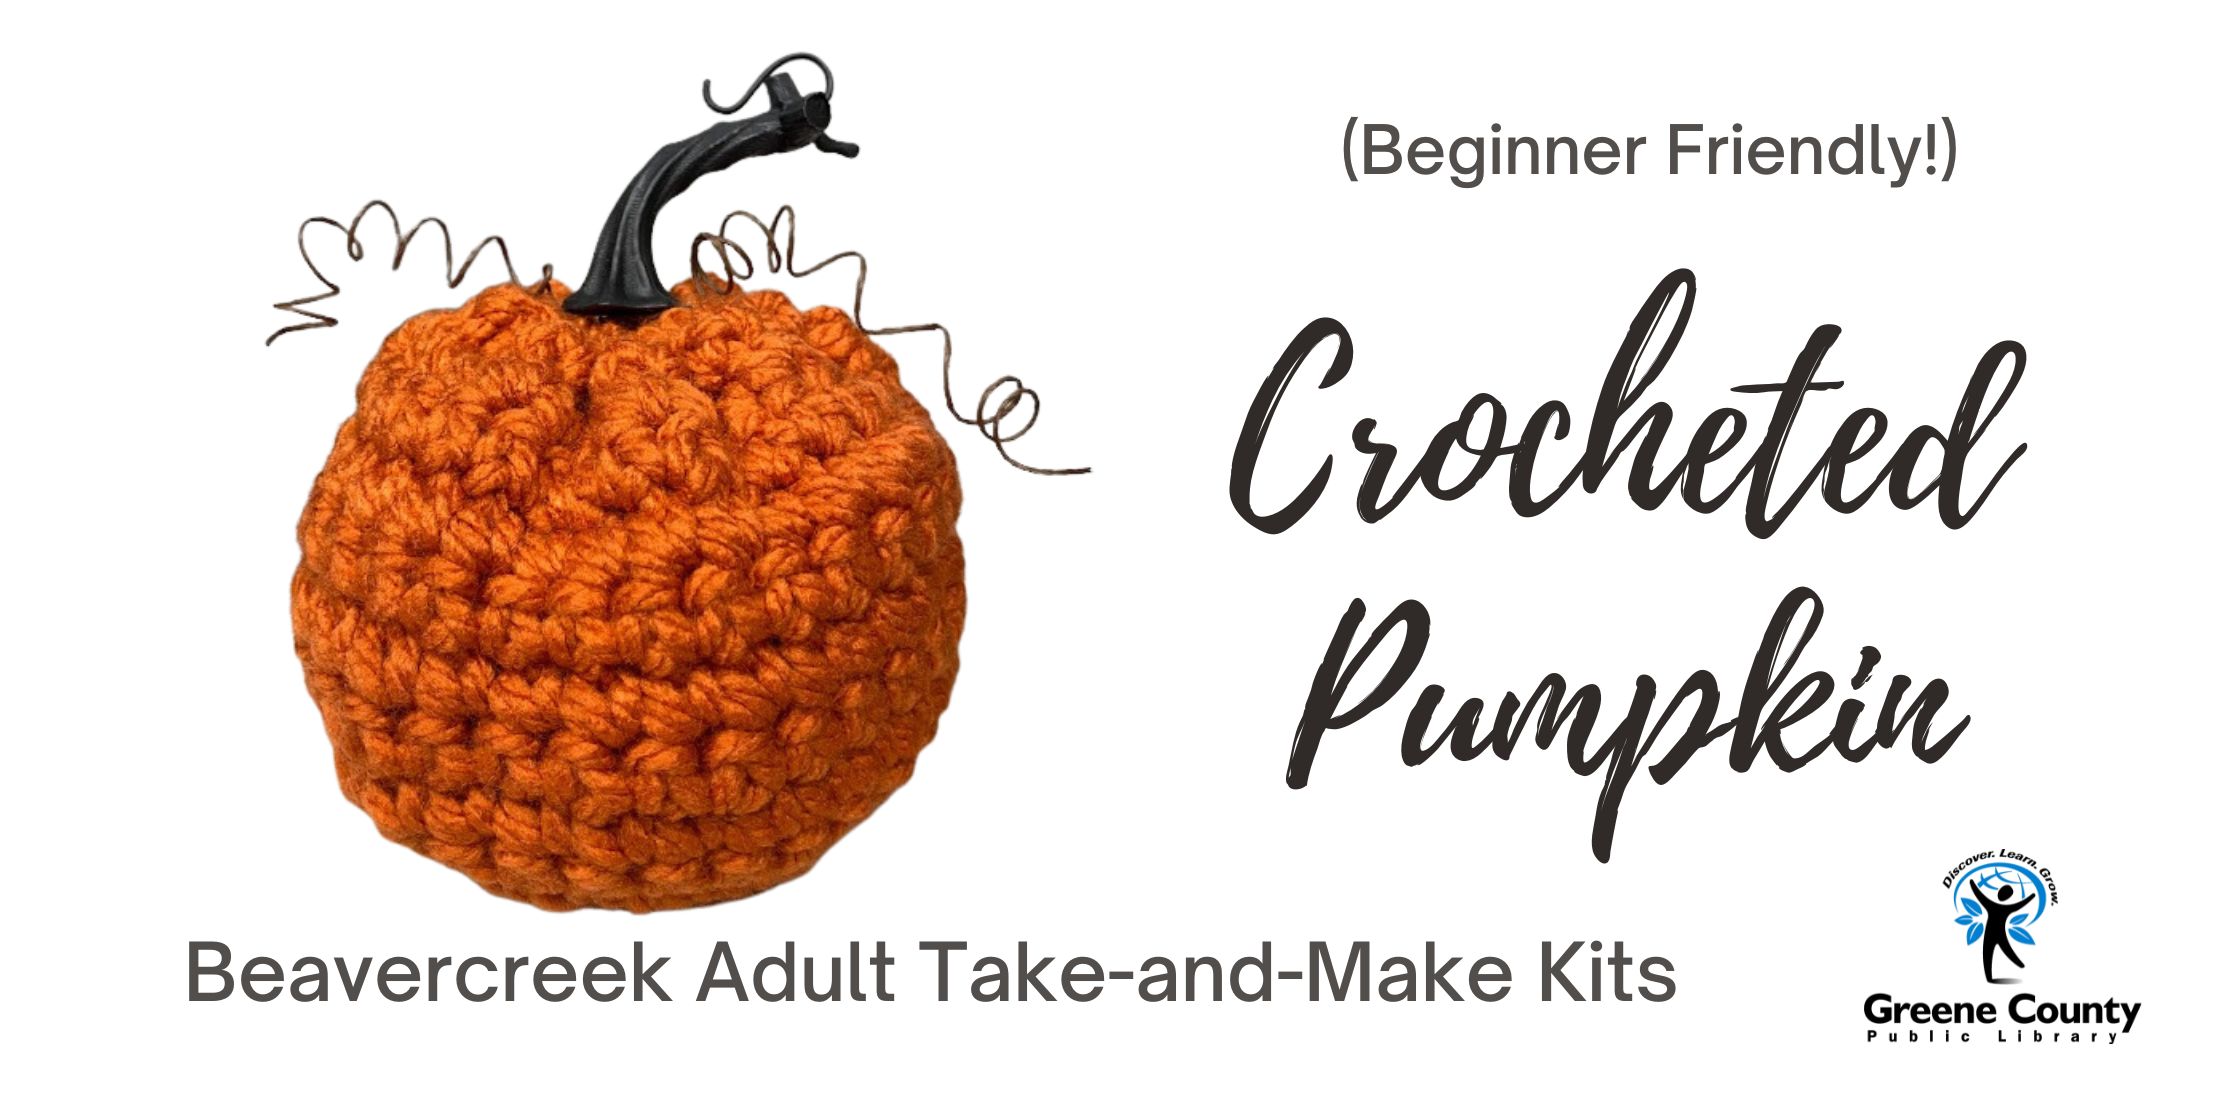
  • Beavercreek Adult Take-and-Make: Crocheted Pumpkin

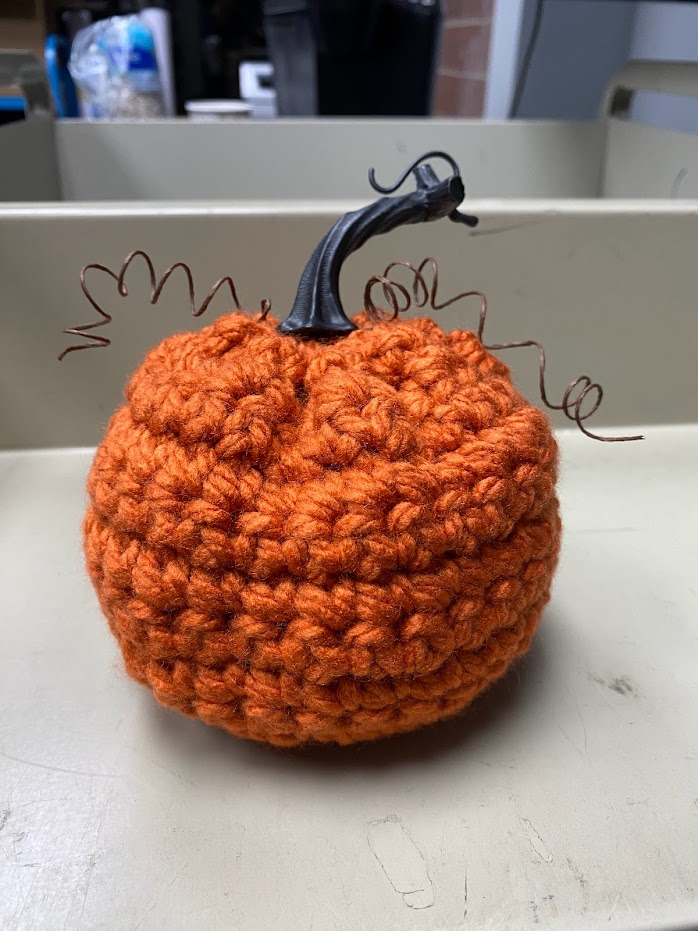
    It’s pumpkin season, crafters!  That means this month, we’re making a crocheted pumpkin and it’s VERY beginner friendly!

    First, sign up for your kit here:  https://greenelibrary.bibliocommons.com/events/64f8a3b72dac894800a0c828

    Included in your kit:

    1 skein orange yarn

    1 crochet hook (size 11/L)

    24″ of wired vine

    1 artificial stem

    Not included in your kit:

    newspaper for stuffing

    Instructions:

    If you’re new to crocheting, don’t worry, this is literally the easiest pattern that exists.  Check out these videos for some beginner instruction:  

    https://www.youtube.com/watch?v=GcOzdAzmtNM

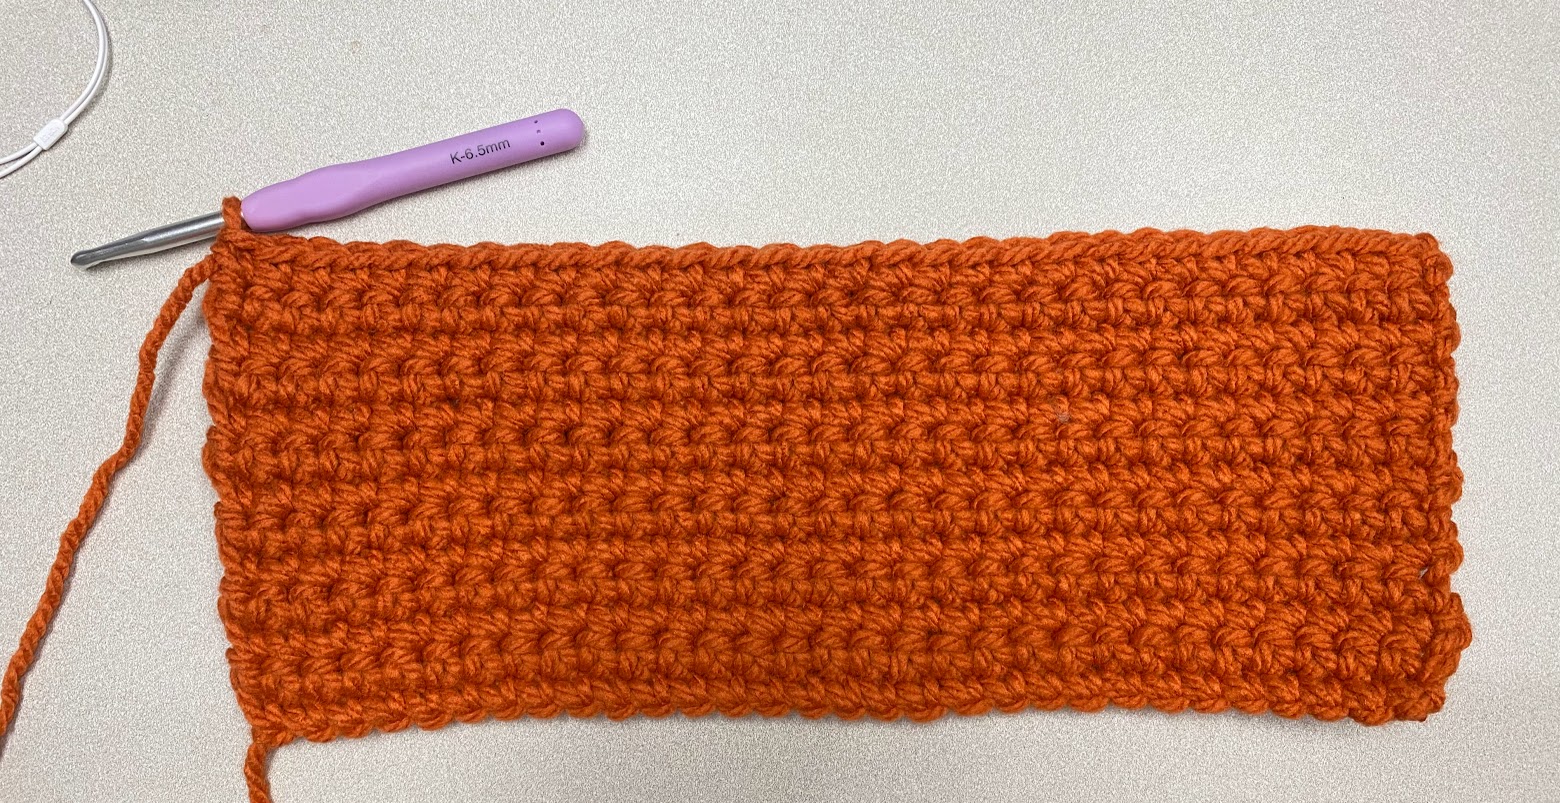
    You will create a rectangle that is 30 chains long and 15 rows high – all in single crochet stitch.

    1.  Chain 30, turn
    2.  Single crochet (SC) in each chain all the way across.  Chain 1 and turn.
    3.  Skip the first chain and then SC all the way across.
    4.  Repeat until you have 15 rows.  You should end up with something like this.

    5.  Cut the yarn tail (from the skein) leaving SEVERAL feet of length.

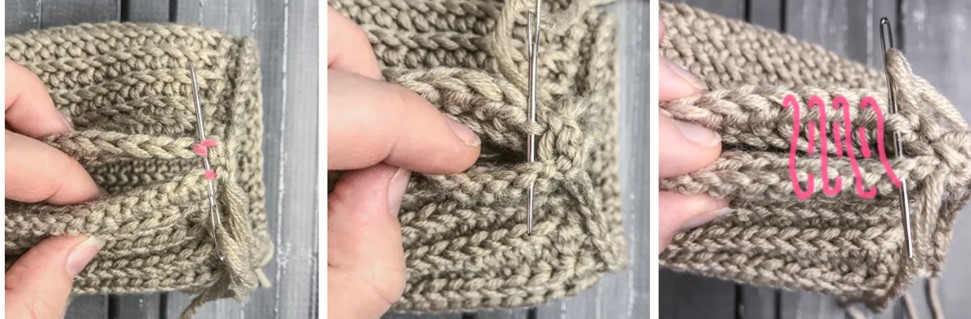
    6.  Fold the rectangle in half and sew the ends together using the yarn tail.

    (This picture shows using a needle, but you can do this with the hook as well)

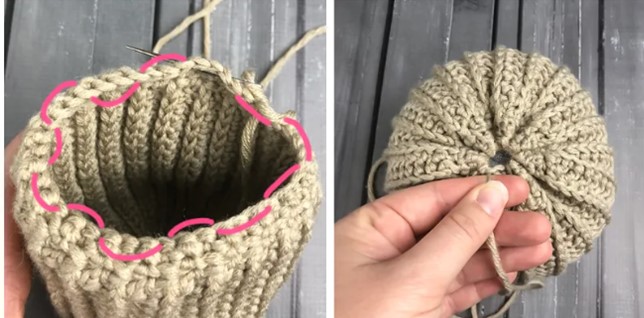
    7.  After you have a tube, continue to use the yarn tail and weave yarn around the outside edges.  Pull to close.

    8.  Turn the pumpkin over and stuff with newspaper from the top.  I only needed about 2-3 sheets balled up to fully stuff the pumpkin.

    9.  Once pumpkin is stuffed, continue to use the yarn tail and close the top just like in step 7.

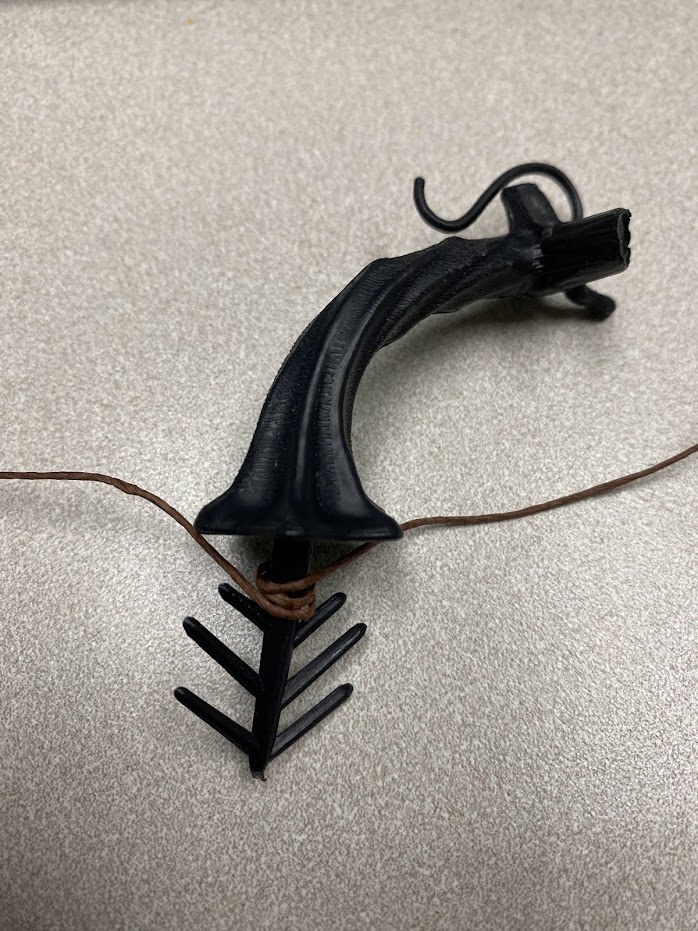
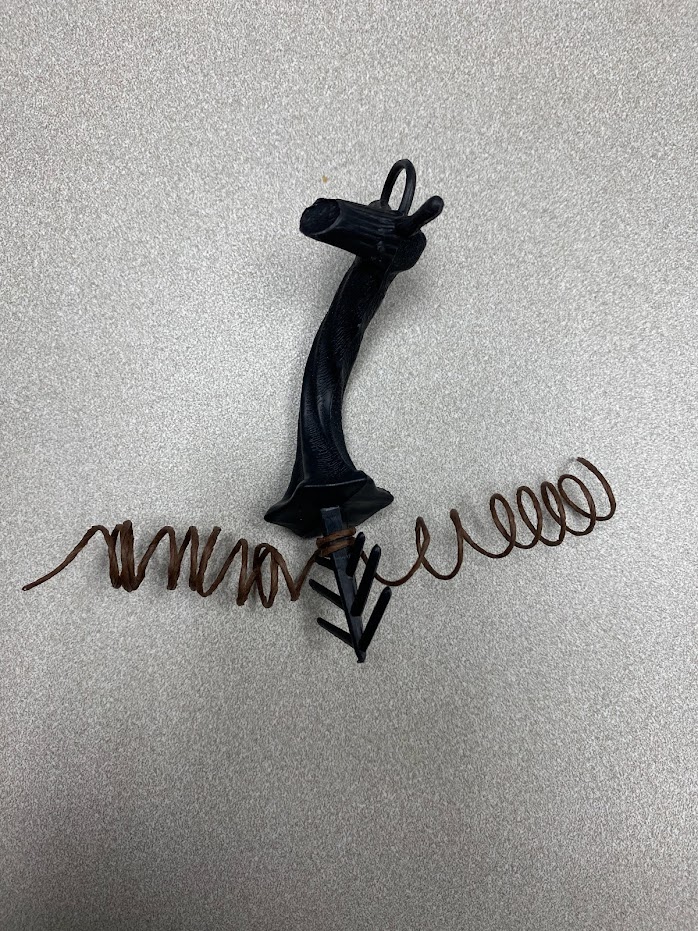
    10.  Wrap the wire vine around the bottom of the stem a couple of times to secure it.

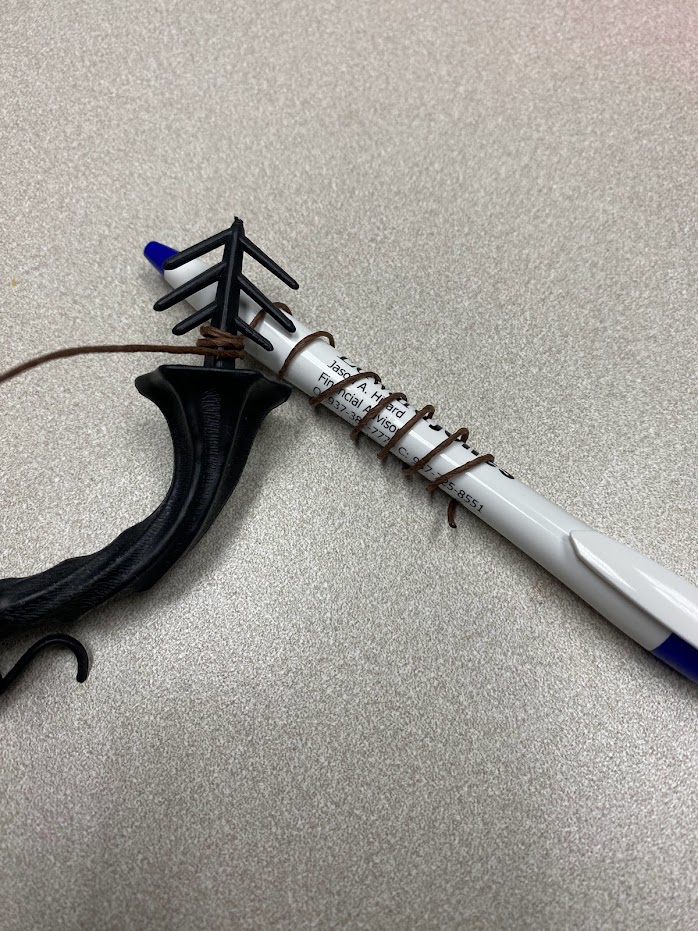
    11.  Use a pen/pencil or other round object to curl the ends to look like vine.

    12.  Insert the stem into the top of the pumpkin.  Make sure it grabs some of the fibers from the yarn so that it stays in place.  Position vine as necessary.

    That’s it!  You have a cute little fall pumpkin ready to decorate your house!

    As always, I’d love to see your final products!  Feel free to post to our Facebook page at https://www.facebook.com/BeavercreekCommunityLibrary.

    Happy crafting!

    -Morgan
  • Beavercreek Adult Take-and-Make: Paper Beads

    This month’s project is simple, fun and easy enough for kids to join in if they want!  We’re making paper beads!

    First, register for your kit here:  https://greenelibrary.bibliocommons.com/events/64d0f7d011c6b62f00cf08b0

    Included in your kit:

    strips of paper

    coffee stirrers

    mod podge

    jewelry cord

    paint brush

    NOT included in your kit:

    scissors

    double-sided tape (optional)

    additional beads you may want to add

    Instructions:

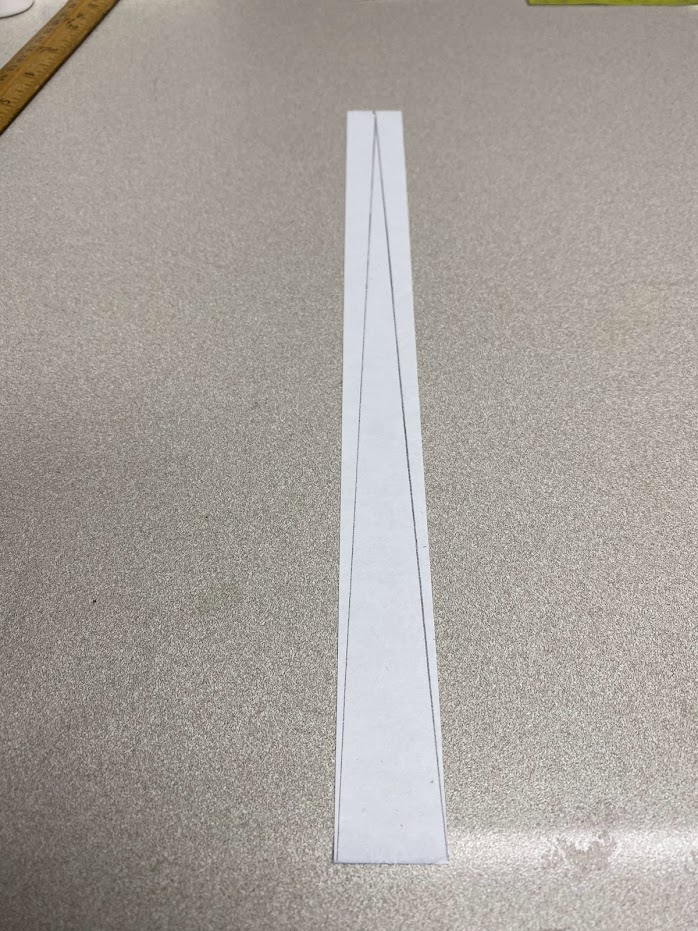
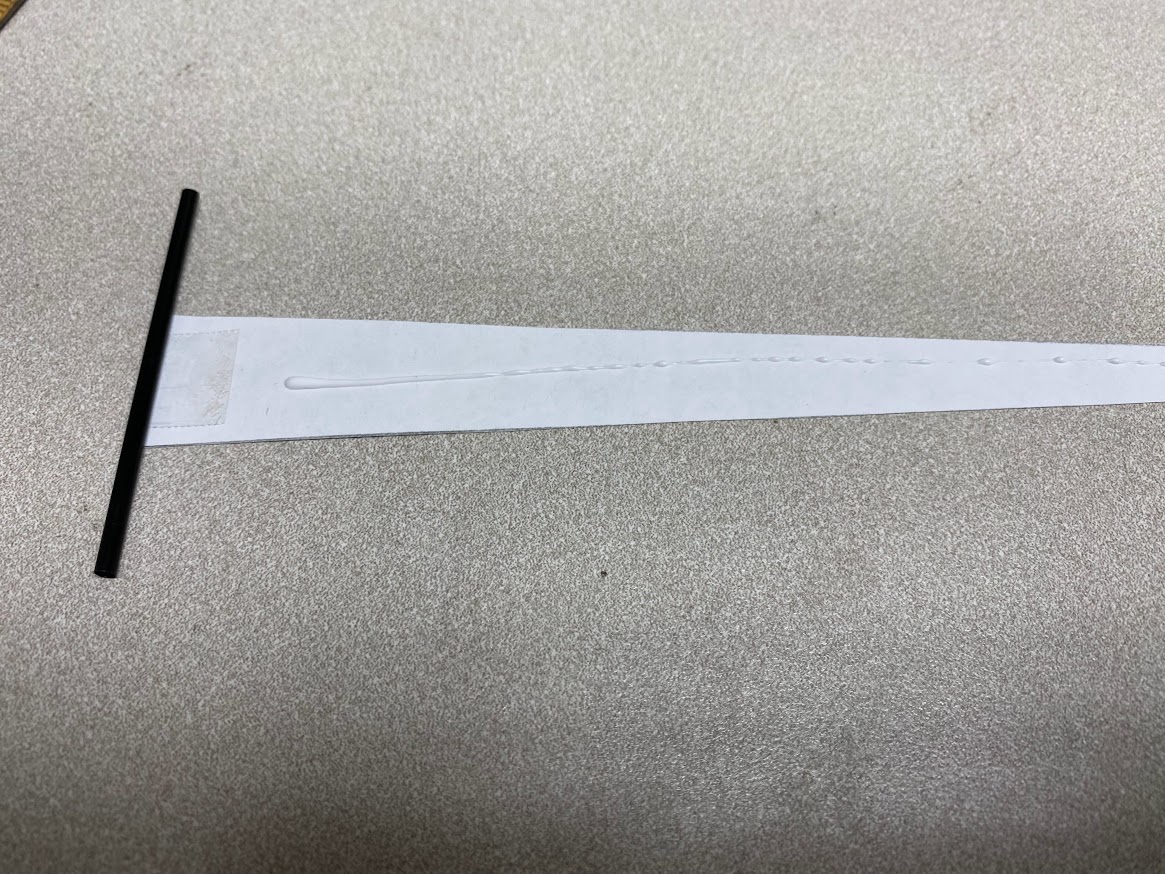
    1. Cut the paper into 1″ strips.  Mark halfway and then create a long triangle like the picture below.  Cut out the triangle.

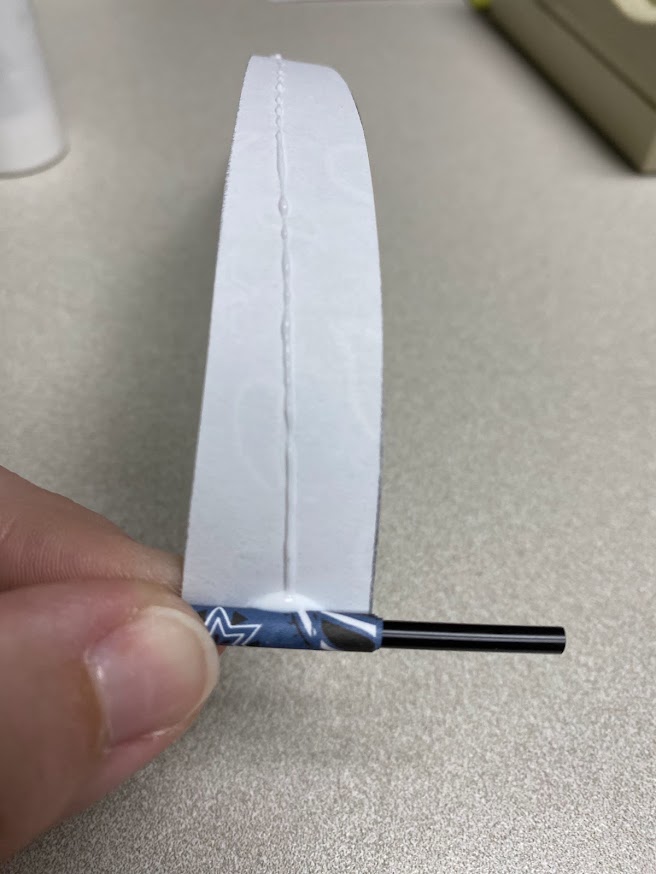
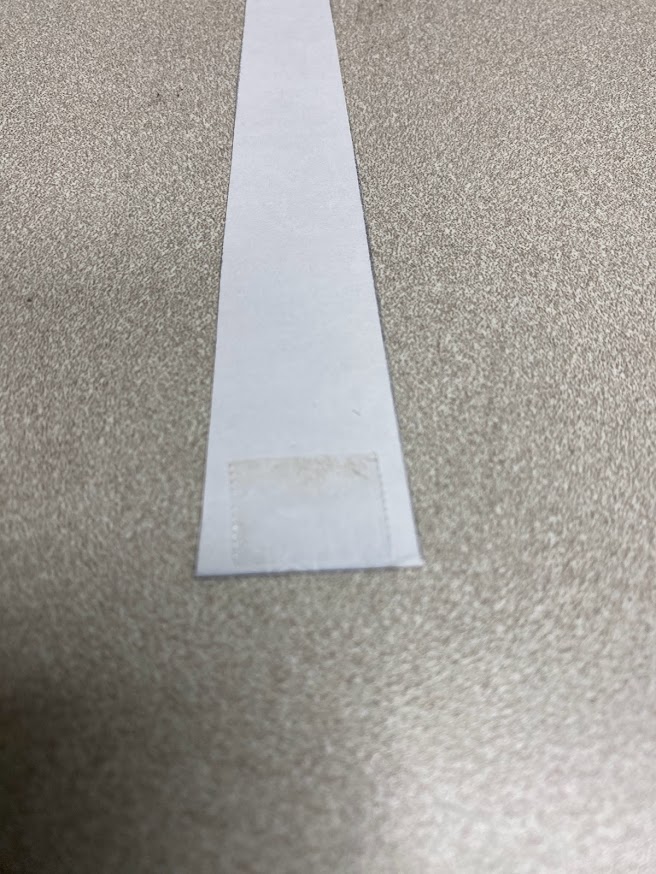
    2.  Place a piece of double-sided tape on the long side of the triangle.  This is optional, but it helped keep the stirrer in place as I started to roll.


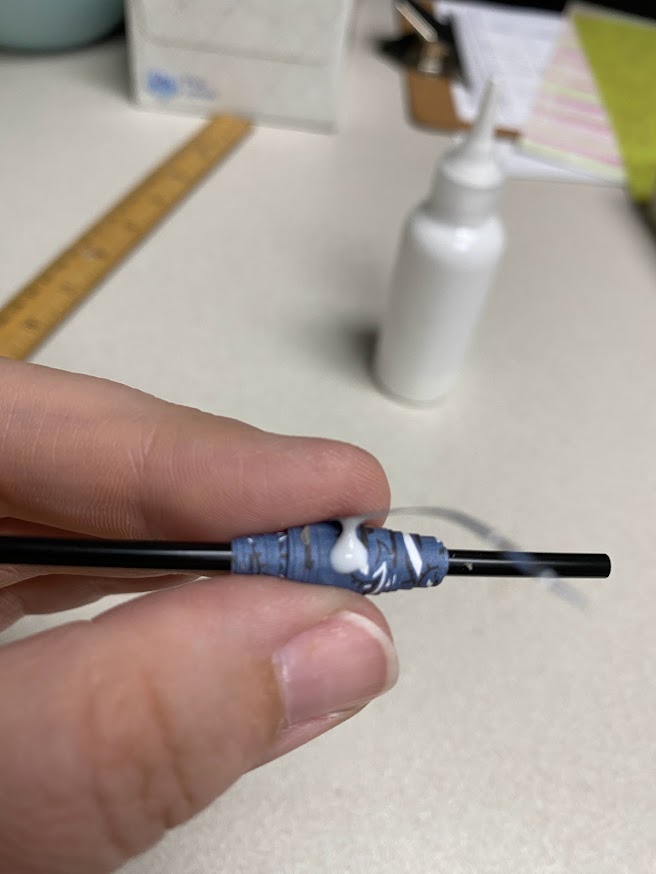
    3.  Place the stirrer on the tape and put a thin line of mod podge down the length of the paper.  Be sure to not use too much or you’ll have a mess on your hands.

    4.  Roll the paper around the stirrer keeping it as even as possible.  Guys, I really struggled with this.  Mine kept coming out lopsided and I just couldn’t keep it even.  I HIGHLY SUGGEST practicing with plain paper before cutting the included paper.

    5.  When you get to the end, place a small dot of mod podge on the bead to keep the end down.

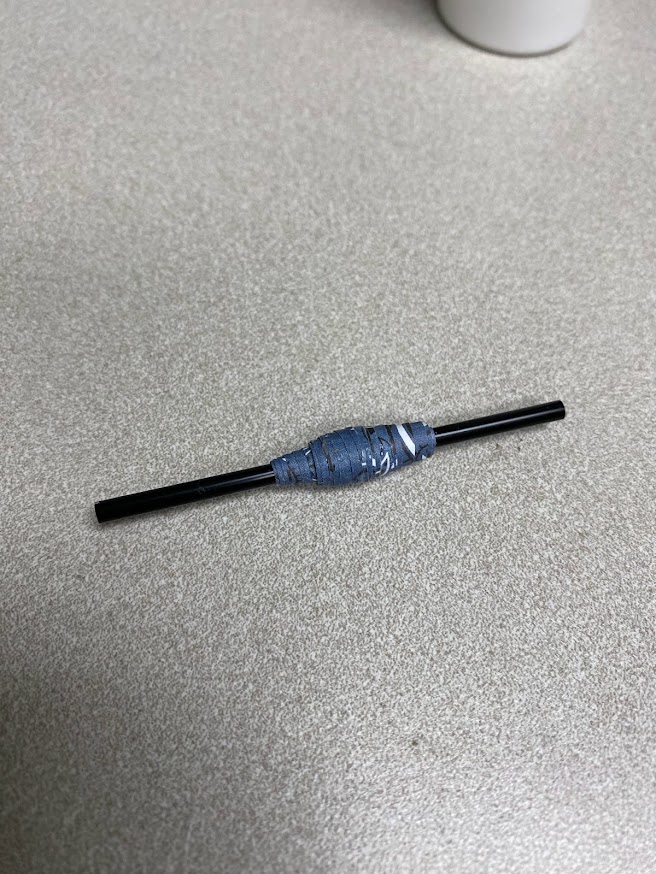
    6.  Allow the beads to dry.  Then, coat them with another layer of mod podge (using the included paint brush) and allow to dry again.  Snip off the excess straw on either end and your bead is complete!  Repeat as many times as you’d like.

    7.  String the finished beads on the jewelry cord and tie a knot to finish off.

    There are many different kinds of beads you can make depending on how you cut the paper.  Below, I’ve included some other tutorials on how to make different shaped beads.

    https://modpodgerocksblog.com/paper-beads/

    https://www.wikihow.com/Make-Paper-Beads

    As always, I’d love to see what you create!  You can post your finished project on our Facebook page here:  https://www.facebook.com/BeavercreekCommunityLibrary

    Happy Crafting!

    -Morgan
  • Beavercreek Adult Take-and-Make: Clothespin Wreath


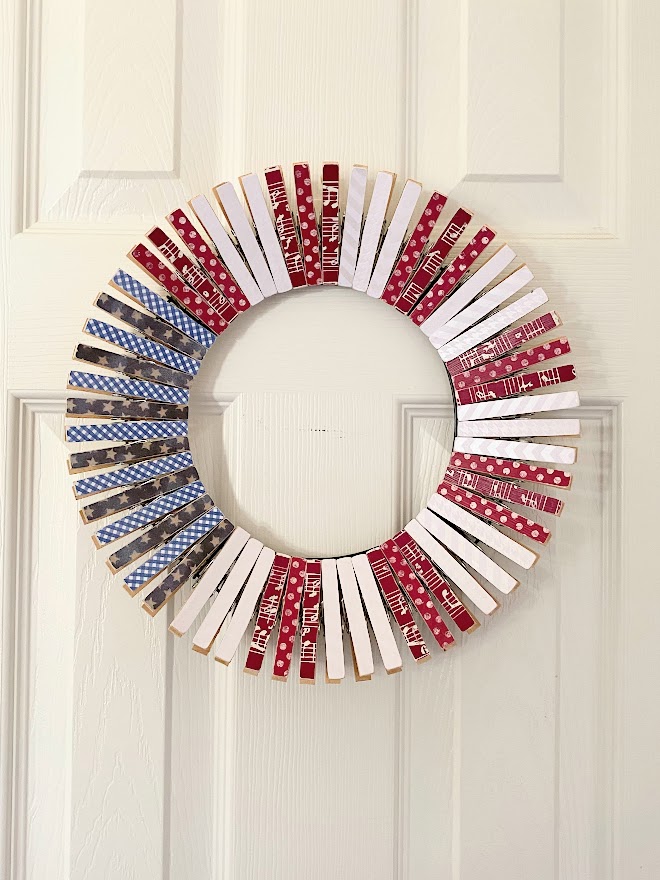
    Hey Crafters!  July is right around the corner and we’re kicking it off with a patriotic clothespin wreath.  This was easy to make (though a bit tedious) and I really enjoyed it!

    Register for your kit here:  https://greenelibrary.bibliocommons.com/events/6495c38792dac24e04a272b0

    Included in your kit:

    1 wire wreath form

    6 pieces of red, white and blue scrapbook paper

    1 bottle of mod podge

    1 paintbrush

    57 clothespins

    Not included in your kit:

    scissors

    ribbon for hanging, if desired

    Instructions:

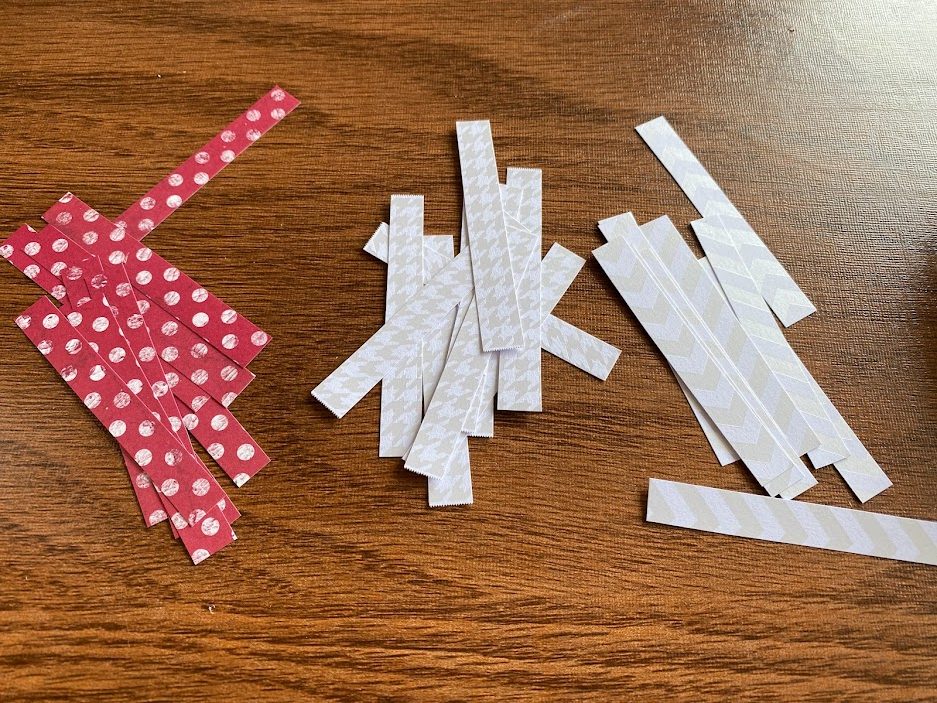
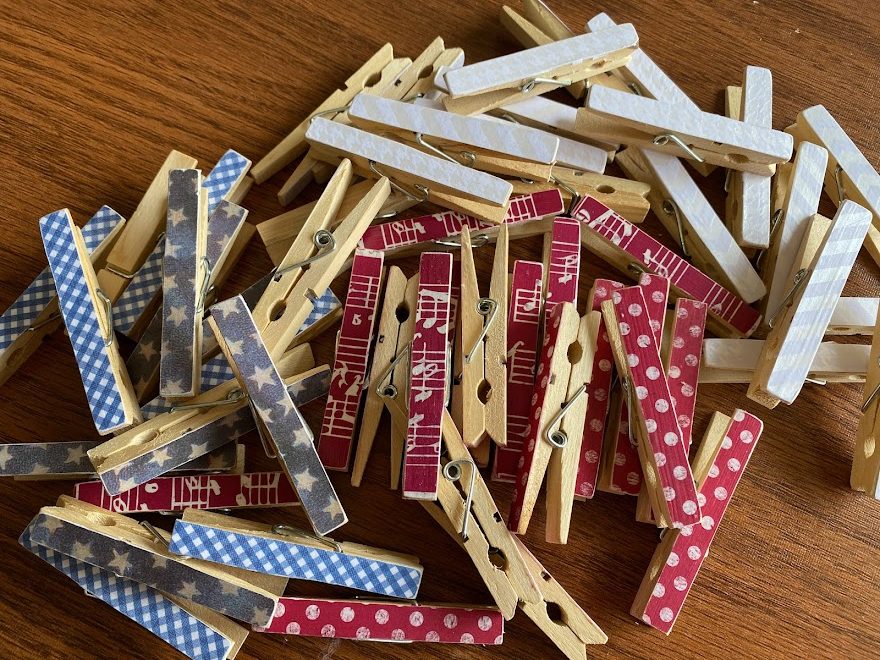
    1.  Using a clothespin as a guide, cut the scrapbook paper into strips.  You will need 14 blue strips (8 of each shade), 21 red strips and 21 white strips (divided between the 2 shades)

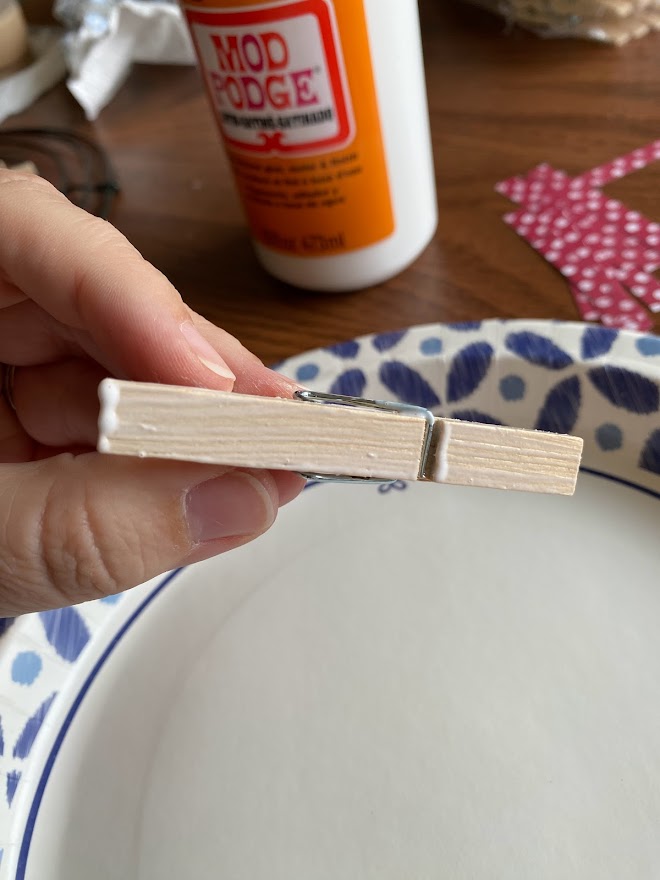
    2.  Put a thin layer of mod podge on the clothespin and secure the strip of paper to the top.

    3.  Allow the mod podge to dry.  If you want to, you can stop at this step.  However, I filed the edges of the clothespin down to remove the excess paper off the edges.  This also gives it a bit more of a rustic look.  After that, add another very thin layer of mod podge to the top and allow to dry.
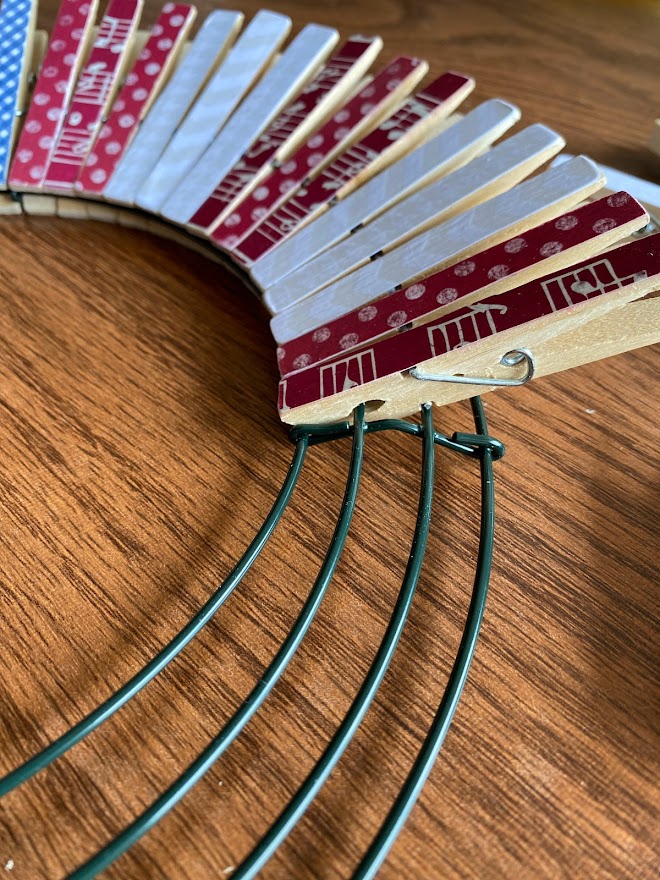
    4.  When the clothespin are all dry, attach them to the wire frame as shown in the picture below.  The wire frame is divided into 4 sections.  Fourteen clothespins should fit into each section.  I alternated the colors, but you can arrange them however you like!

    5.  You’re all done!  Feel free to post a photo of your finished product on our Facebook page here:  https://www.facebook.com/BeavercreekCommunityLibrary

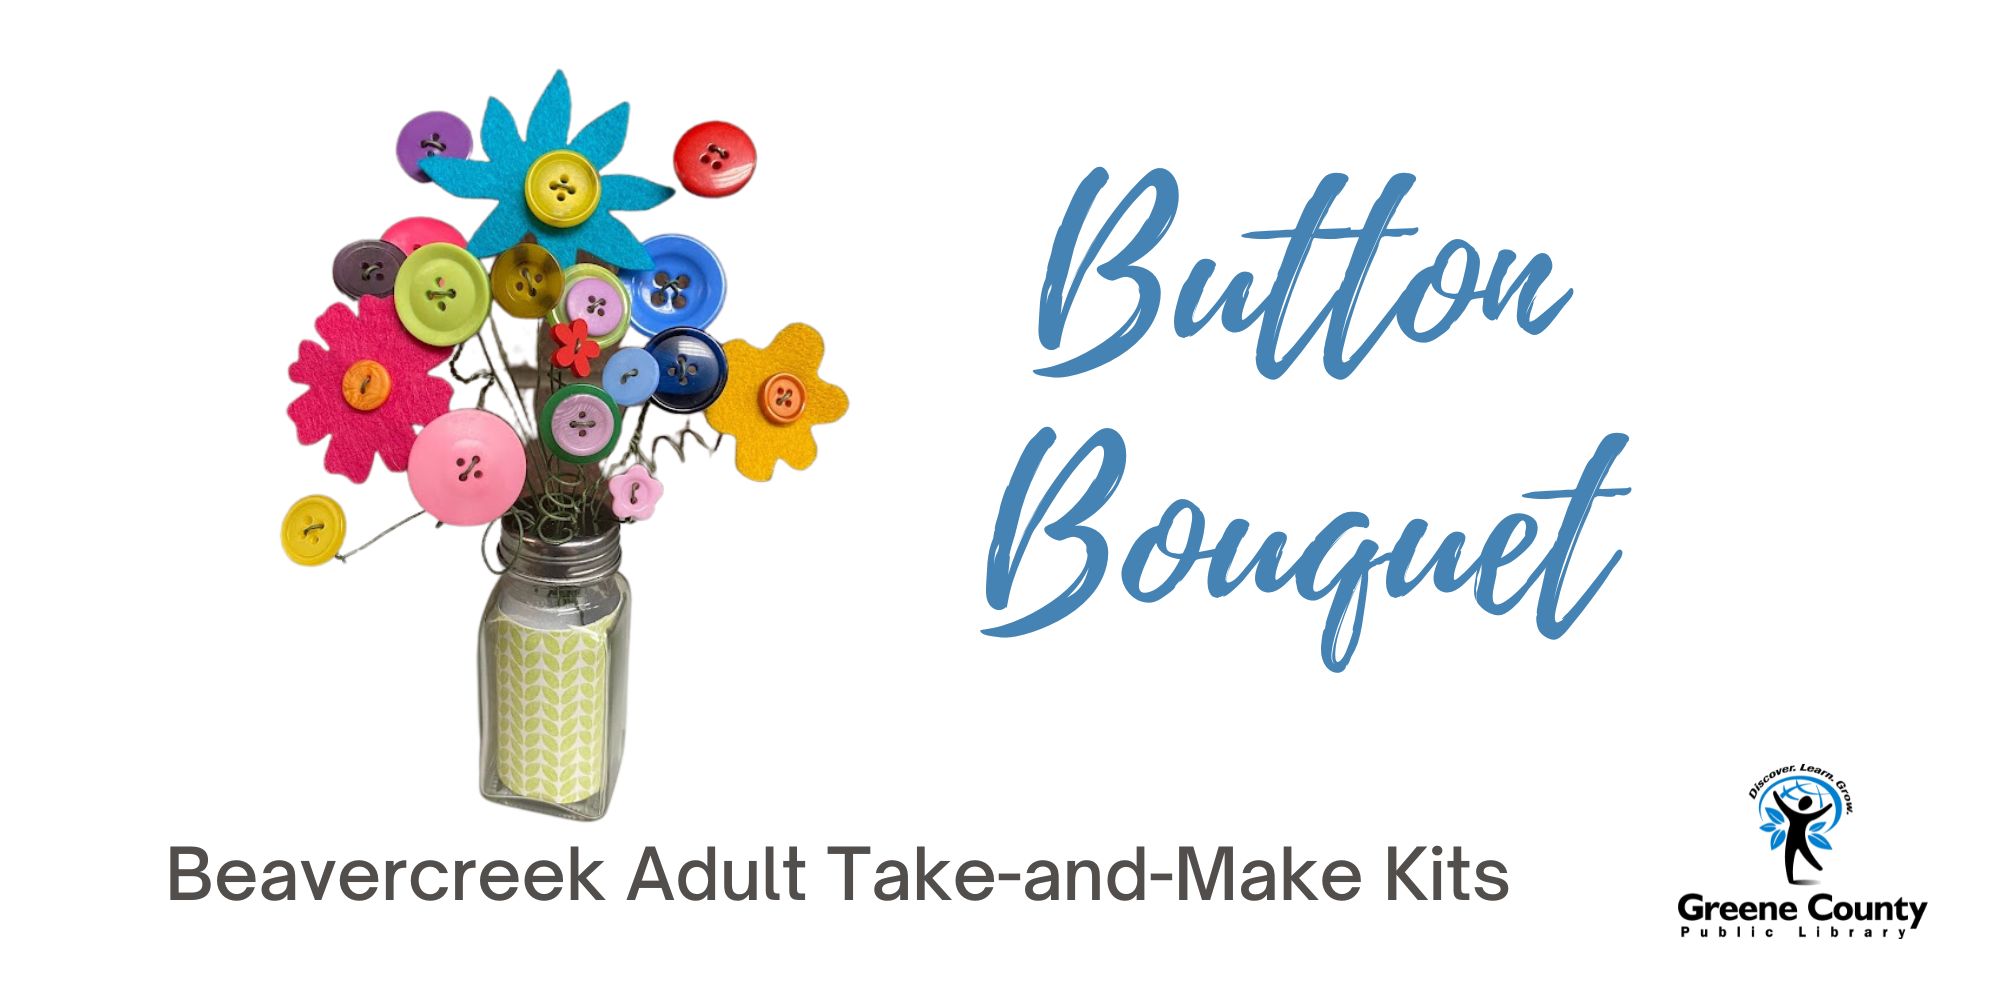
  • Beavercreek Adult Take-and-Make: Button Bouquet

    Hi Summer Crafters!

    This month’s project is a cute button bouquet!  

    To snag your kit, click here to register:  https://greenelibrary.bibliocommons.com/events/647a1f6c78c3da4200b2f70e

    Included in your kit:

    Teal, yellow, pink and green felt

    Scrapbook 

    Salt shaker

    Buttons

    Styrofoam

    Wire stems

    NOT included in your kit:

    Scissors

    Glue

    Pencil or round object to curl stems

    Instructions: