wlma

Tag: Carol Graff Beavercreek Library

  • Beavercreek Adult Take-and-Make: Bandana Garland


    Happy Summer, everyone!

    You can sign up for a kit here:  https://greenelibrary.bibliocommons.com/events/62b4a92e9d461aa0a45f2f45

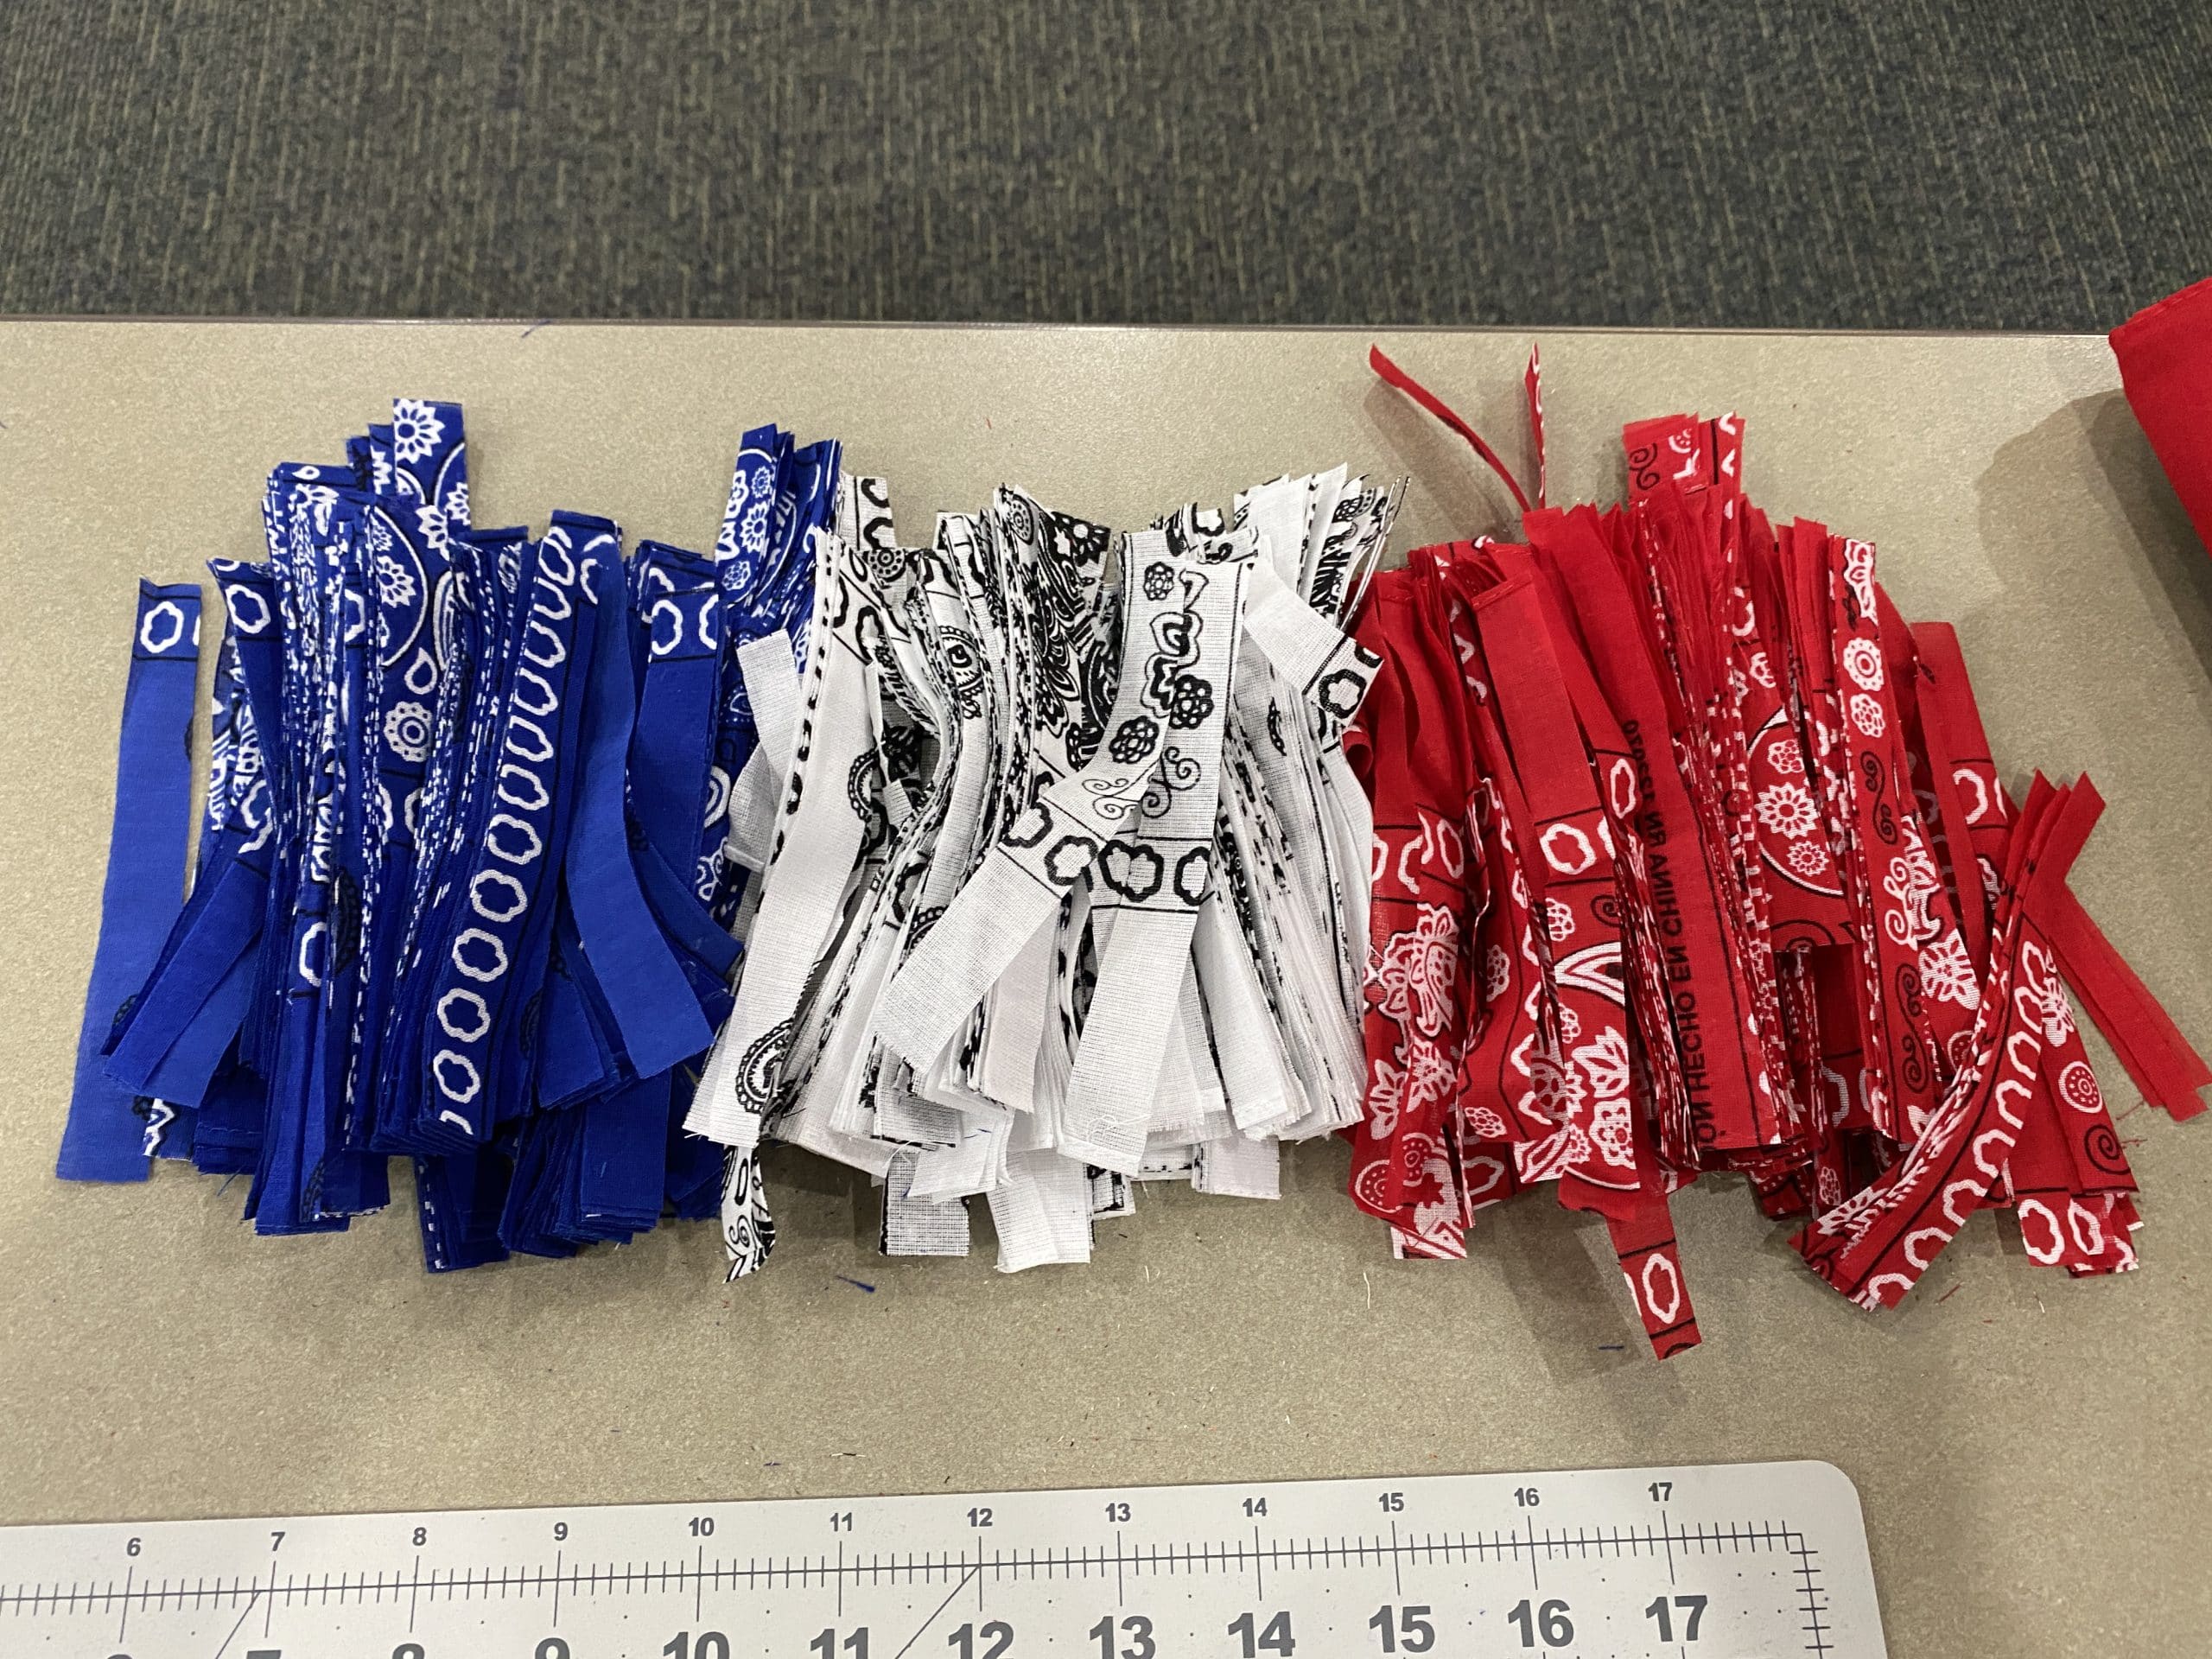
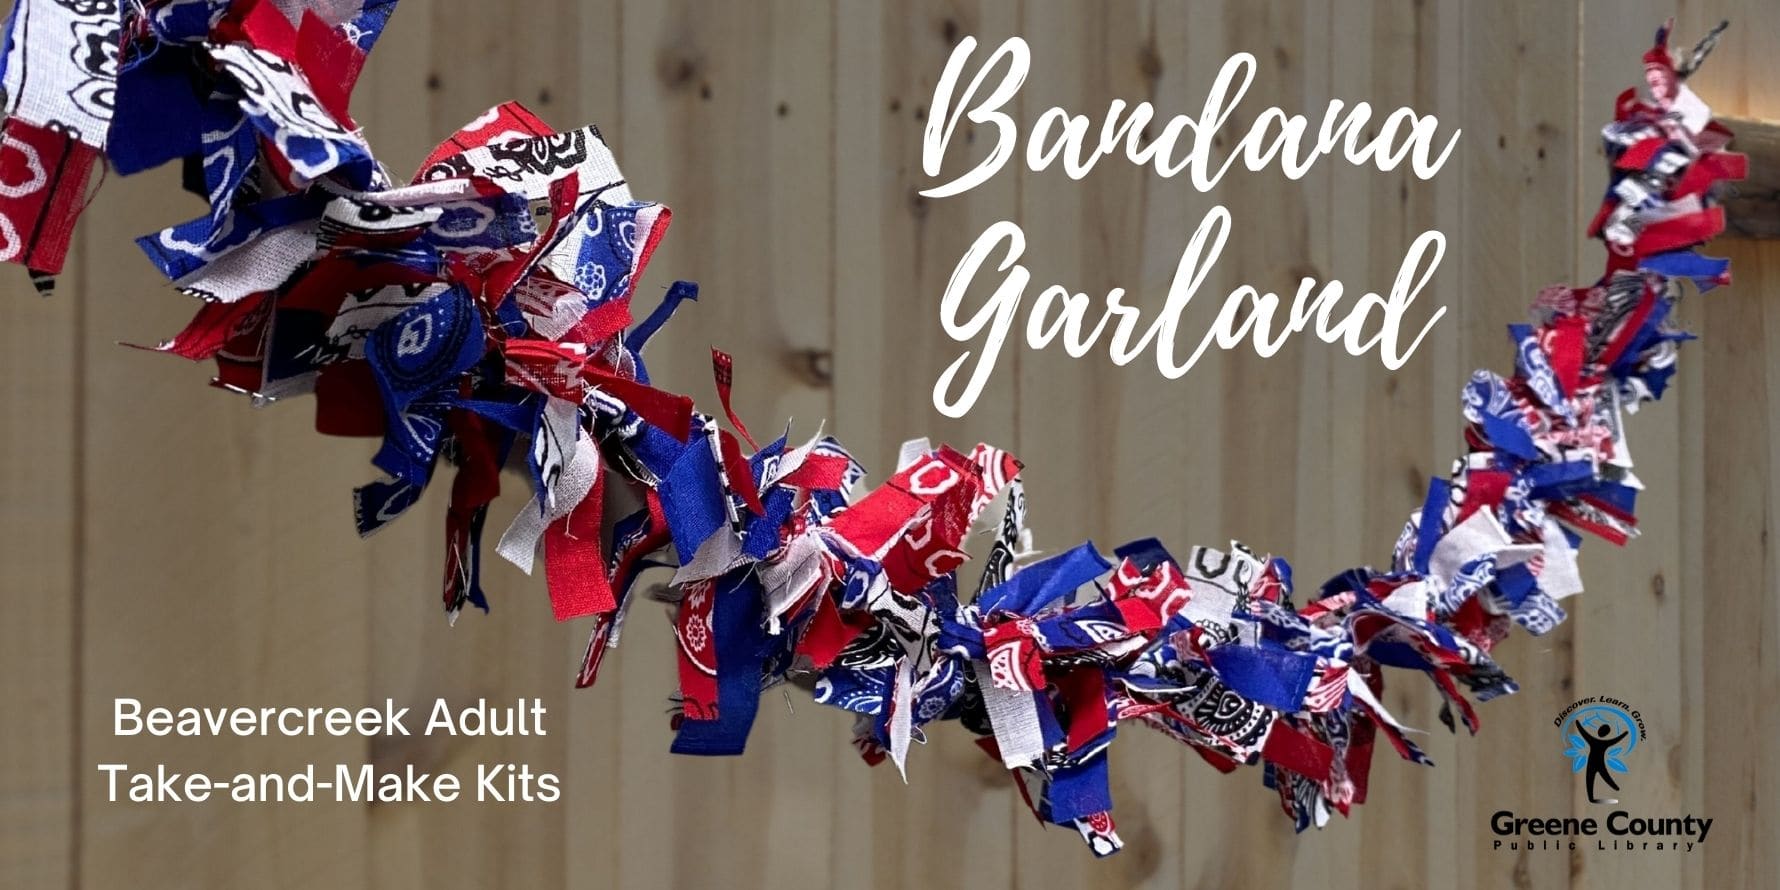
    This month we’re making a patriotic garland using red, white and blue bandanas!

    The idea came from here:  https://www.hgtv.com/lifestyle/entertaining/how-to-throw-a-patriotic-party-on-a-budget

    Included in your kit:

    3 bandanas 

    6 feet of jute rope

    This craft is very easy, but a little tedious.

    1.  Take one bandana and fold in thirds.  Then fold in half twice.  You will have a square with folded edges on the outside. 
    2.  Using scissors or a rotary cutter, cut off all the folded edges so you have a stack of squares.
    3.  Cut the squares into 1/2″ strips.  Make sure the strips aren’t much bigger than 1/2″ or you may not have enough to finish.
    4.  Repeat with the other 2 bandanas.

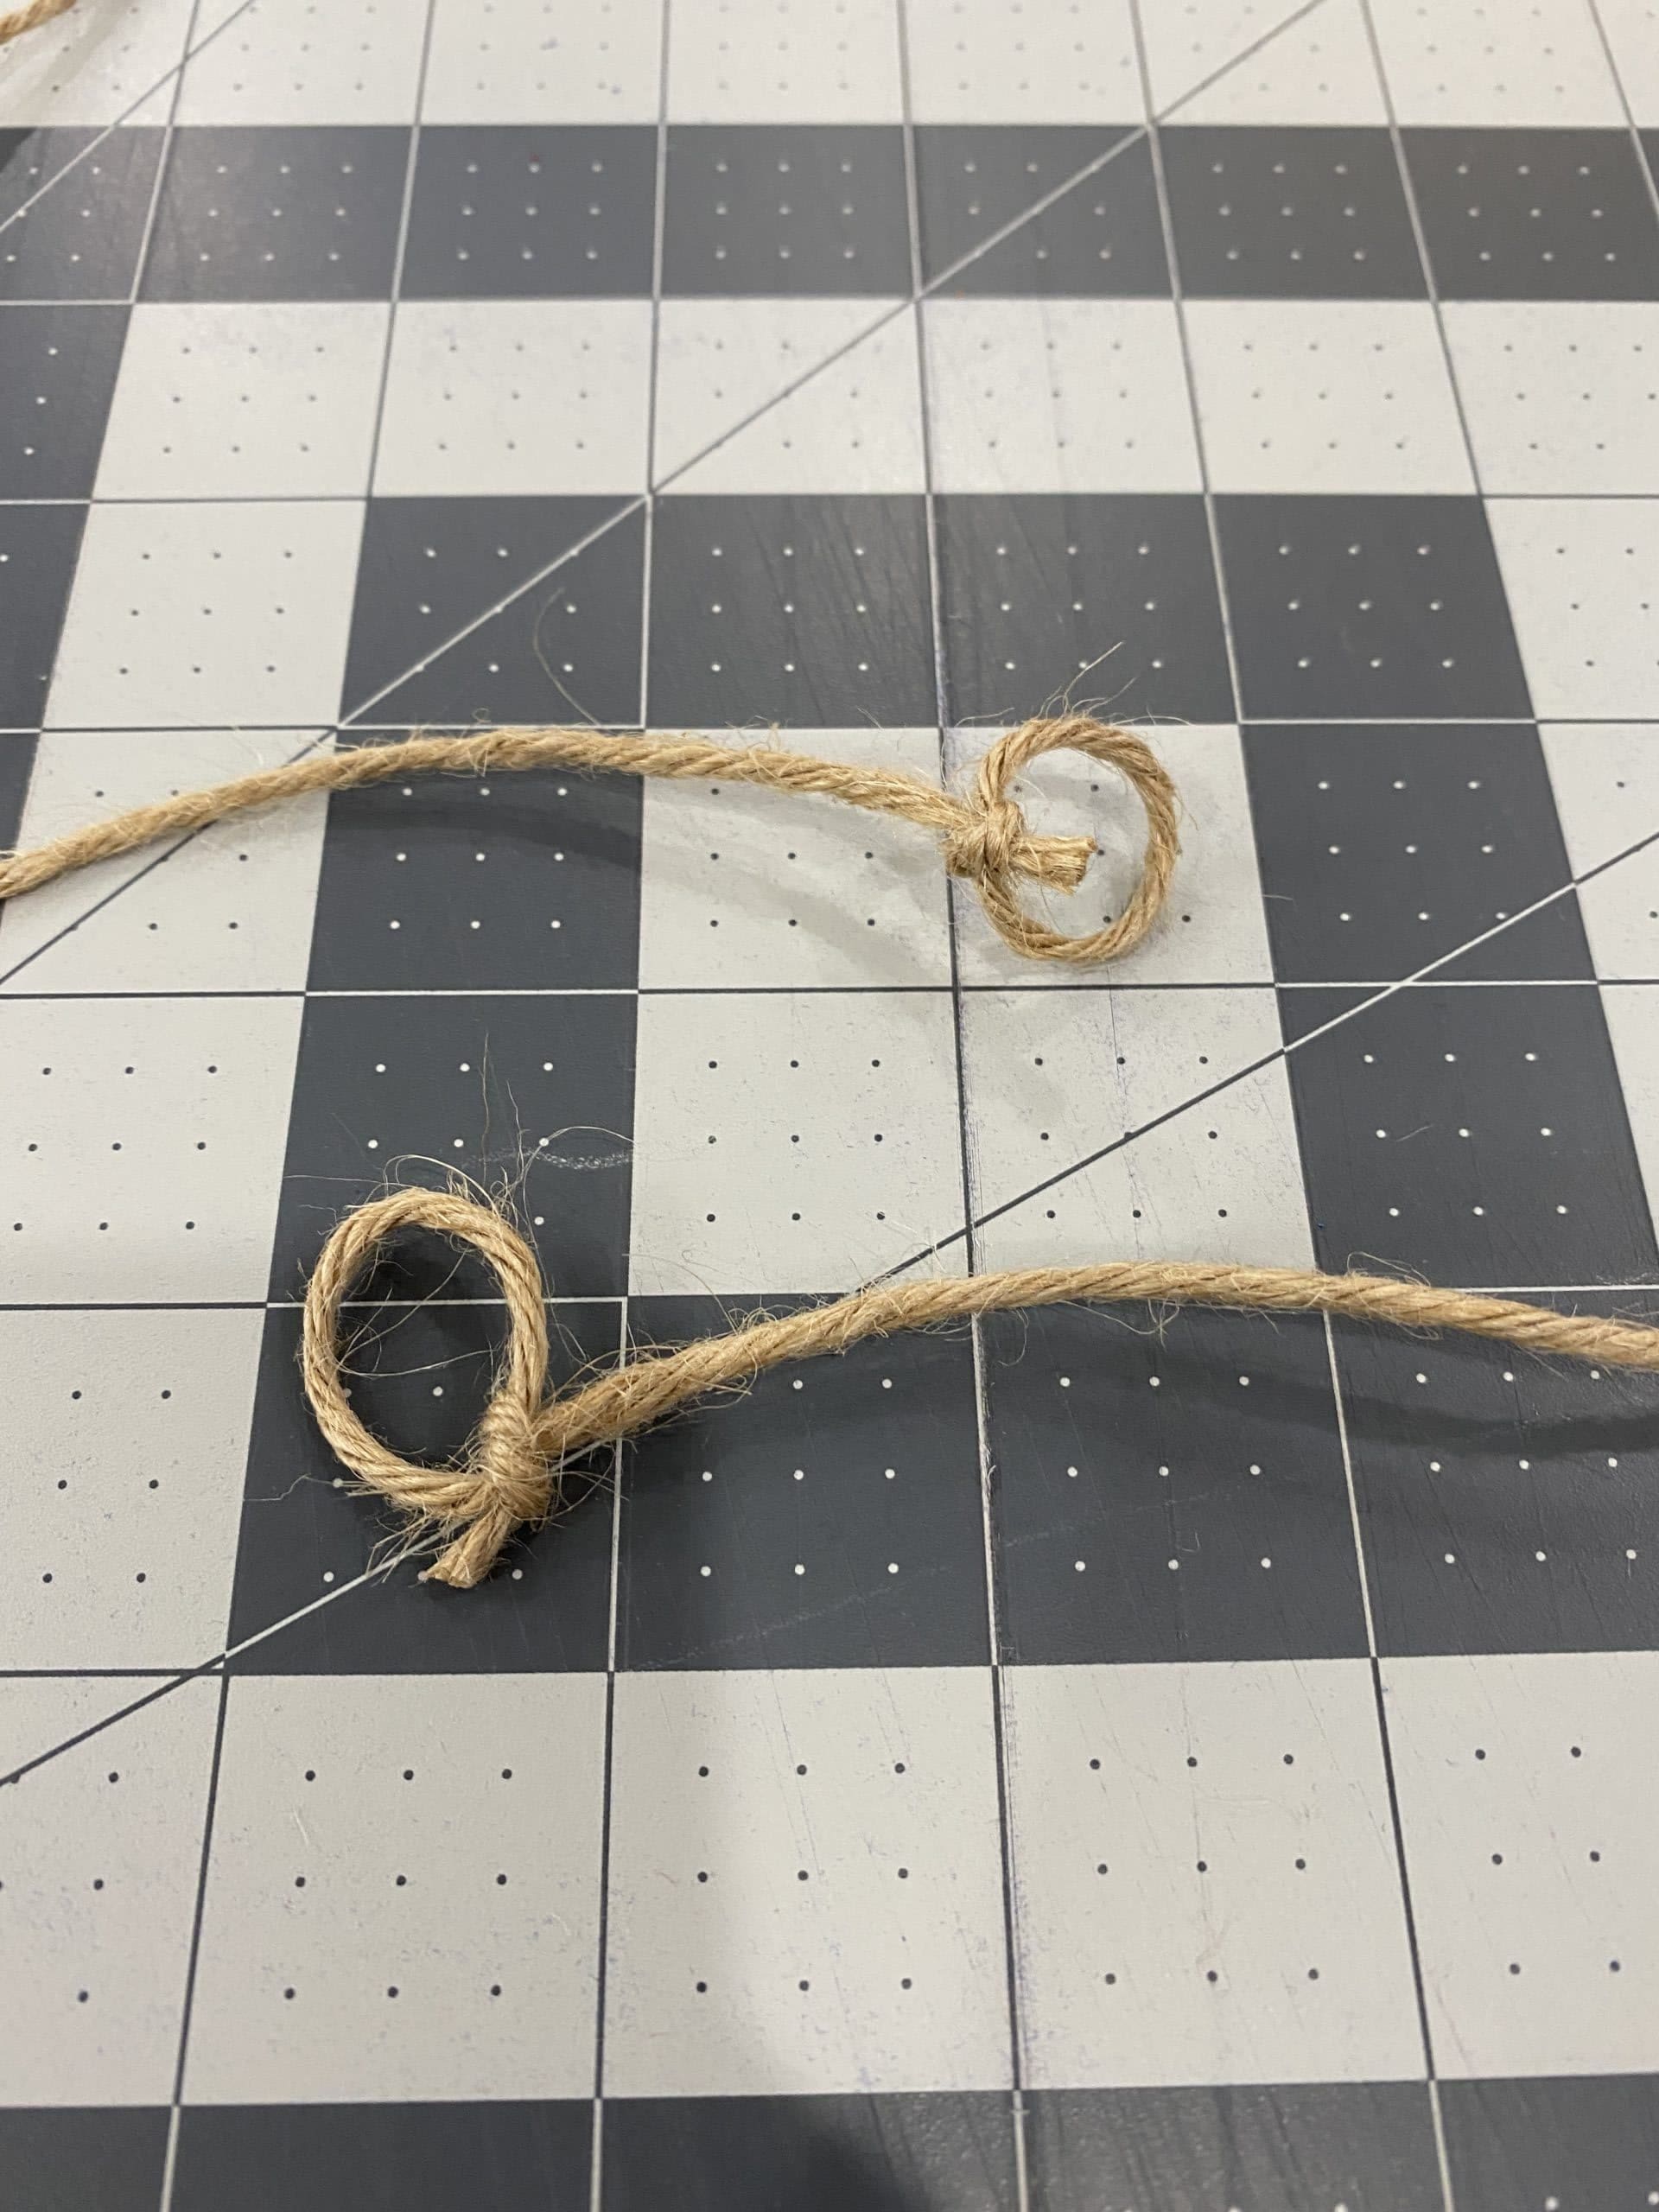
    5.  On the jute rope, loop each end, and tie a knot (so that you can easily hang it later).
     

    6.  Stack one strip of each color bandana and tie it in a knot around the jute rope.  I’m not going to lie, this is tedious work and slow going at first.  However, after a few, a found a good rhythm and it wasn’t so bad.  Once you’ve tied the knot, fluff out the strips and slide to the end of the rope.  This is a perfect opportunity to listen to an audiobook!

    7.  When you’ve run out of strips or rope, you’re done!  Your garland should be 5-6 feet in length.
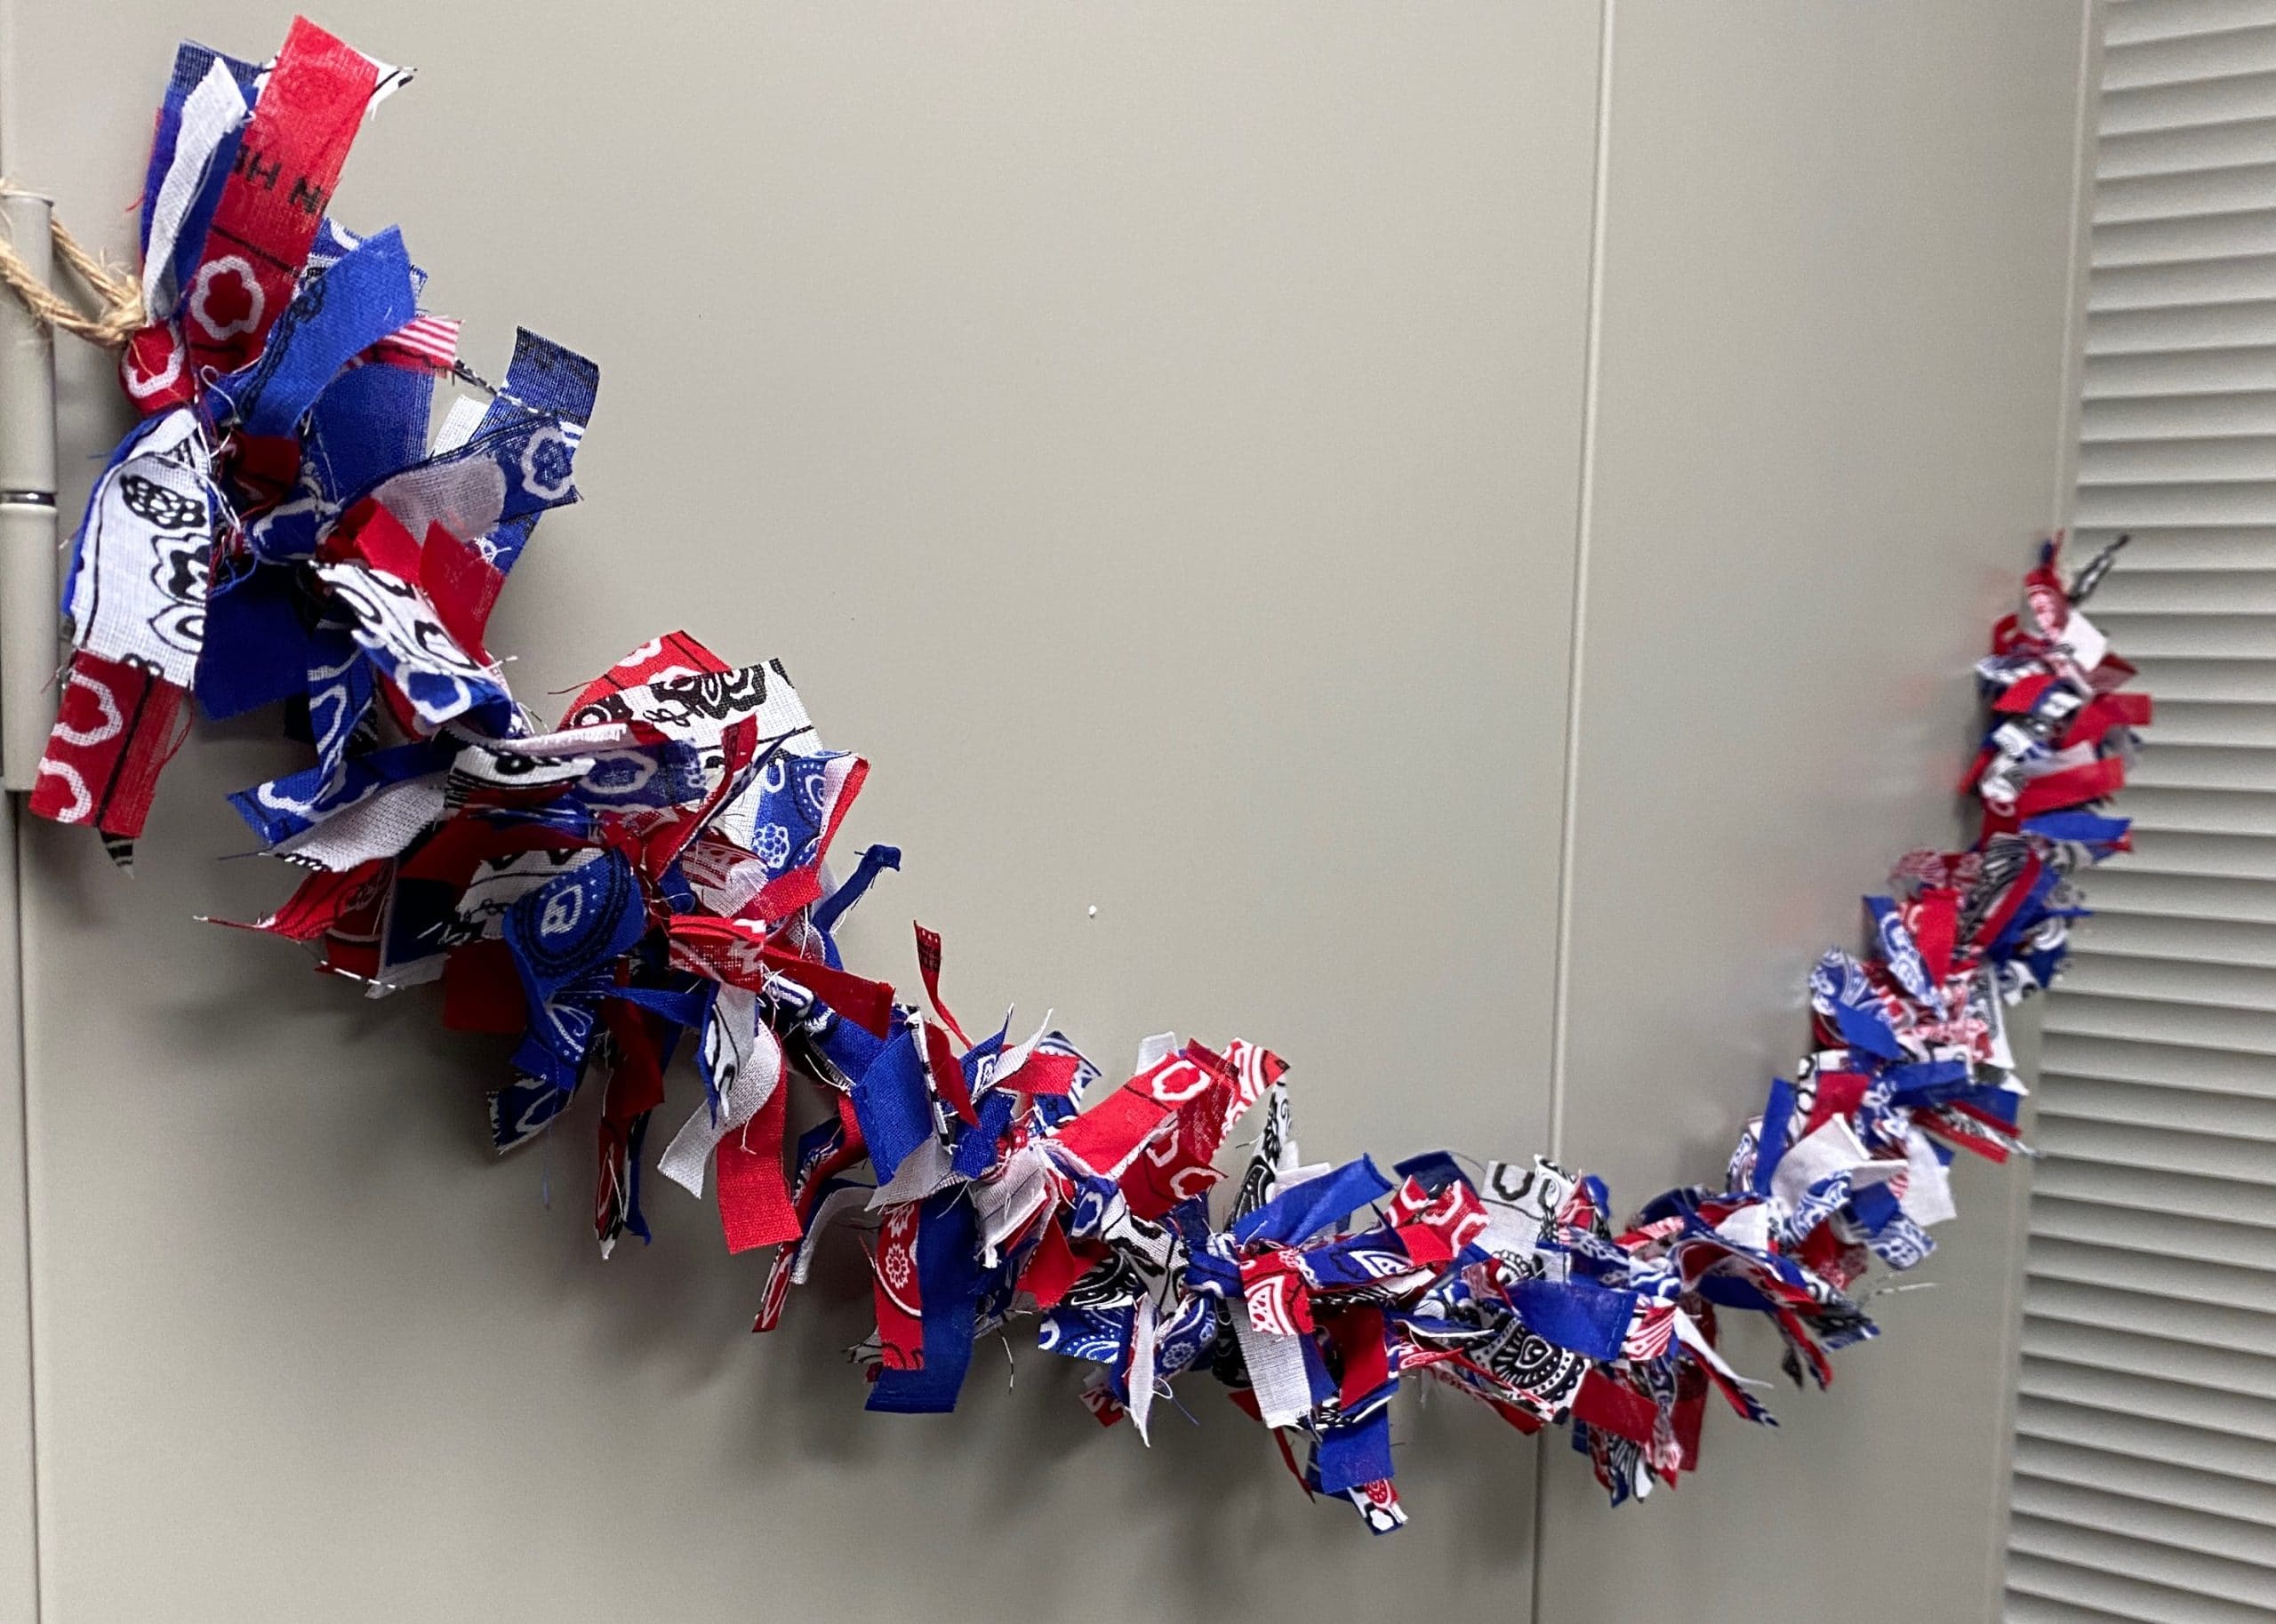
    As always, we love to see your finished projects!  Feel free to post them to our facebook page here:  https://www.facebook.com/BeavercreekCommunityLibrary

    Happy Crafting!

    -Morgan
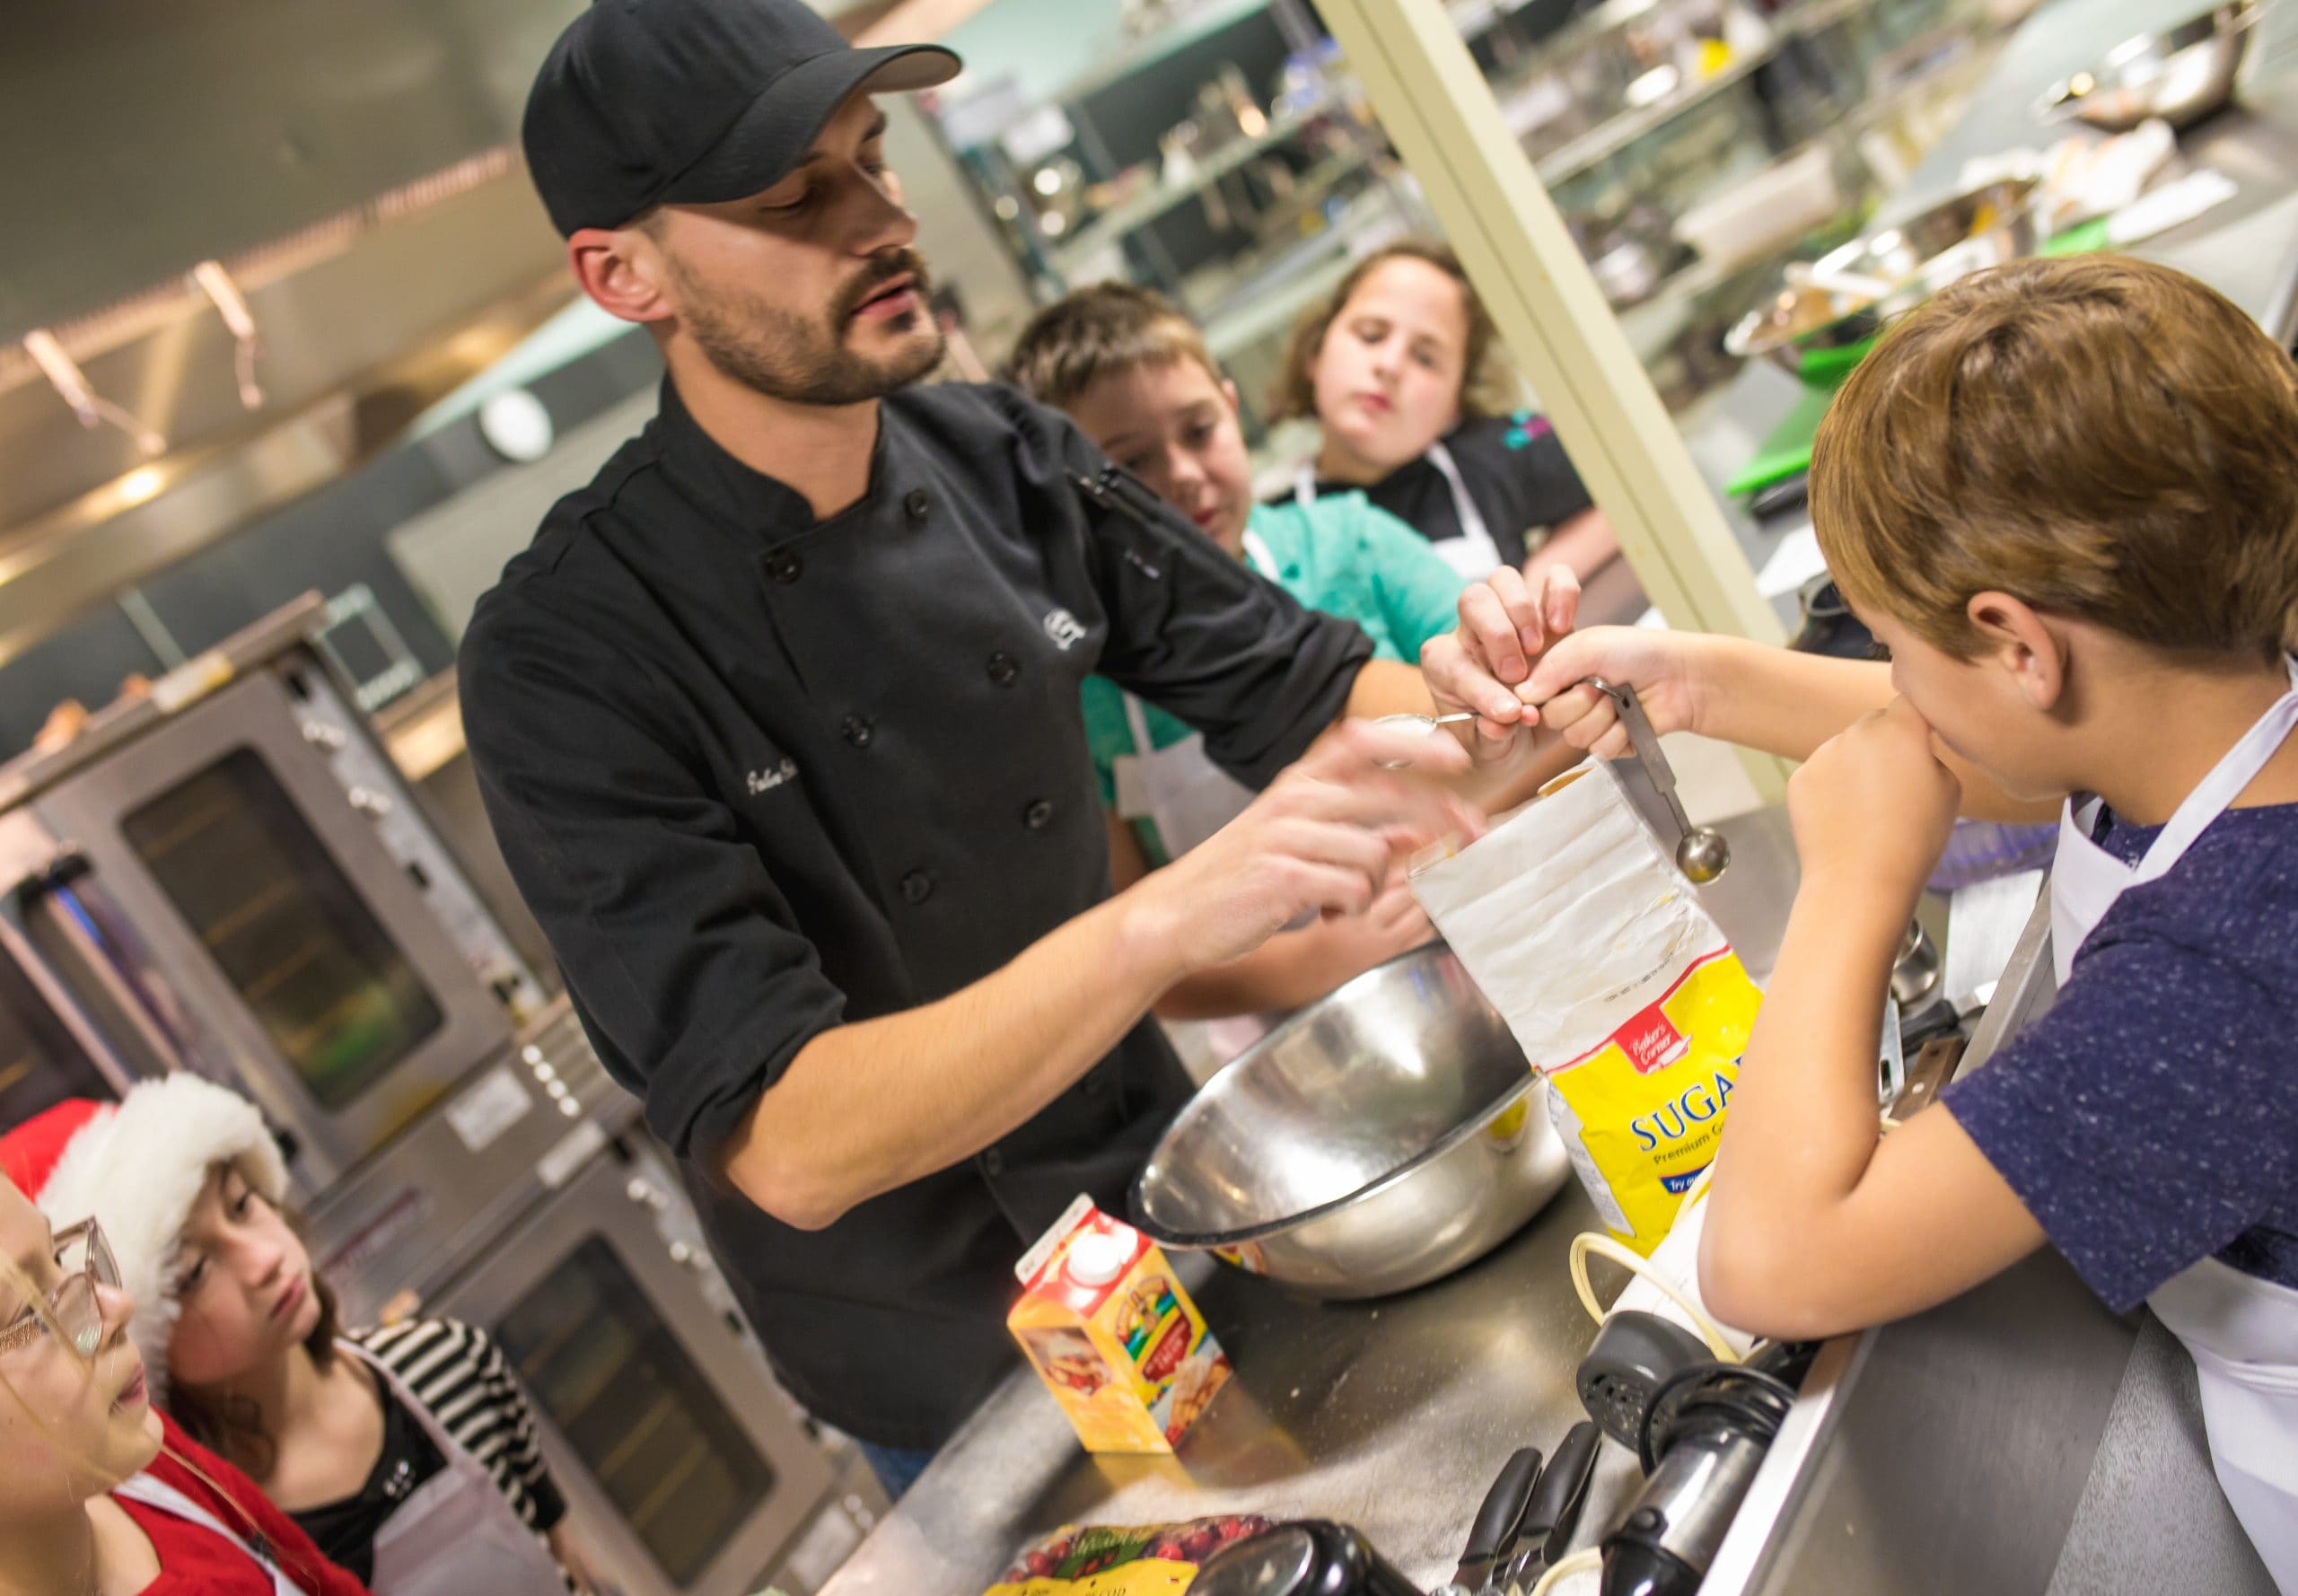
  • There’s Never Too Many Cooks in the Kitchen at Your Library!

    Join the Cooking Caravan for creative culinary experiences at GCPL this summer! The Caravan is a group of chefs, artists, actors, and musicians devoted to enriching health and feeding artistic hunger.

    I had the chance to discuss some of the culinary programs with the Caravan’s Artistic Director John.

    GCPL is excited to host a number of your Chef Battle programs! What’s the most fun part – for Caravan staff and the audience alike – of these performances and why? 

    First of all, we are excited to perform our Chef Battles at several Greene County community libraries this summer! The most exciting part of our Chef Battle is that we have no idea what the outcome will be. We show up with ingredients, tools, and chefs. Zero recipes, zero concepts. A few audience members are picked as sous chefs and we make something up. There’s so much fun to be had when making things up as you go along.  
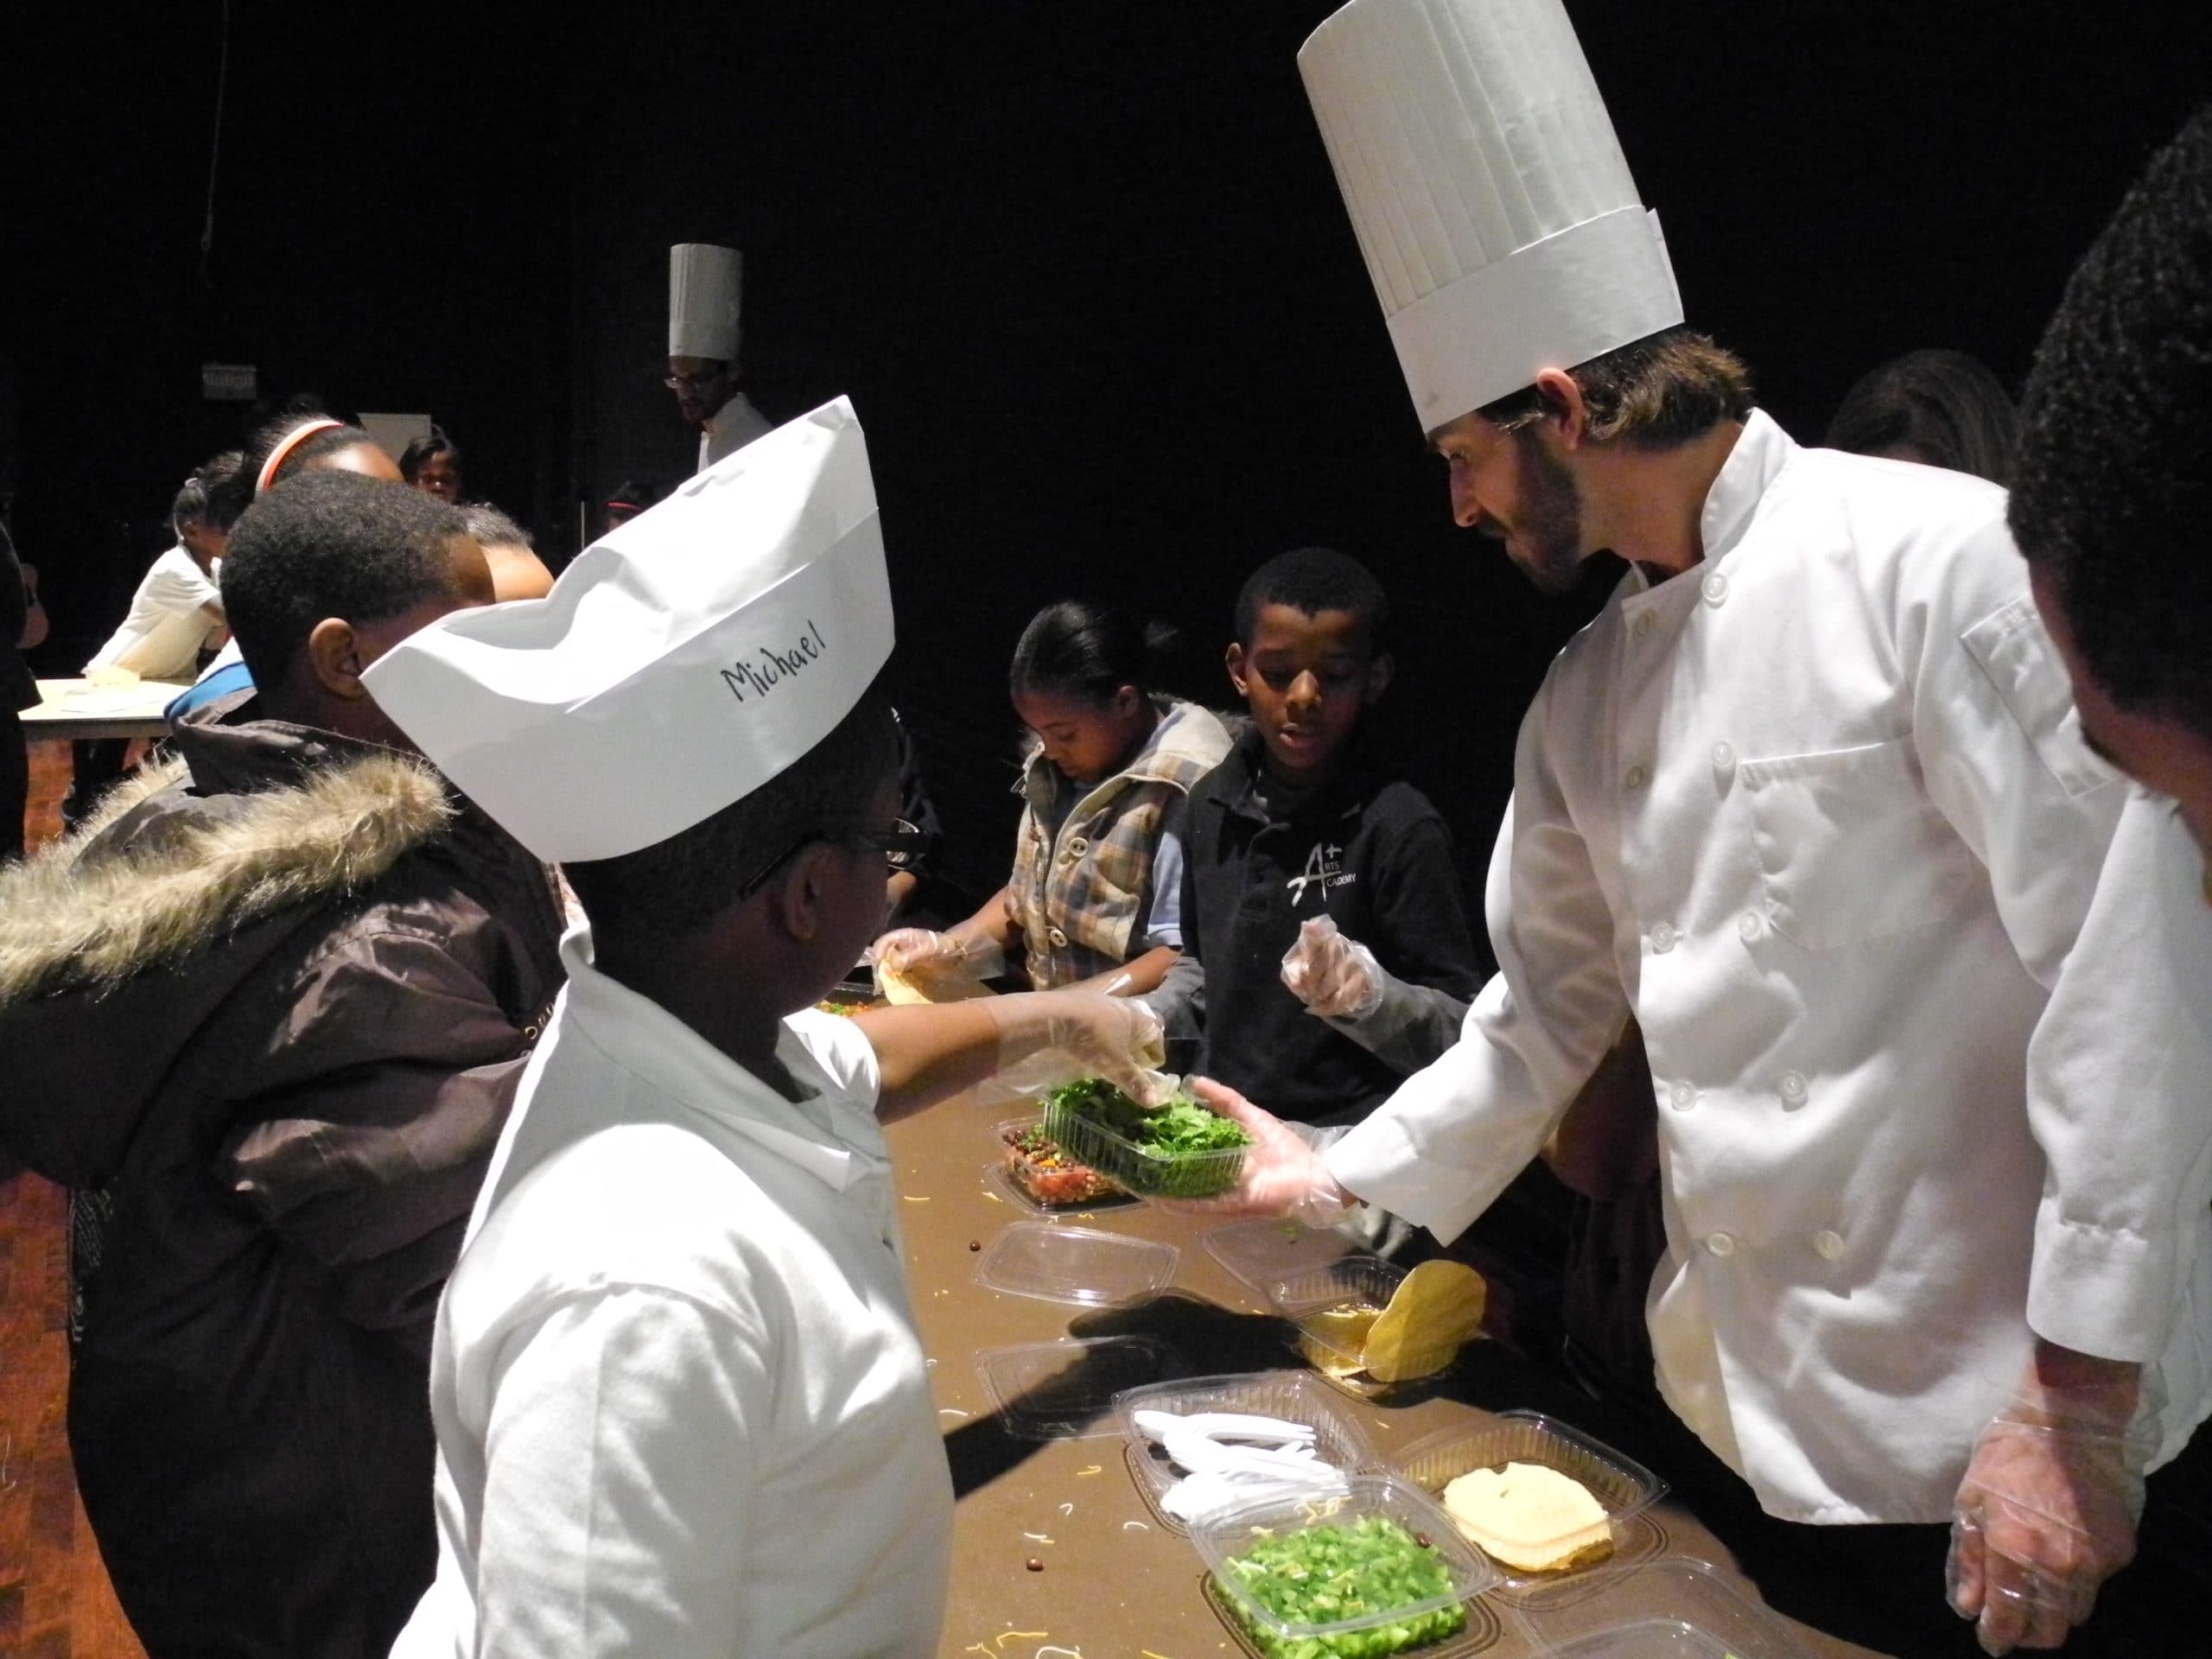
    On your website, your mission states you feel it’s your duty to inspire and illuminate the minds of tomorrow; what is the overall message you wish you wish kids & teens to take away from a Cooking Caravan performance?

    “What’s in the fridge is what’s for dinner?” We advocate to work with what you have. Whether it’s ingredients or instruments, our job is to give our participants an experience that challenges them and inspires them to continue creating. There’s also a more practical application, though. Cooking is a basic skill that every human needs to know and explore at some level. If we can open your mind to even one new ingredient, our mission is accomplished.

    What should our patrons expect from your Chef Battle experiences? What should they know going in?

    They should expect a healthy amount of braggadocio and shenanigans. Our environment is stripped down, but the personalities are BIG. Our chefs’ main skill is their ability to unlock the ideas of their sous chefs. The sous chefs ultimately decide what to do with the ingredients, and the chefs are there to teach the fundamentals, handle any complicated or dangerous skills, and guide the experience. There is also an announcer that keeps the most important member of the team engaged: the audience (who are also the judges)!

    Anything else you wish to share with our patrons?
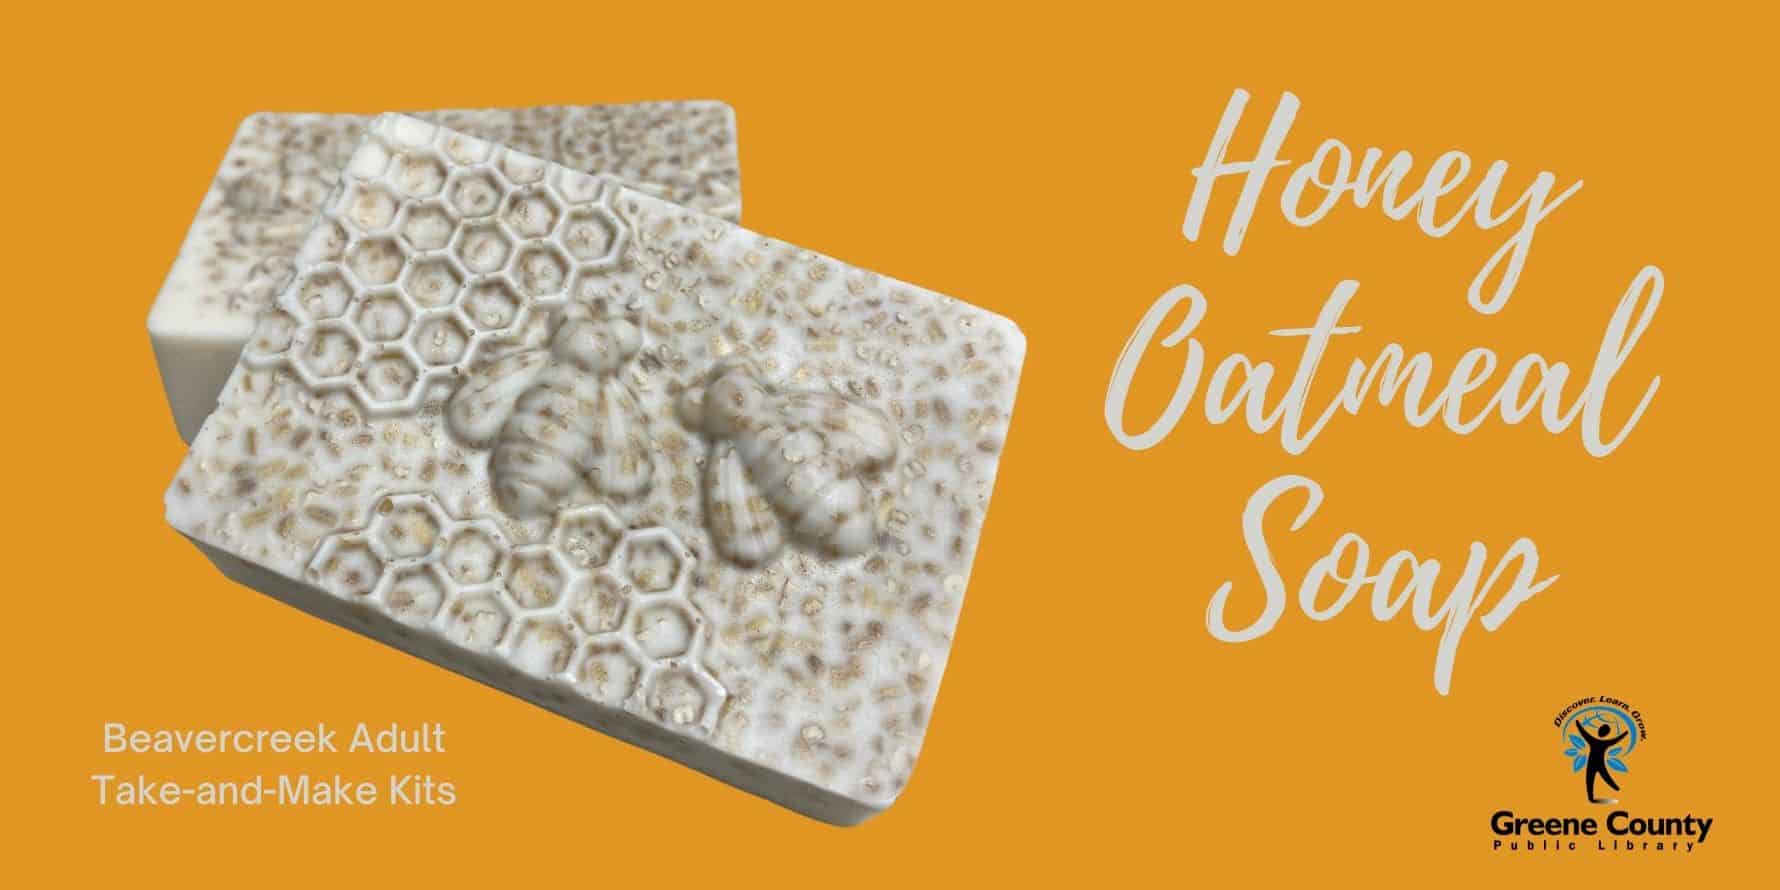
    Our Chef Battle produces bite-sized portions for the audience to sample and judge. One chef/sous chef team will walk away victorious, but everyone will walk away entertained. We only use whole produce, seeds, oils, herbs, and spices, and sometimes grains. There is never any meat, nuts, or dairy in the ingredients. There aren’t any heated elements in the battle; it’s just raw food, simple techniques, plating, and presentation. We can’t wait to see you all this summer!

    Don’t miss the Cooking Caravan at these GCPL Community Libraries:

    June 27 – Fairborn

    June 28 – Yellow Springs & Xenia

    July 12 – Beavercreek

  • Beavercreek Adult Take-and-Make: Honey Oatmeal Soap

    Register for your kit here:  https://greenelibrary.bibliocommons.com/events/62979a7558568df7273155bf

    This month’s craft is very simple and lots of fun!  

    Included in your kit:

    2 soap molds

    soap base

    2 honey packets

    approx. 1/4 cup steel cup oats

    Instructions:

    1.  Cut the soap base into small-ish cubes.
    2. Melt the soap base in a small glass container in the microwave at 30 second intervals.
    3. Add the honey and steel cut oats.  The oats give the soap an gentle exfoliating quality.
    4. It’s not included, but adding some kind of essential oil or other fragrance is recommended to improve the smell of the finished soap.
    5. Pour the soap into the molds:
      1. Tip- If you pour the soap into the molds all at once, the oats will settle on the bottom (the top of the finished soap).  If you want the oats evenly distributed in the soap, I recommend pouring a little into the mold and letting it partially set up.  Then pour a little more and repeat until the molds are full.  You may have to reheat the soap in the microwave a few times if using this method.

    That’s it!  It’s so easy! You could use the soap yourself or give as gifts.

    As always, we love to see your finished product on our Facebook page!

    Happy crafting!!

    Morgan

  • Beavercreek Adult Take-and-Make: Washcloth Travel Roll

    To grab your kit, click here https://greenelibrary.bibliocommons.com/events/series/624c94039c2426280028c494/

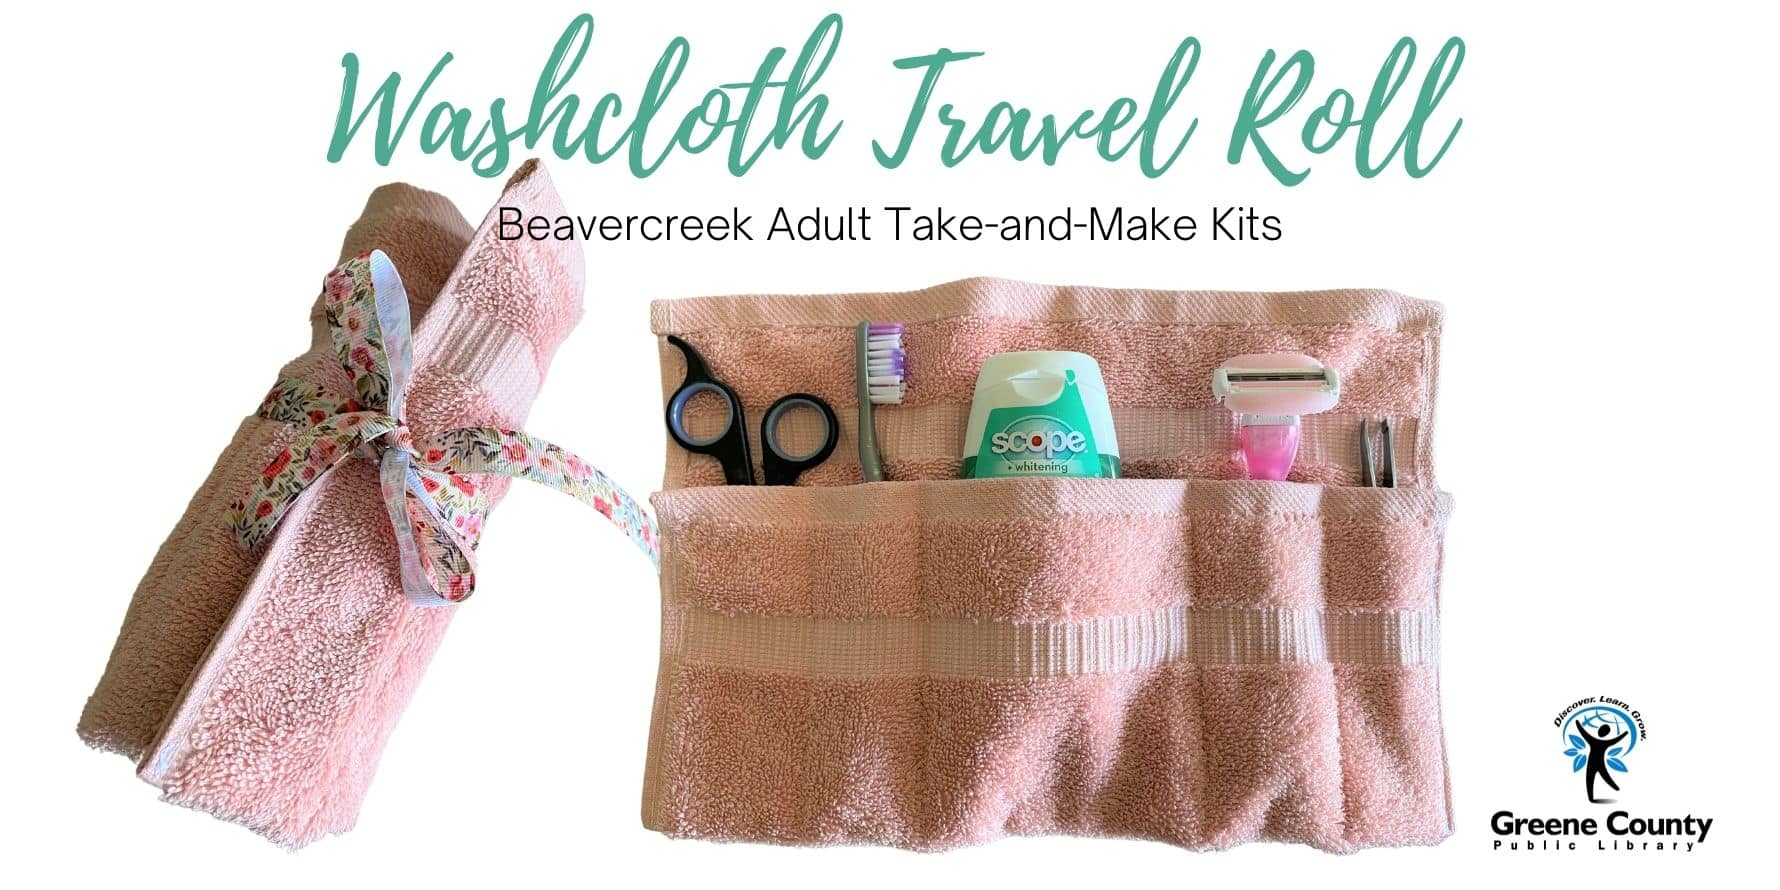
    Spring is officially upon us, which means I’m already looking toward summer!  Something my kids have always enjoyed in the summer is attending summer camps with the scouts.  We also like to travel around the country in our RV, which sometimes means having to use shower houses.  When I saw this idea on Pinterest, I thought it would be great for kids or adults who need a quick way to carry their toiletries when they travel.  This is a super simple pattern and the best part is, the washcloth can be just thrown in the washer when it gets dirty or in between trips!

    While the original intended use for this was toiletries, I’ve since had several suggestions of other things you could hold in this including crochet hooks, crayons, eating utensils for a picnic, etc.  The sky’s the limit!

    Included in your kit:

    1 washcloth

    1 12″ piece of ribbon

    1 18″ piece of ribbon

    You will also need:

    sewing machine (optional)

    thread

    scissors

    The first step is to decide how big you want your pockets to be.  It might be helpful to decide what items you want to put in the roll before sewing.

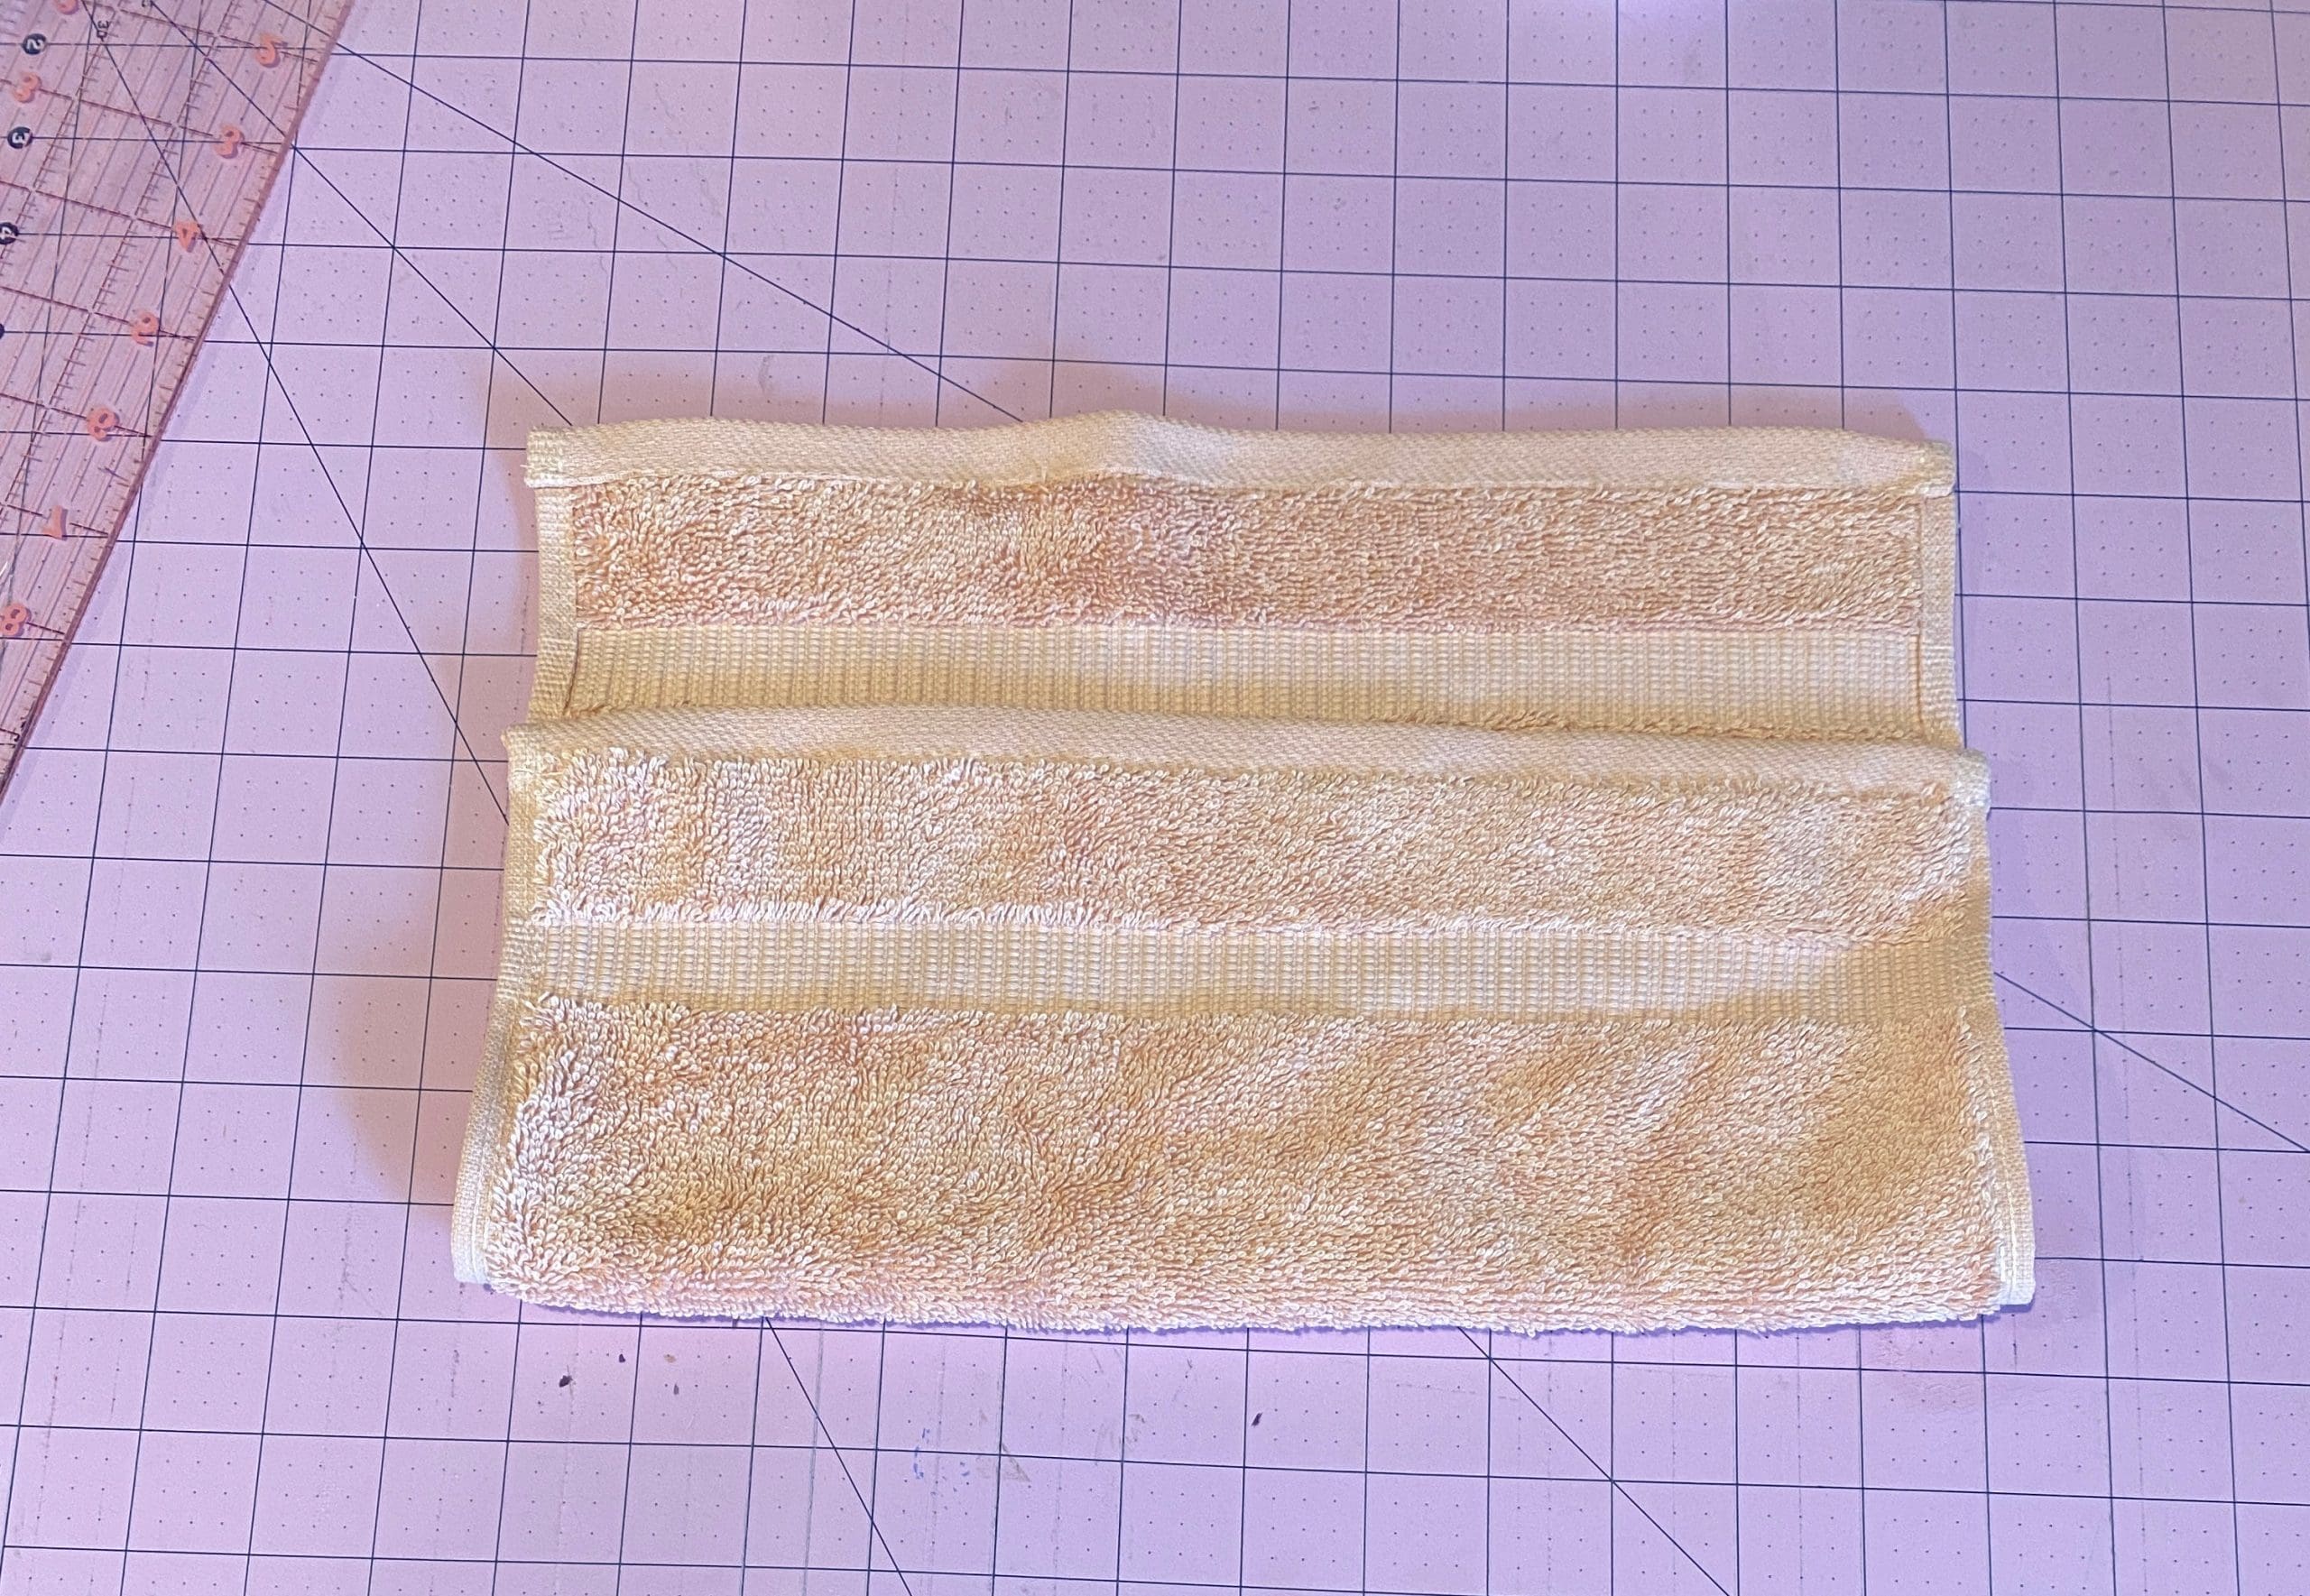
    Next, fold the bottom of the washcloth up about 2/3 of the way and pin where you want to sew the dividers.Next, sew the left side of the washcloth closed and then sew all the pocket dividers.  Stop when you have everything sewn but the right side of the washcloth.
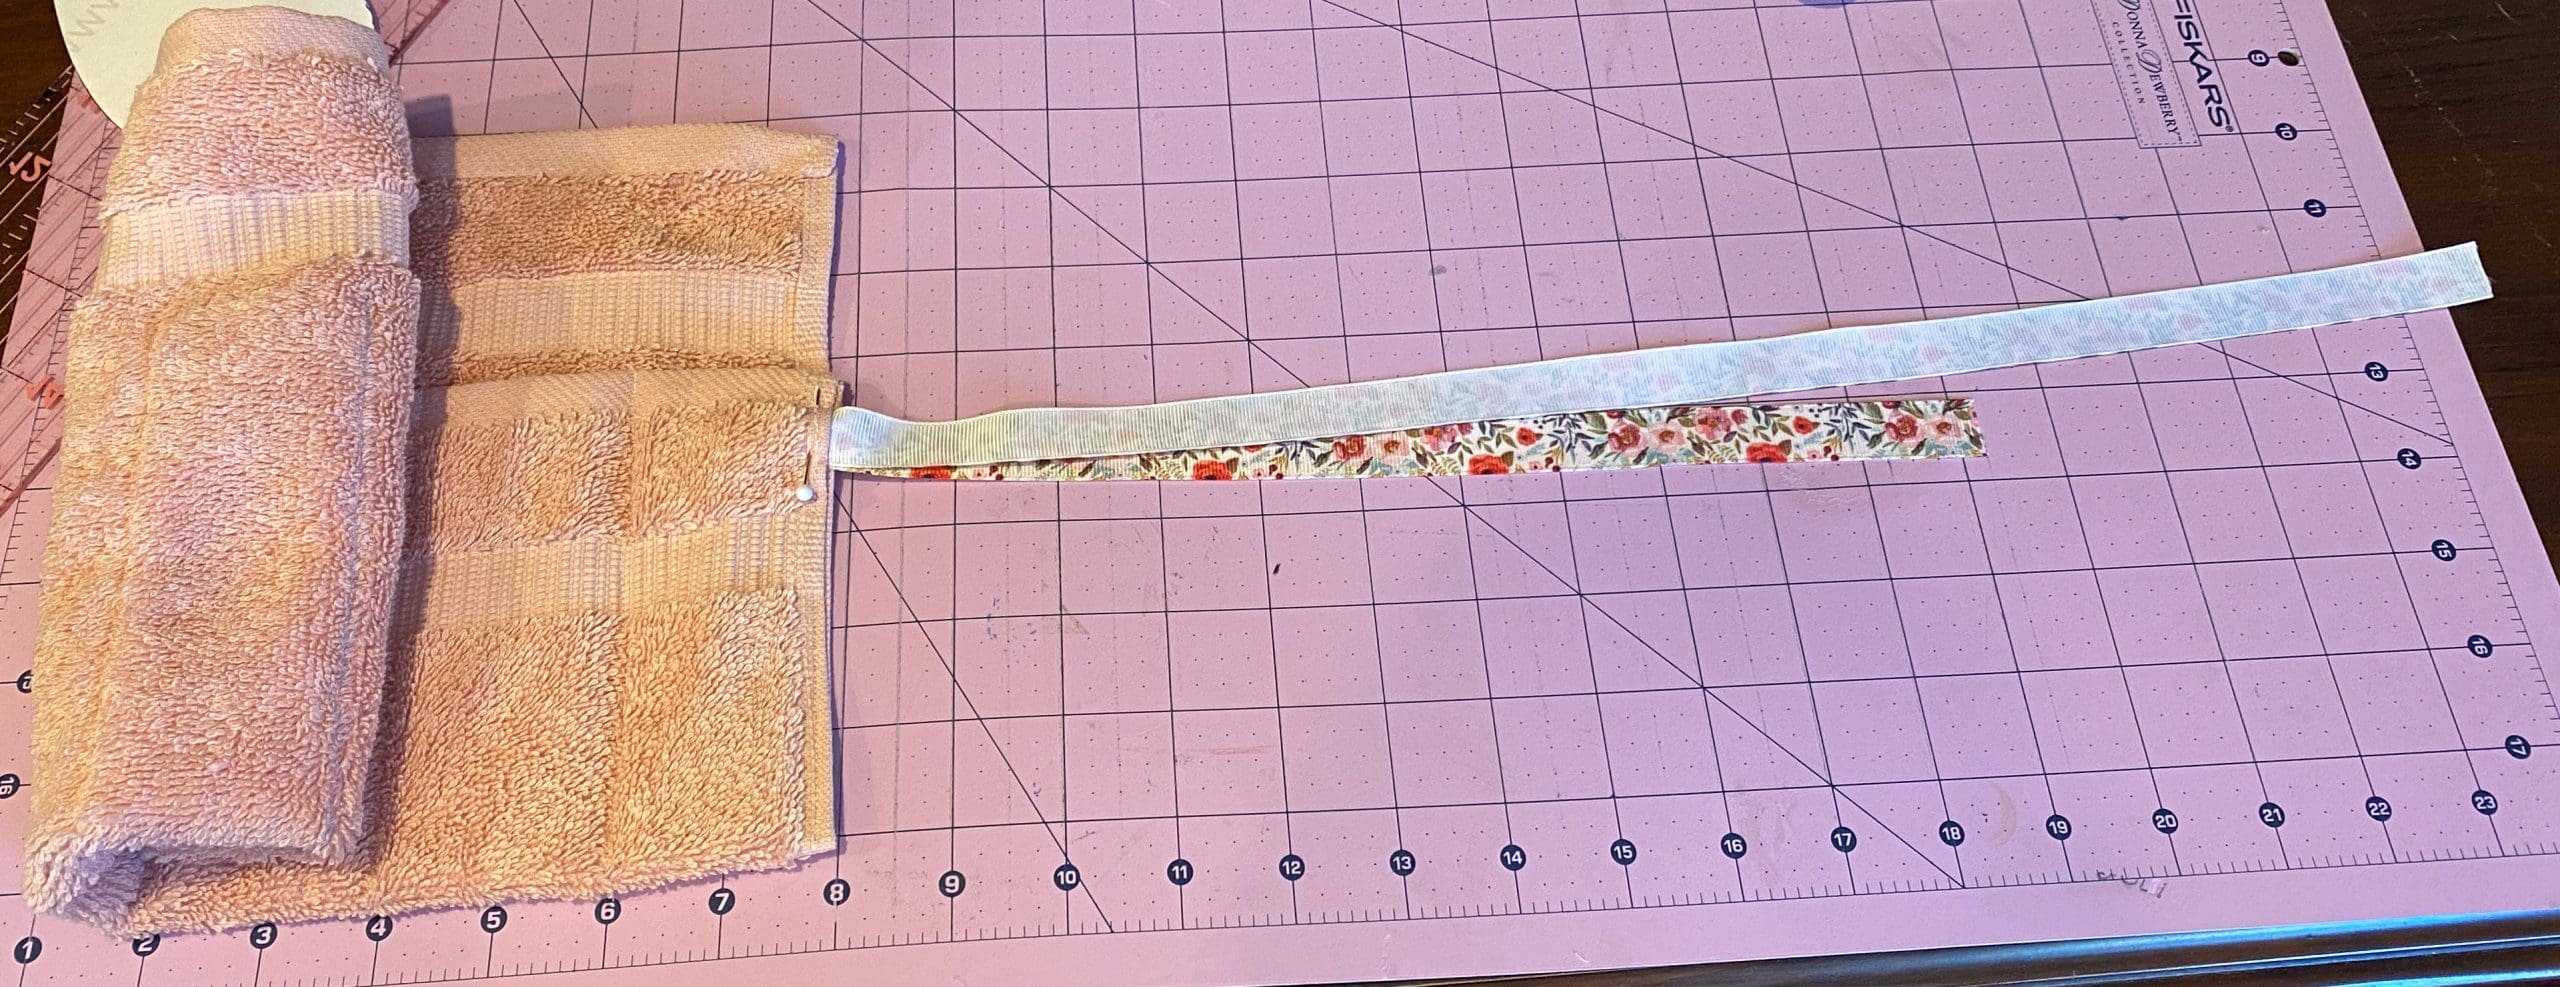
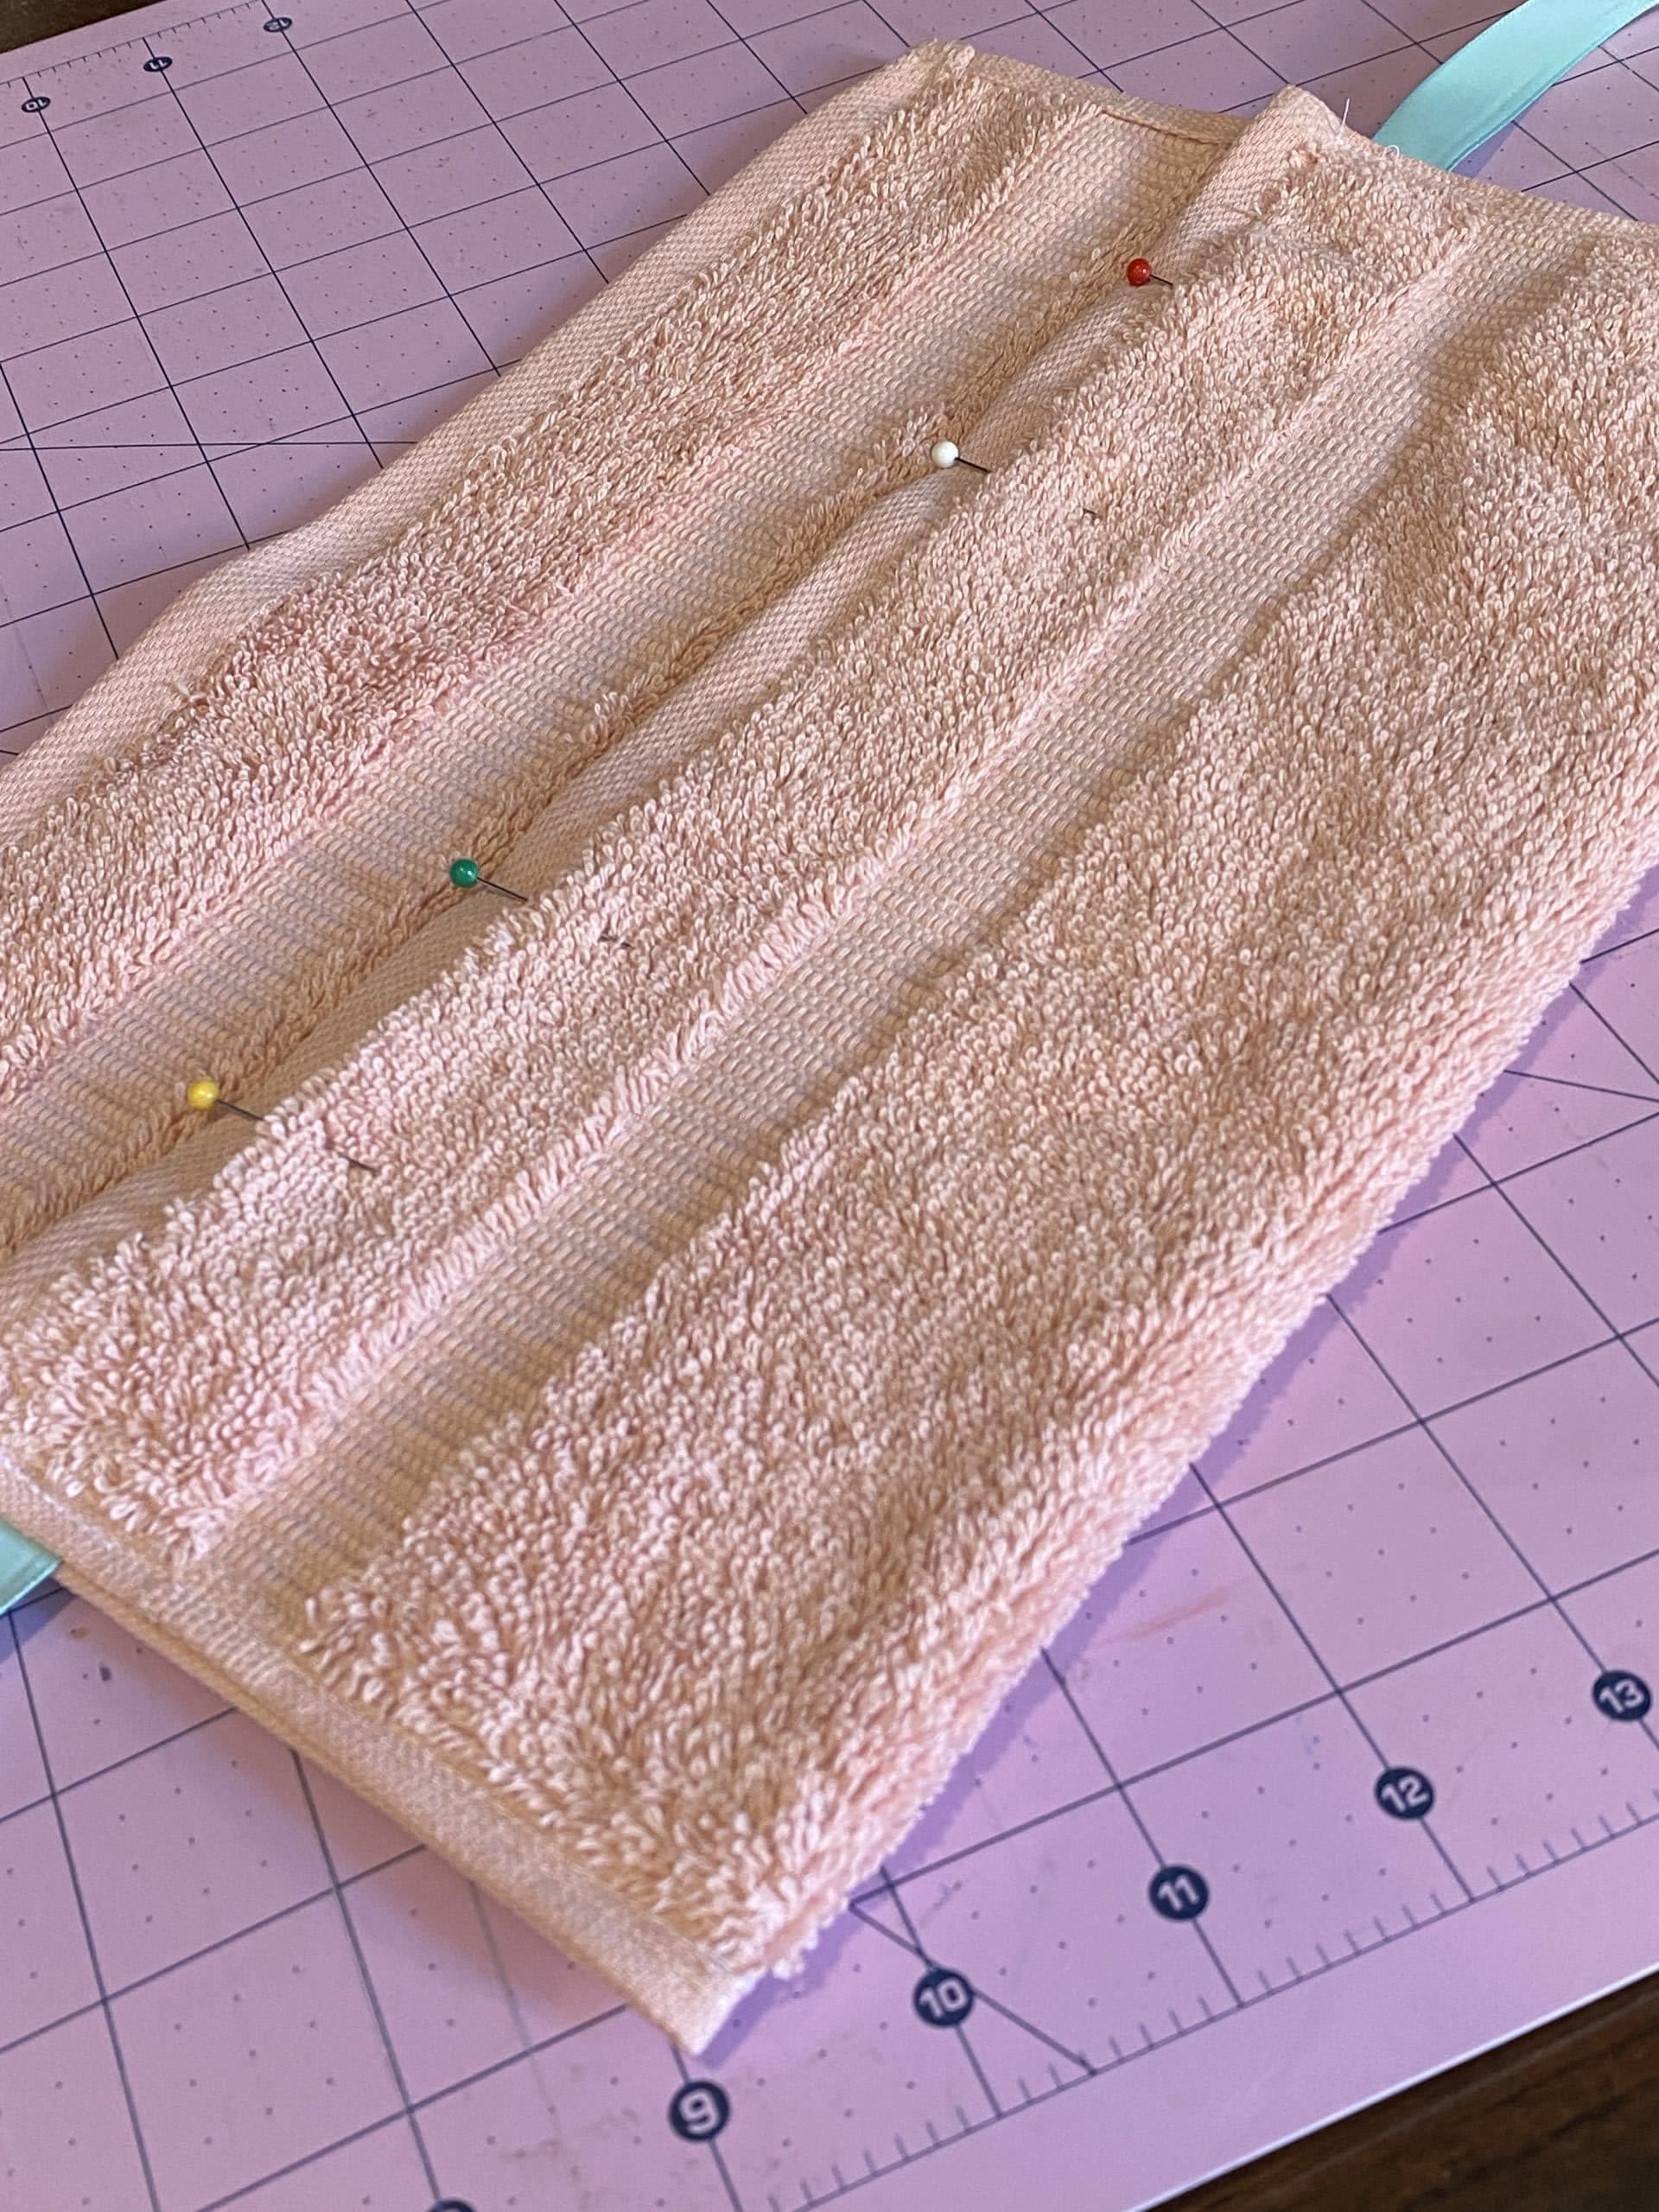
    Place the longer ribbon (design side down) on top of the shorter ribbon (design side up) and pin inside the right side of the washcloth (like in below image).

    Sew the right side of the washcloth closed attaching the ribbon while doing so.
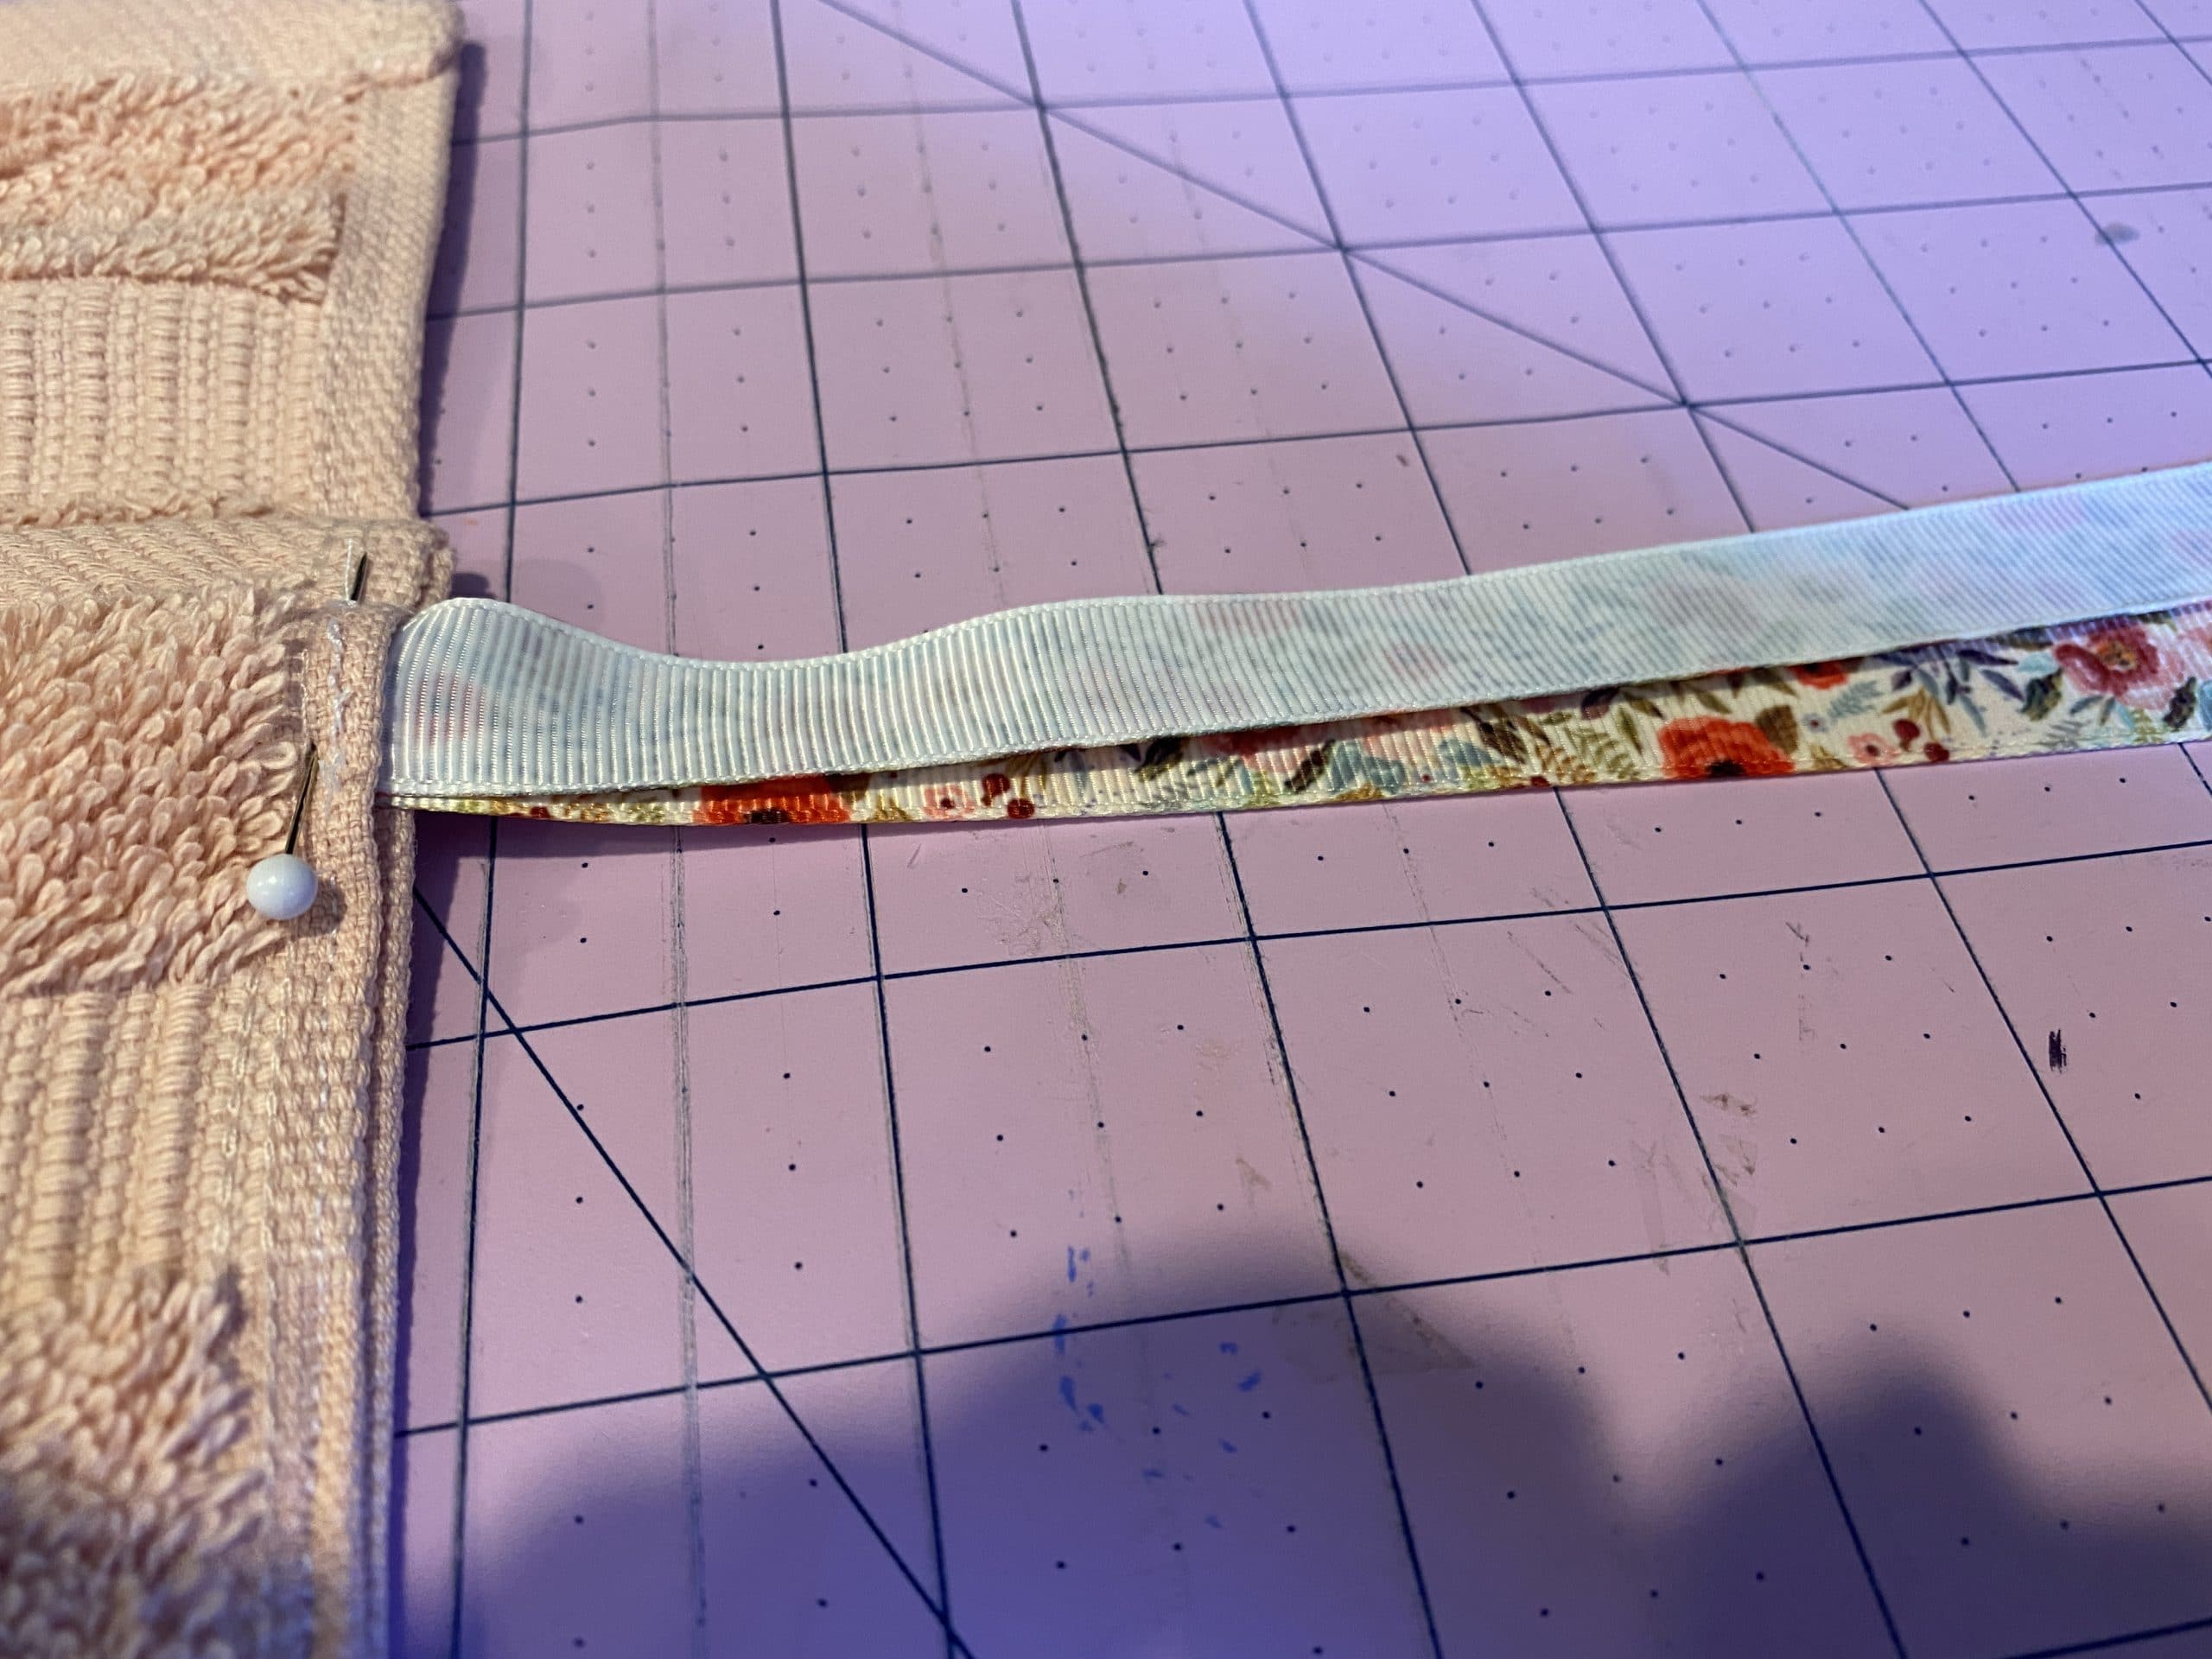
    Attaching the ribbon like this ensures there’s enough ribbon to wrap around the roll and then tie with the shorter ribbon.
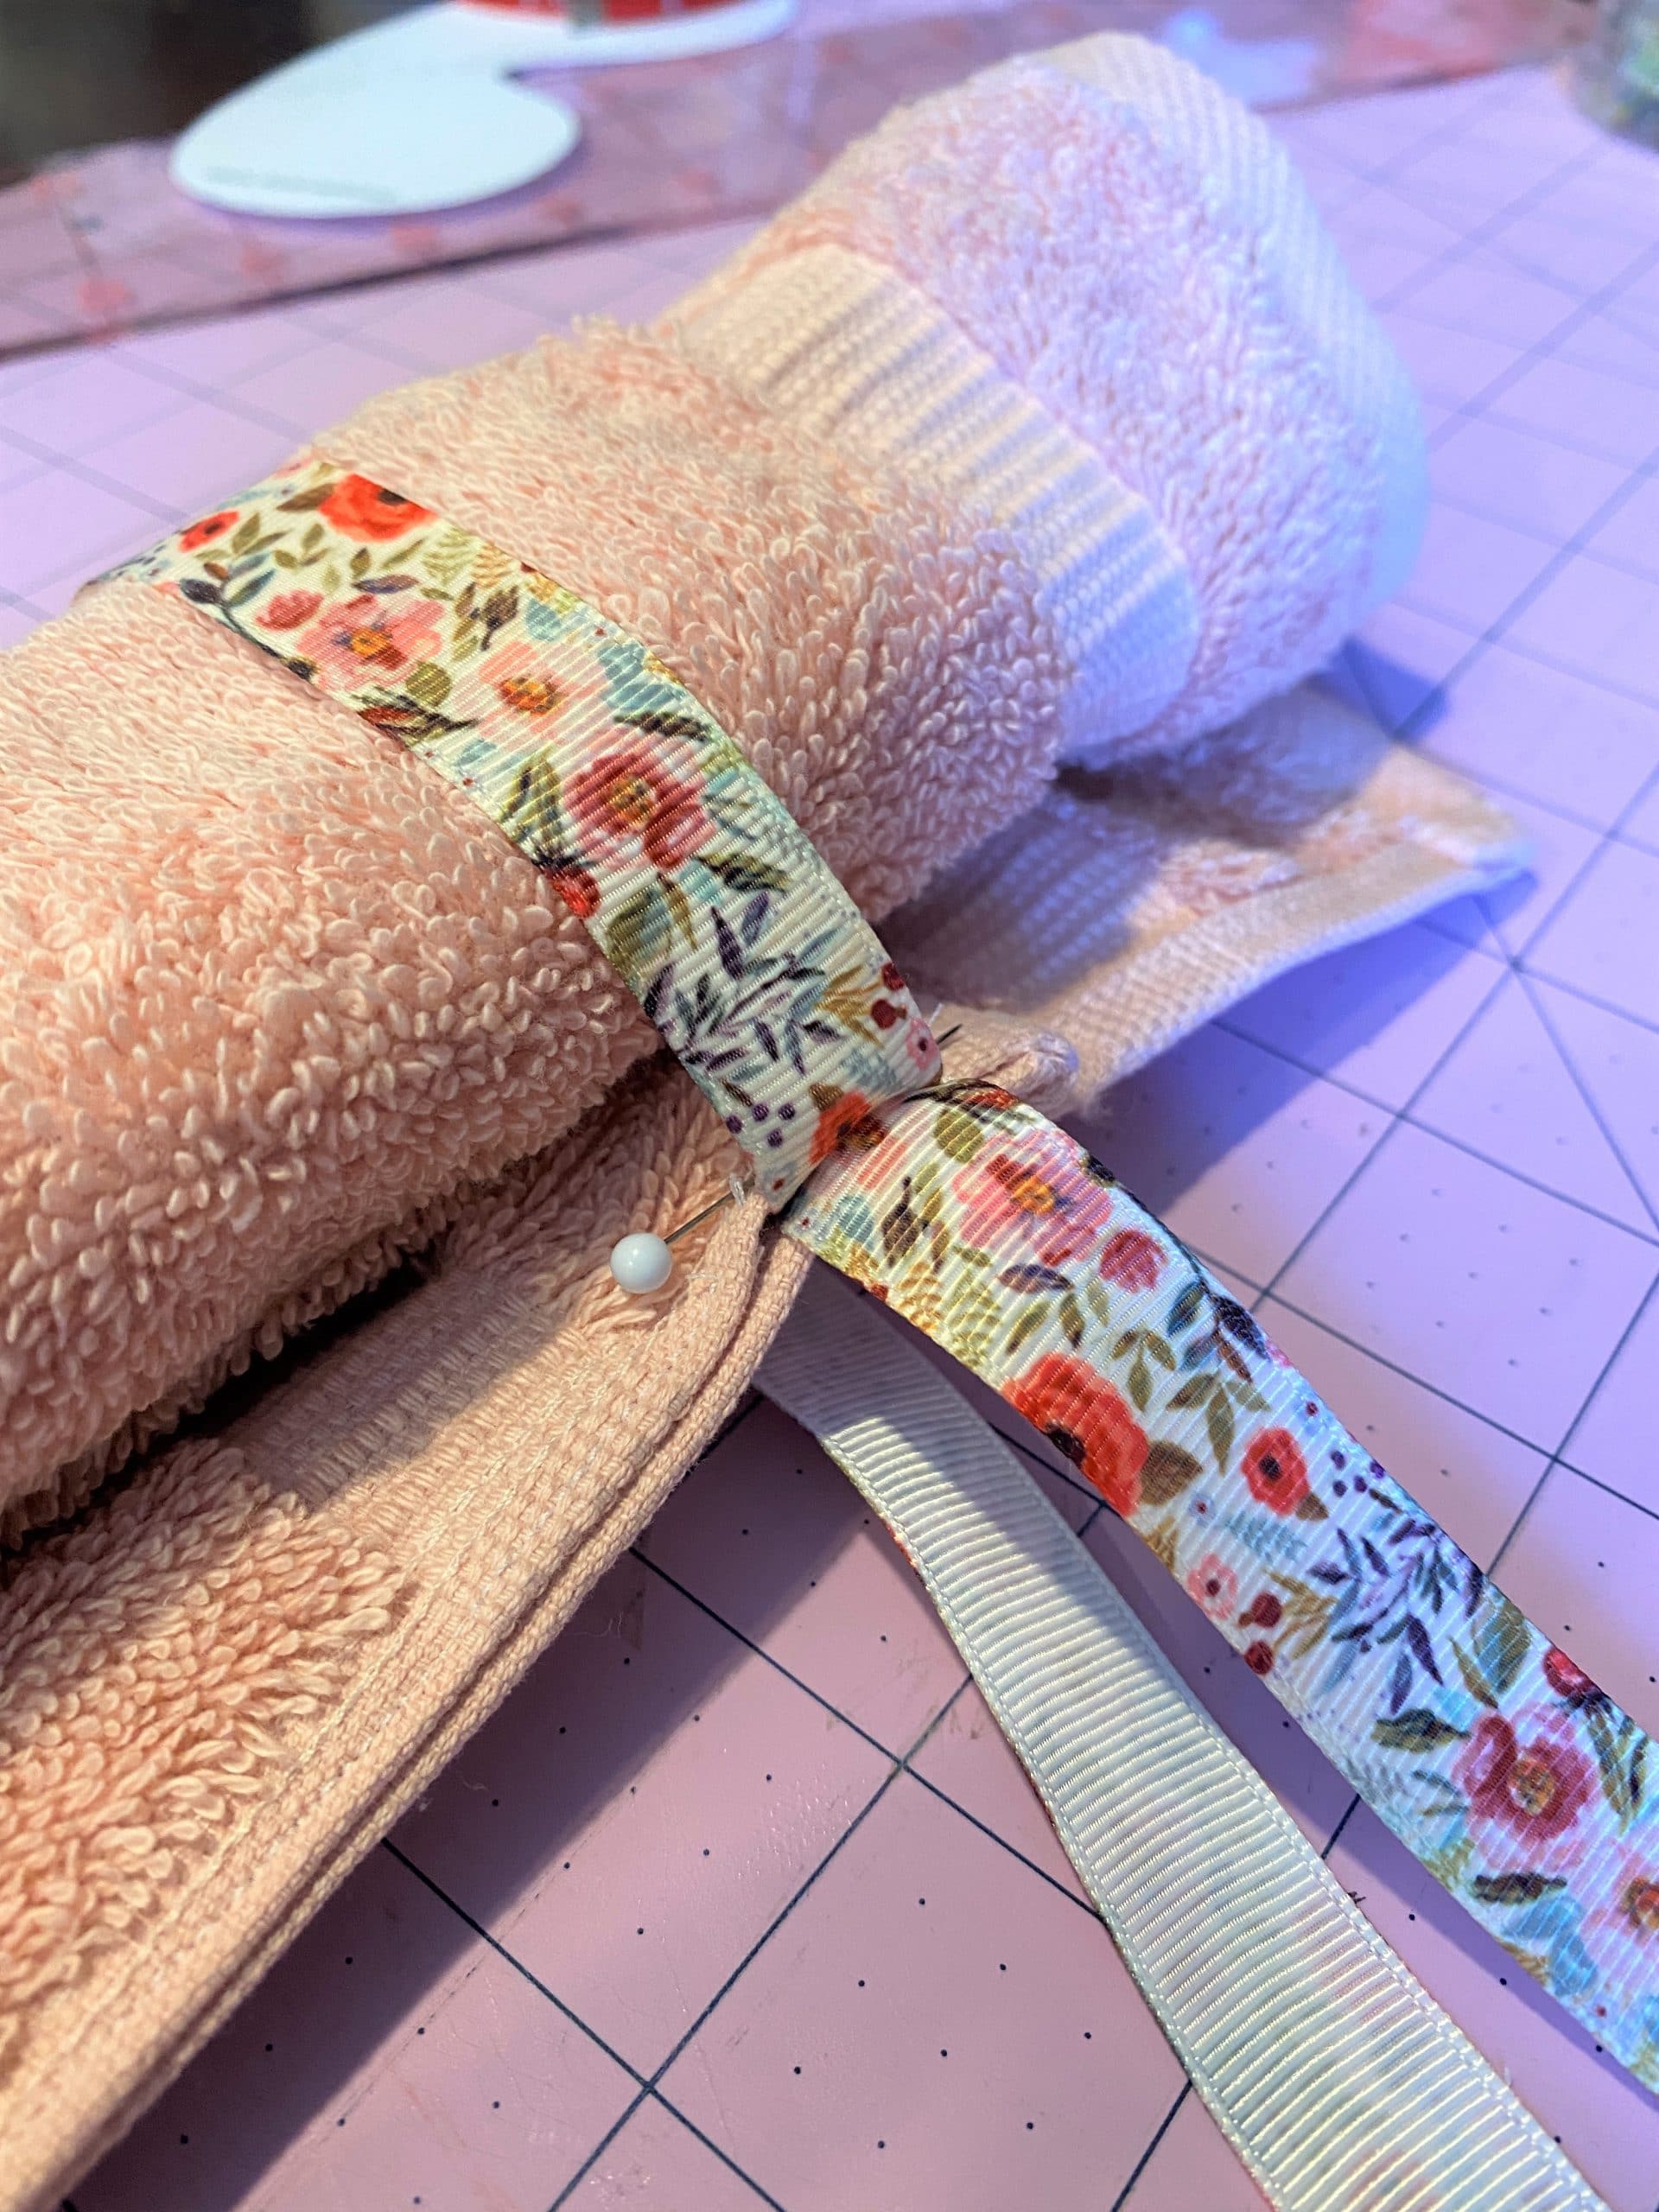
    The last thing I did was take a lighter and lightly singe the ends of the ribbon to prevent fraying.  You could also fold down the end and sew to make a nice finished edge to the ribbon.
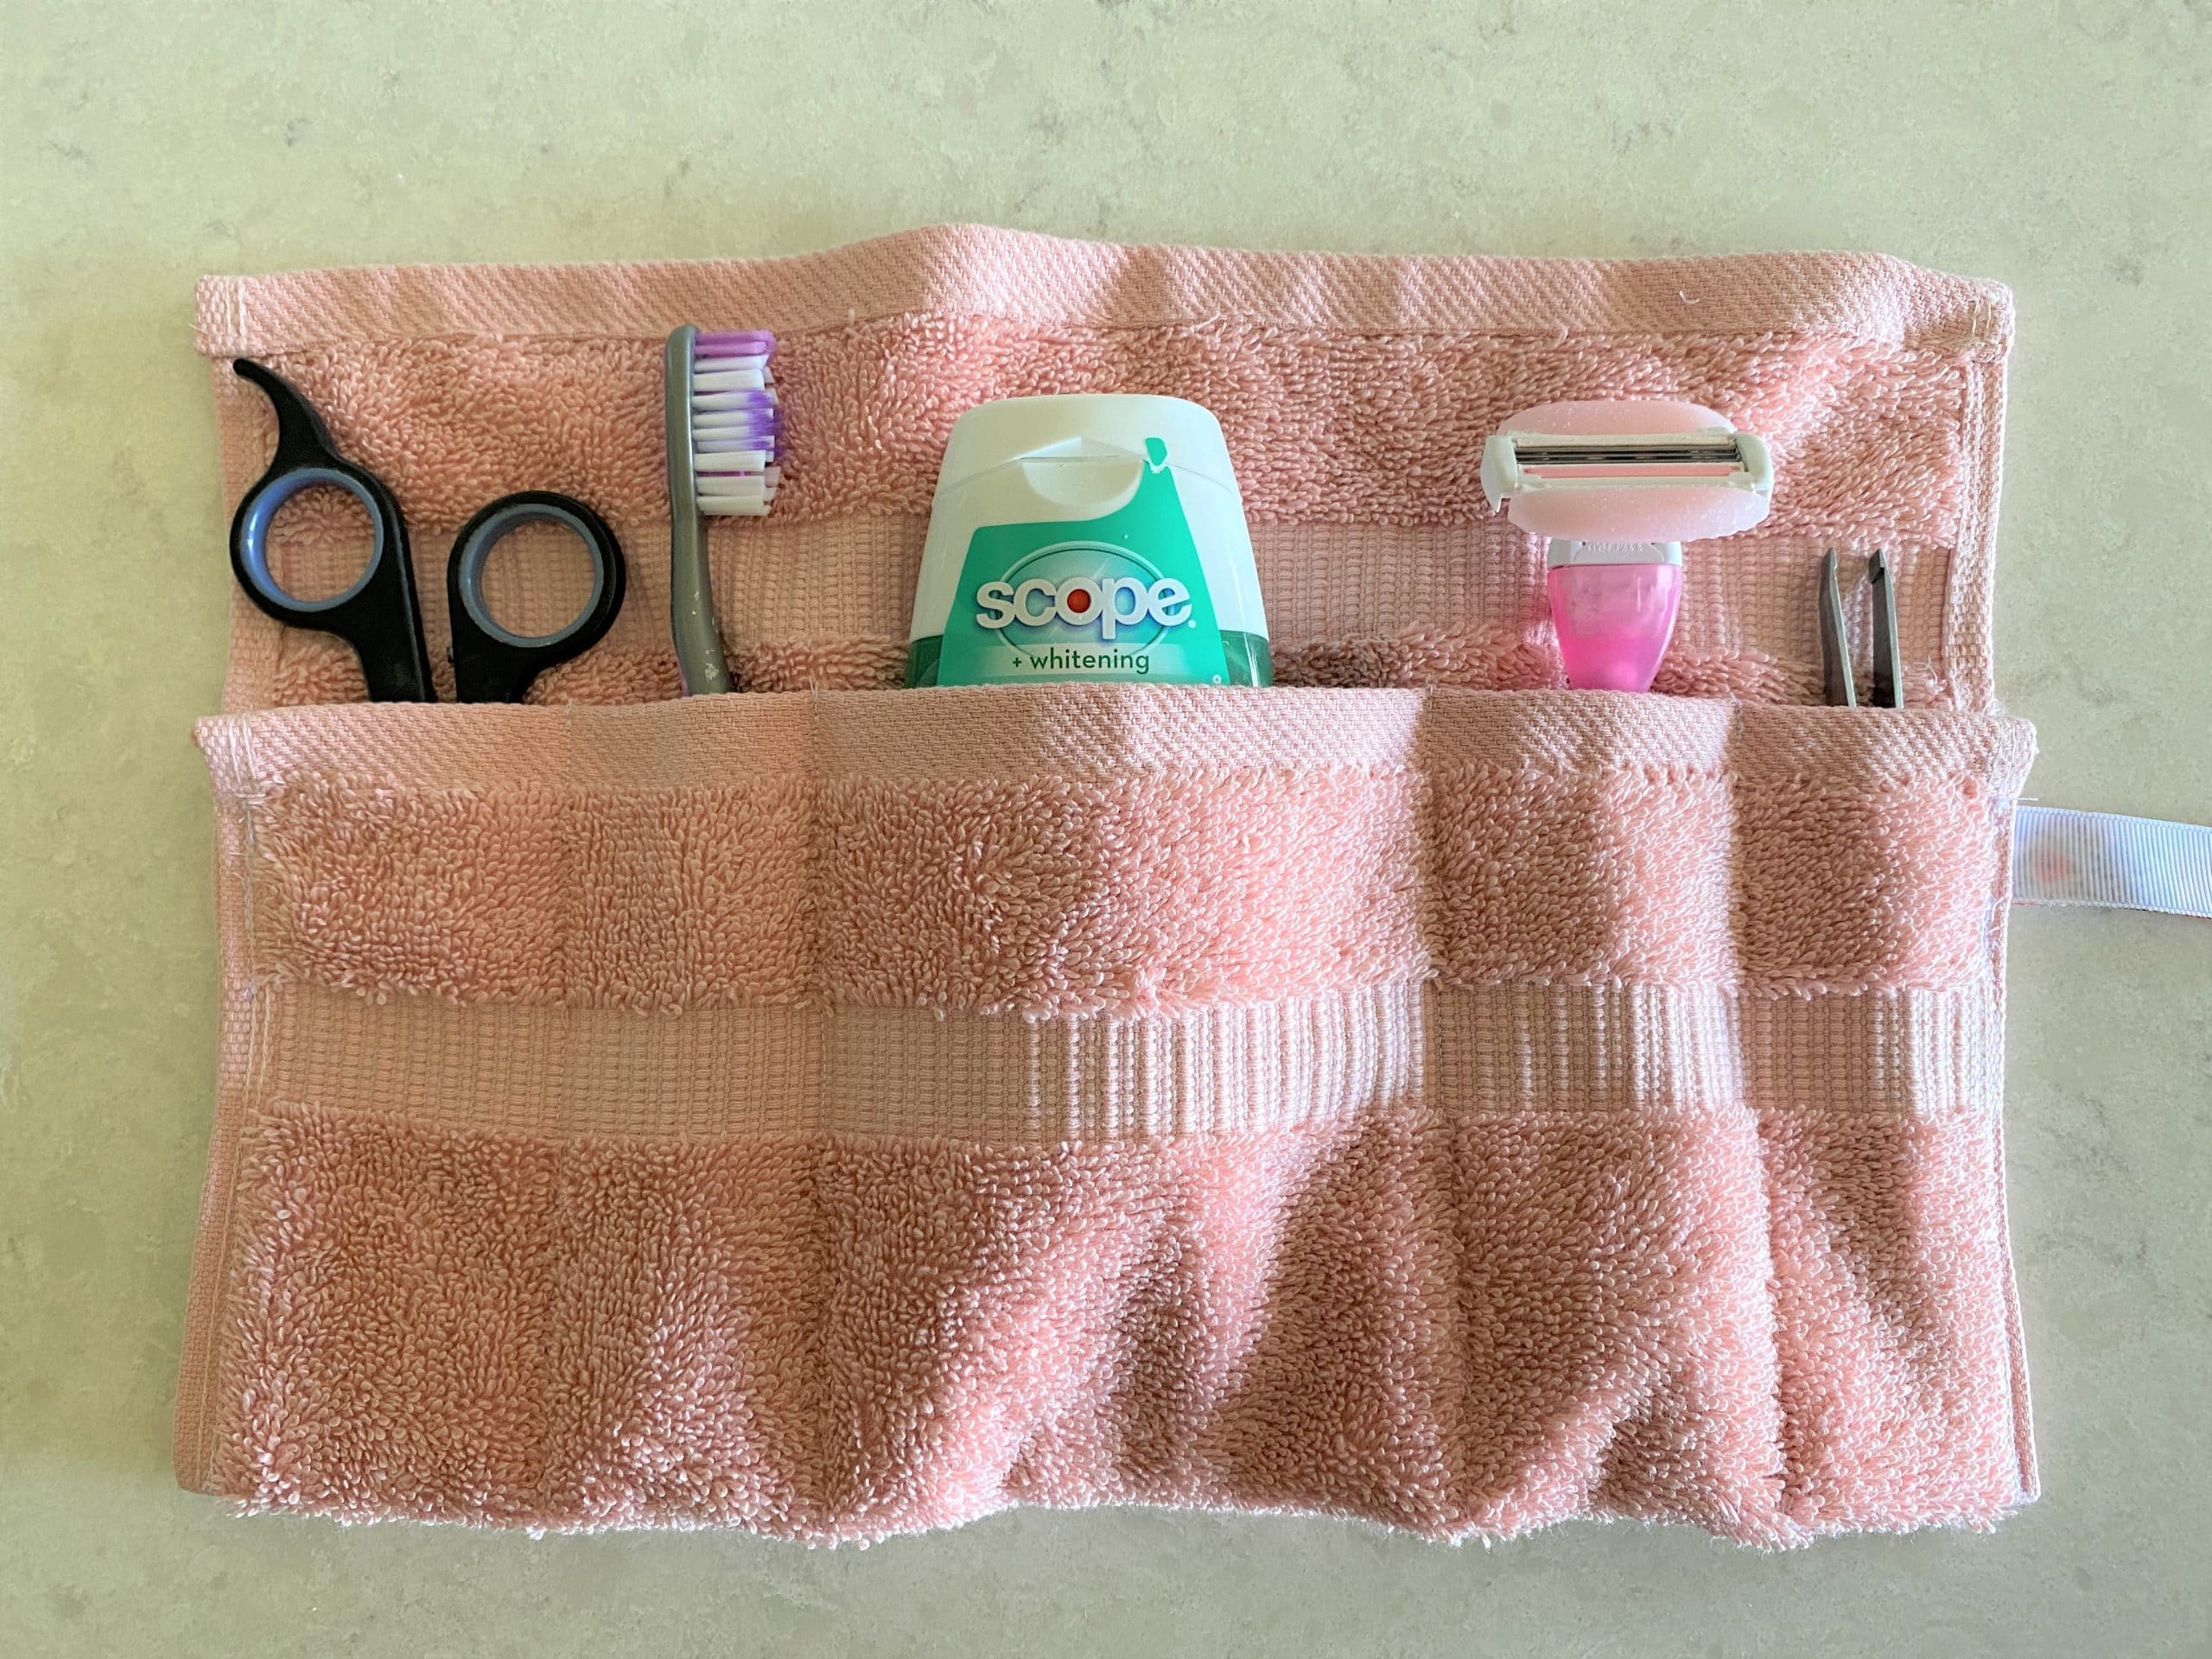
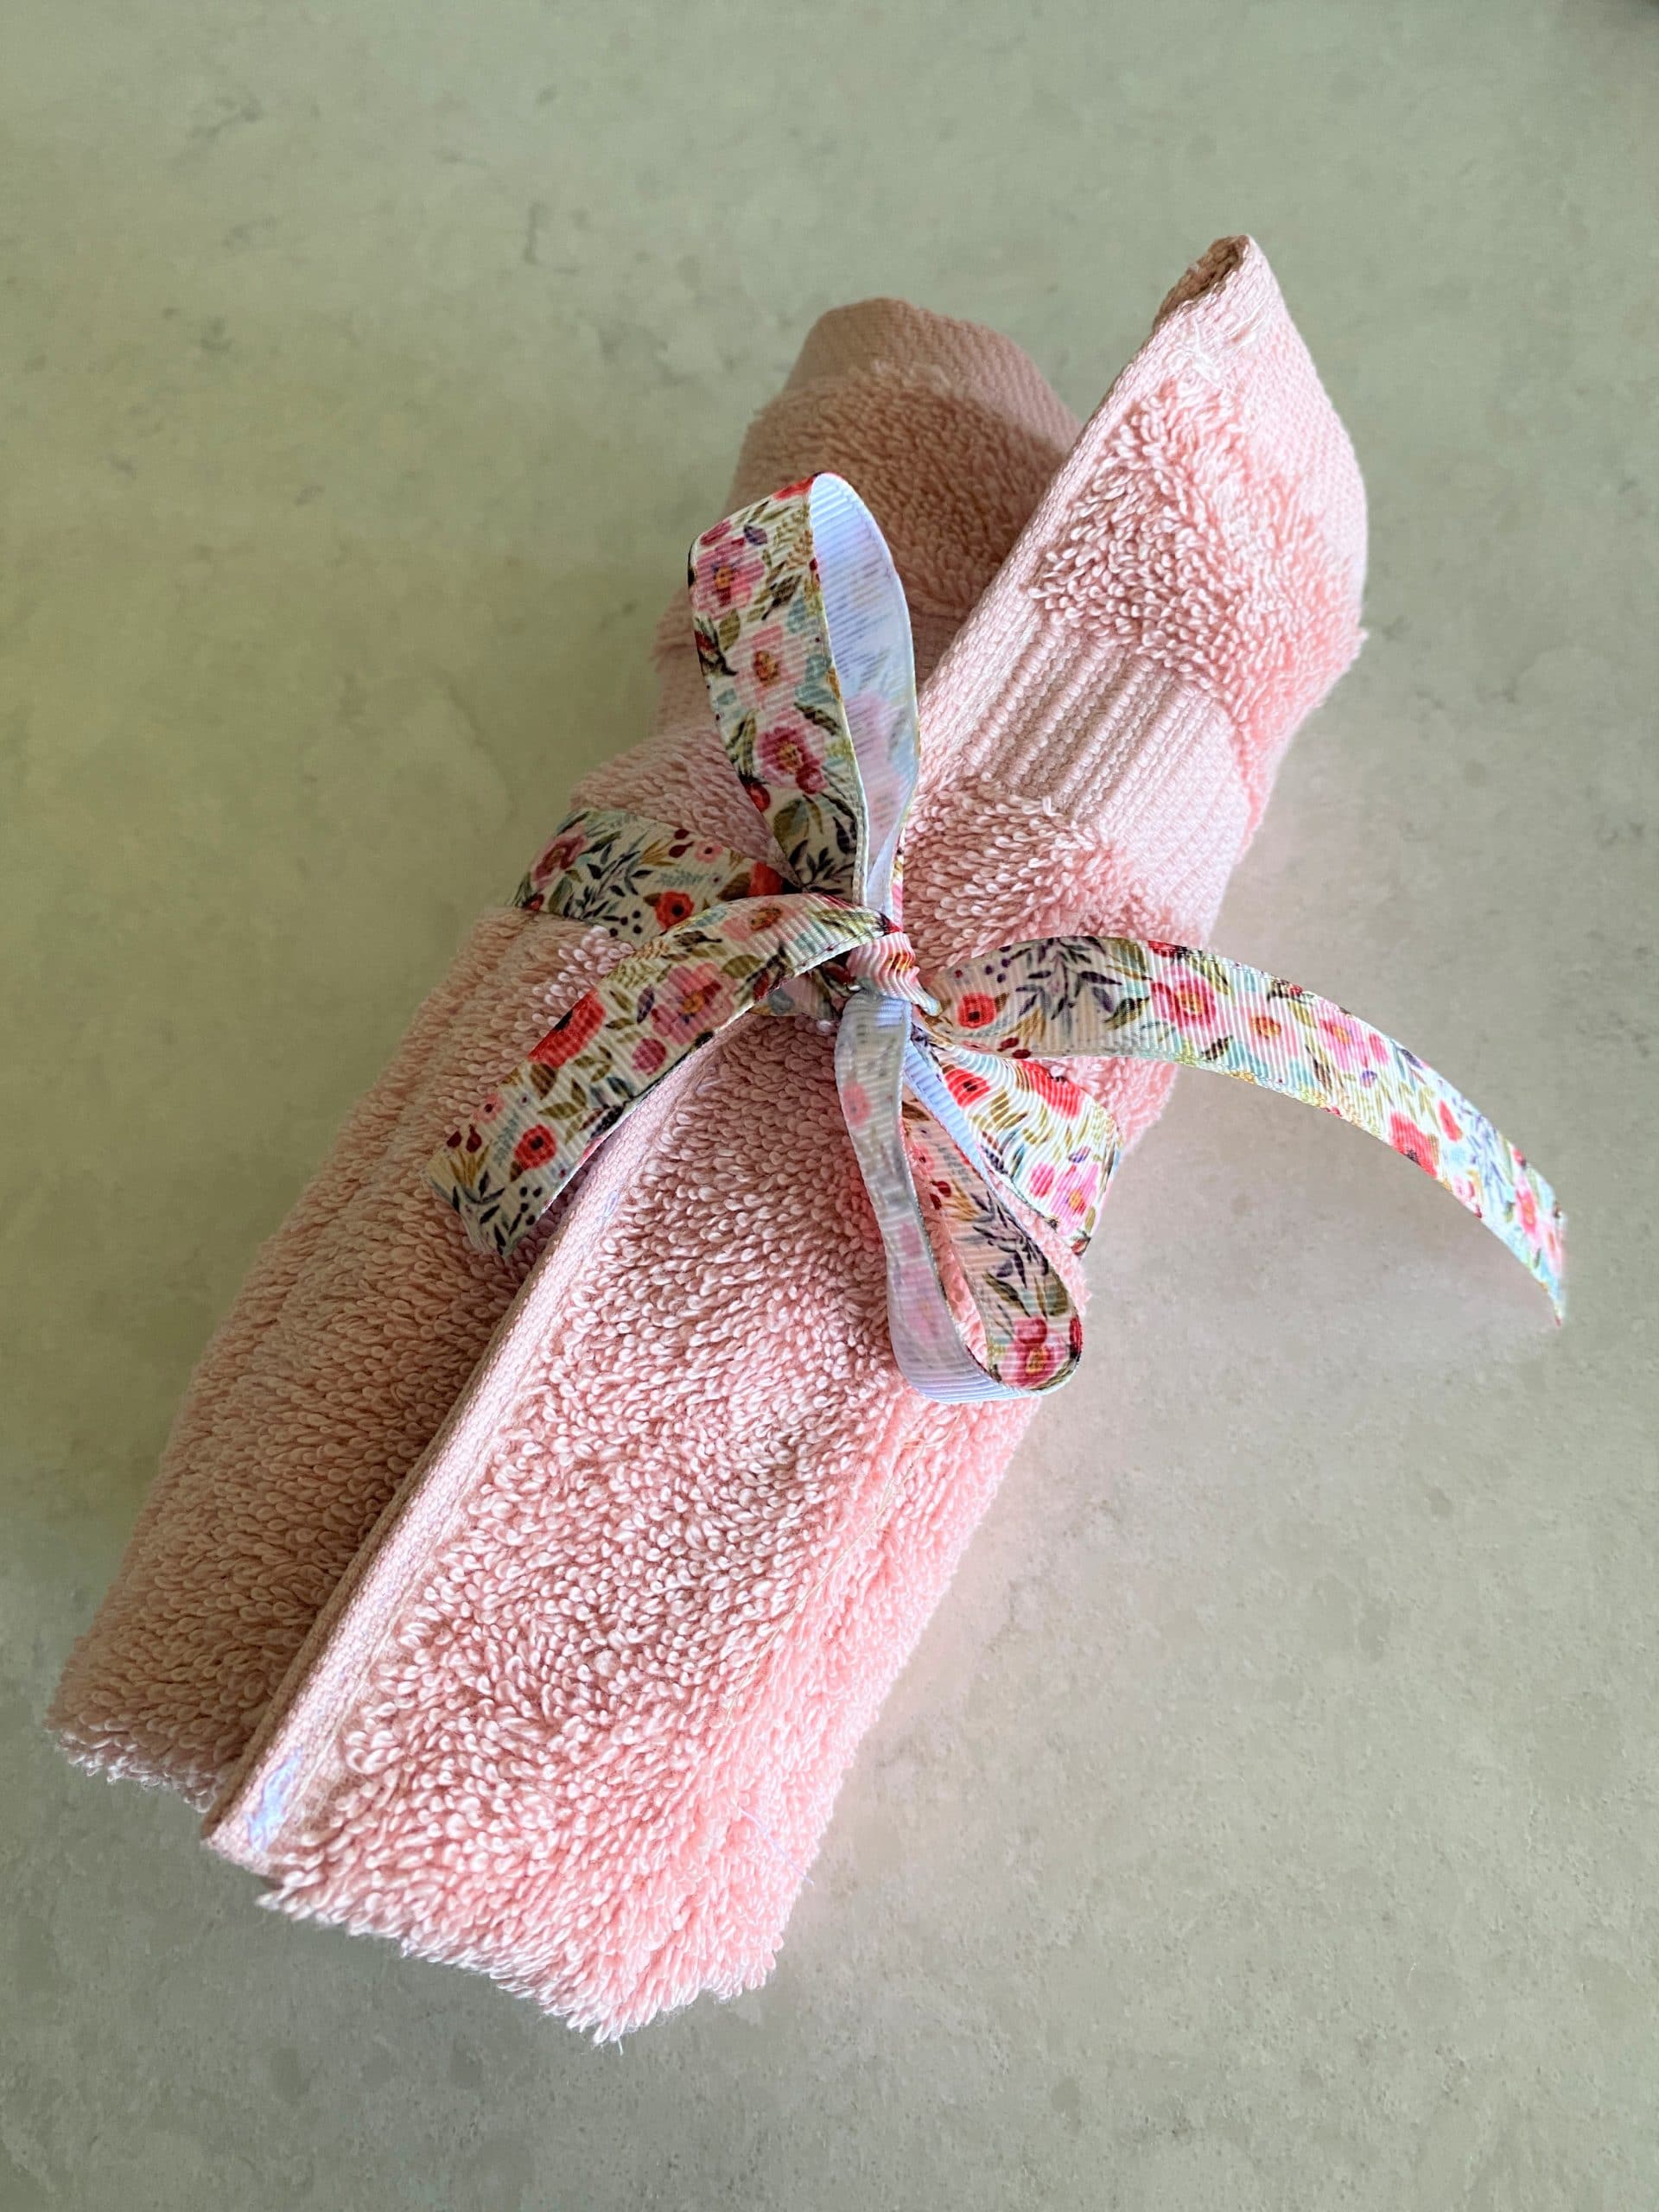
    Ta-Da!  You’re done!

    As always, I’d love to see your finished products!  You can post them to our Facebook page at facebook.com/beavercreekcommunitylibrary

    Happy Crafting!

    -Morgan

  • Beavercreek Adult Take-and-Make: Soothing Eye Mask

    Sign up for your kit here:  

    HELLO CRAFTERS!

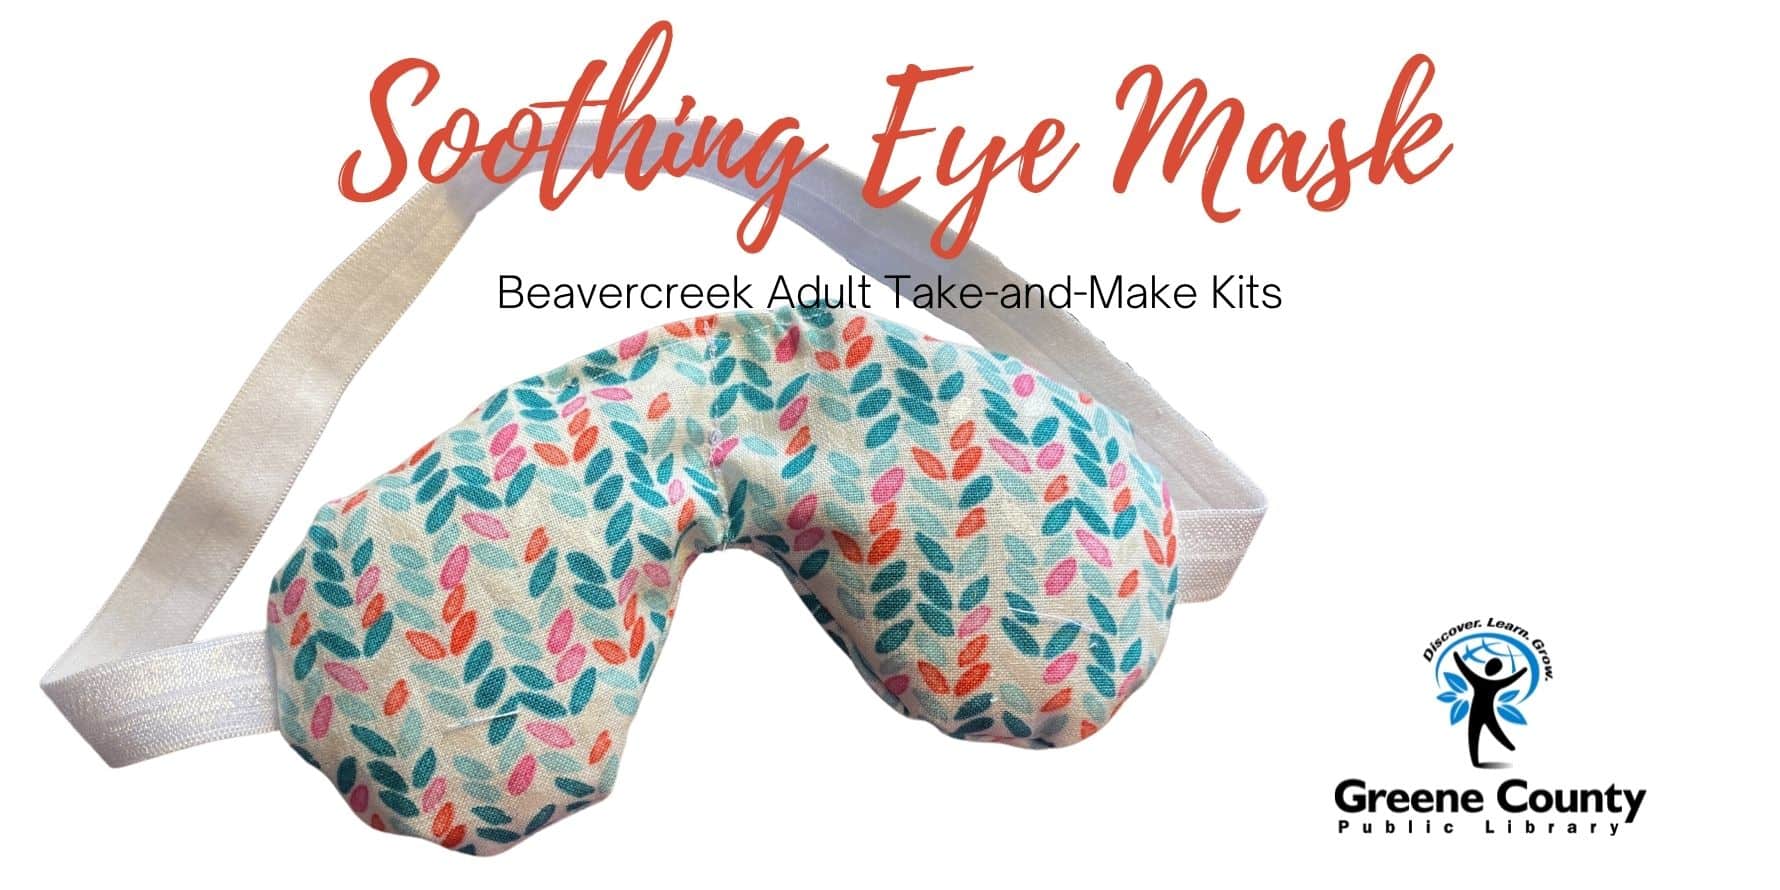
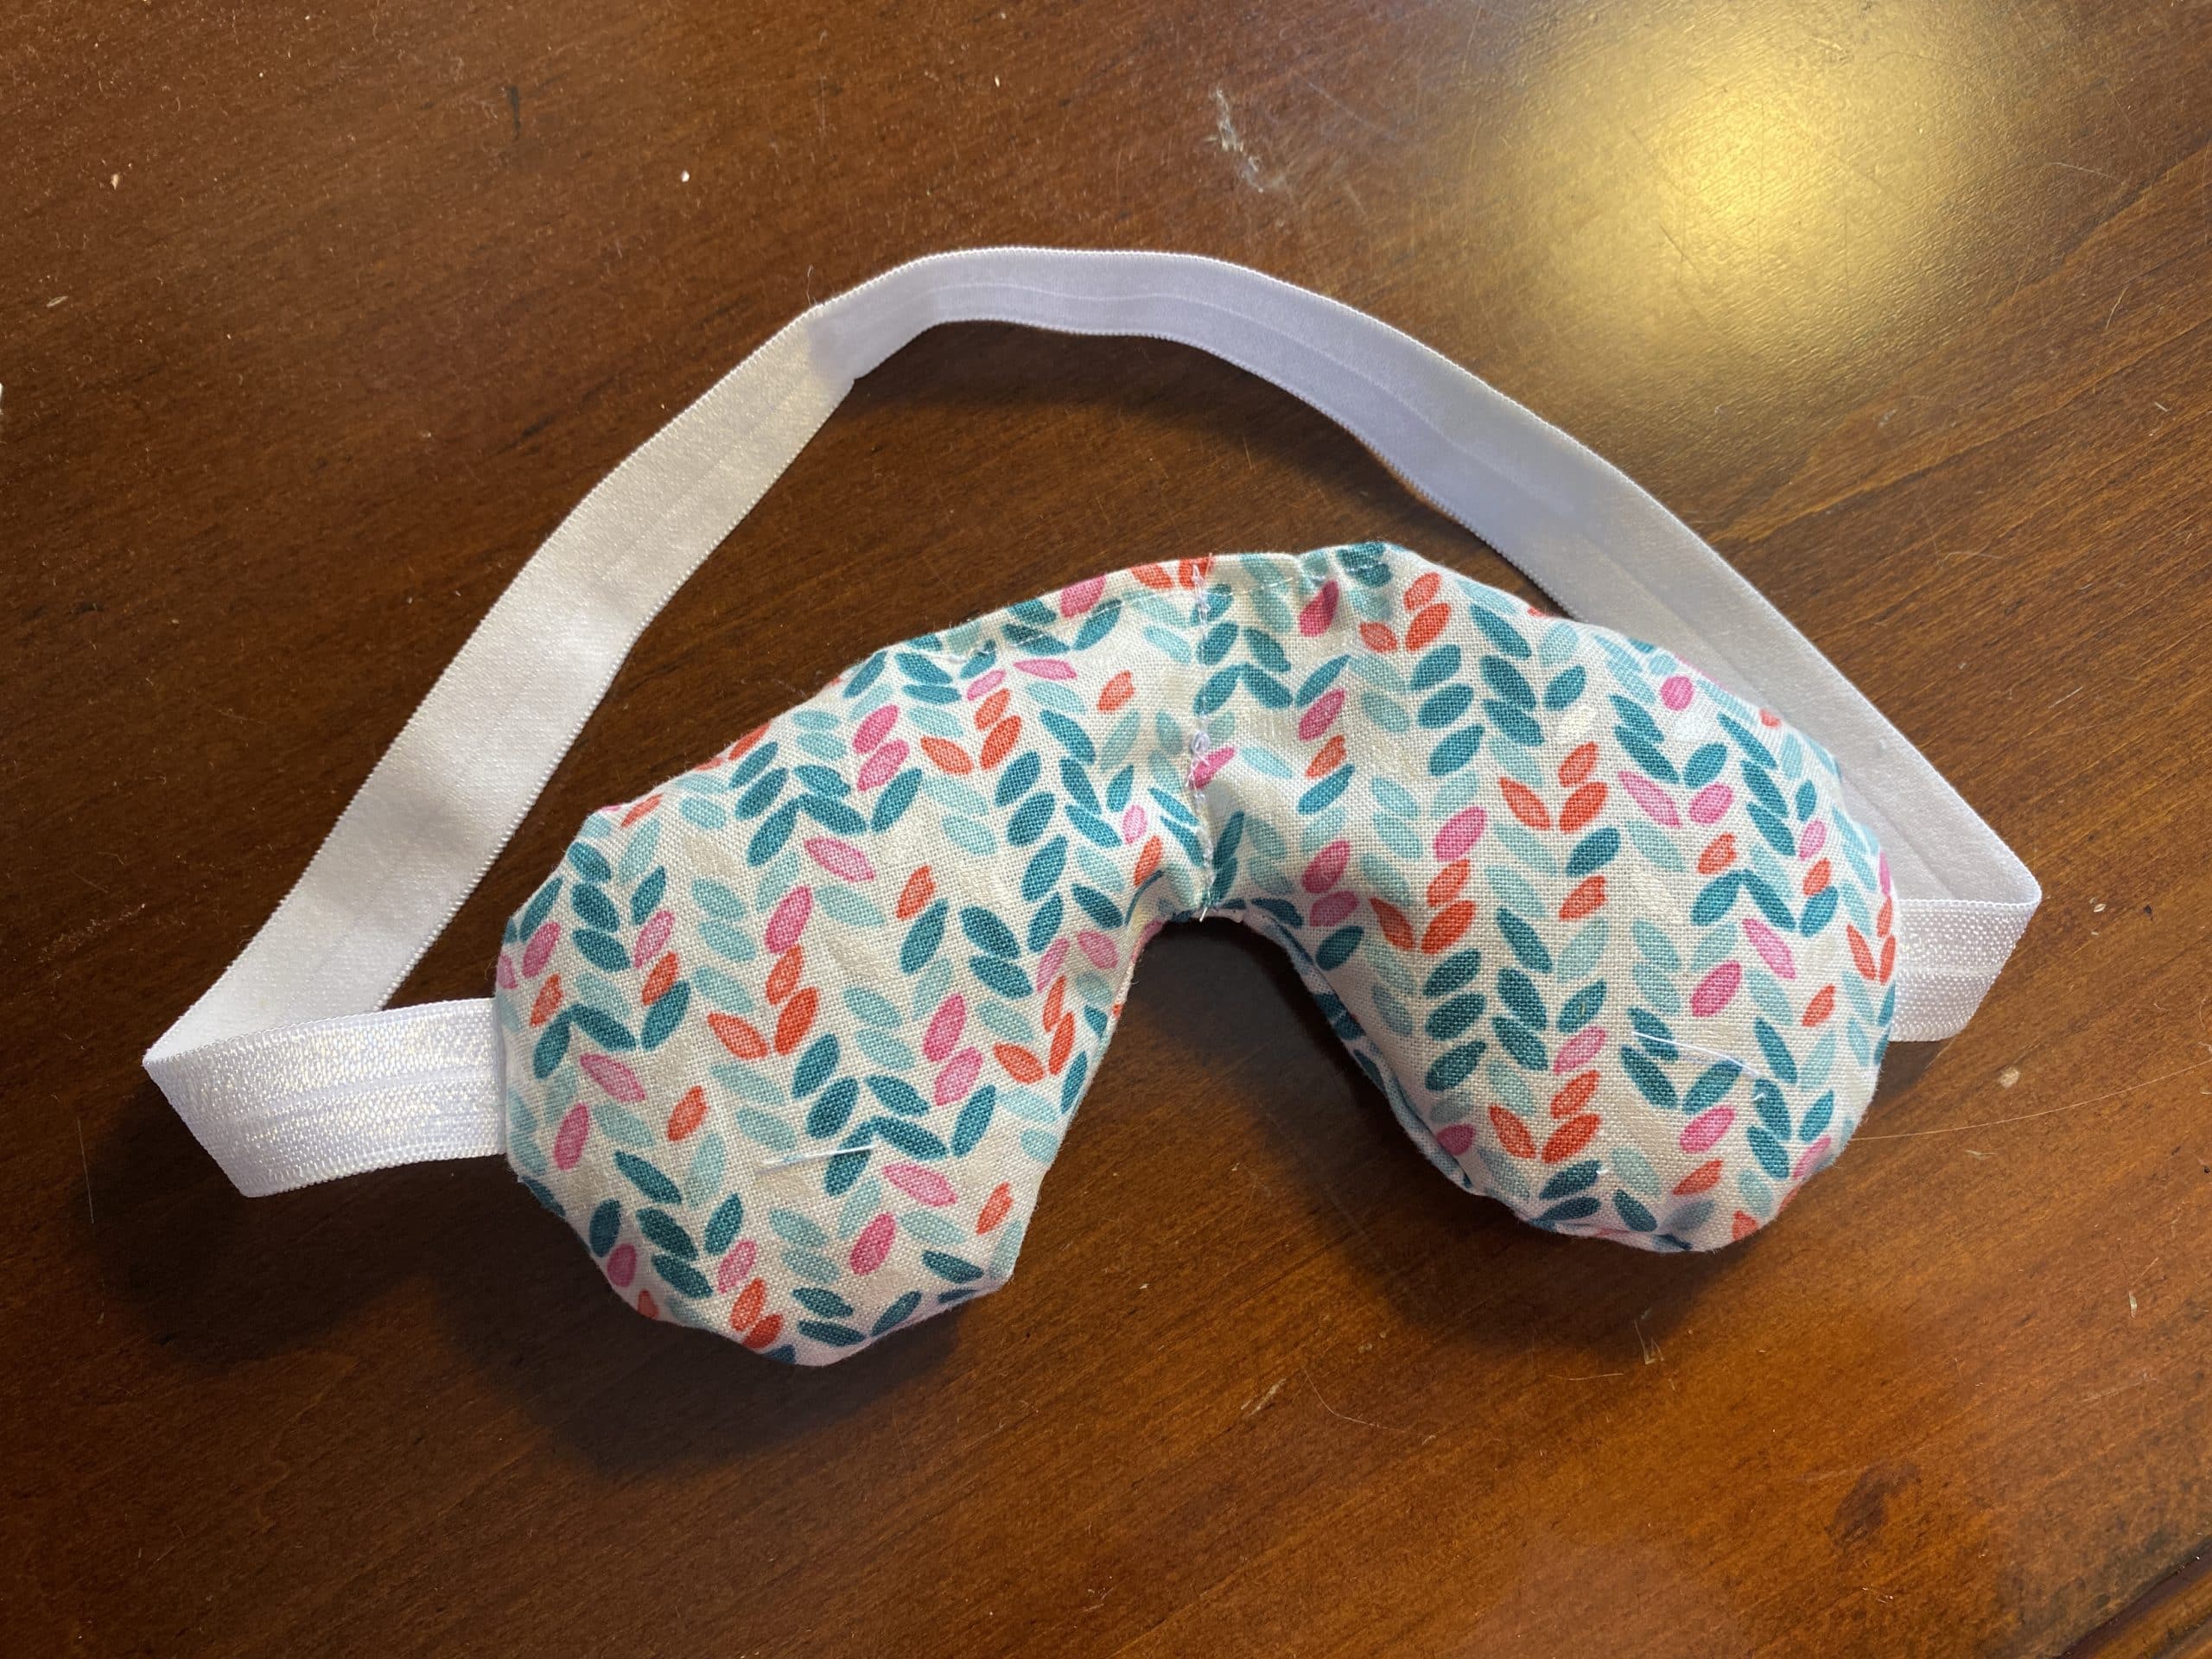
    This month we’re making an eye mask that can be put in the freezer and used for headaches or puffy eyes. I’ve been a migraine sufferer for most of my life, so I always have a collection of ice packs and cold eye masks in my freezer.  This pattern was super easy to make and can be reused over and over.  So let’s get started!

    Included in your kit:

    2 – 7.5″ x 4.5″ pieces of fabric

    mung beans

    elastic (optional)

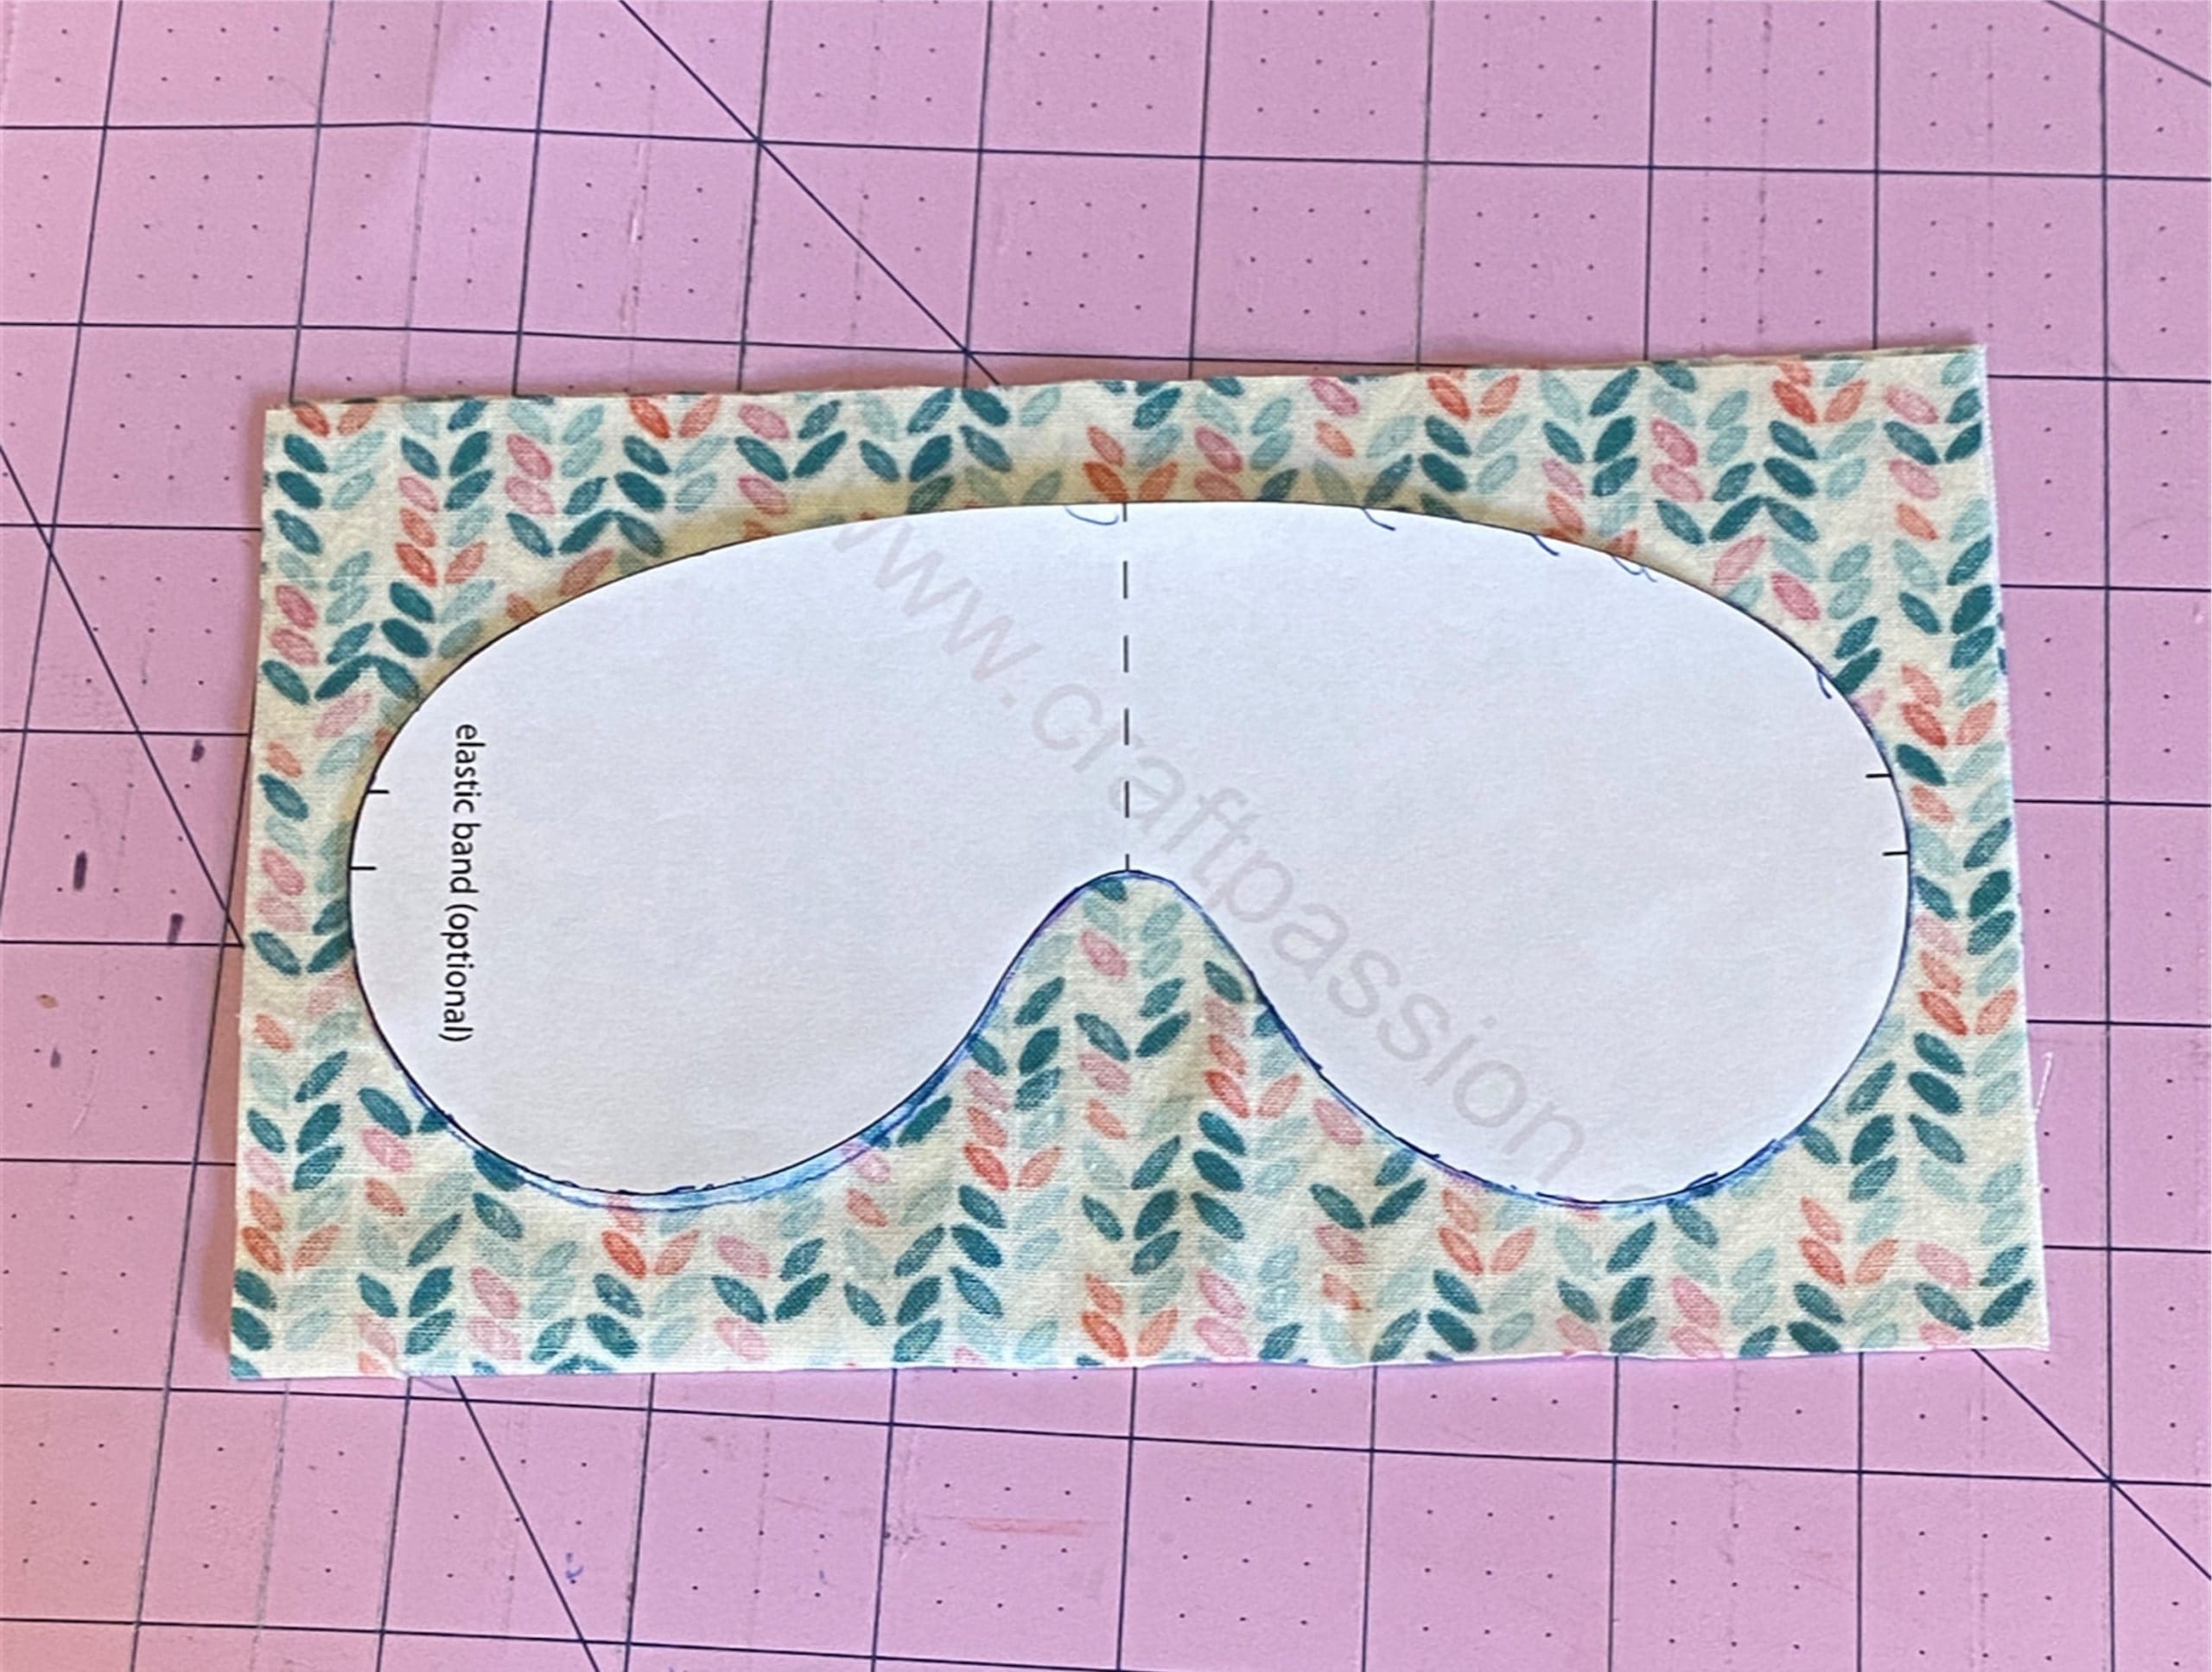
    mask template  

    Not included in your kit:

    Sewing maching

    thread

    scissors

    pins

    I used the following website for step-by-step instructions.  

    Eye Mask Sewing Pattern

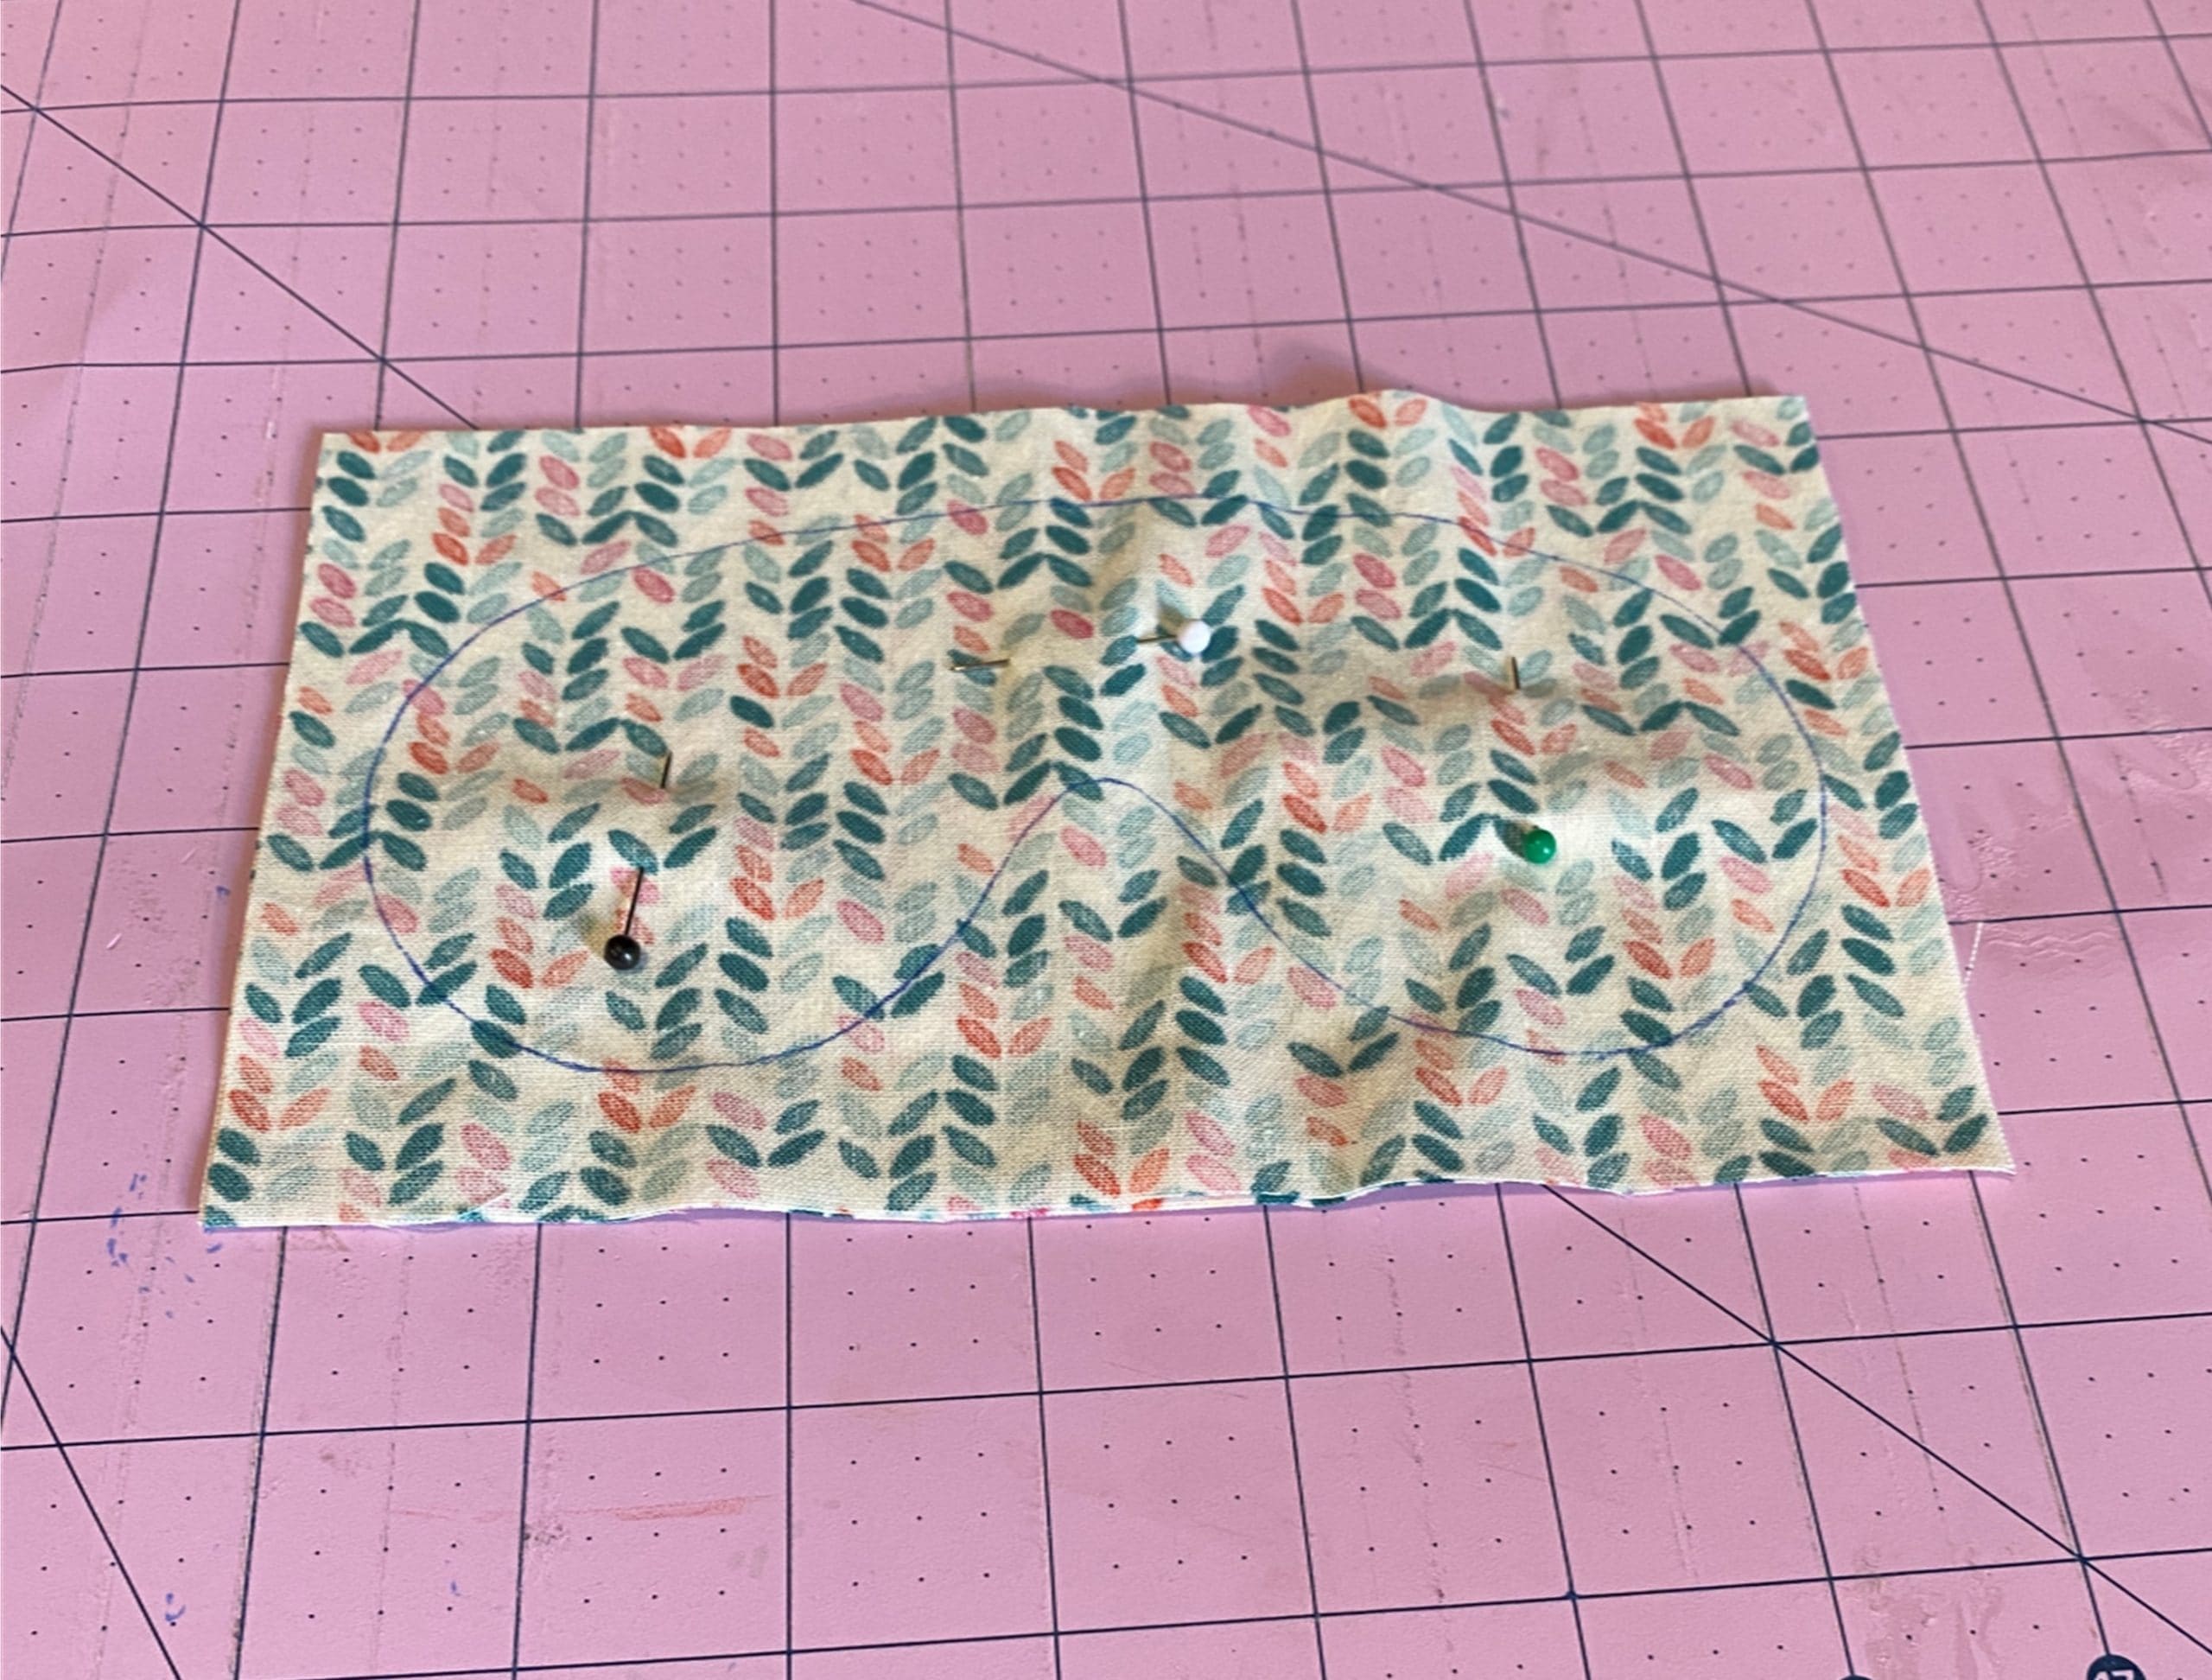
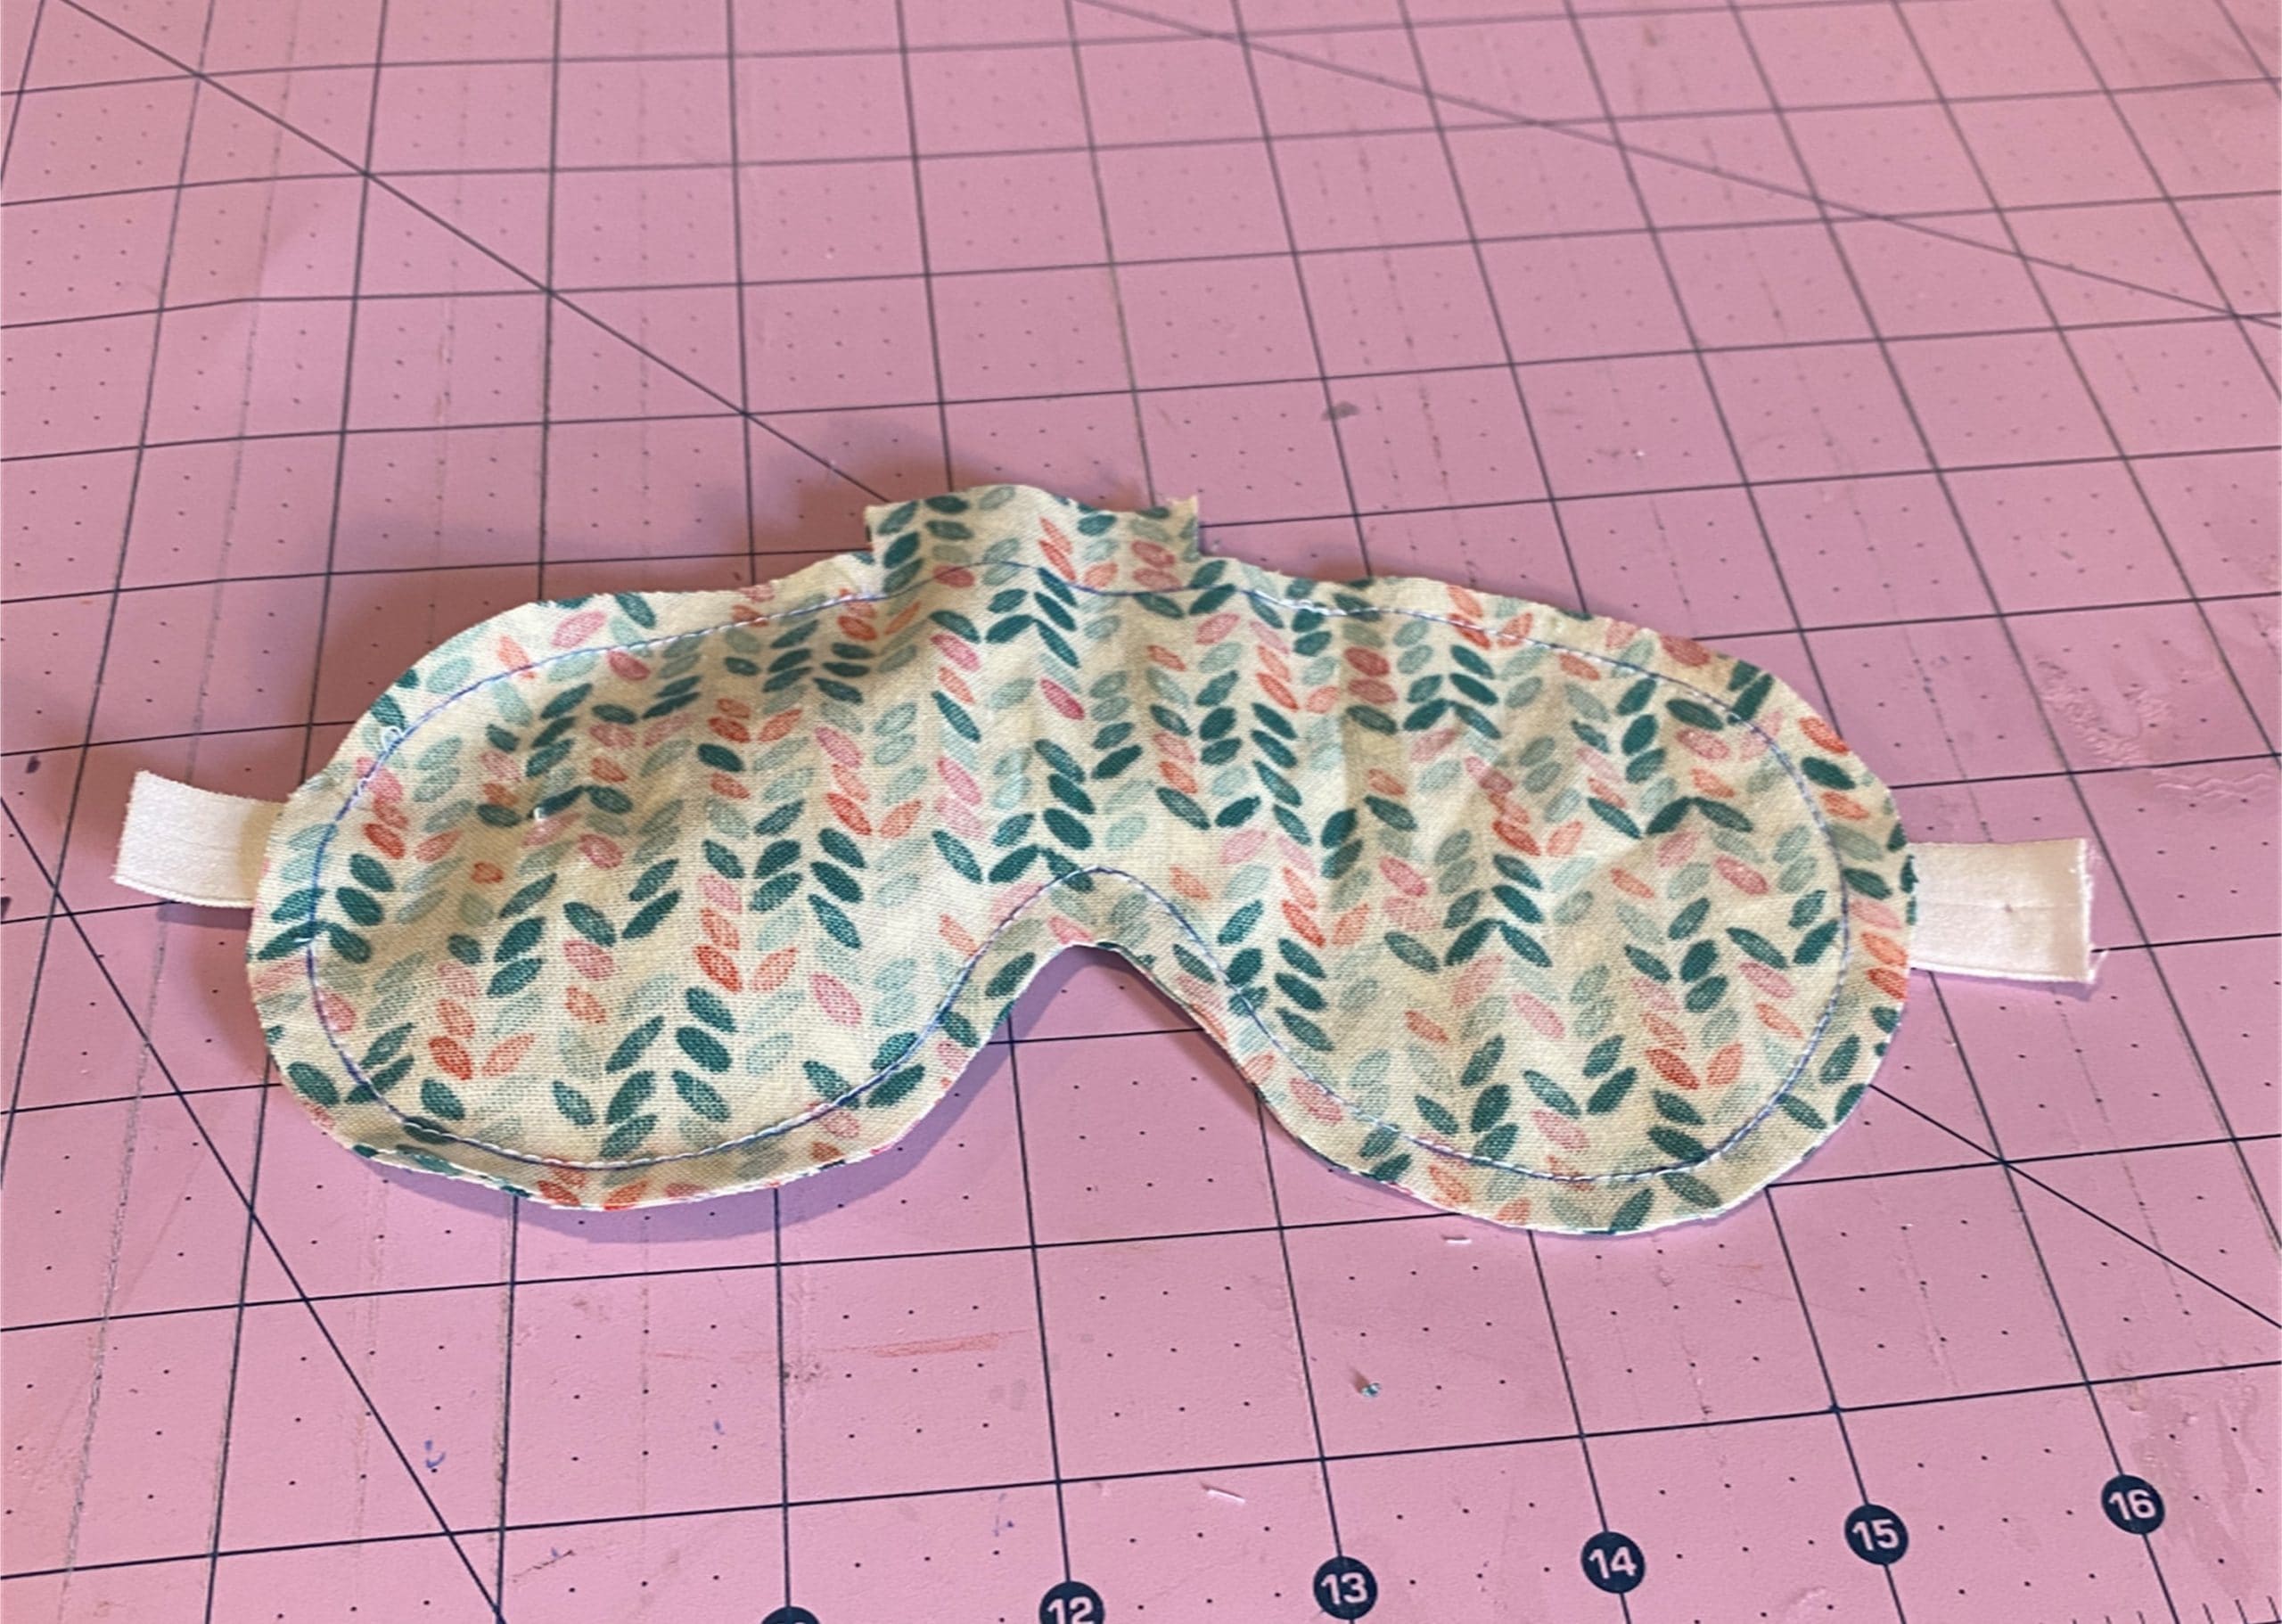
    Here are some pictures of my process:

    As always, I love to see your finished projects!  Post them on our Facebook page:  https://www.facebook.com/BeavercreekCommunityLibrary

    Happy Crafting!

    -Morgan

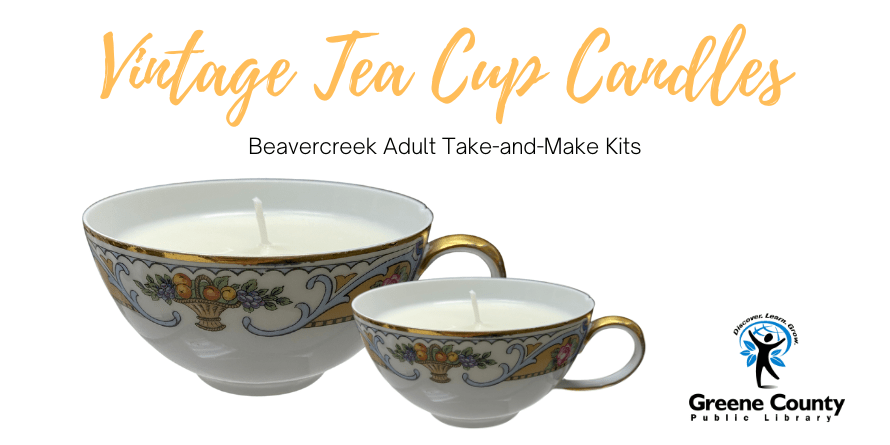
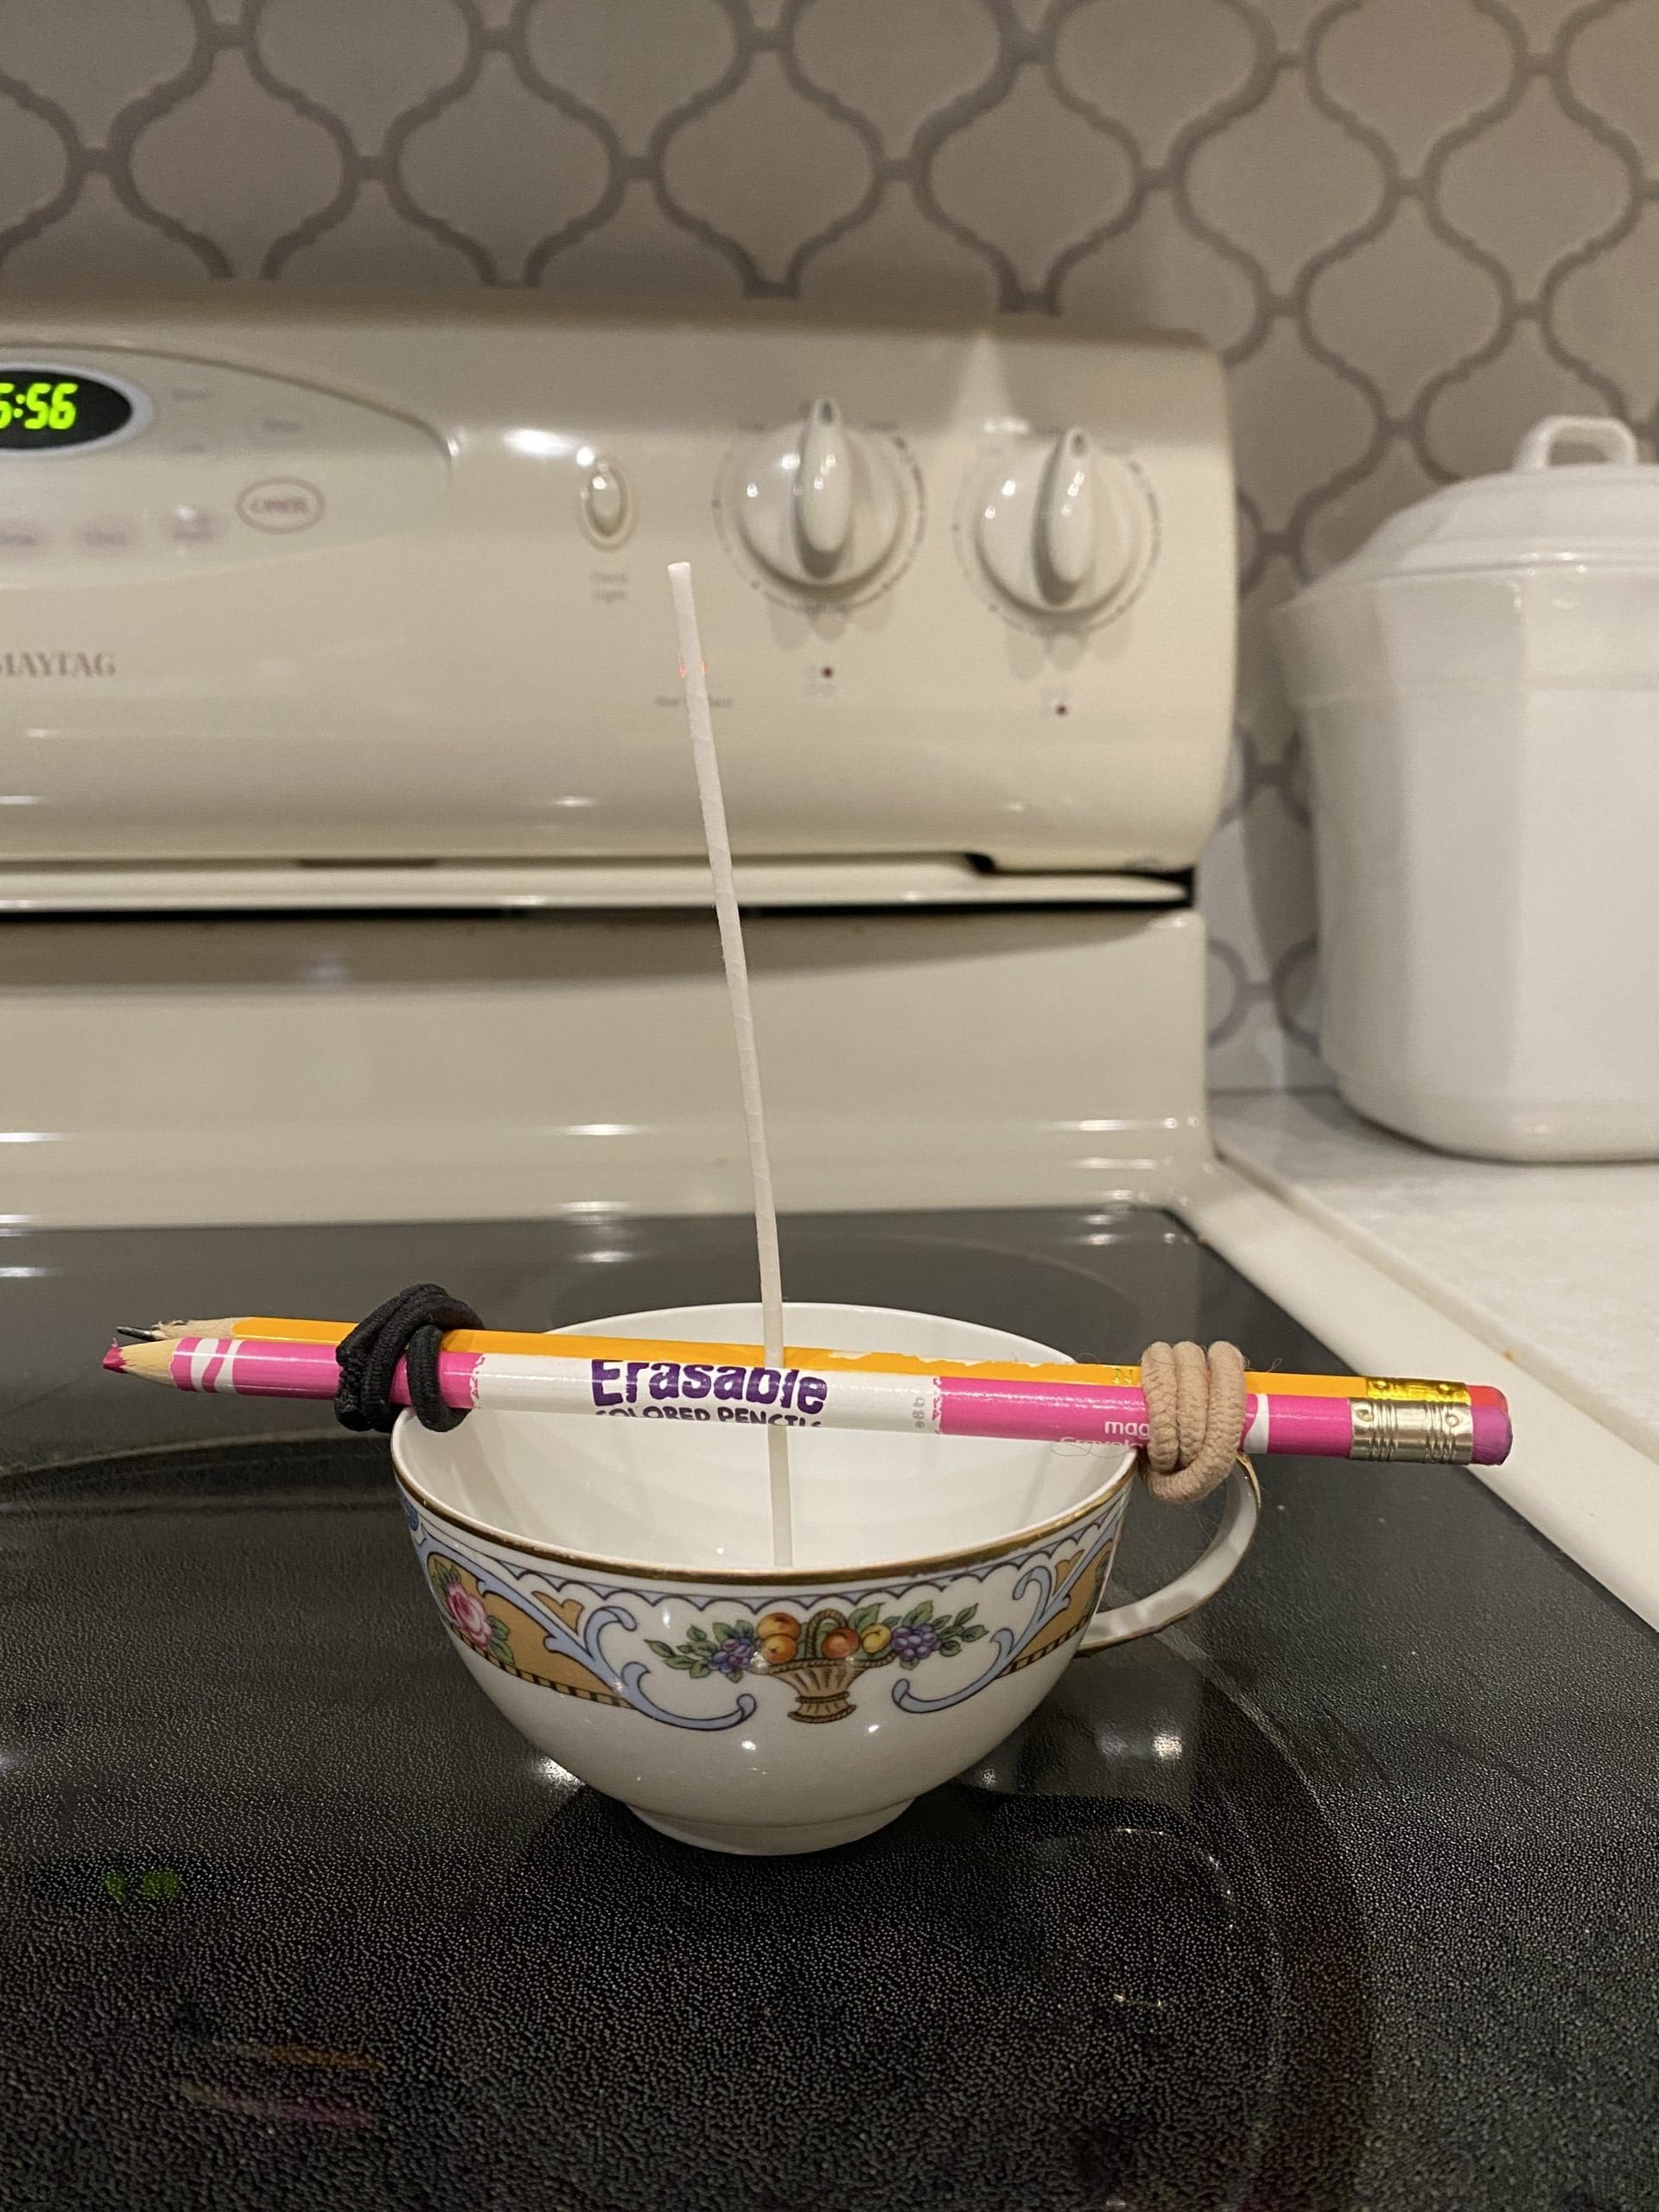
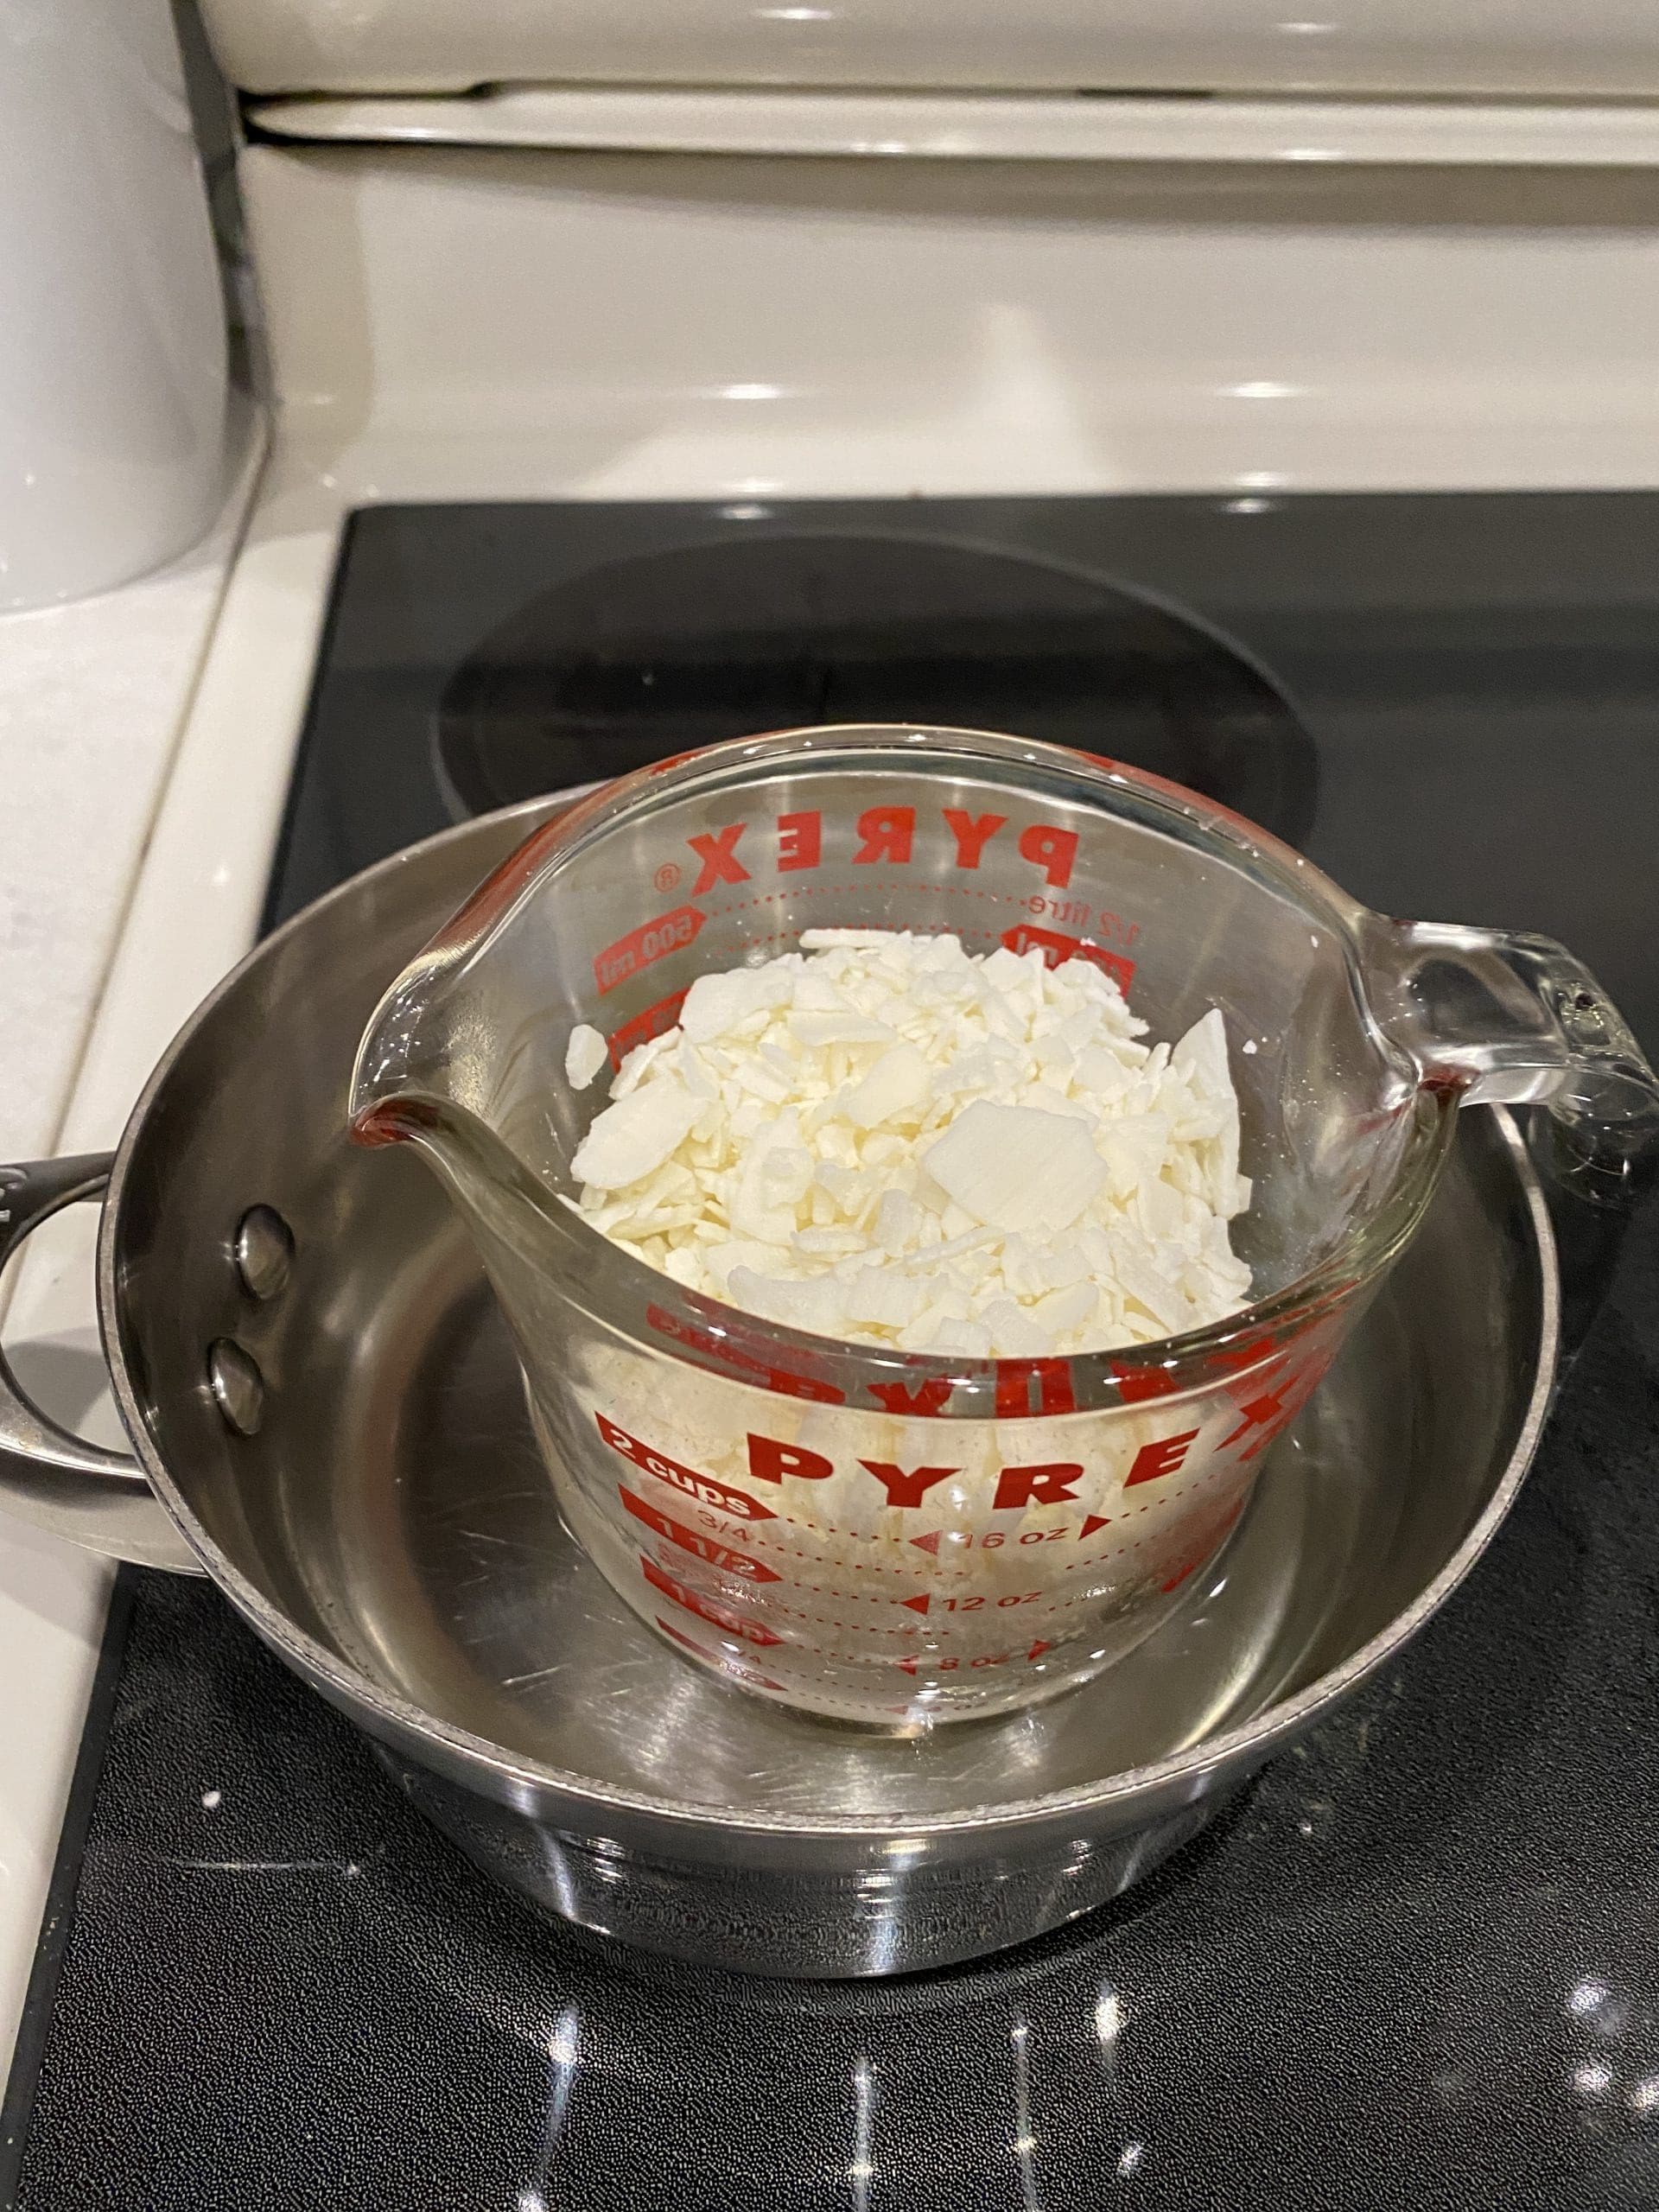
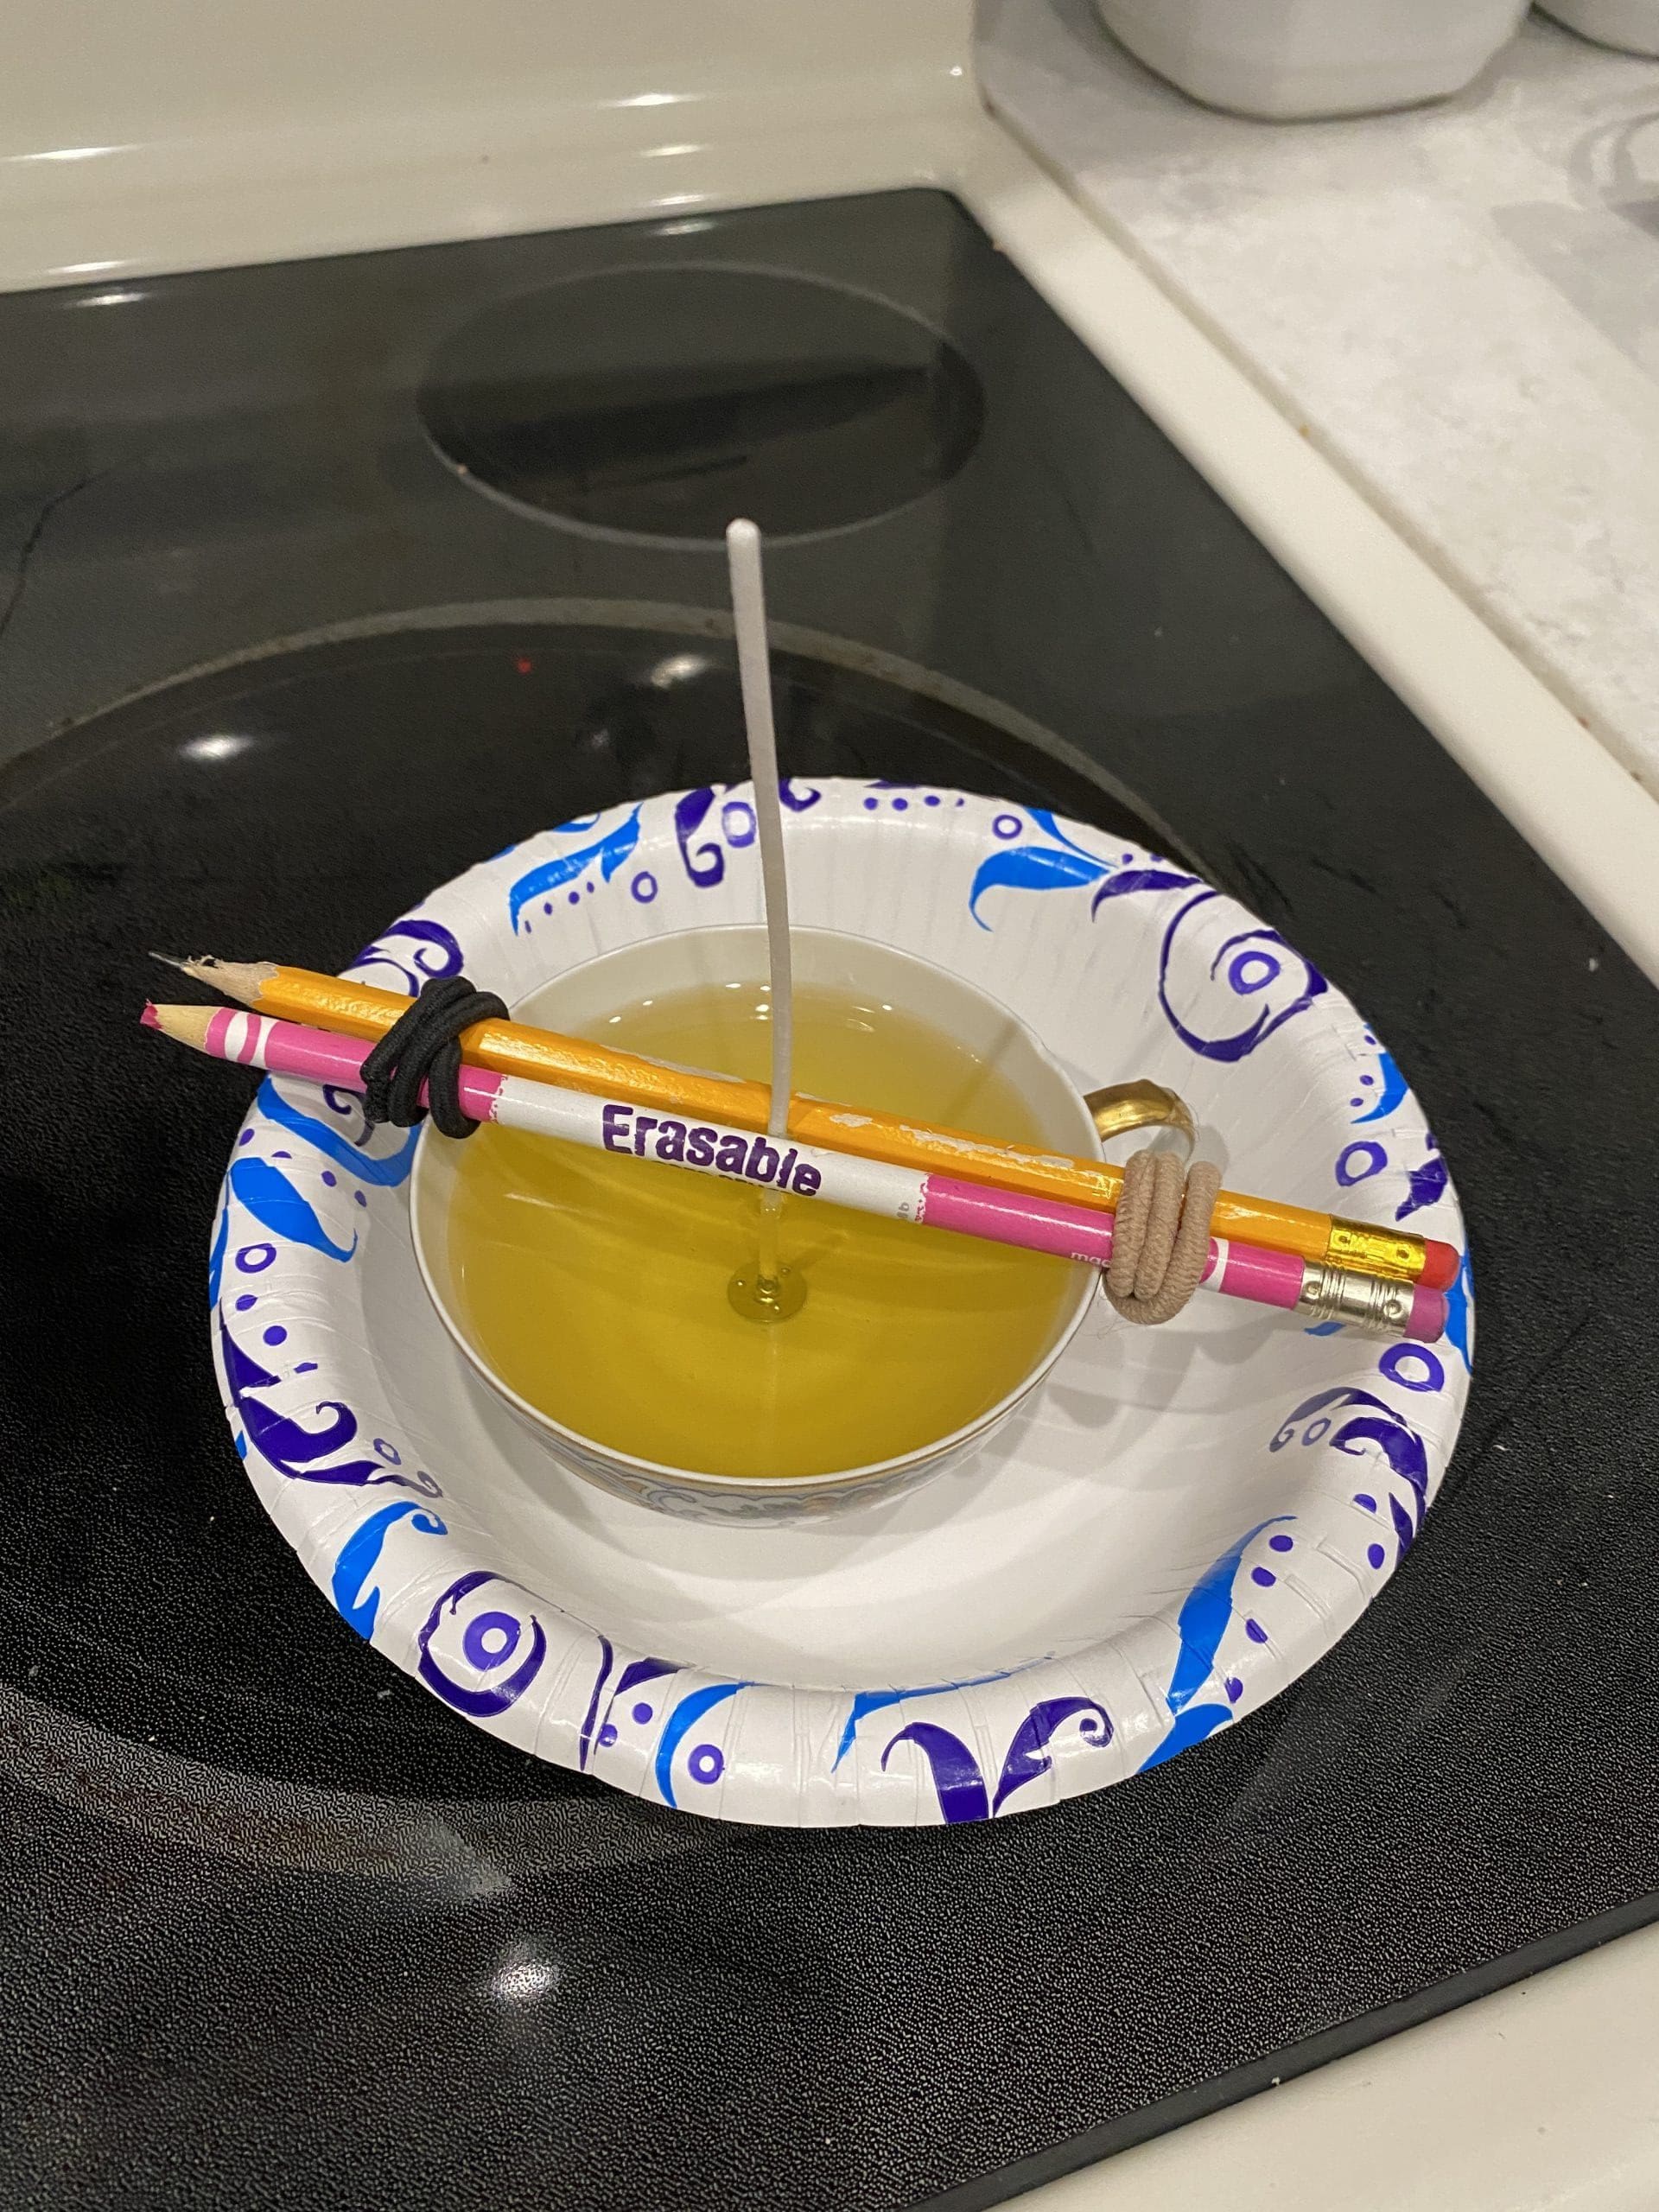
  • Beavercreek Adult Take-and-Make: Vintage Tea Cup Candles

    You guys.  I have been preparing for this month’s take and make craft since last August!  I’ve been frequenting the Goodwill stores in Centerville and Beavercreek and buying up all the vintage (and not so vintage) tea cups I can find.  I’m really excited about this one!

    Please keep in mind that because these tea cups are Goodwill finds, they may not be in perfect condition and some of them are without matching saucers.  No matter what, they are super cute!  They would make a great Valentine’s Day gift for a friend or co-worker – or just enjoy it yourself!  If you like this craft, you can easily pick up more tea cups and go to town!

    Included in your kit:

    1 tea cup or tea cup set – Goodwill

    2 cups of soy wax flakes – https://www.amazon.com/gp/product/B07PCWGHD4/ref=ppx_yo_dt_b_asin_title_o00_s00?ie=UTF8&psc=1

    2 candle wicks – came included with the wax flakes

    Not included in your kit:

    scissors

    1 sauce pan

    1 glass measuring cup (at least 2 cups)

    2 pencils or chopsticks

    rubber bands

    essential oils for adding scent (totally optional)

    I used this website for instructions:  https://yesmissy.com/diy-teacup-candles/

    Here are some pictures of my process:

    This project goes pretty quickly.  Waiting for the wax to melt takes more time than anything else.

    I hope you enjoy this one and I’d love to see your pictures by email or Facebook!

    Happy Crafting!

    -Morgan

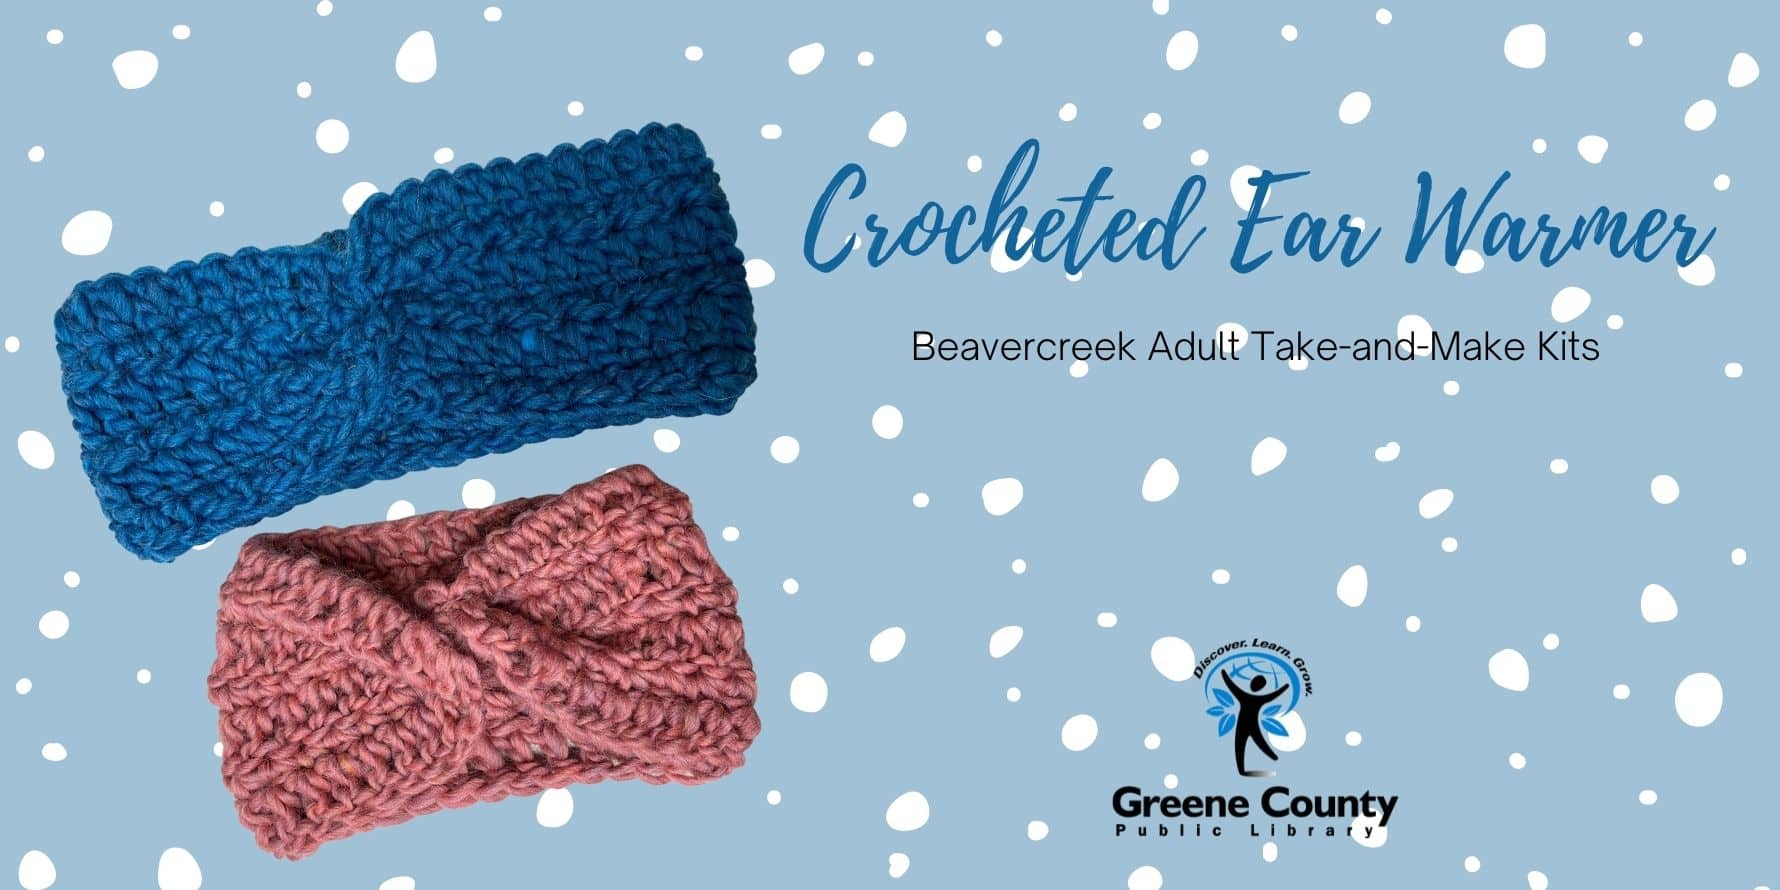
  • Beavercreek Adult Take-and-Make: Crocheted Ear Warmer

    It’s finally here!  Unfortunately, shipping delays caused this month’s craft to be postponed a bit.  Thank you for being patient!

    Firstly, to sign up for your kit, please click here: https://greenelibrary.bibliocommons.com/events/61e82635950fa036000cc454

    Your kit includes:

    1 skein chunky yarn

    1 crochet hook (9.0 mm)

    1 yarn needle

    The pattern can be found here:  https://www.mjsoffthehookdesigns.com/glacier-twist-headband/

    There is a free video tutorial here below.

    IMPORTANT NOTE ABOUT SIZING:

    The first headband I made was the pink one in the top picture using the pattern on the website.  It definitely came out smaller than I expected.  I would recommend this size for a child or small adult.  I increased/modified the pattern to better fit an adult head. 

    The changes to the pattern are as follows:

    Instead of chaining 34 stitches initially, chain 48.

    Only work rows 1-6 (do not work row 7).

    If you follow this modified pattern, you will have a headband like the blue one in the top picture.

    This pattern is beginner friendly, but if you have any questions, I’m always available for advice!

    Happy Crafting!

    -Morgan

    mcrumbacher@gcpl.lib.oh.us

  • Beavercreek Adult Take-and-Make: Mason Jar Snow Globe

    Happy Holidays, Crafters!  I know everyone is super busy this time of year, so this month’s craft is simple and fast!

    Included in your kit:

    1 mason jar

    1 tree

    1 gold reindeer

    2 jingle bells

    red & gold twine

    fake snow

    NOT included in your kit:

    hot glue/super glue

    water bottle lids

    Instructions:

    1.  Turn the lid upside down and separate the flat part of the lid from the ring (if you have separate pieces – not all kits do). 
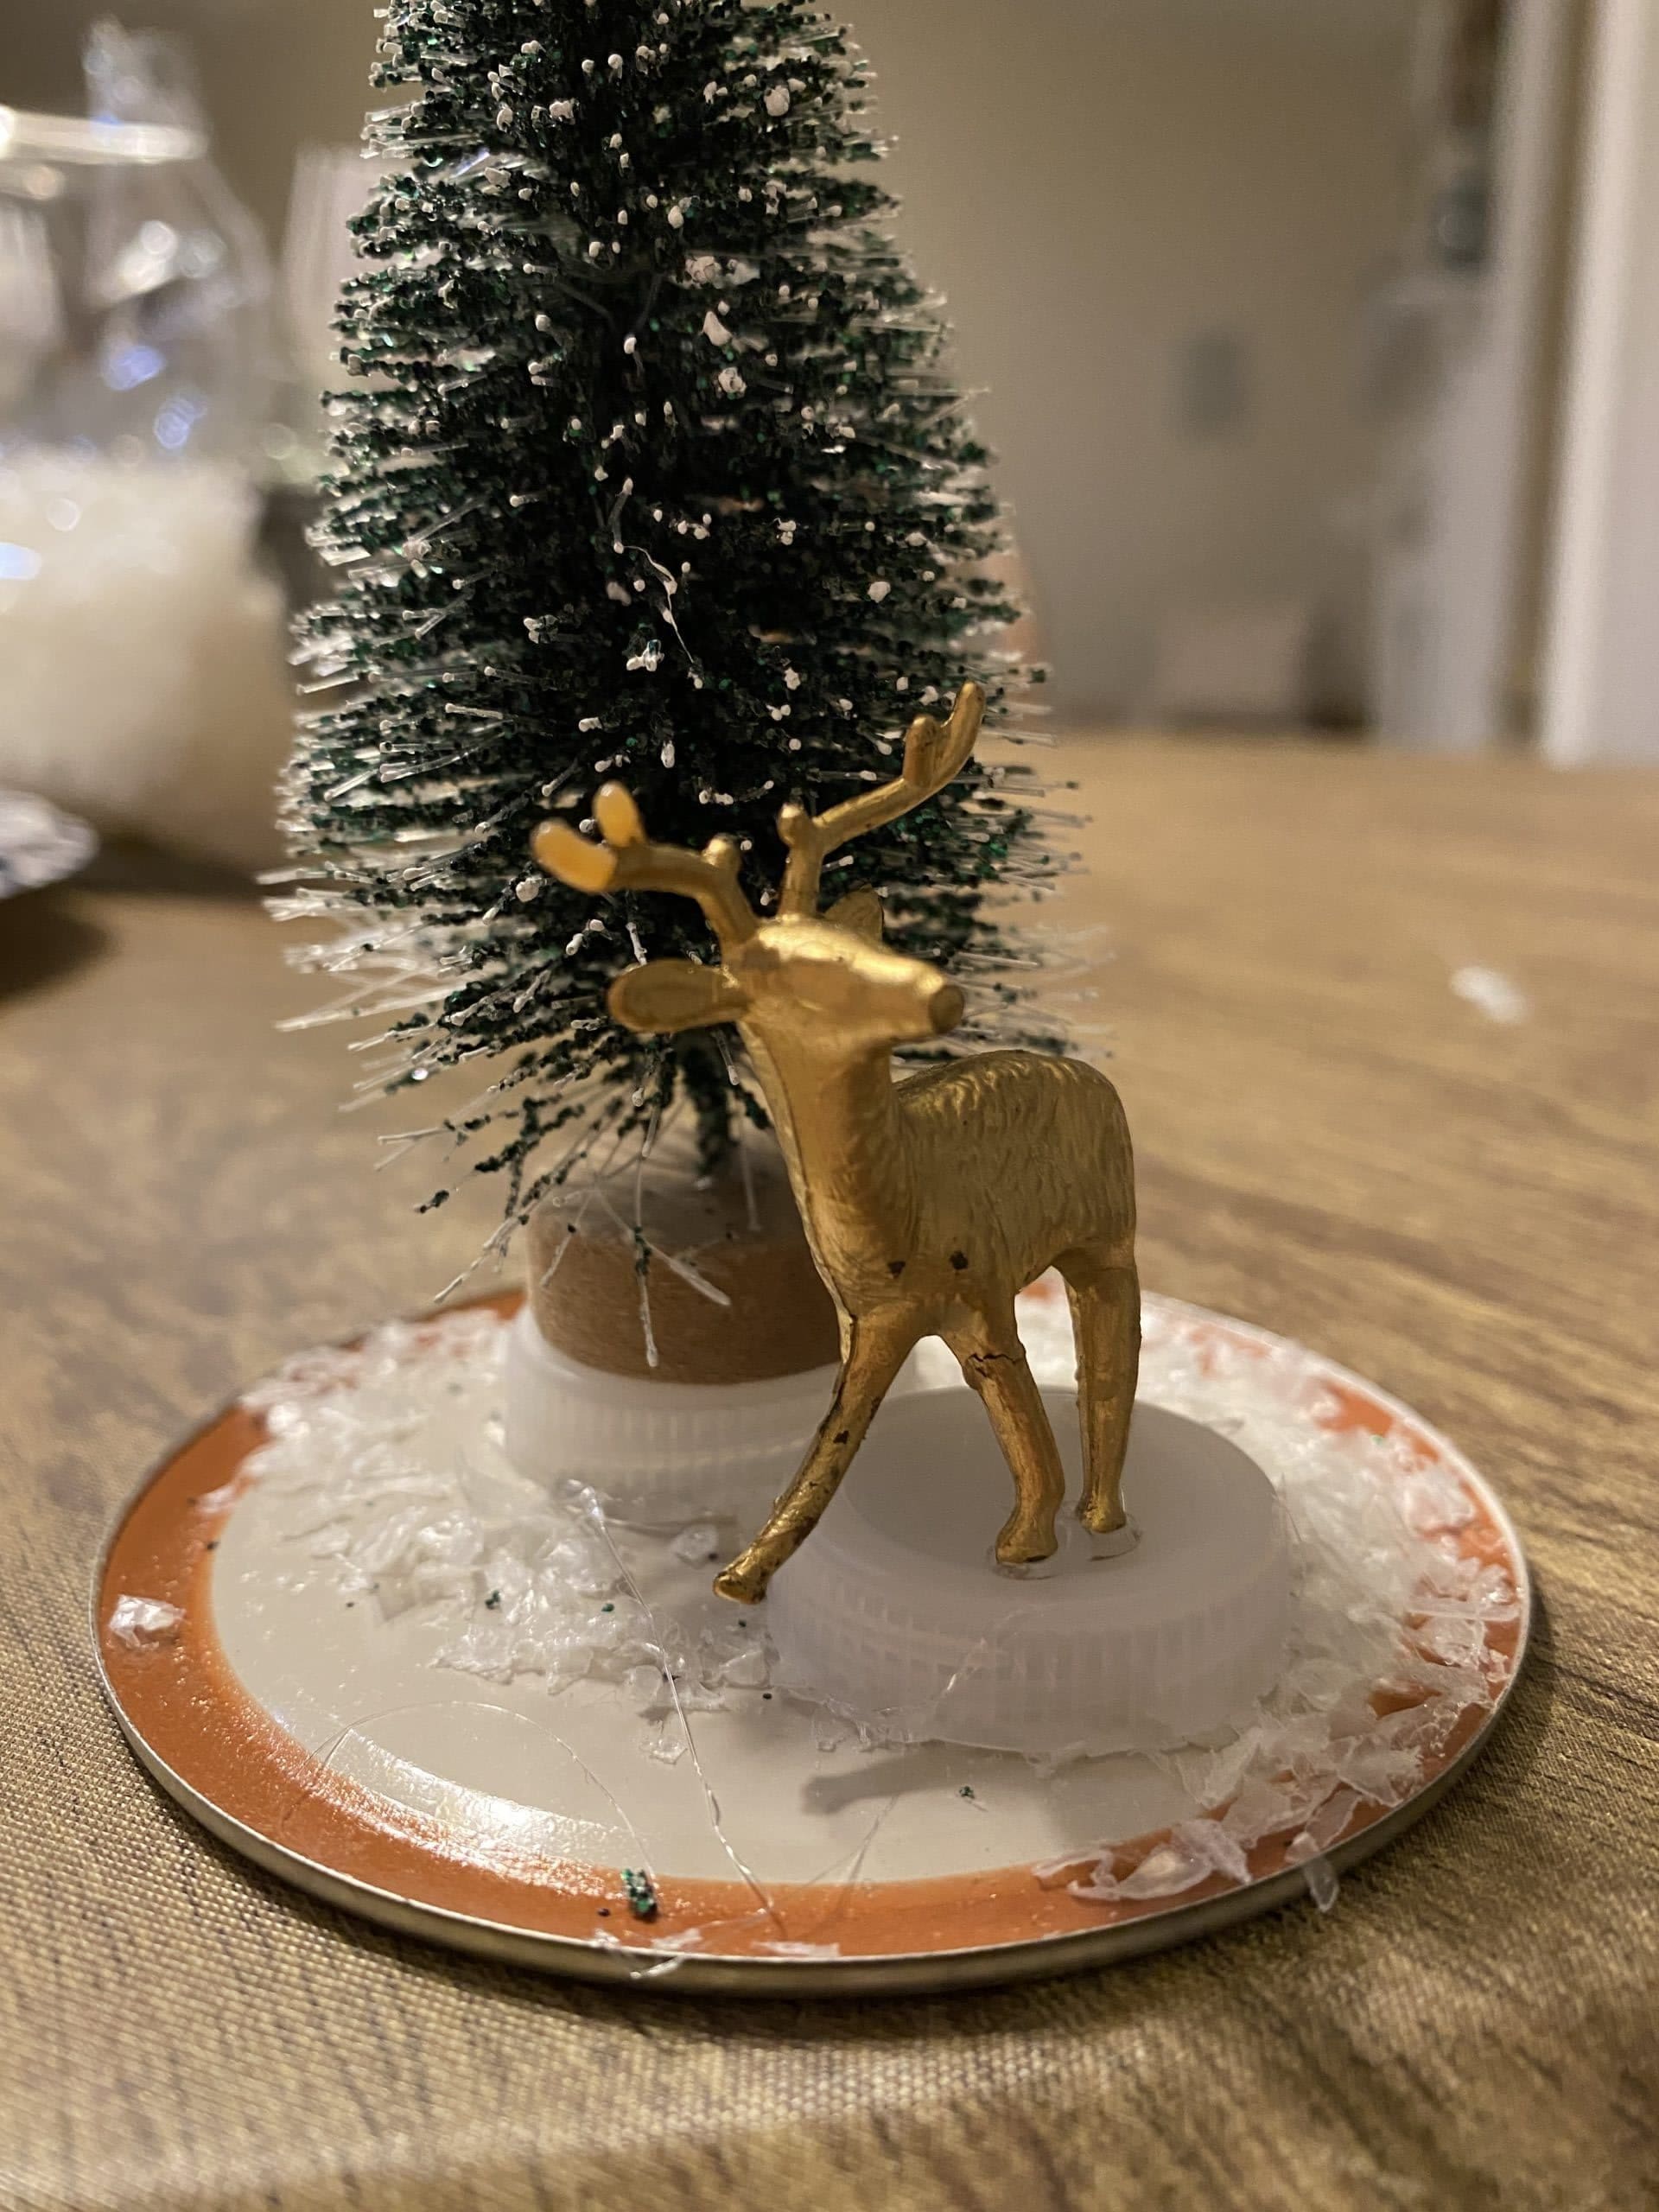
    2. Decide where you want to place the tree and reindeer and then glue a bottle cap to those places (see below picture).  The bottle caps give the tree and reindeer a little height so you can add more snow without them being swallowed up.

    3.  Glue tree and reindeer onto the bottle caps. (I could only get 3 legs of the reindeer on the cap – I left the front one off)

    4.  Dump the baggie of fake snow into the jar, then put the flat part of the lid inside the jar and screw the ring on the jar.

    5.  Tie the twine around the bottom of the jar attaching the jingle bells just before tying the bow.  All done!

    I love that the bells add just a little jingle as you turn the jar over.

    I hope your holiday season is filled with good food, family and friends!  We’ll see you in January!

    Happy crafting!

    -Morgan

  • Beavercreek Adult Take-and-Make: Flannel Hand Warmers

    Click here to sign up for your kit here:  https://greenelibrary.bibliocommons.com/events/6181743f4a11c24100a1ba4d

    Colder weather is officially upon us and winter sports season is here!  So this month I thought we’d make handwarmers.

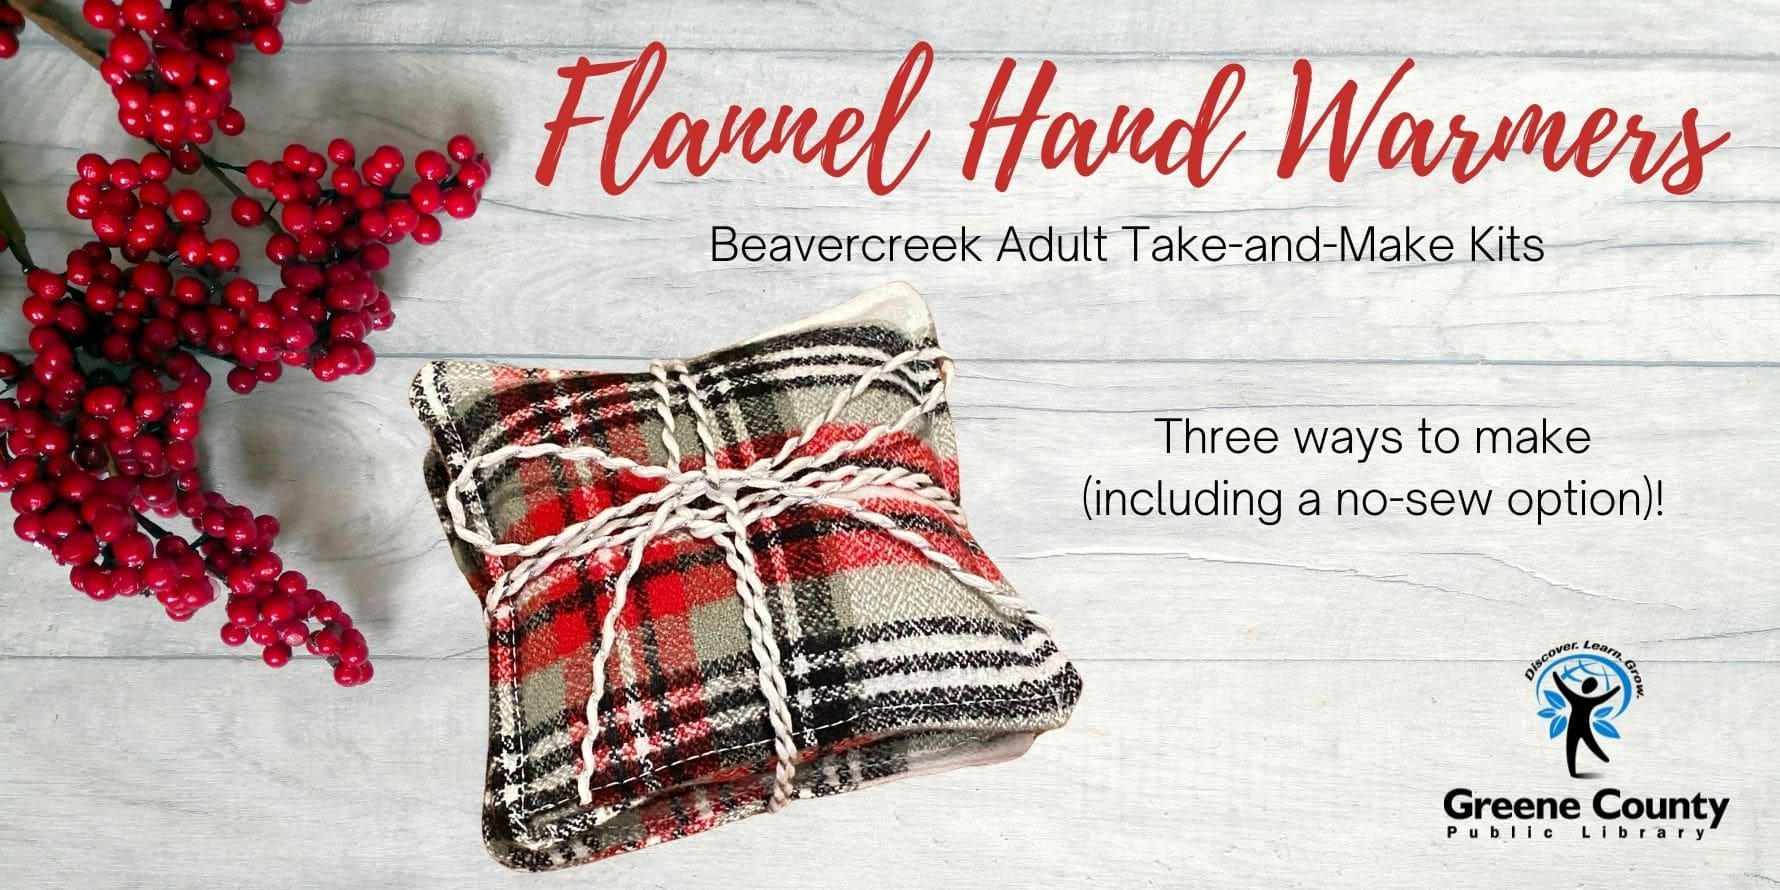
    The great thing about this project is that anyone can make these no matter their skill level.  There are three different ways these can be made.

    1.  Machine sewed.  This is the method I used to make the samples in the picture.  Put the right sides together, sew around three sides and turn right side out.  Next, top stitch around the same three sides.  Fill with 1/2 a cup of rice.  Fold the edges of the 4th side in and top stitch it closed.
    2. Hand sewed.  In this method, you would still want to put the right sides together and hand sew three sides using a running stitch.  Turn the square right side out.  Fill with 1/2 a cup of rice.  Using a blanket stitch, sew the open side closed and then continue around the rest of the edges (embroidery floss not included in kit).
    3. Glue.  With right sides facing out, use a bead of hot glue/fabric glue around three sides of the square.  Once dry, fill with 1/2 cup of rice then glue the open side closed.  Use pinking shears to create a finished edge (optional).

    Take a look at the following websites for more detailed instructions:

    Pocket Hand Warmers

    DIY Hand Warmers from Flannel Shirts

    How to Make Hand Warmers

    To use your handwarmers, just pop them in the microwave and put them in your pockets!

    I always love to see your finished projects!  Feel free to send me pics at mcrumbacher@gcpl.lib.oh.us or post them to our Facebook page at https://www.facebook.com/BeavercreekCommunityLibrary

    Happy Crafting!

    Morgan