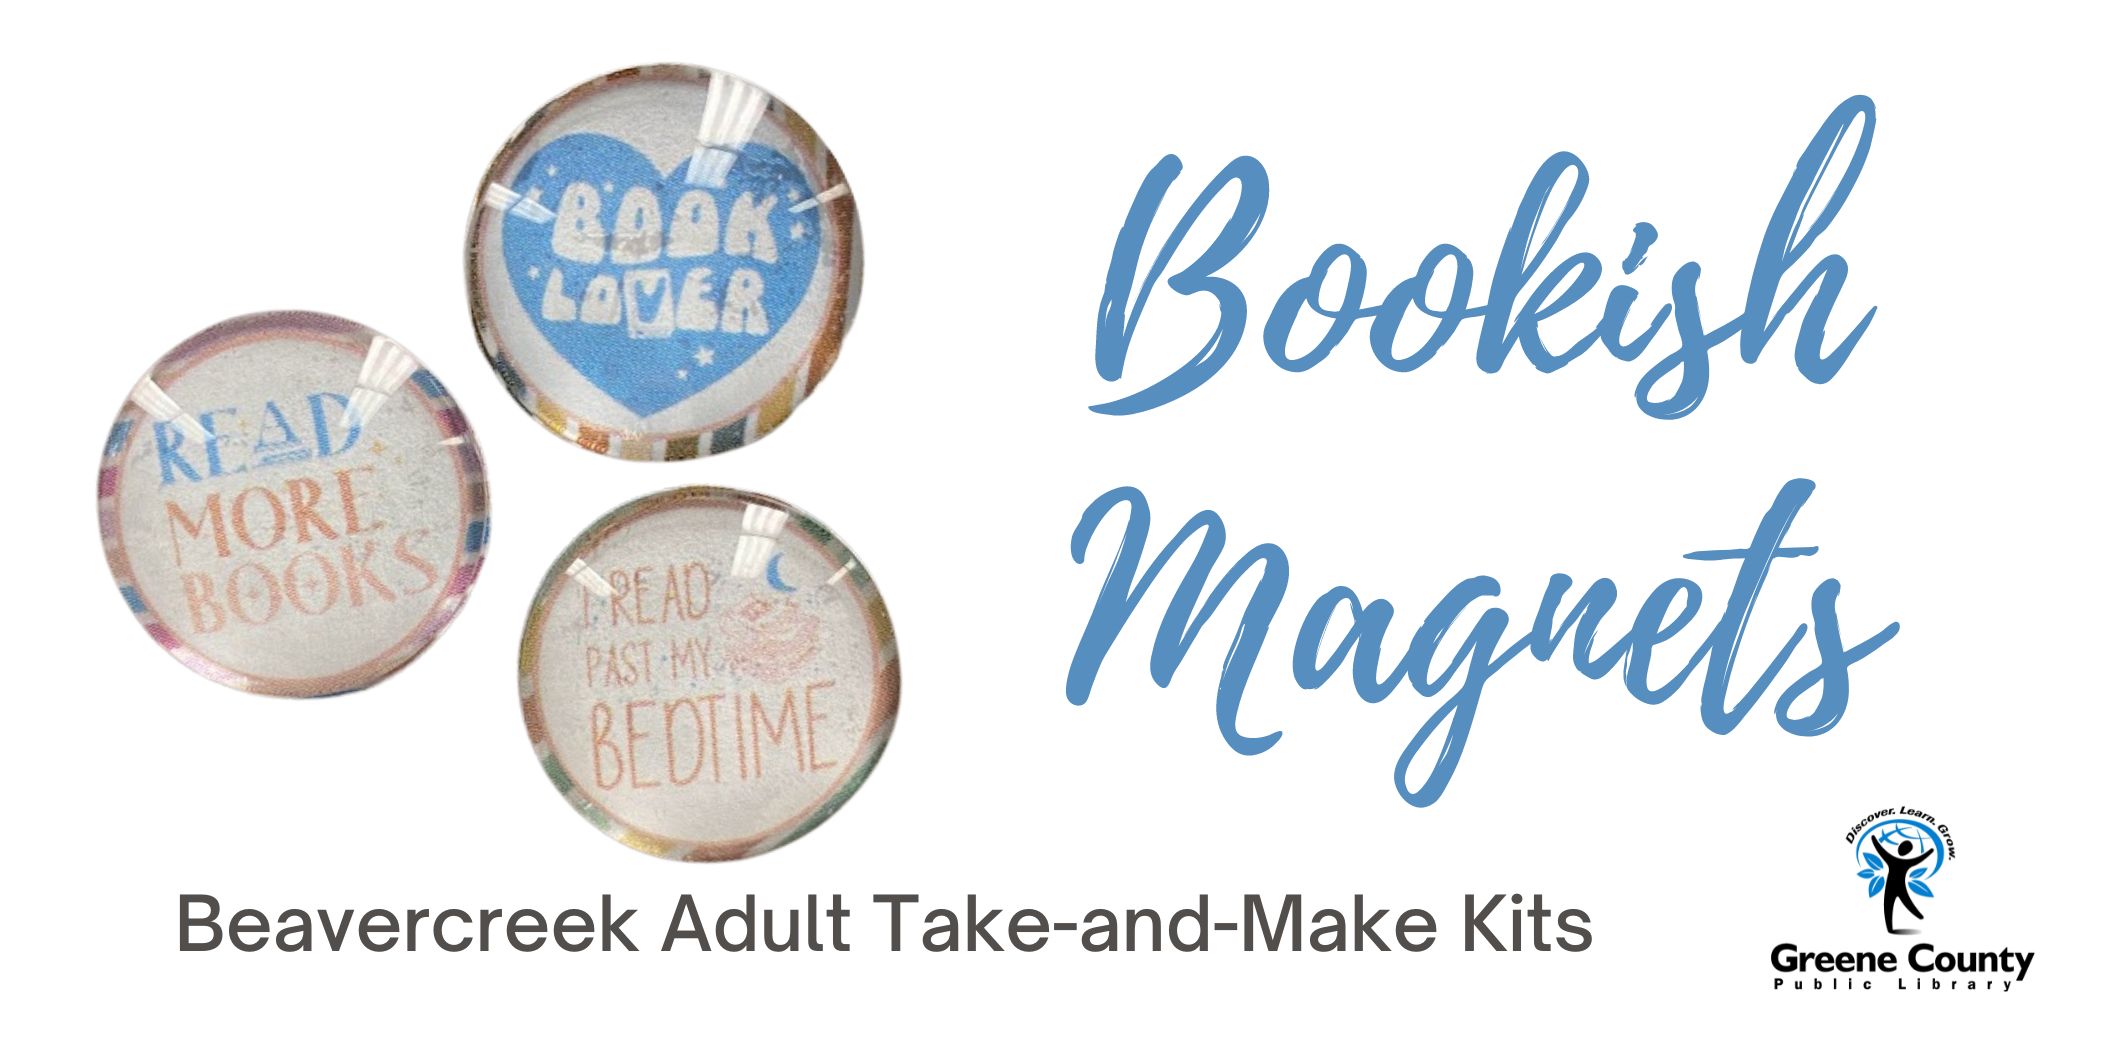
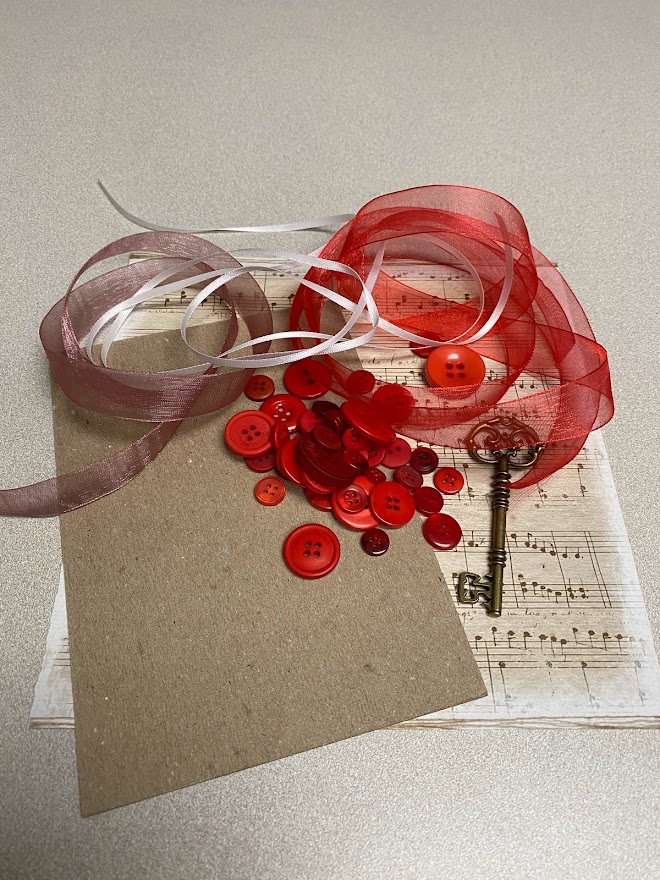
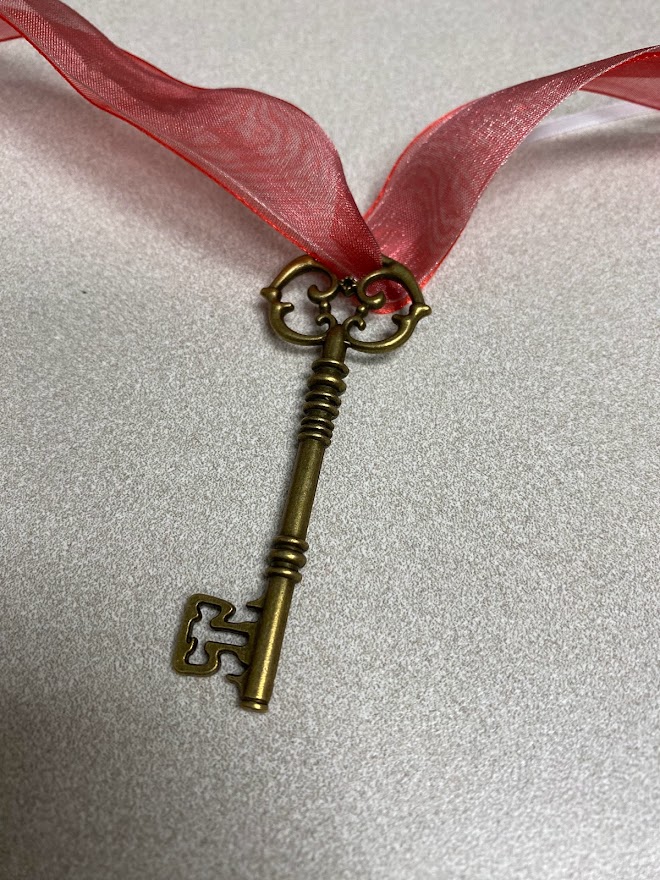
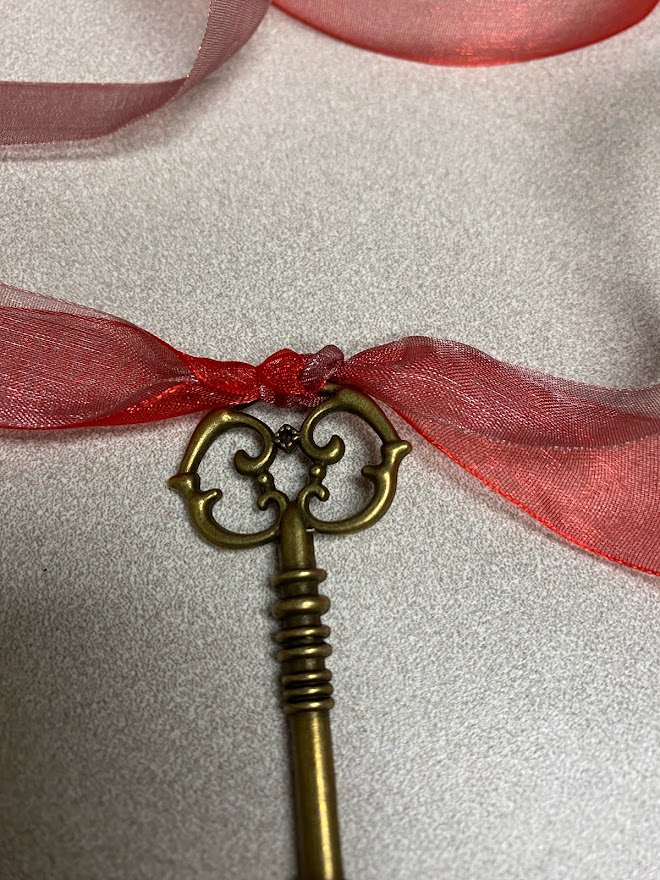
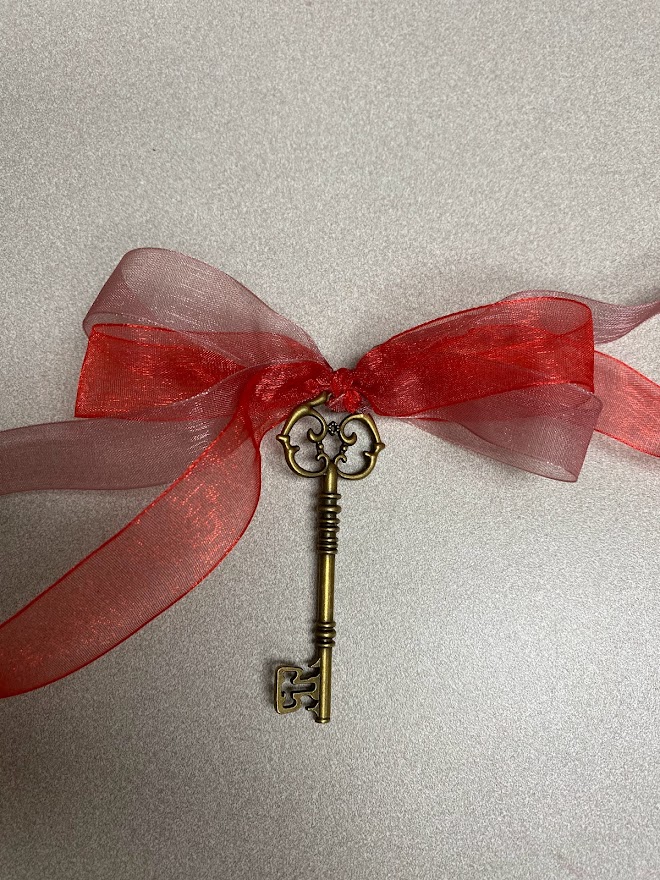
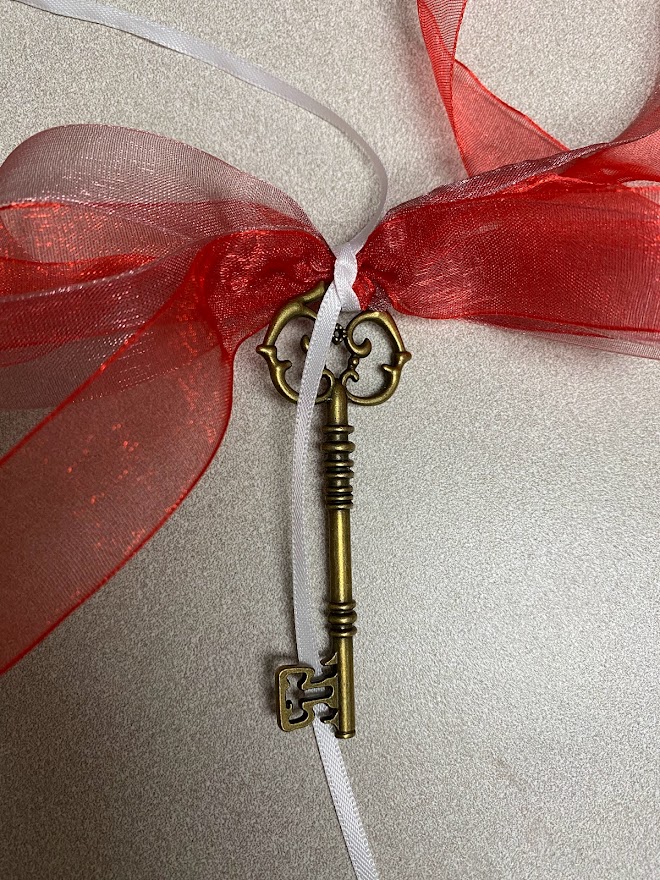
Decide on 3 bookish designs for your magnets and cut them out. You can also use a 1″ round paper punch if you have one. You can also use any other picture as long as it’s 1″ round.
Put a small amount of clear glue or mod podge on the top of the design and attach it to the flat side of the glass dome. Allow to dry.
Once dry and firmly attached, peel the red adhesive cover off the magnet and attach it to the back of the design.
If you’re new to crocheting, don’t worry, this is literally the easiest pattern that exists. Check out these videos for some beginner instruction:
https://www.youtube.com/watch?v=GcOzdAzmtNM
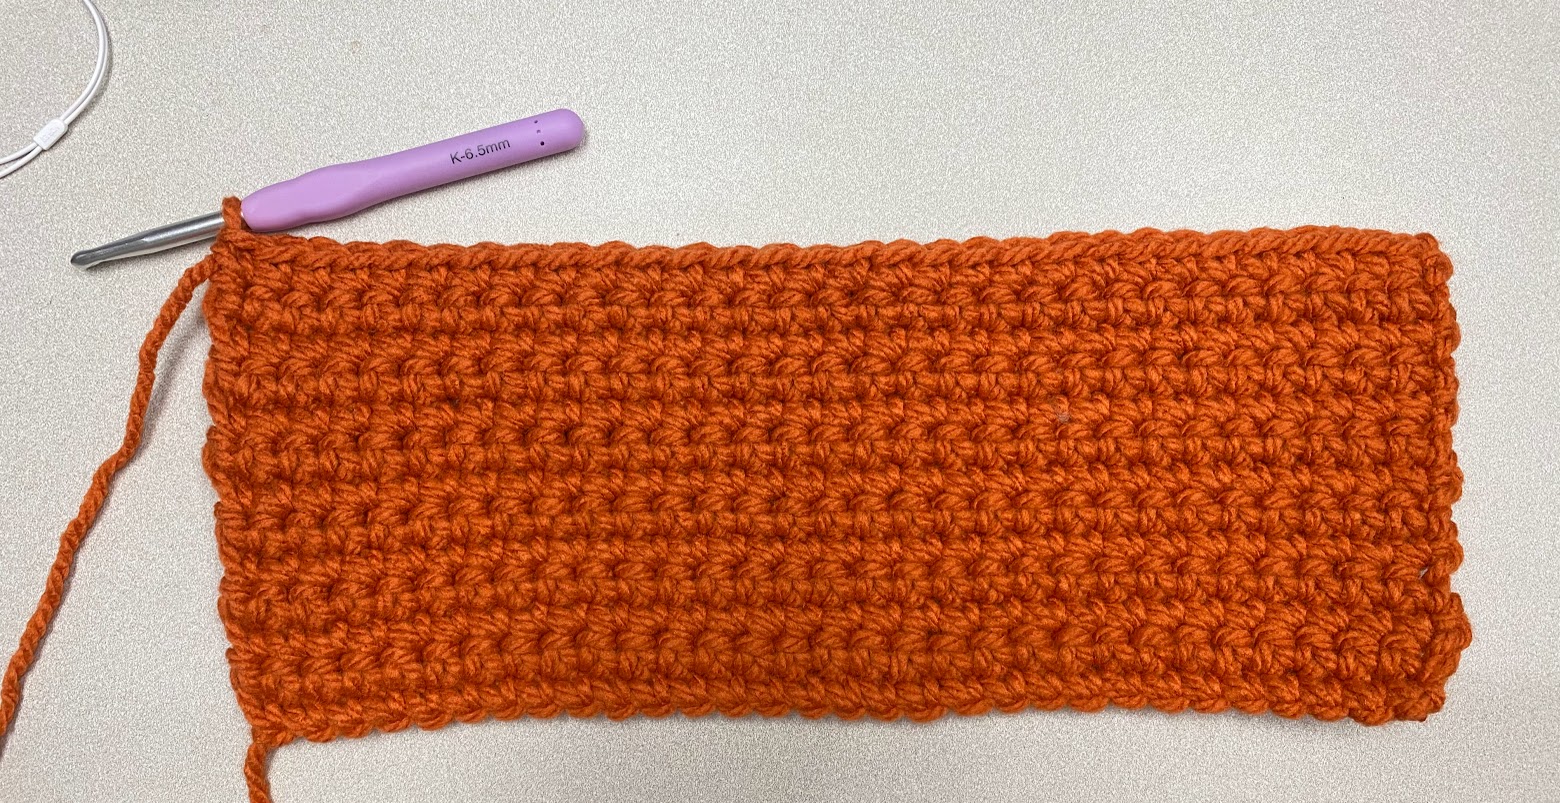
You will create a rectangle that is 30 chains long and 15 rows high – all in single crochet stitch.
Chain 30, turn
Single crochet (SC) in each chain all the way across. Chain 1 and turn.
Skip the first chain and then SC all the way across.
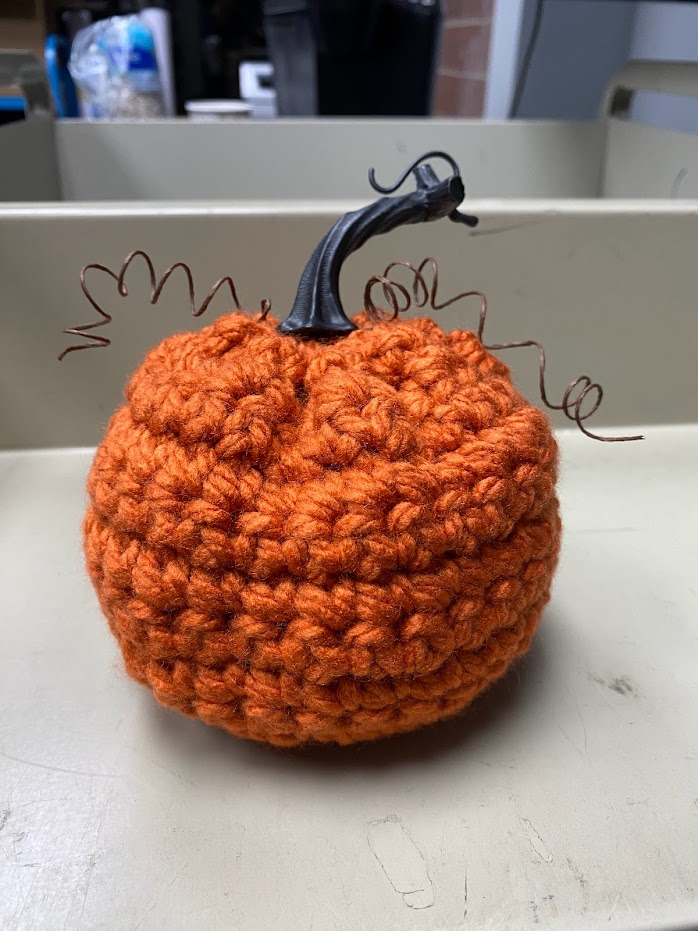
Repeat until you have 15 rows. You should end up with something like this.
5. Cut the yarn tail (from the skein) leaving SEVERAL feet of length.
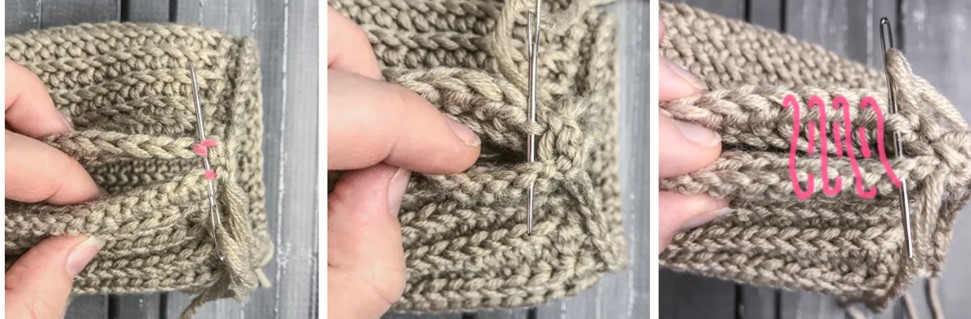
6. Fold the rectangle in half and sew the ends together using the yarn tail.
(This picture shows using a needle, but you can do this with the hook as well)
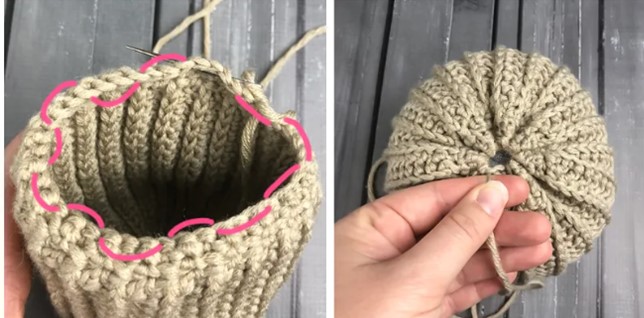
7. After you have a tube, continue to use the yarn tail and weave yarn around the outside edges. Pull to close.
8. Turn the pumpkin over and stuff with newspaper from the top. I only needed about 2-3 sheets balled up to fully stuff the pumpkin.
9. Once pumpkin is stuffed, continue to use the yarn tail and close the top just like in step 7.
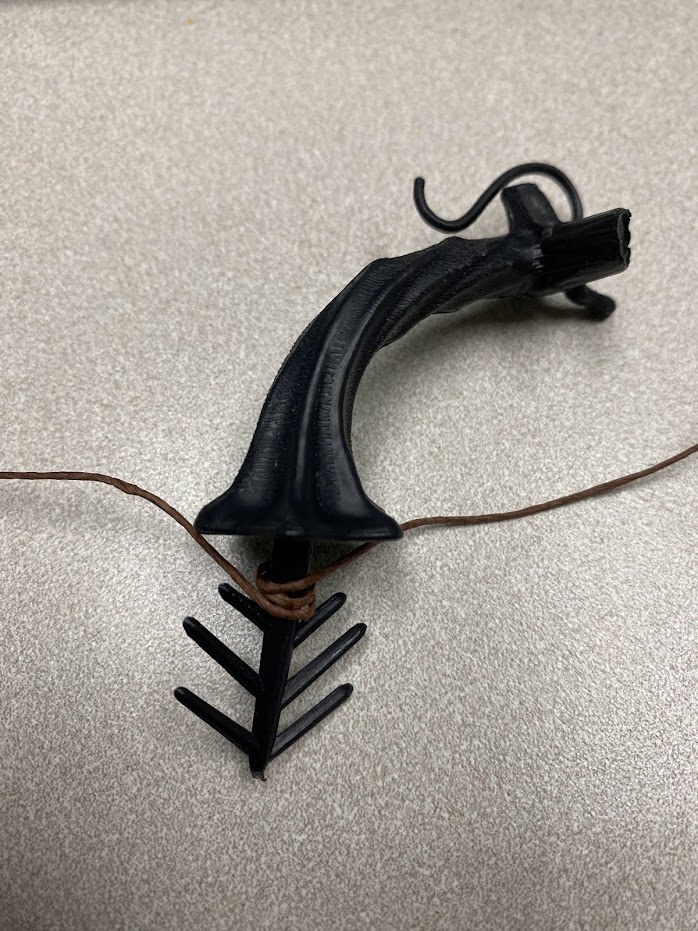
10. Wrap the wire vine around the bottom of the stem a couple of times to secure it.
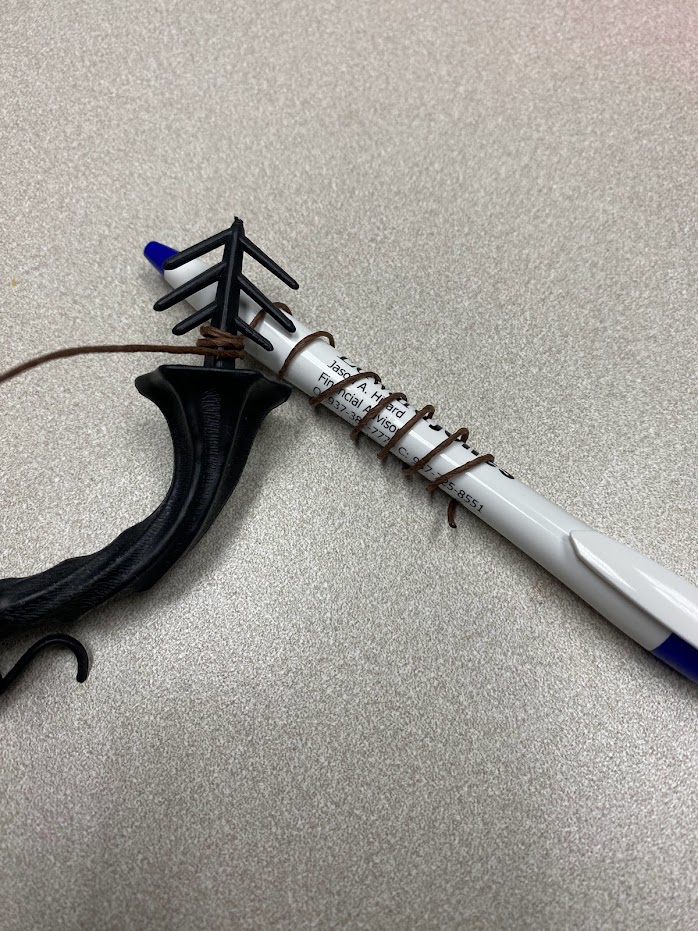
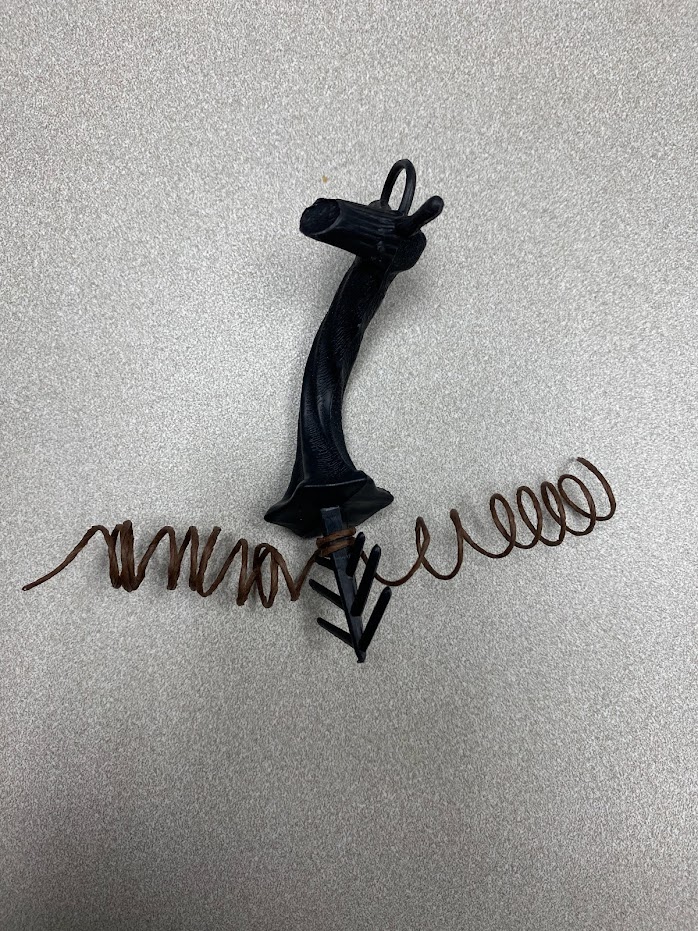
11. Use a pen/pencil or other round object to curl the ends to look like vine.
12. Insert the stem into the top of the pumpkin. Make sure it grabs some of the fibers from the yarn so that it stays in place. Position vine as necessary.
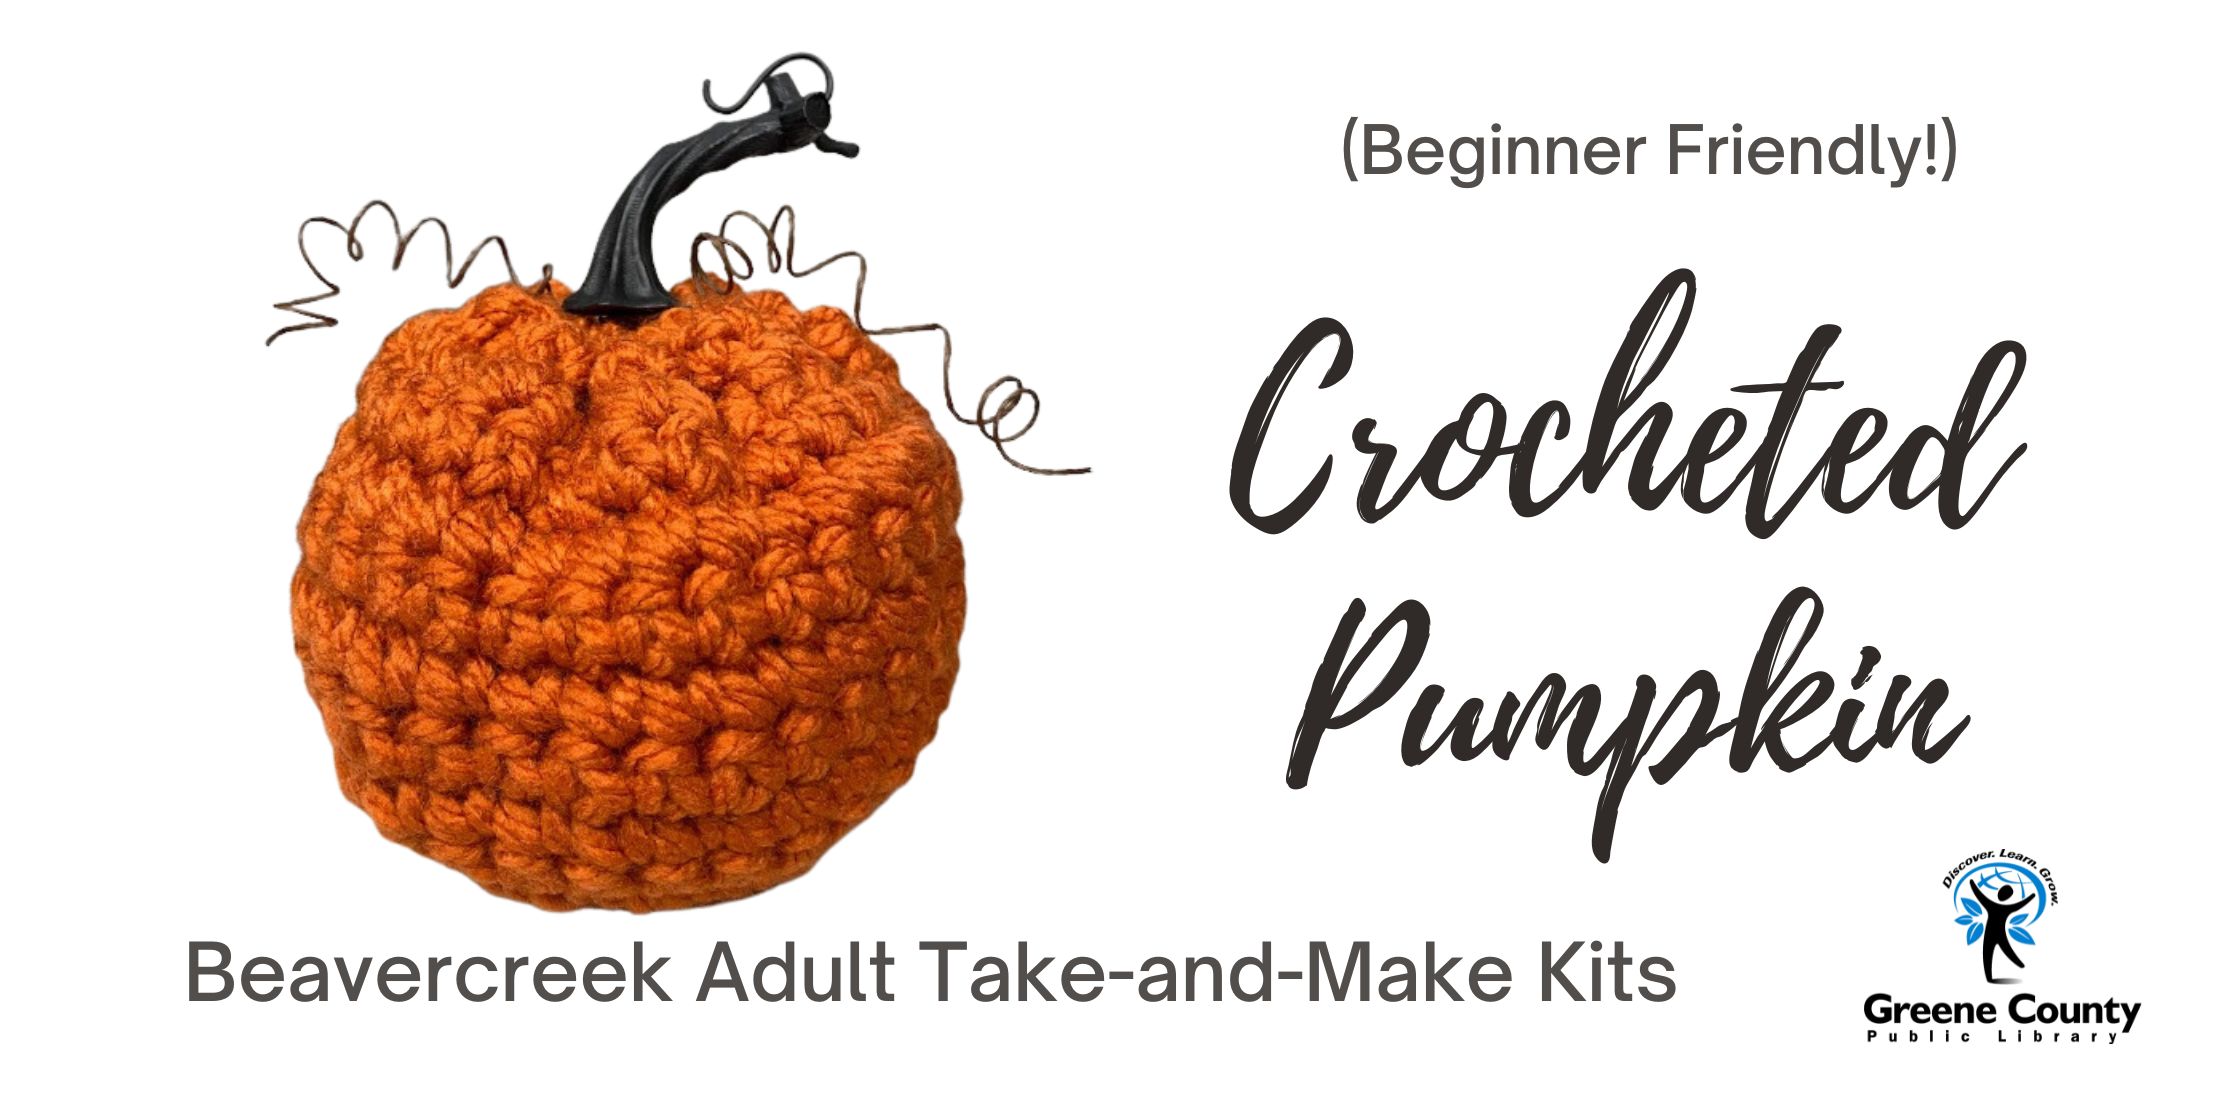
That’s it! You have a cute little fall pumpkin ready to decorate your house!
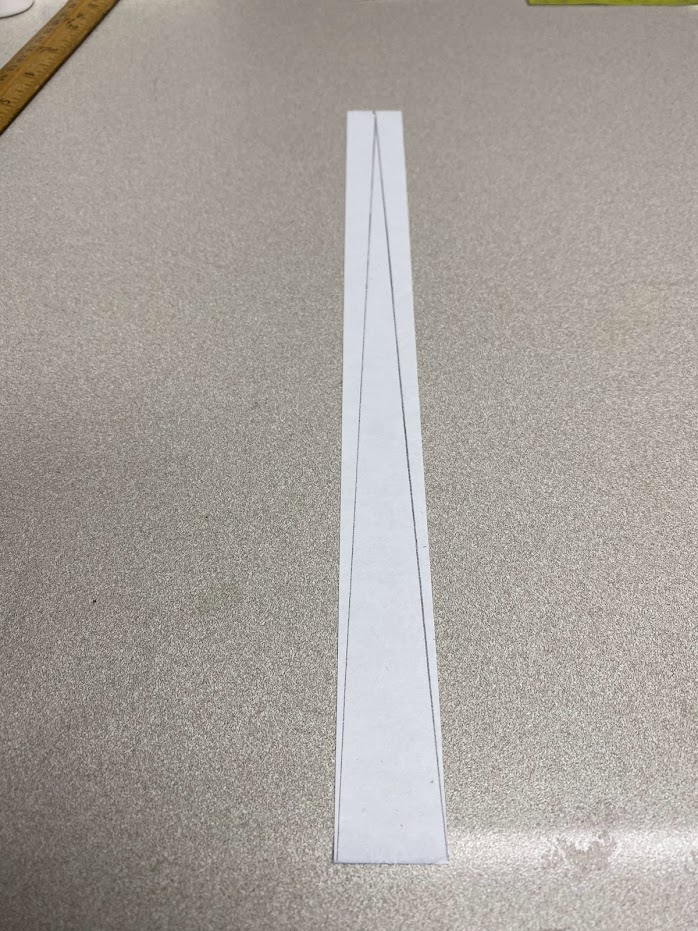
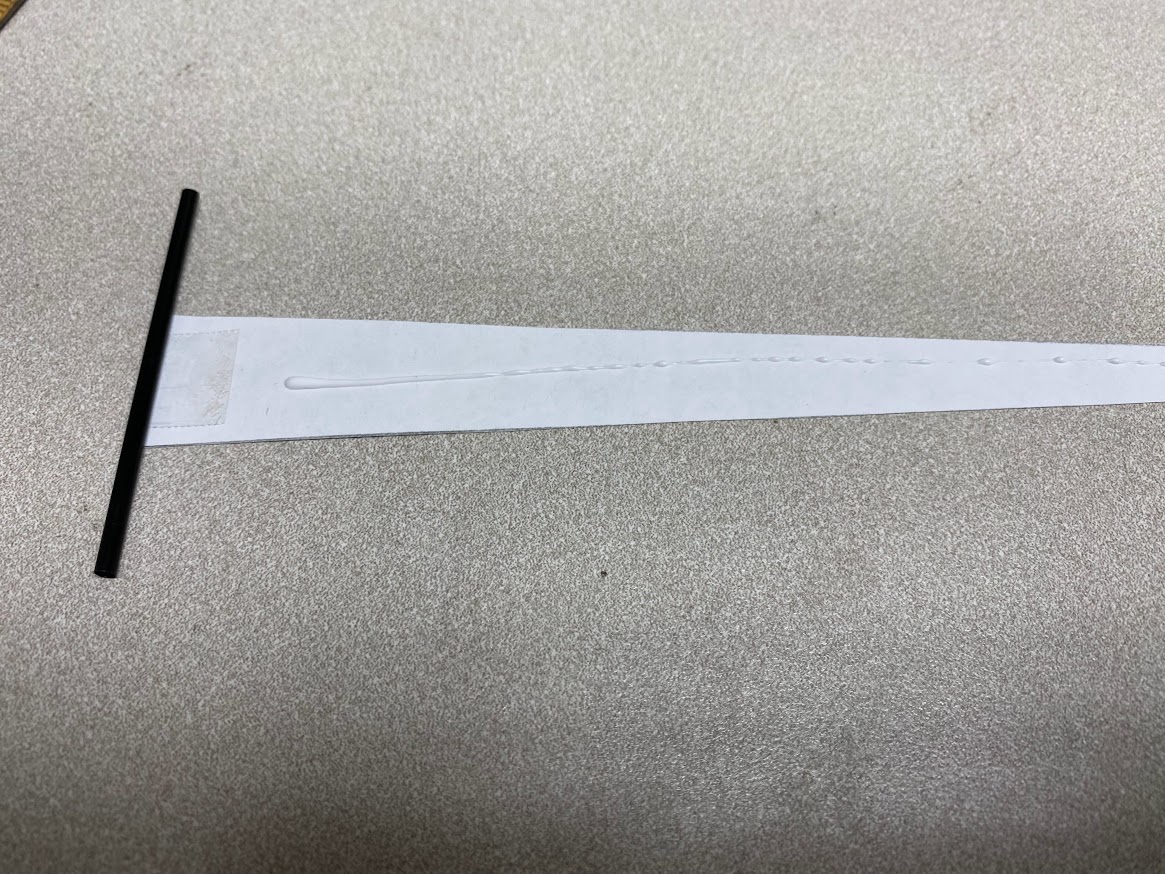
Cut the paper into 1″ strips. Mark halfway and then create a long triangle like the picture below. Cut out the triangle.
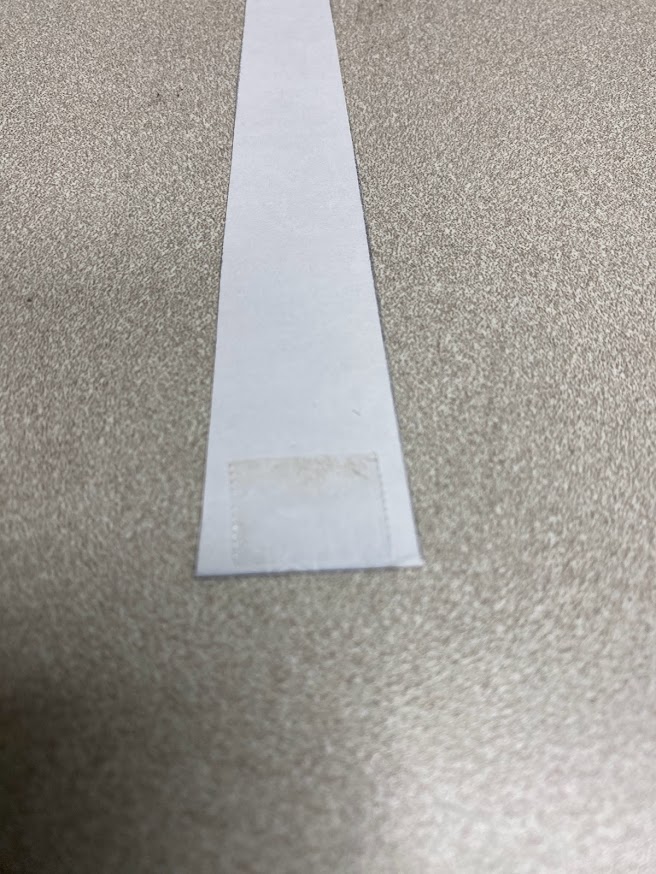
2. Place a piece of double-sided tape on the long side of the triangle. This is optional, but it helped keep the stirrer in place as I started to roll.
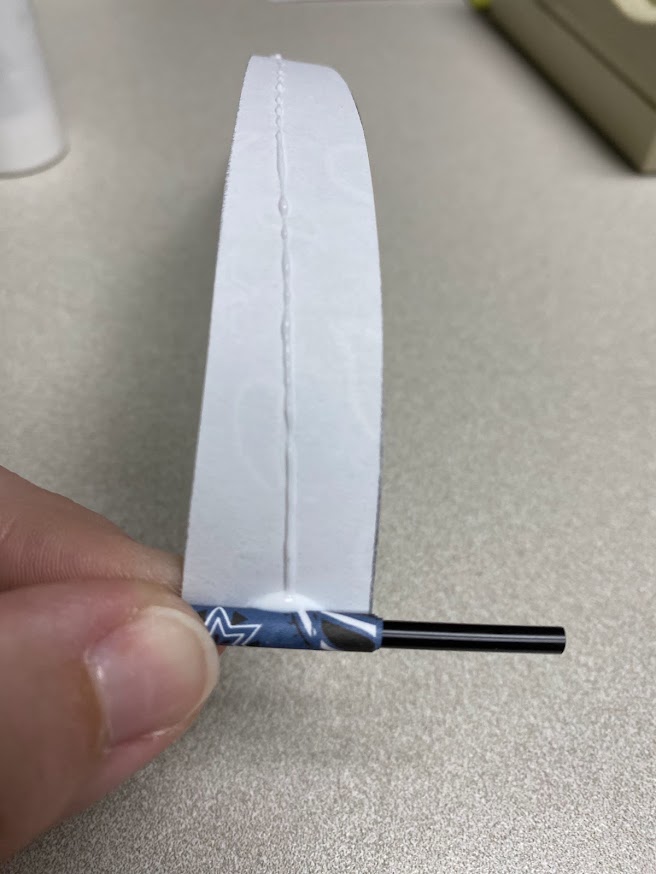
3. Place the stirrer on the tape and put a thin line of mod podge down the length of the paper. Be sure to not use too much or you’ll have a mess on your hands.
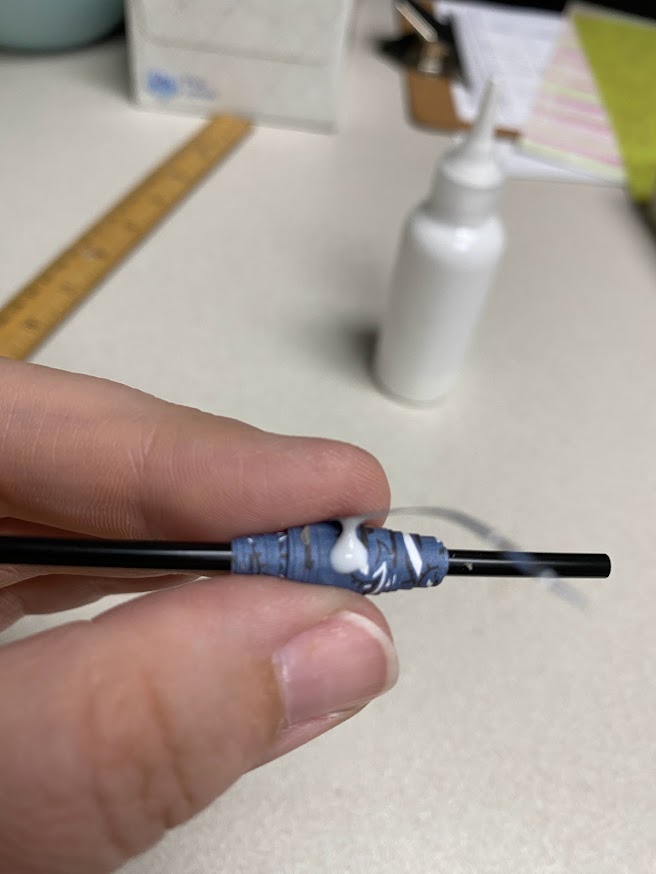
4. Roll the paper around the stirrer keeping it as even as possible. Guys, I really struggled with this. Mine kept coming out lopsided and I just couldn’t keep it even. I HIGHLY SUGGEST practicing with plain paper before cutting the included paper.
5. When you get to the end, place a small dot of mod podge on the bead to keep the end down.
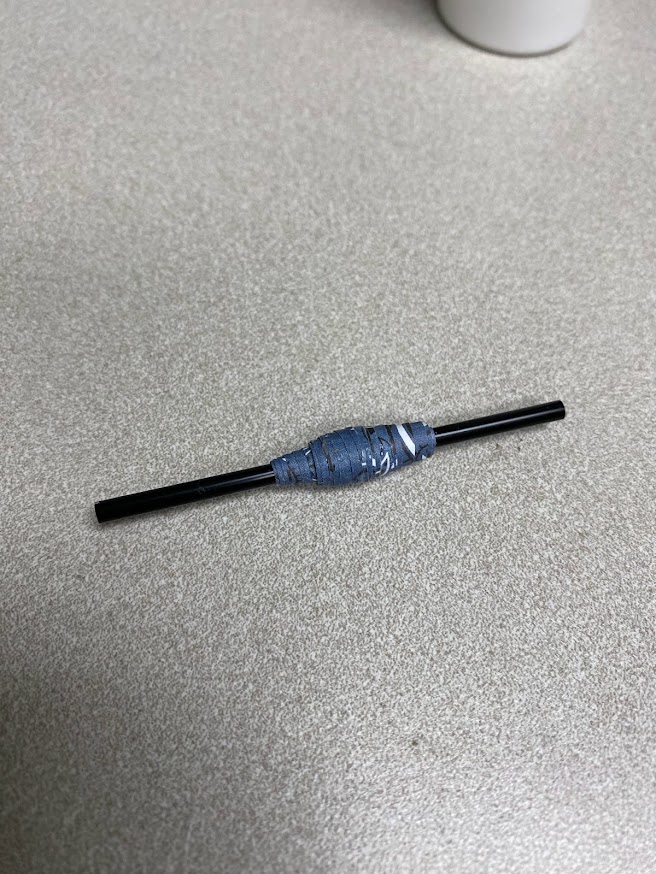
6. Allow the beads to dry. Then, coat them with another layer of mod podge (using the included paint brush) and allow to dry again. Snip off the excess straw on either end and your bead is complete! Repeat as many times as you’d like.
7. String the finished beads on the jewelry cord and tie a knot to finish off.
There are many different kinds of beads you can make depending on how you cut the paper. Below, I’ve included some other tutorials on how to make different shaped beads.
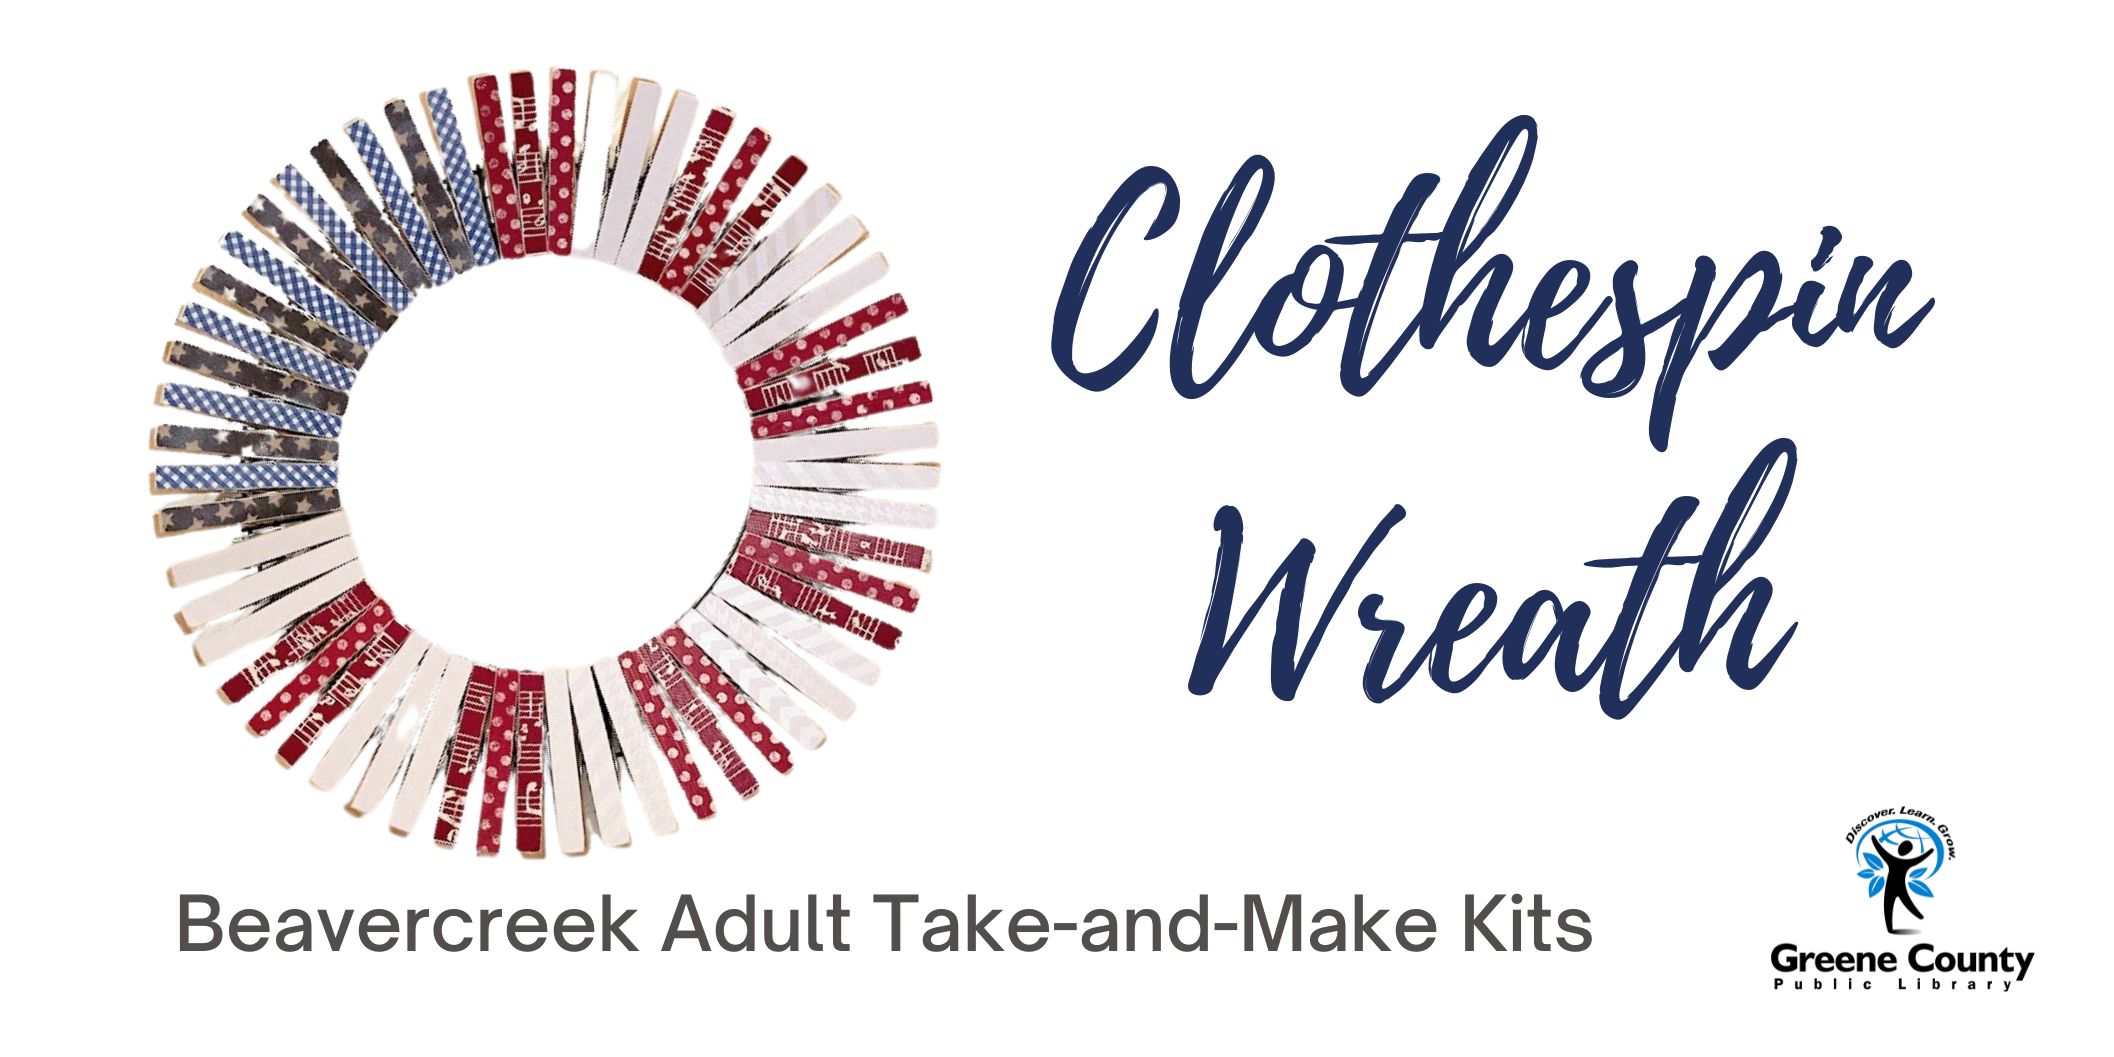
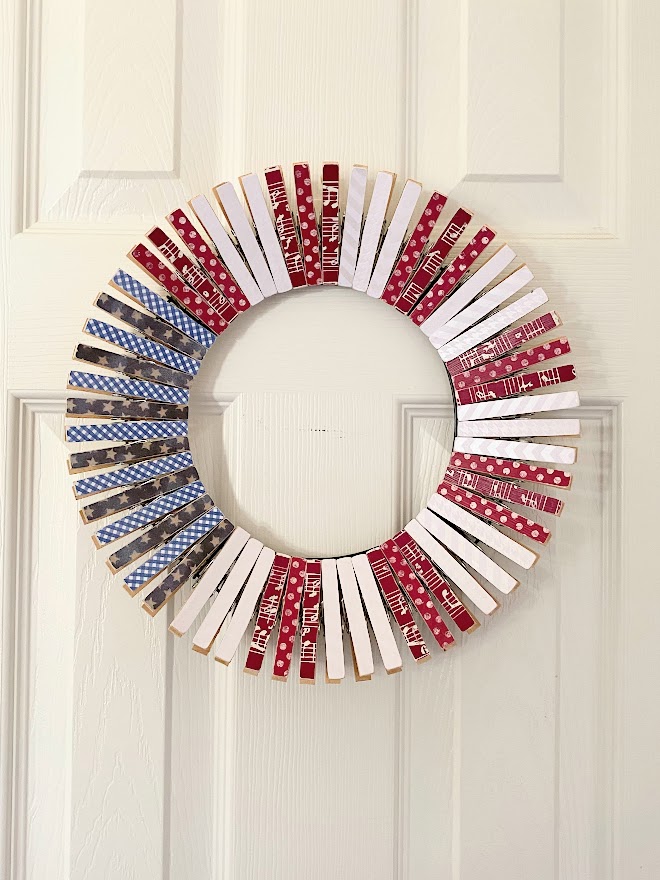
Hey Crafters! July is right around the corner and we’re kicking it off with a patriotic clothespin wreath. This was easy to make (though a bit tedious) and I really enjoyed it!
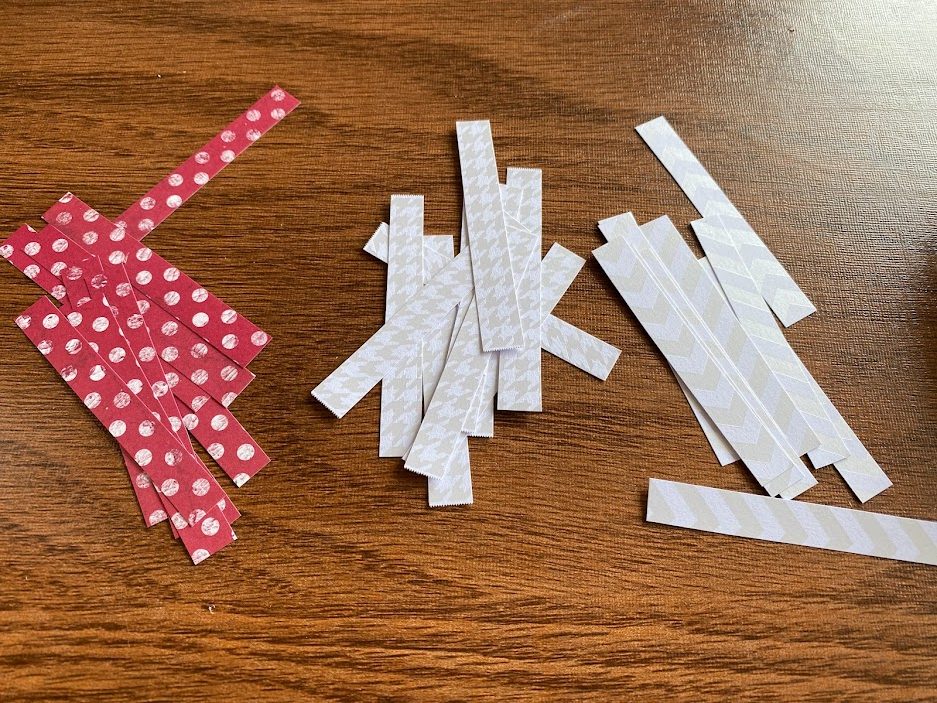
Using a clothespin as a guide, cut the scrapbook paper into strips. You will need 14 blue strips (8 of each shade), 21 red strips and 21 white strips (divided between the 2 shades)
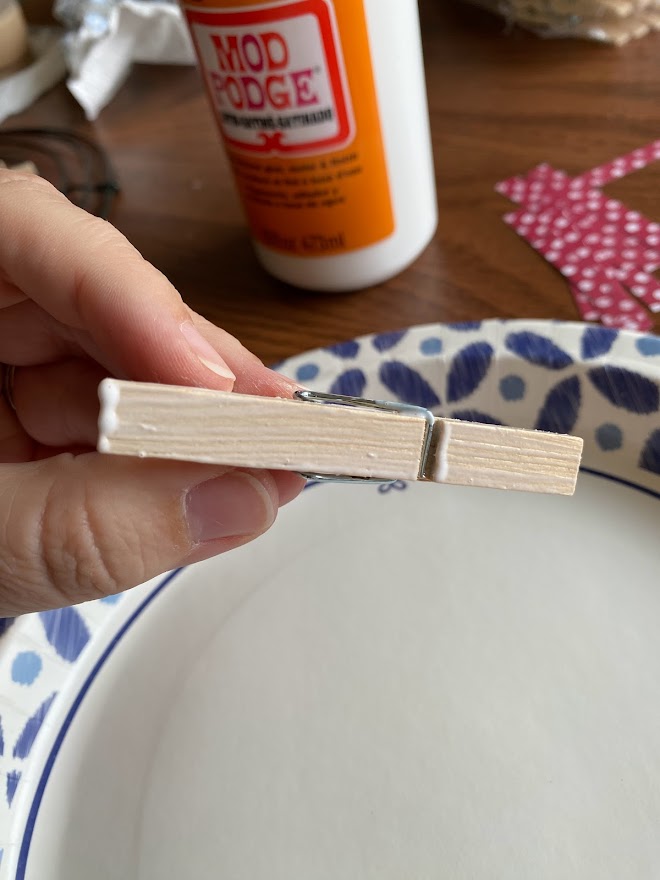
2. Put a thin layer of mod podge on the clothespin and secure the strip of paper to the top.
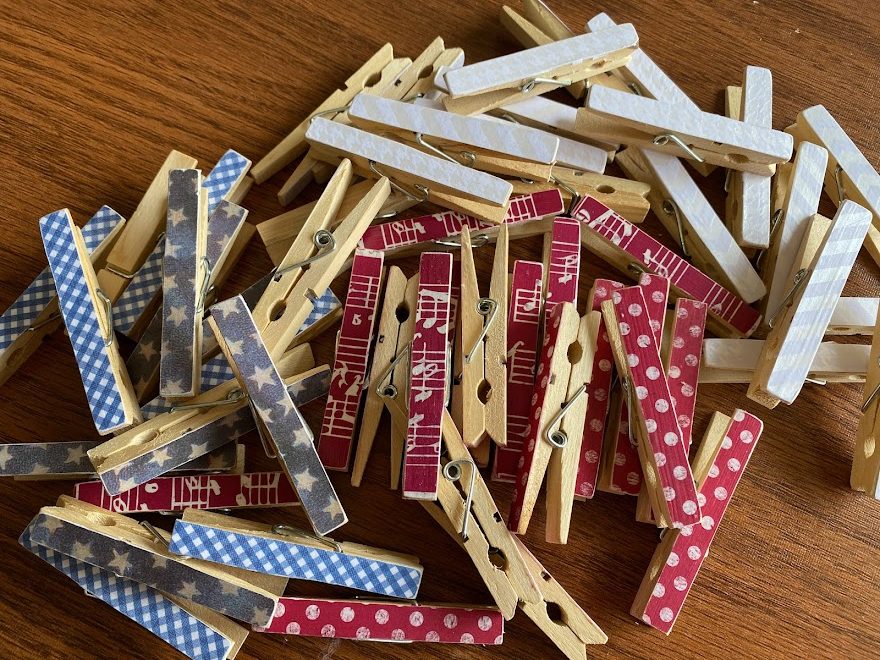
3. Allow the mod podge to dry. If you want to, you can stop at this step. However, I filed the edges of the clothespin down to remove the excess paper off the edges. This also gives it a bit more of a rustic look. After that, add another very thin layer of mod podge to the top and allow to dry.
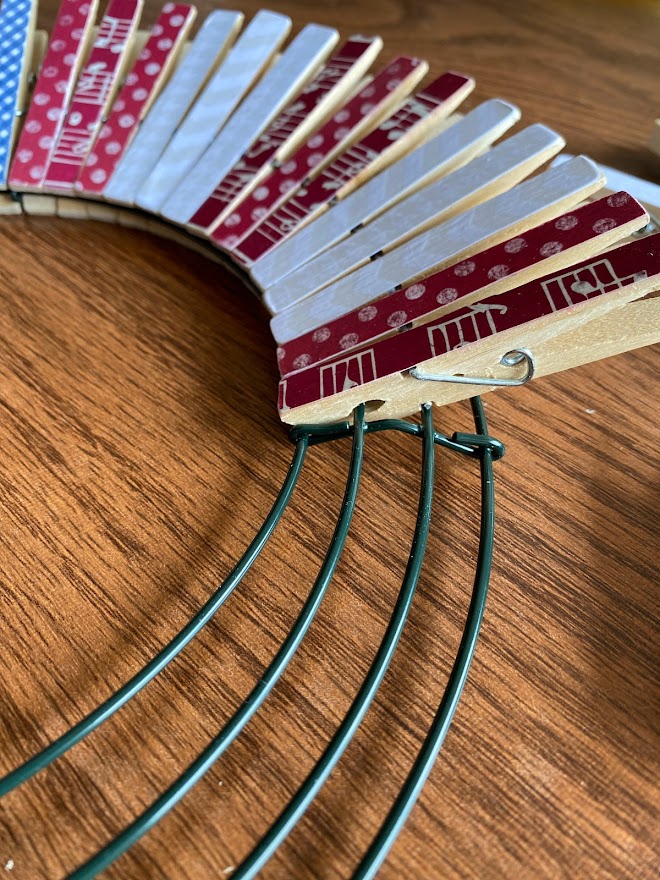
4. When the clothespin are all dry, attach them to the wire frame as shown in the picture below. The wire frame is divided into 4 sections. Fourteen clothespins should fit into each section. I alternated the colors, but you can arrange them however you like!
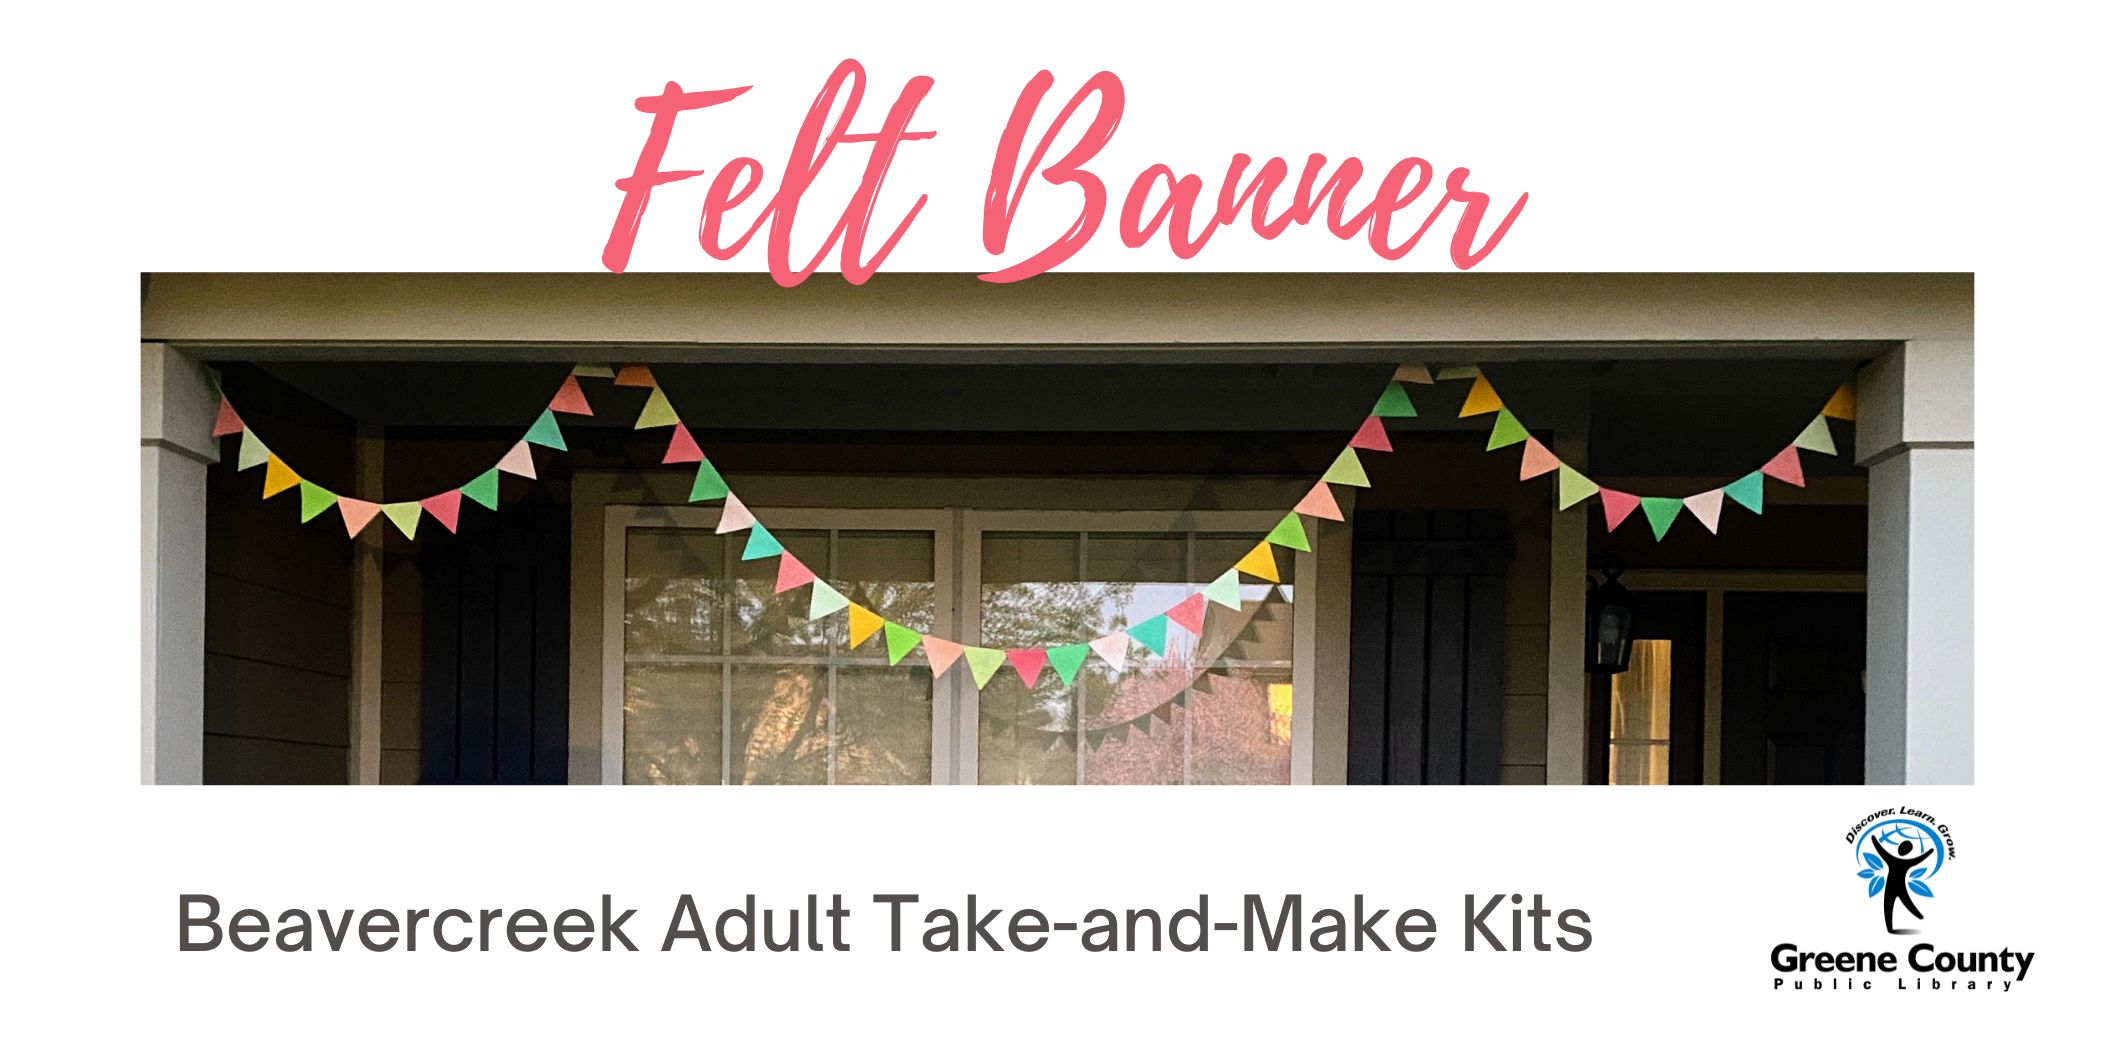
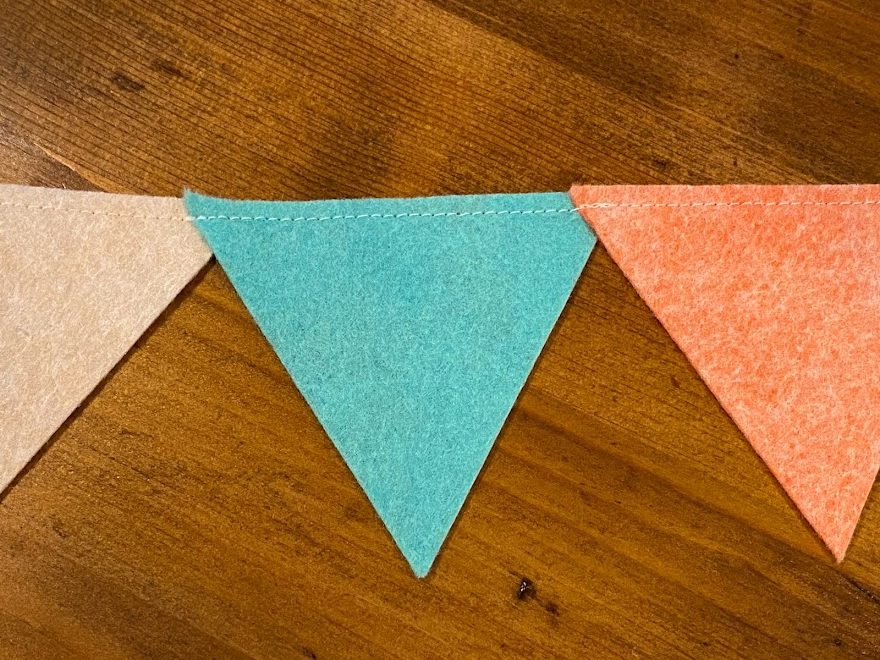
Cut the strips of felt into triangles. They don’t have to be perfect. I just cut diagonally until the end of the strip.
Decide how you’re going to attach the triangles. You can use glue – something like Elmer’s or Tacky Glue. Or you can sew them together. I used a sewing machine and overlapped the edges of the triangles just enough to attach them. See below. If you glue, I would just put a dot where the triangles overlap.
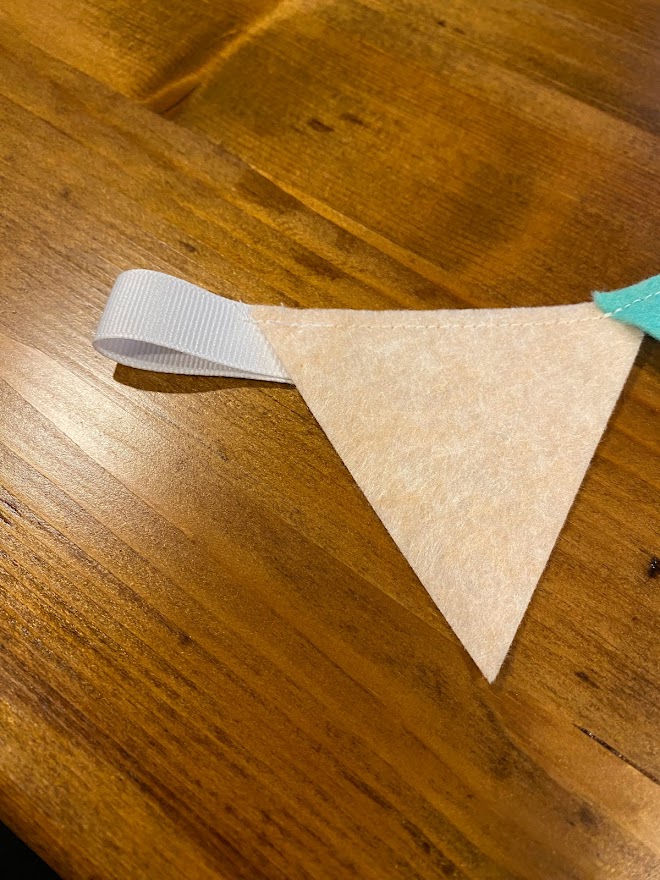
Lastly, attach the ribbon on the ends. Cut the provided ribbon in half. You’ll see in the picture that I used a thicker ribbon and it wasn’t as easy to hang with the wider size. Once you’ve cut the ribbon in half, either glue or sew it onto the end of the last triangle on either side. See below. The final length should be between 14′ and 15′.
Included in your kit is 4 sachet bags, iron on designs and, of course, some wonderful smelling bag fillers.
To transfer the designs onto the bag, cut closely around each design. Set your iron on high heat, NO STEAM. Peel off the backing from the design and place onto the sachet bag. Cover with a scrap piece of cloth and then iron for 5 seconds or so. If you don’t use a piece of fabric between the iron and the design, it will probably smear the design.
Once all your designs are ironed on, fill your bags!
If you like your bags a little fuller or with some added weight, you can add rice along with the other filler.
Hope you’re having a happy spring and you enjoy this simple craft!
Glue (I used fabric glue, but I think other types would work)
INSTRUCTIONS:
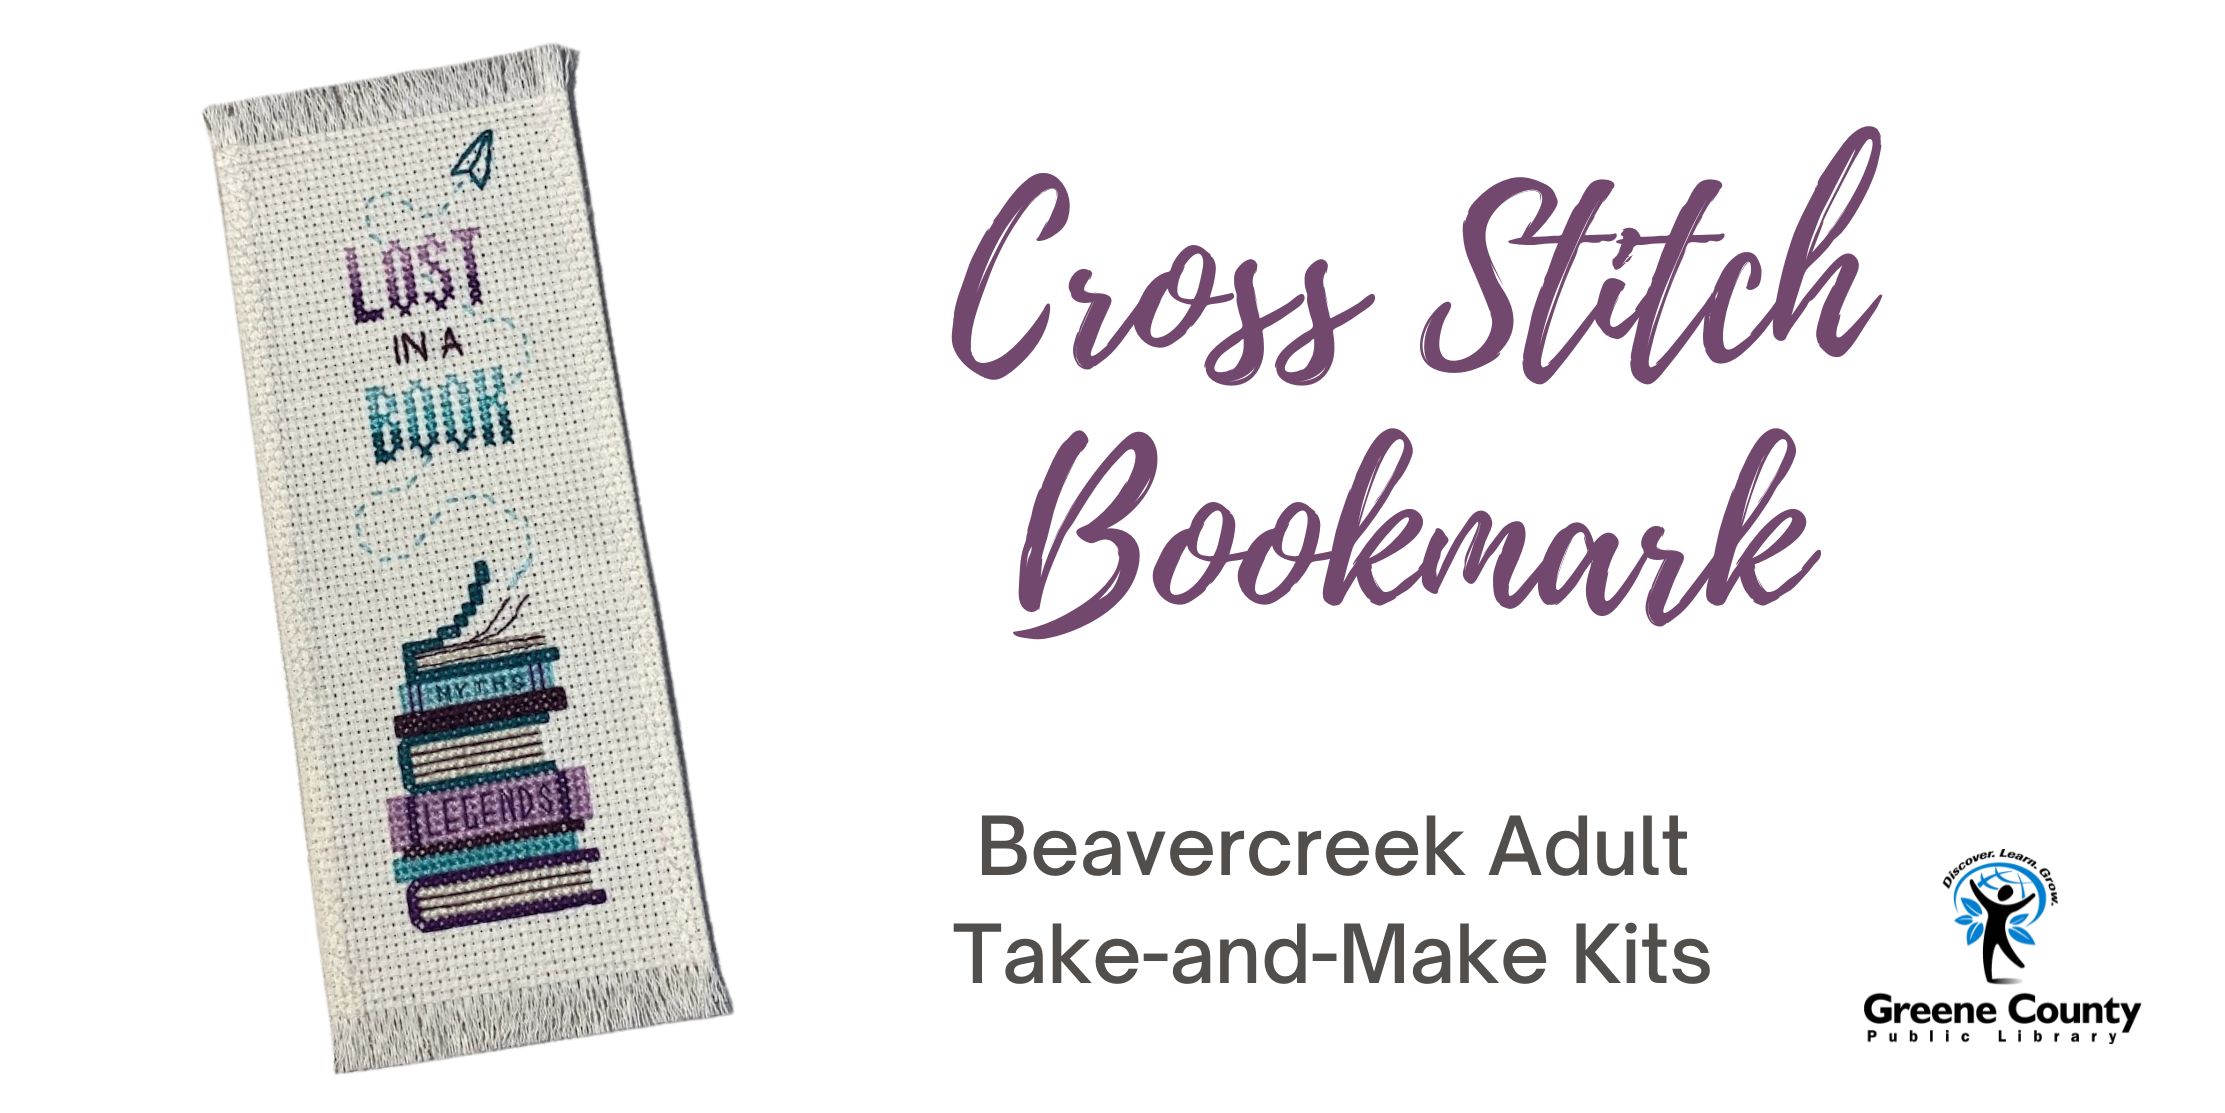
I started stitching with the very bottom row (symbol = purple 3). I counted 7 stitches from the left and 7 stiches from the bottom to begin.
After you’ve stitched the entire pattern, cut the felt piece just smaller than the bookmark and glue to the back. I used tacky glue, but any fabric glue will work.
IMPORTANT:
It is very important to waste as little embroidery floss as possible. There is a fair amount of backstitching and you will need all of the floss for that. Additionally, I did not provide the brown floss for backstitching the pages. I just used the darkest purple for that.
As always, if you have questions you can email me at mcrumbacher@gcpl.lib.oh.us.
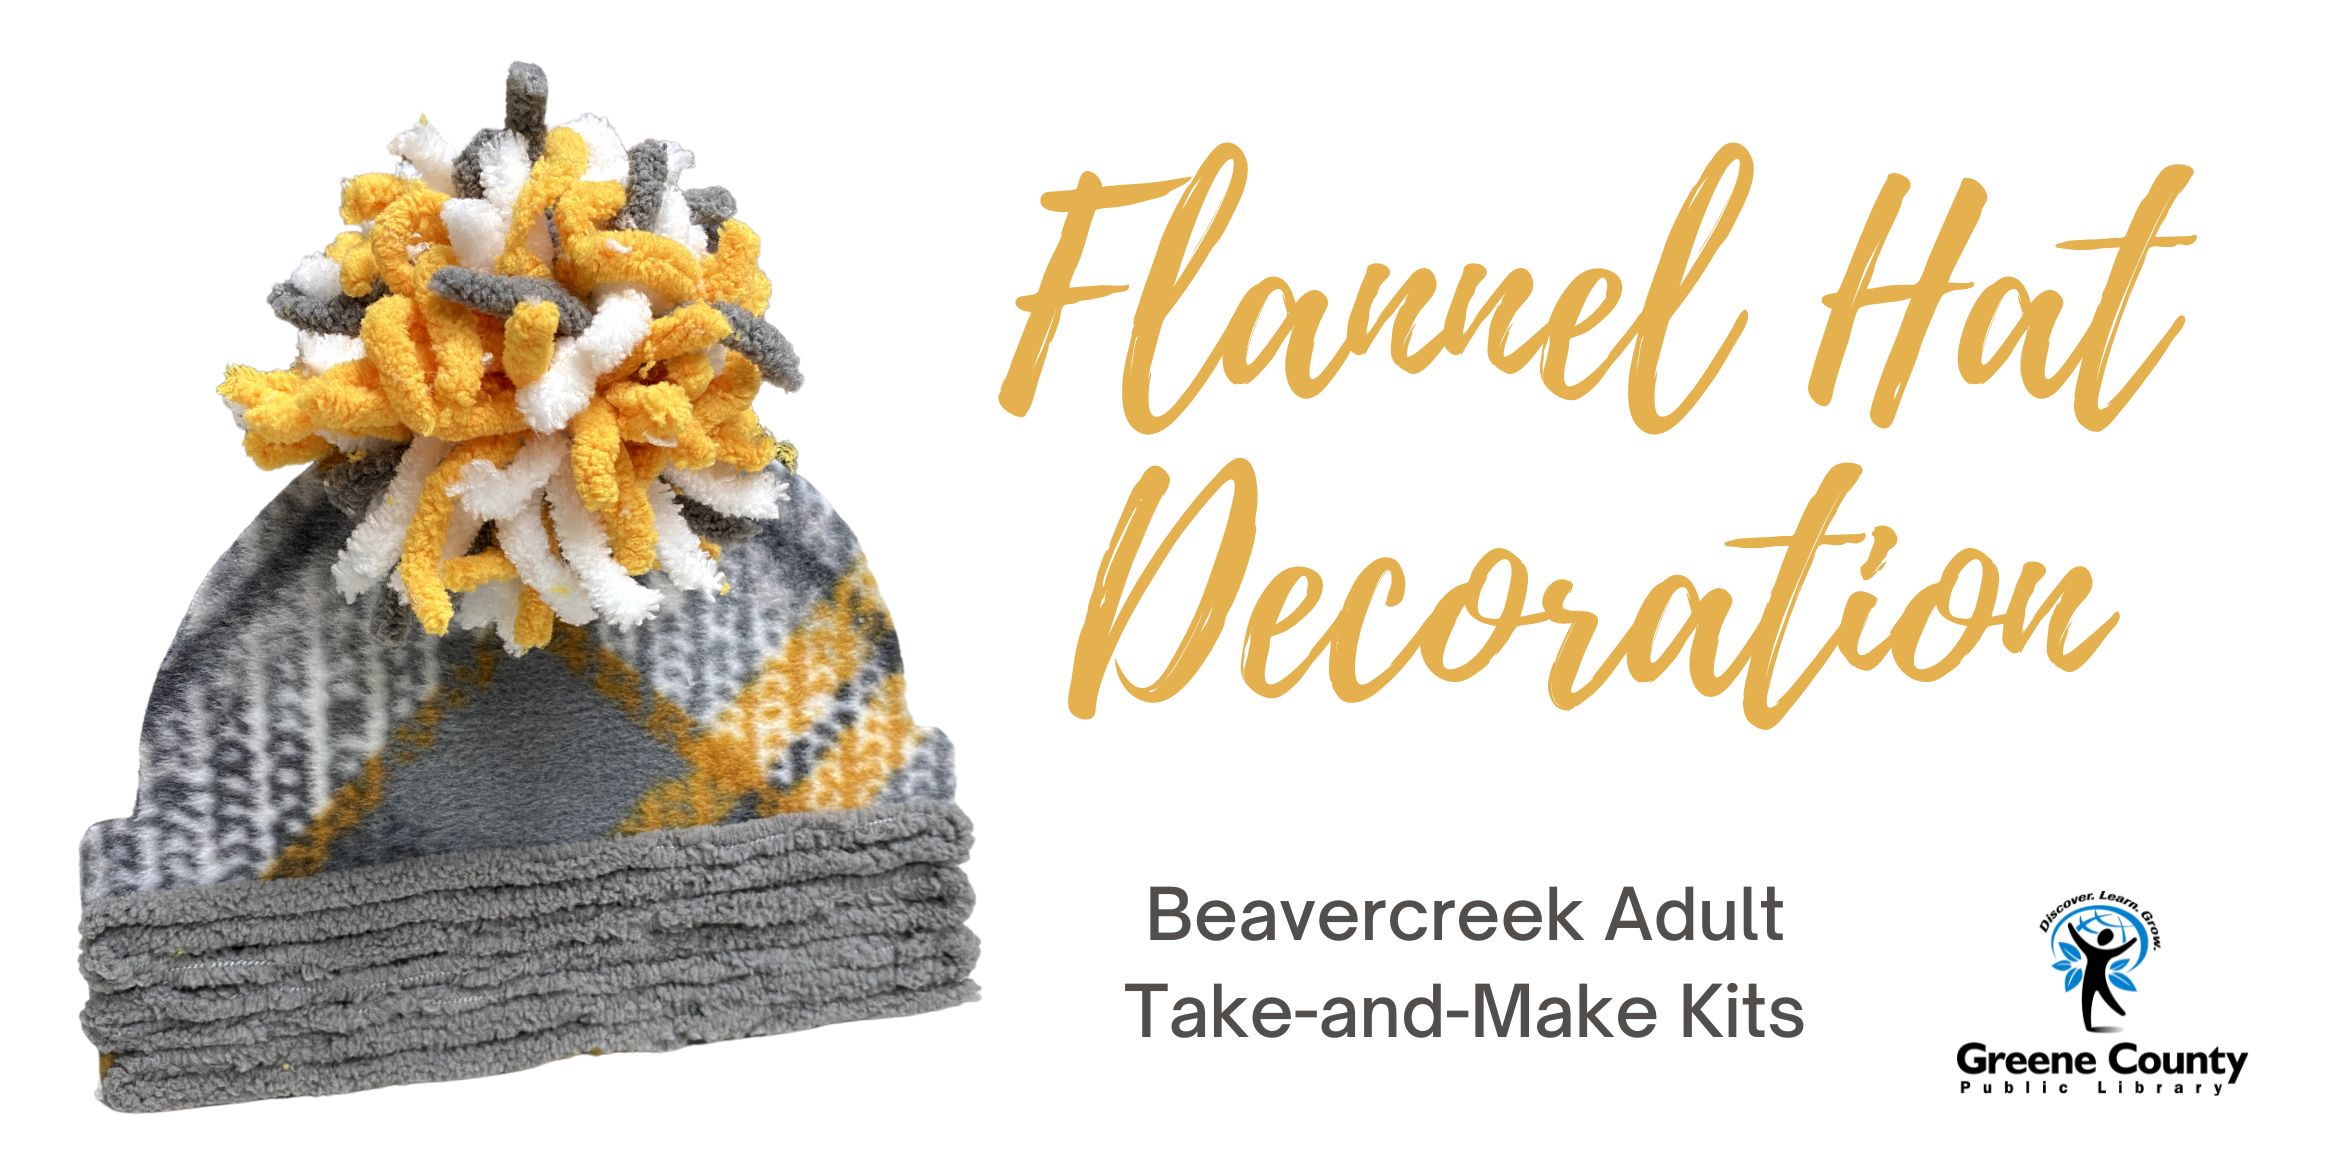
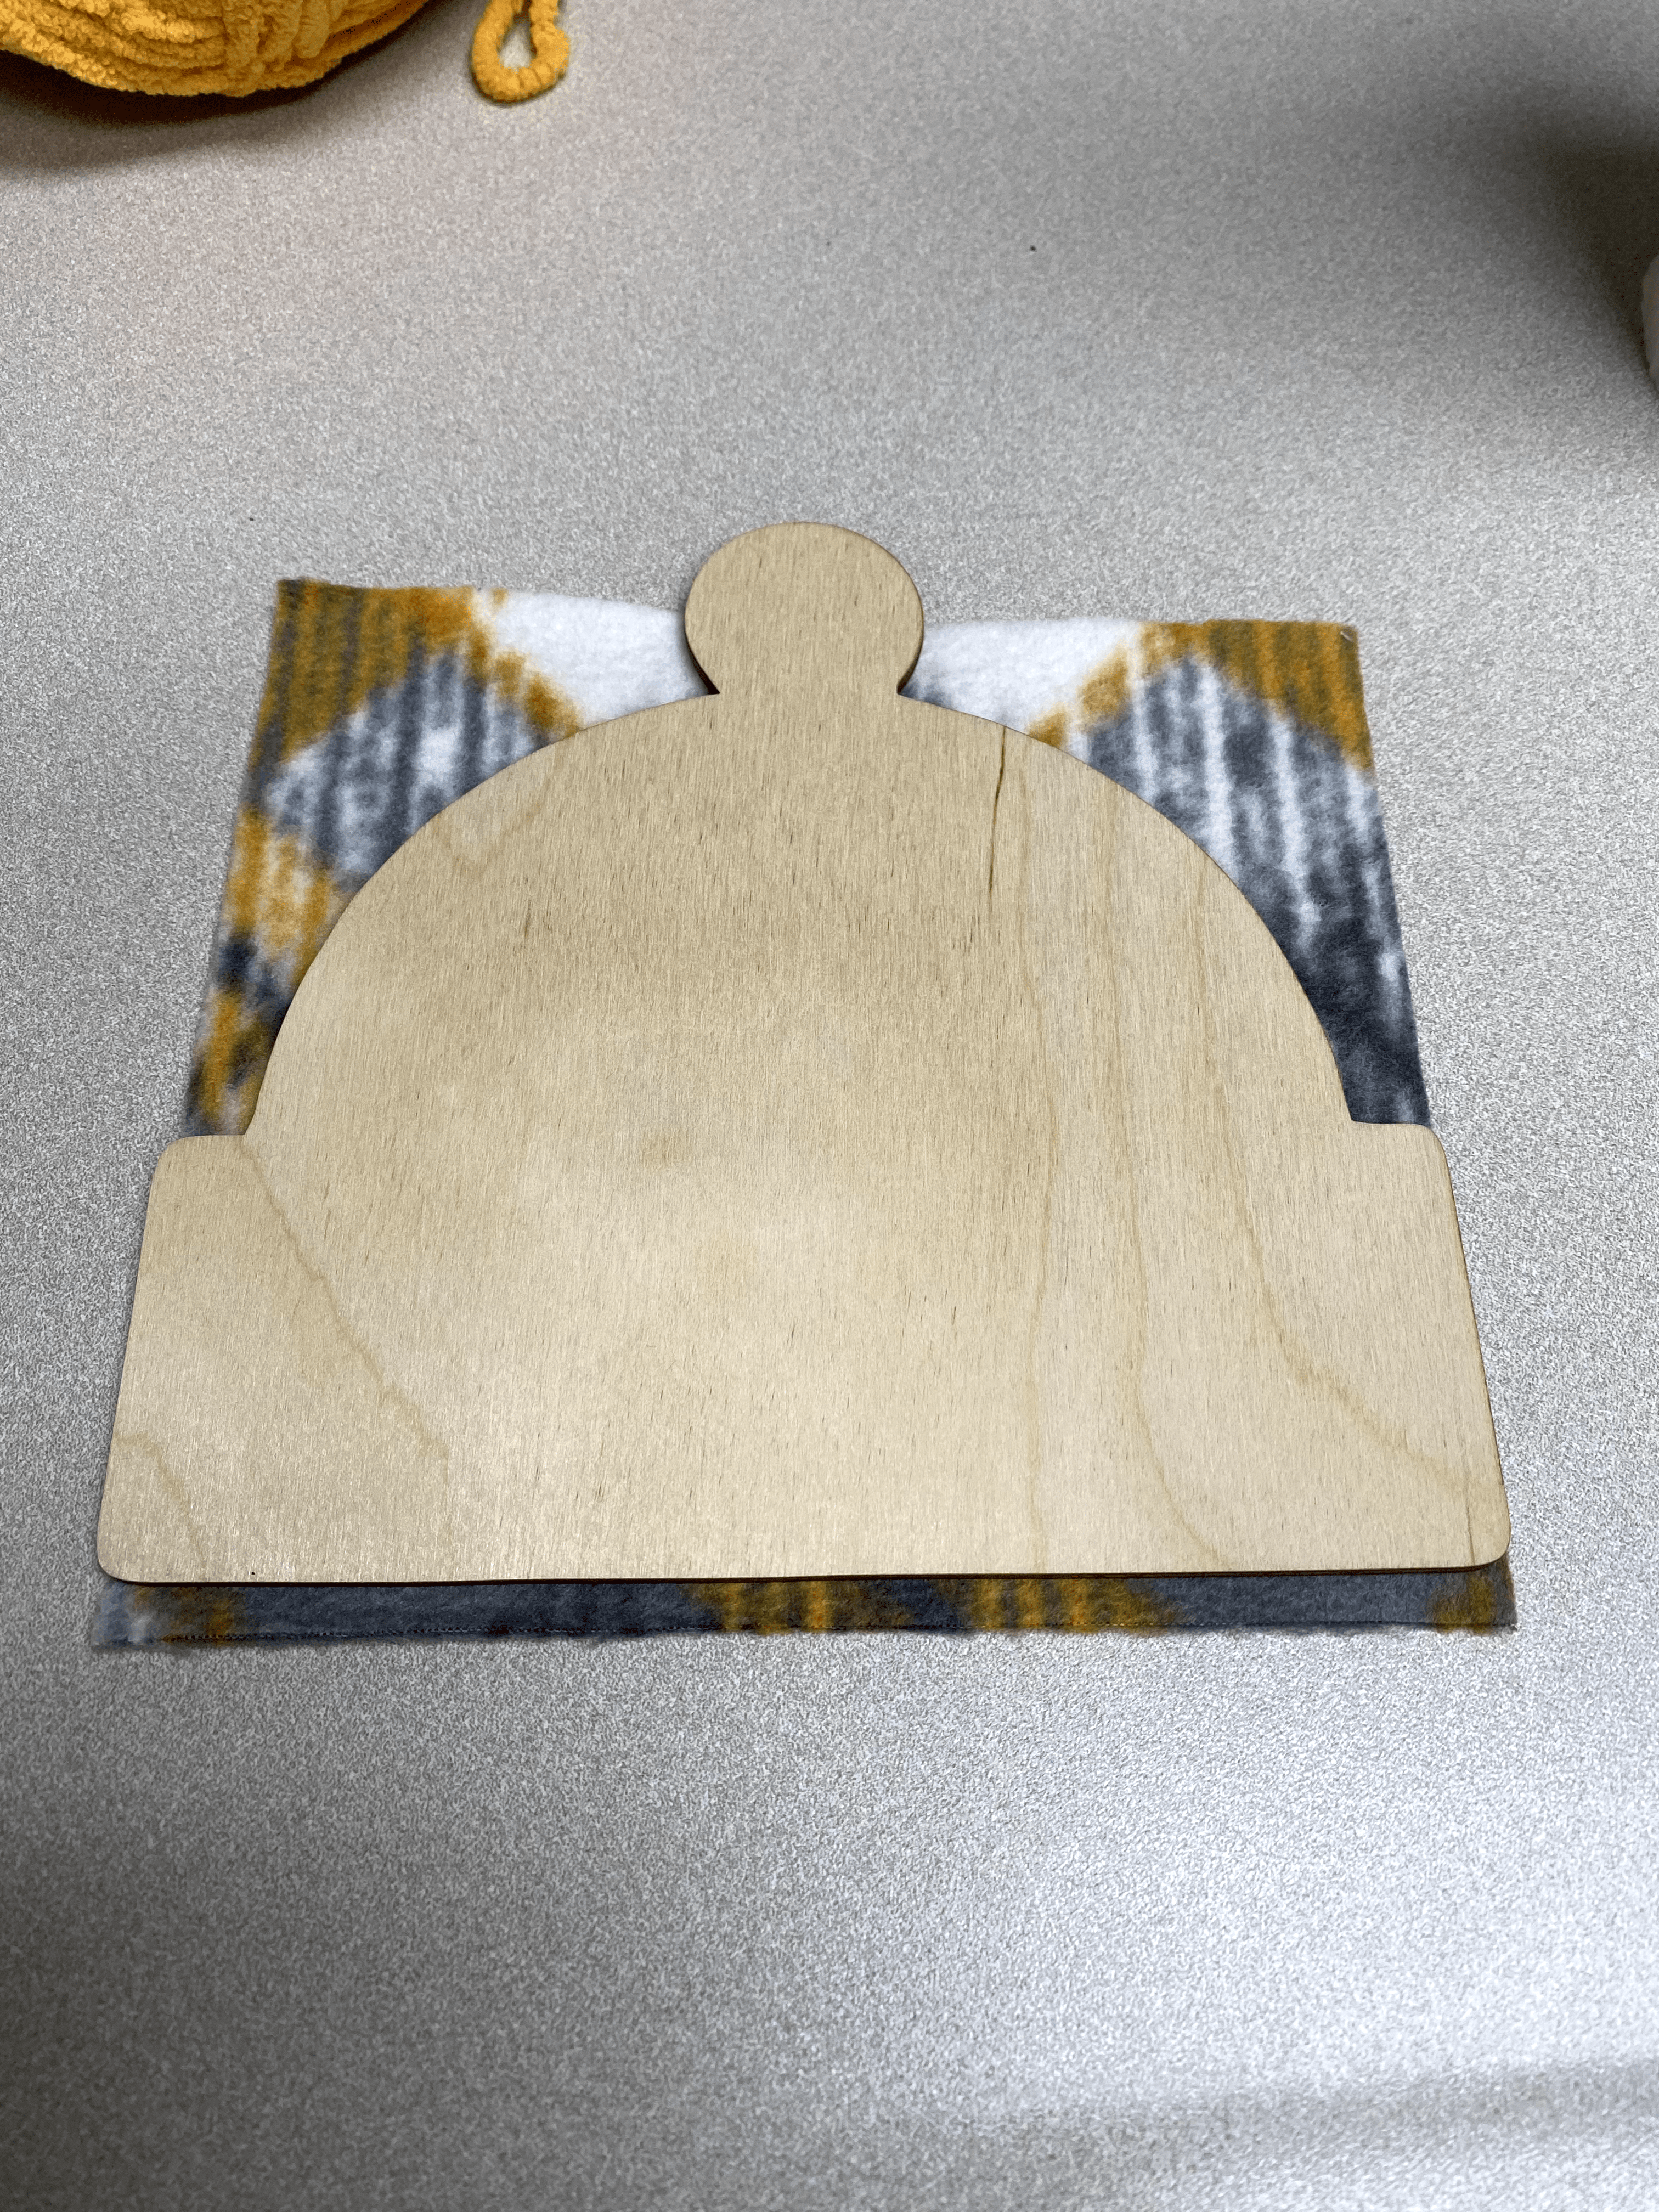
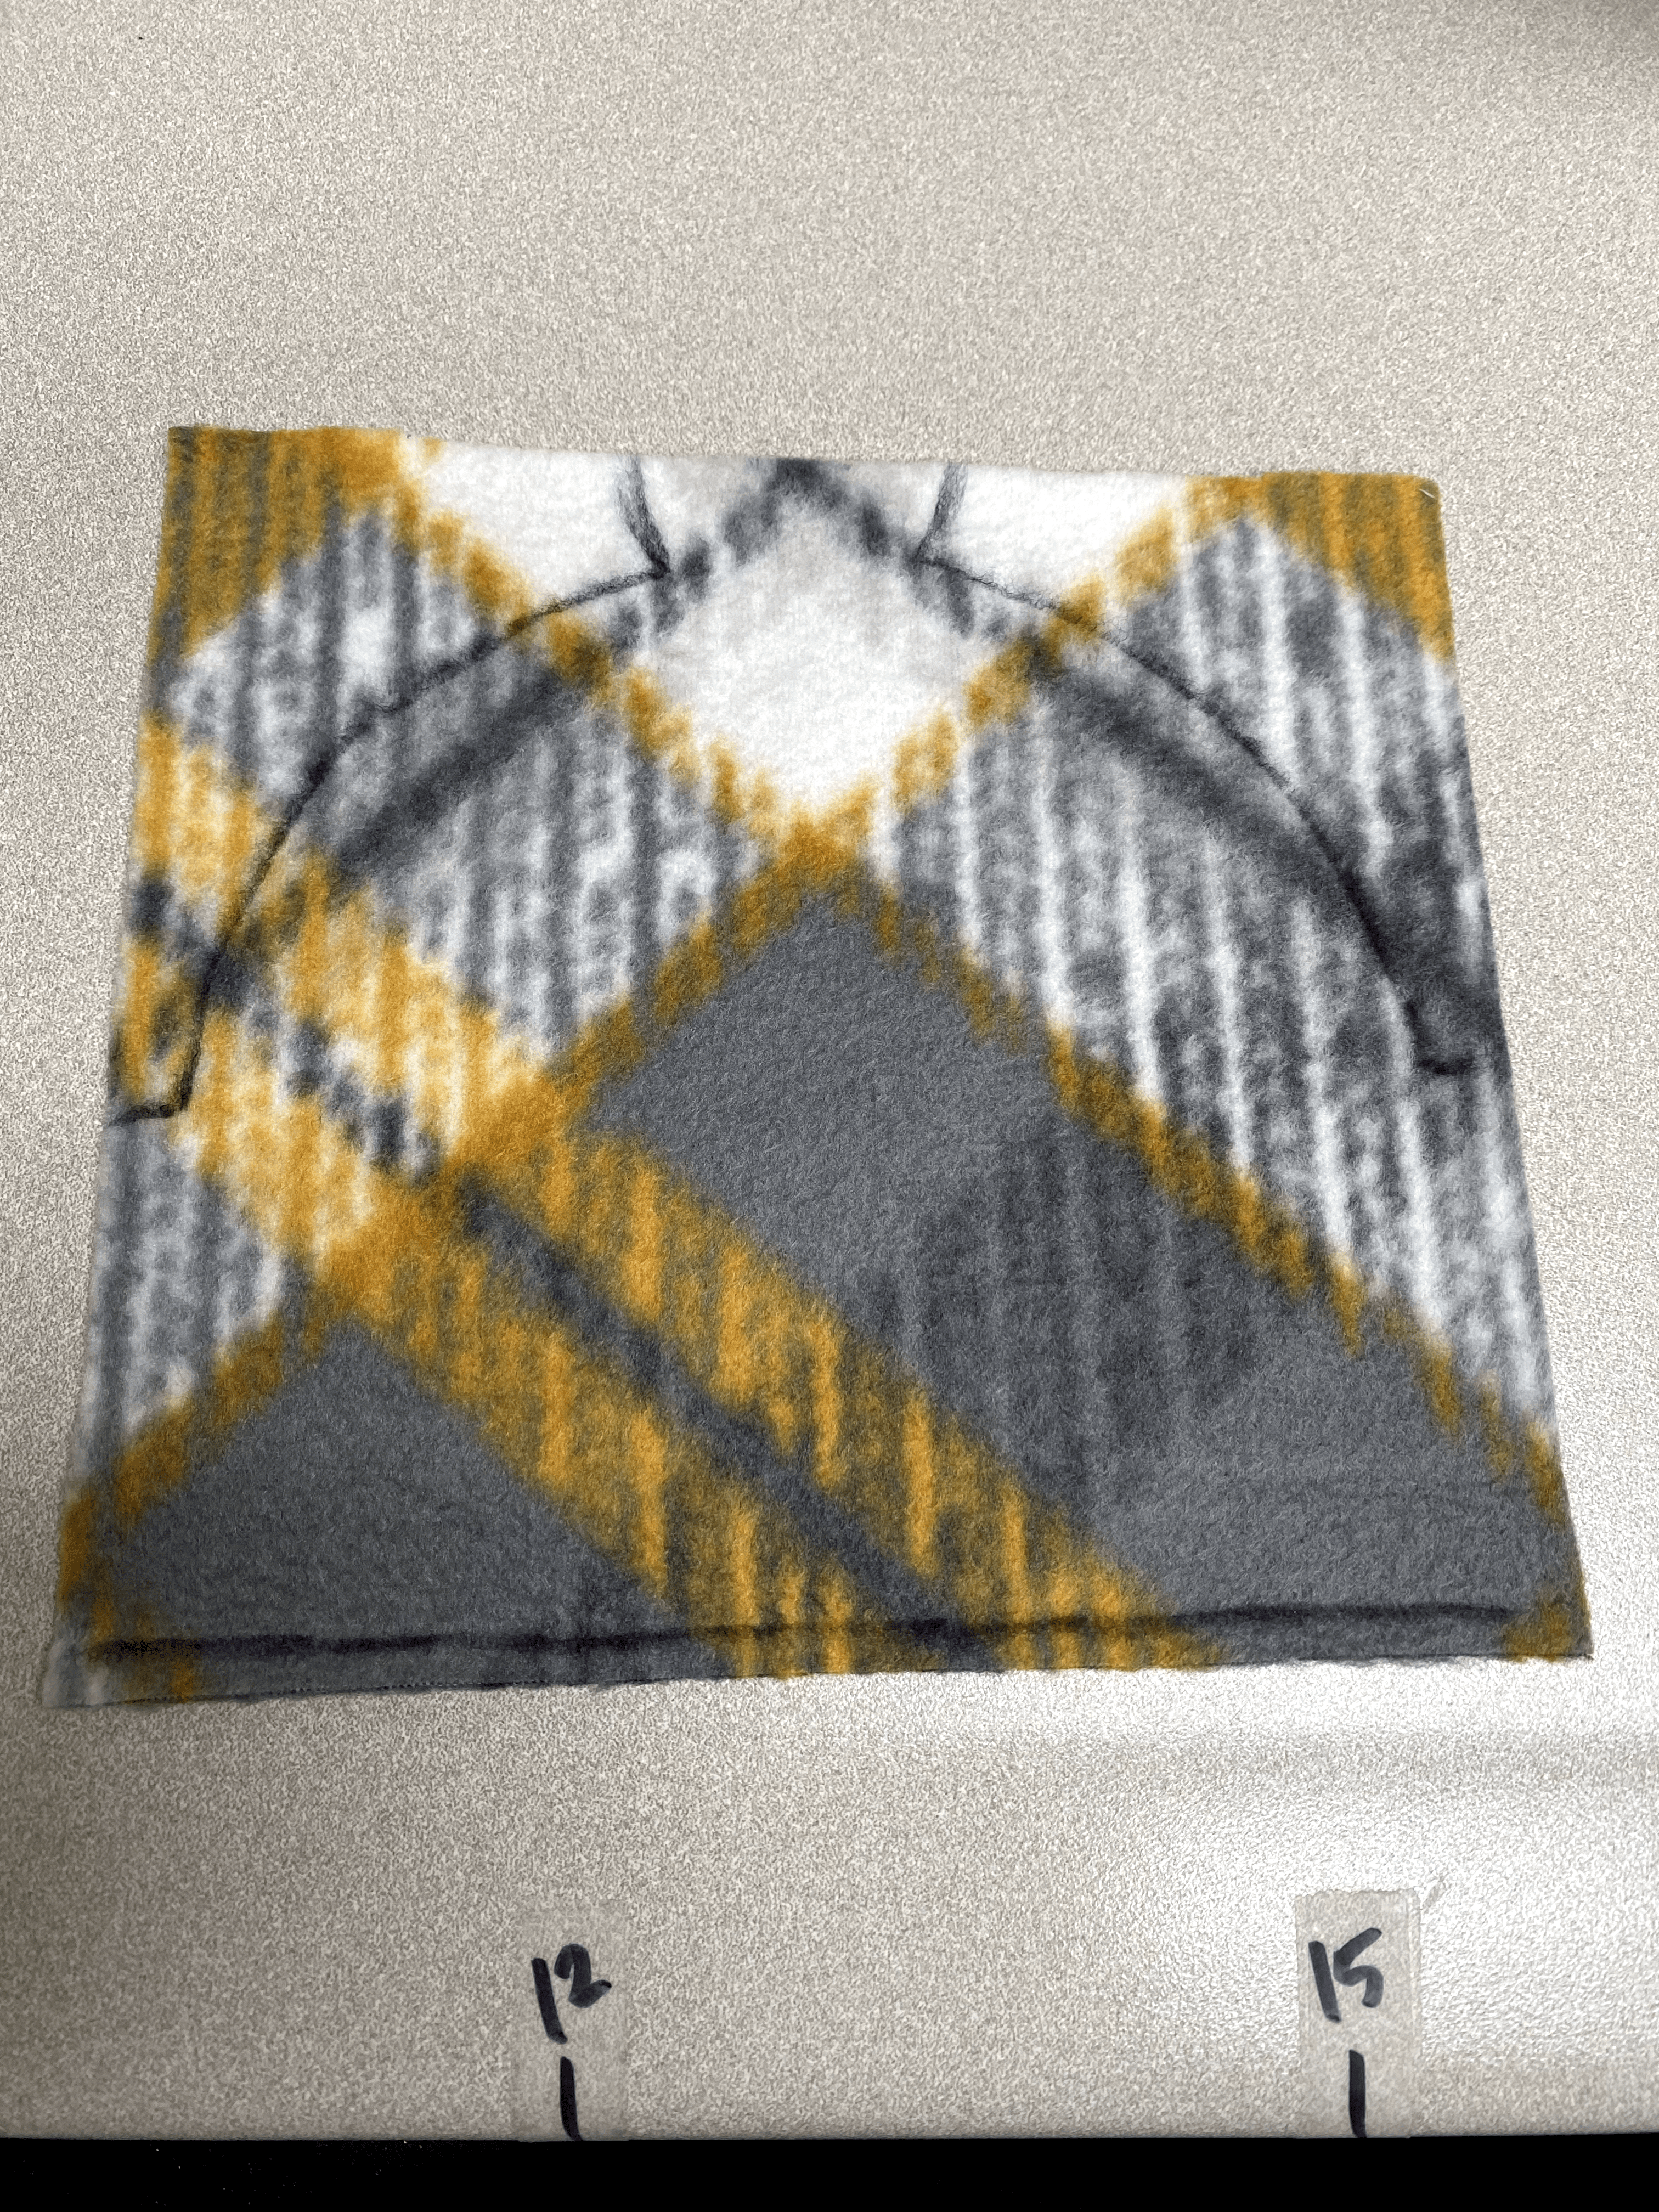
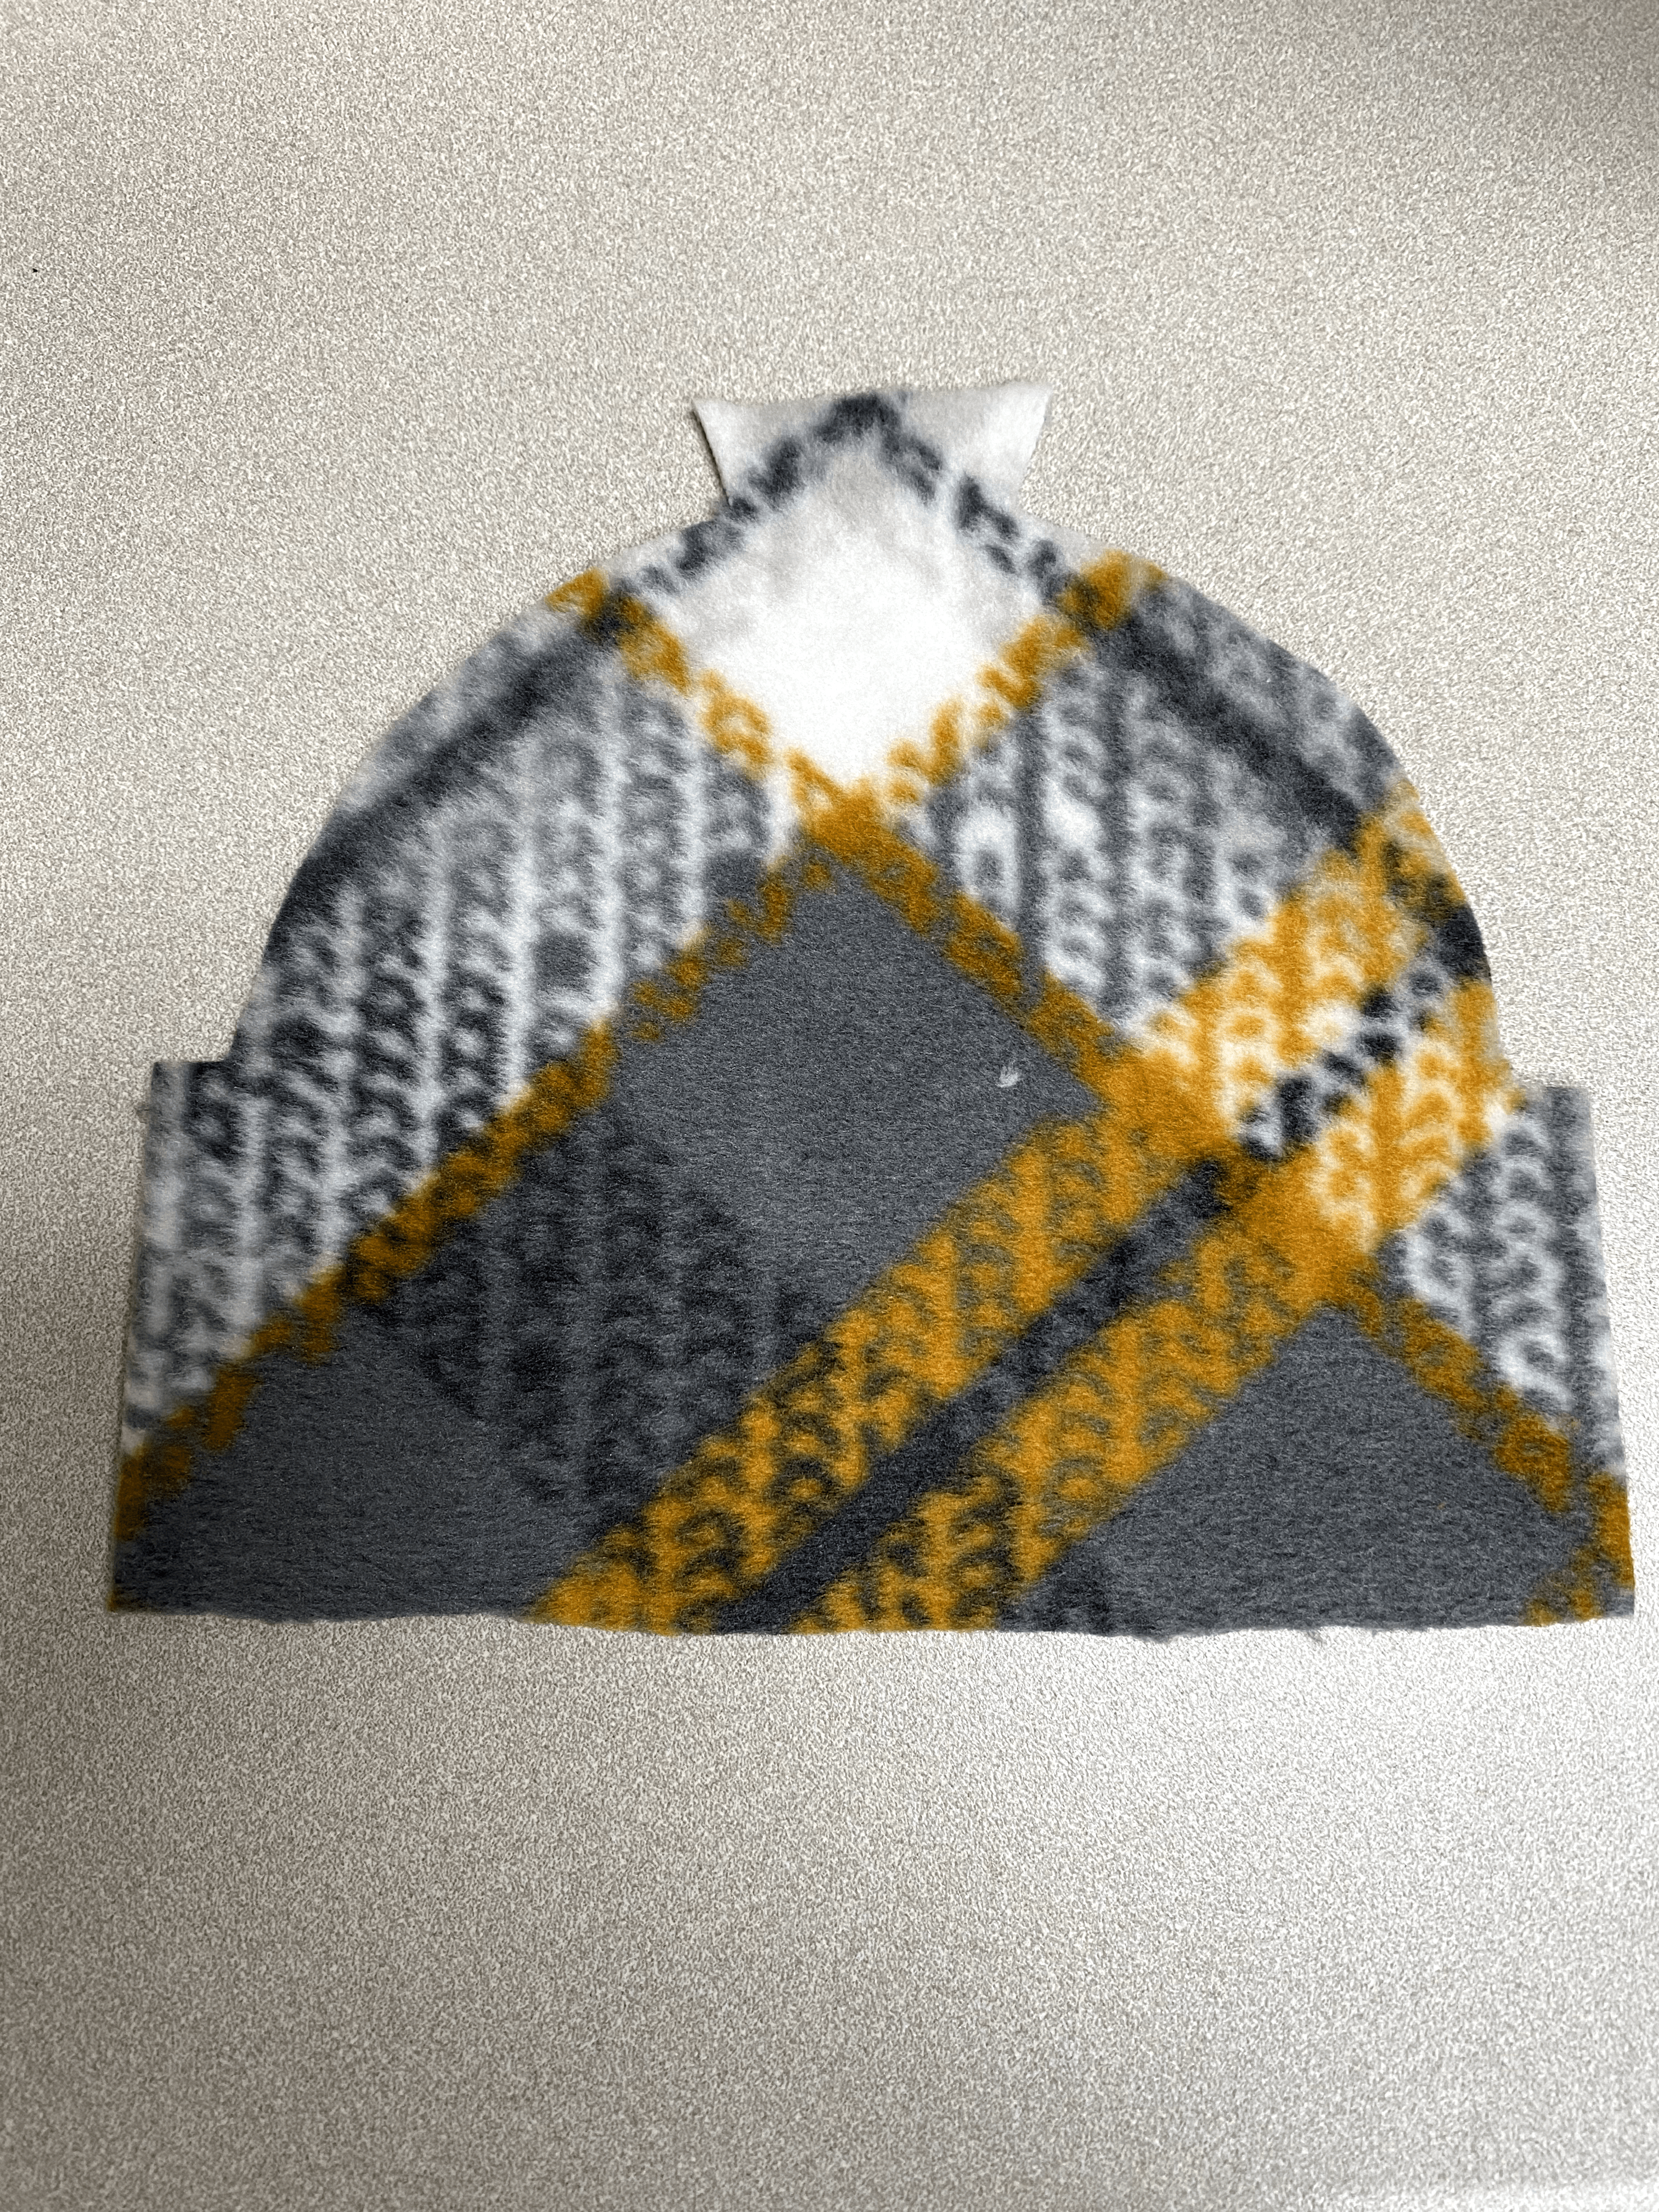
Trace the shape of the cutout onto the piece of fabric and cut it out.
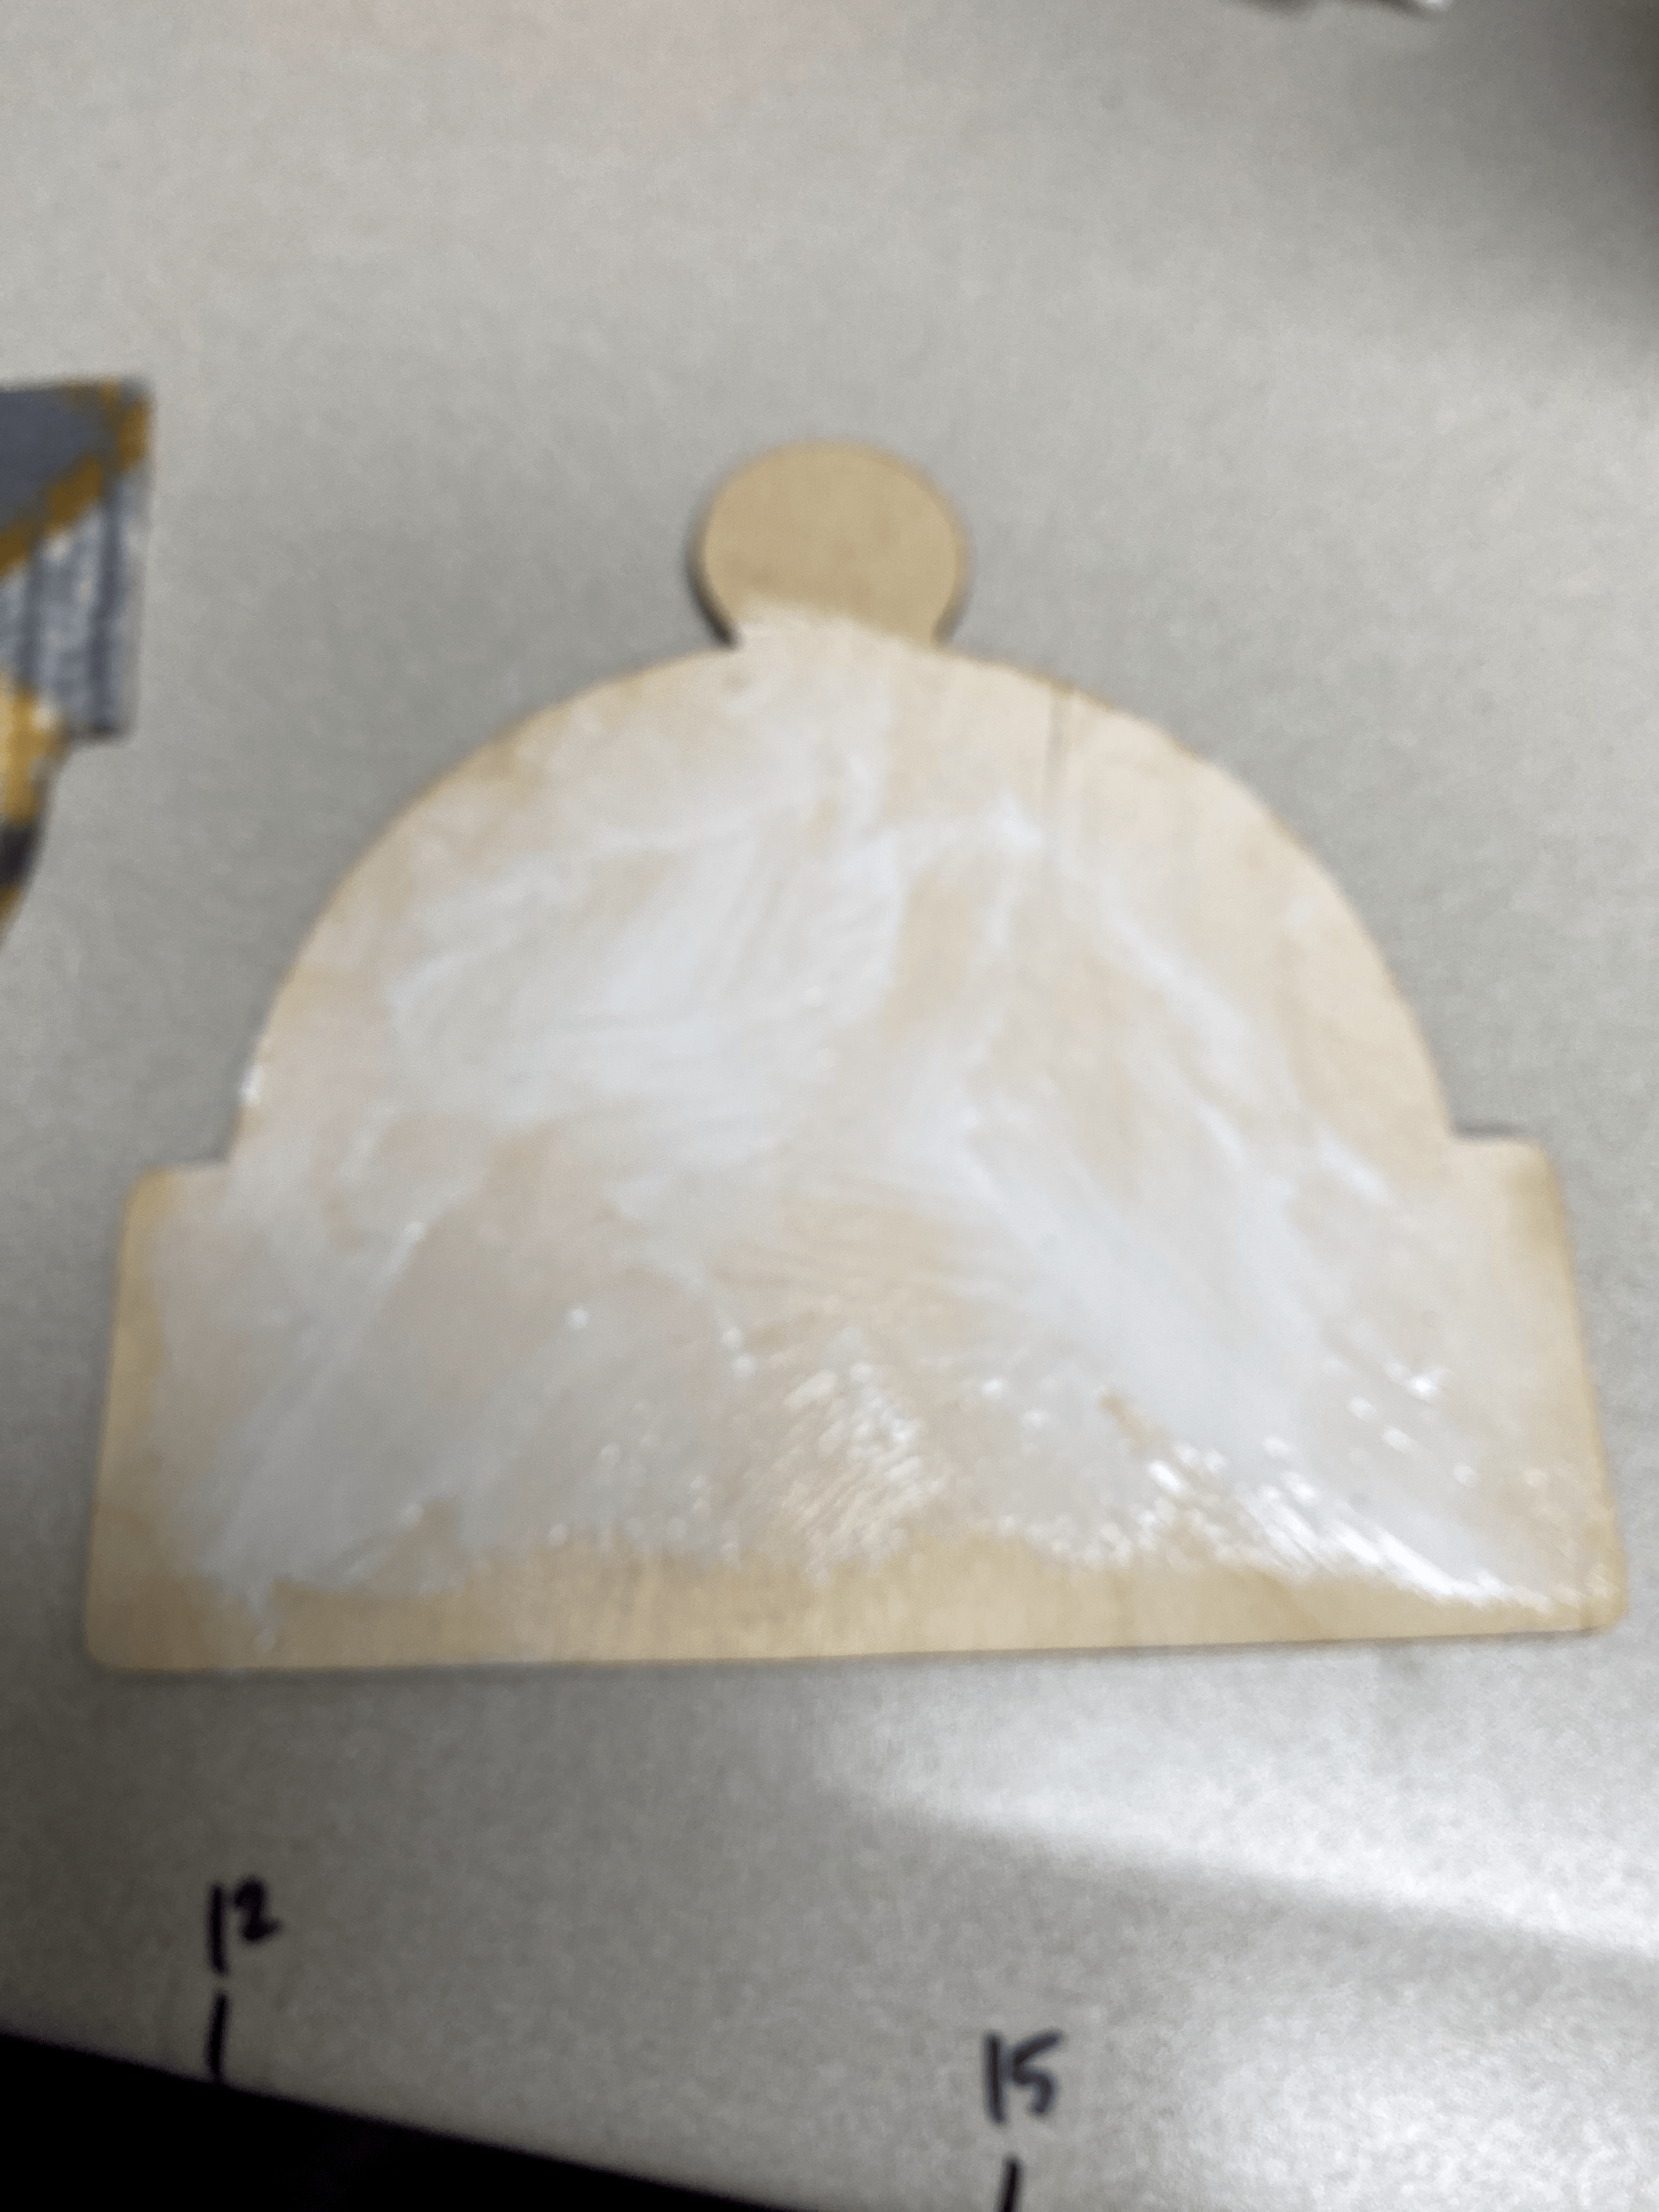
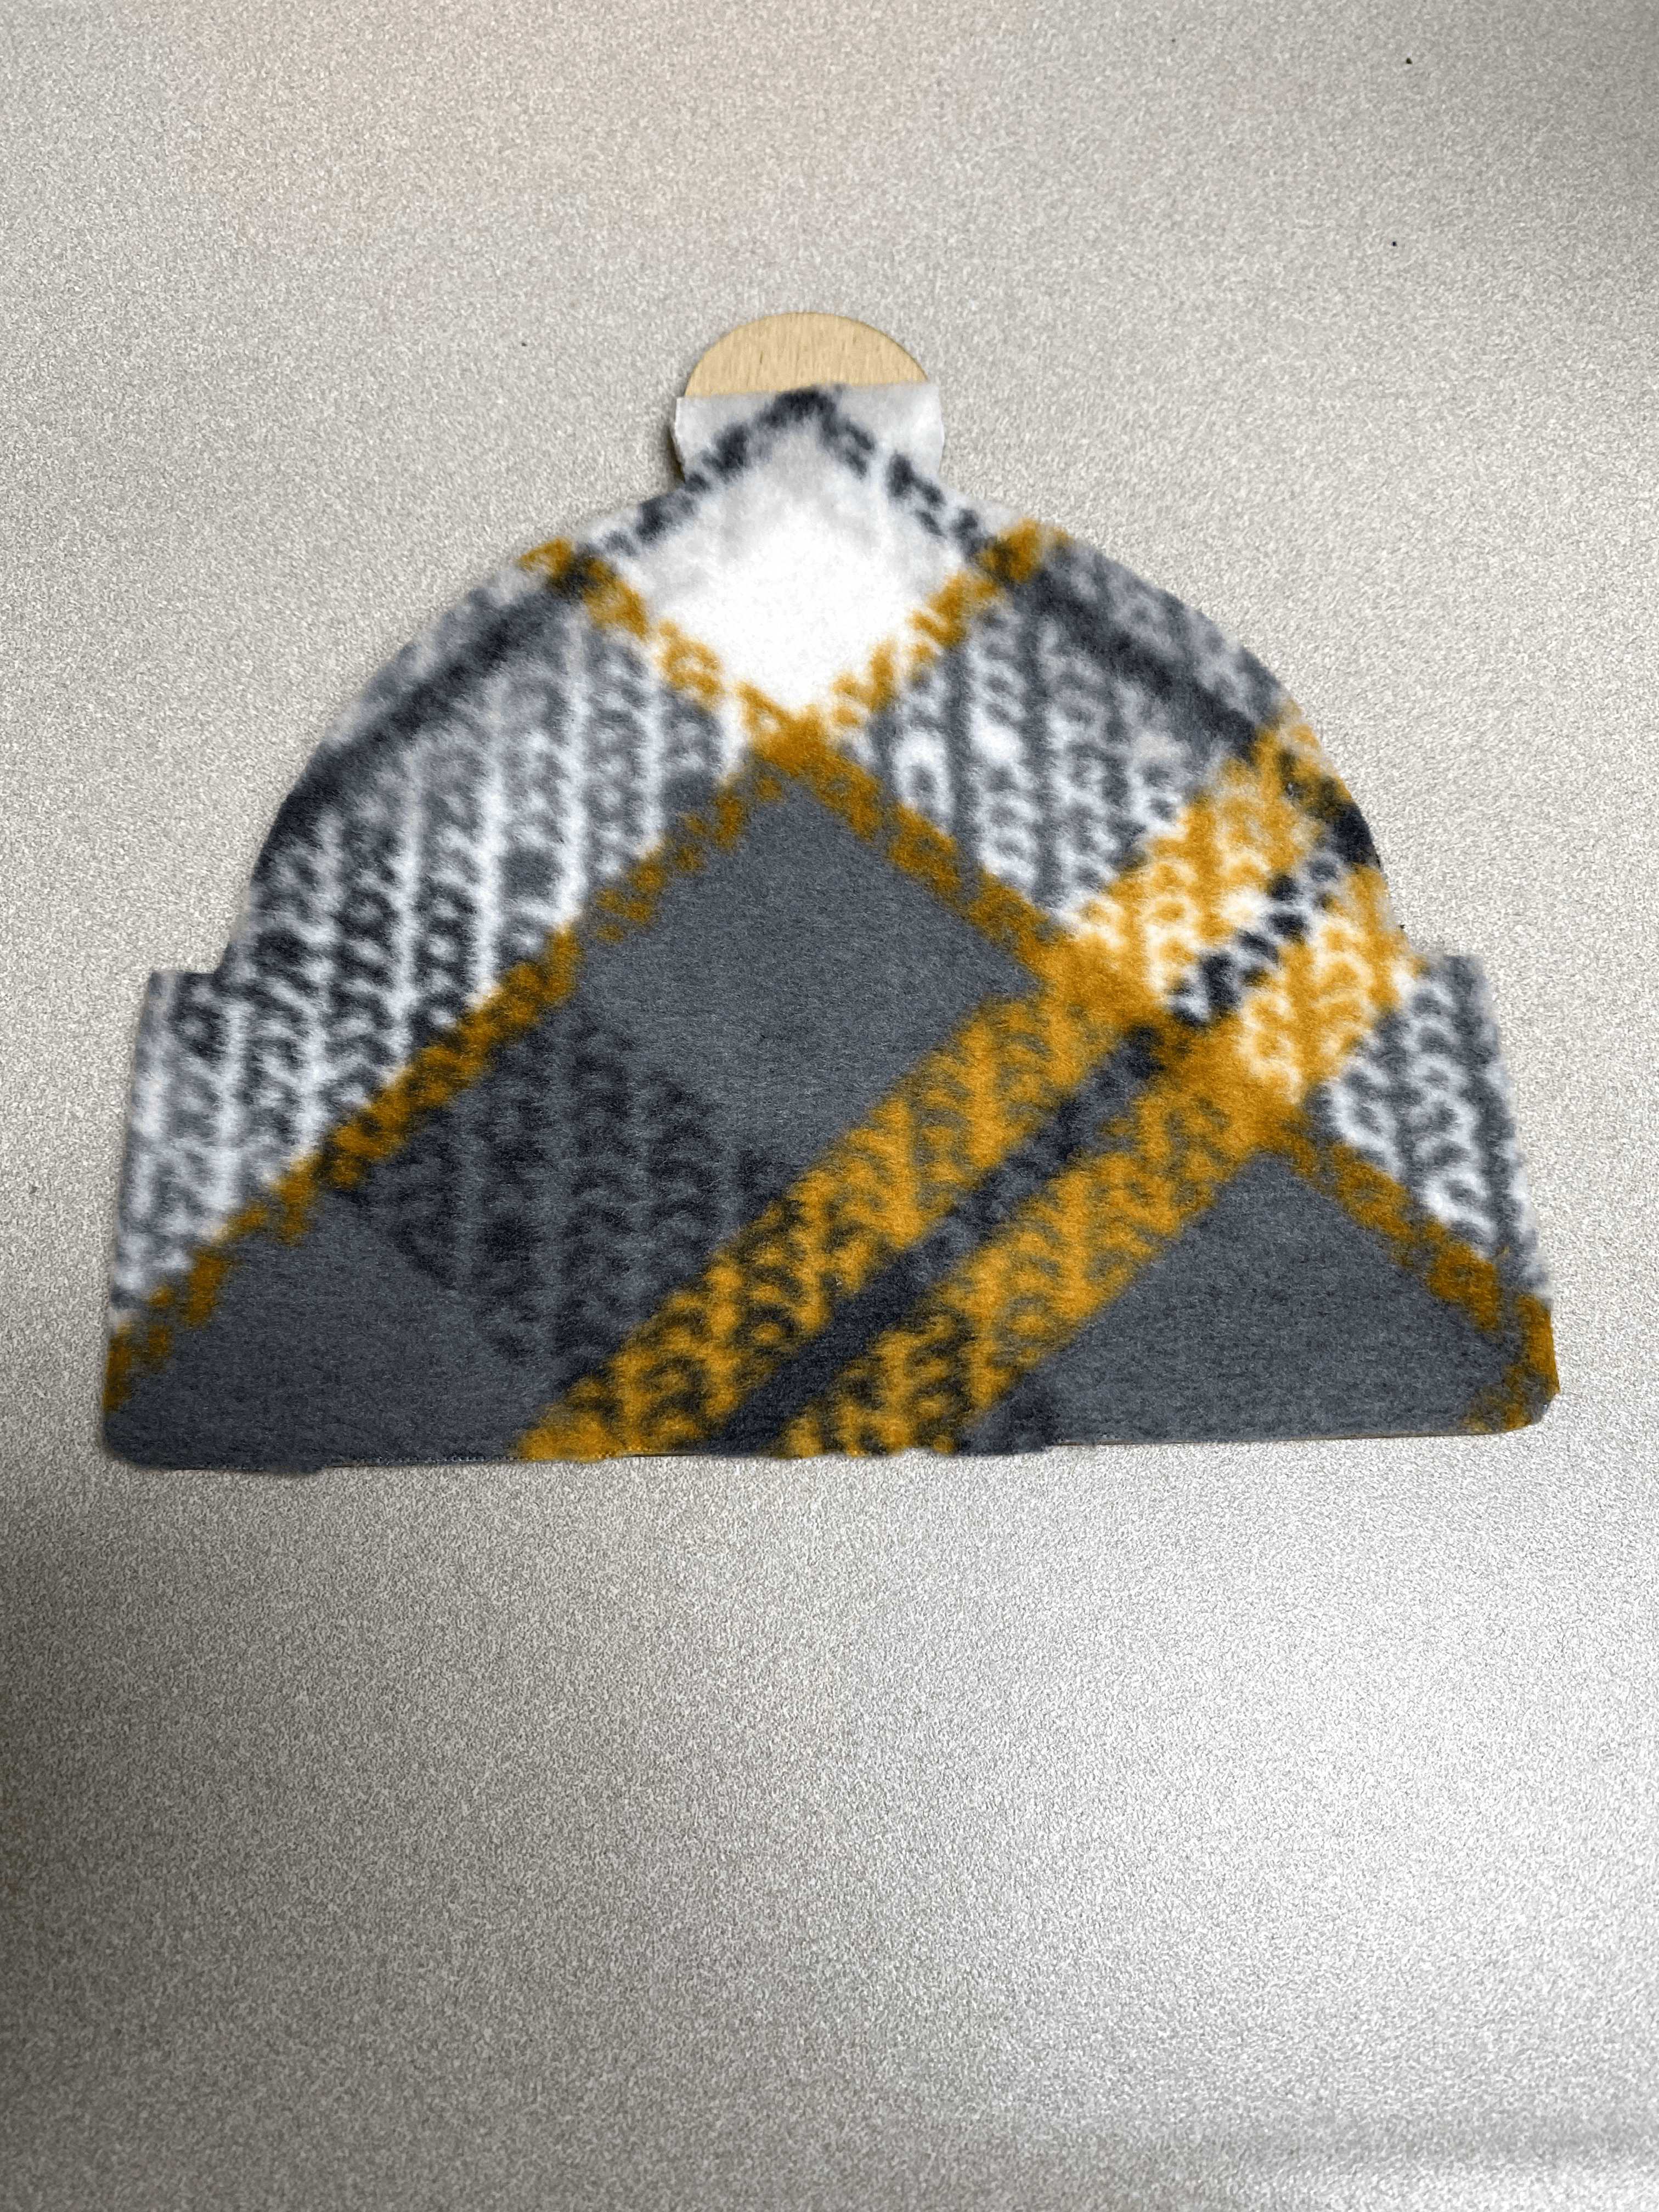
2. Cover the wood with glue and glue down the fabric.
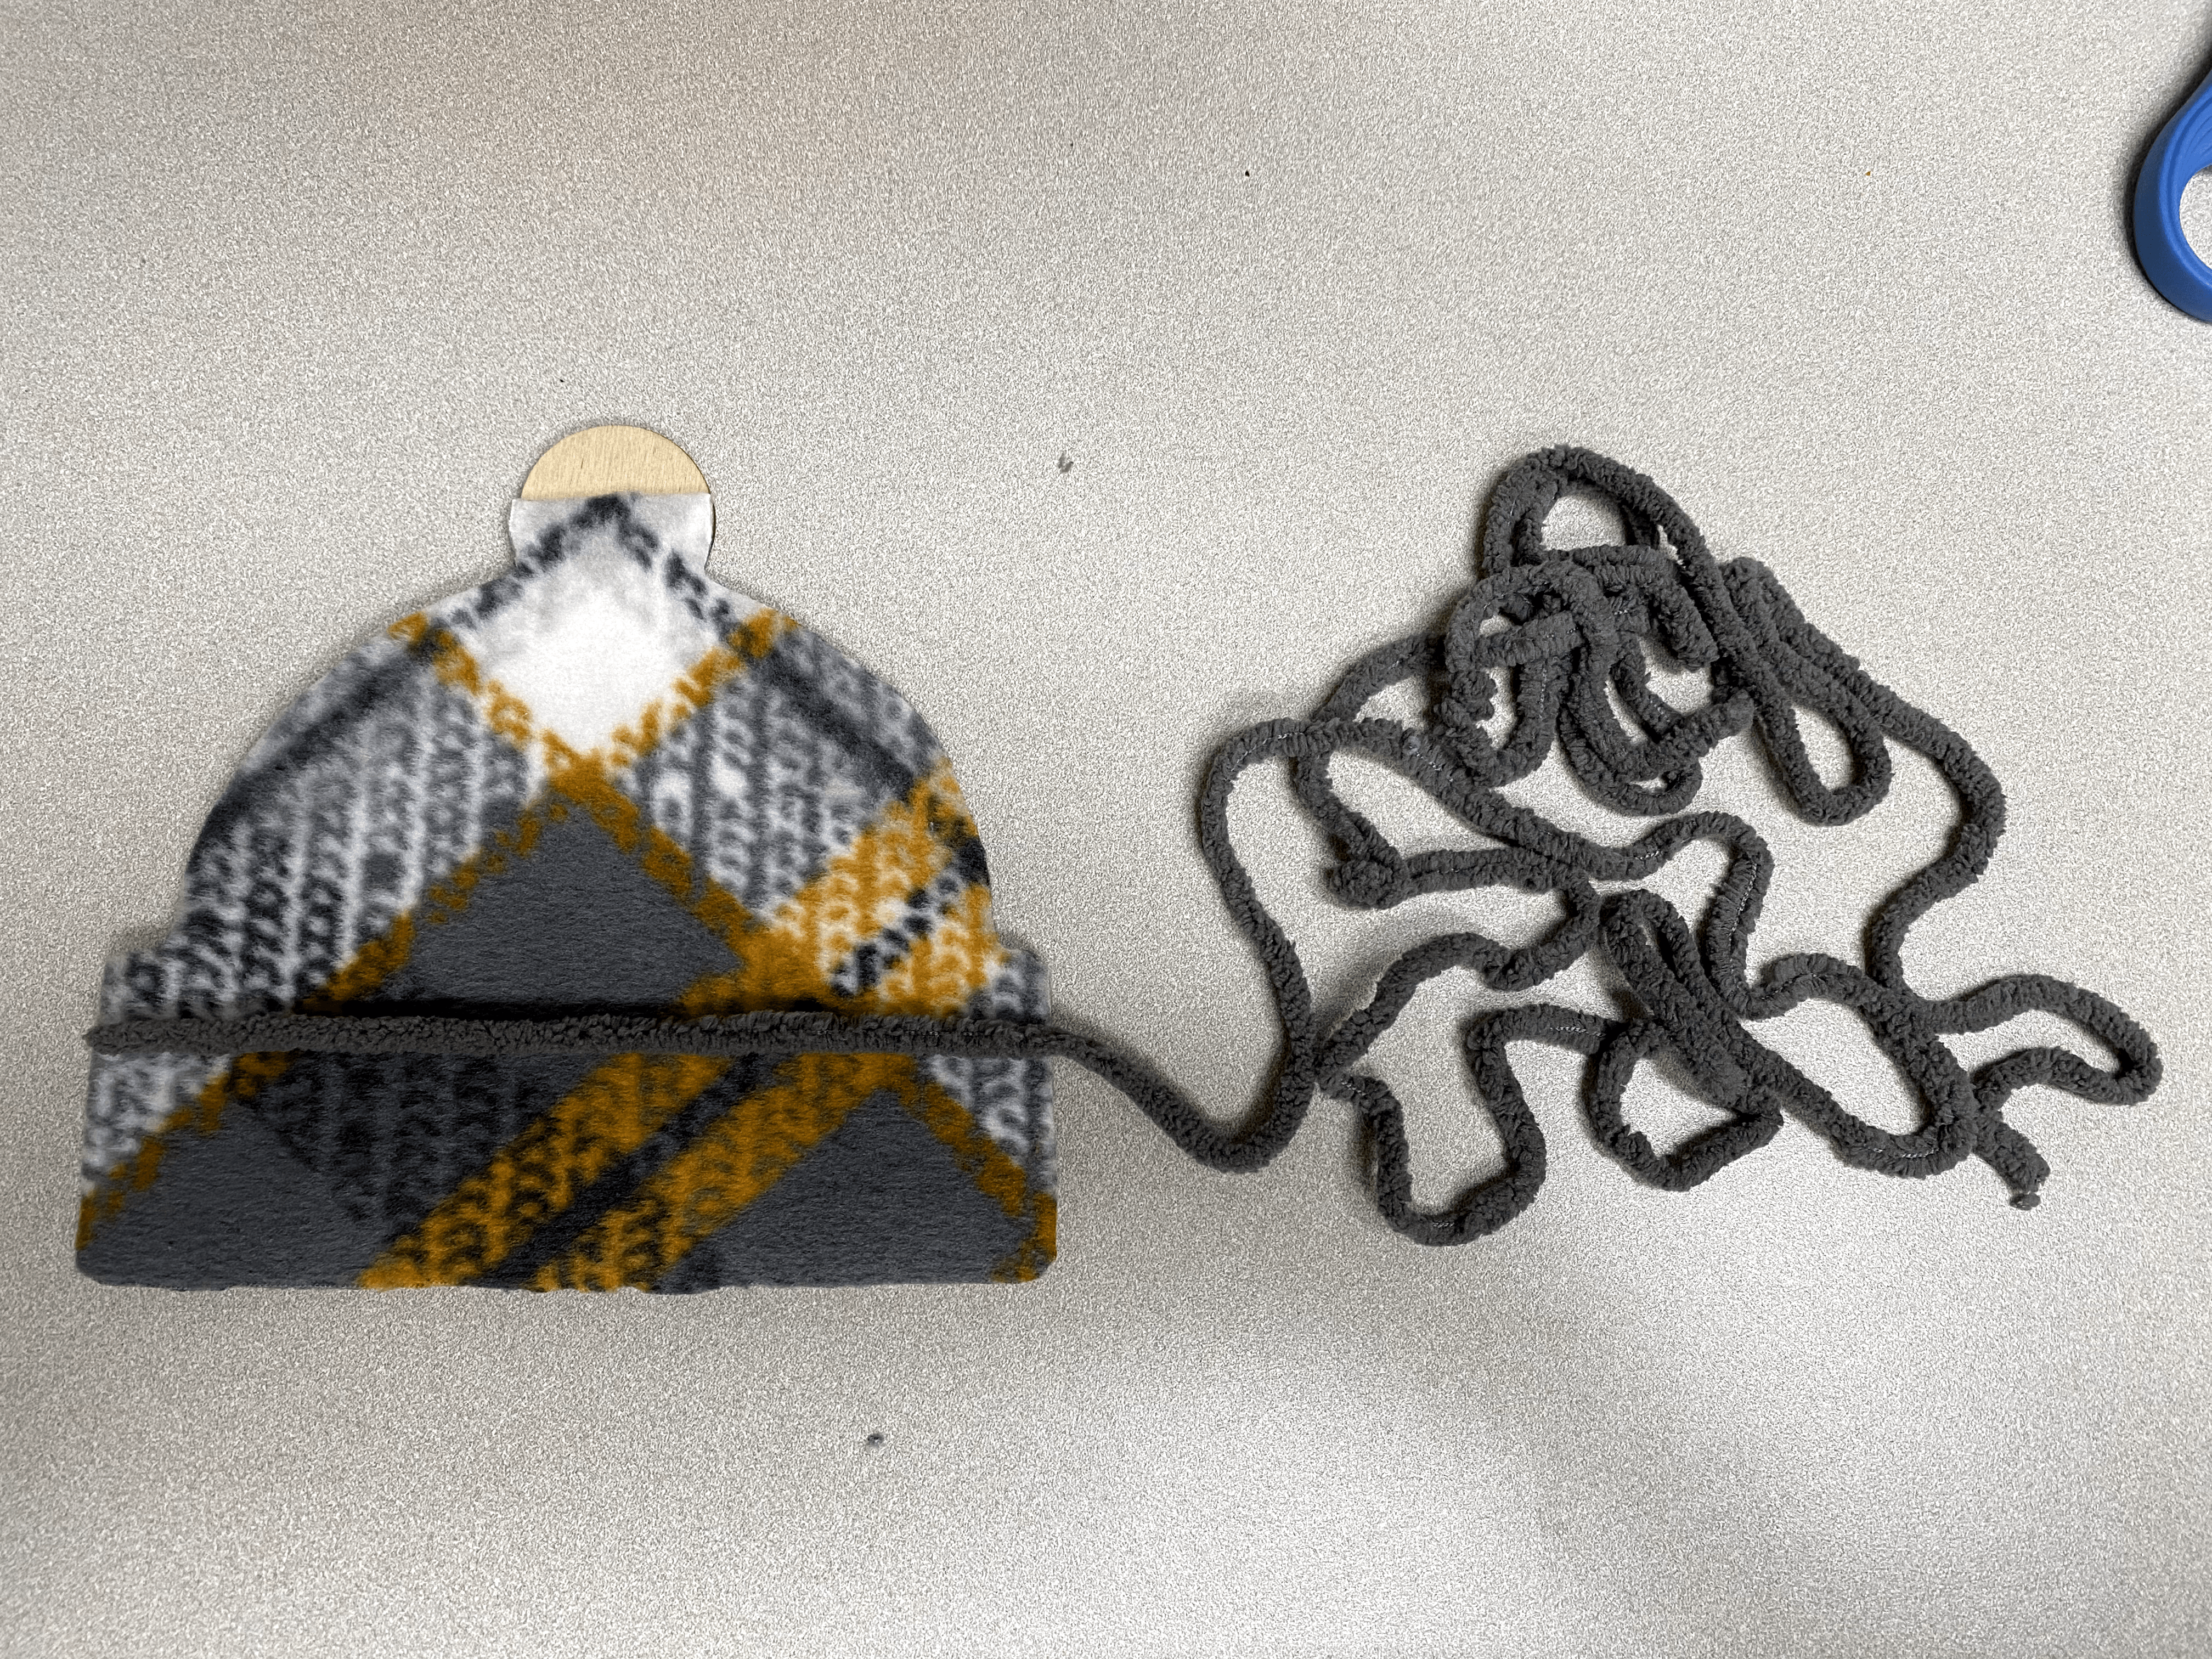
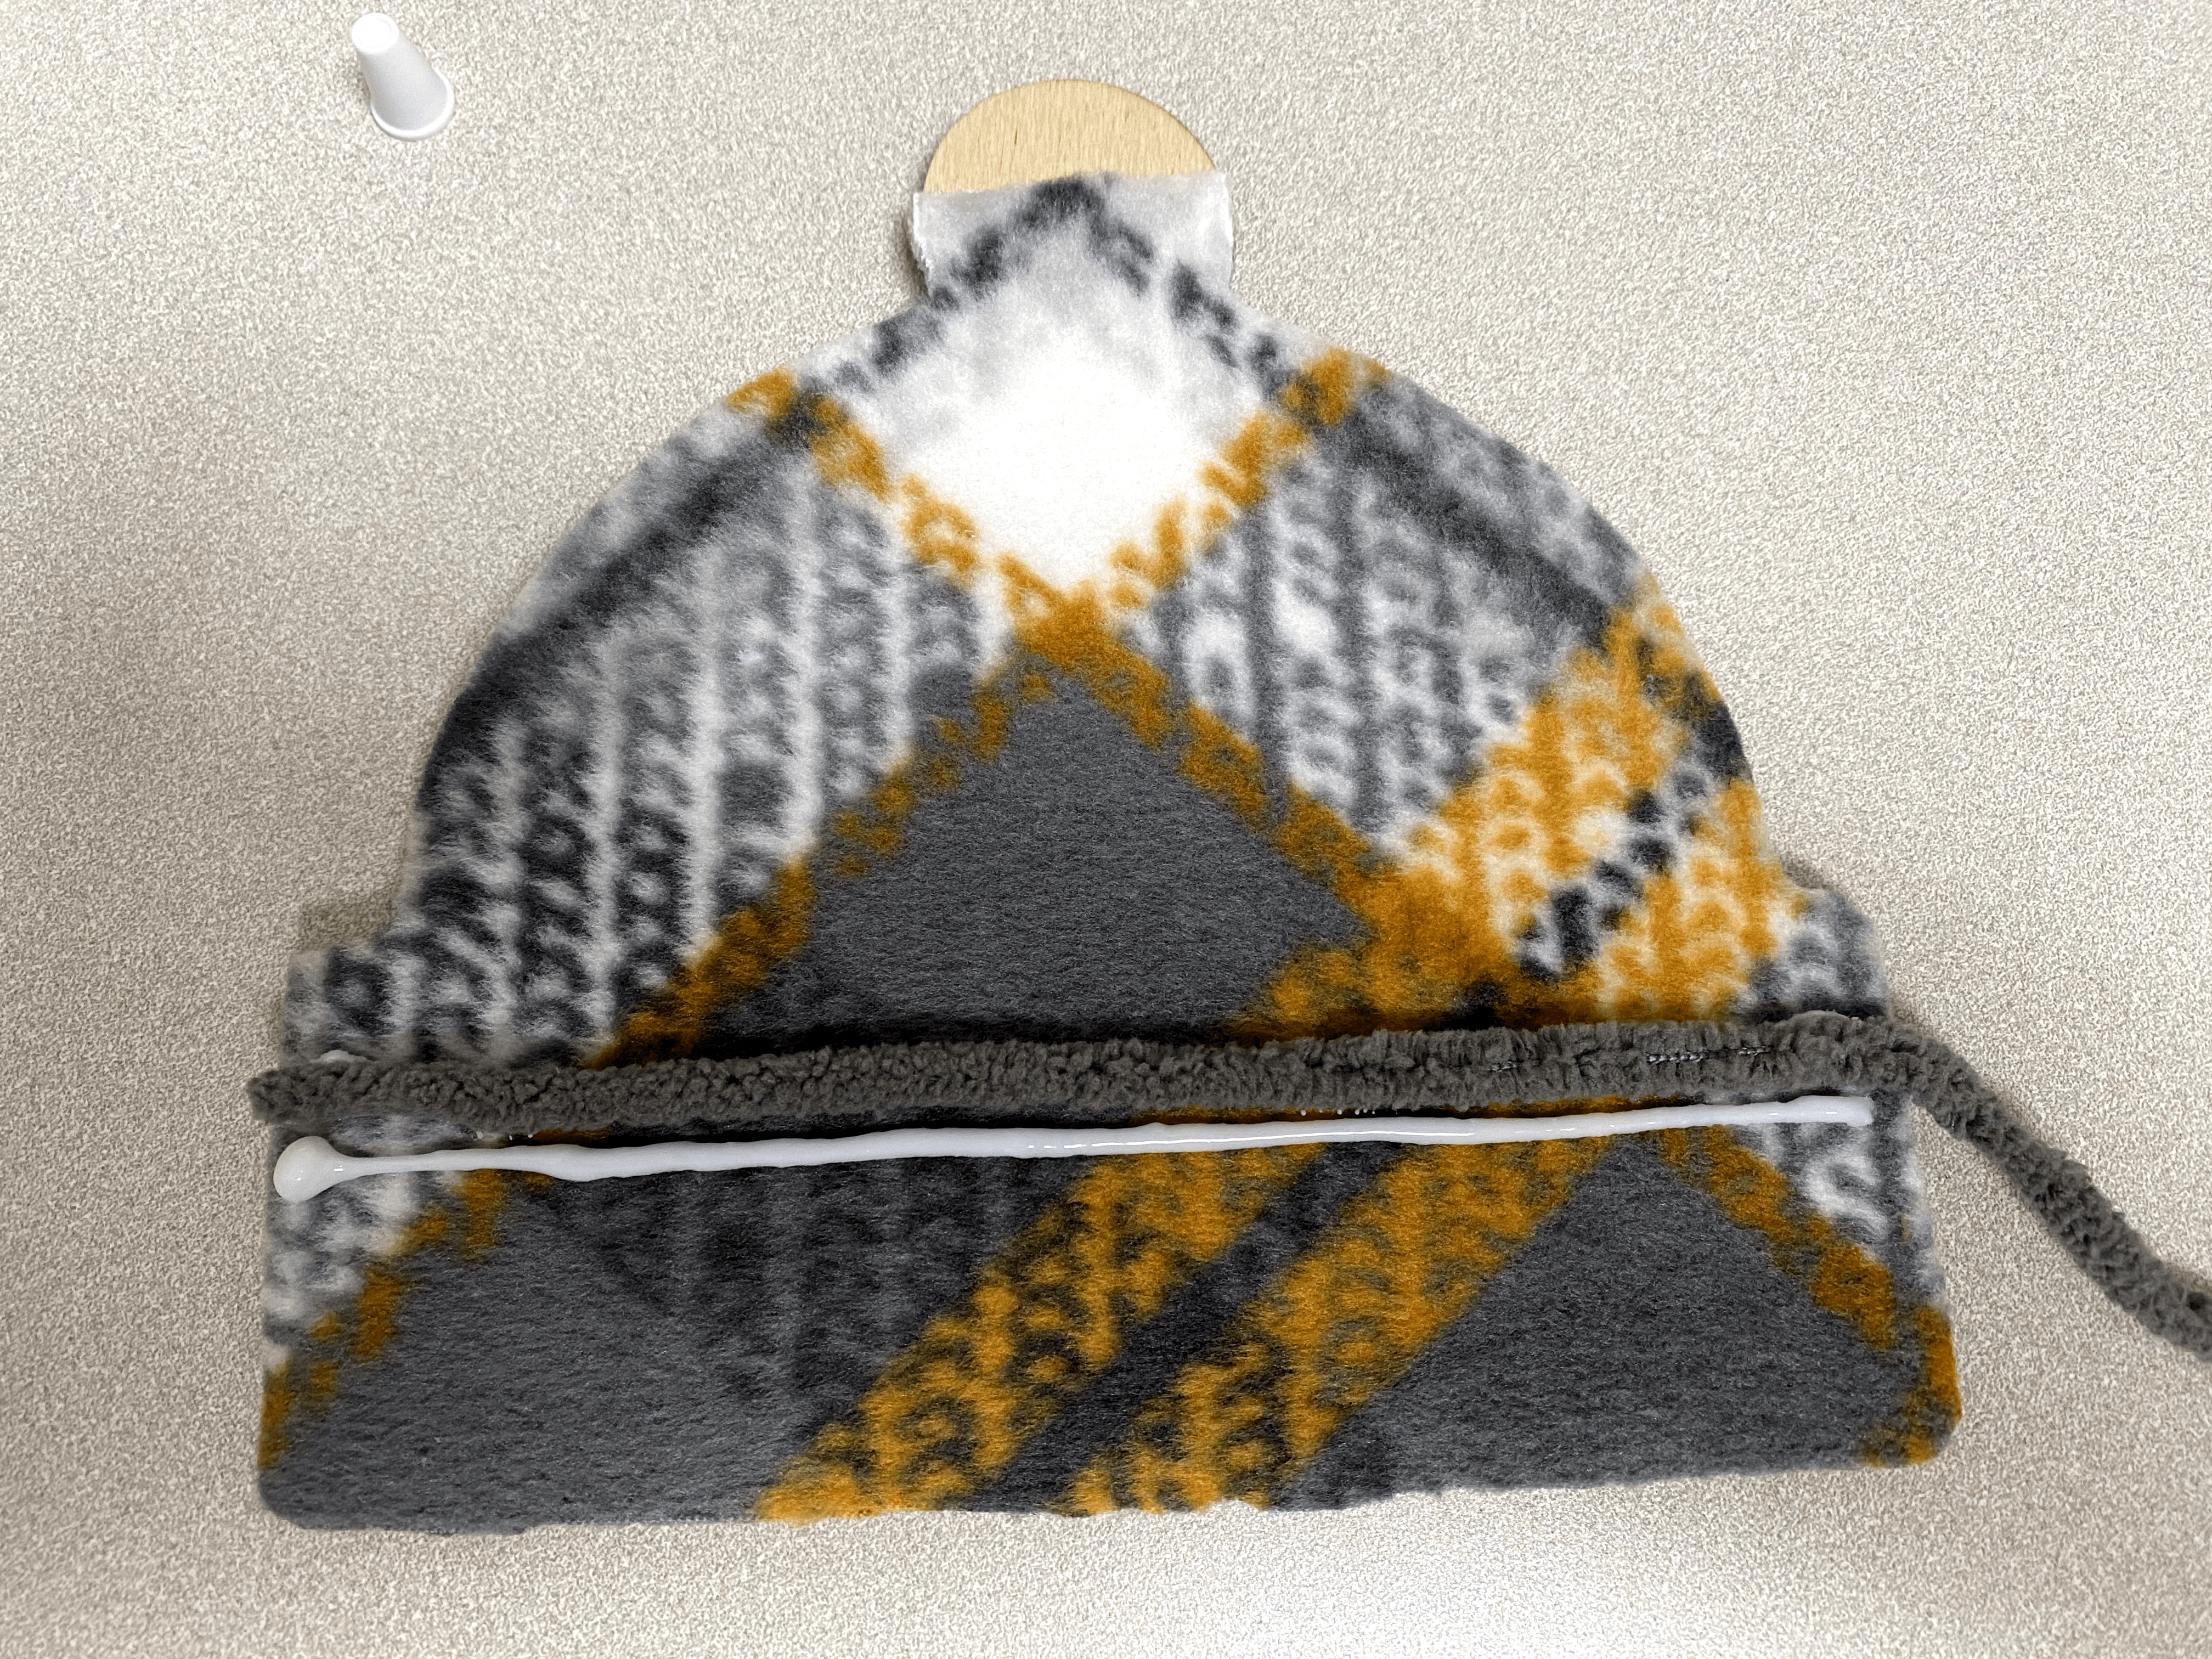
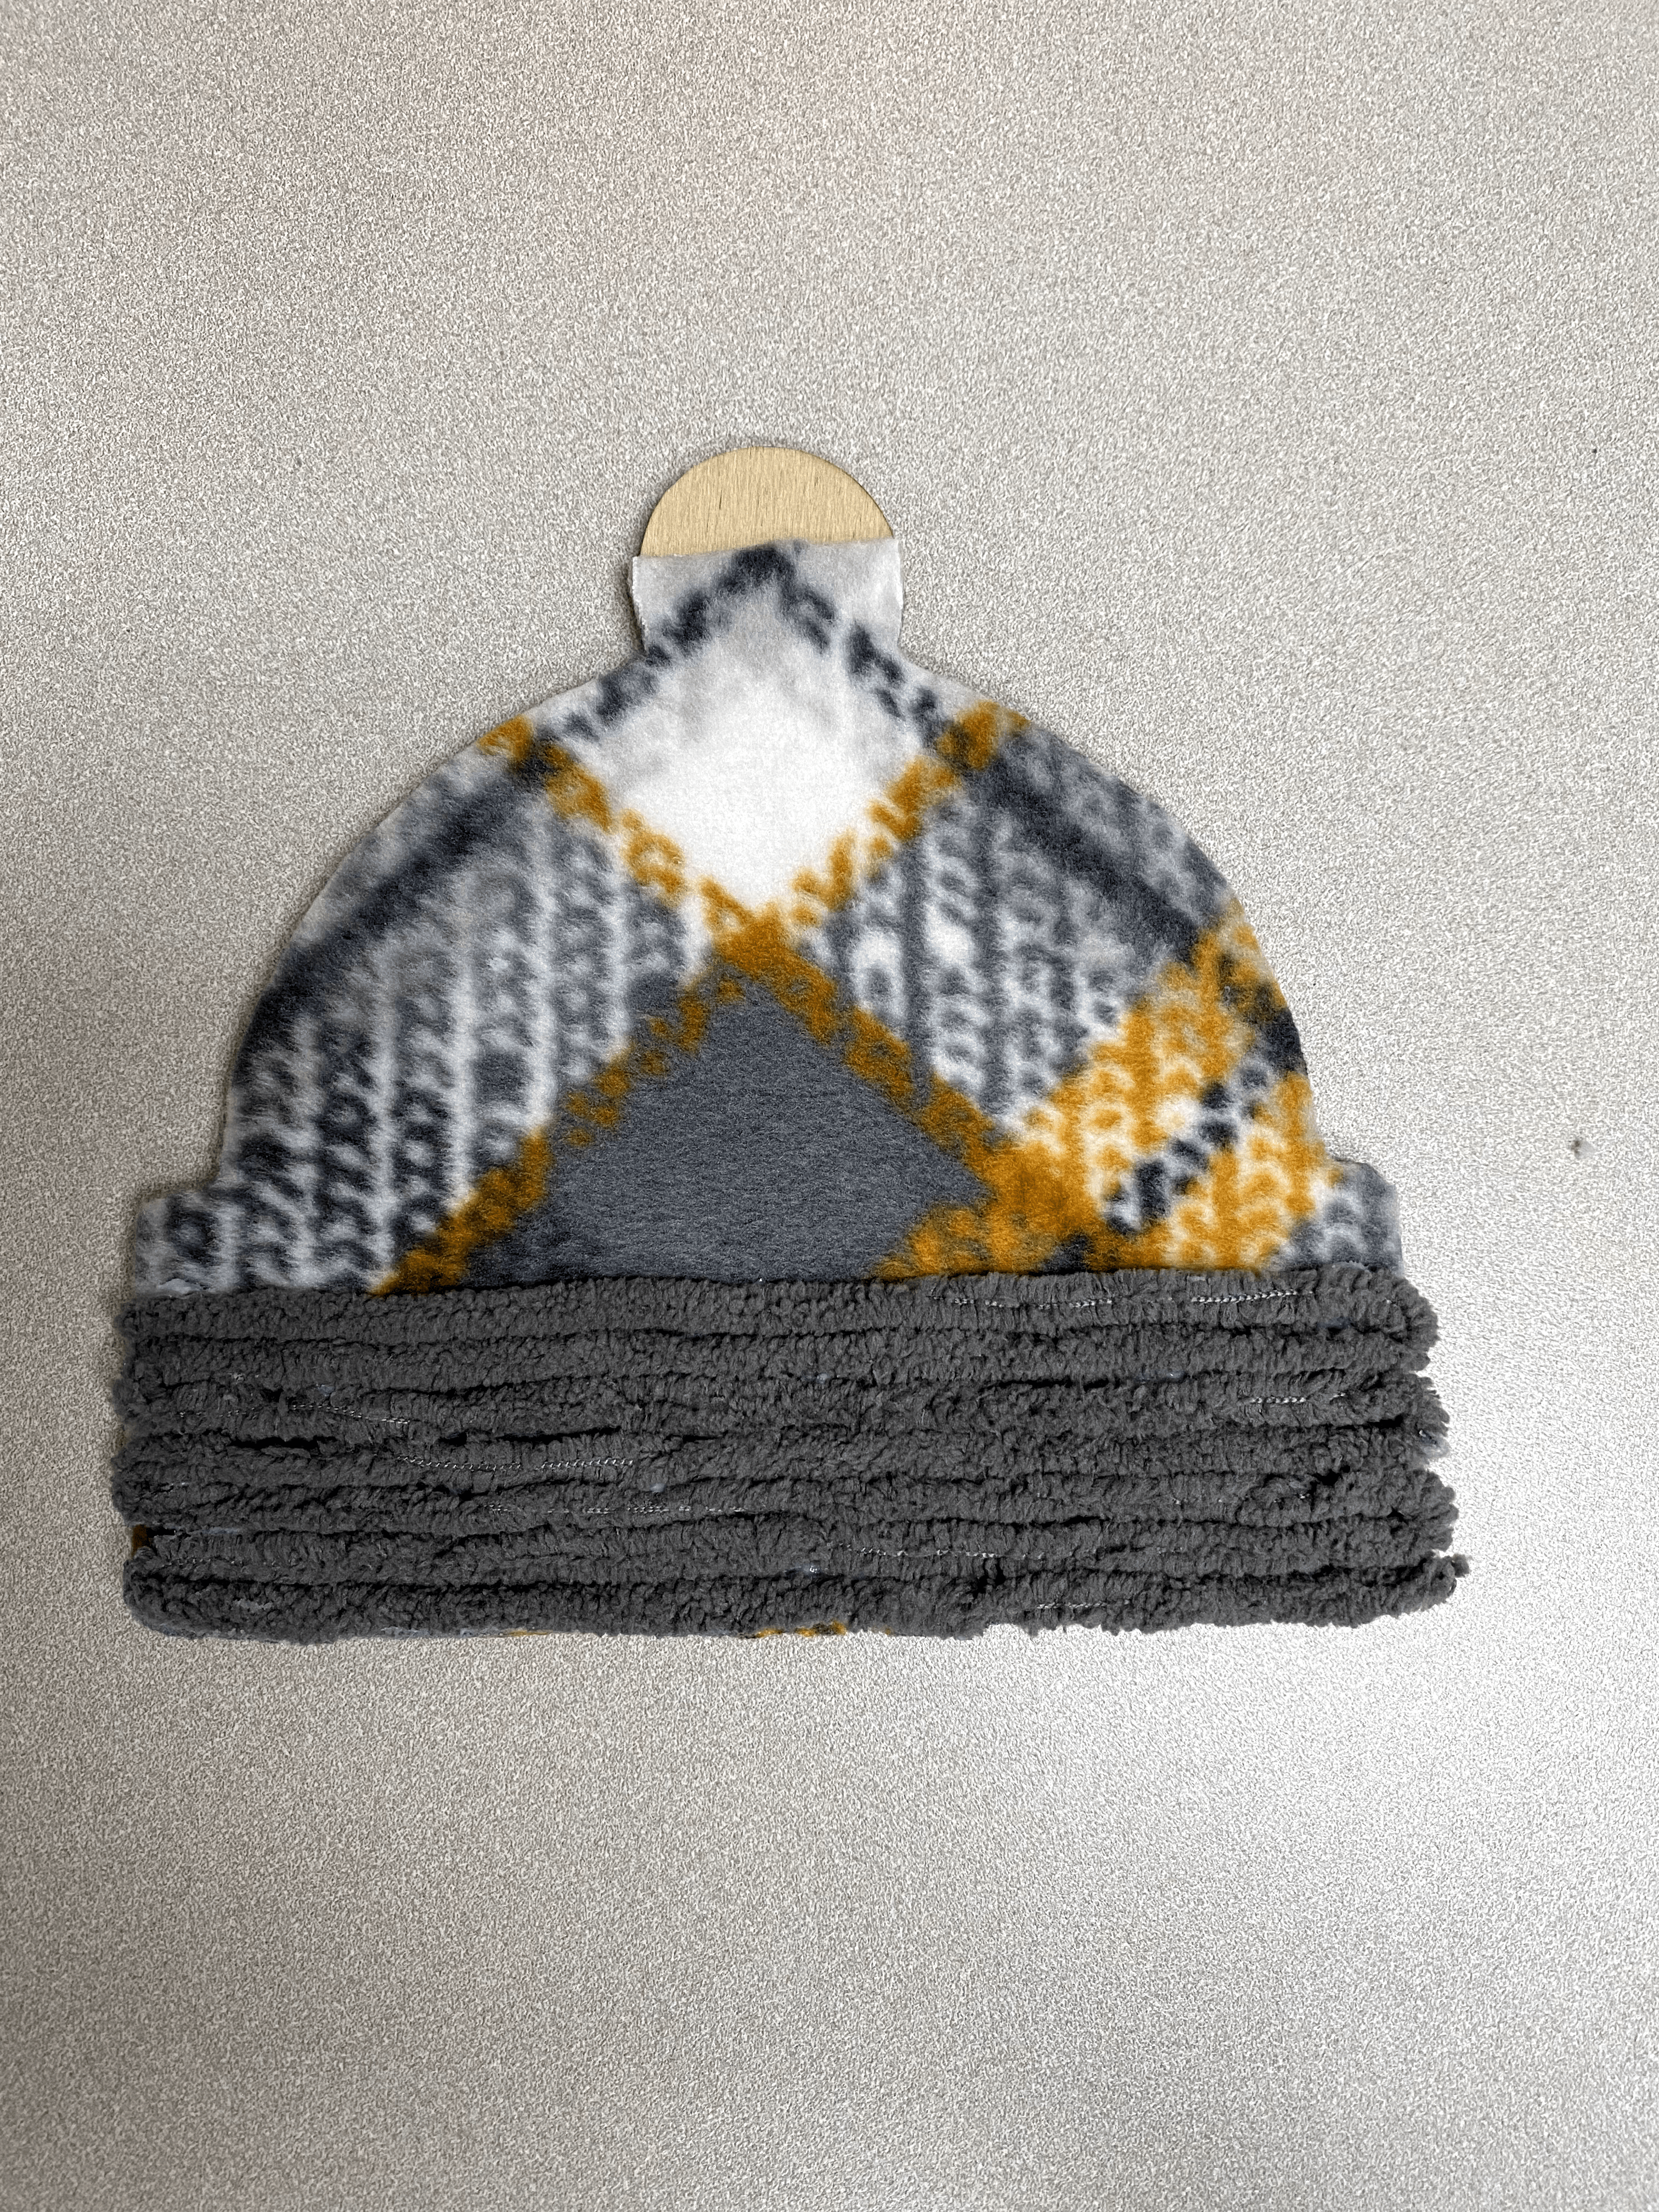
3. Glue on the gray yarn to the bottom of the hat. I started a little lower than the start of the band. DO NOT wrap around the back of the hat. You will not have enough yarn.
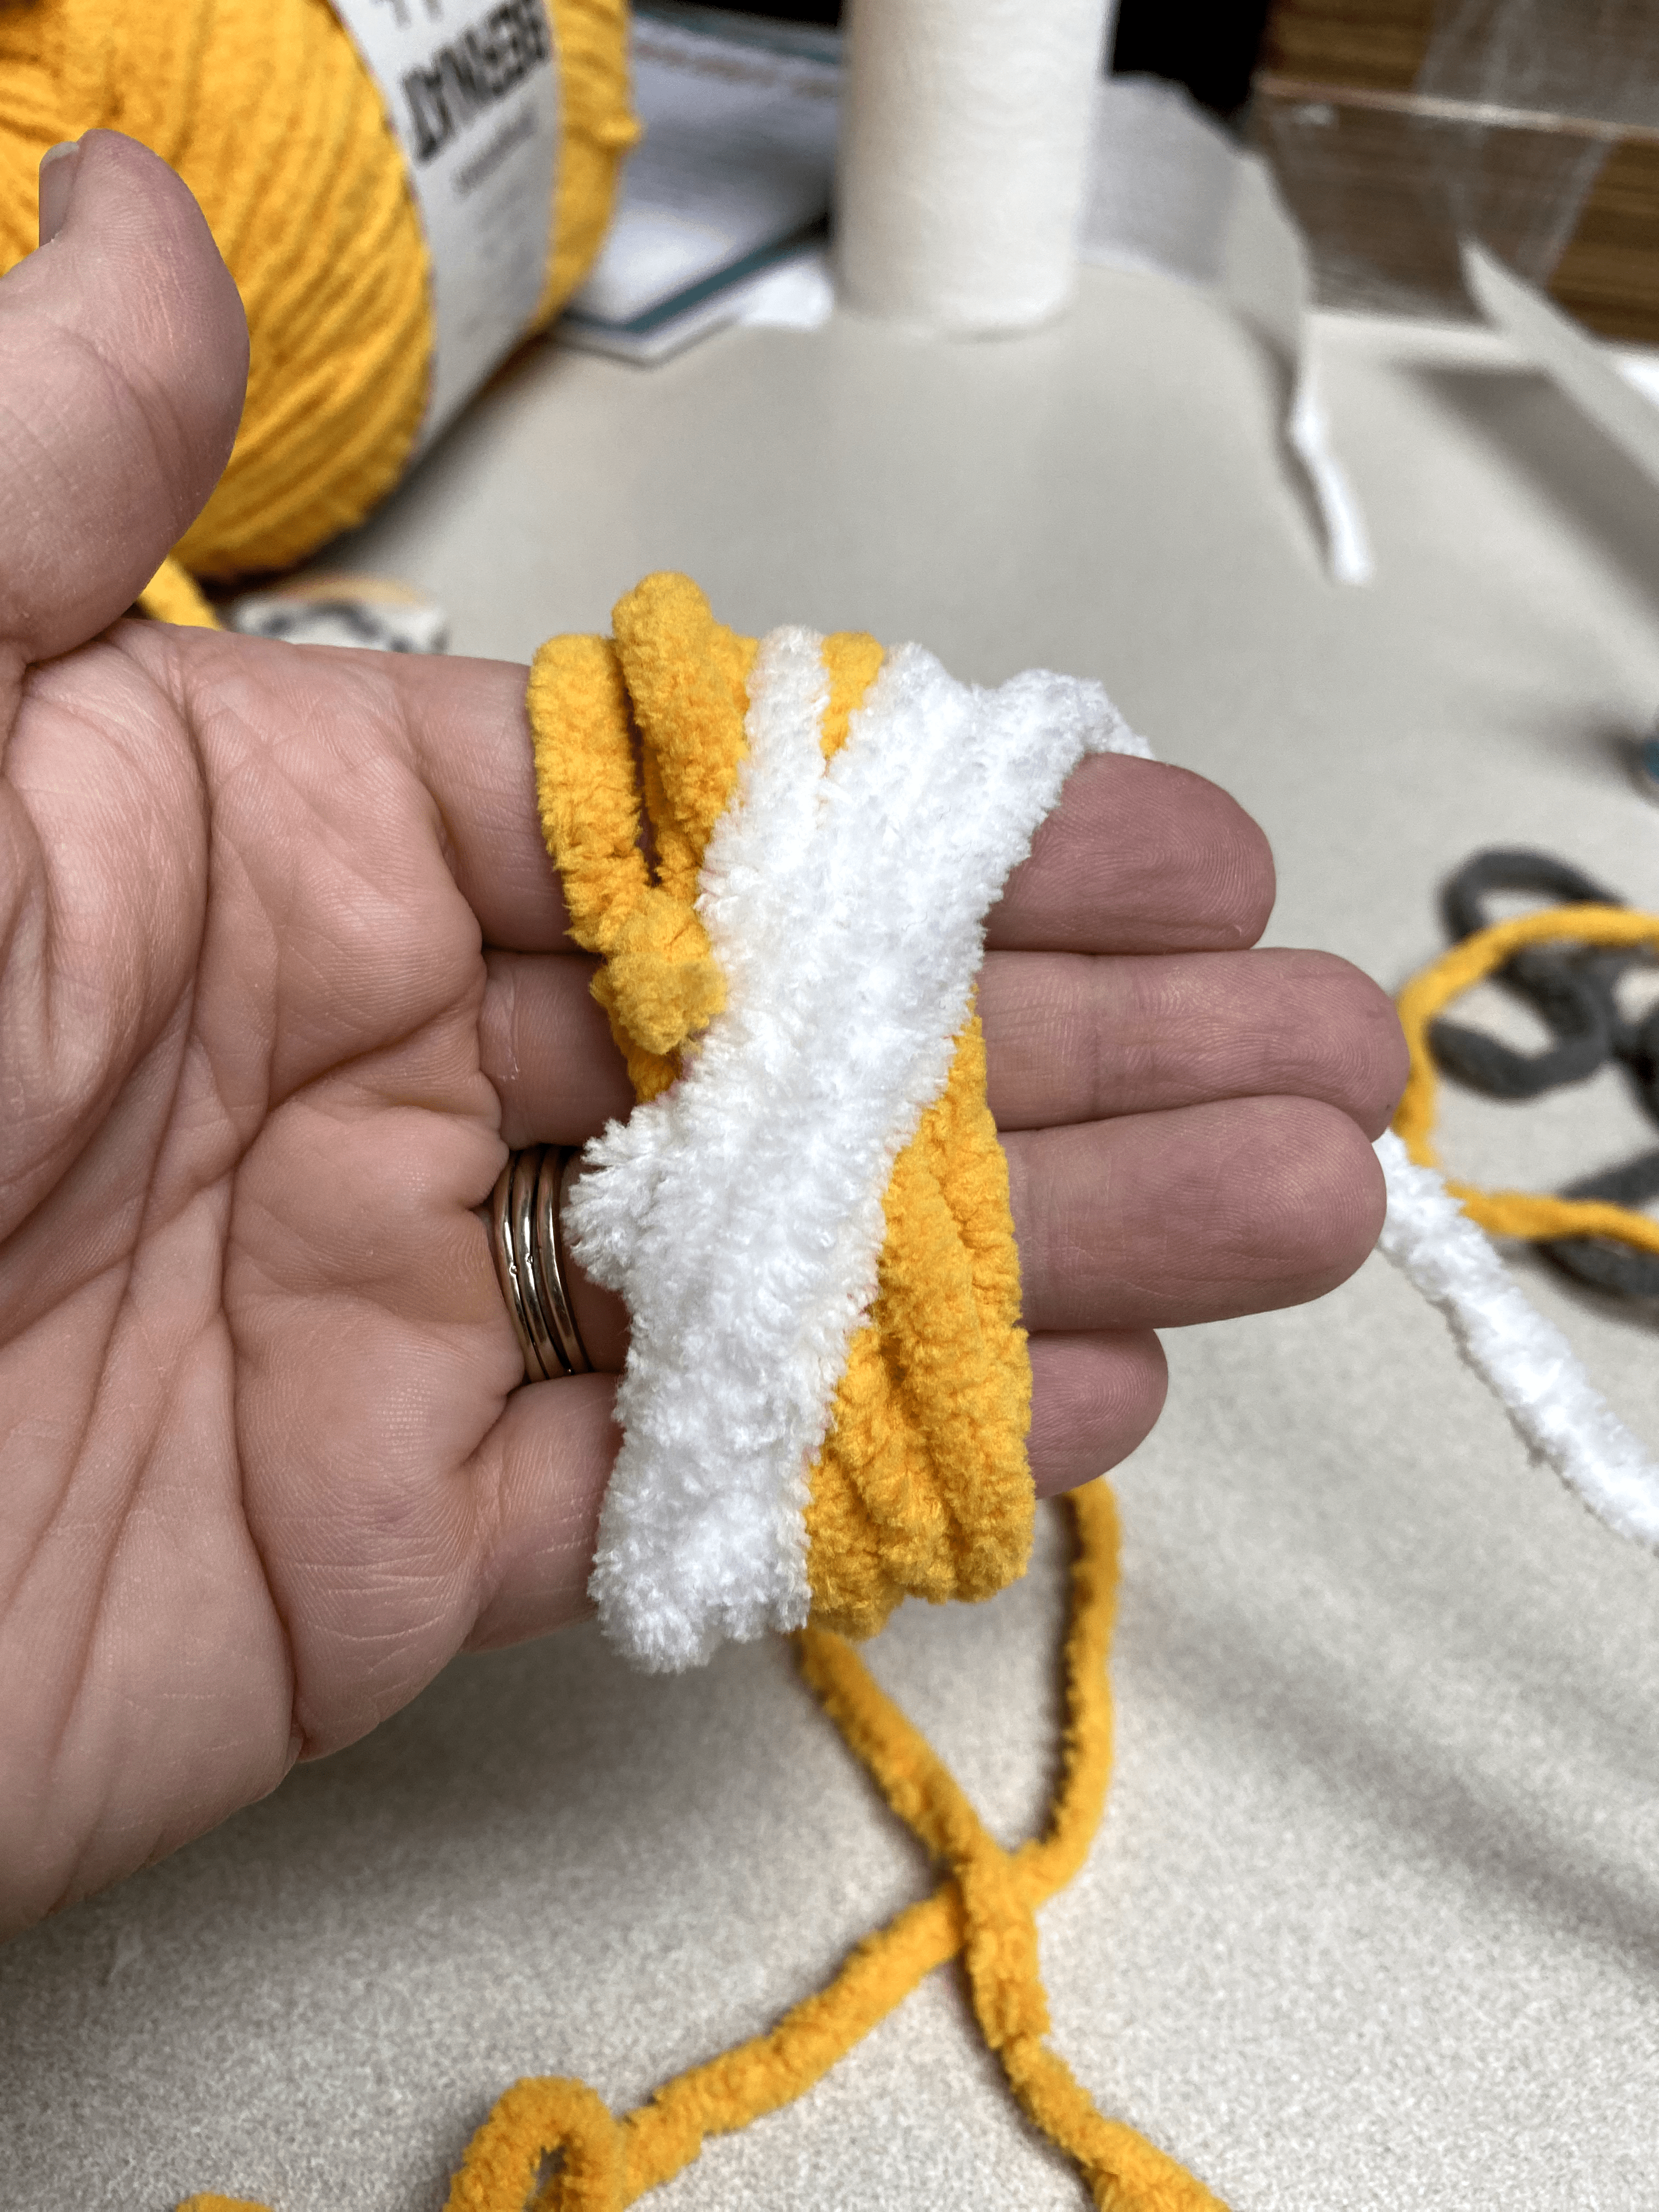
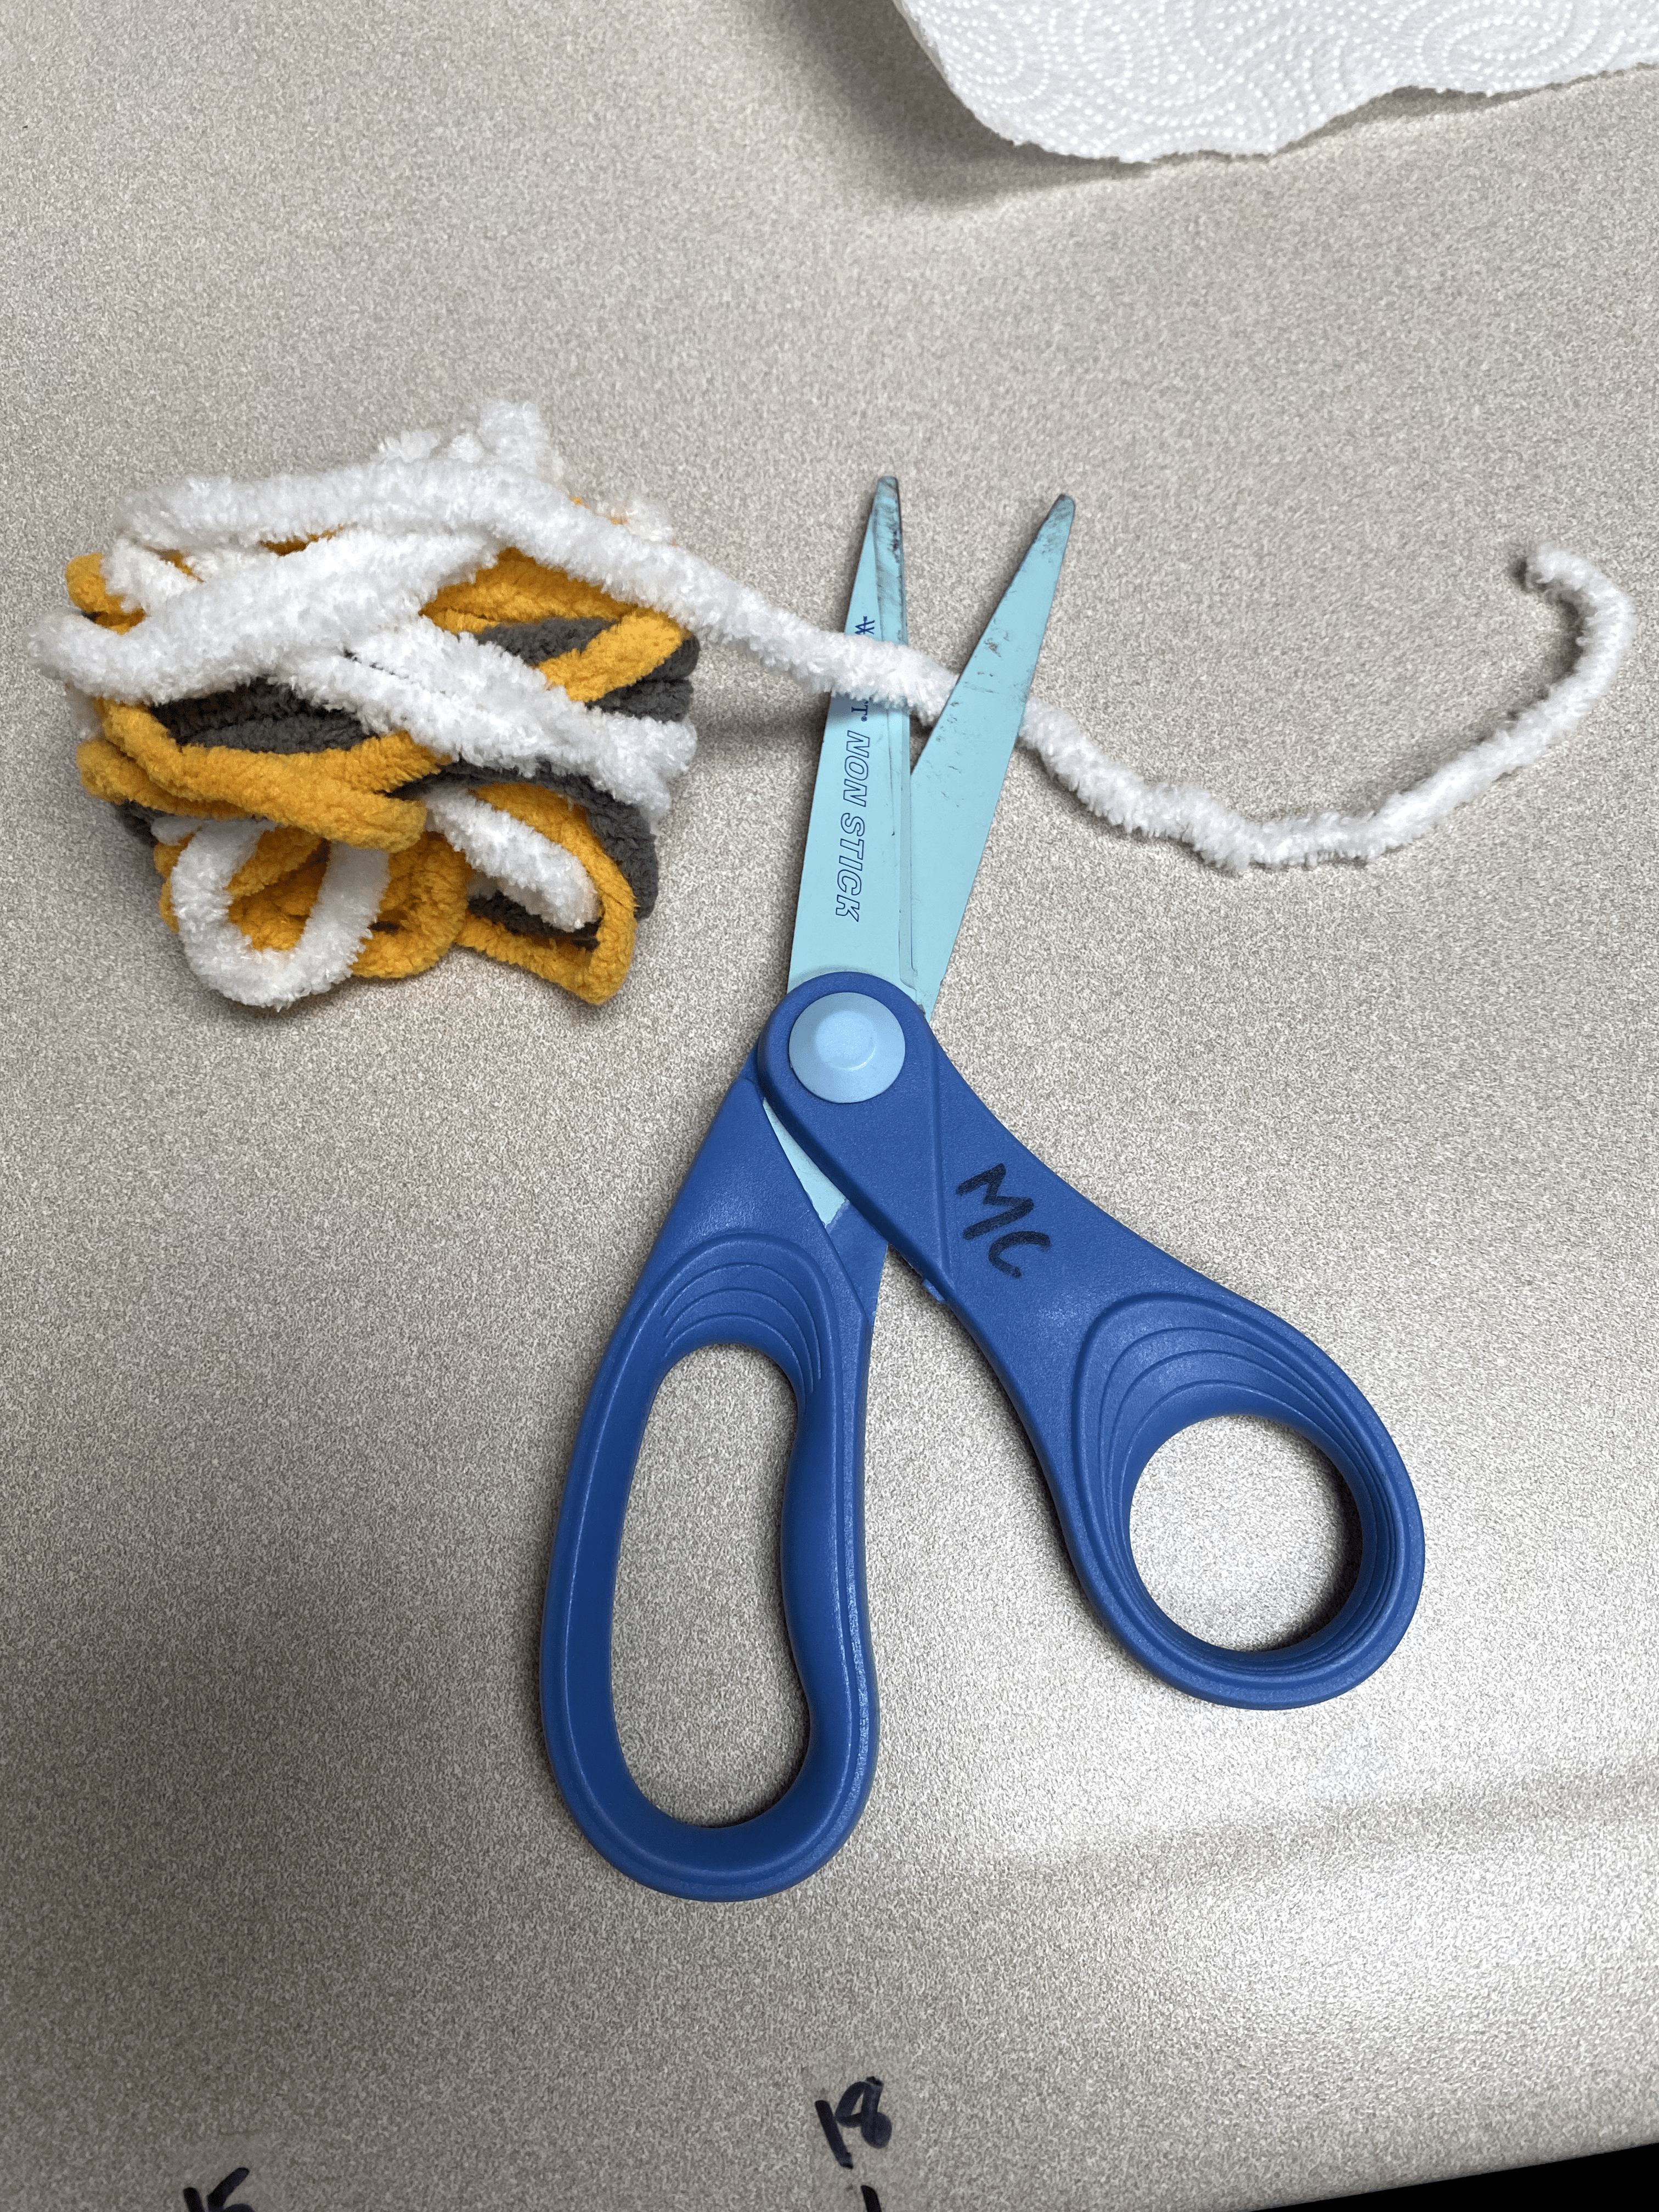
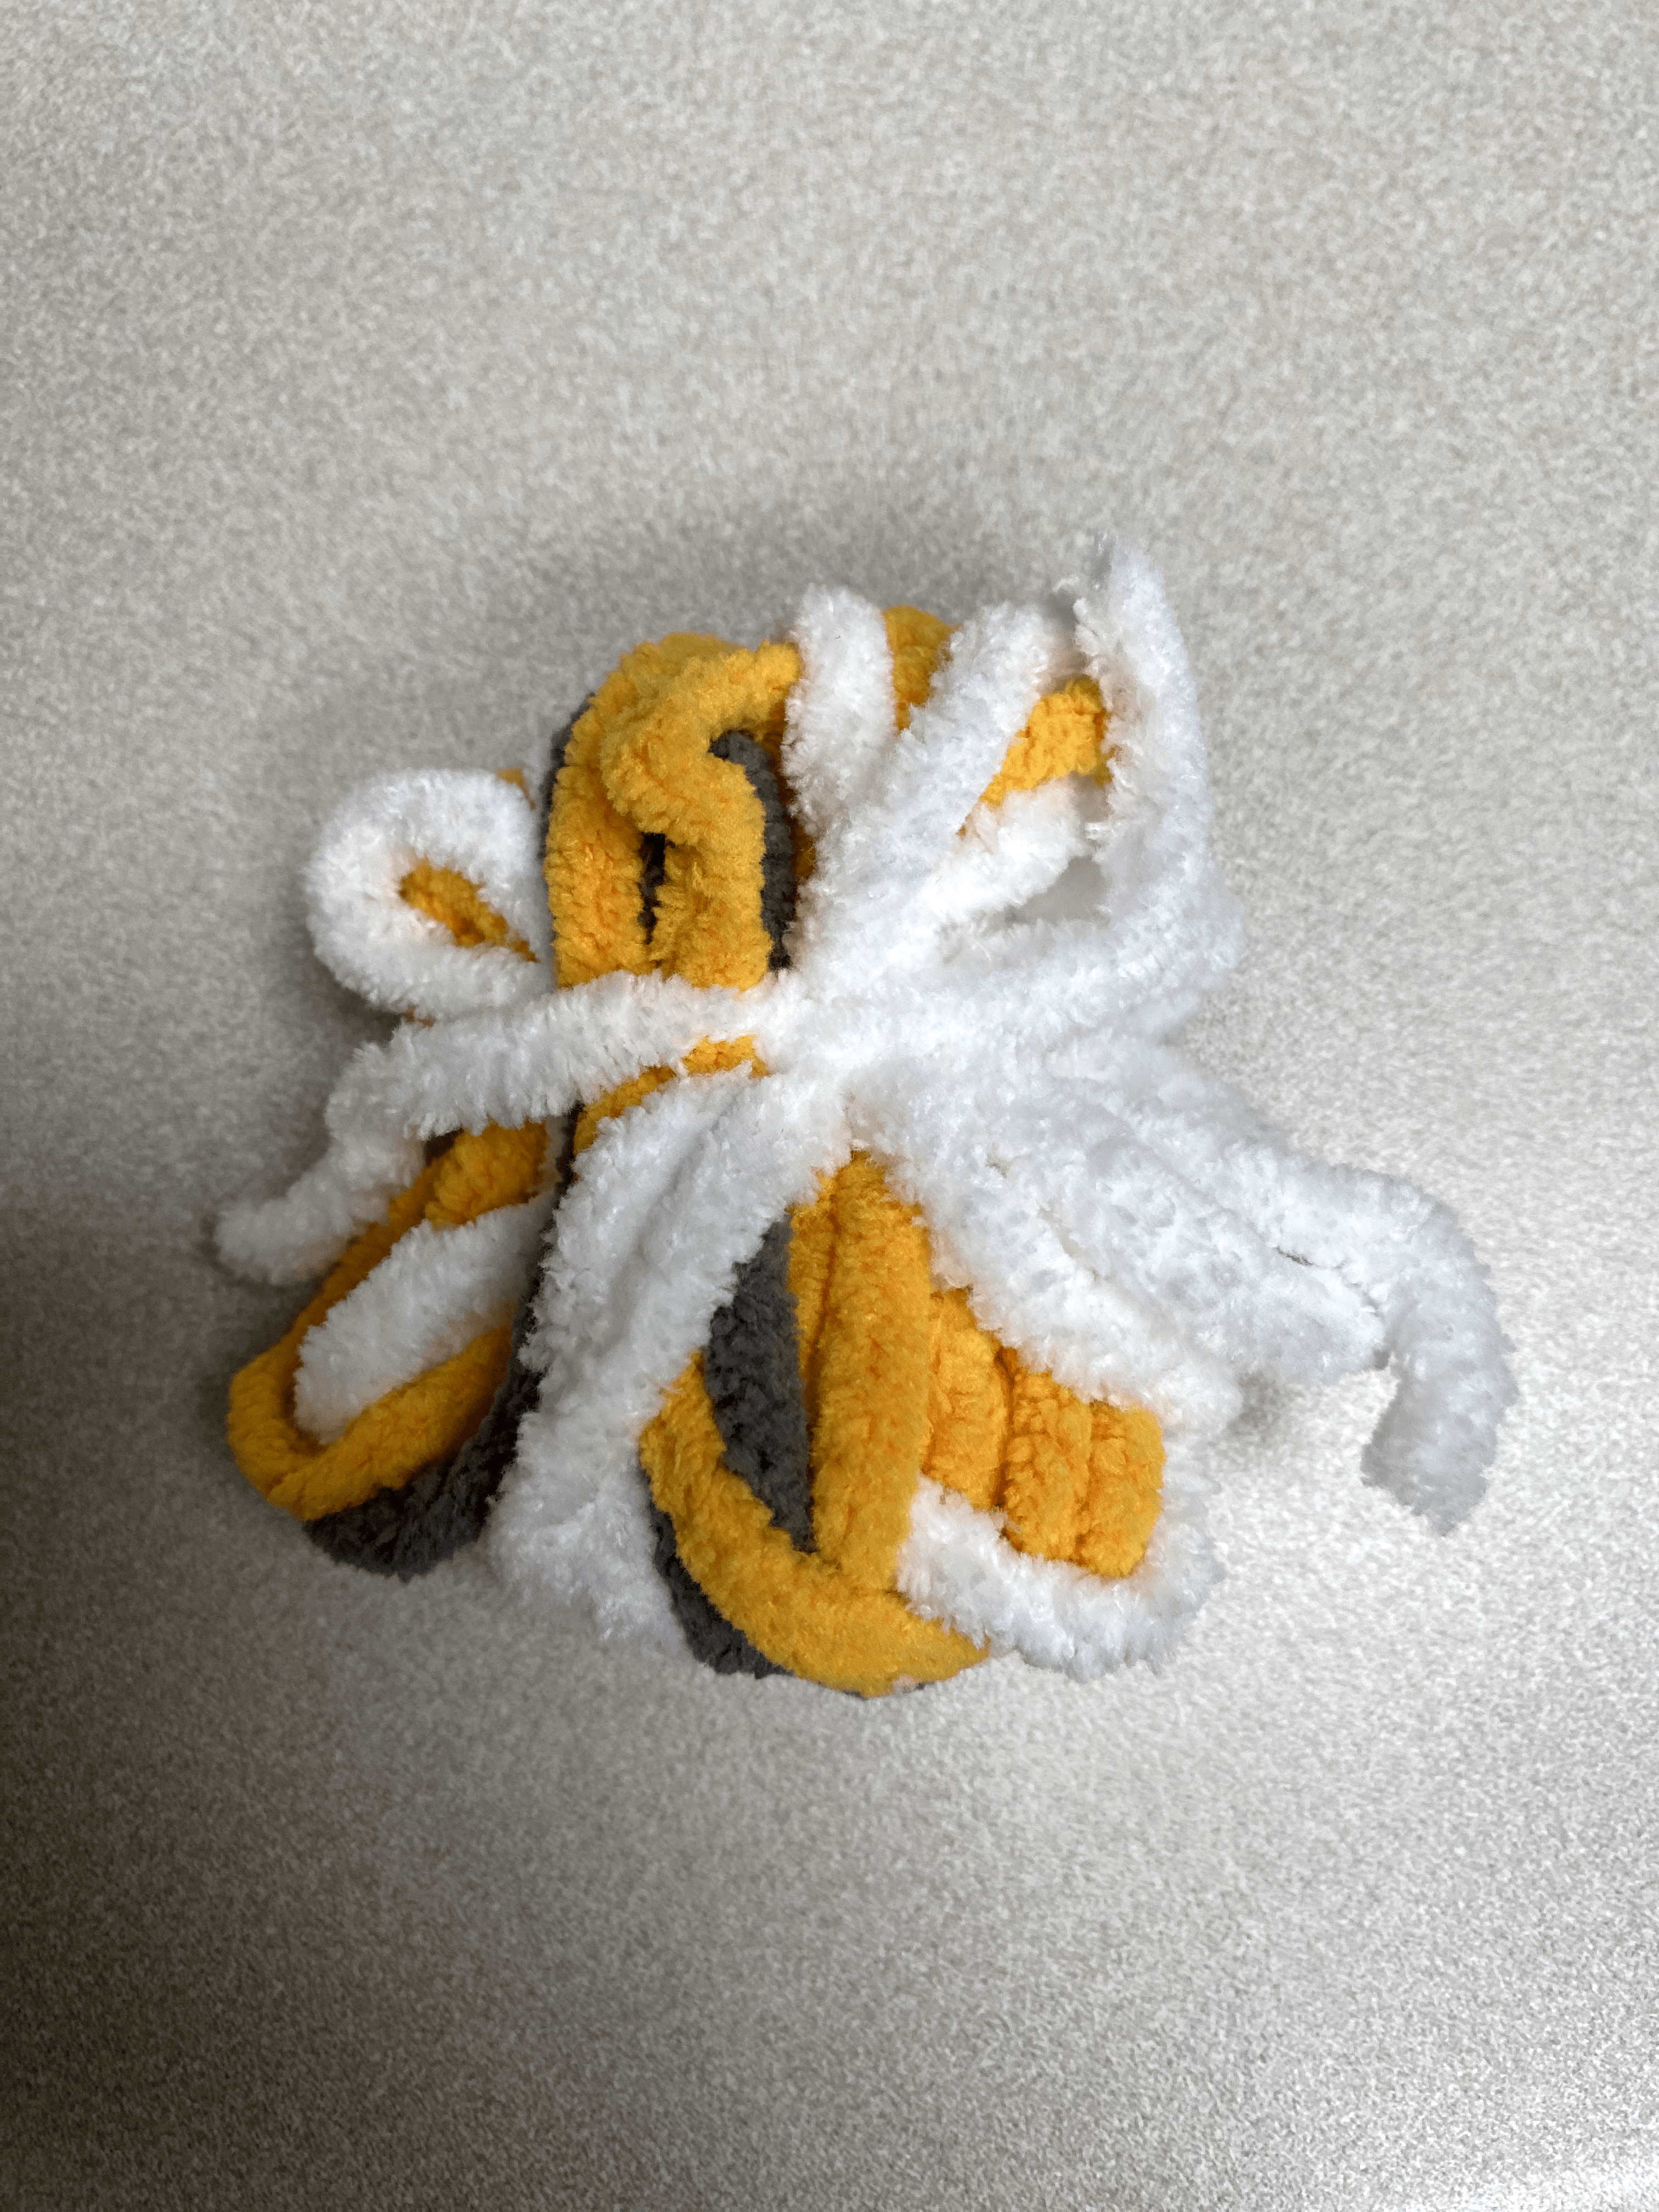
4. Make the ball. Wrap the white and yellow yarn around your fingers (see picture). Make sure to keep TWO small pieces for later. I had a little scrap of gray left, so I used that too. Here’s a good tutorial for making poms: https://www.youtube.com/watch?v=daJyhdIEJ1s
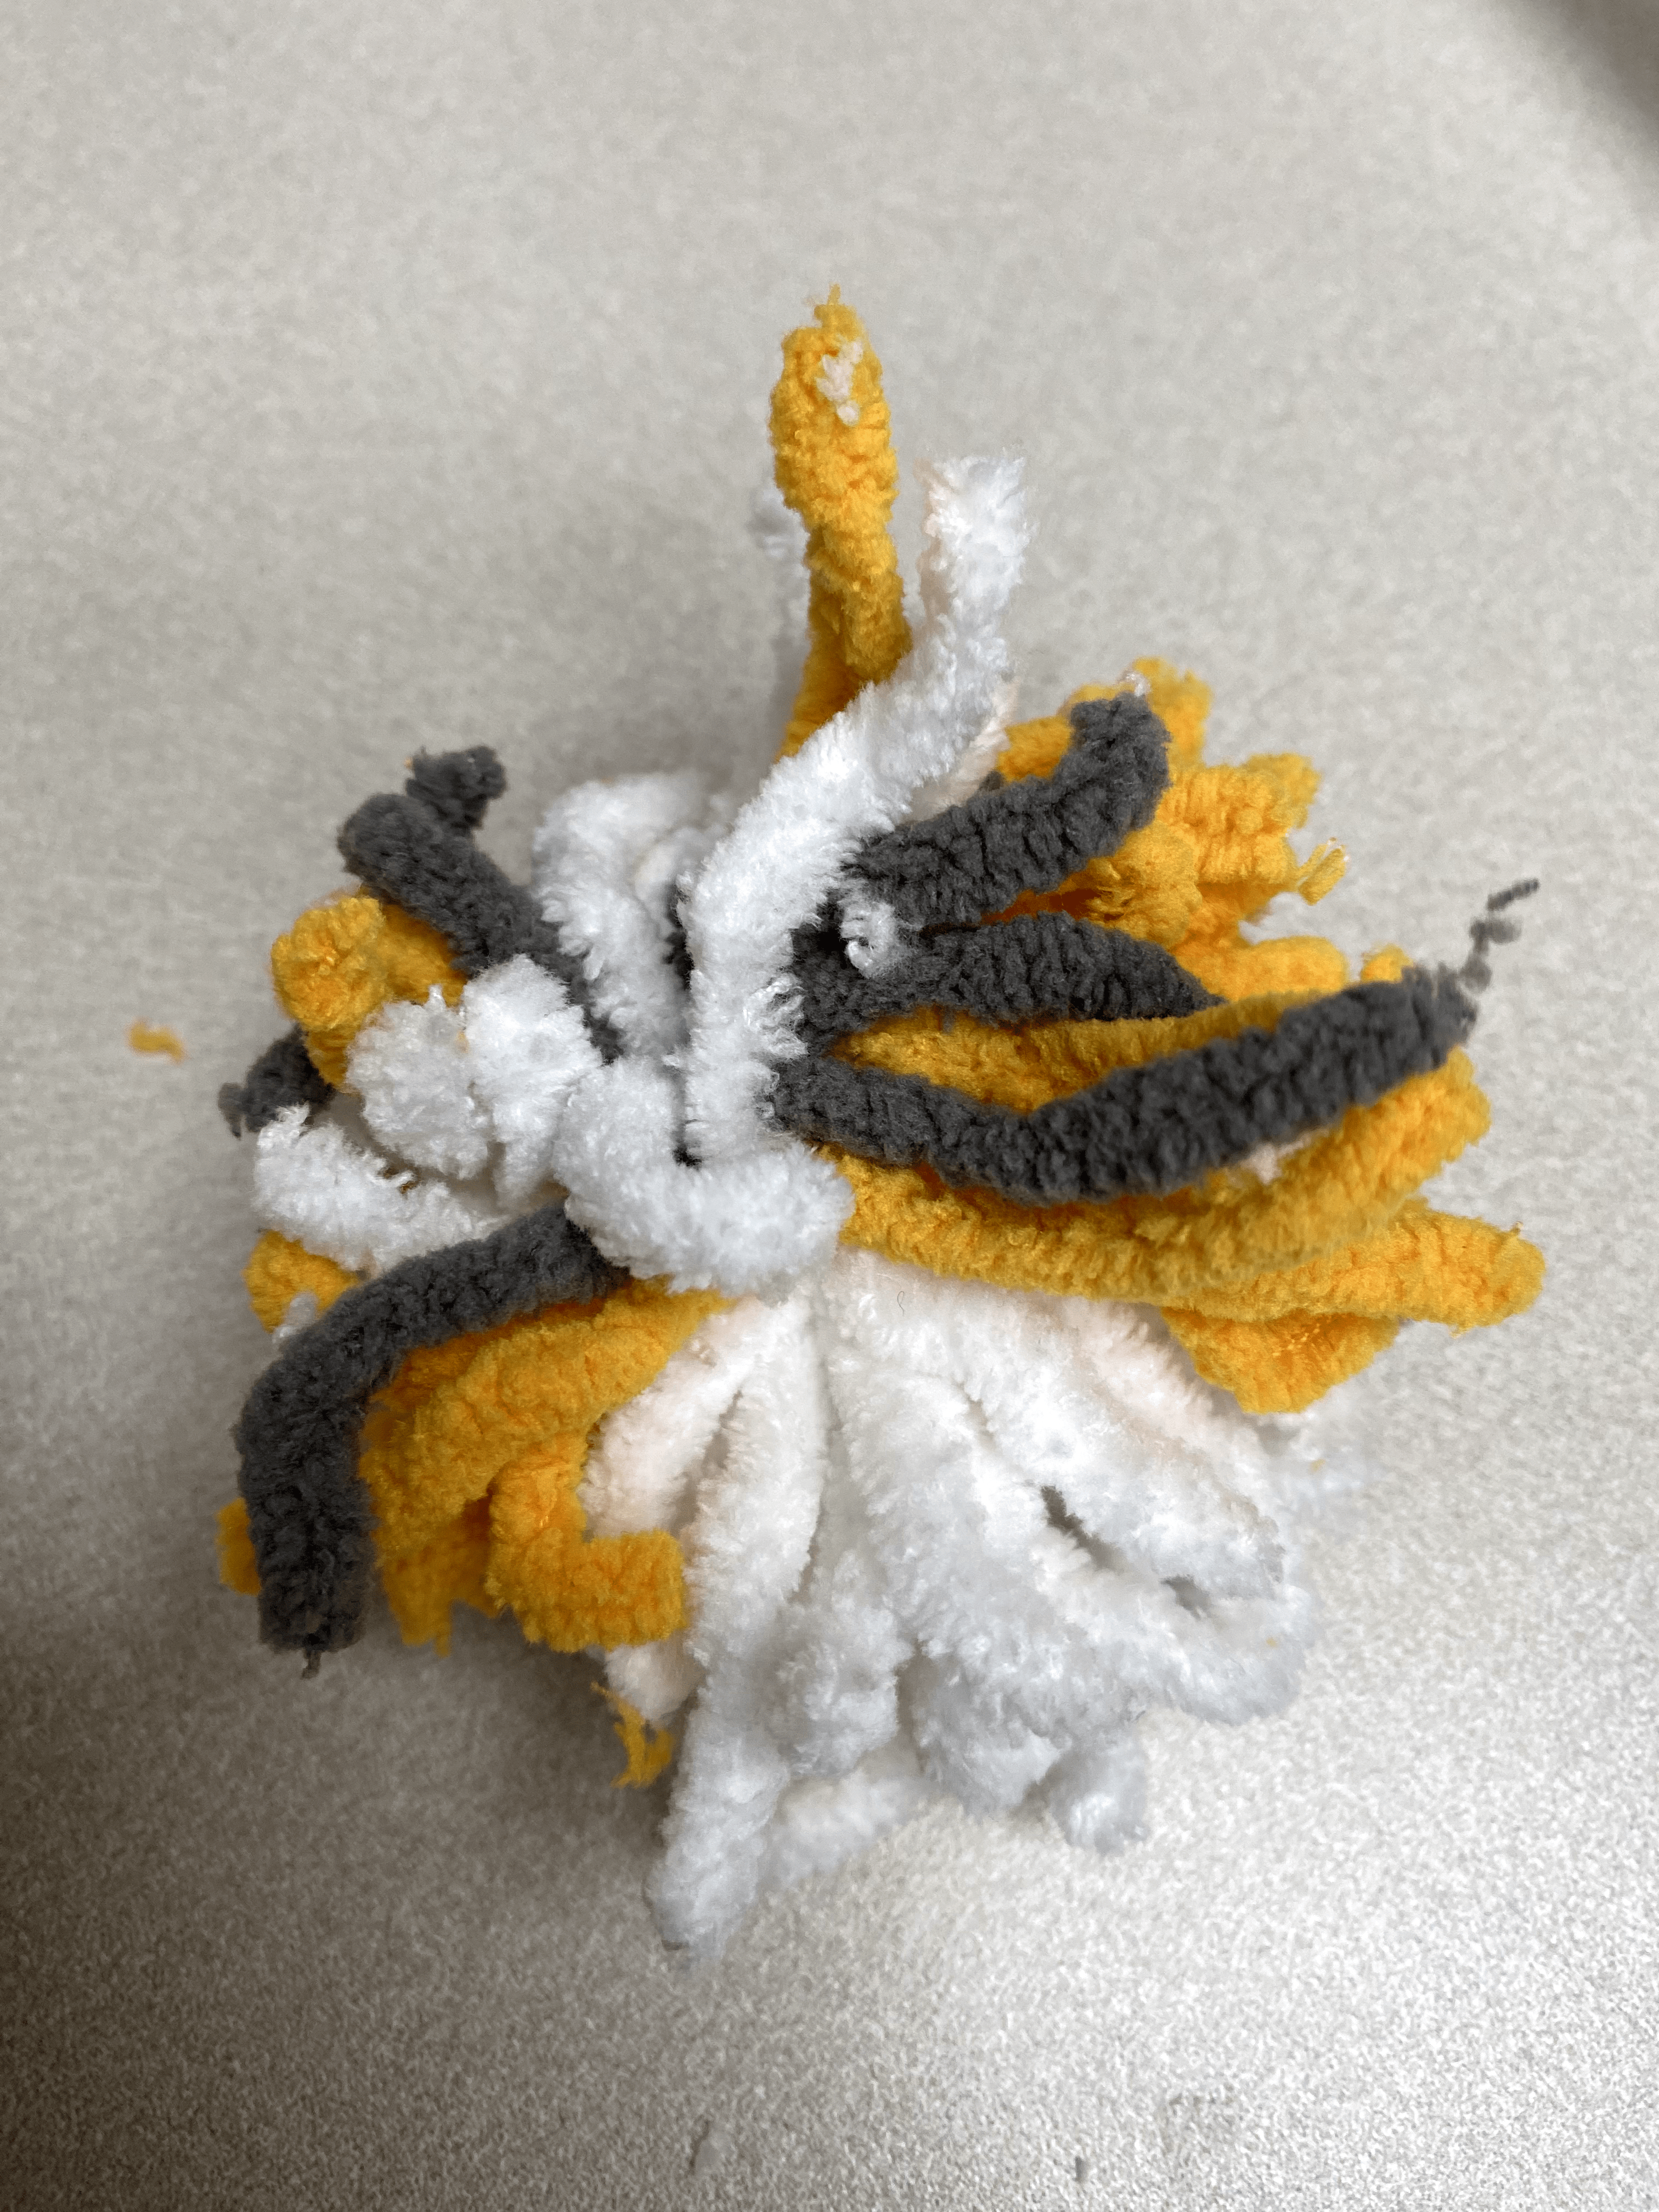
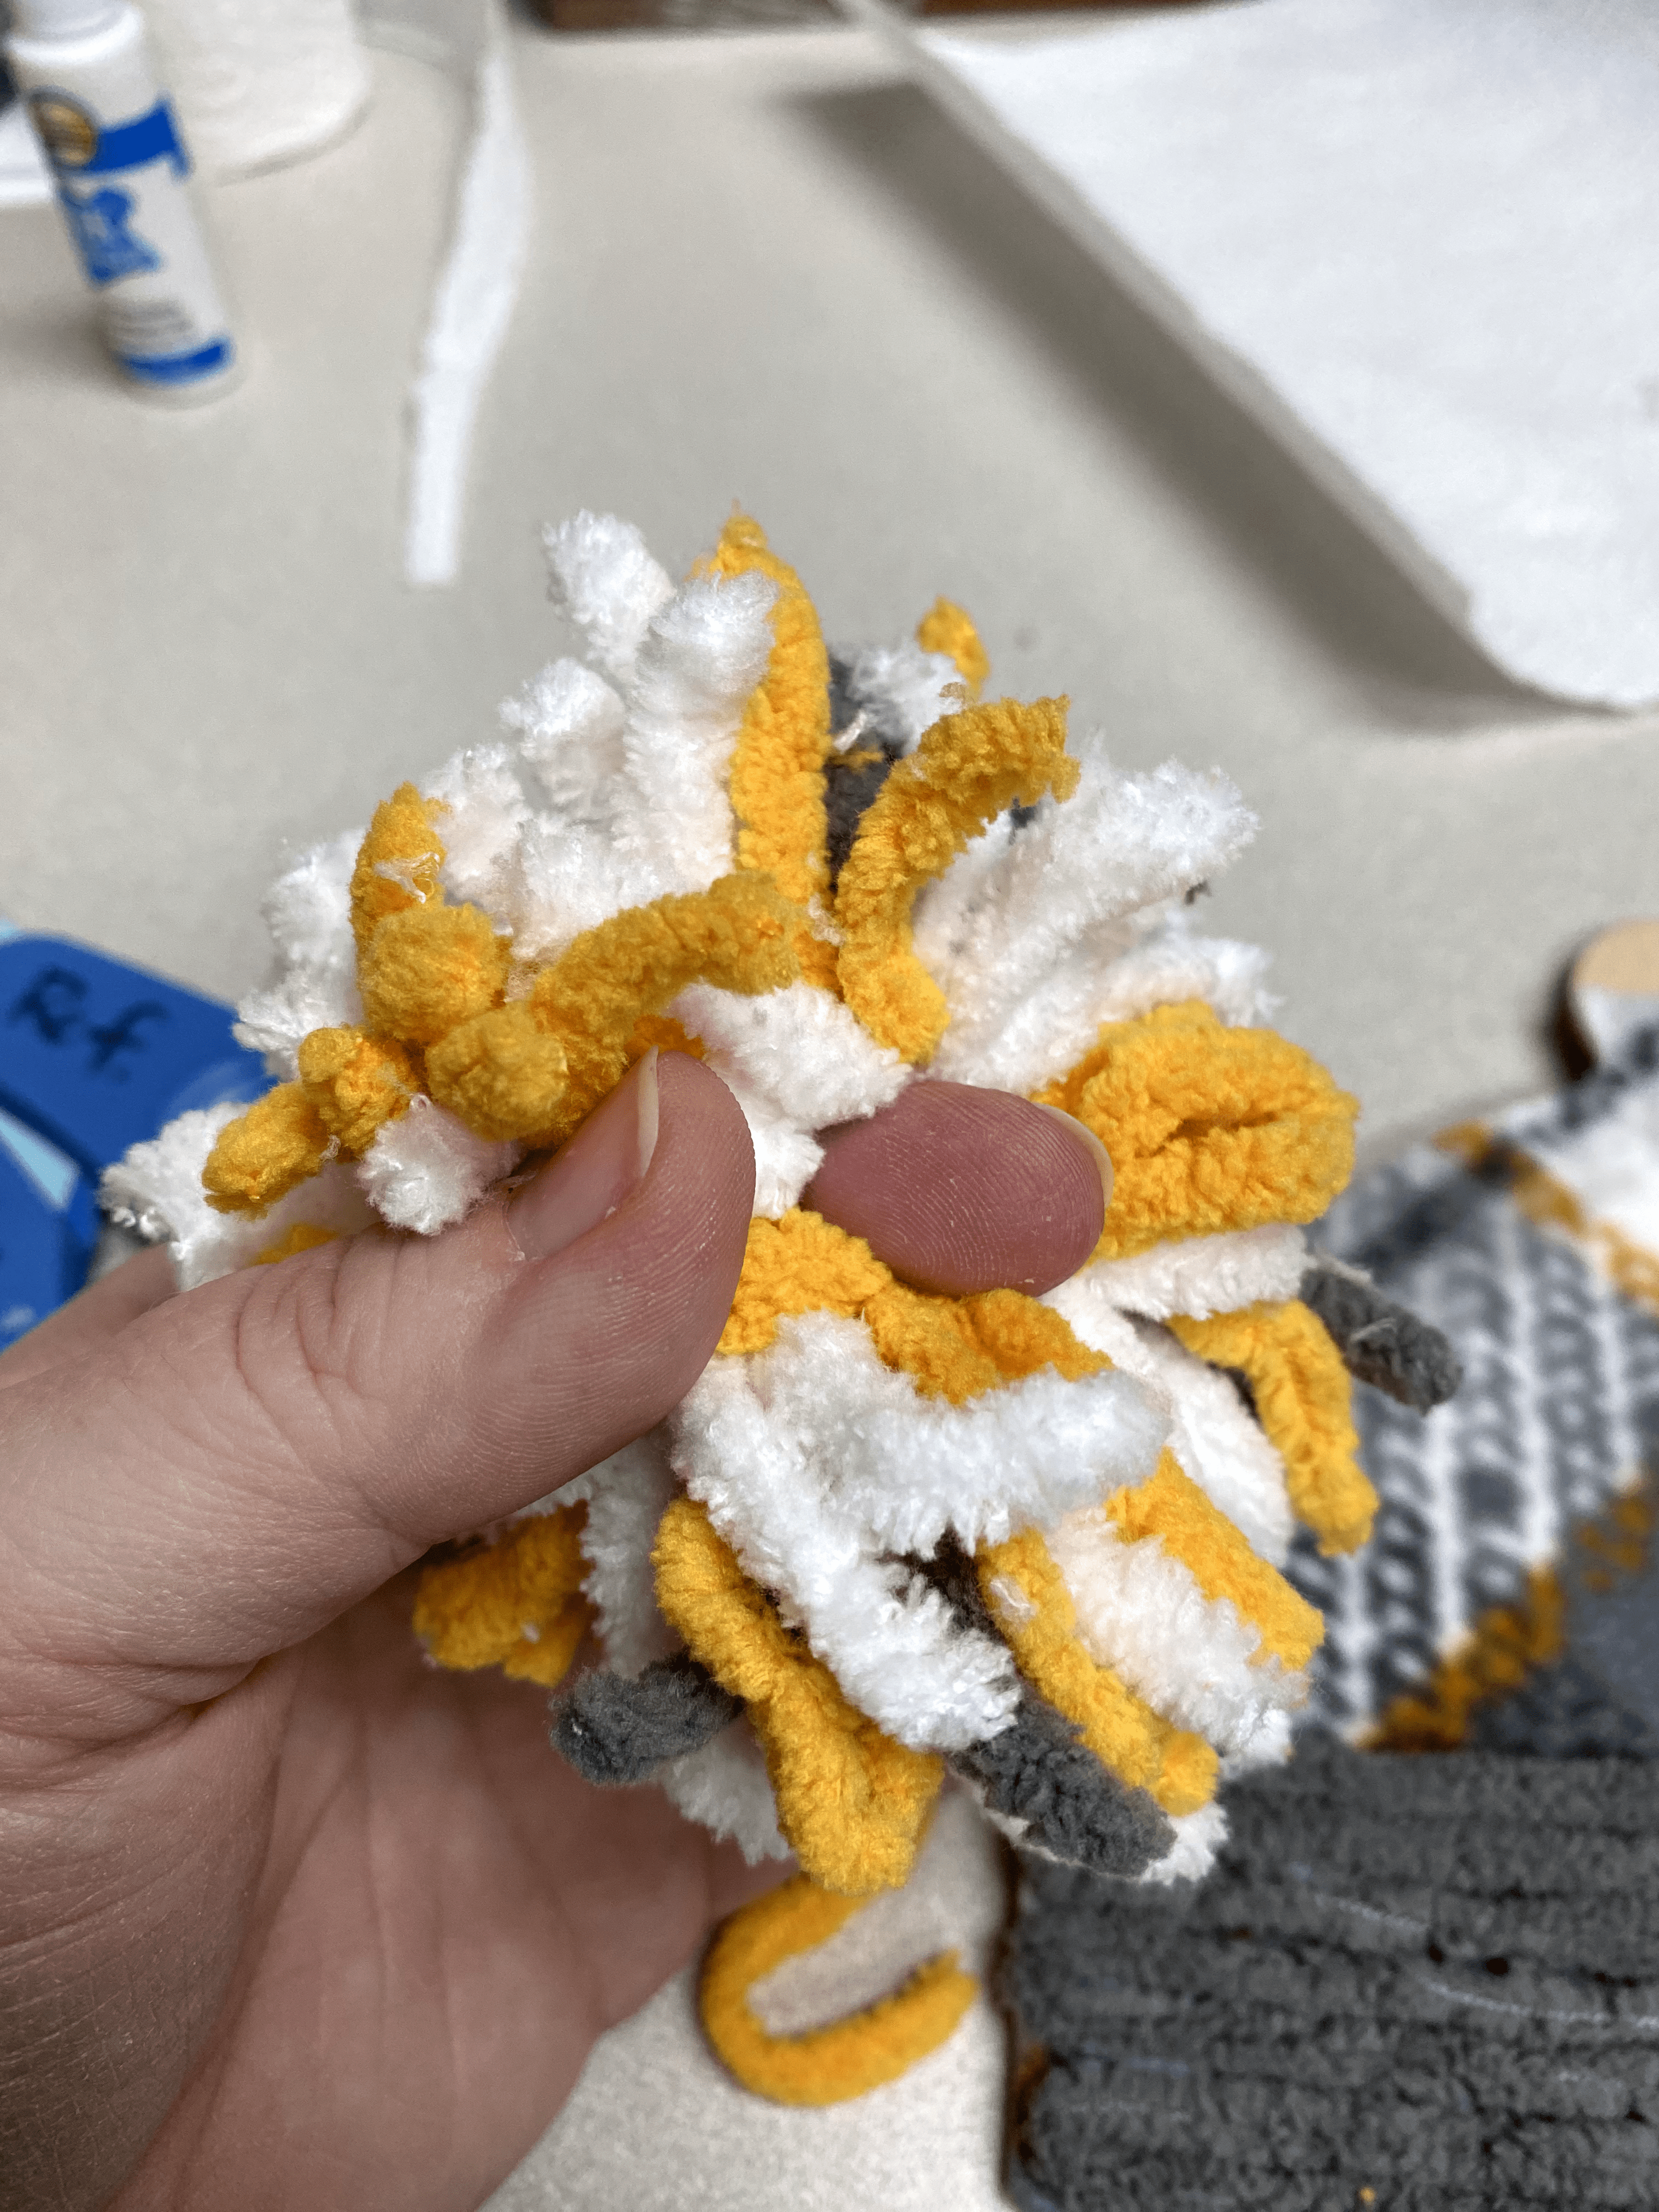
5. Carefully remove the yarn from your hand and tie a piece of yarn around the center. Then, cut the loops. You will need to trim the excess off to make the ball uniform looking.
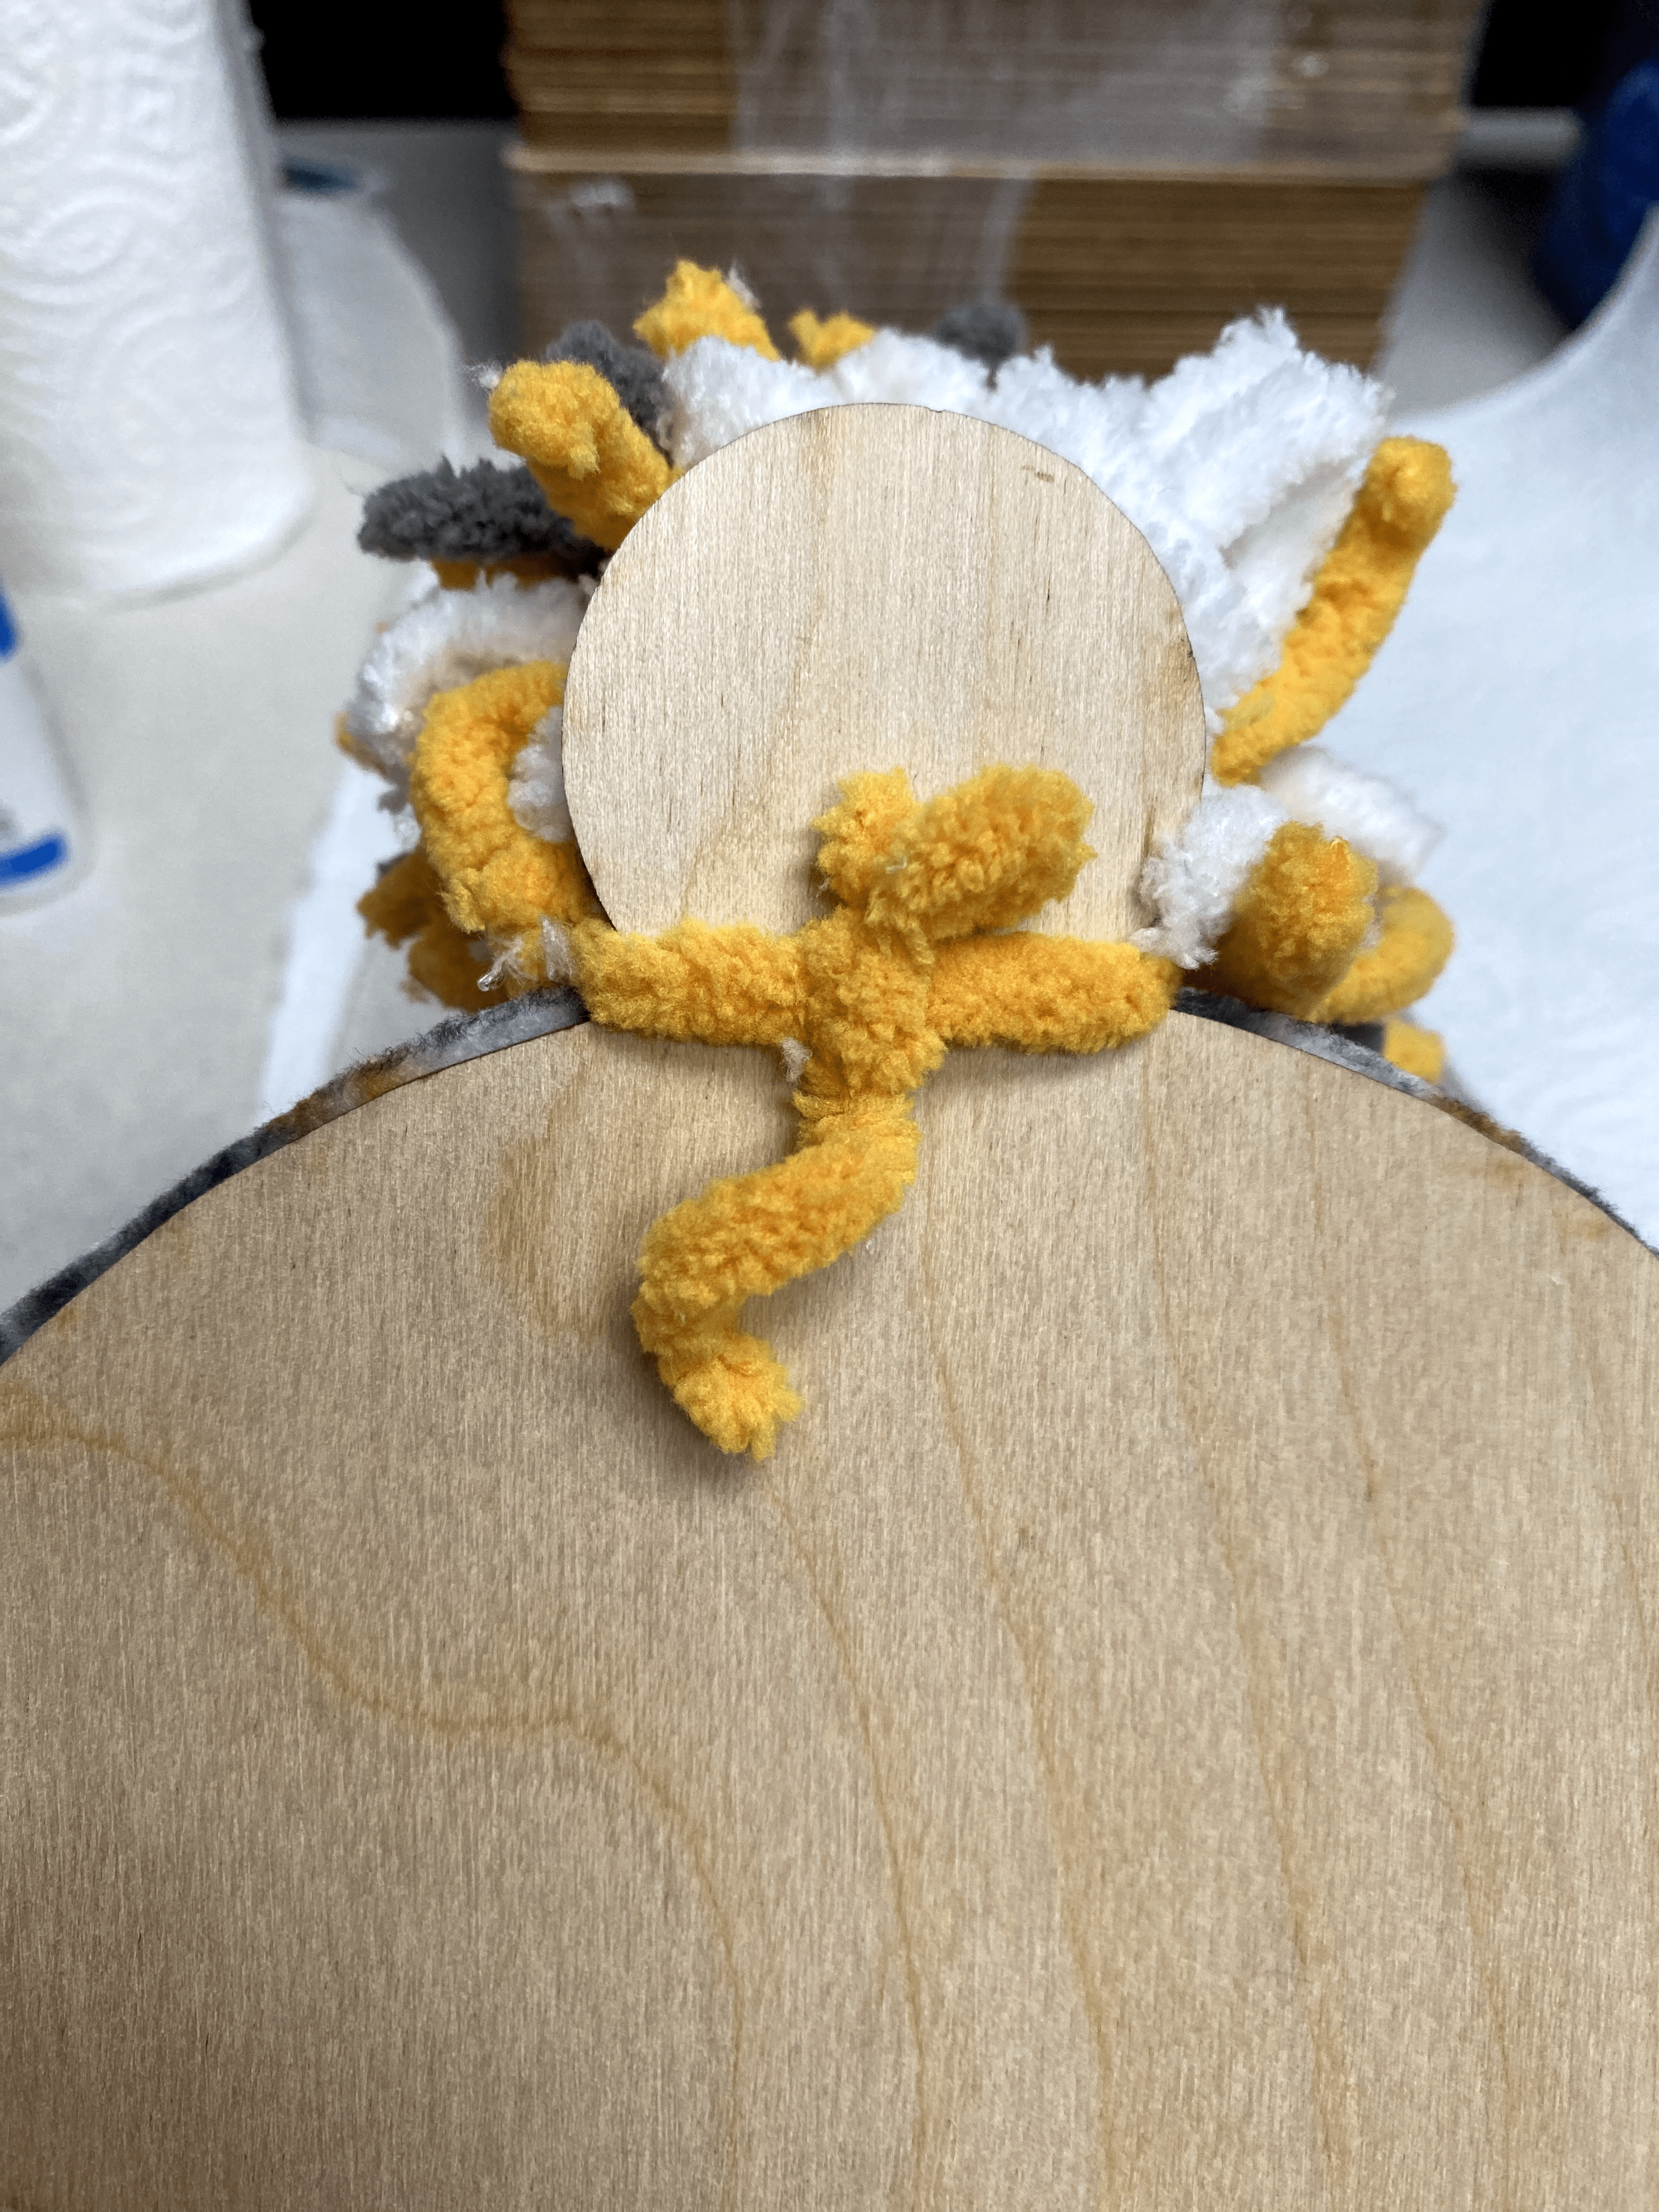
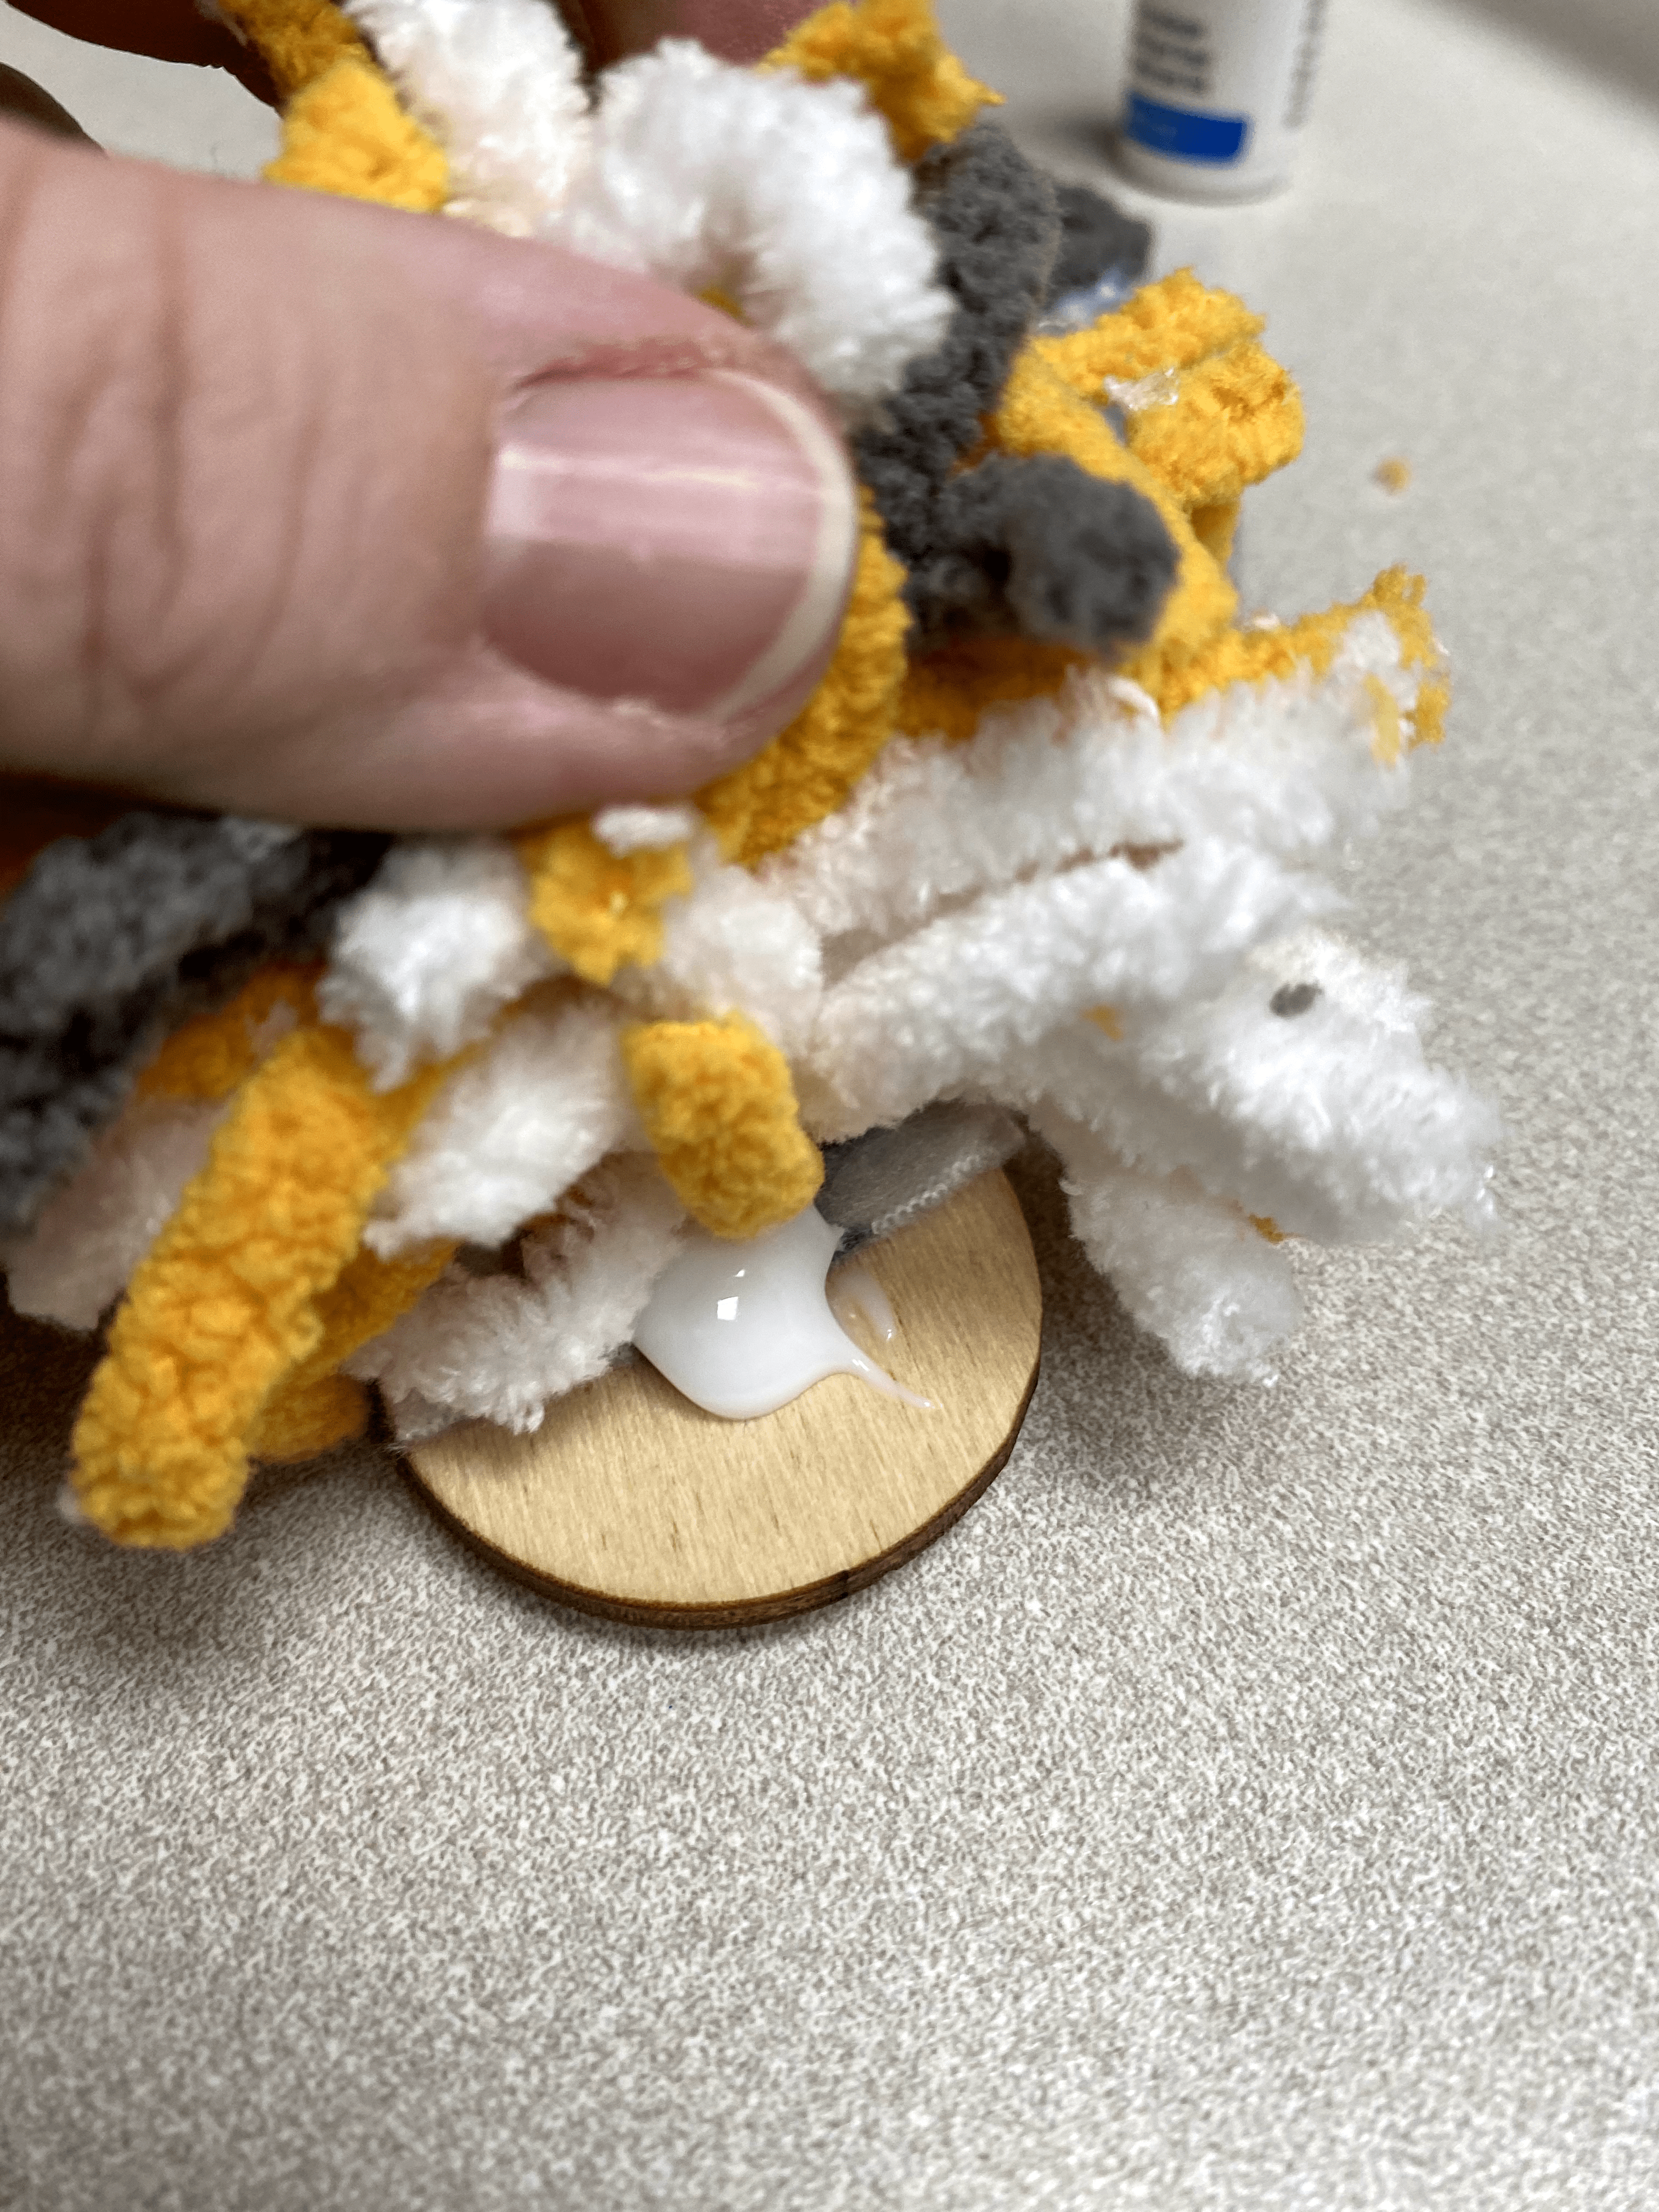
6. To attach the ball to the top, put your finger through the center hole of the ball. Insert your second piece of scrap yarn through it. Tie that piece around the top of the hat and tie in a knot at the back. I also used a little glue to secure it to the wood.
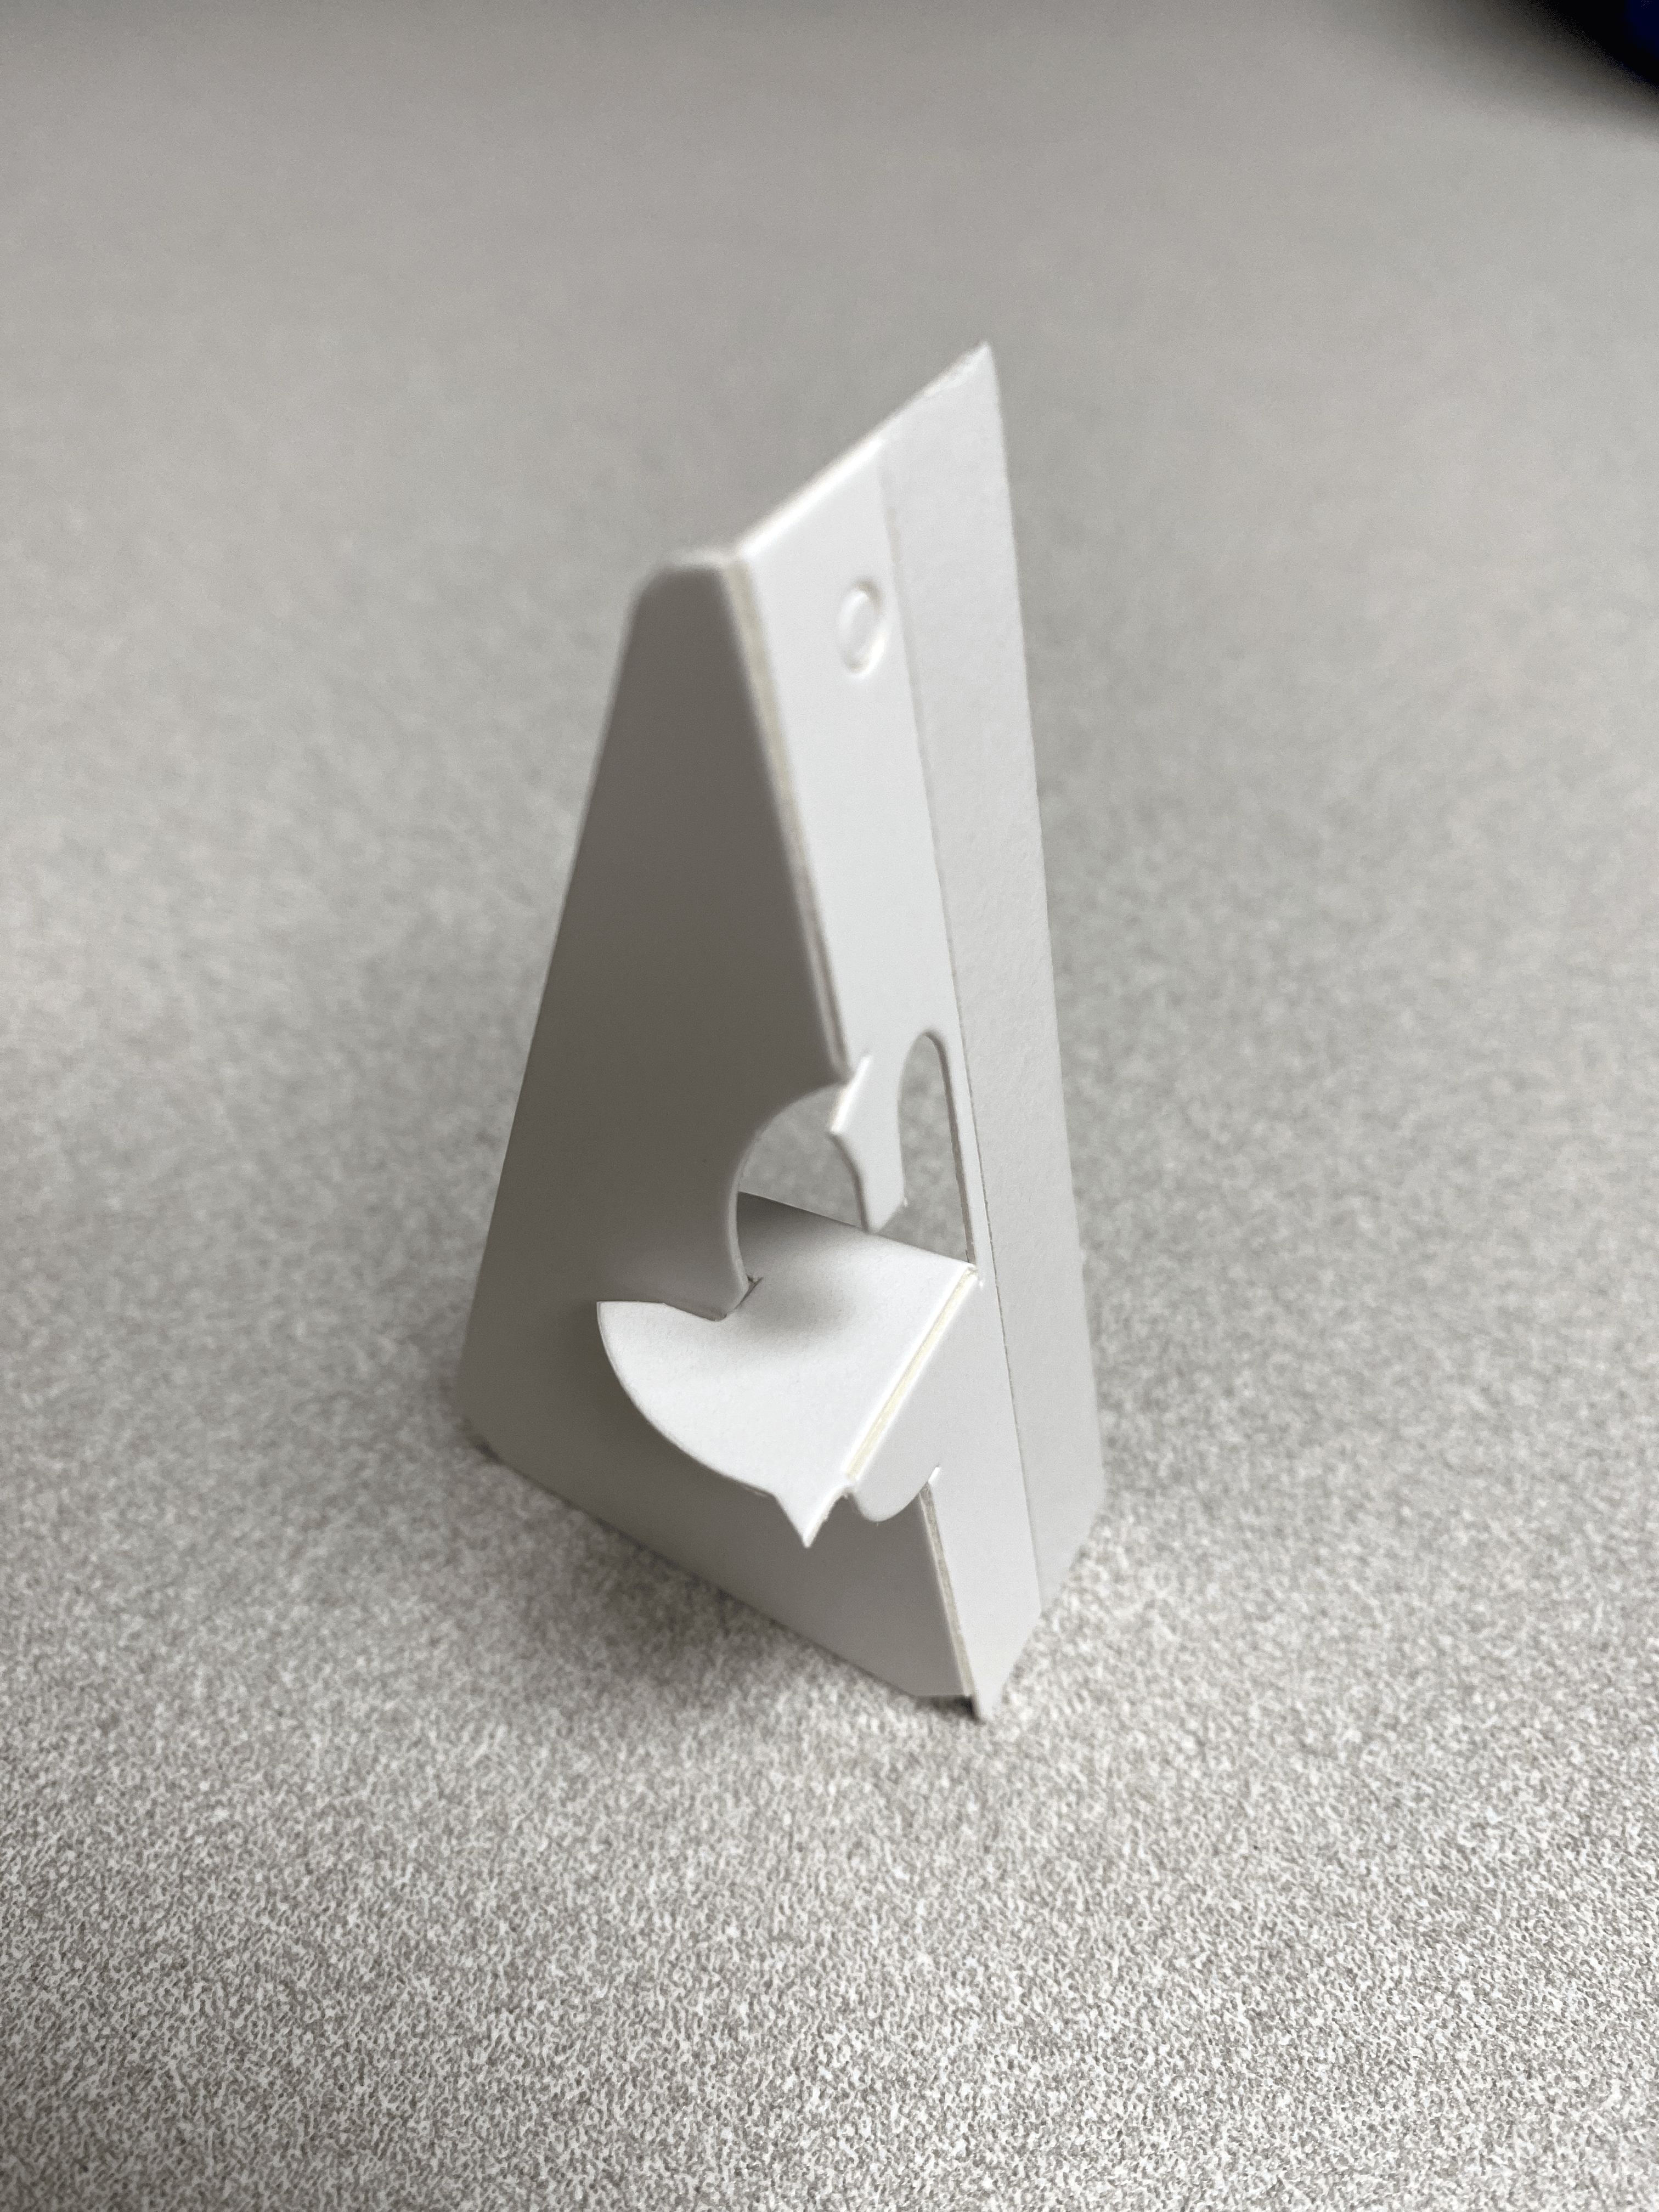
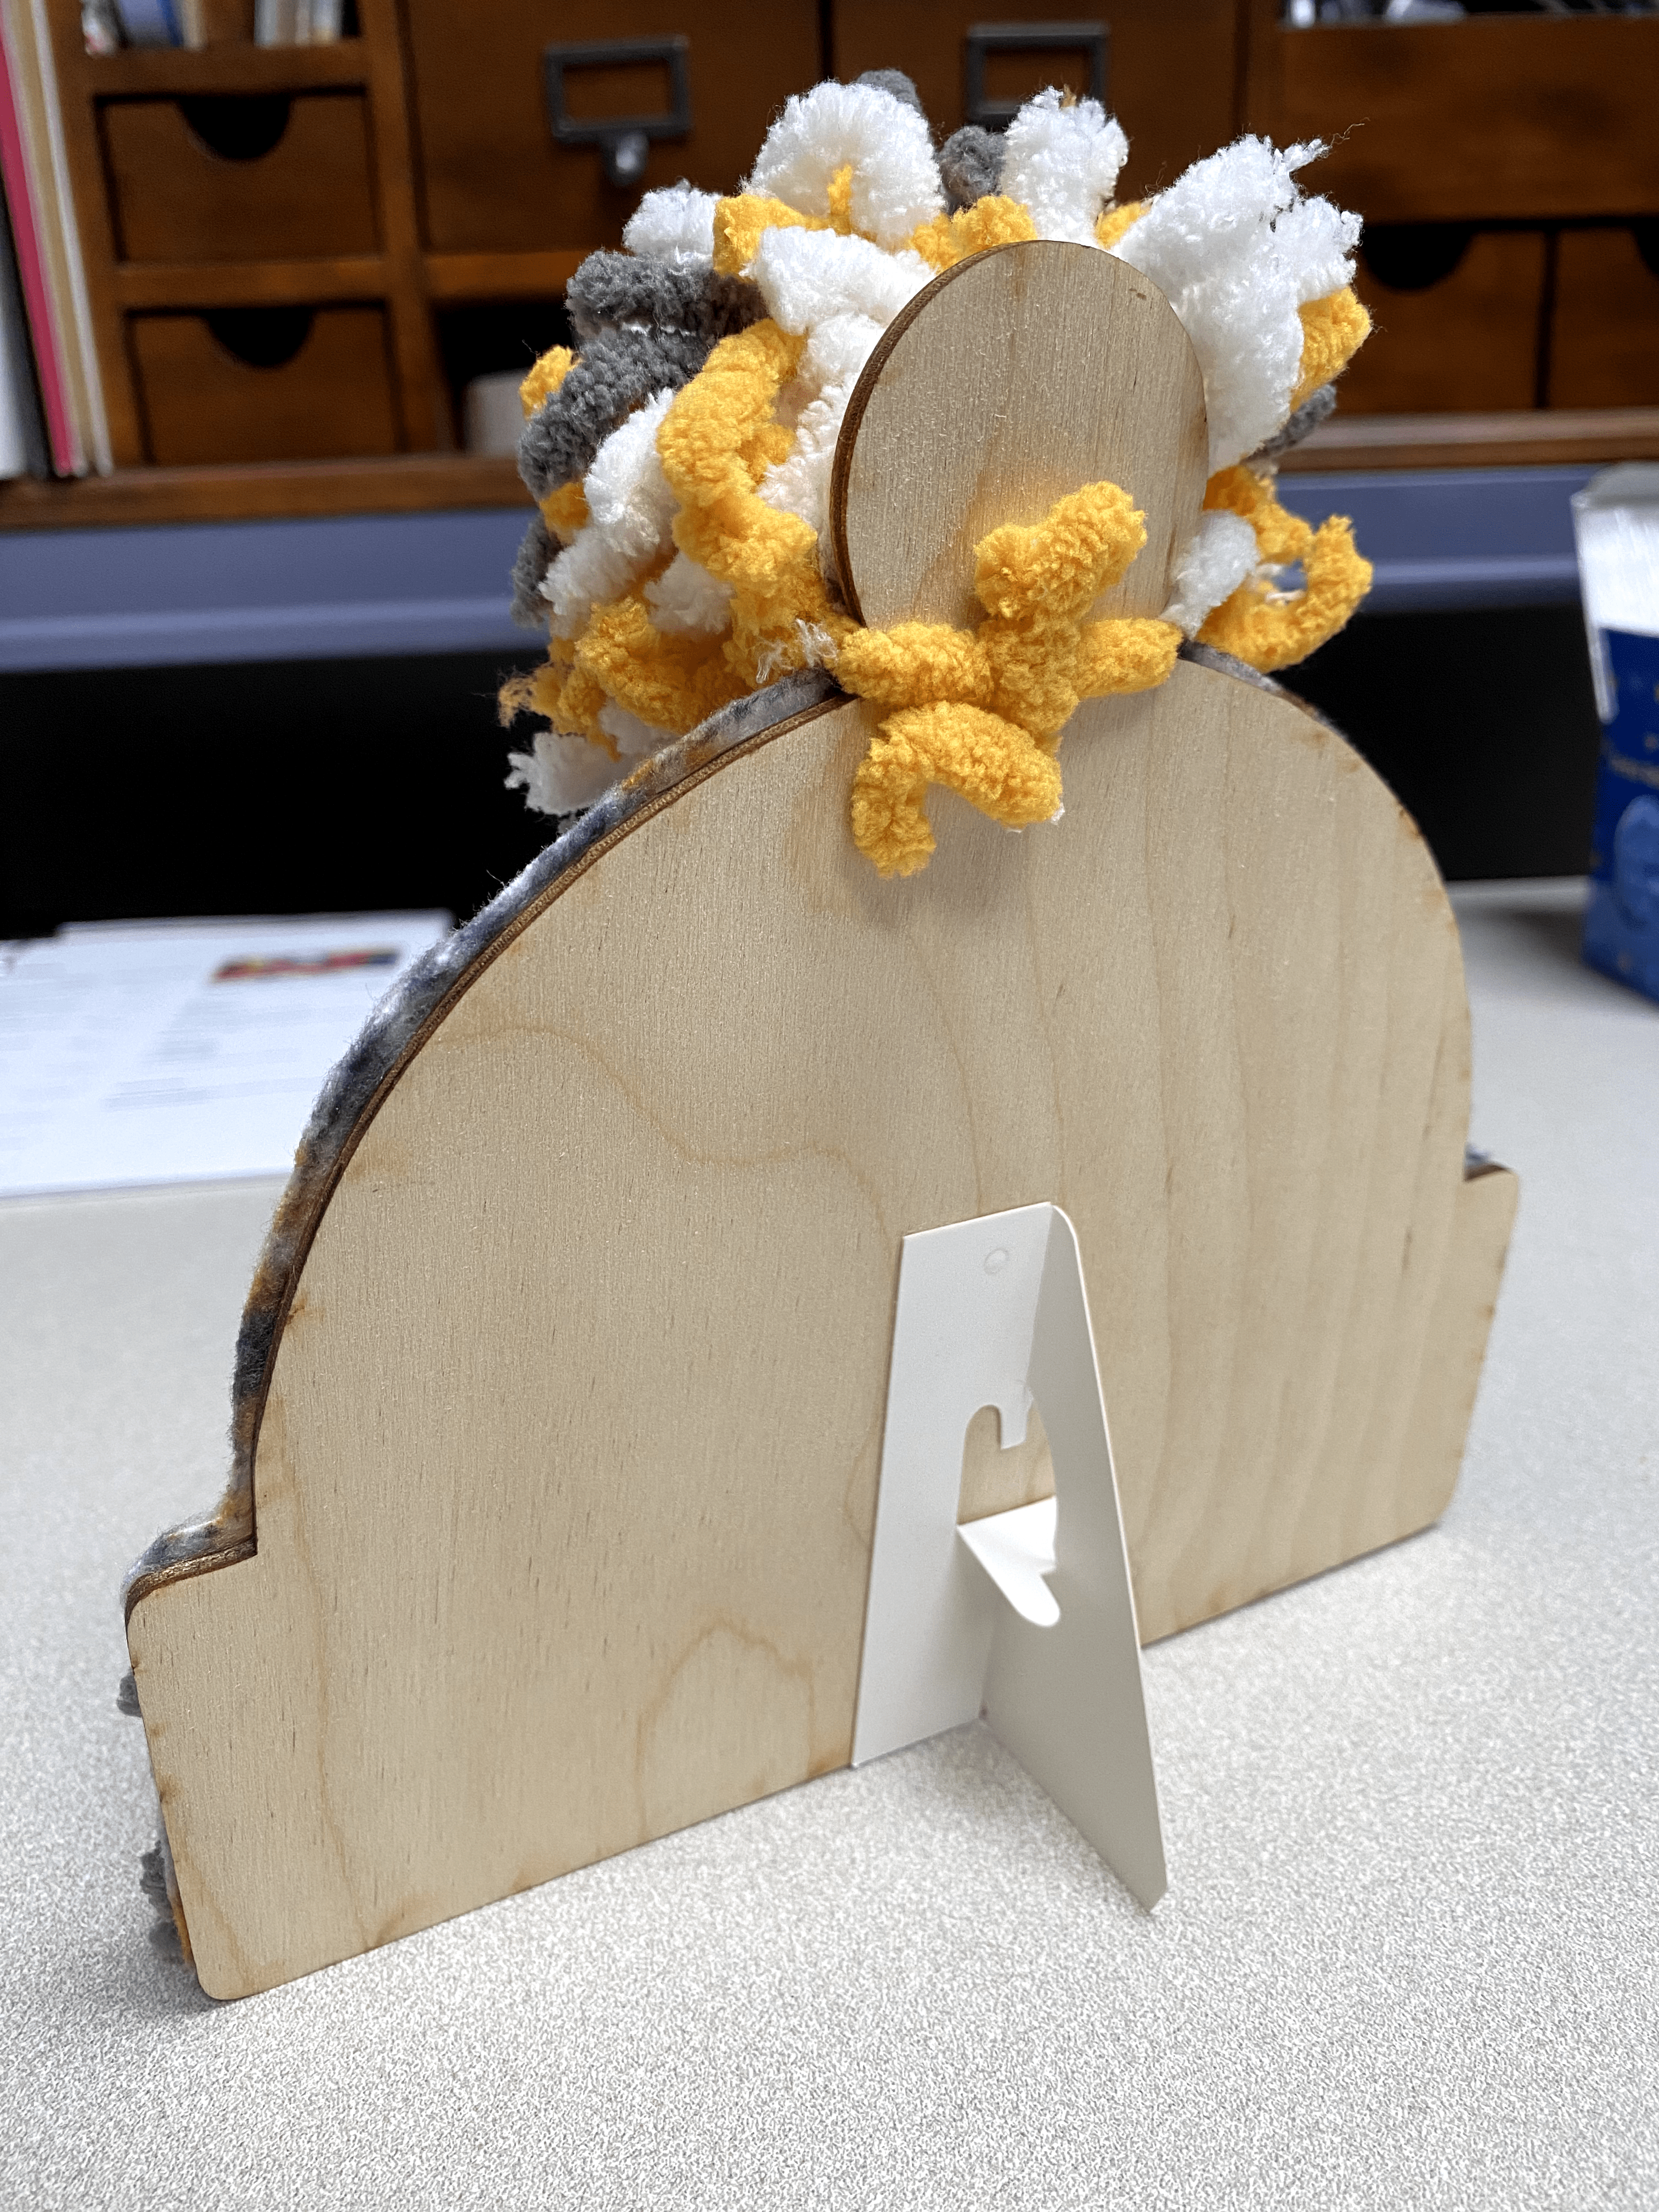
7. Fold the cardboard stand, peel off the backing and stick to the bottom of the hat.