wlma

Author: mcrumbacher

  • Beavercreek Adult Take-and-Make: Wooden Picture Ornament

    Happy December, Everybody!

    This month’s take and make project is this adorable wooden ornament you customize with your own picture!

    Click here to reserve your kit:  https://greenelibrary.bibliocommons.com/events/638e050136a49e4409eefa10

    Included in your kit:

    1 wood slice

    1 paint brush

    mod podge

    ribbon

    Not included in your kit:

    picture printed on computer paper (not picture paper)

    Instructions:

    How To Make A Wood Slice Portrait Christmas Ornament

    I used the above tutorial to make my sample ornament and the instructions were great.  I used Microsoft Publisher to size my picture to roughly 2.5″ round.  I don’t think I put enough mod podge on mine before placing the photo on it.  So make sure you have a nice, thick layer.  I didn’t use a heat tool, but instead put mine in front of a fan for a couple of hours.  I probably should have waited longer.  

    My next mistake was that I rubbed a little too hard getting the paper off the picture once I applied the water.  It ended up rubbing off some of the picture, but luckily it was just the background.  I didn’t worry too much about it because it added to the rustic feel of the ornament.  

    As always, we’d love to see your finished projects.  Feel free to upload them to Facebook.  

    Happy Holidays and Happy Crafting!

    -Morgan
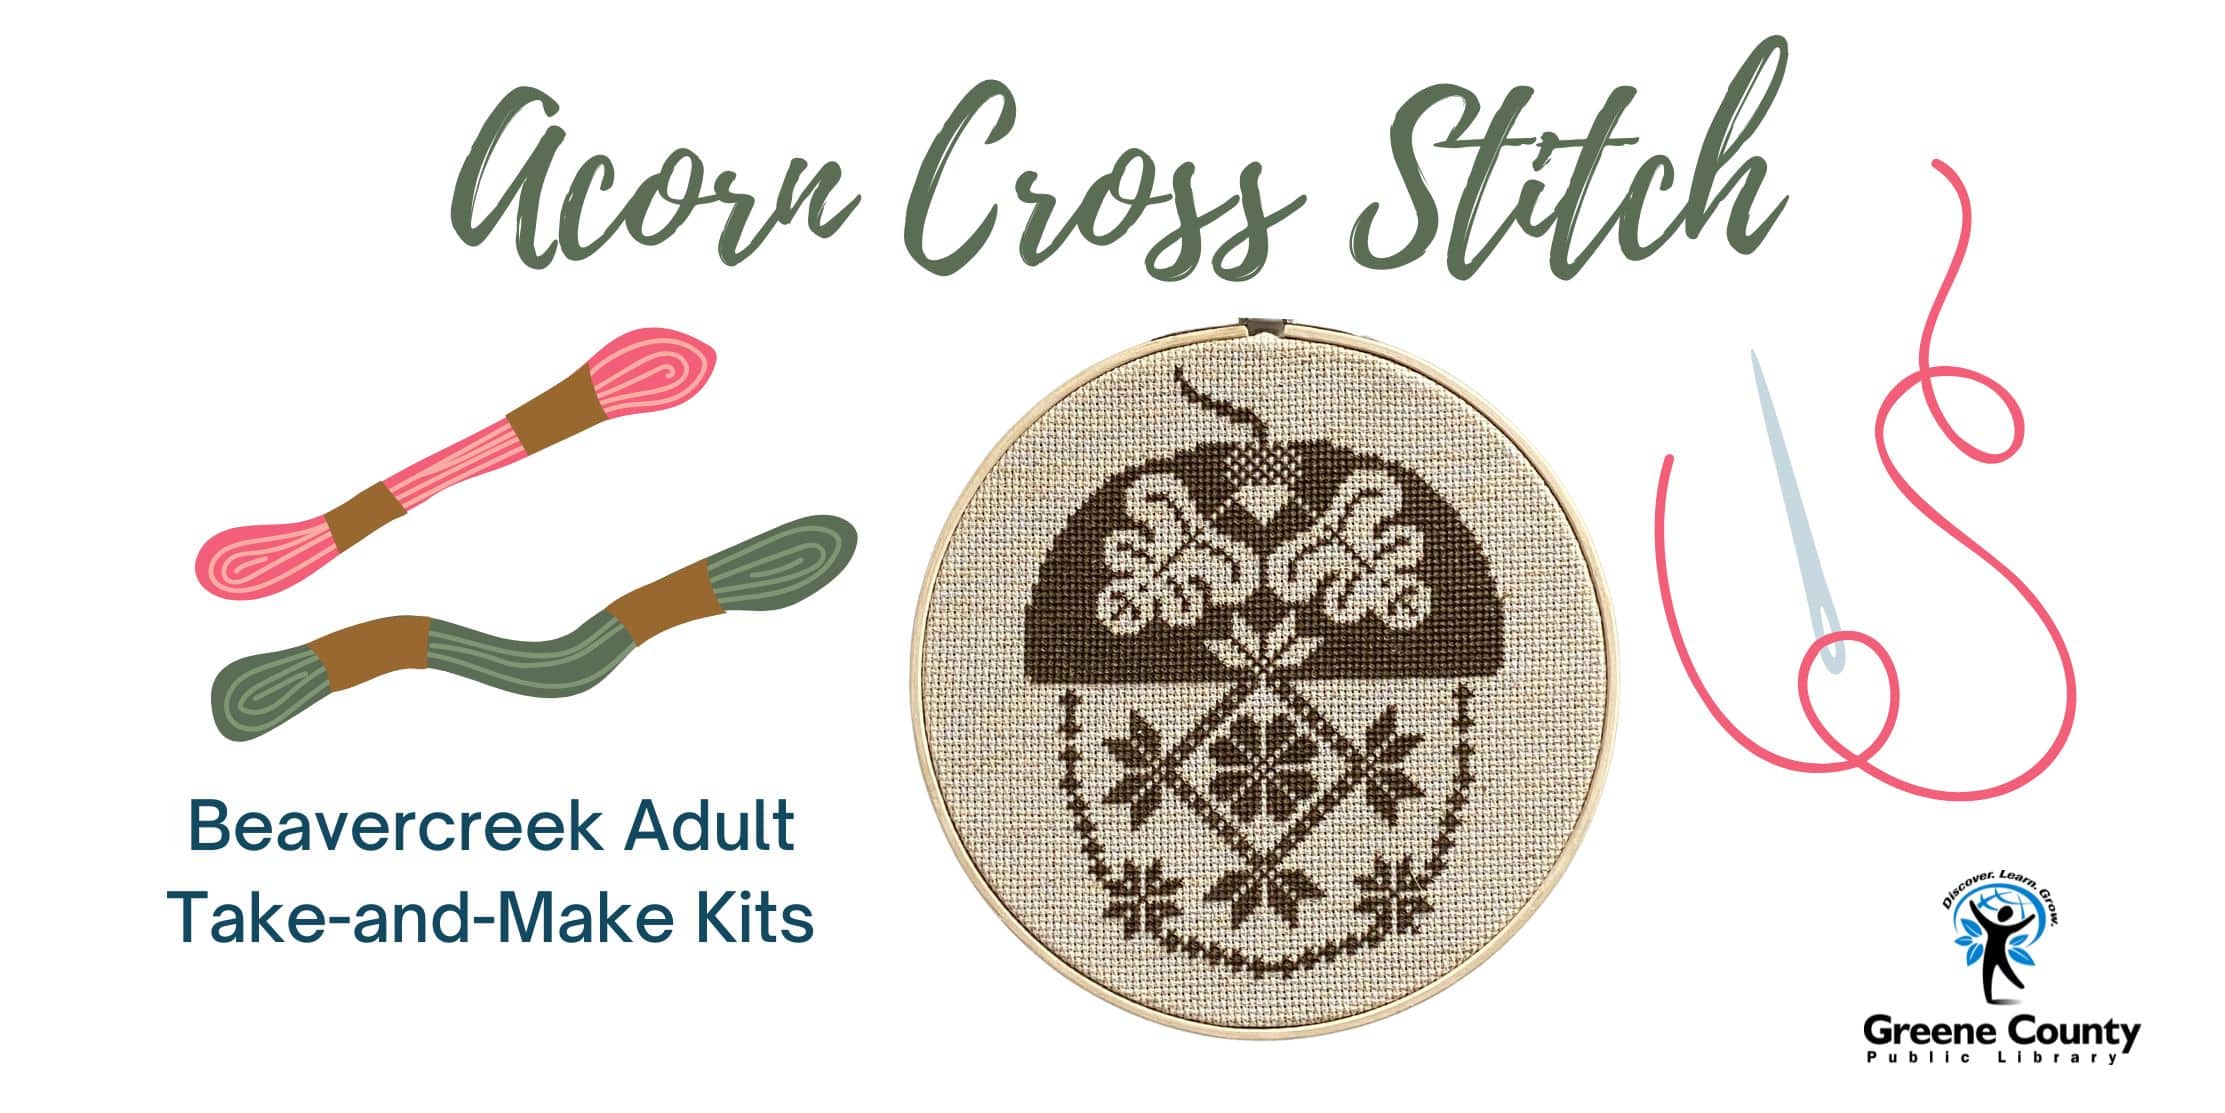
  • Beavercreek Adult Take-and-Make: Acorn Cross Stitch

    Hello!  I can’t believe it’s November already!  This month’s craft is so relaxing and I hope you love it.

    Click here to register for your kit:  https://greenelibrary.bibliocommons.com/events/63612c4a024ca62800d09652

    Included in your kit:

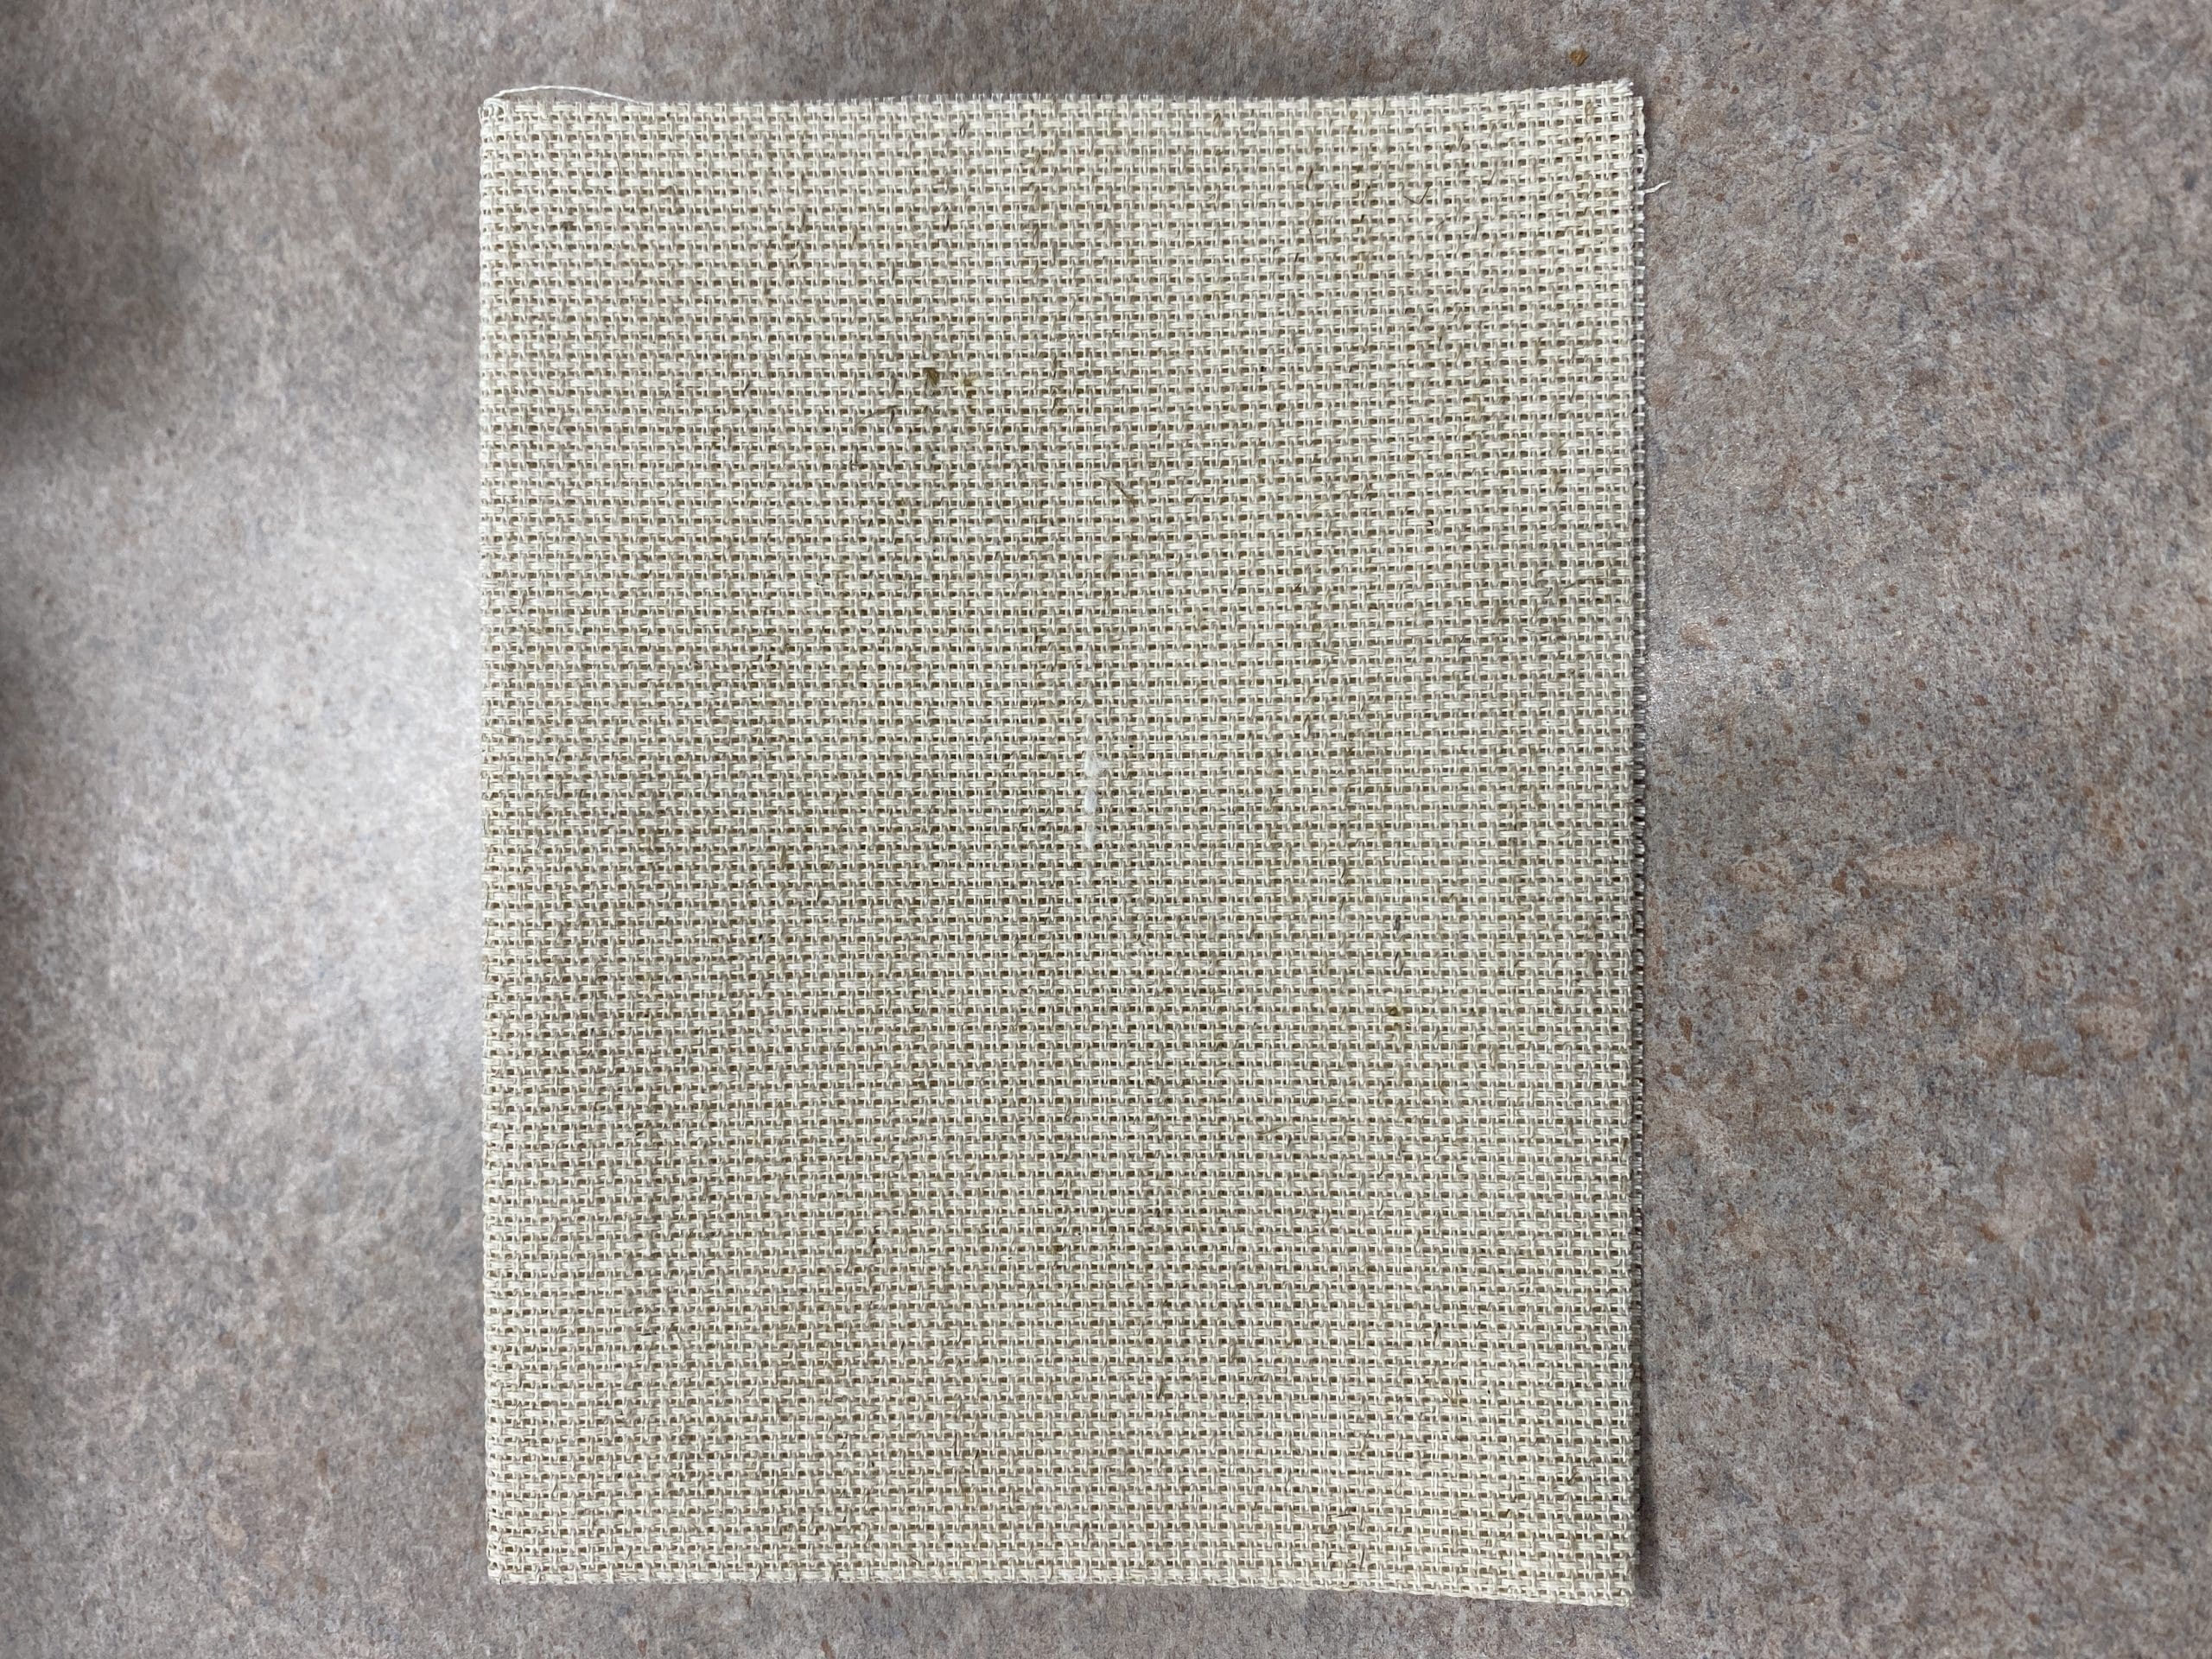
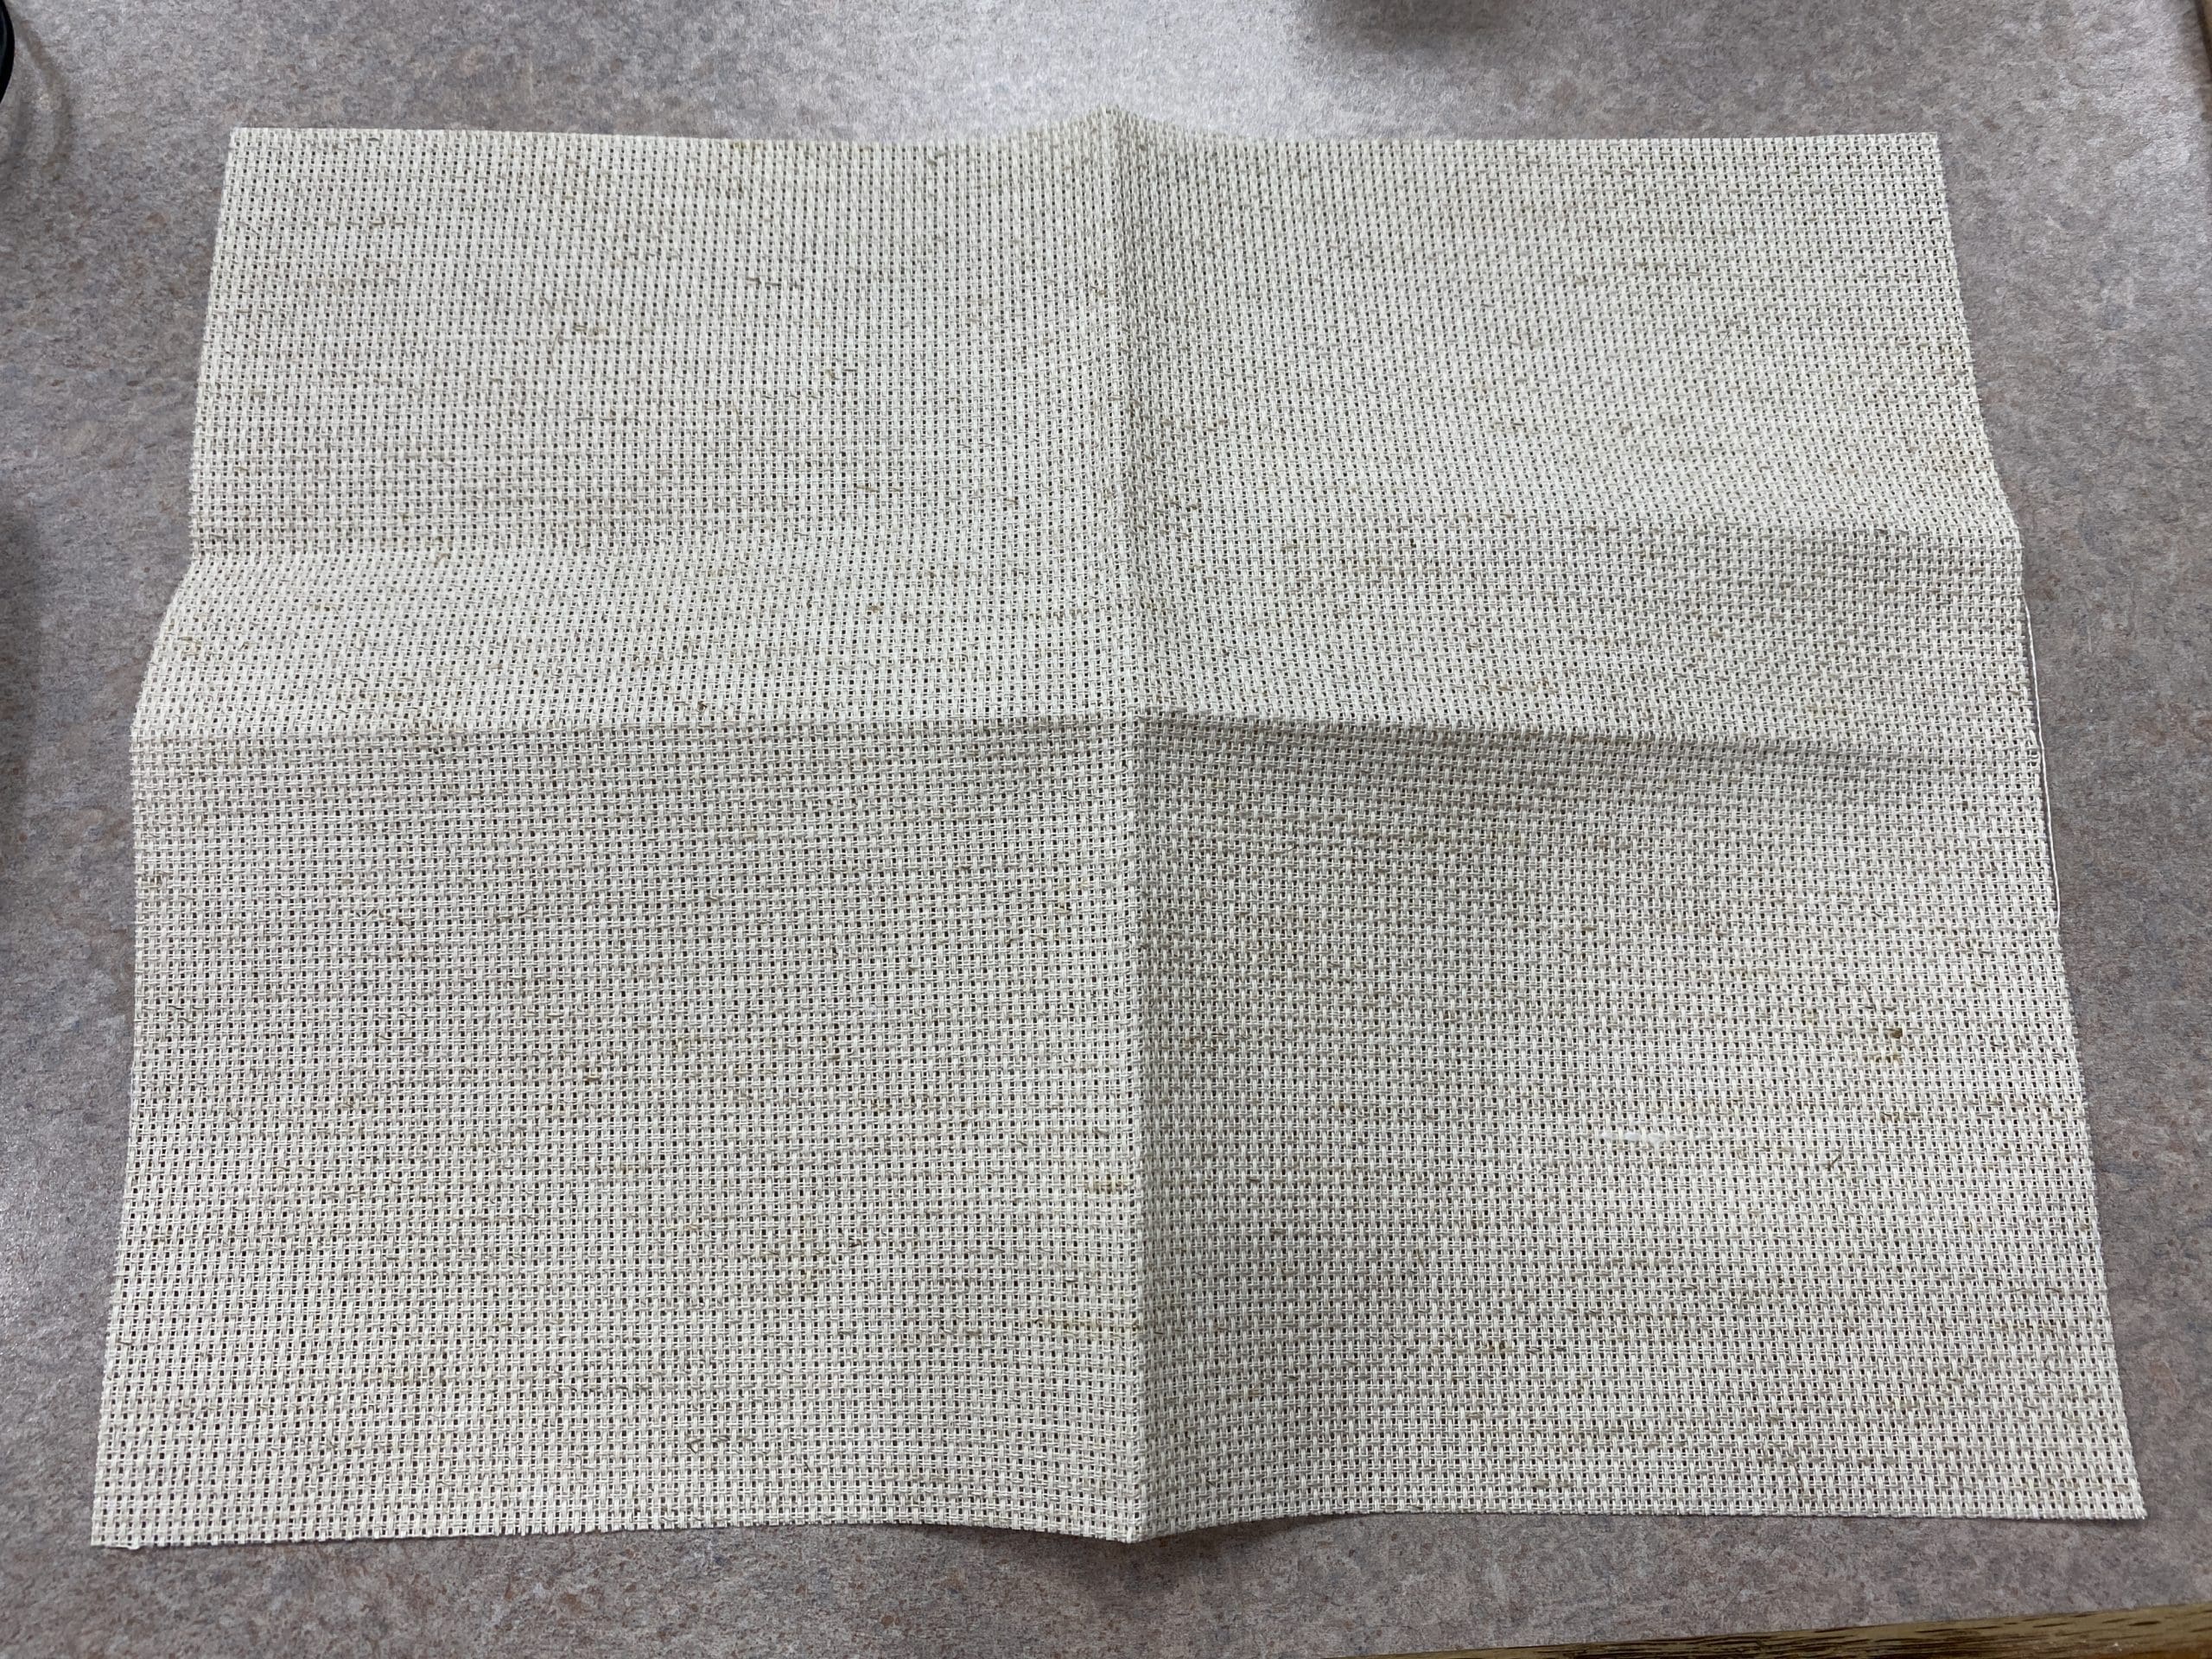
    Aida cross stitch fabric

    1 skein embroidery floss

    1 embroidery hoop

    1 piece of felt for backing

    If you’re new to cross stitching, this instructional video may be helpful for learning the basics.

    Instructions:

    1.  Fold your Aida cloth in half and then in half again.  Unfold it and you should see the center point of the fabric.  I usually mark this center point with the needle. 
    2. Next, put your fabric in the embroidery hoop trying to get the center point as close to the center of the hoop as possible.  If you don’t, you may have to take it out and adjust it when you’re finished stitching.
    3. I began stitching from the top of the acorn to the bottom.  From the center point, count up 33 stitches.  That will put you at the very center of the first line of the acorn (not including the stem).  Begin stitching according to the pattern.
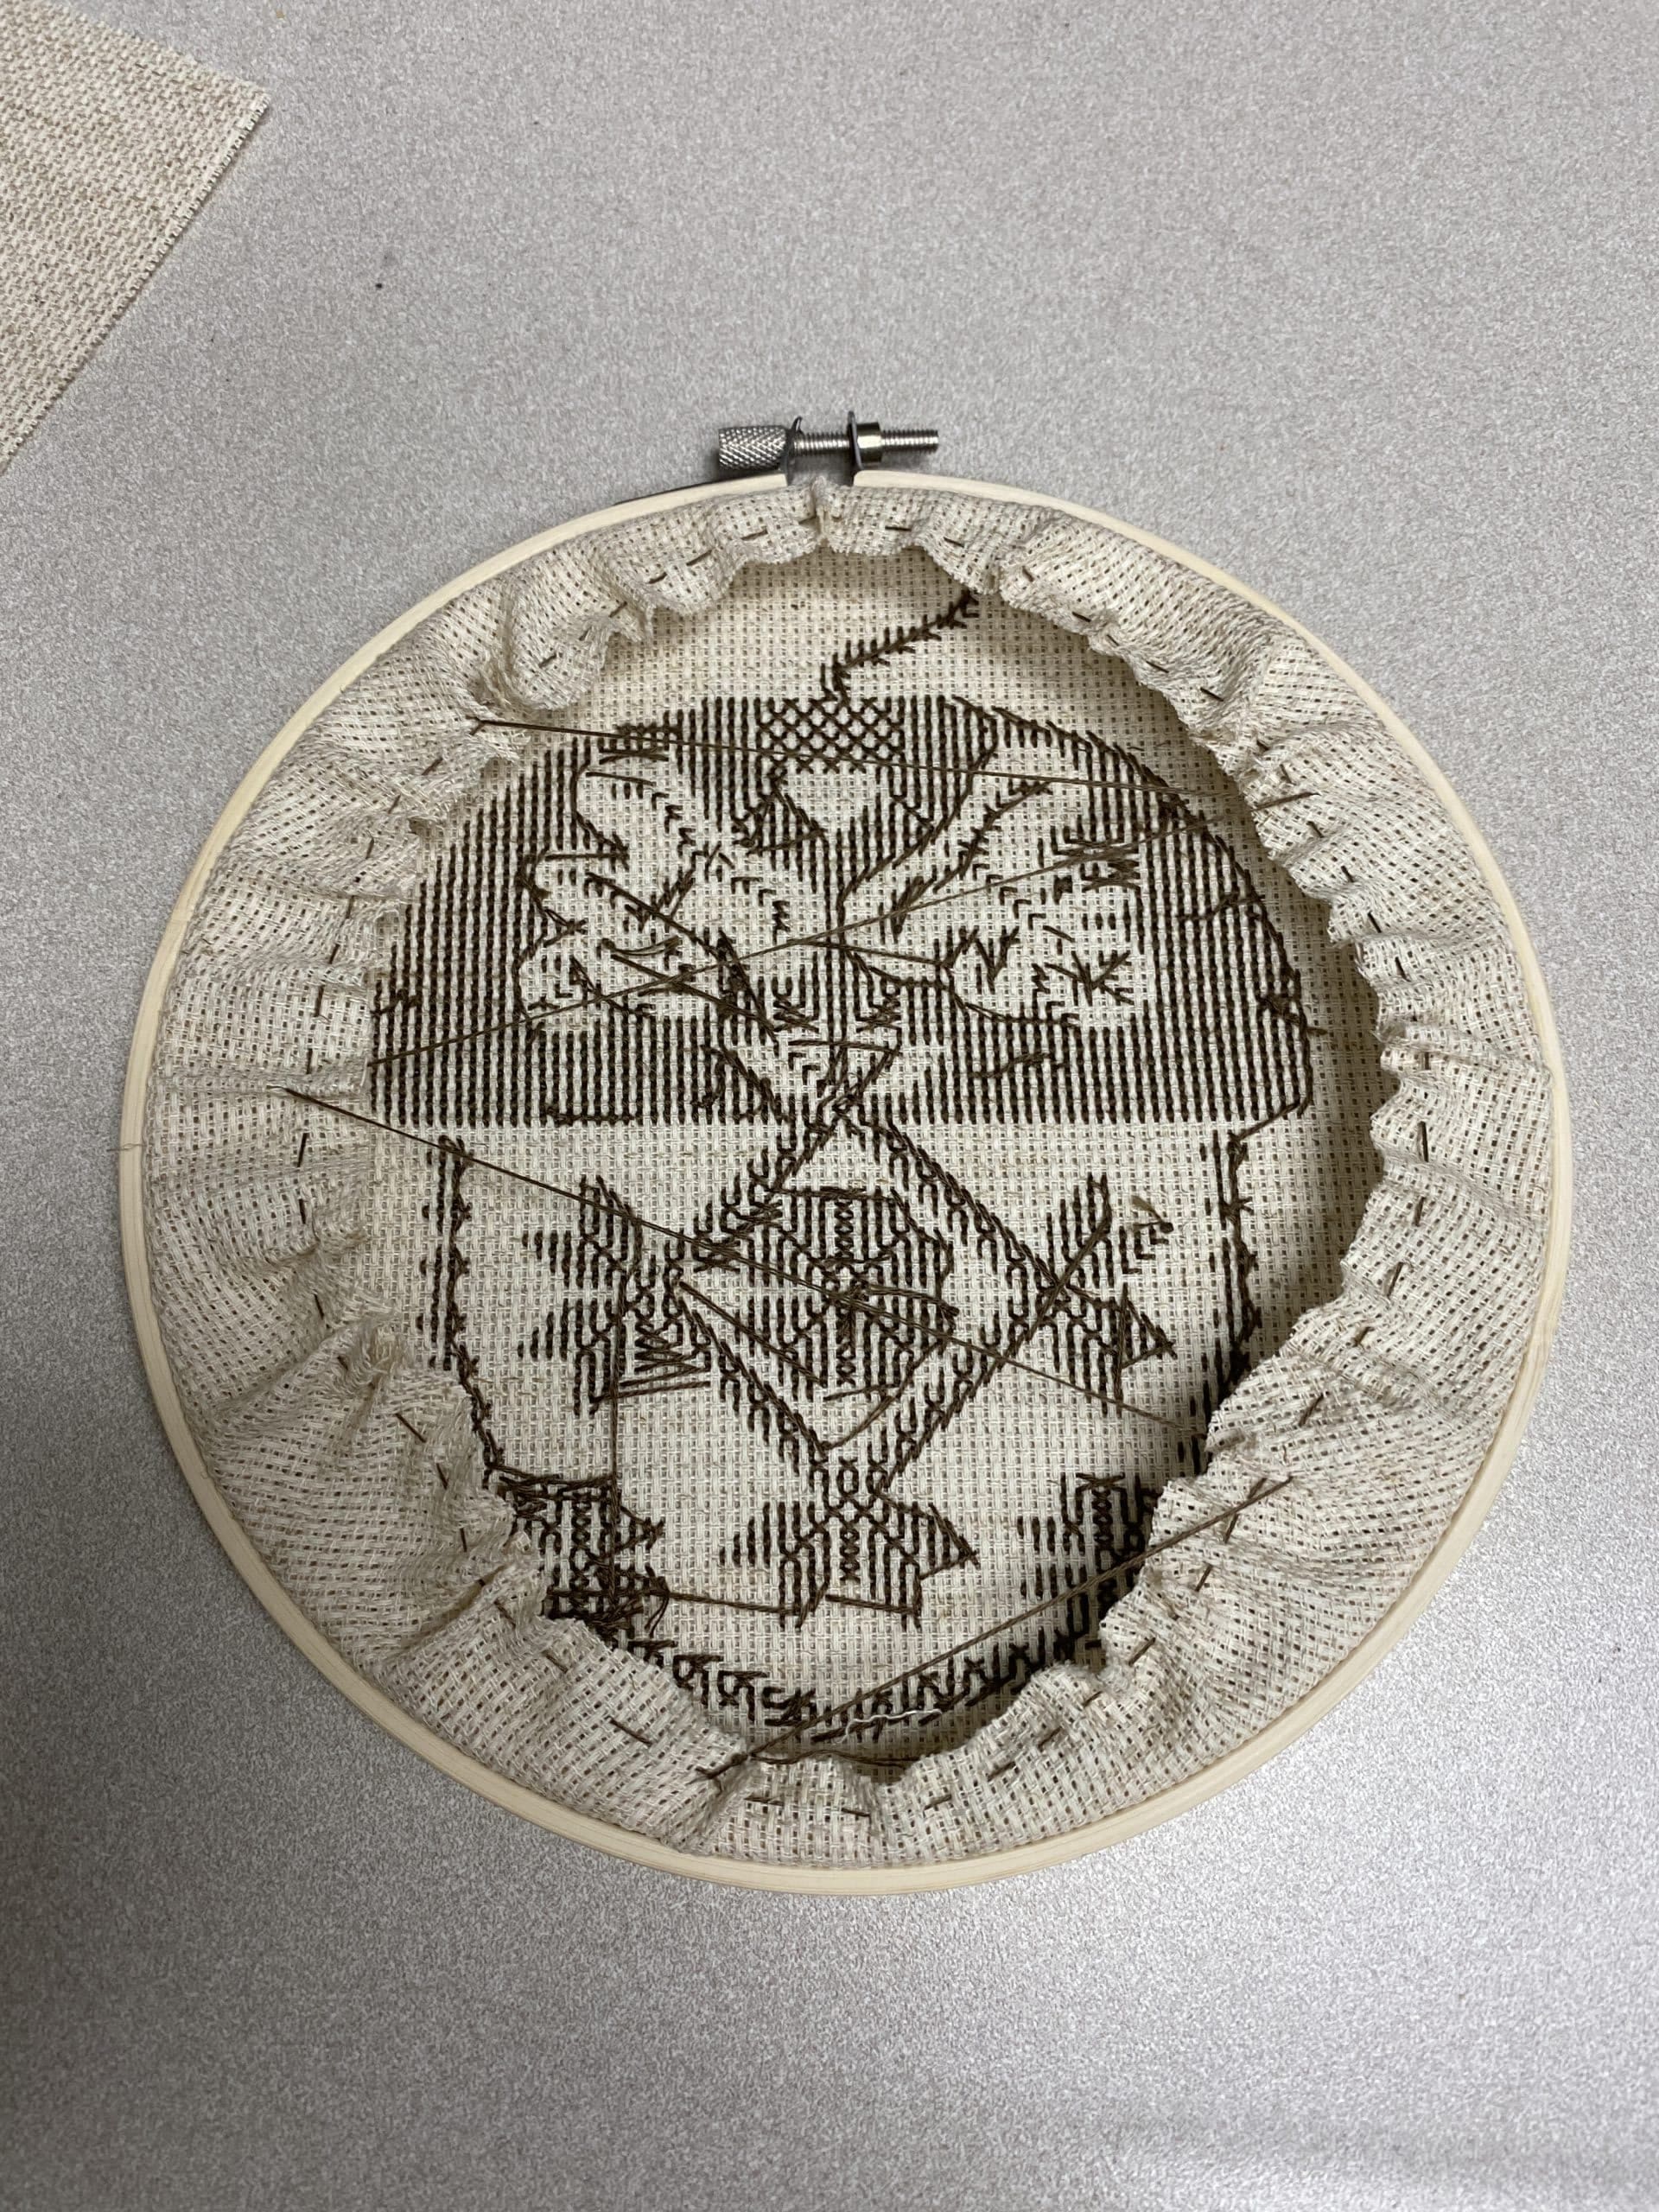
    4. When you’ve finished stitching and are ready to finish it, first make sure the design is centered in the hoop.  Then cut the excess fabric around the outside in a circle leaving 1.5-2″ all the way around.  Sew around the outside to gather the fabric and then I zigzag from side to side for added stability (see picture and video at the end).                                           
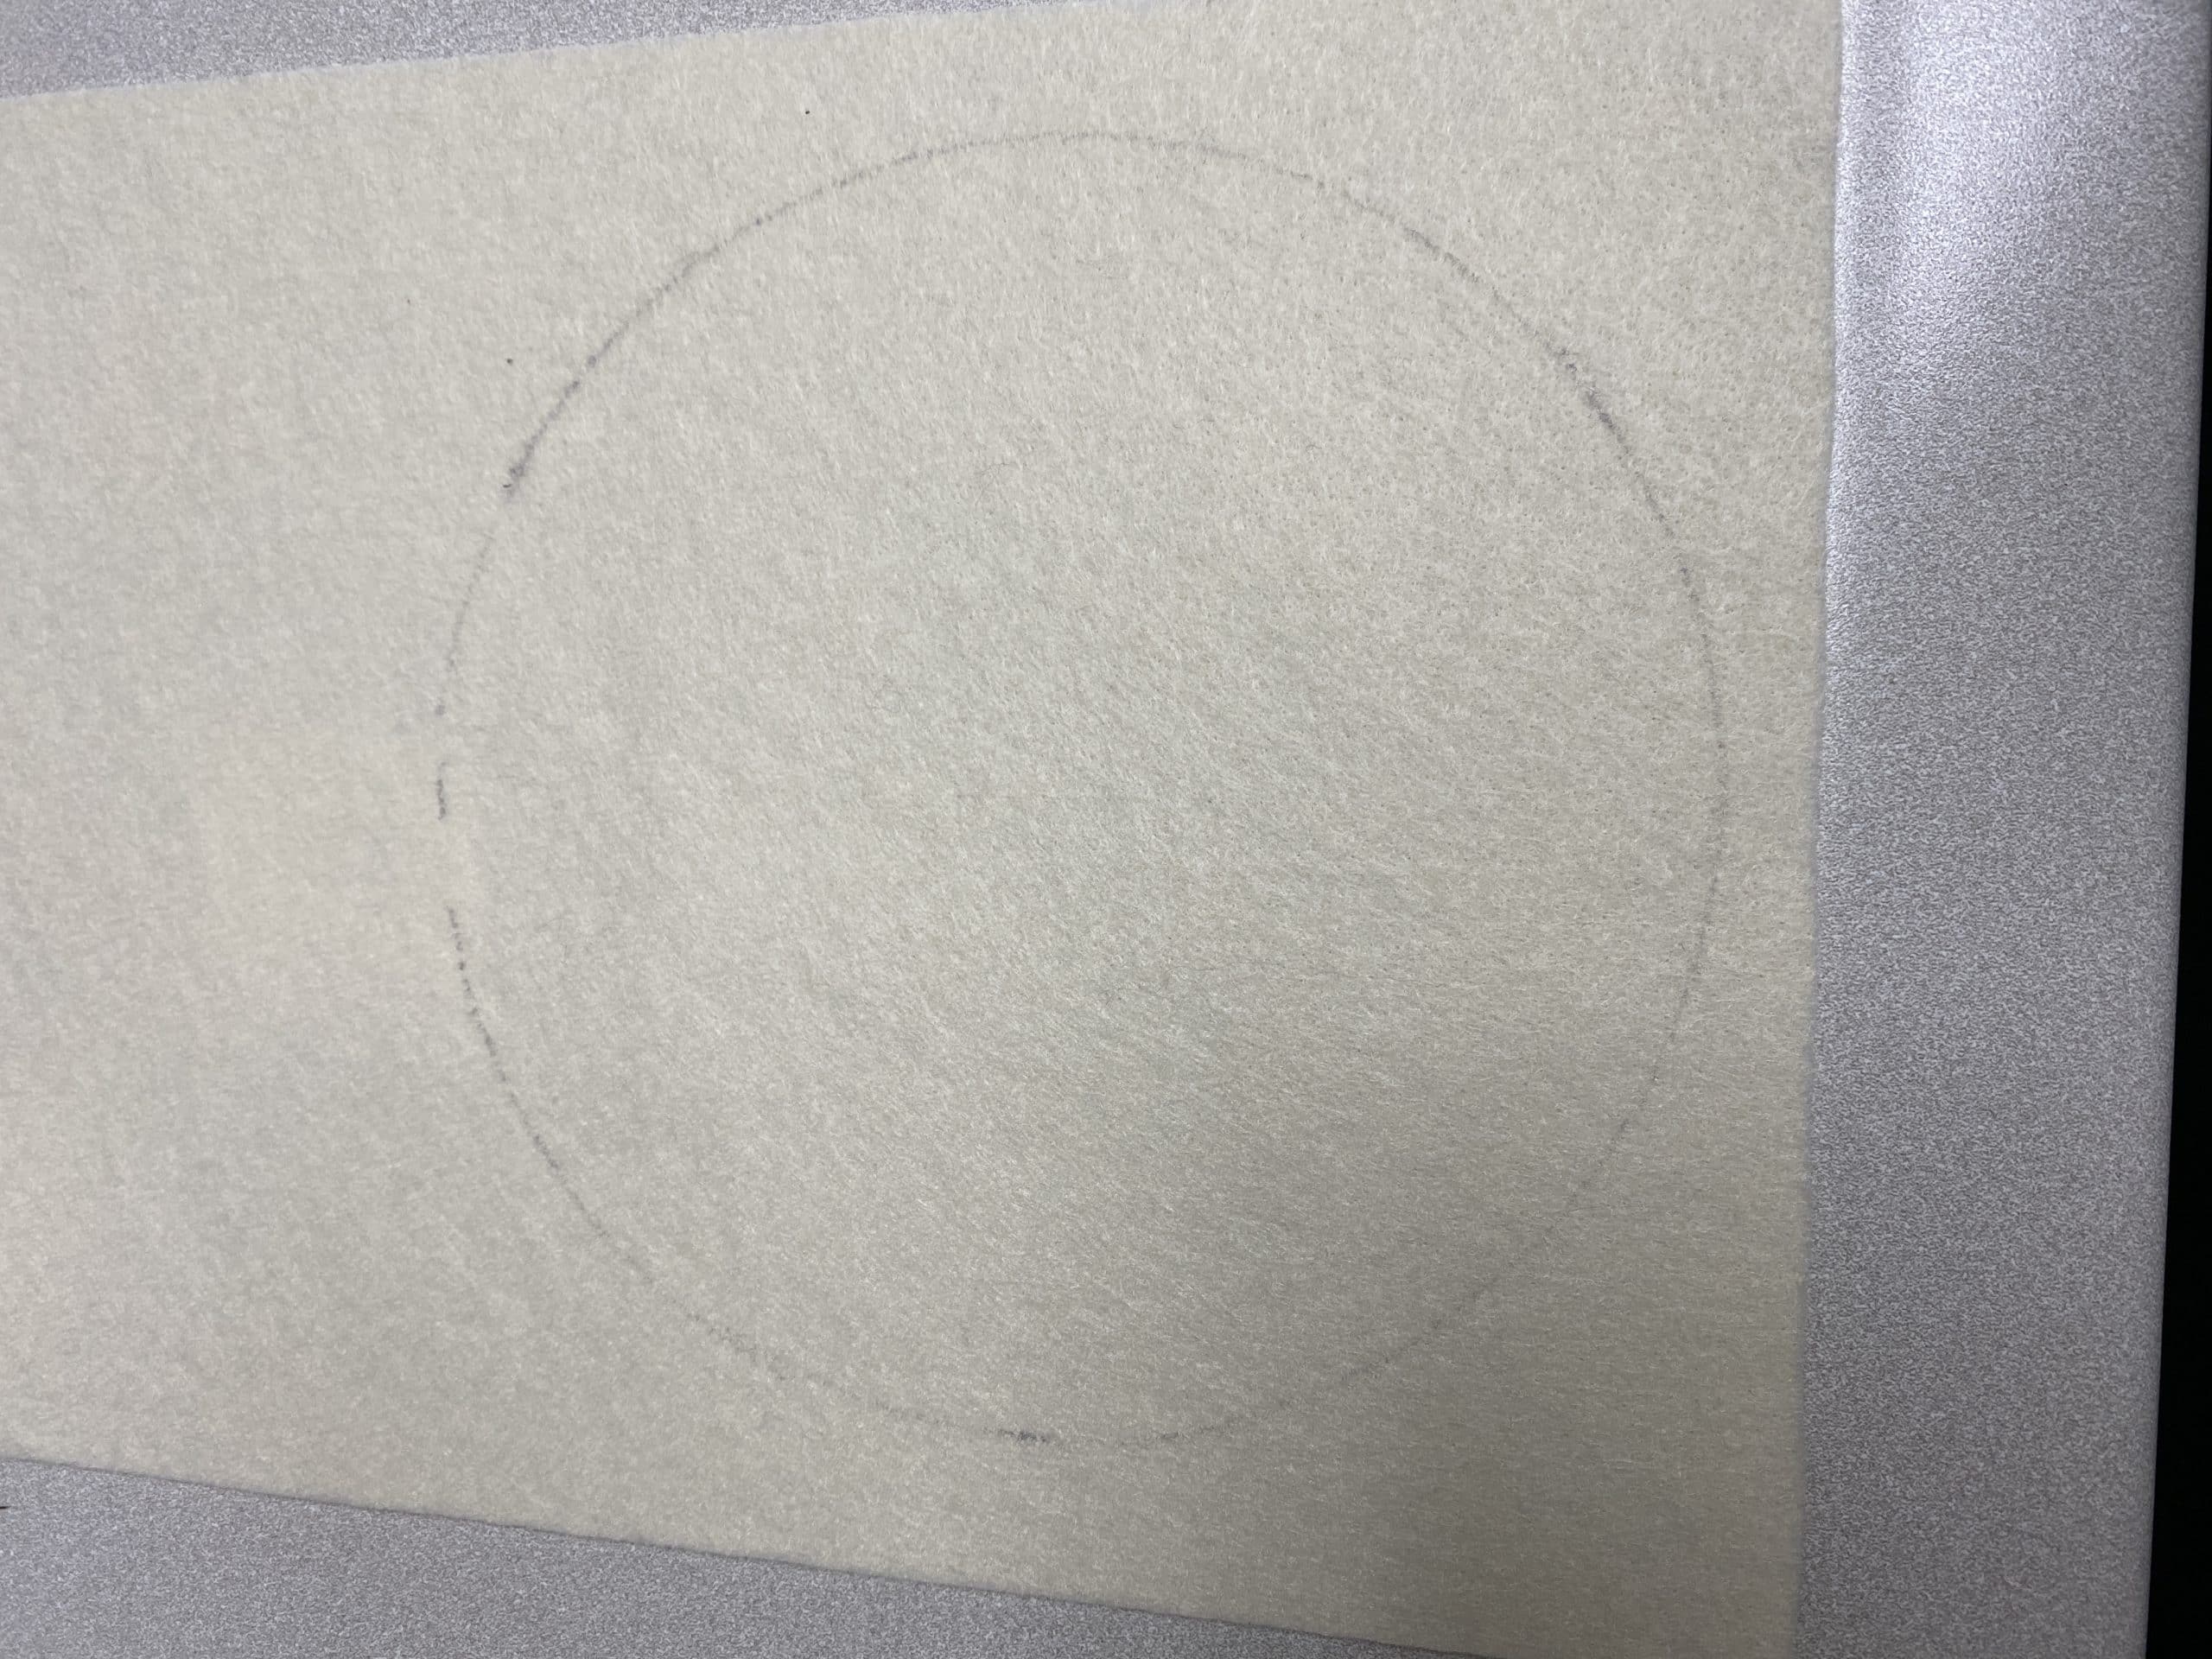
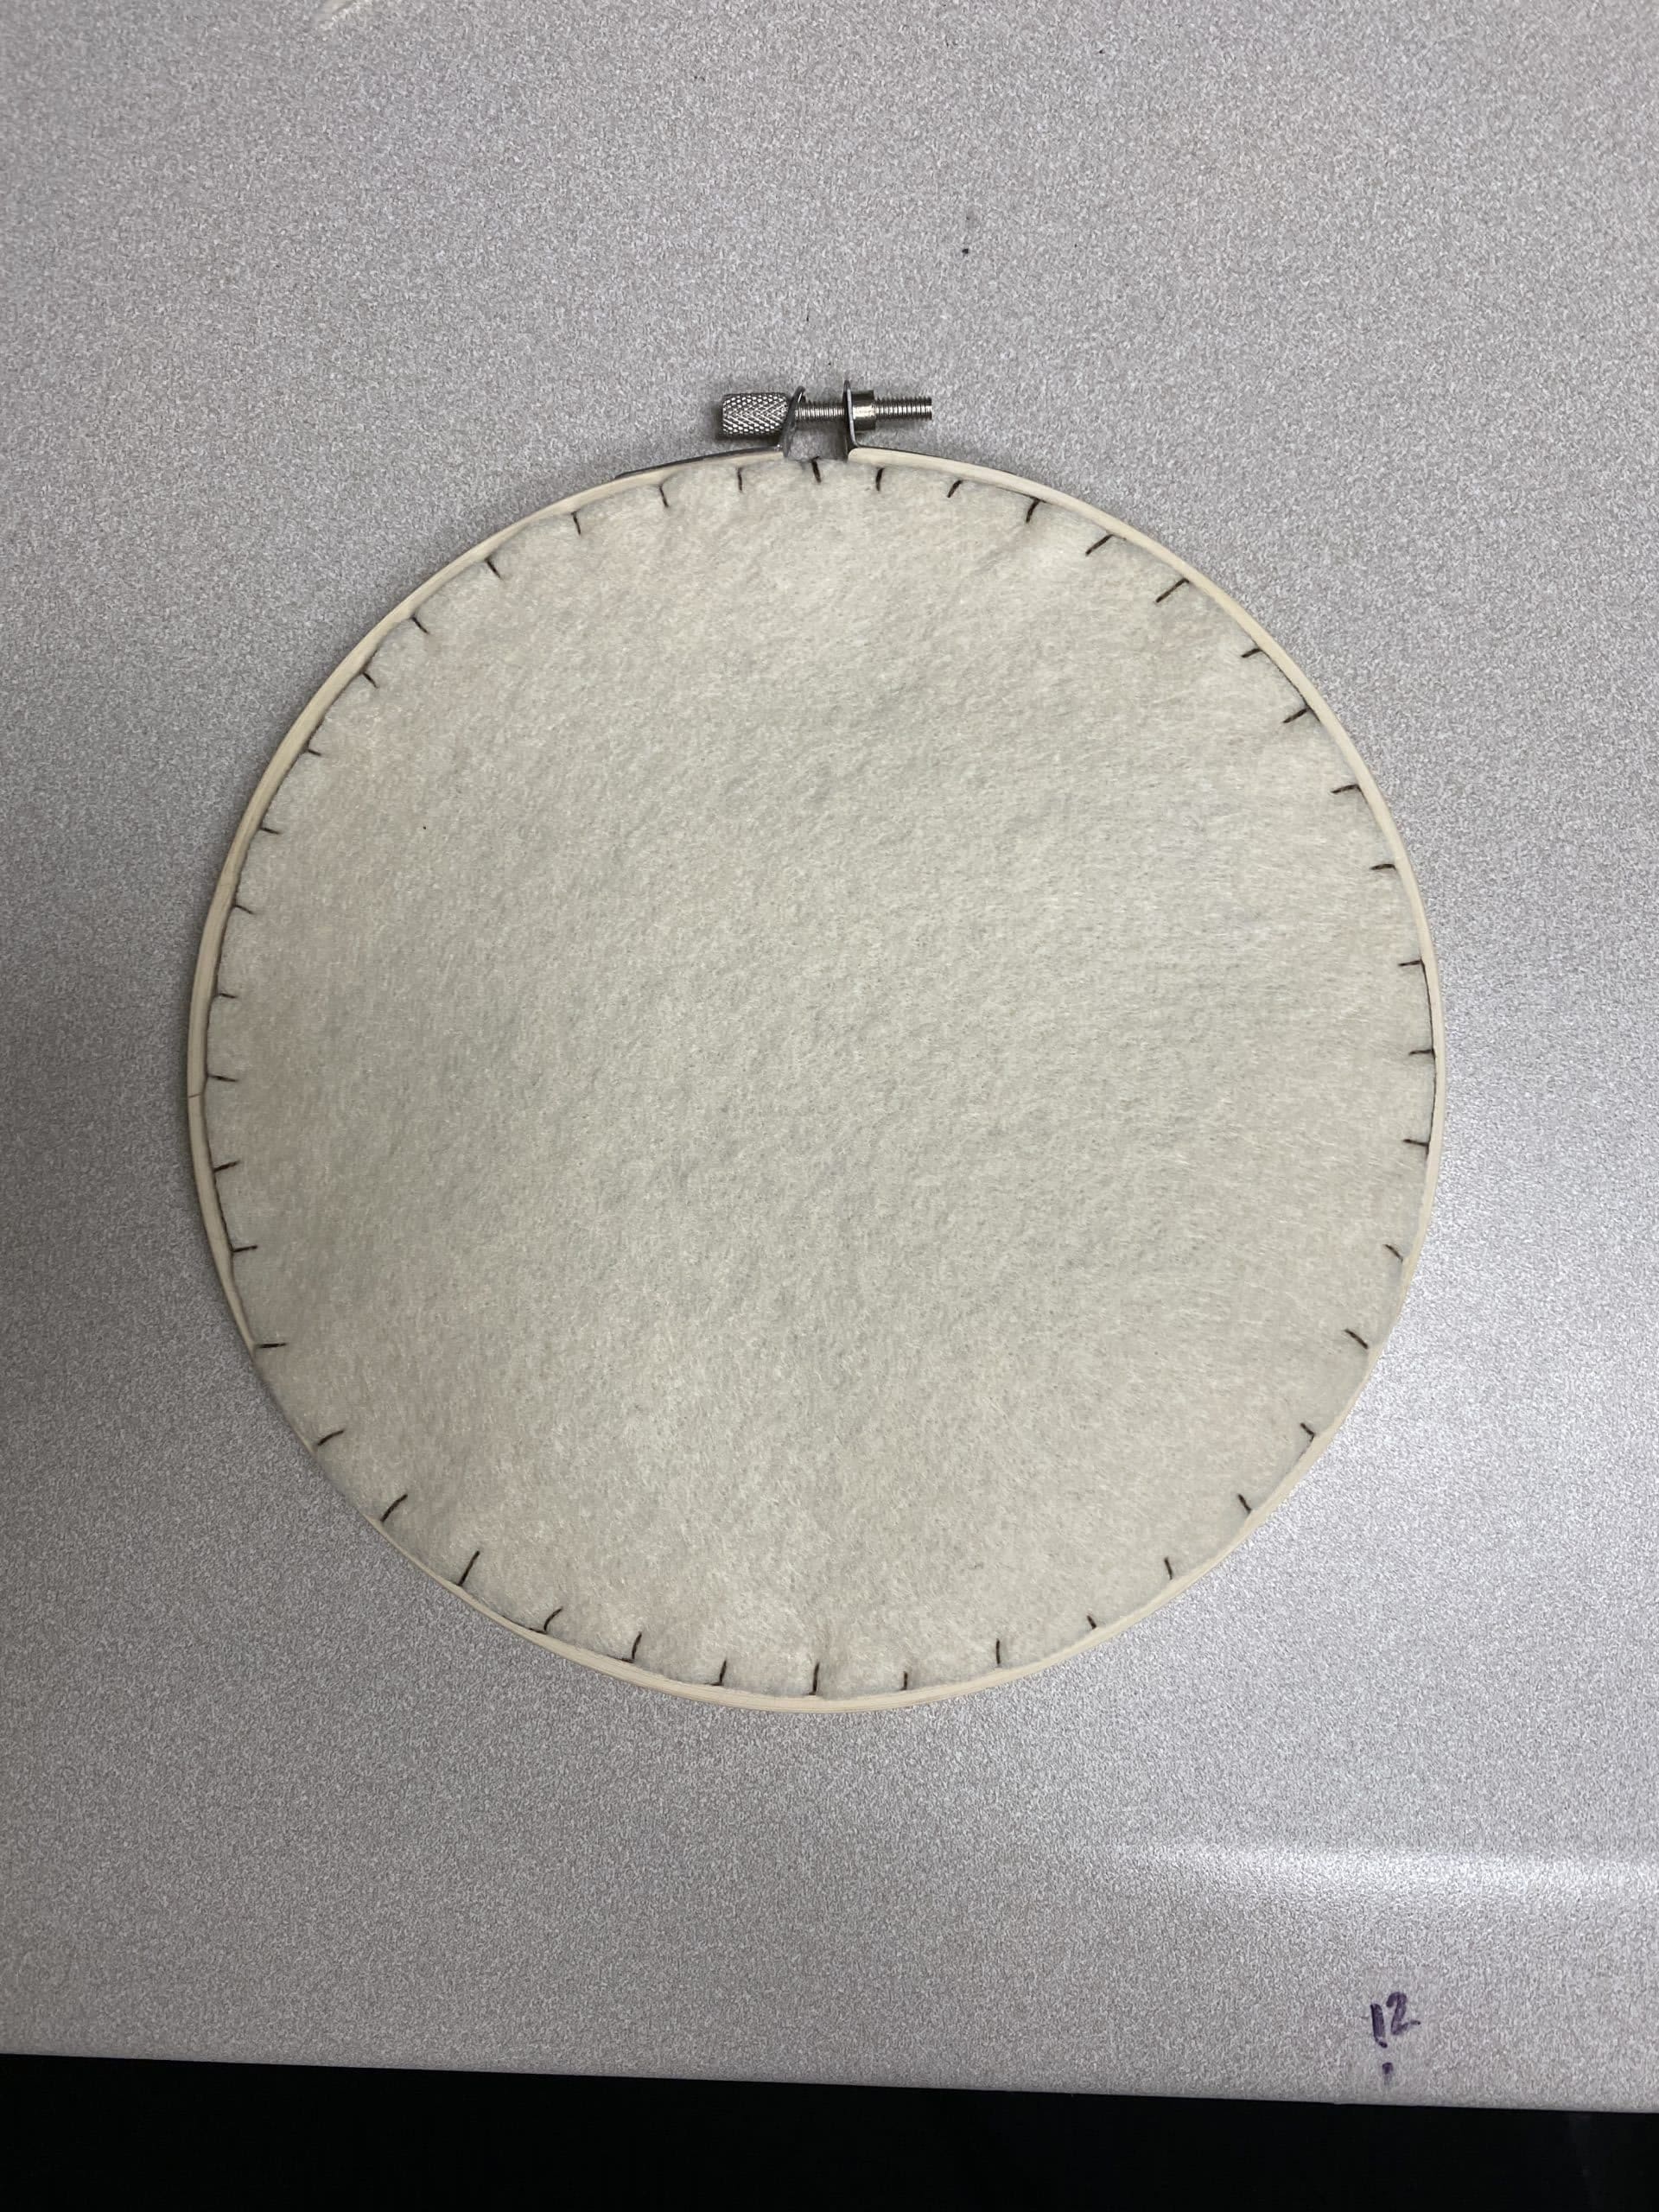
    5. Next, trace around the hoop on the piece of felt and cut it out.  Use a blanket stitch to attach to felt to the back of the fabric.  See the video for more detailed instructions.                 

    Use this video for more detailed instructions on finishing your project:  https://youtu.be/eJqp0gpja8g

    That’s it!  I hope you loved this fun fall project!

    As always, we’d love to see your finished work.  Share it with us on our Facebook page here:  https://www.facebook.com/BeavercreekCommunityLibrary

    Happy crafting!

    -Morgan

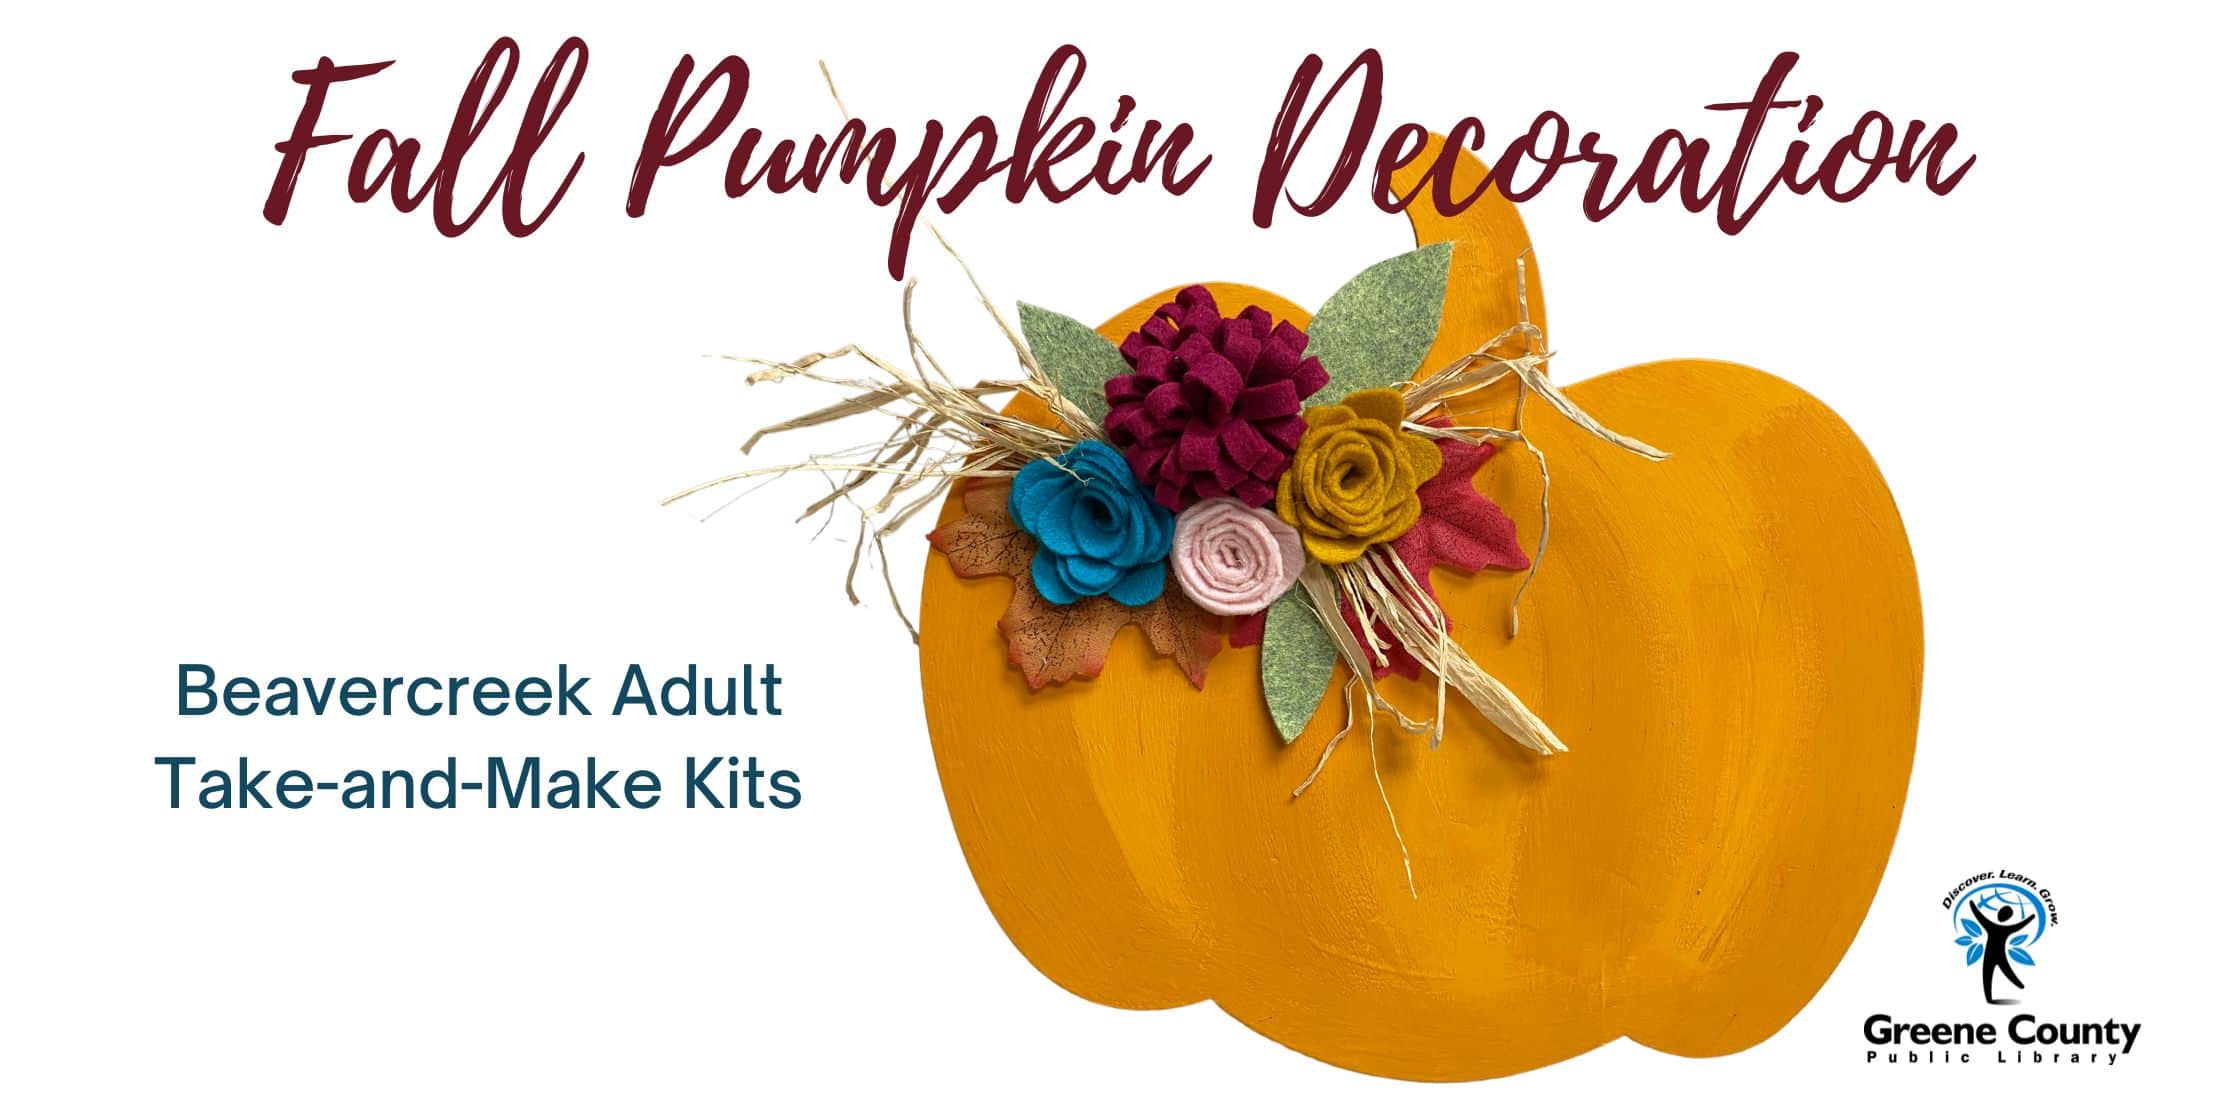
  • Beavercreek Adult Take-and-Make: Fall Pumpkin Decoration

    Happy Fall, Crafters!

    I’m really loving this month’s craft!  It was really fun to make and so cute!

    To snag your kit, click here:  https://greenelibrary.bibliocommons.com/events/633ee04b2f3290300048ab19

    Included in your kit:

    • pumpkin cutout
    • felt for flowers and leaves
    • raffia
    • orange paint
    • paint brush
    • leaves
    • jute rope

    NOT included in your kit:

    • scissors
    • hot glue/hot glue gun

    INSTRUCTIONS:

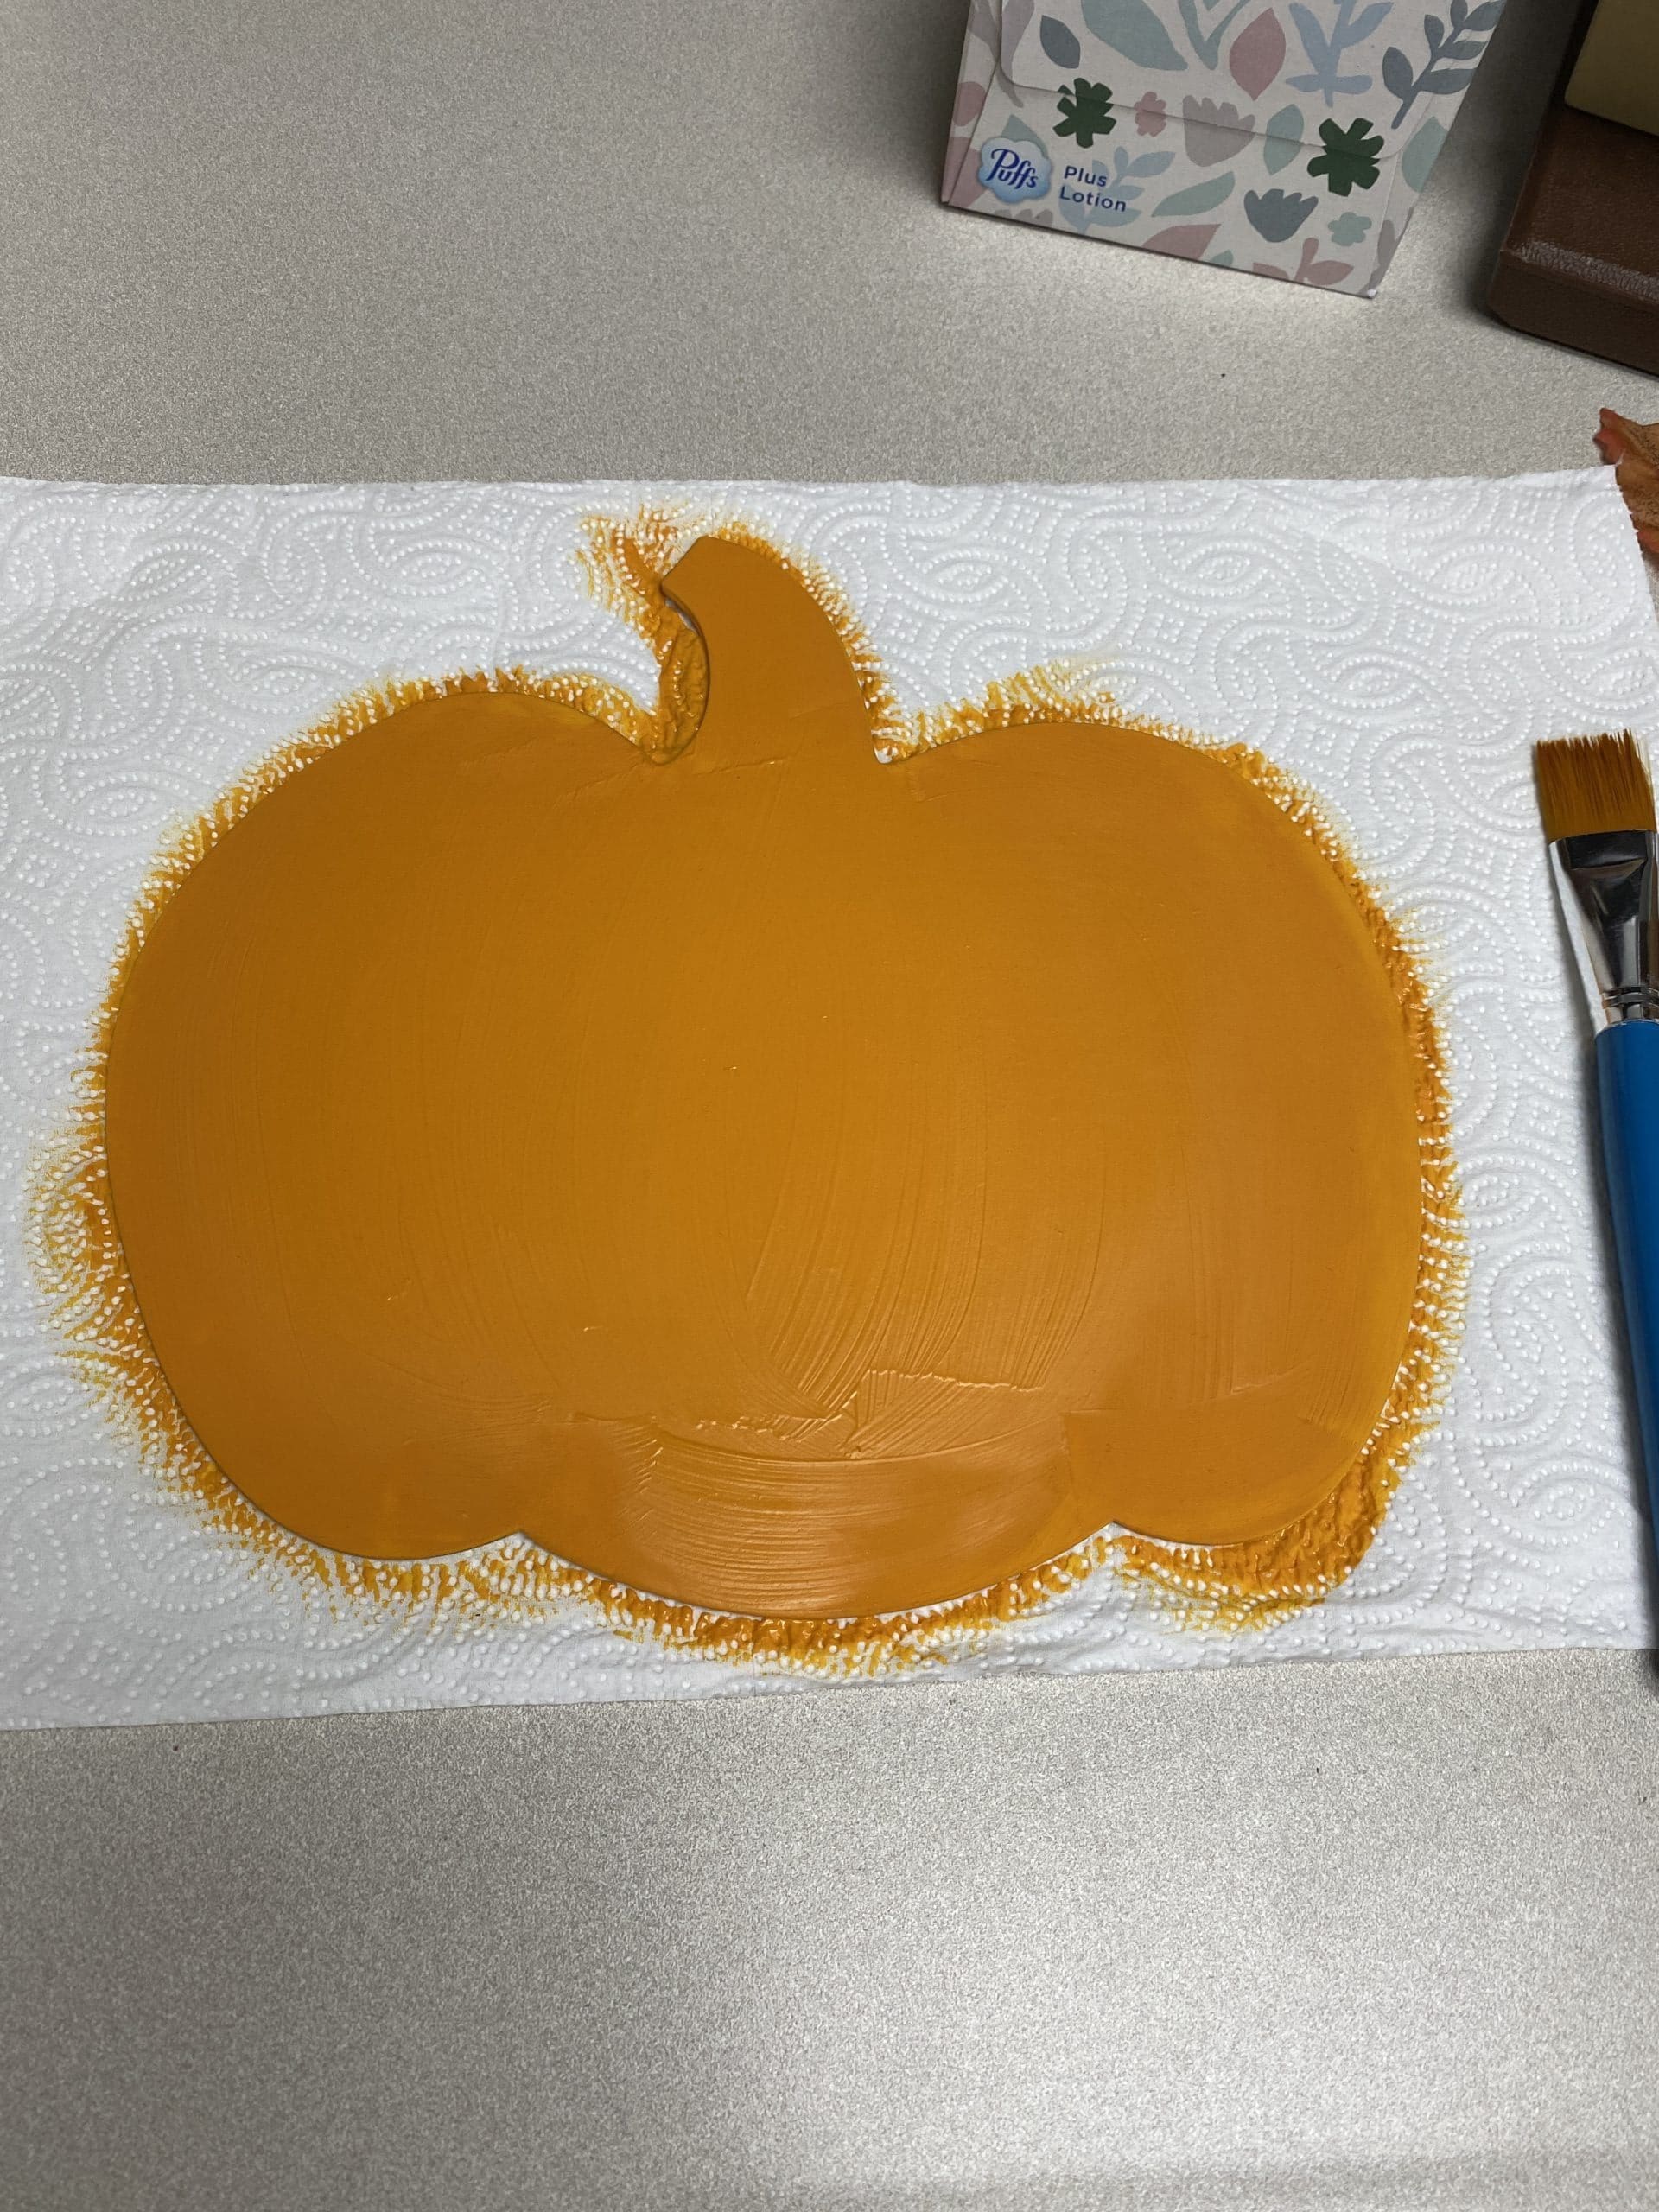
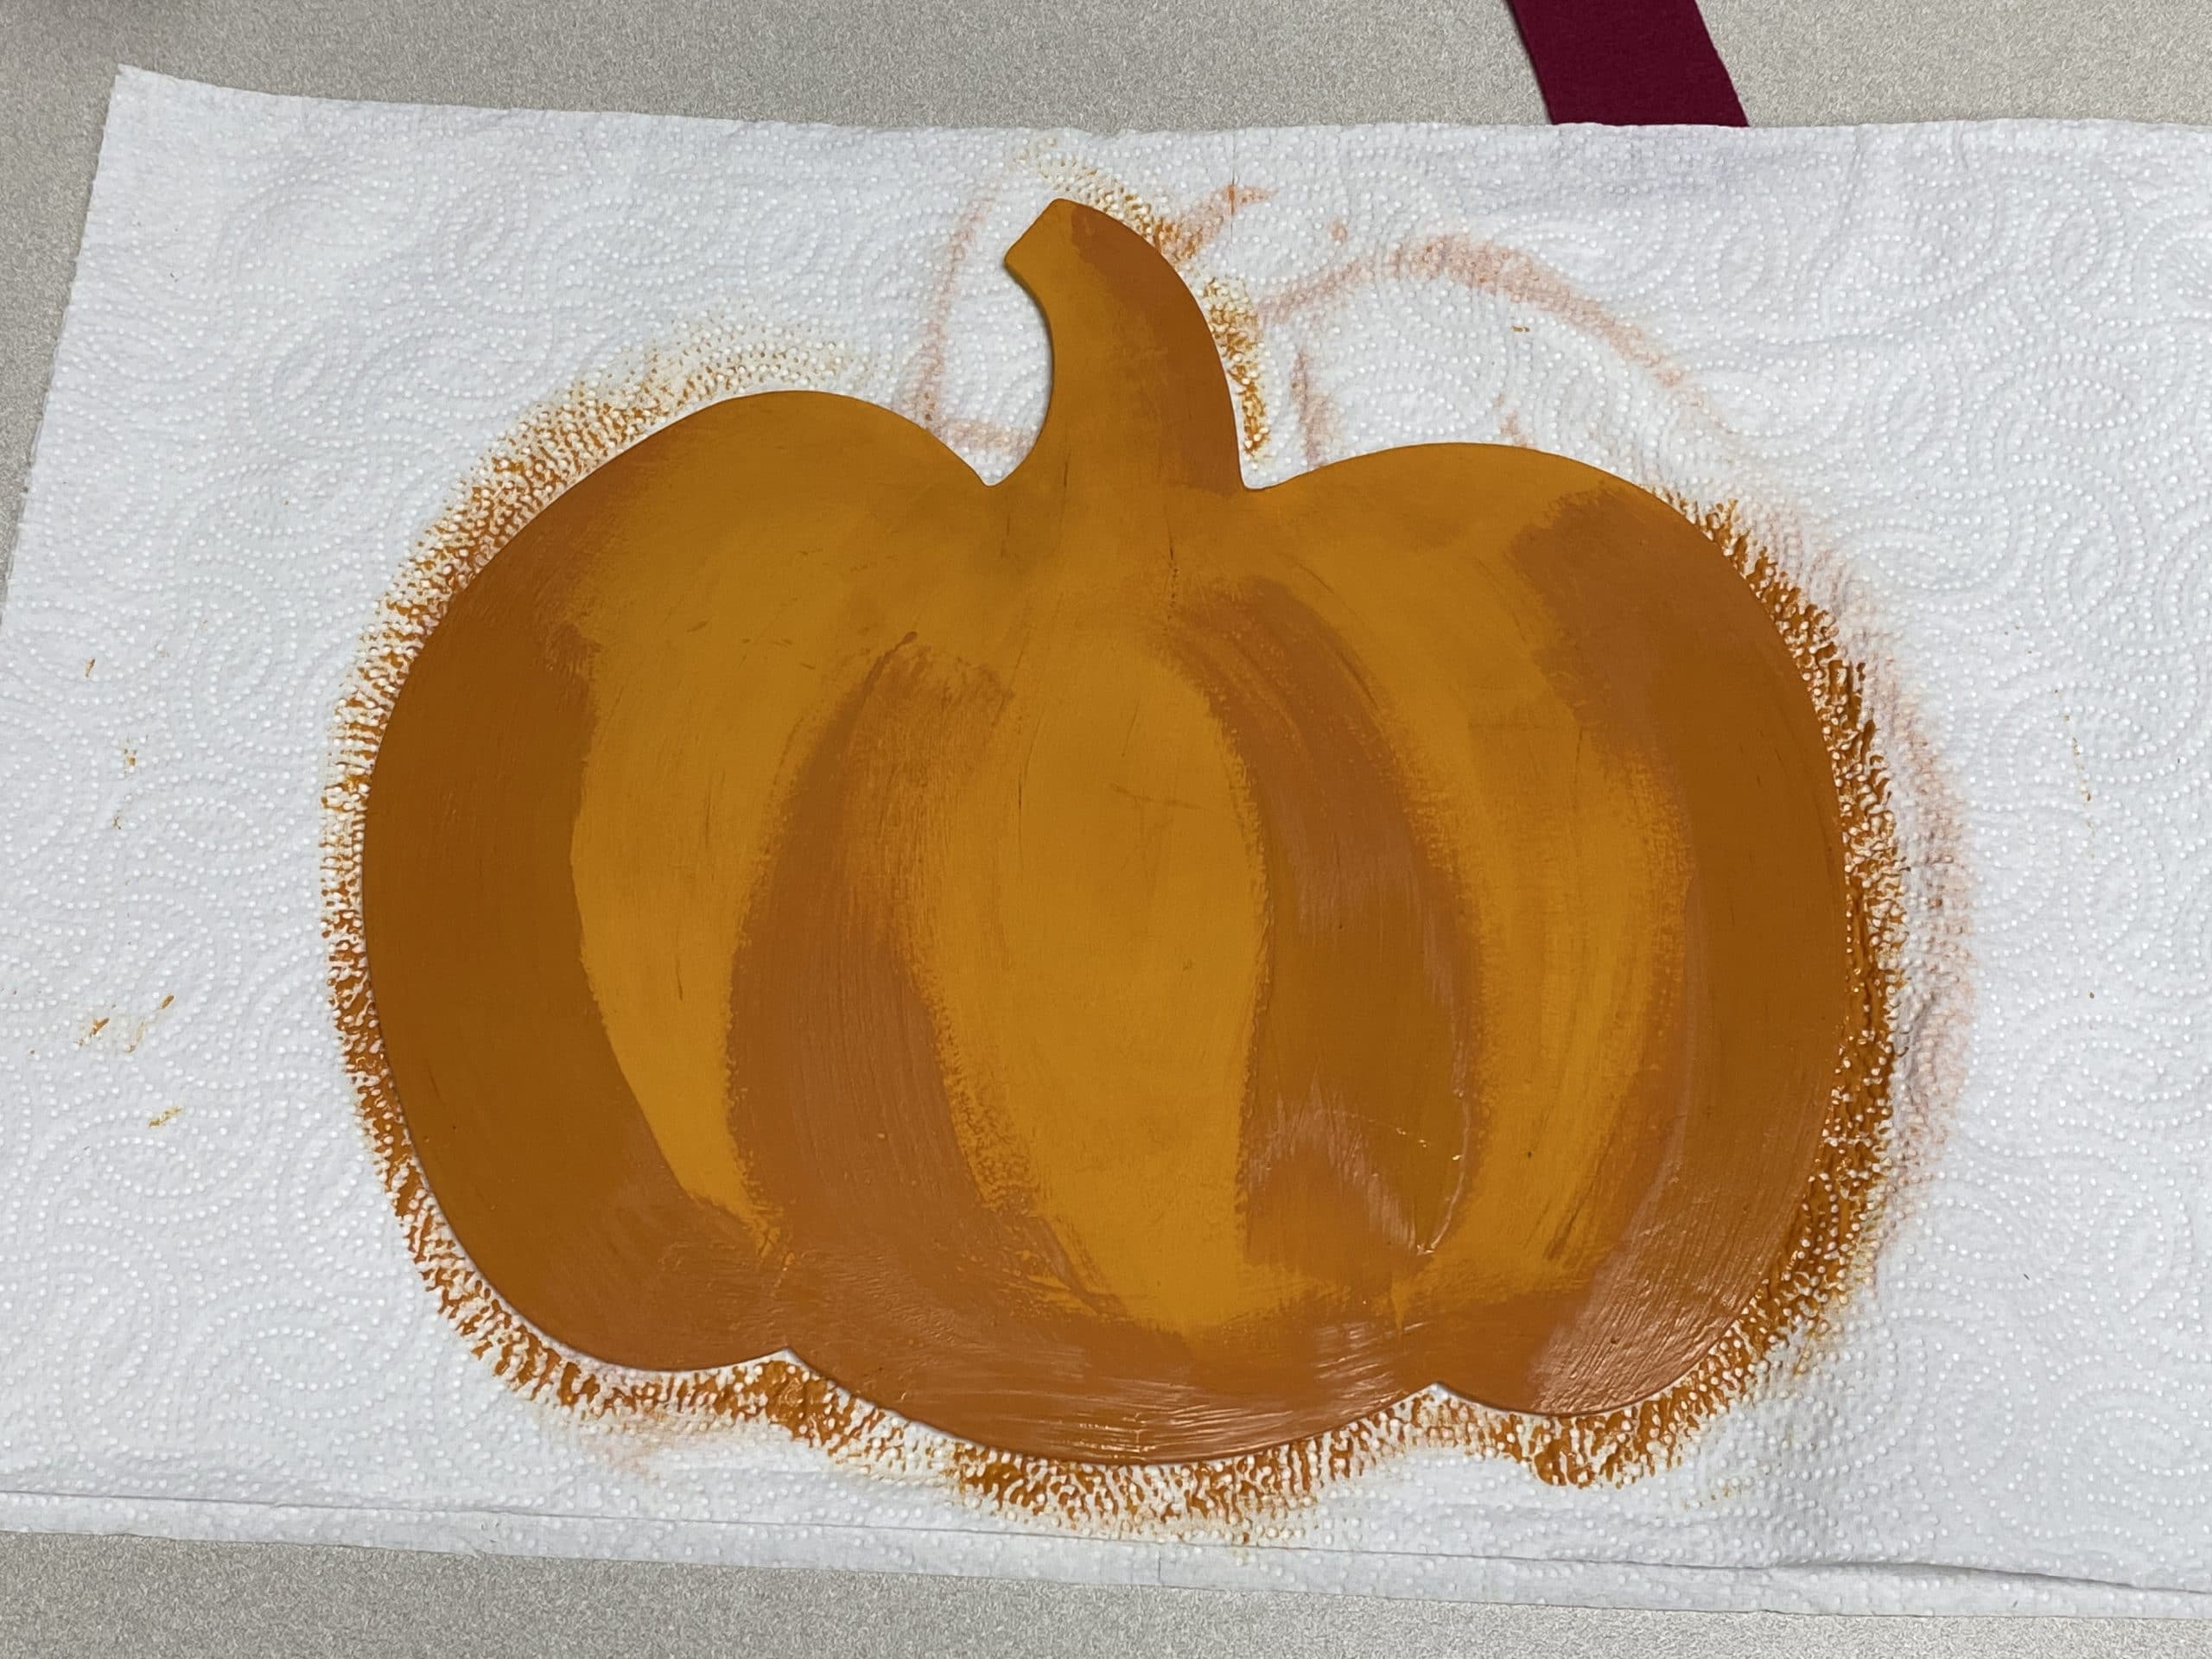
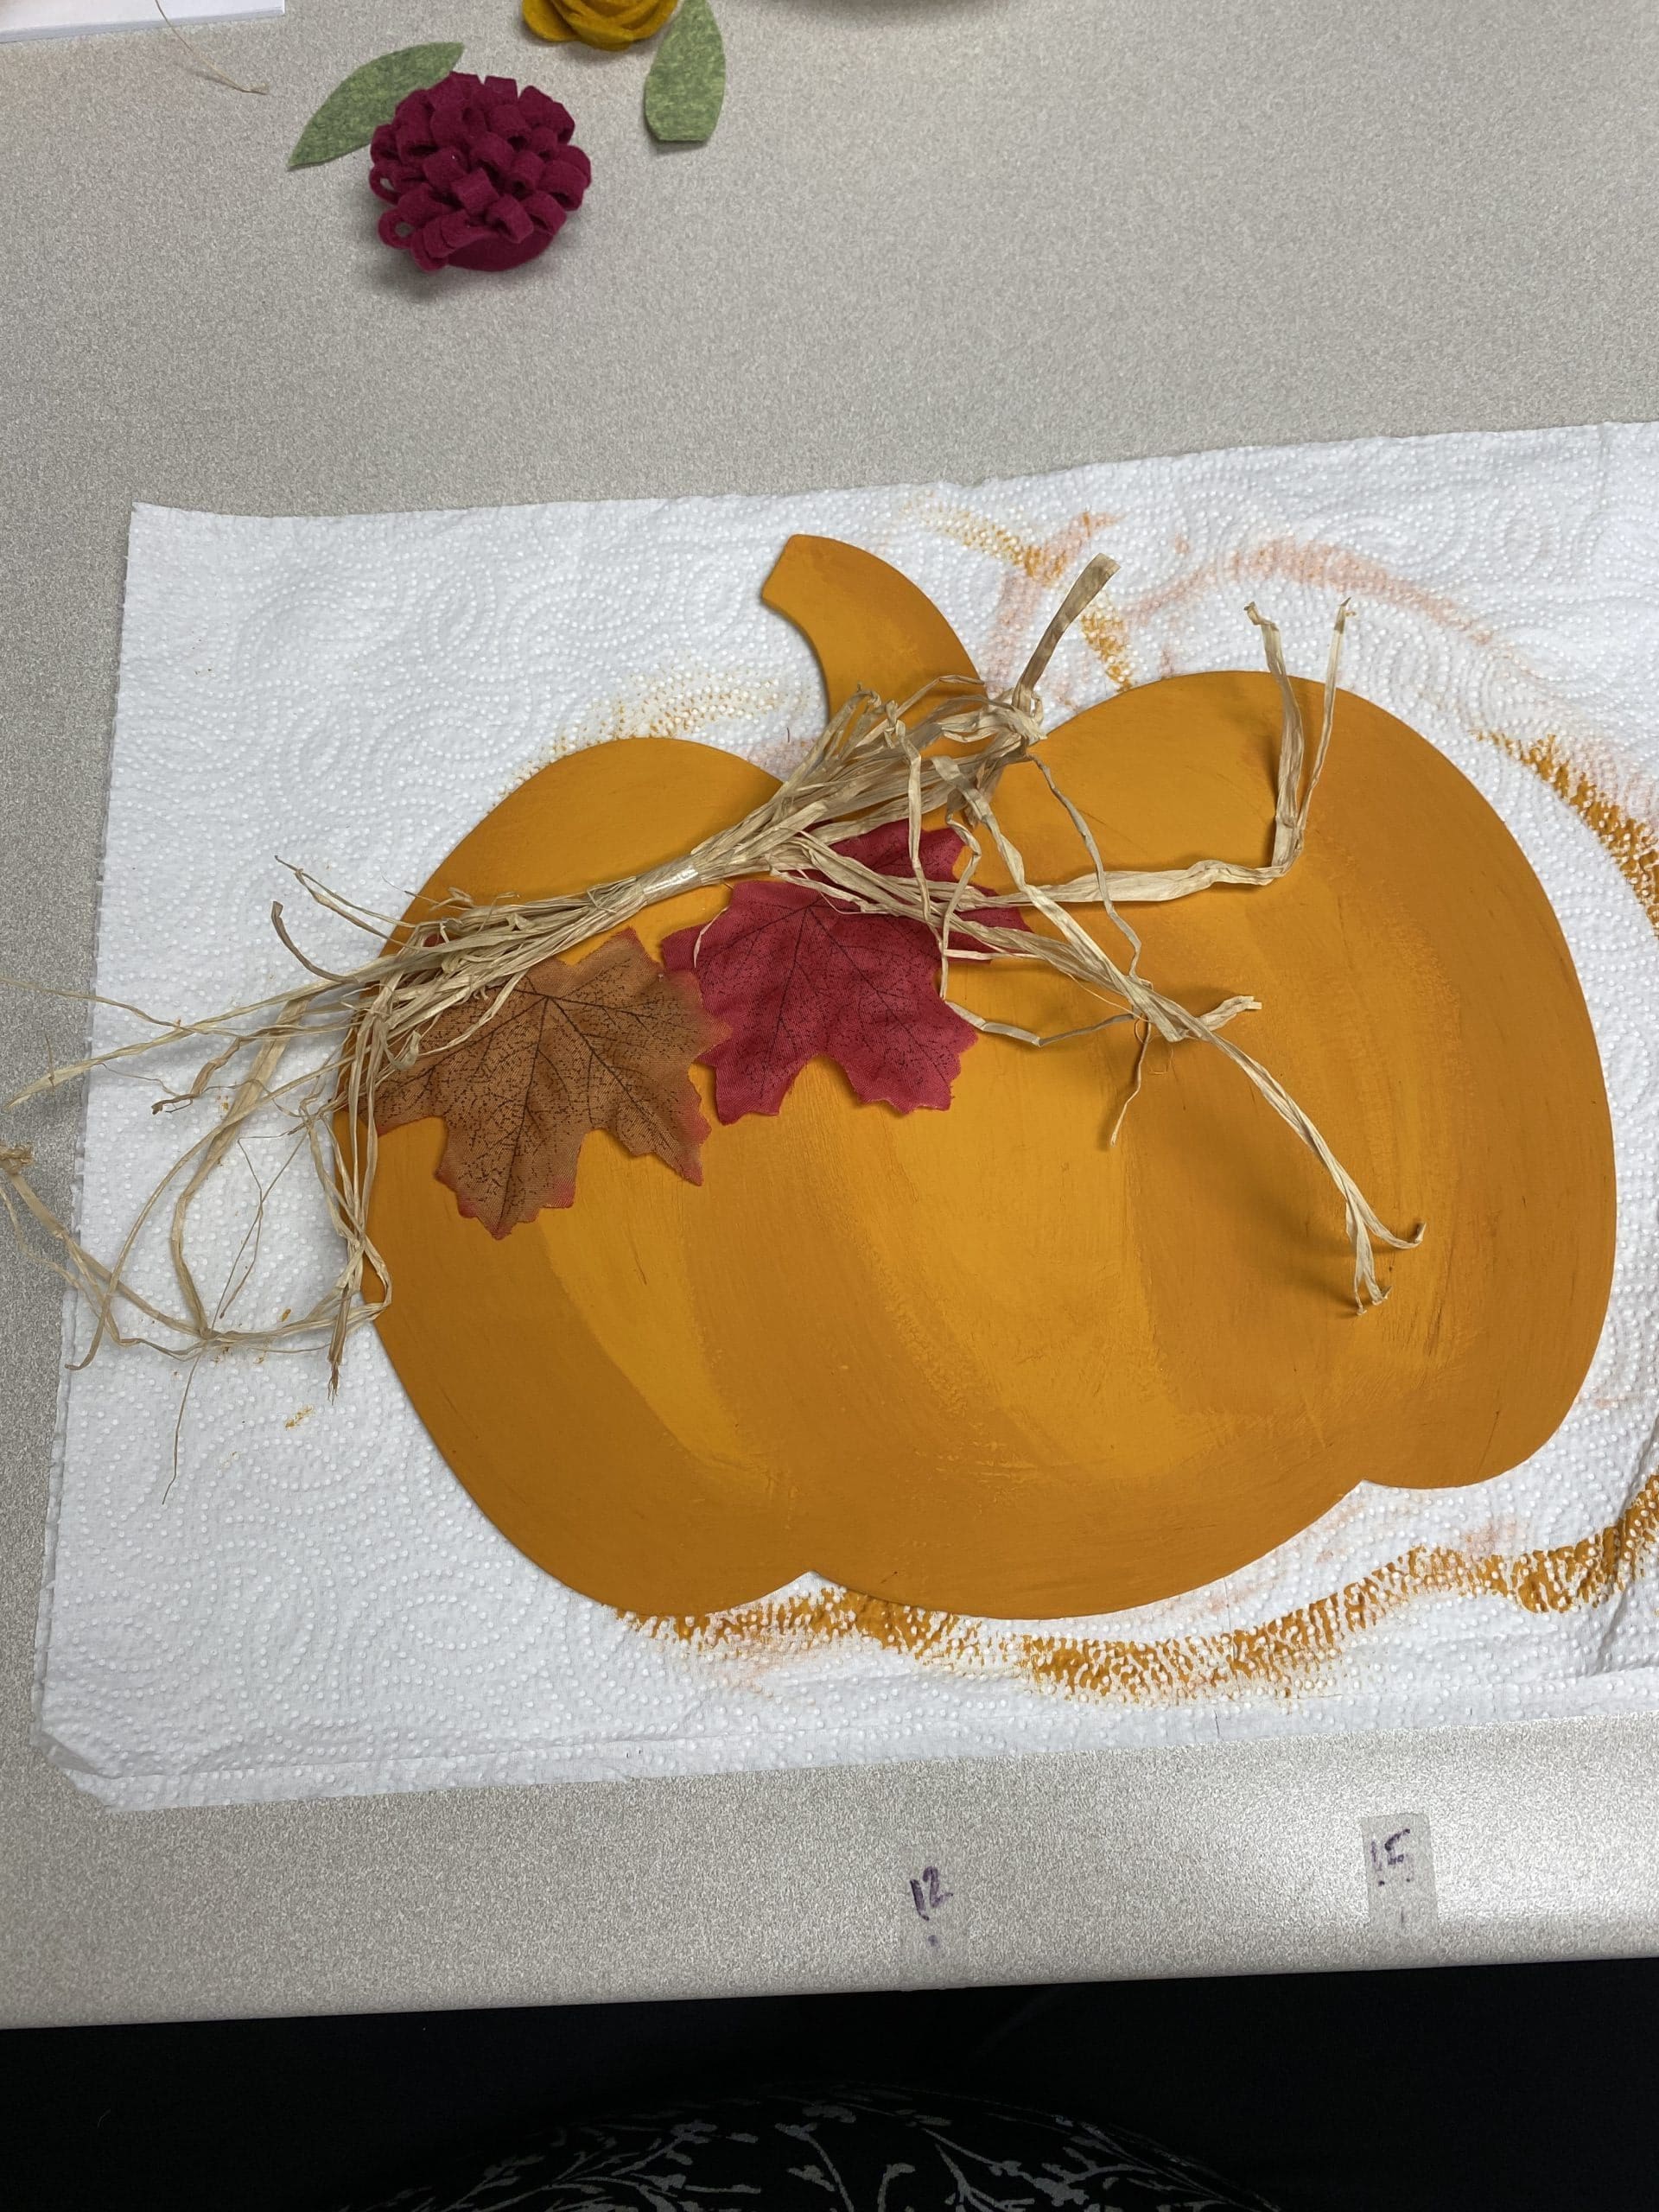
    1.  Paint the blank pumpkin.  I would recommend 2-3 layers to get a good orange color.  After I had the base paint on, I added a little red paint to my orange and used that to make the accents around the pumpkin.  I didn’t worry about making the painting that pretty – I wanted a more rustic look.    TIP:  The paint brush will be rock hard when it comes out the package.  Soak it in some water for 5 minutes and it will be just fine.

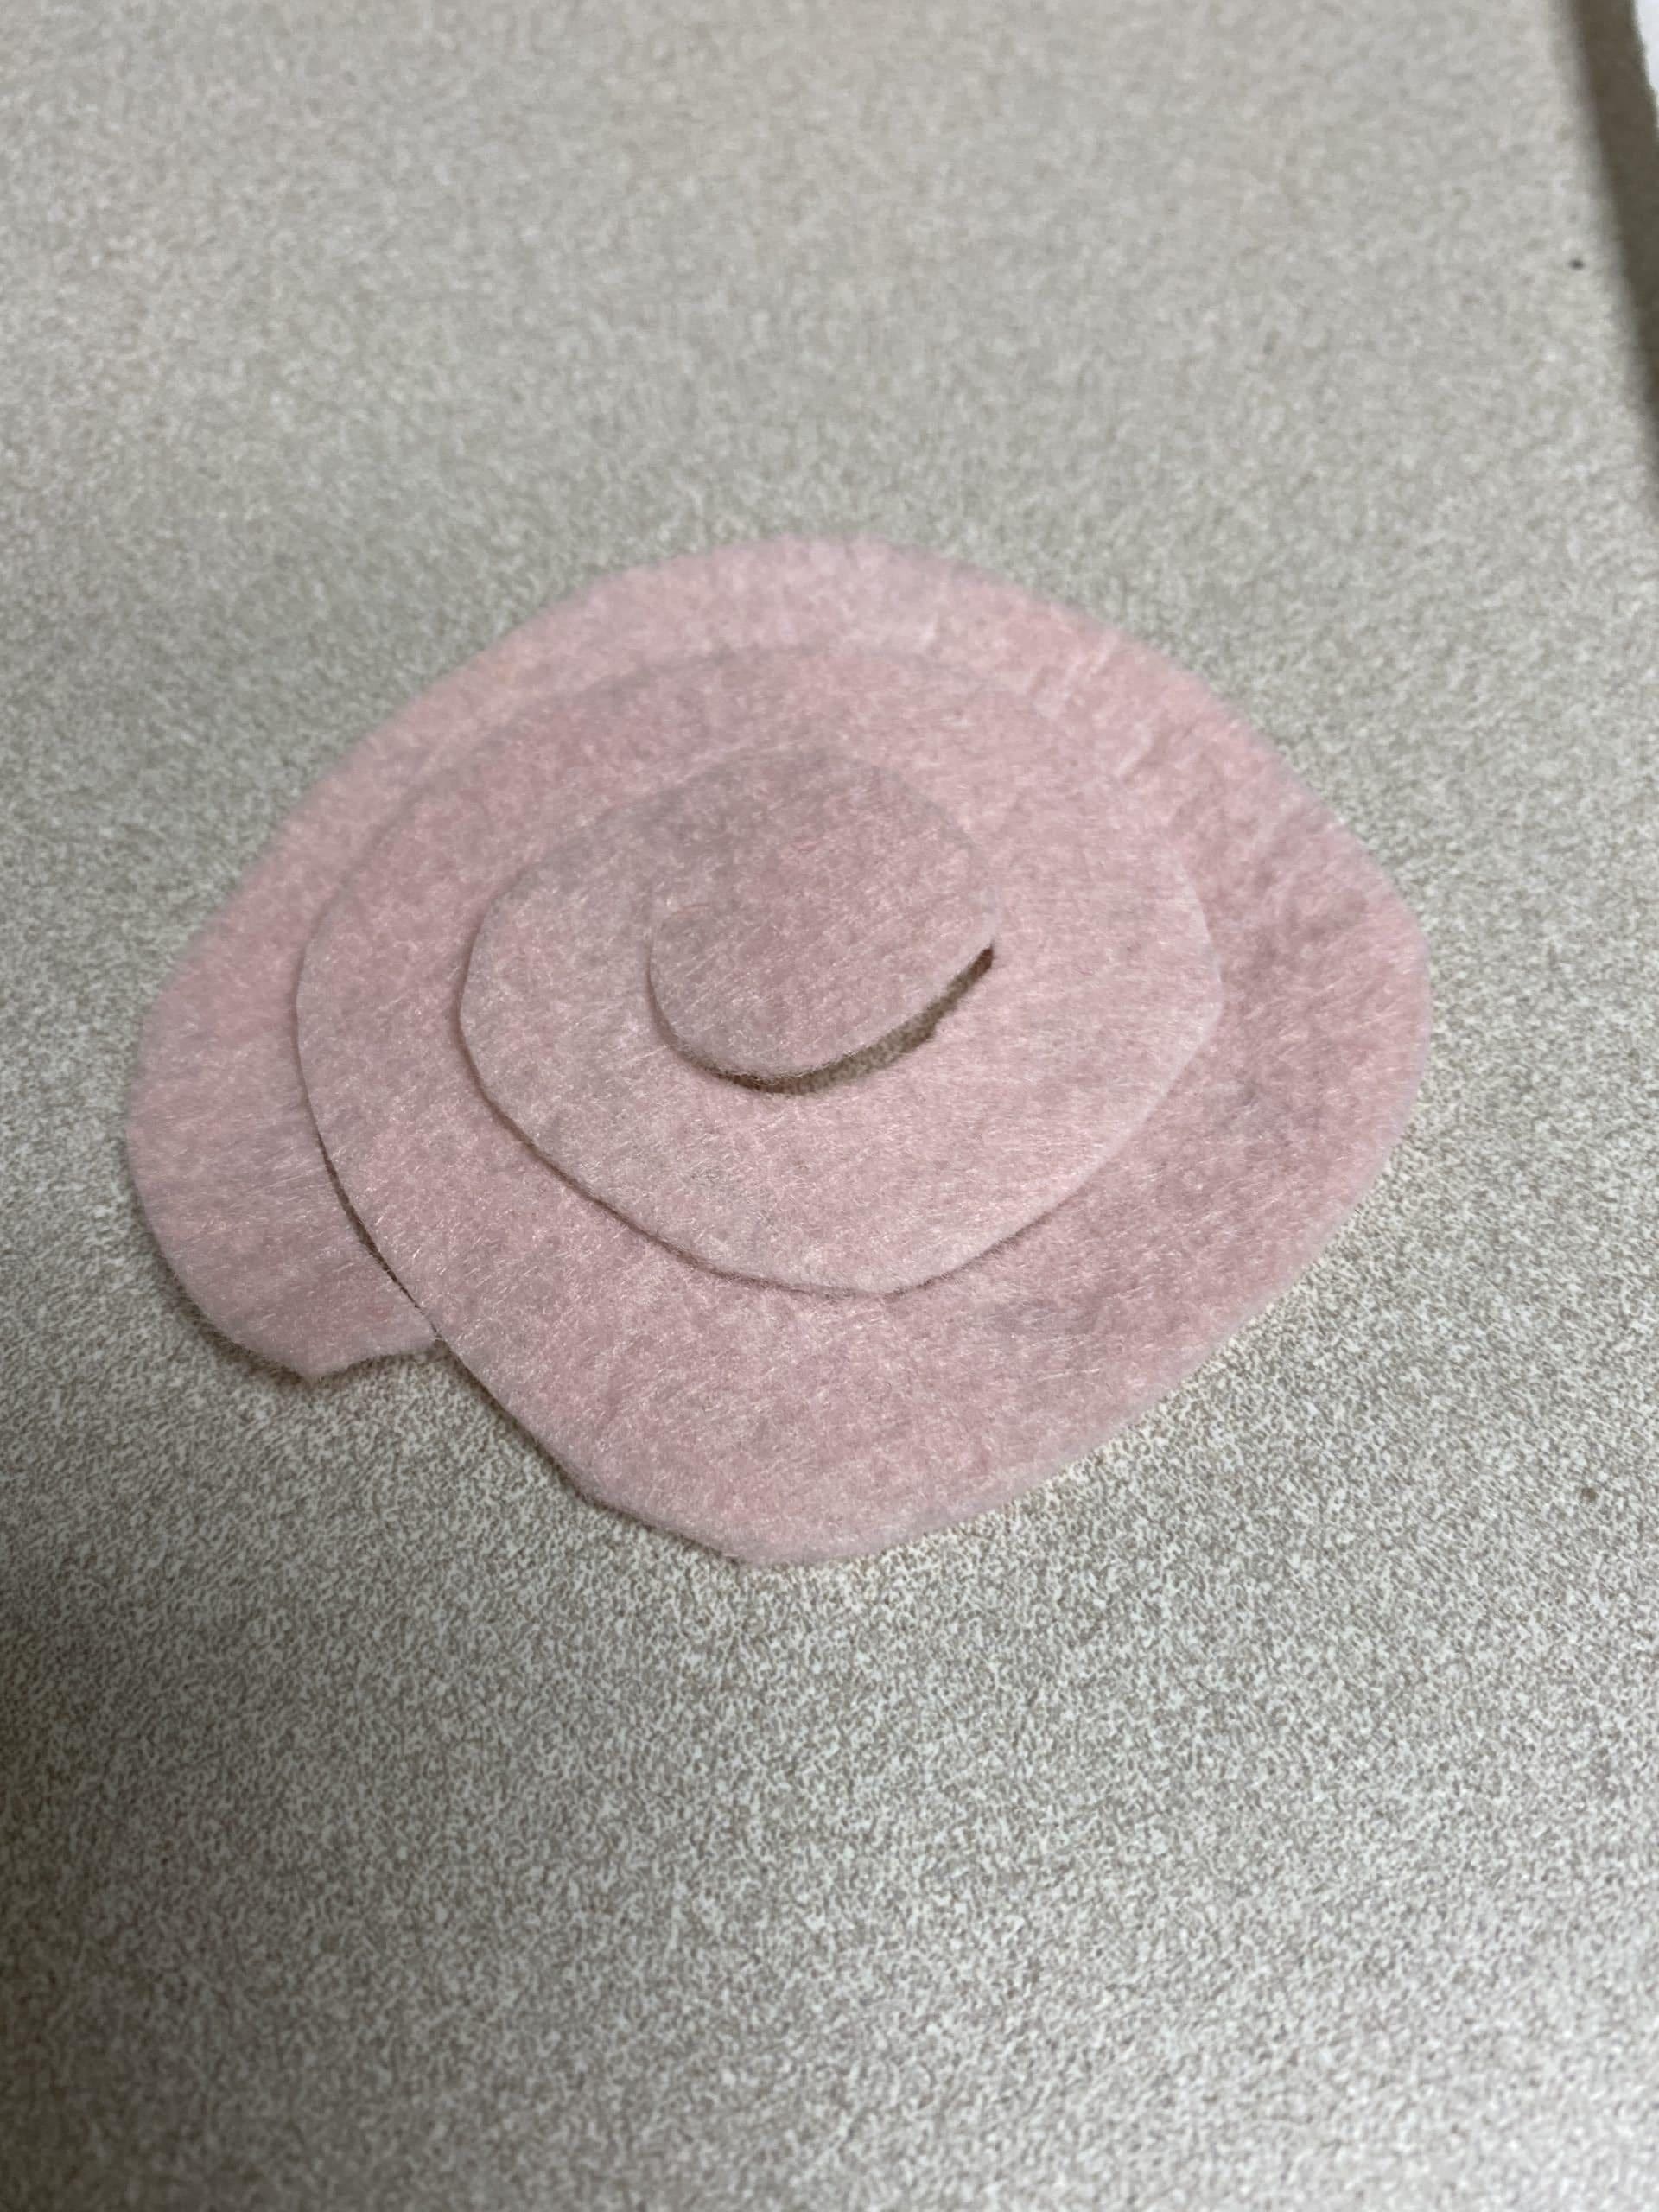
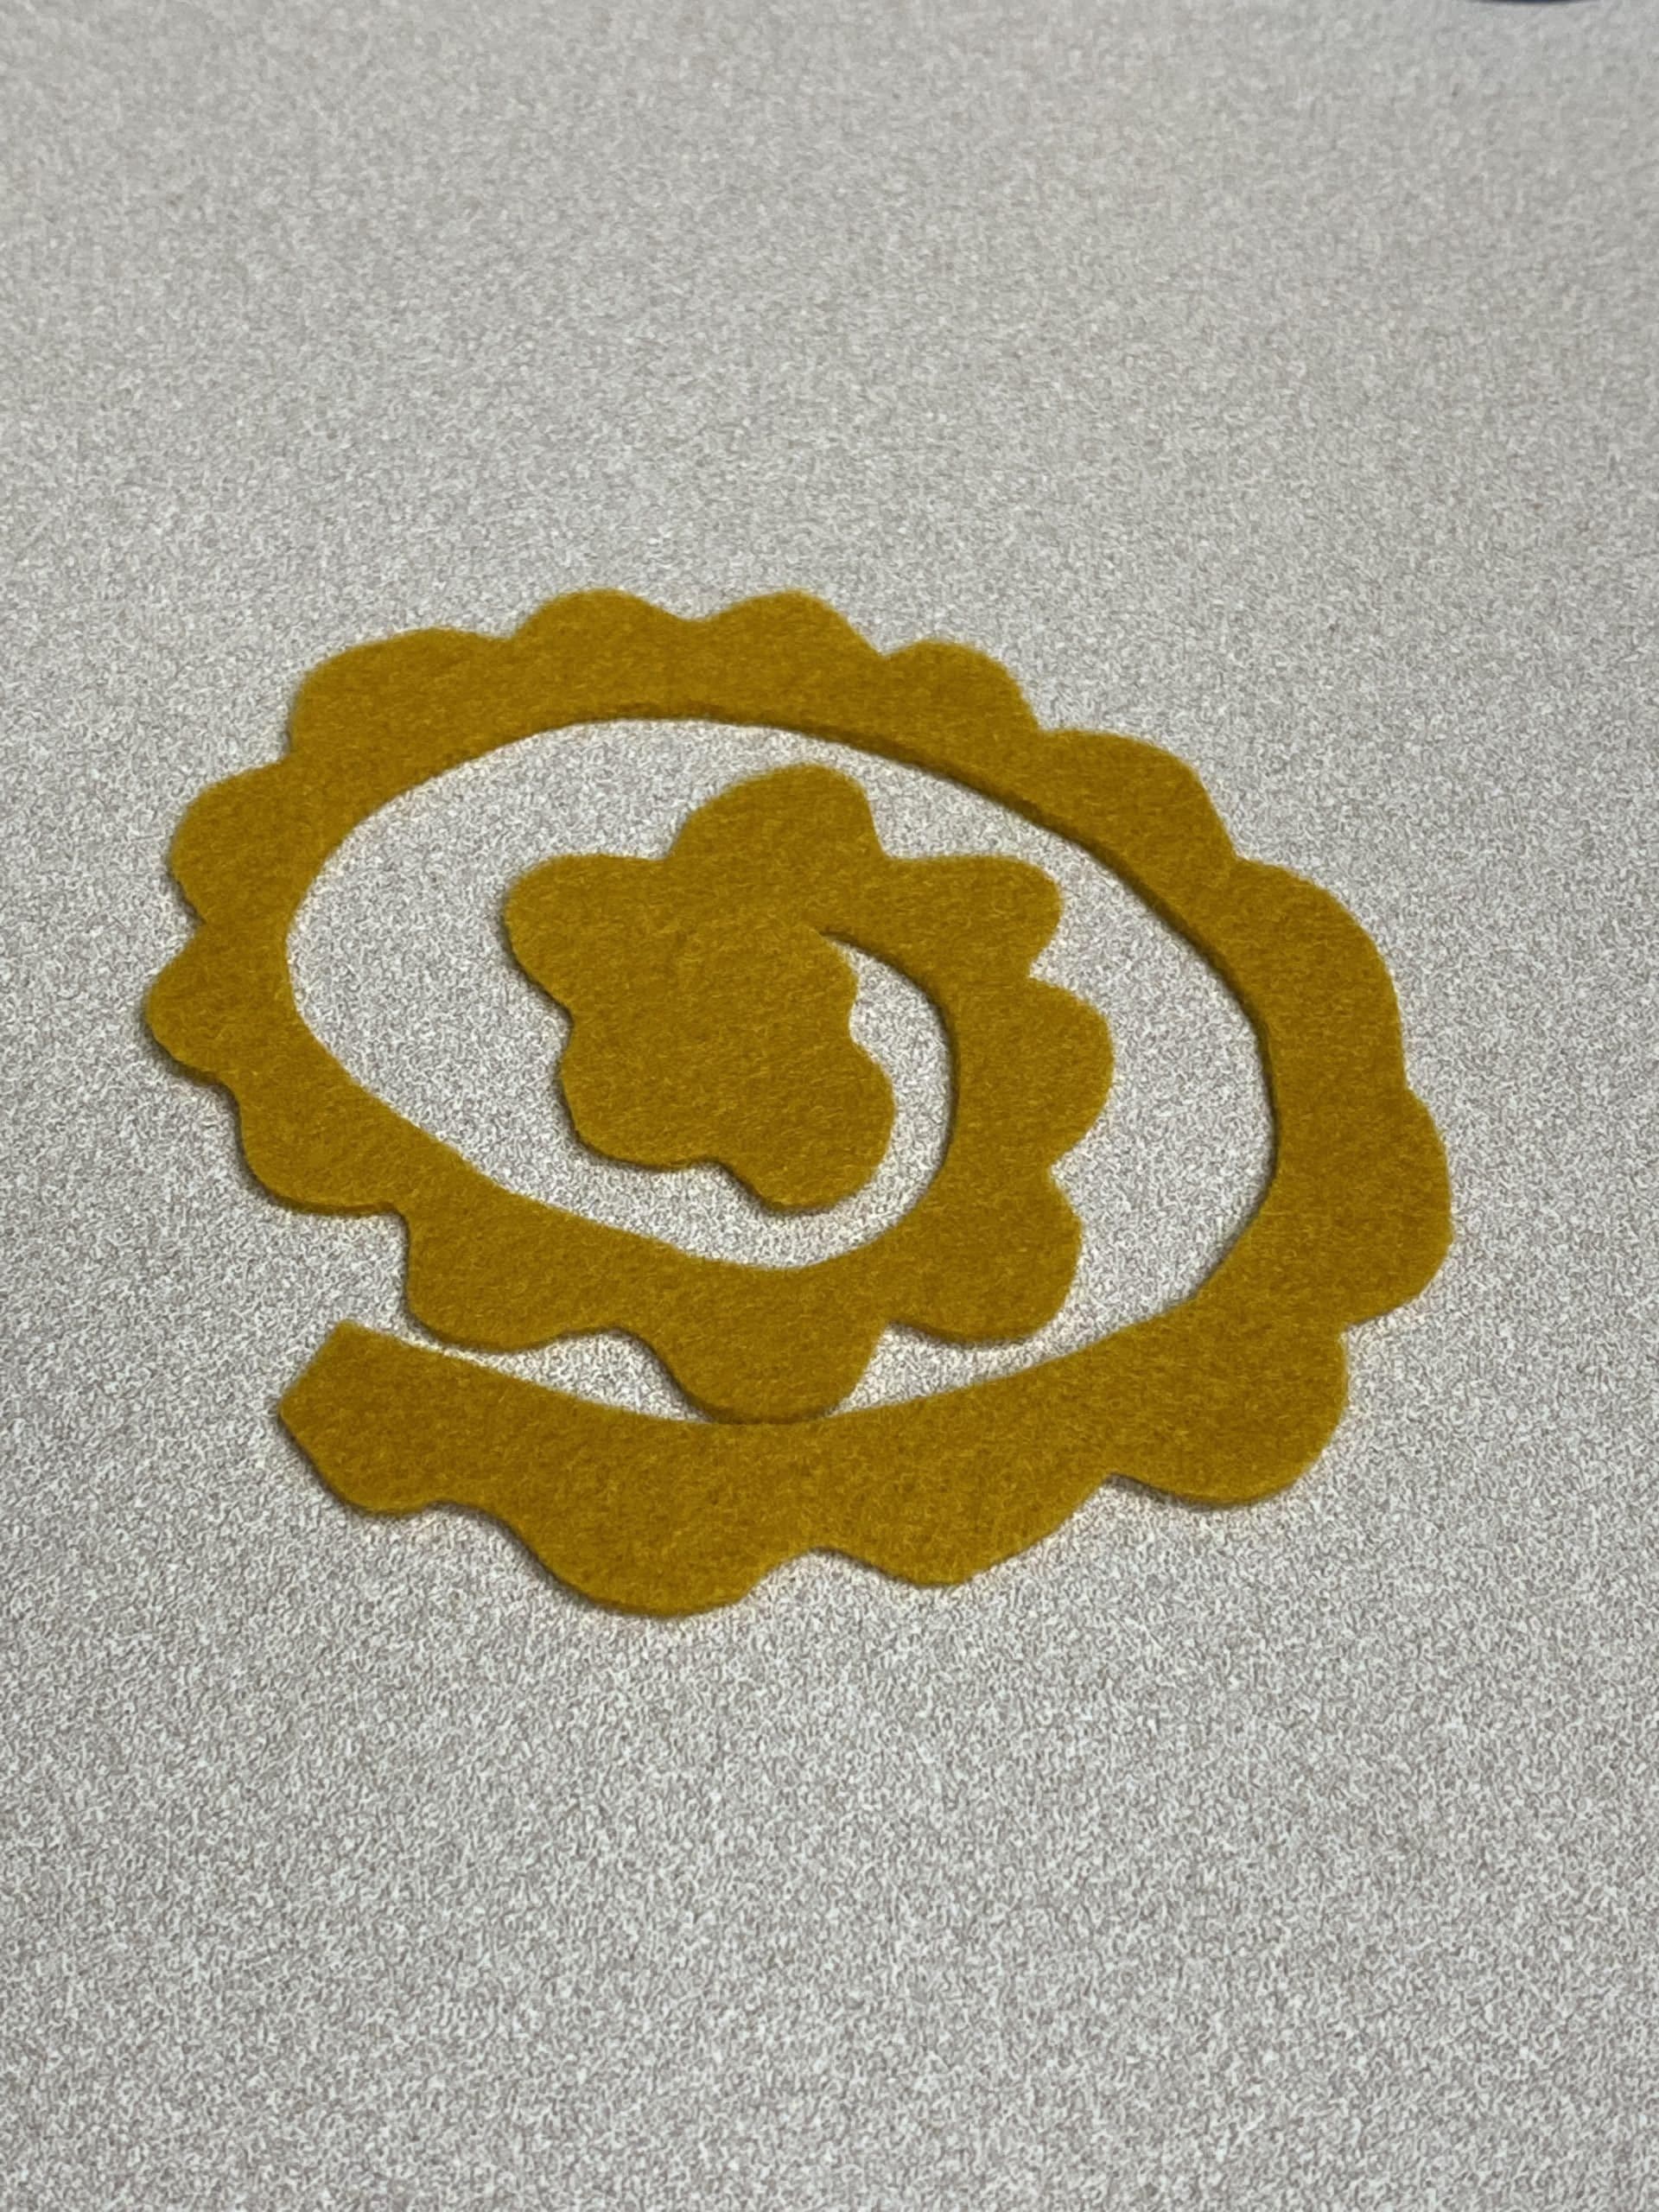
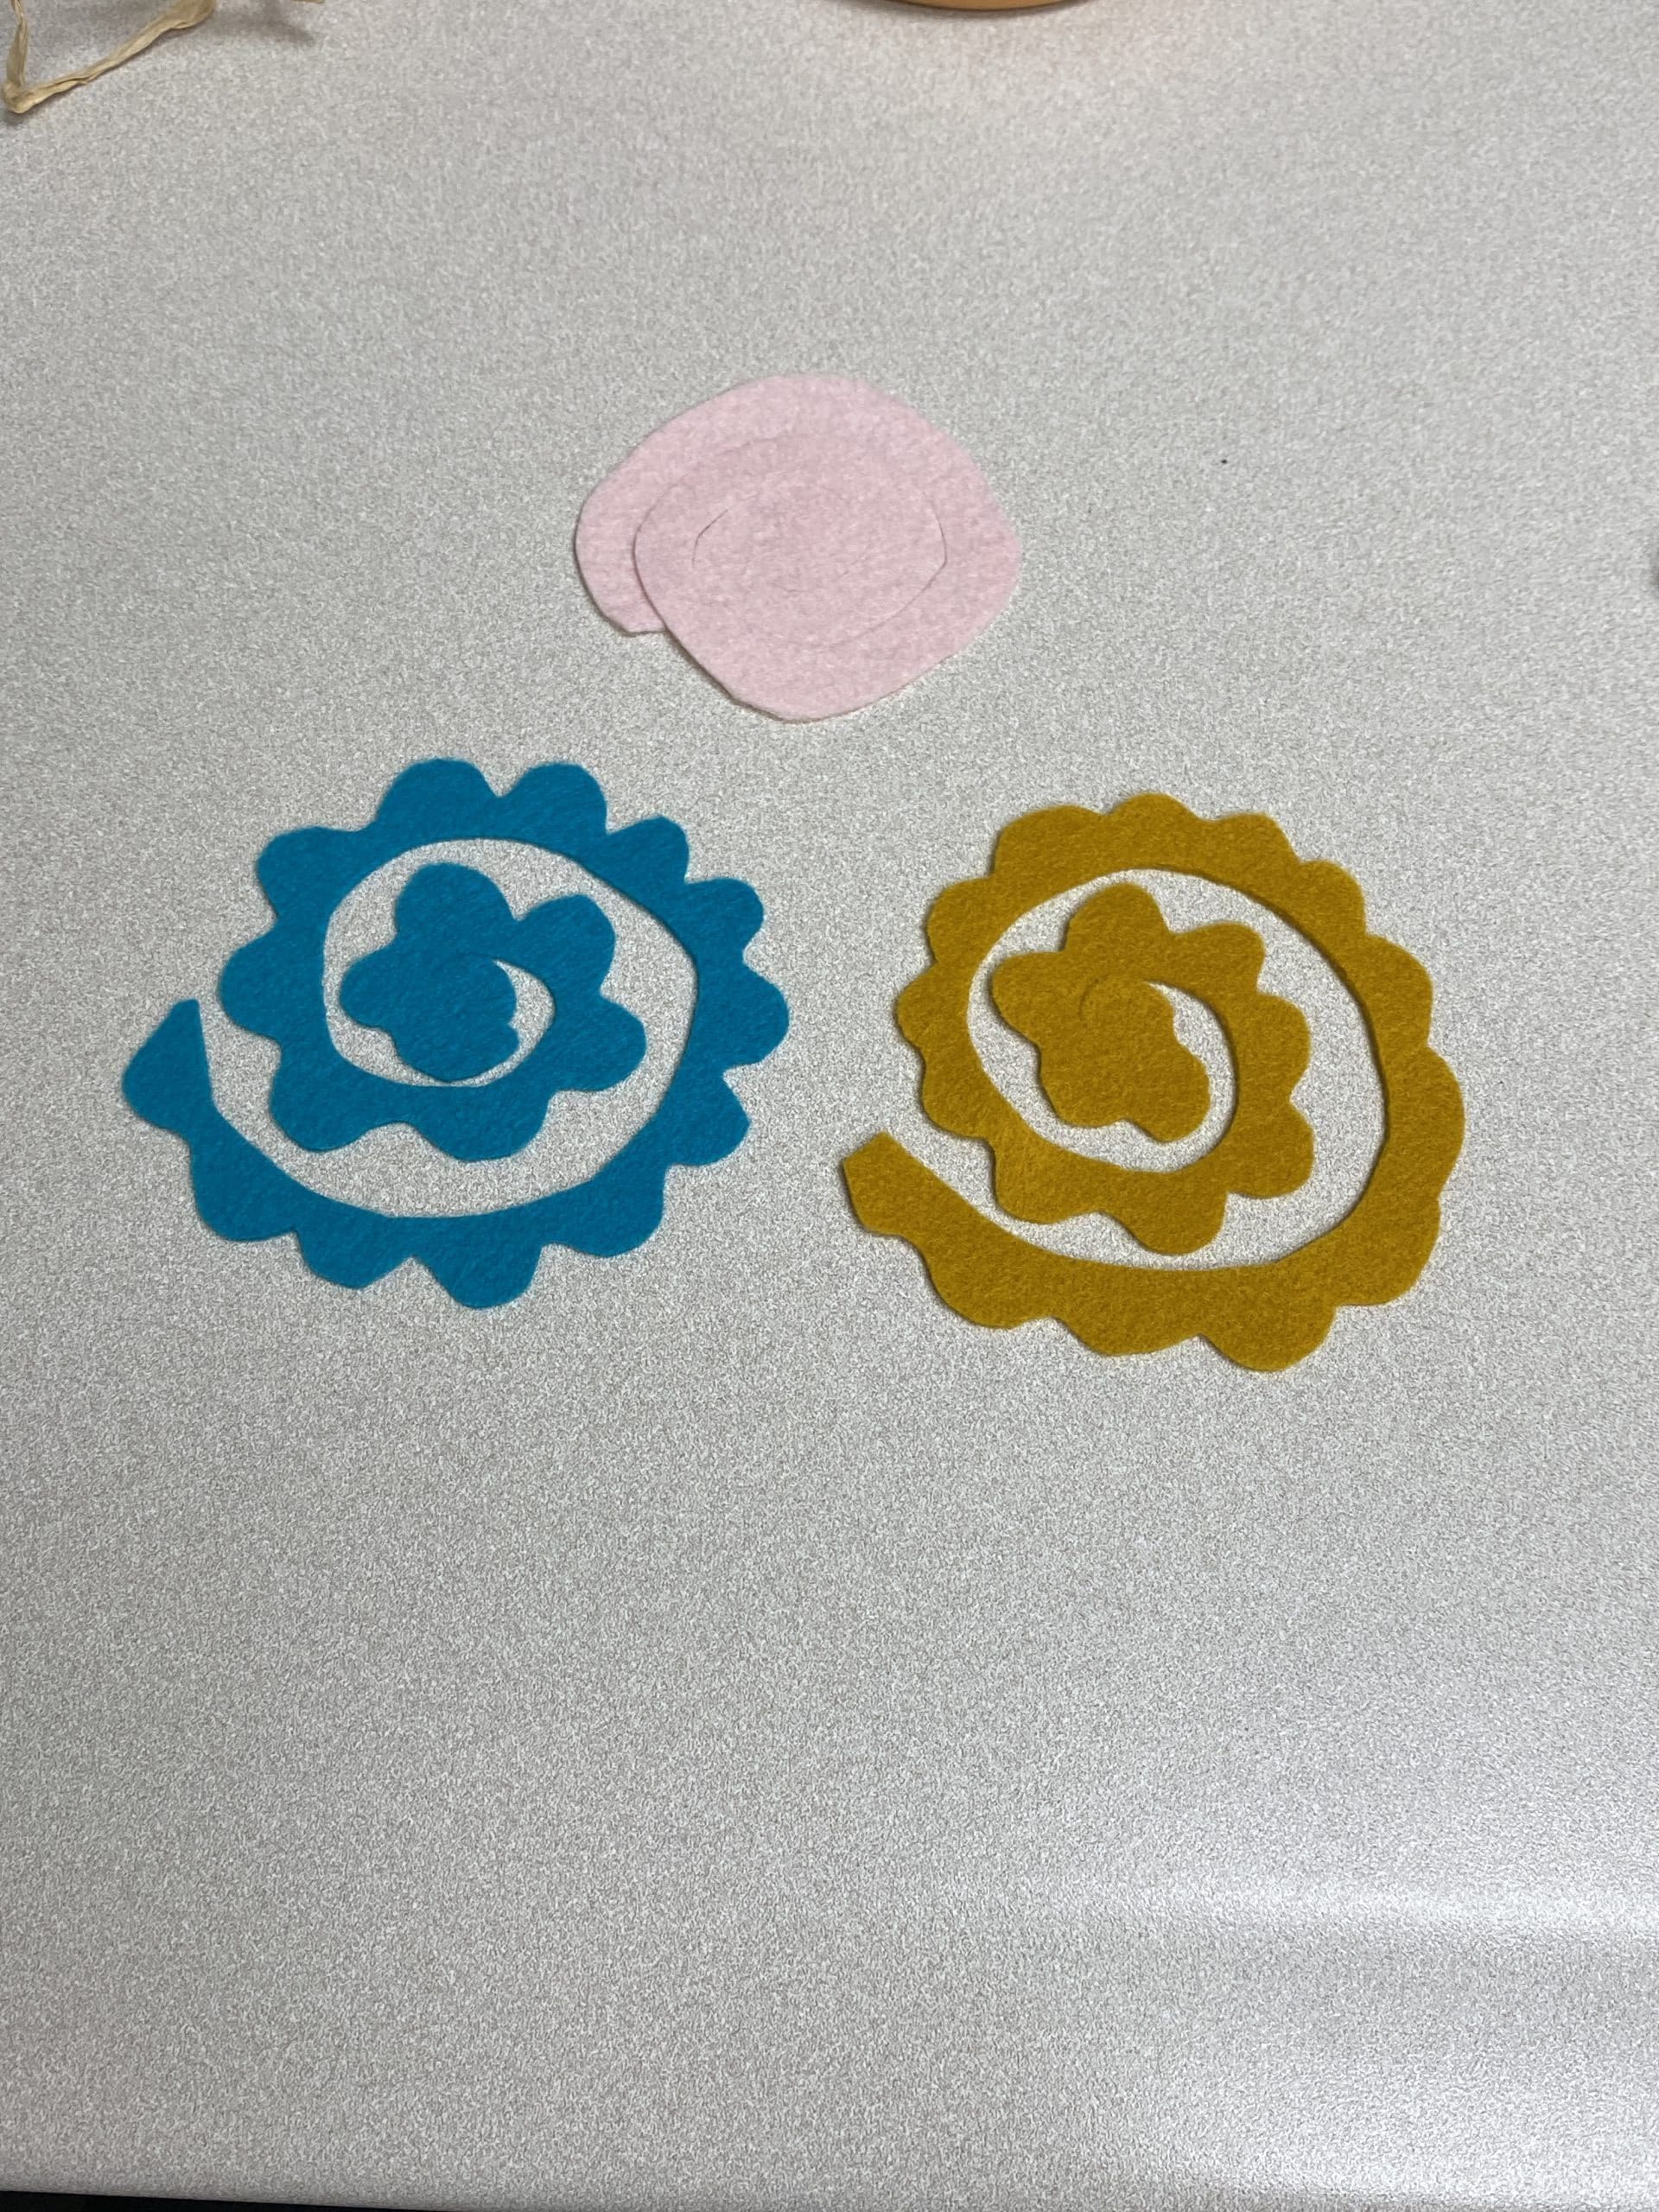
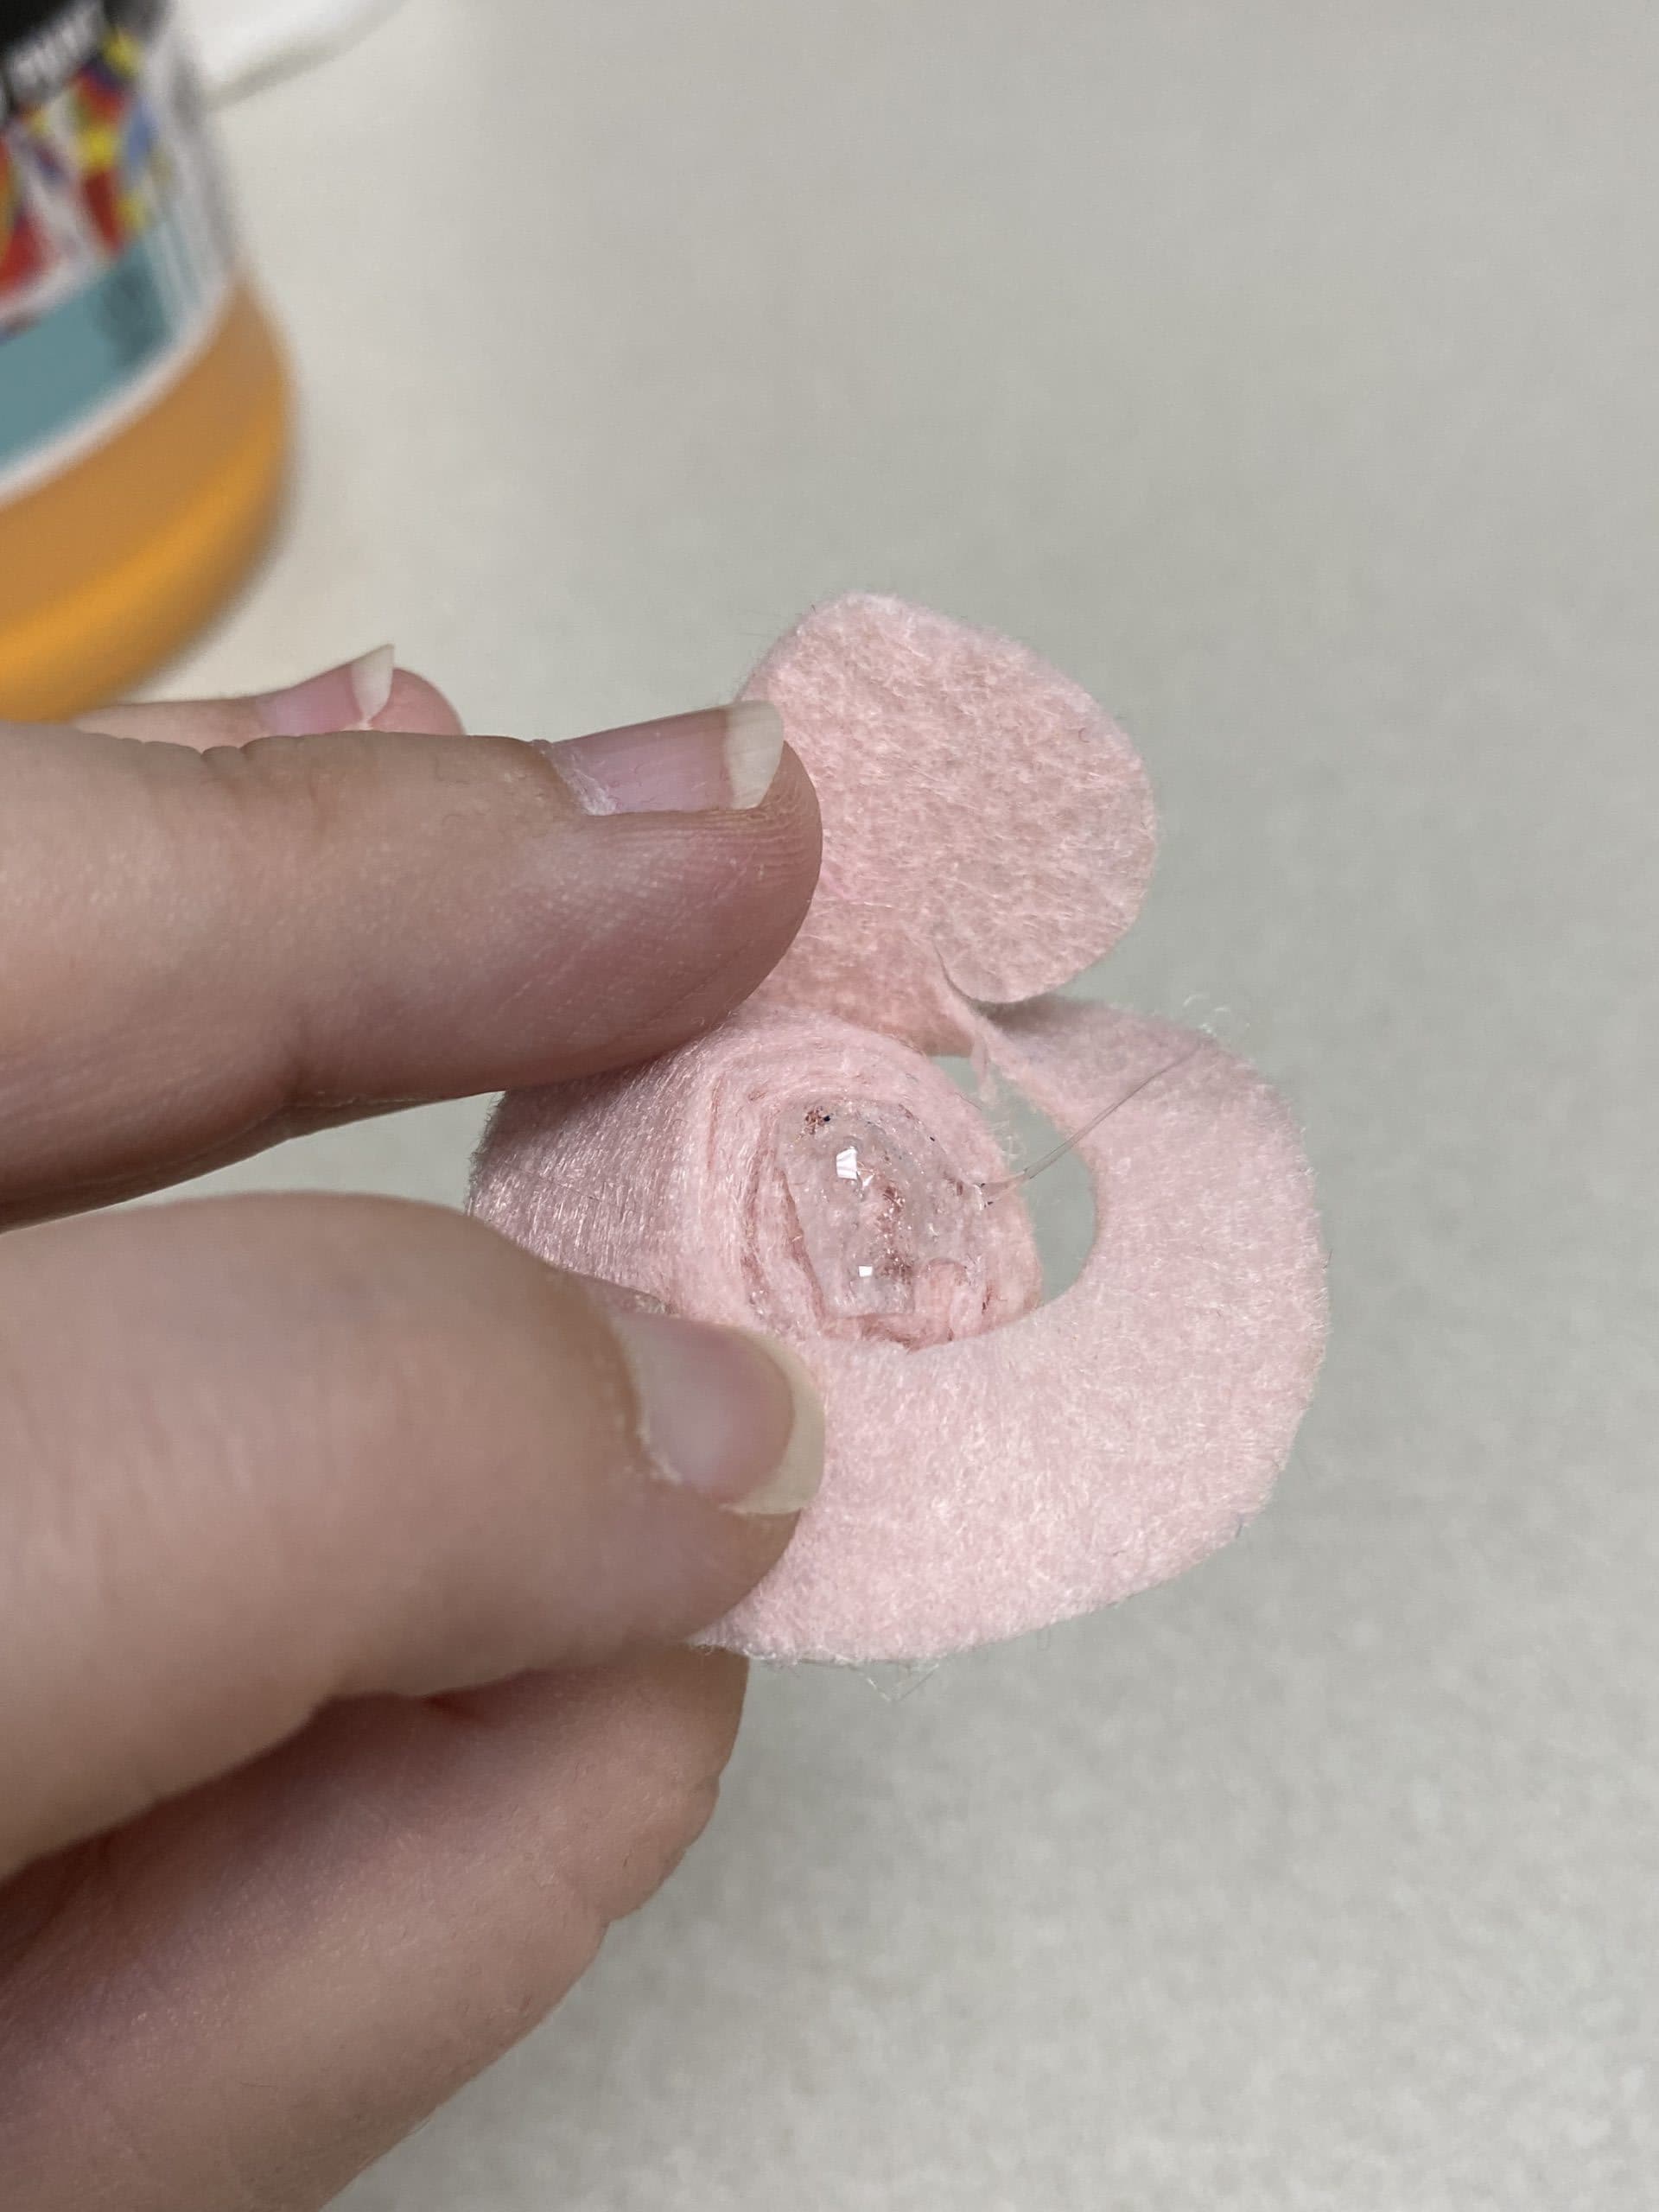
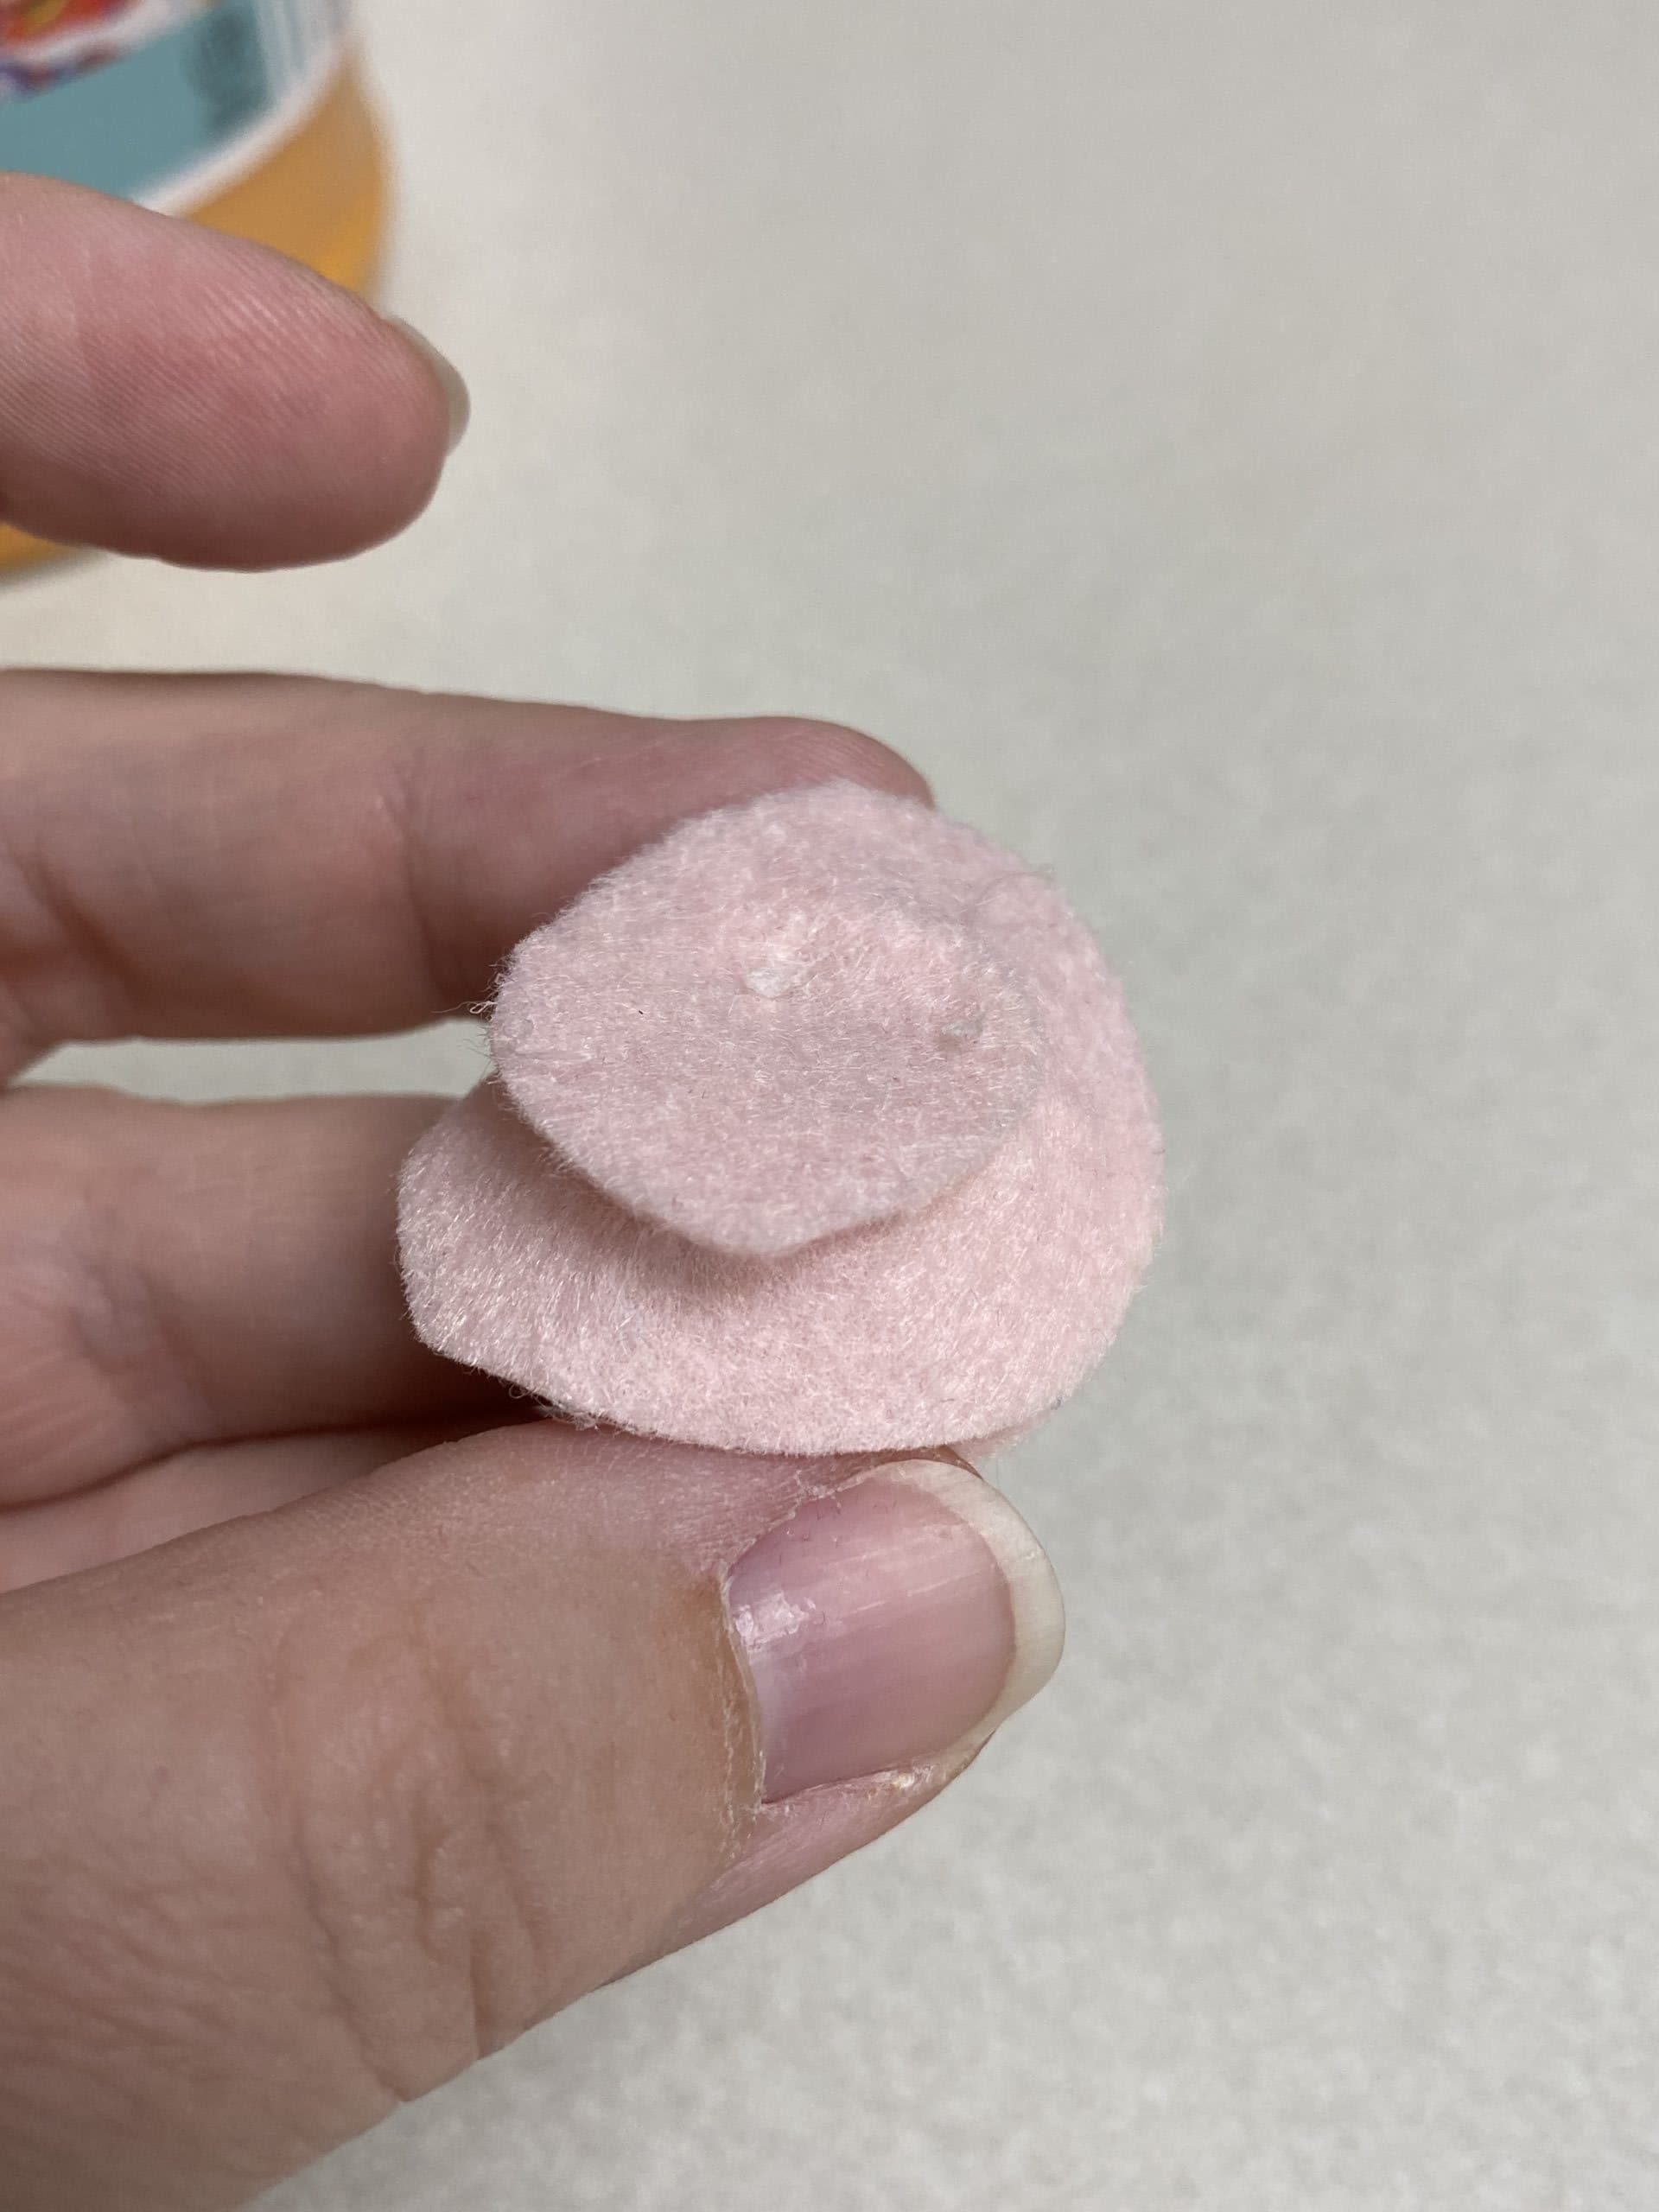
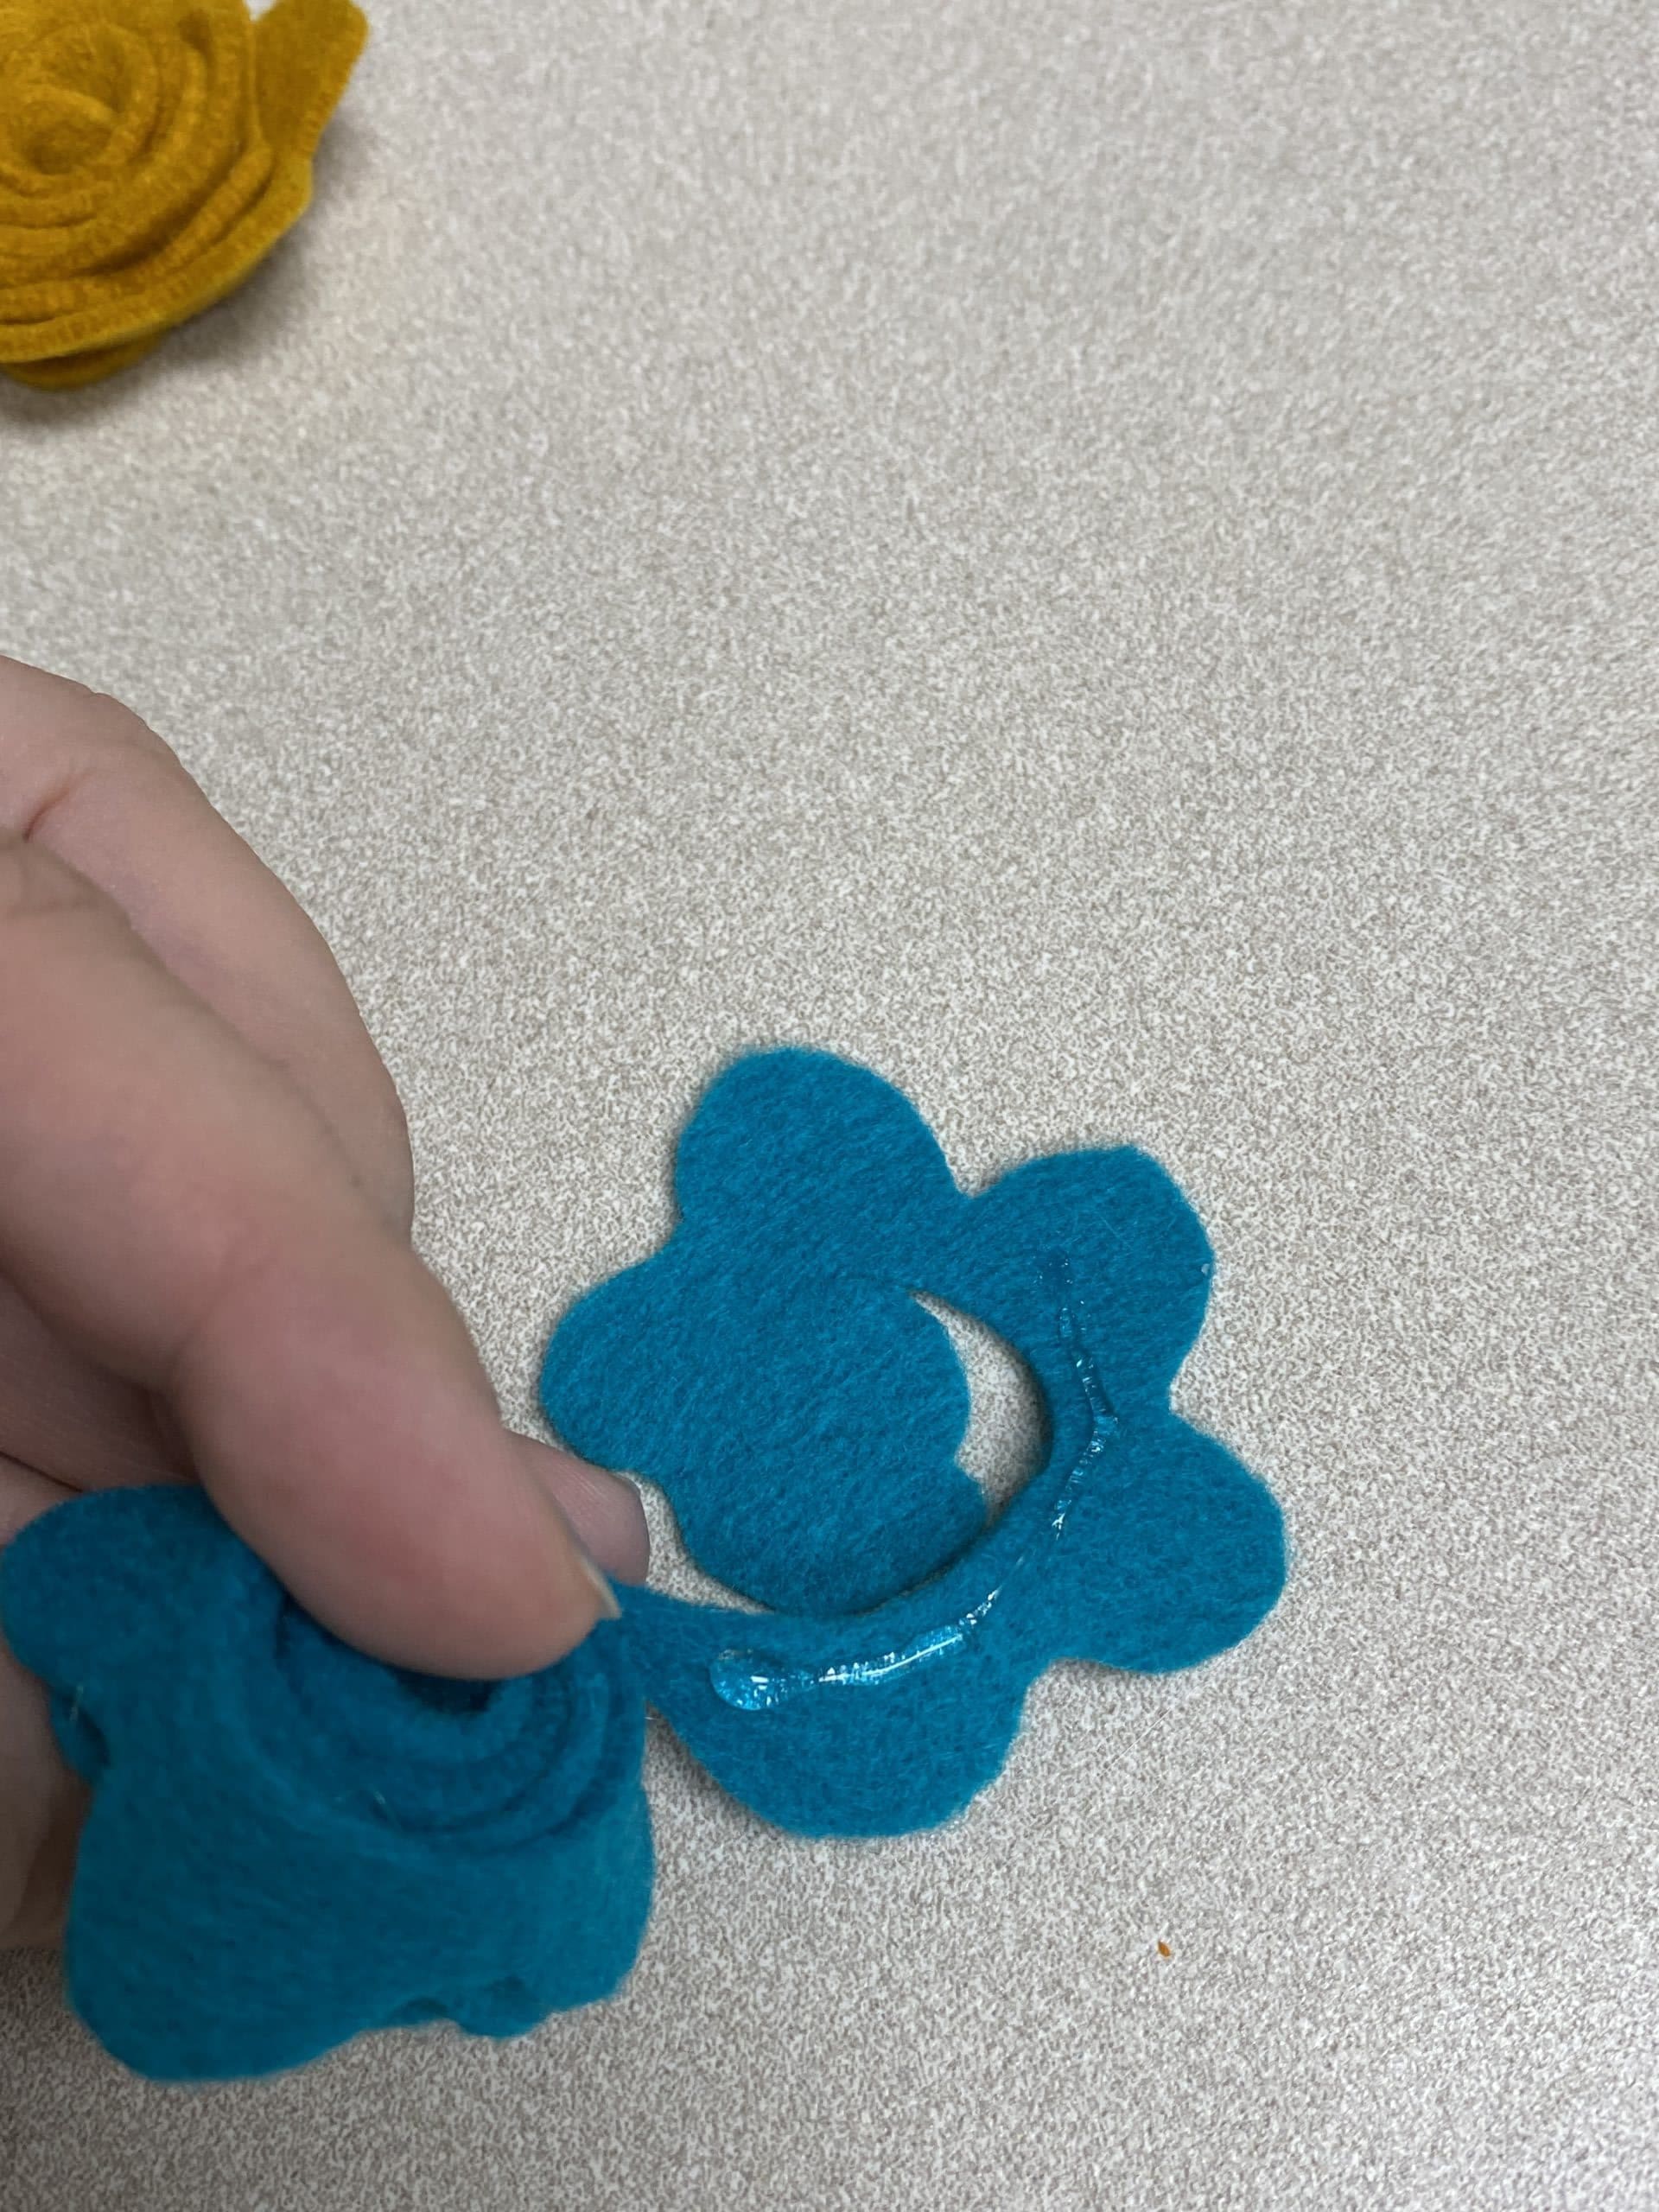
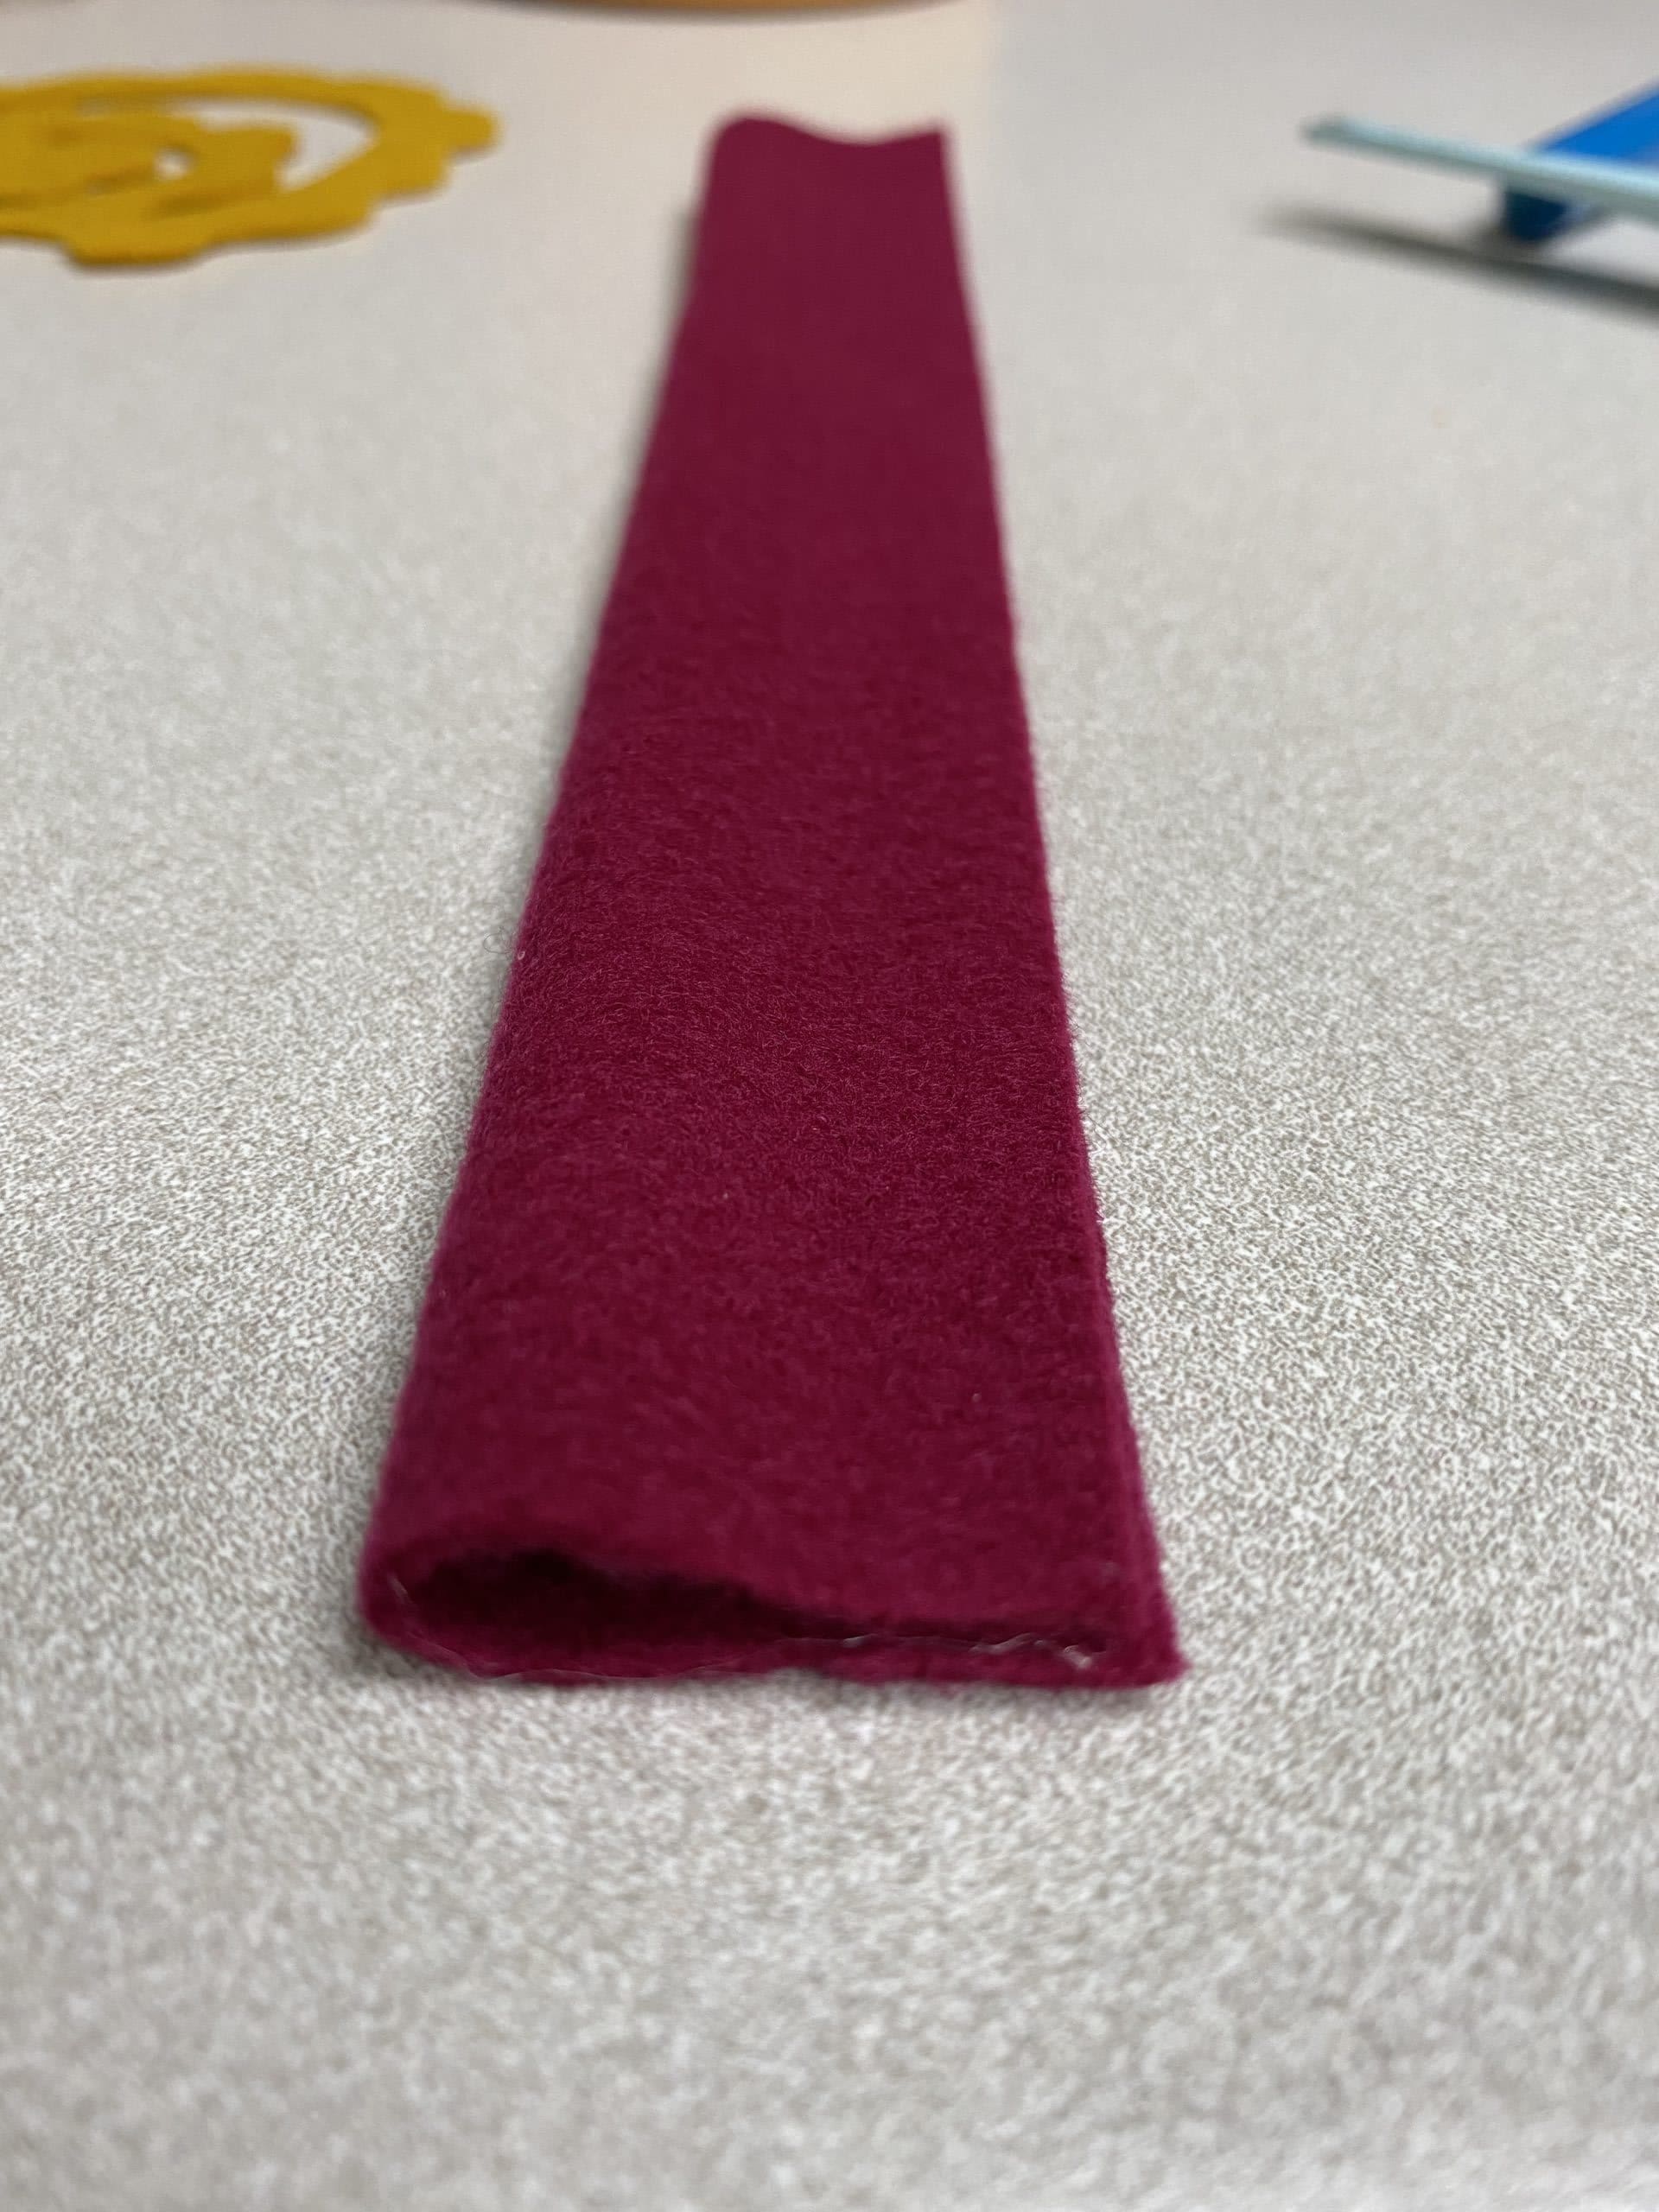
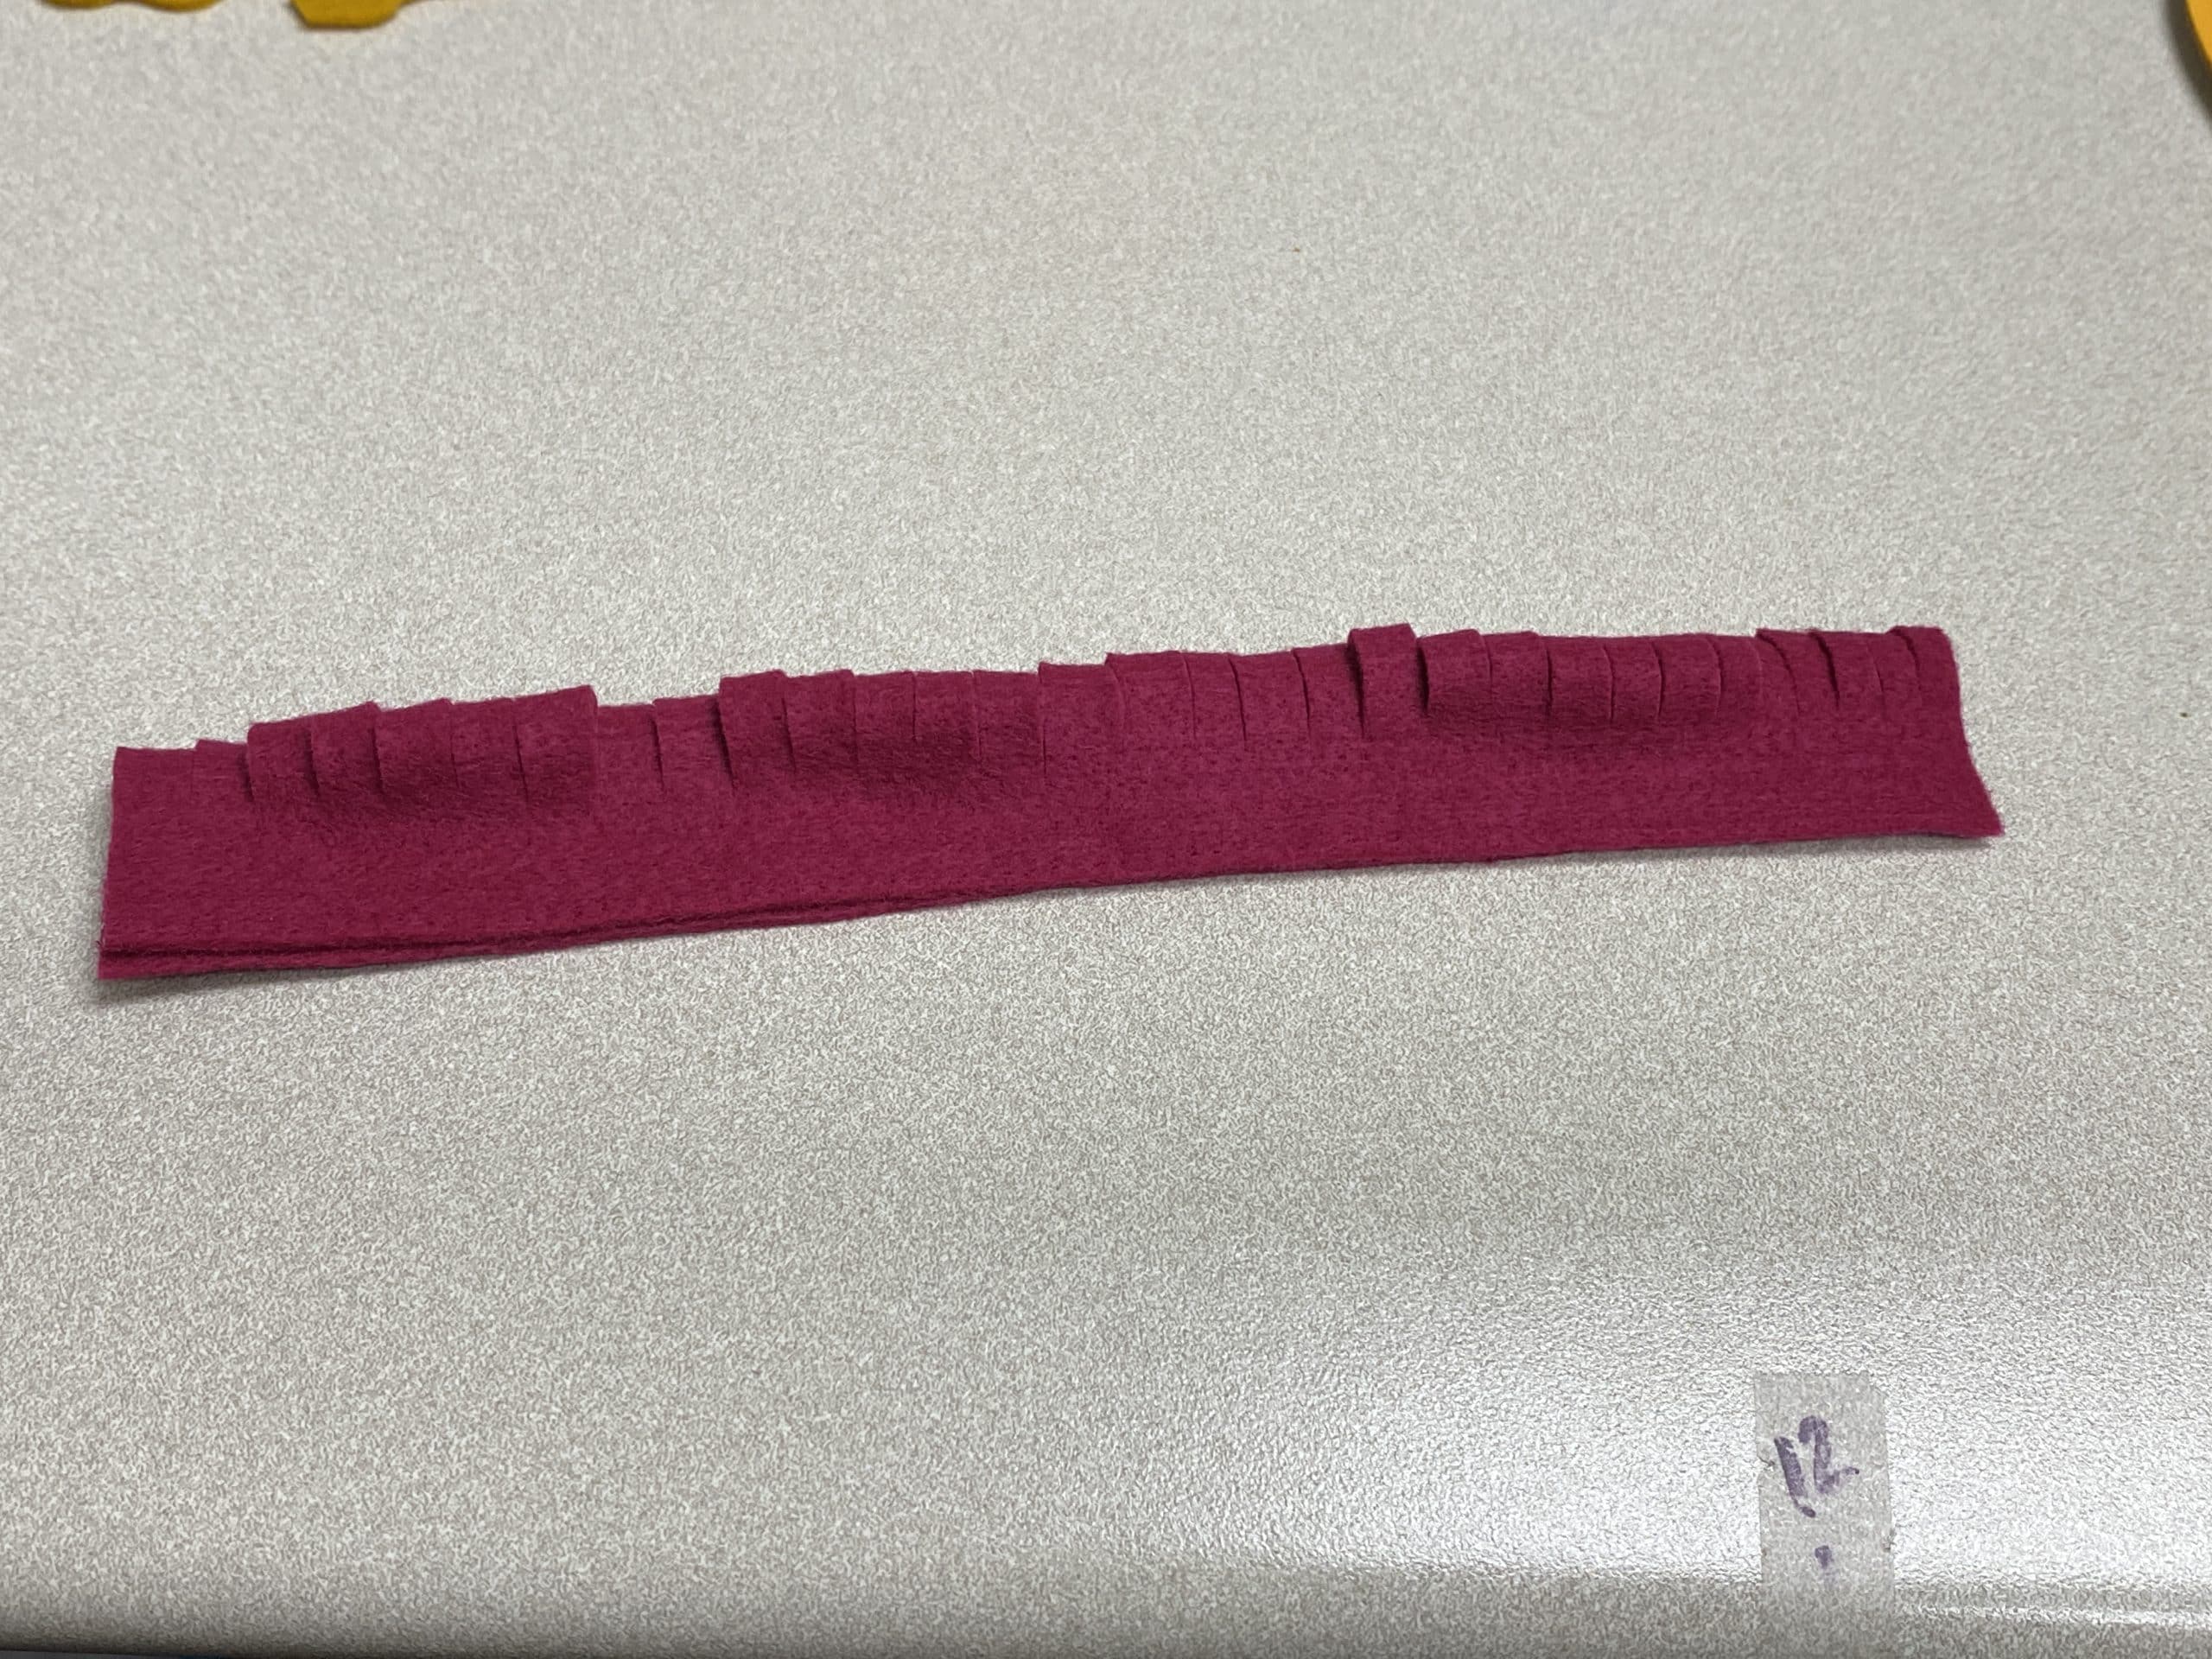
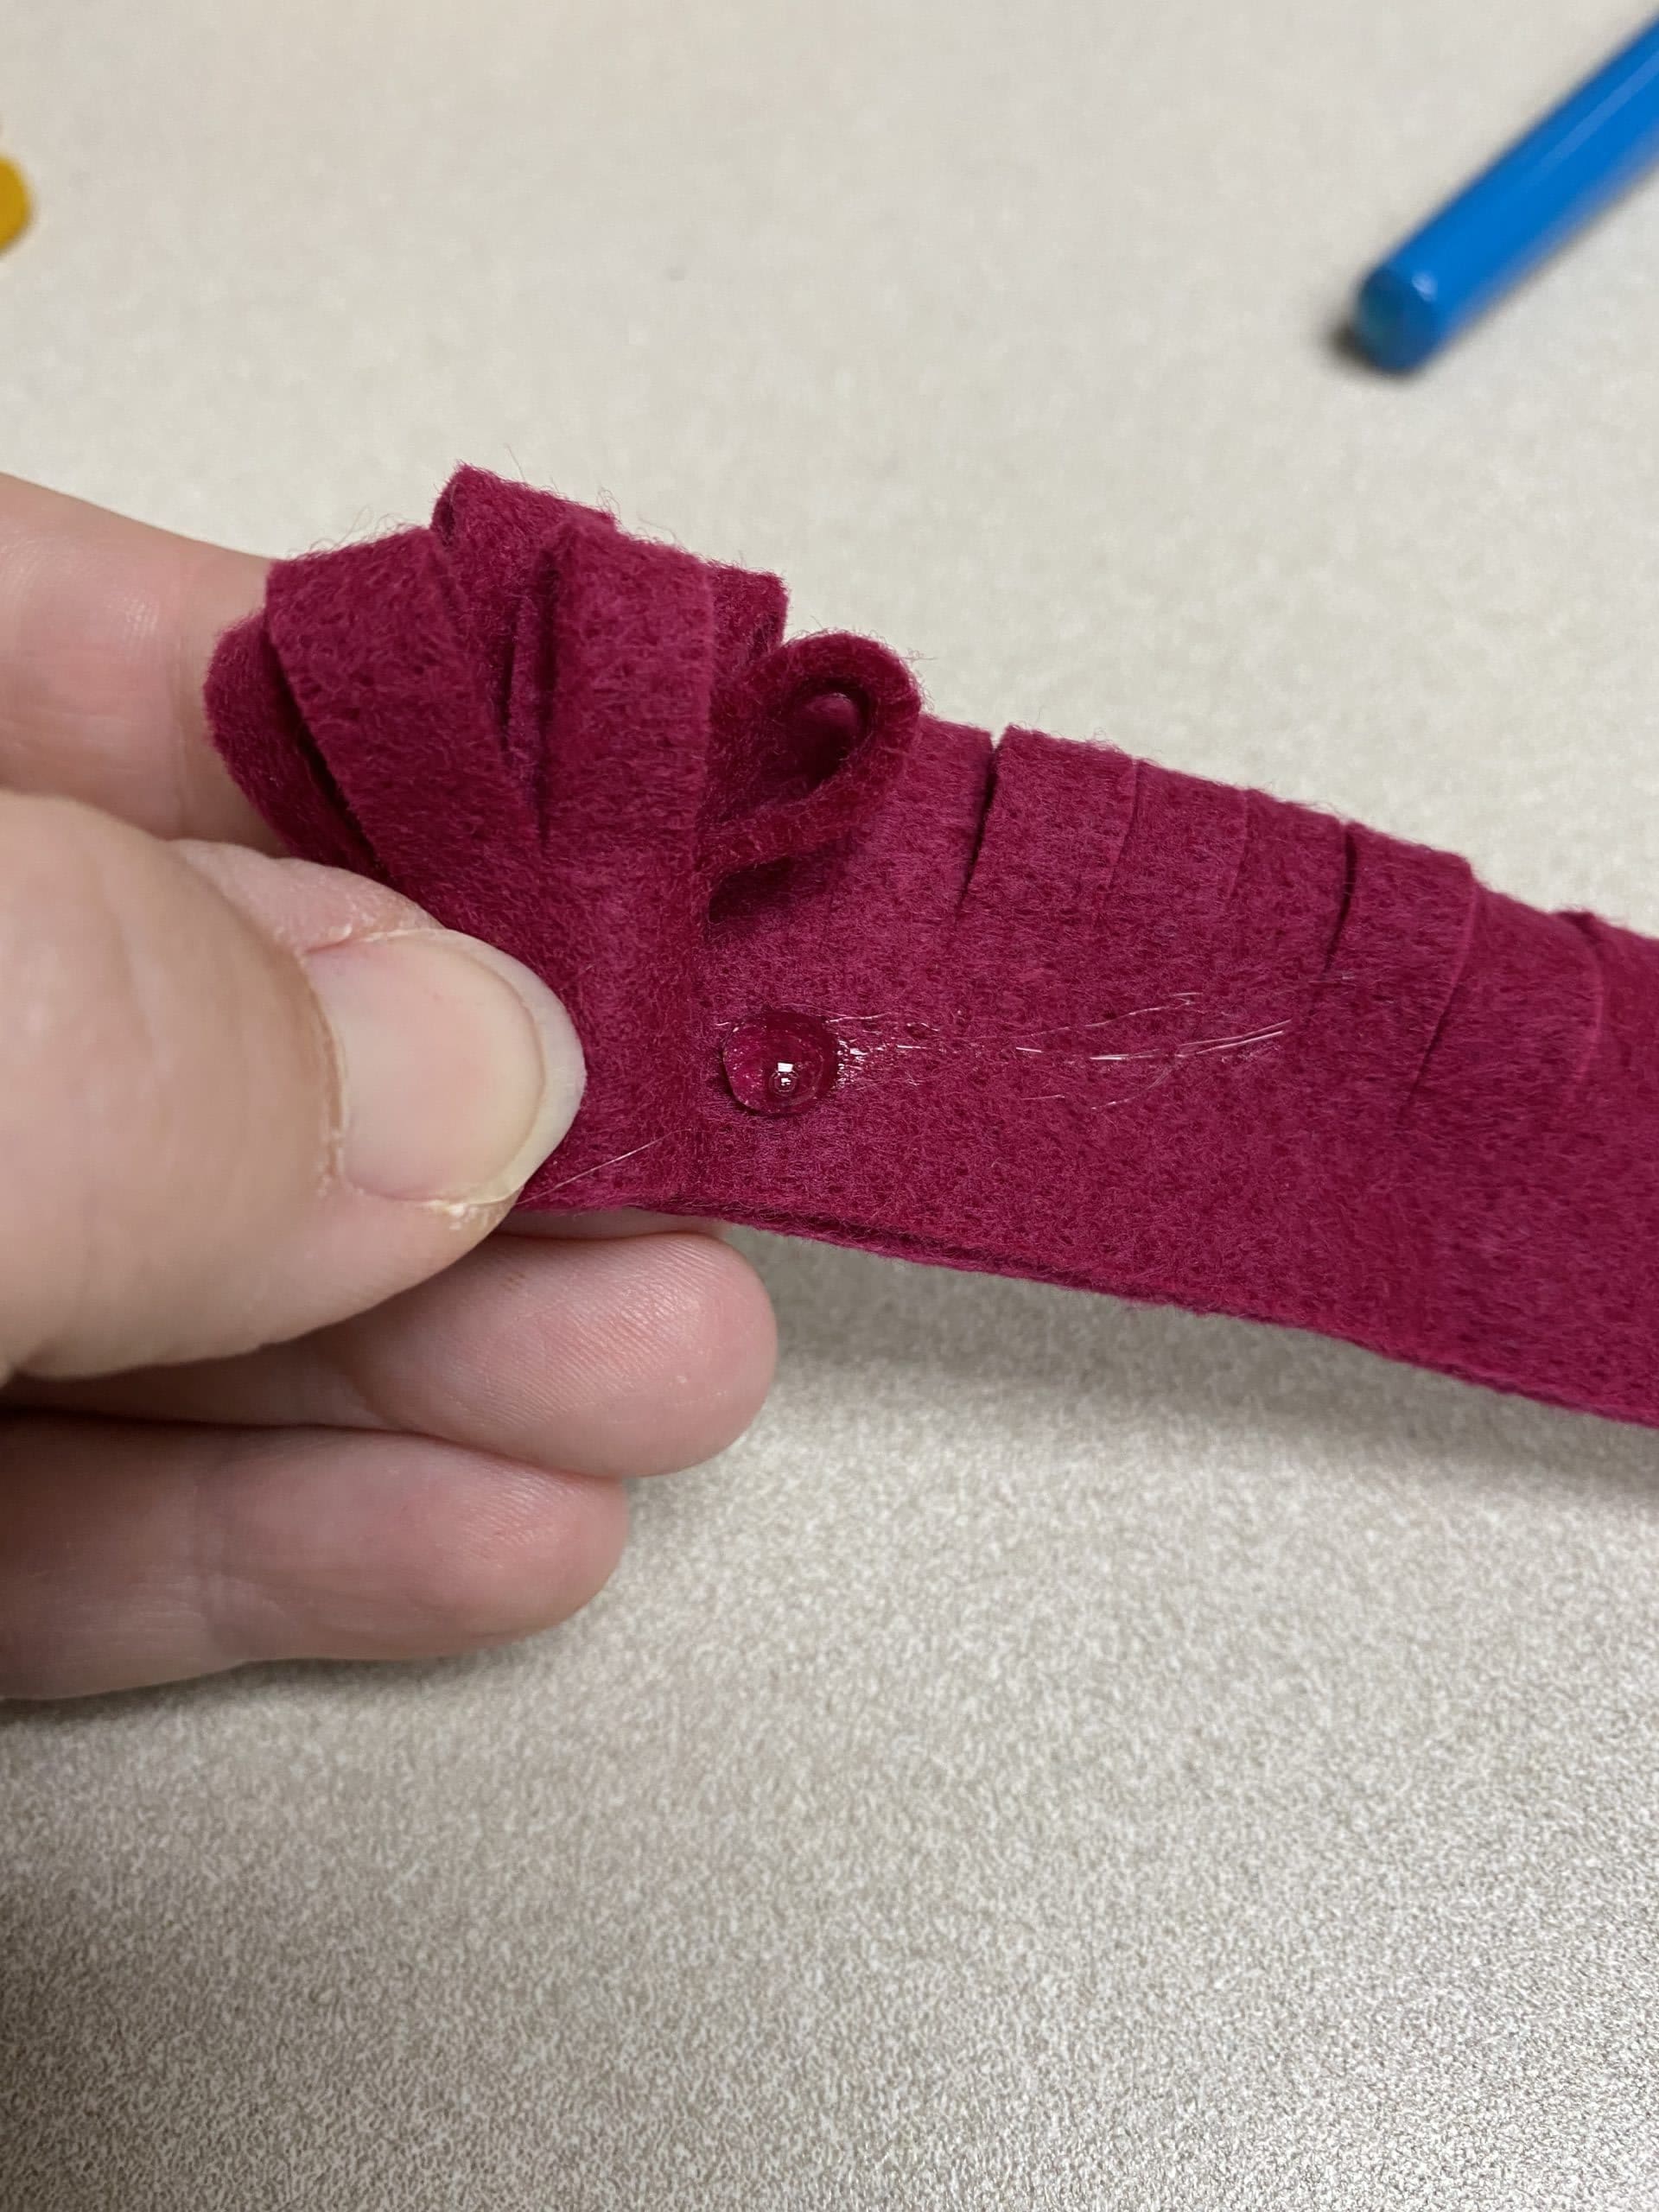
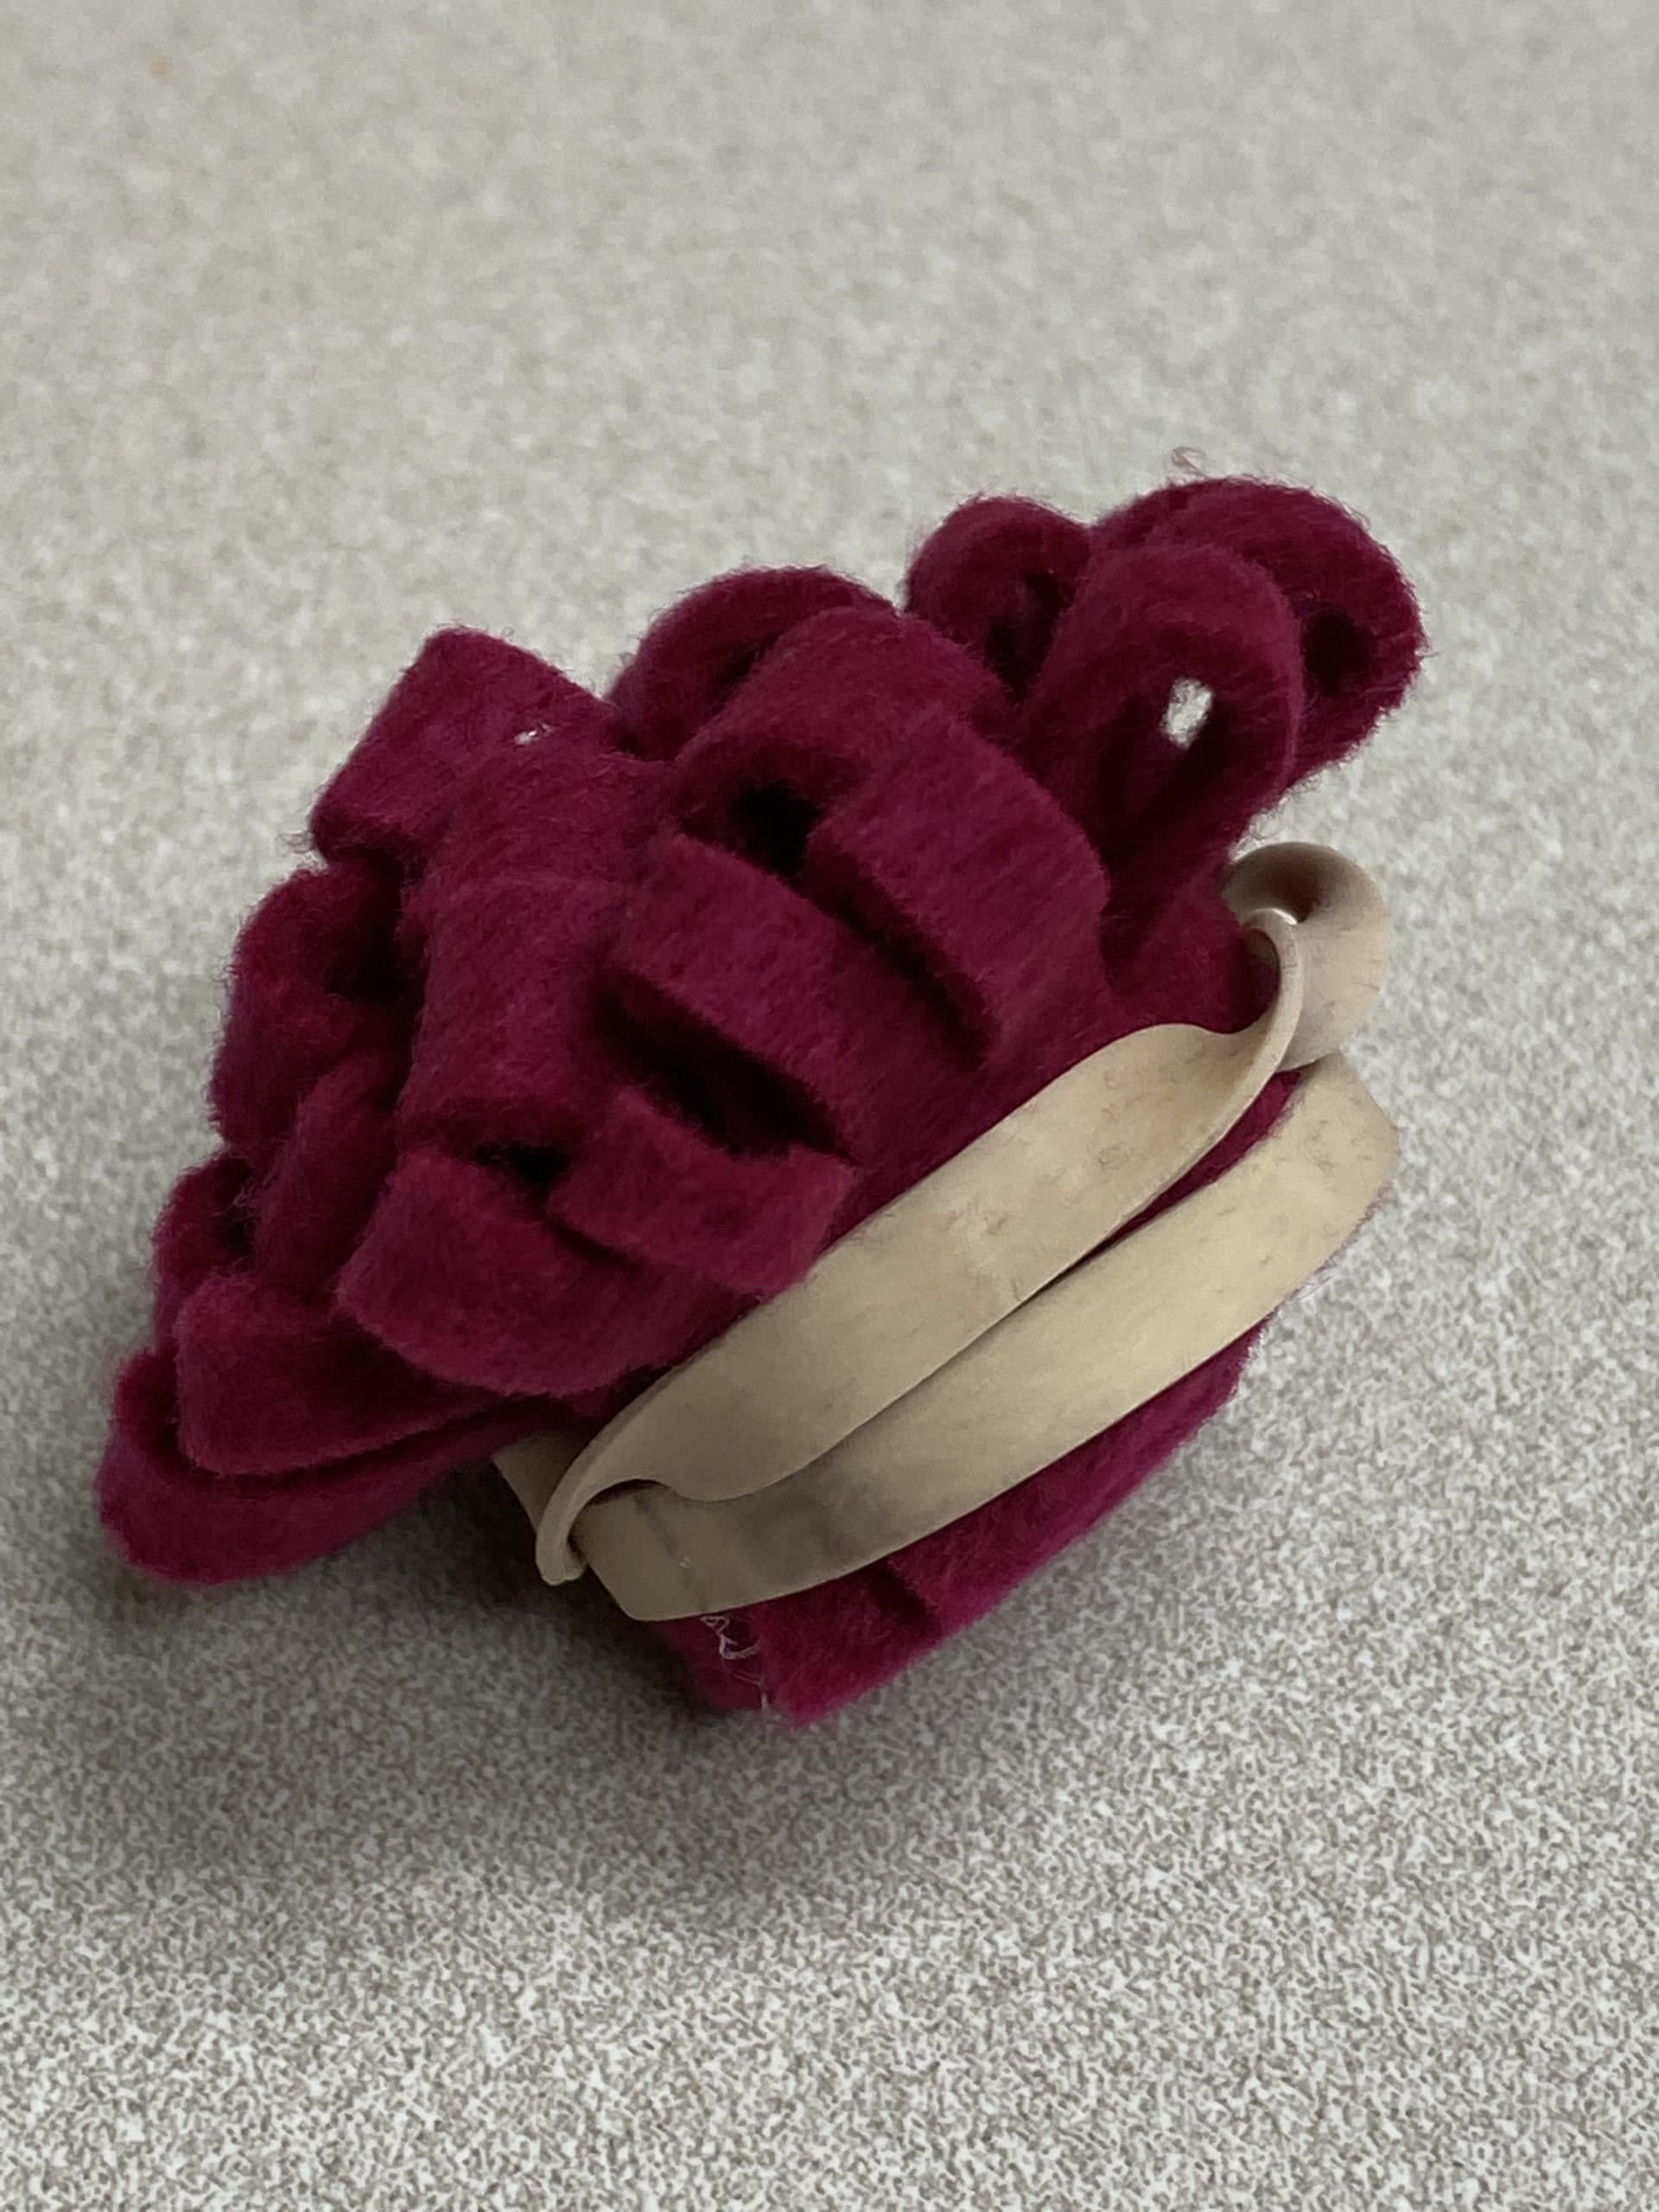
    2.  Make the felt flowers.  Cut the felt pieces into the shapes in the pictures below.  For all but the maroon flower (mum), roll the felt starting from the outside.  Glue a little as you go along and use the center piece to cover the bottom of the flower.  For the mum, fold the rectangle in half longways and glue.  Make cuts along the folded edge.  Roll and glue along the way.  I used a rubber band to keep it together until the glue hardened.

    Here are some felt flower tutorials (and pictures of my process):

    ROSES – https://indoorzy.com/how-to-make-felt-roses-free-rolled-rose-template/

    MUM – https://chaoticallyyours.com/felt-flower/


    3.  Cut out 3 leaf shapes from the green felt.

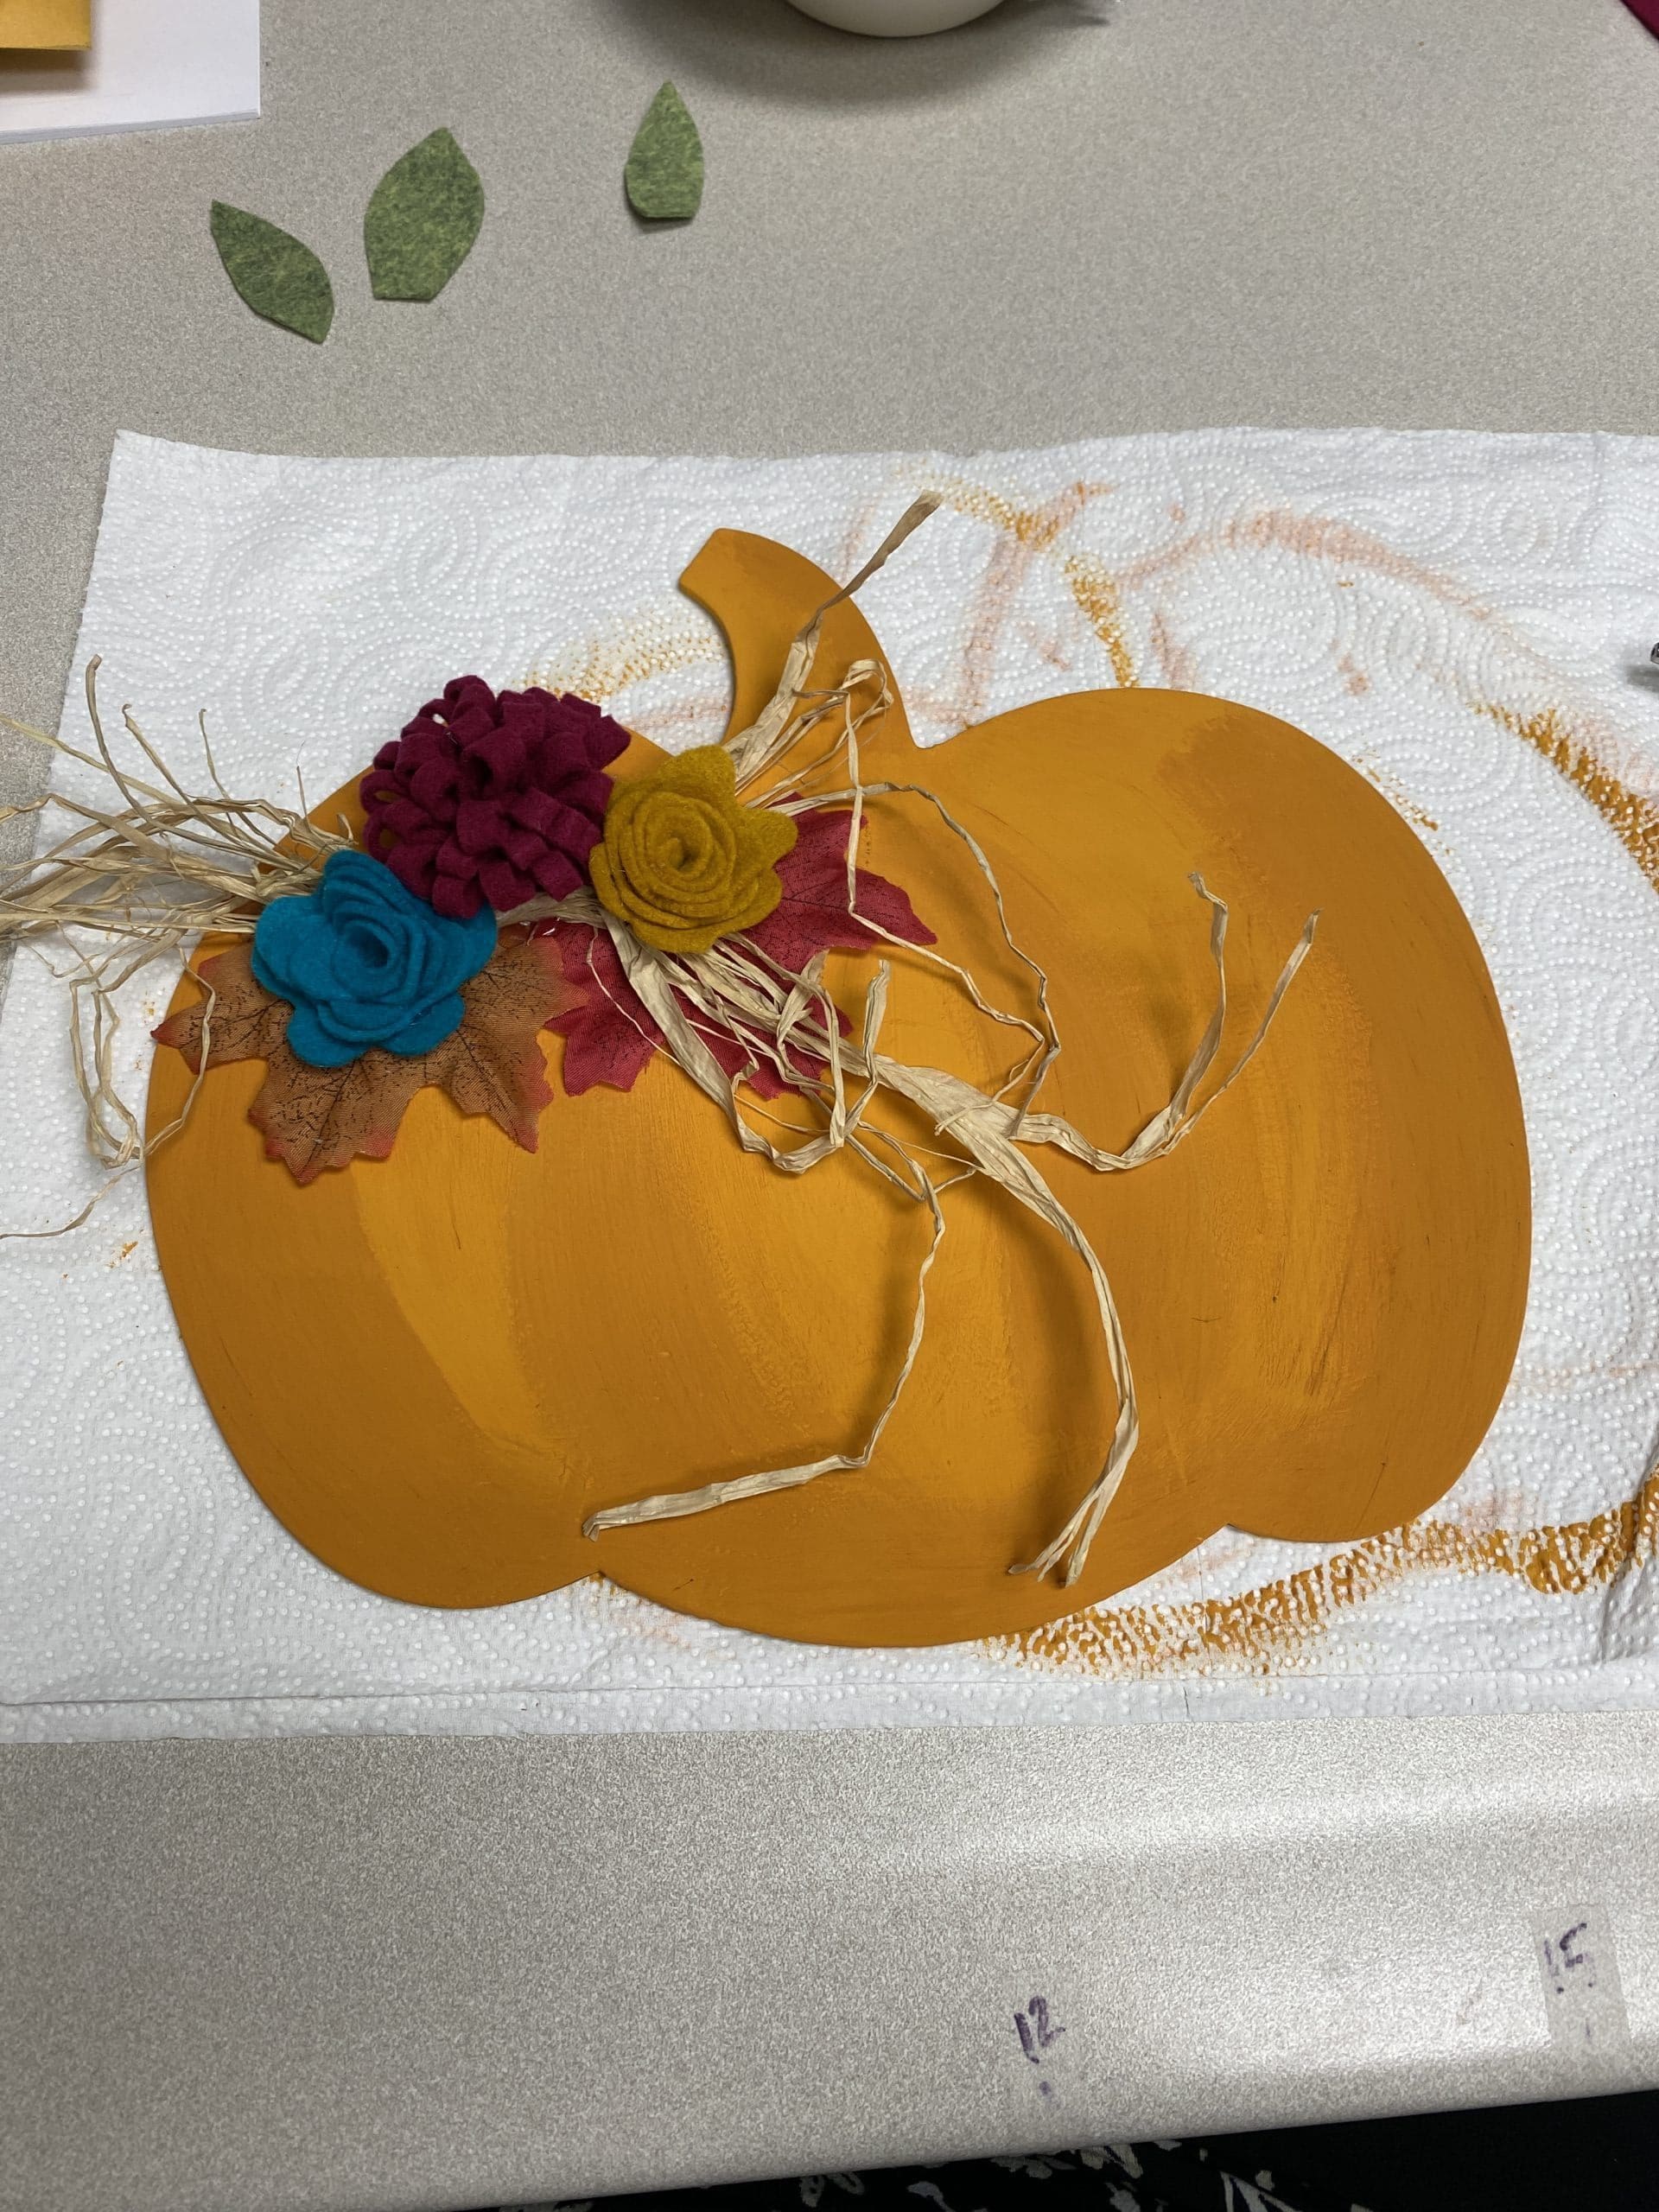
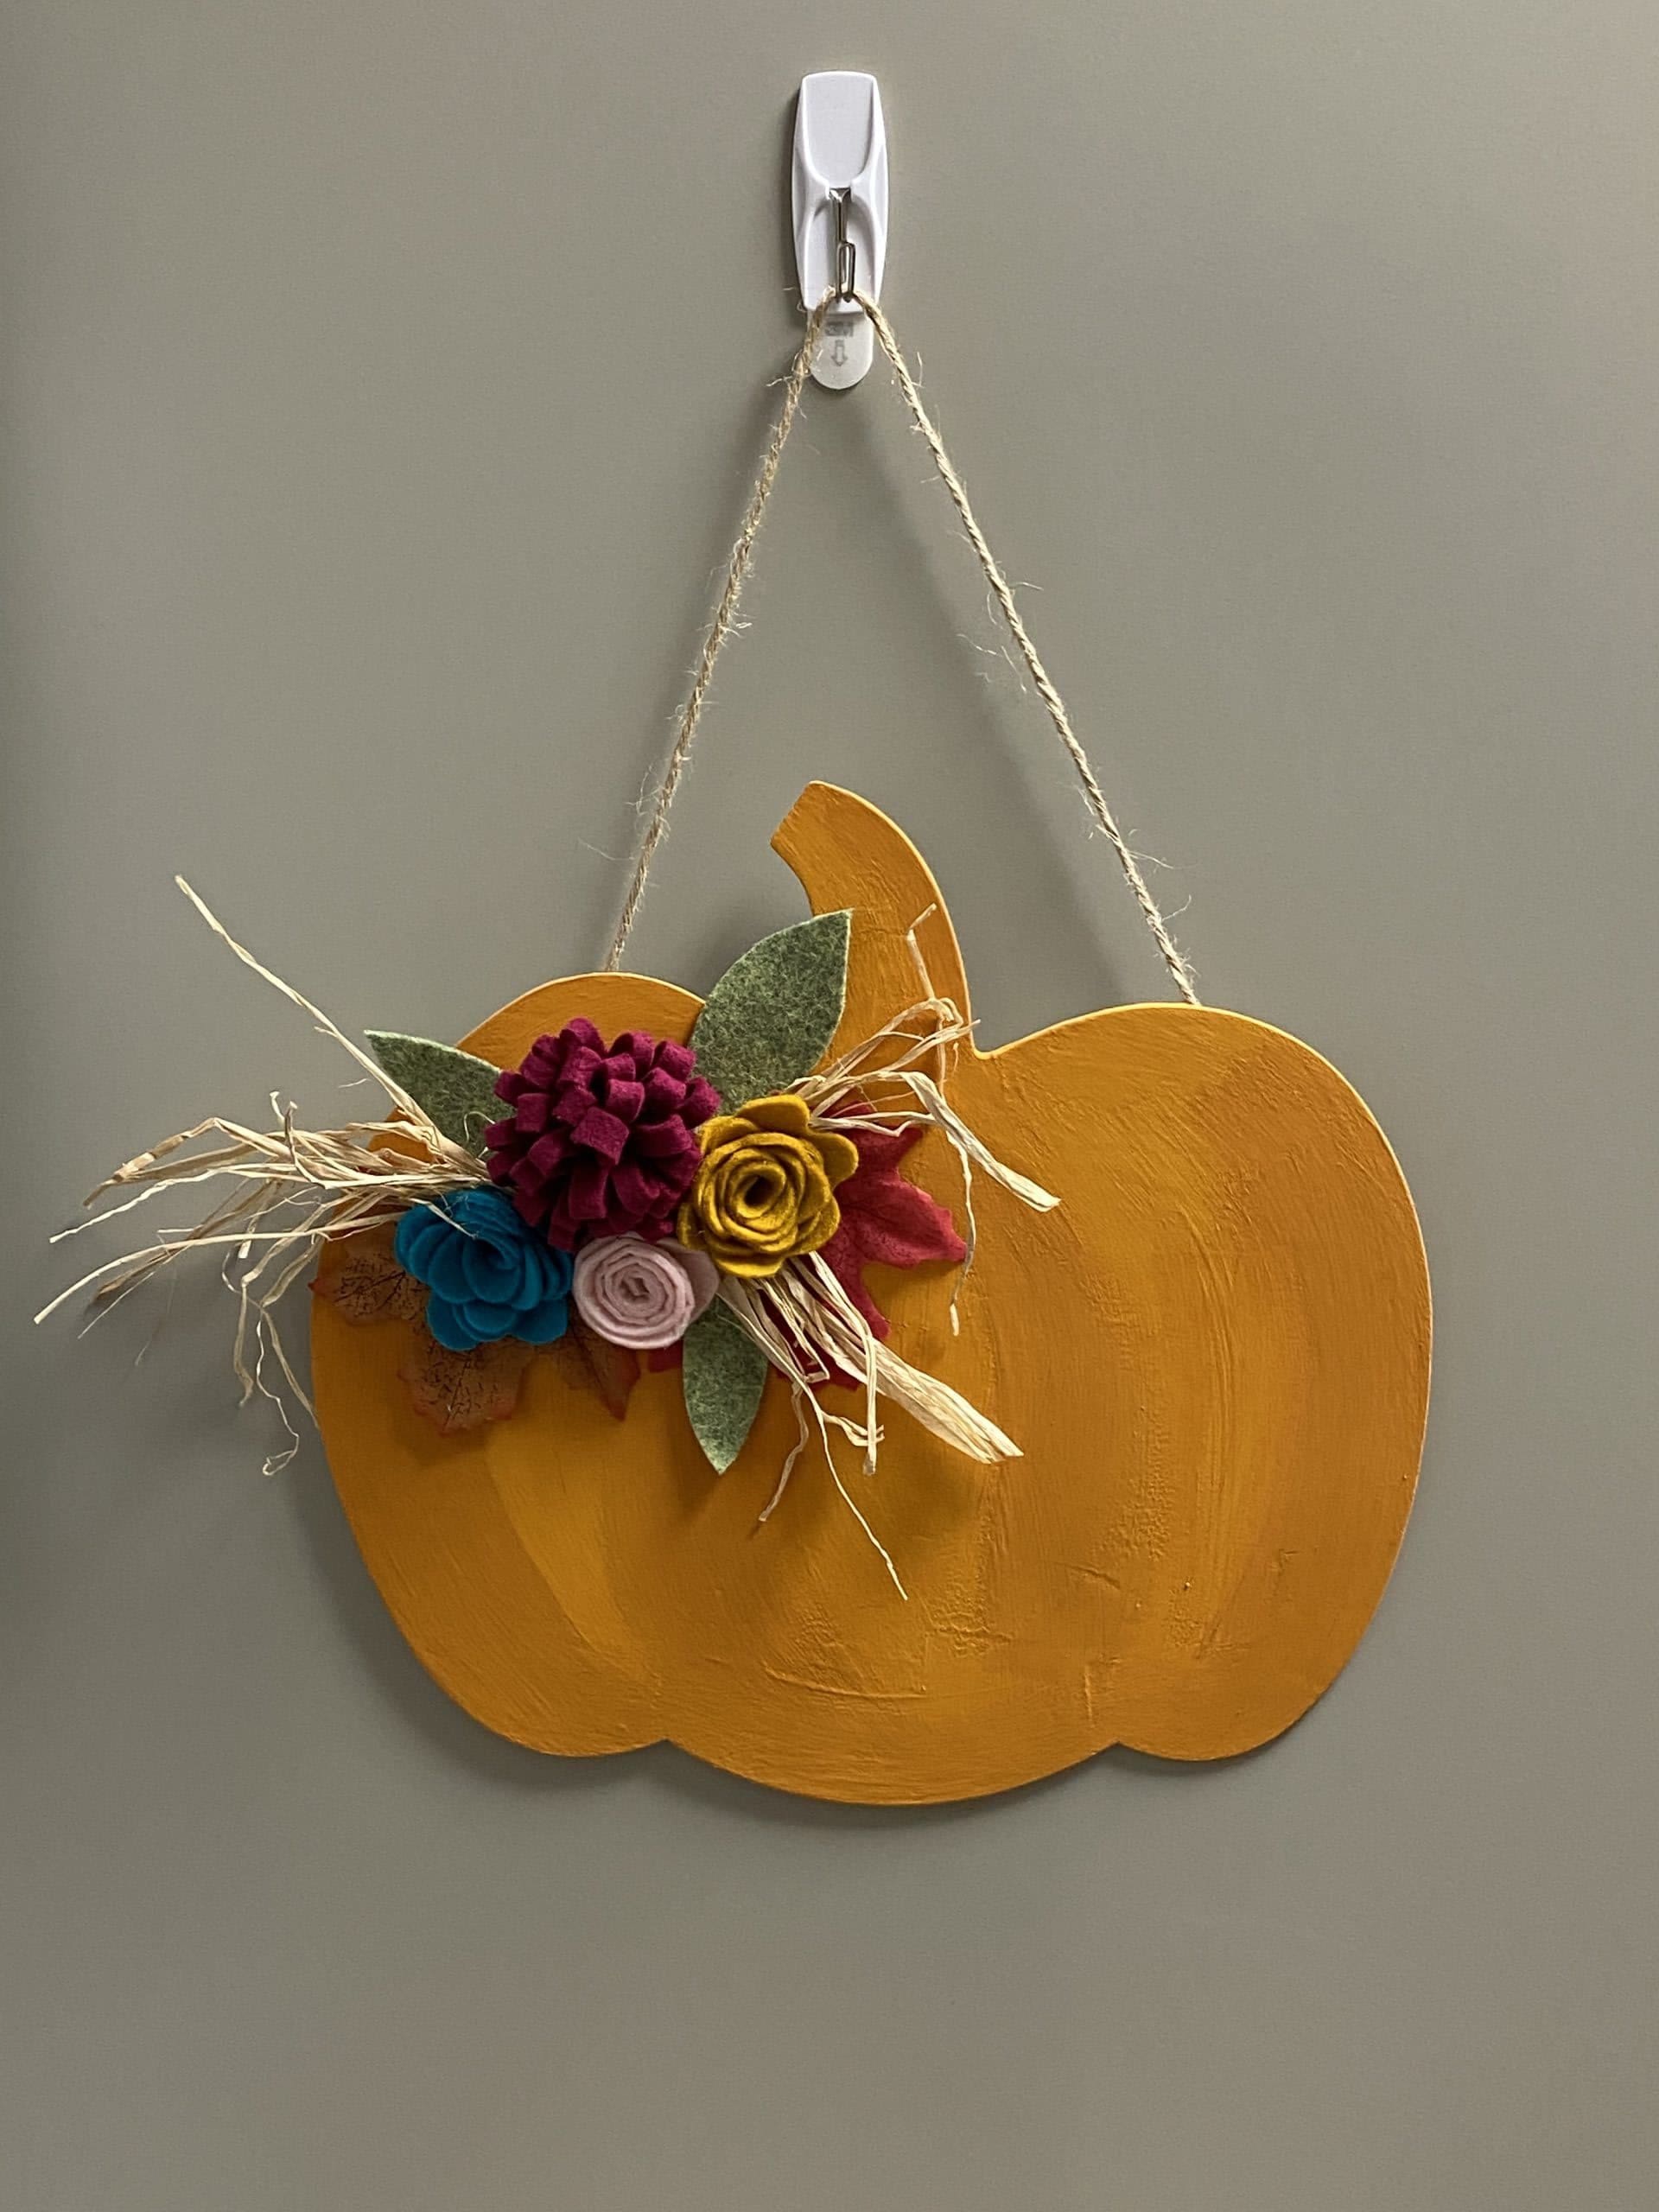
    4.  Arrange all the pieces on the pumpkin in the desired location and glue down.  I glued the leaves and raffia first and then placed my flowers and the leaves last.  Do what works best for you.

    5.  Glue the jute rope onto the back for hanging.  Enjoy!

    As always, we love to see your finished products!  Feel free to upload them to our Facebook page here:  https://www.facebook.com/BeavercreekCommunityLibrary

    Happy Crafting!

    -Morgan
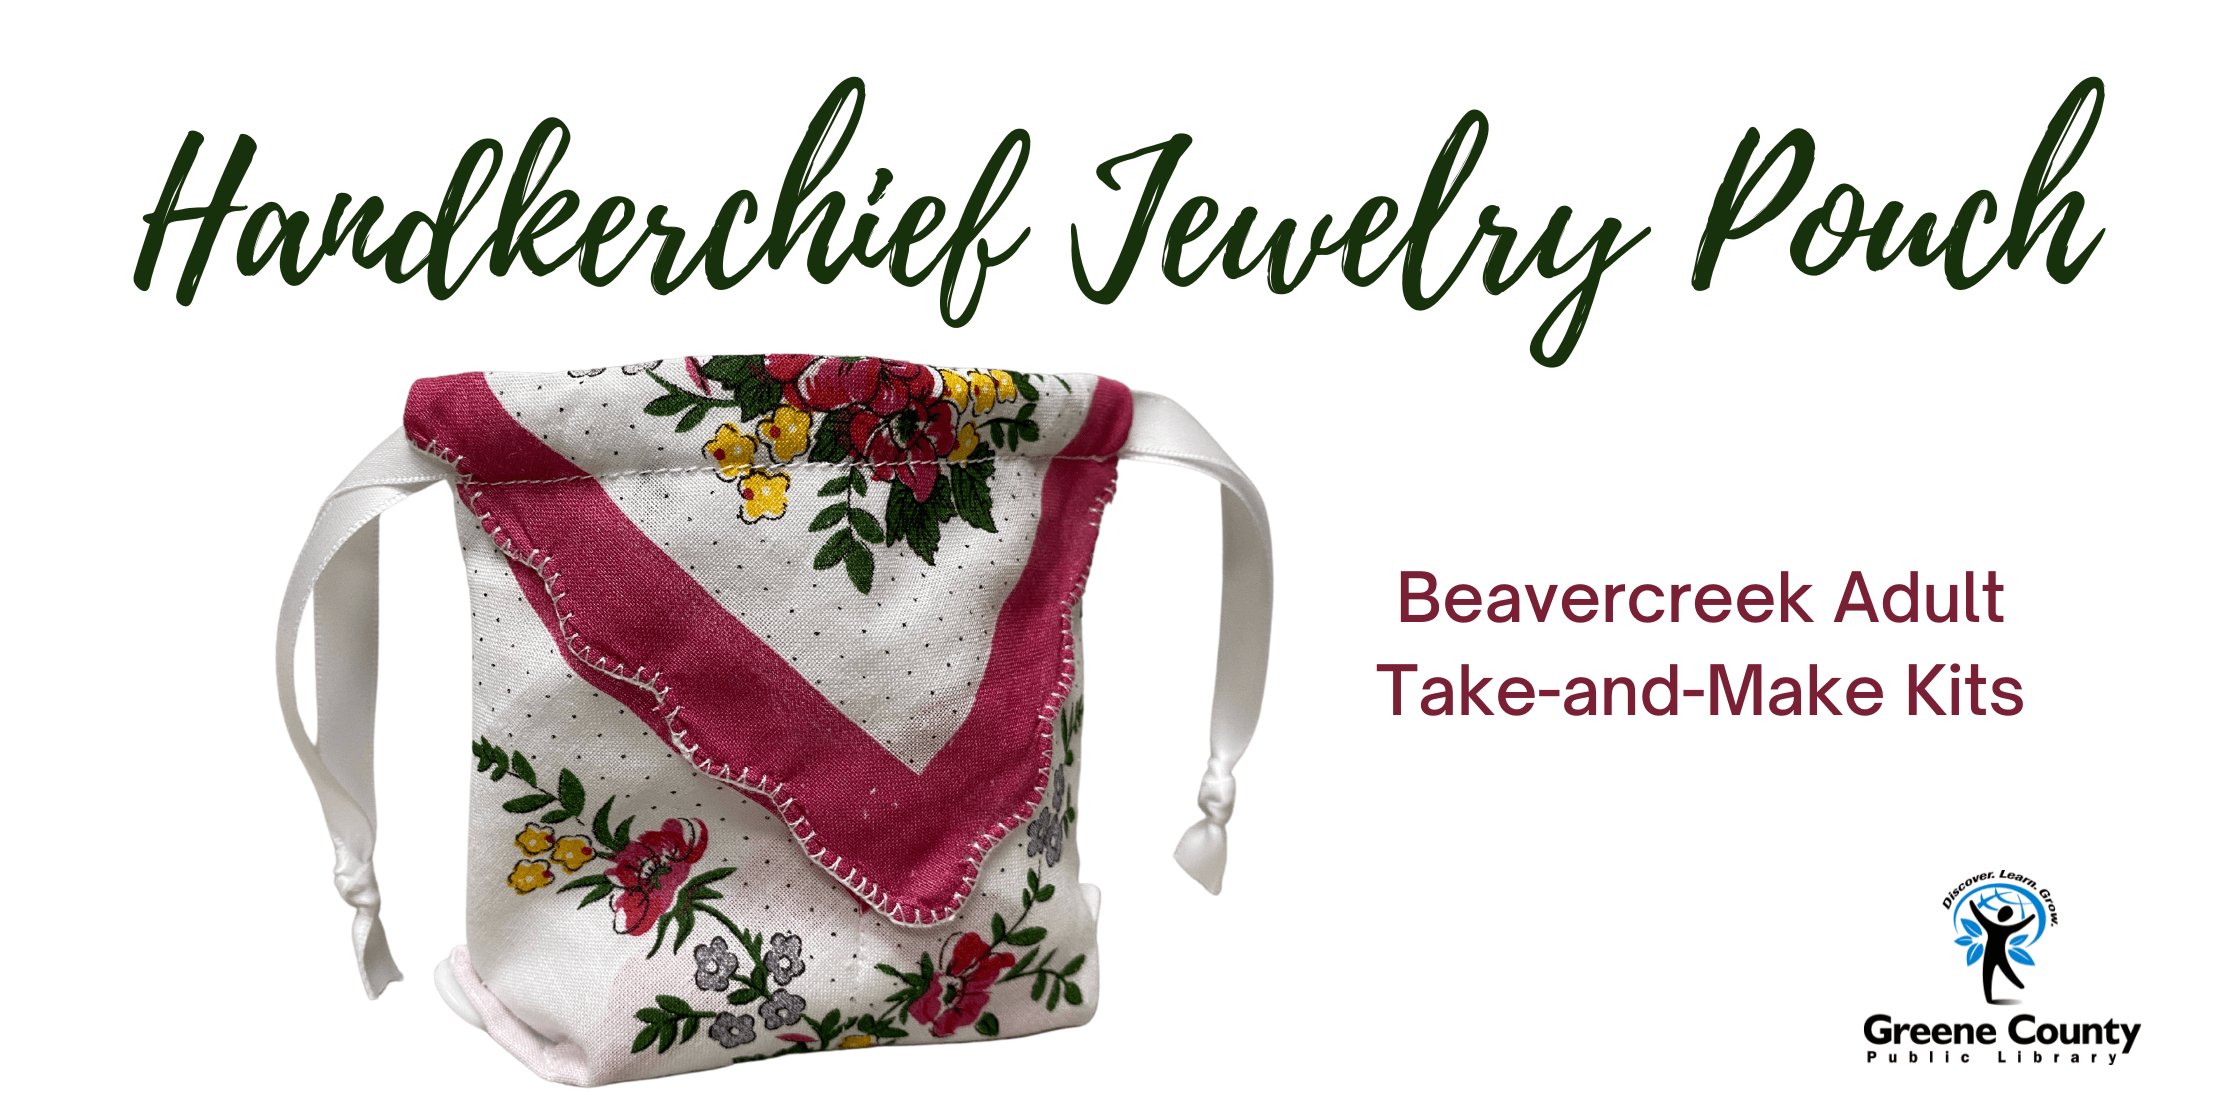
  • Beavercreek Adult Take-and-Make: Handkerchief Jewelry Pouch

    HELLO FRIENDS! 

    Sign up here for this month’s kit:  https://greenelibrary.bibliocommons.com/events/6310b72f70ffec0e7db92881

    This month’s craft kit is a handkerchief sewn into a jewelry pouch that can be used for traveling or just keeping small items in. There are two pockets under each flap and a large-ish main pocket.  

    The idea for this craft and the instructions are here:

    https://www.sumoftheirstories.com/blog/2018/vintage-handkerchief-jewellery-pouch

    As always, I’d love to see your final product!  Feel free to post it to our Facebook page here:  https://www.facebook.com/BeavercreekCommunityLibrary

    Happy Crafting!

    -Morgan
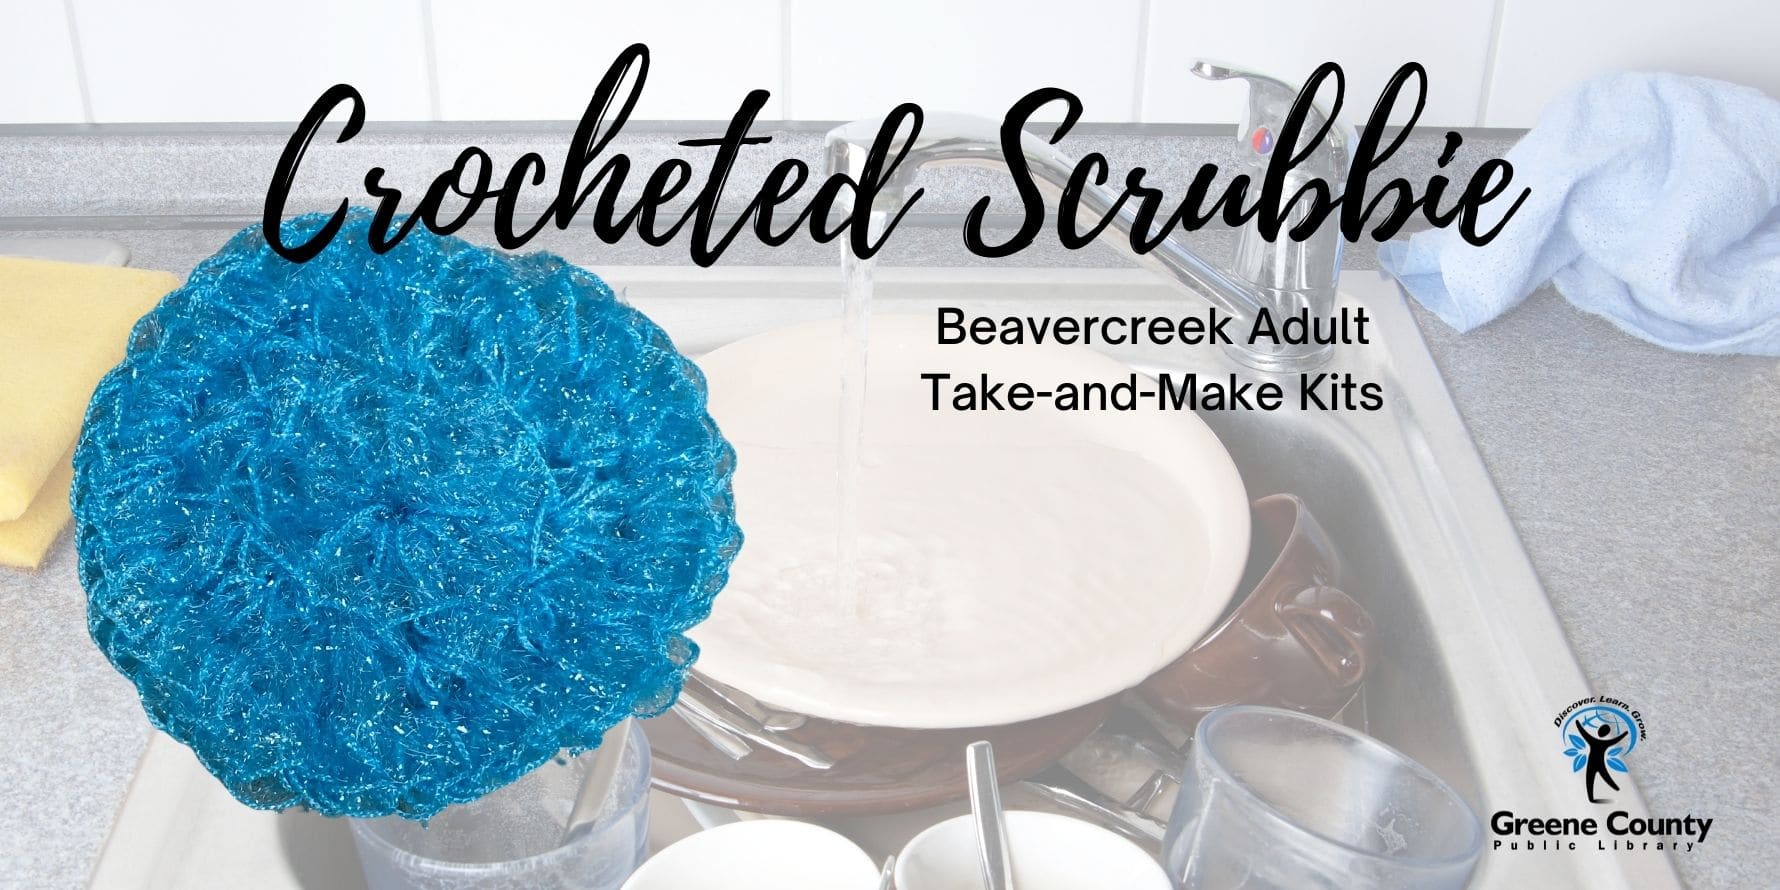
  • Beavercreek Adult Take-and-Make: Crocheted Scrubbies

    Sign up for your kit here:  https://greenelibrary.bibliocommons.com/events/62ed2a57958157451a881cdd

    This month’s take and make craft kit is as useful as it is fun to make!  We’ll be making crocheted scrubbies that can be used for all kinds of cleaning.

    Included in your kit:

    1 skein of scrubbie yarn (this is enough to make several scrubbies)

    1 4mm crochet hook

    Scrubbie pattern:

    Notes:

    1. Beginning ch-3 does NOT count as a dc.
    2. Ch 1 at beginning of rounds does NOT count as a sc.
    3. Scrubber is made in joined rounds.

    Round Scrubby Written Instructions:

    Ch 3.

    Rnd 1: Make 10 dc in the 3rd ch from hook. Join with sl st in first dc (NOT ch).

    Rnd 2: Ch 1, 2 sc in next dc. 2 sc in each dc around. Join with a sl st to first sc. (20 sc)

    Rnd 3: Ch 1, 2 sc in next sc. 2 sc in each sc around. Join with a sl st to first sc. (40 sc)

    Fasten off and weave in ends. Make sure to use a large yarn needle with a blunt tip to make weaving in ends easier with this yarn!

    Optional:  For a sturdier scrubbie, make 2 and sew them together around the edges.

    Here’s is a video tutorial:

    For more detailed step-by-step instructions, click here:

    FREE Round Scrubby Crochet Pattern

    As always, I’d love to see your finished products!  Feel free to post to our Facebook page here:  https://www.facebook.com/BeavercreekCommunityLibrary

    Happy Crafting!

    -Morgan
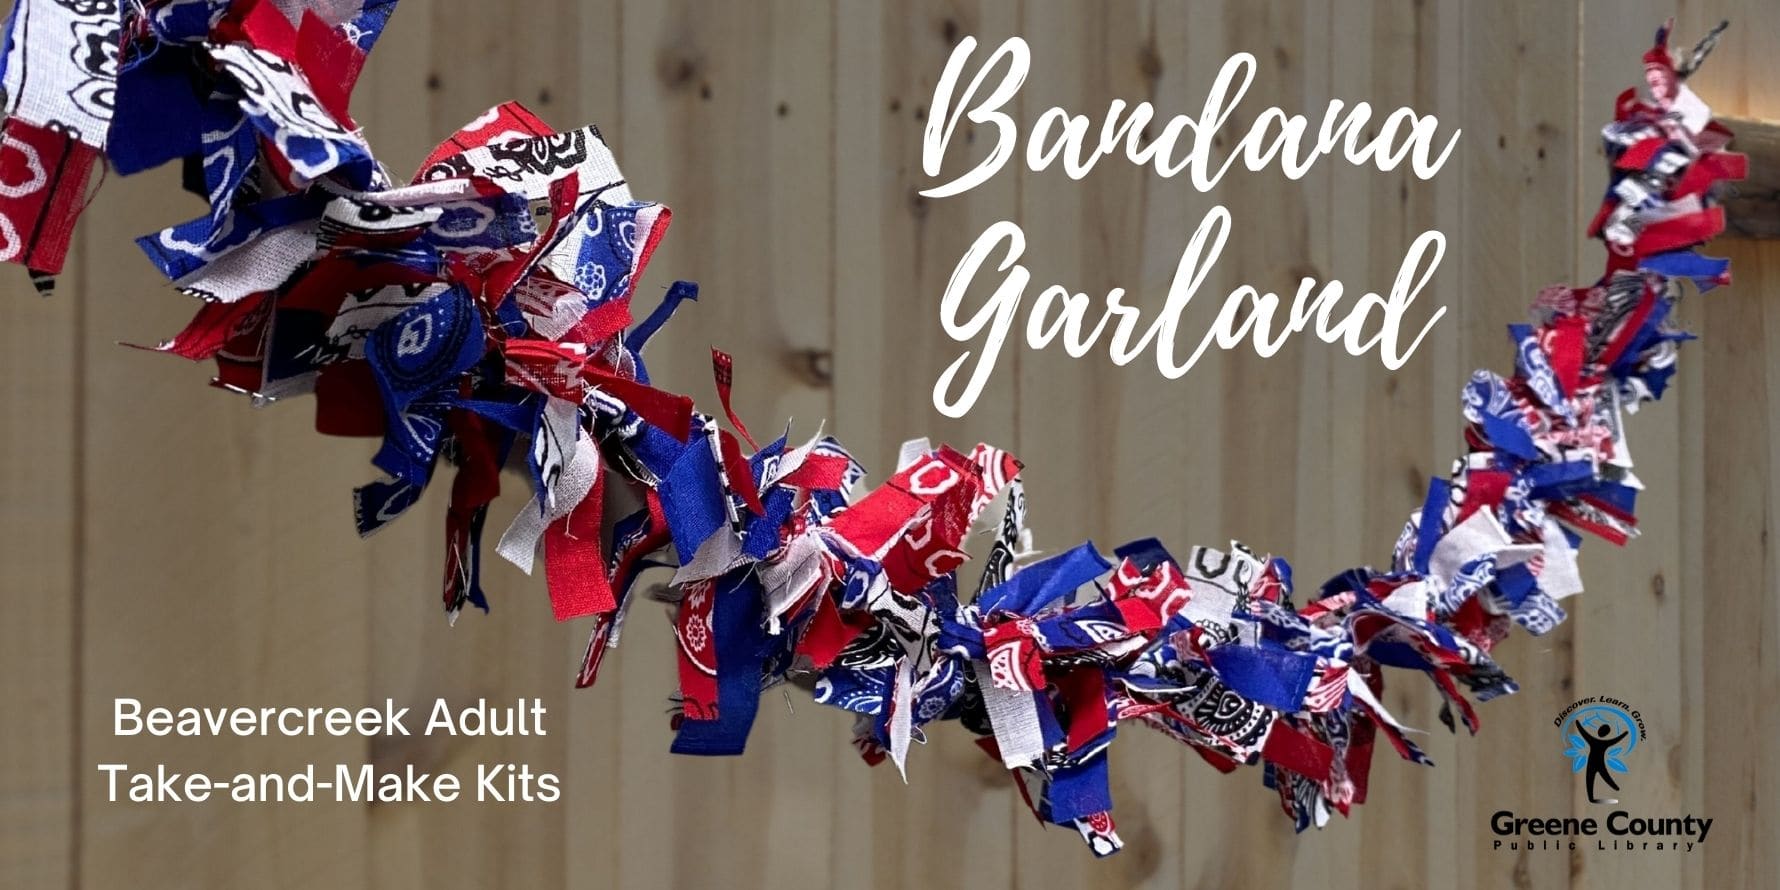
  • Beavercreek Adult Take-and-Make: Bandana Garland


    Happy Summer, everyone!

    You can sign up for a kit here:  https://greenelibrary.bibliocommons.com/events/62b4a92e9d461aa0a45f2f45

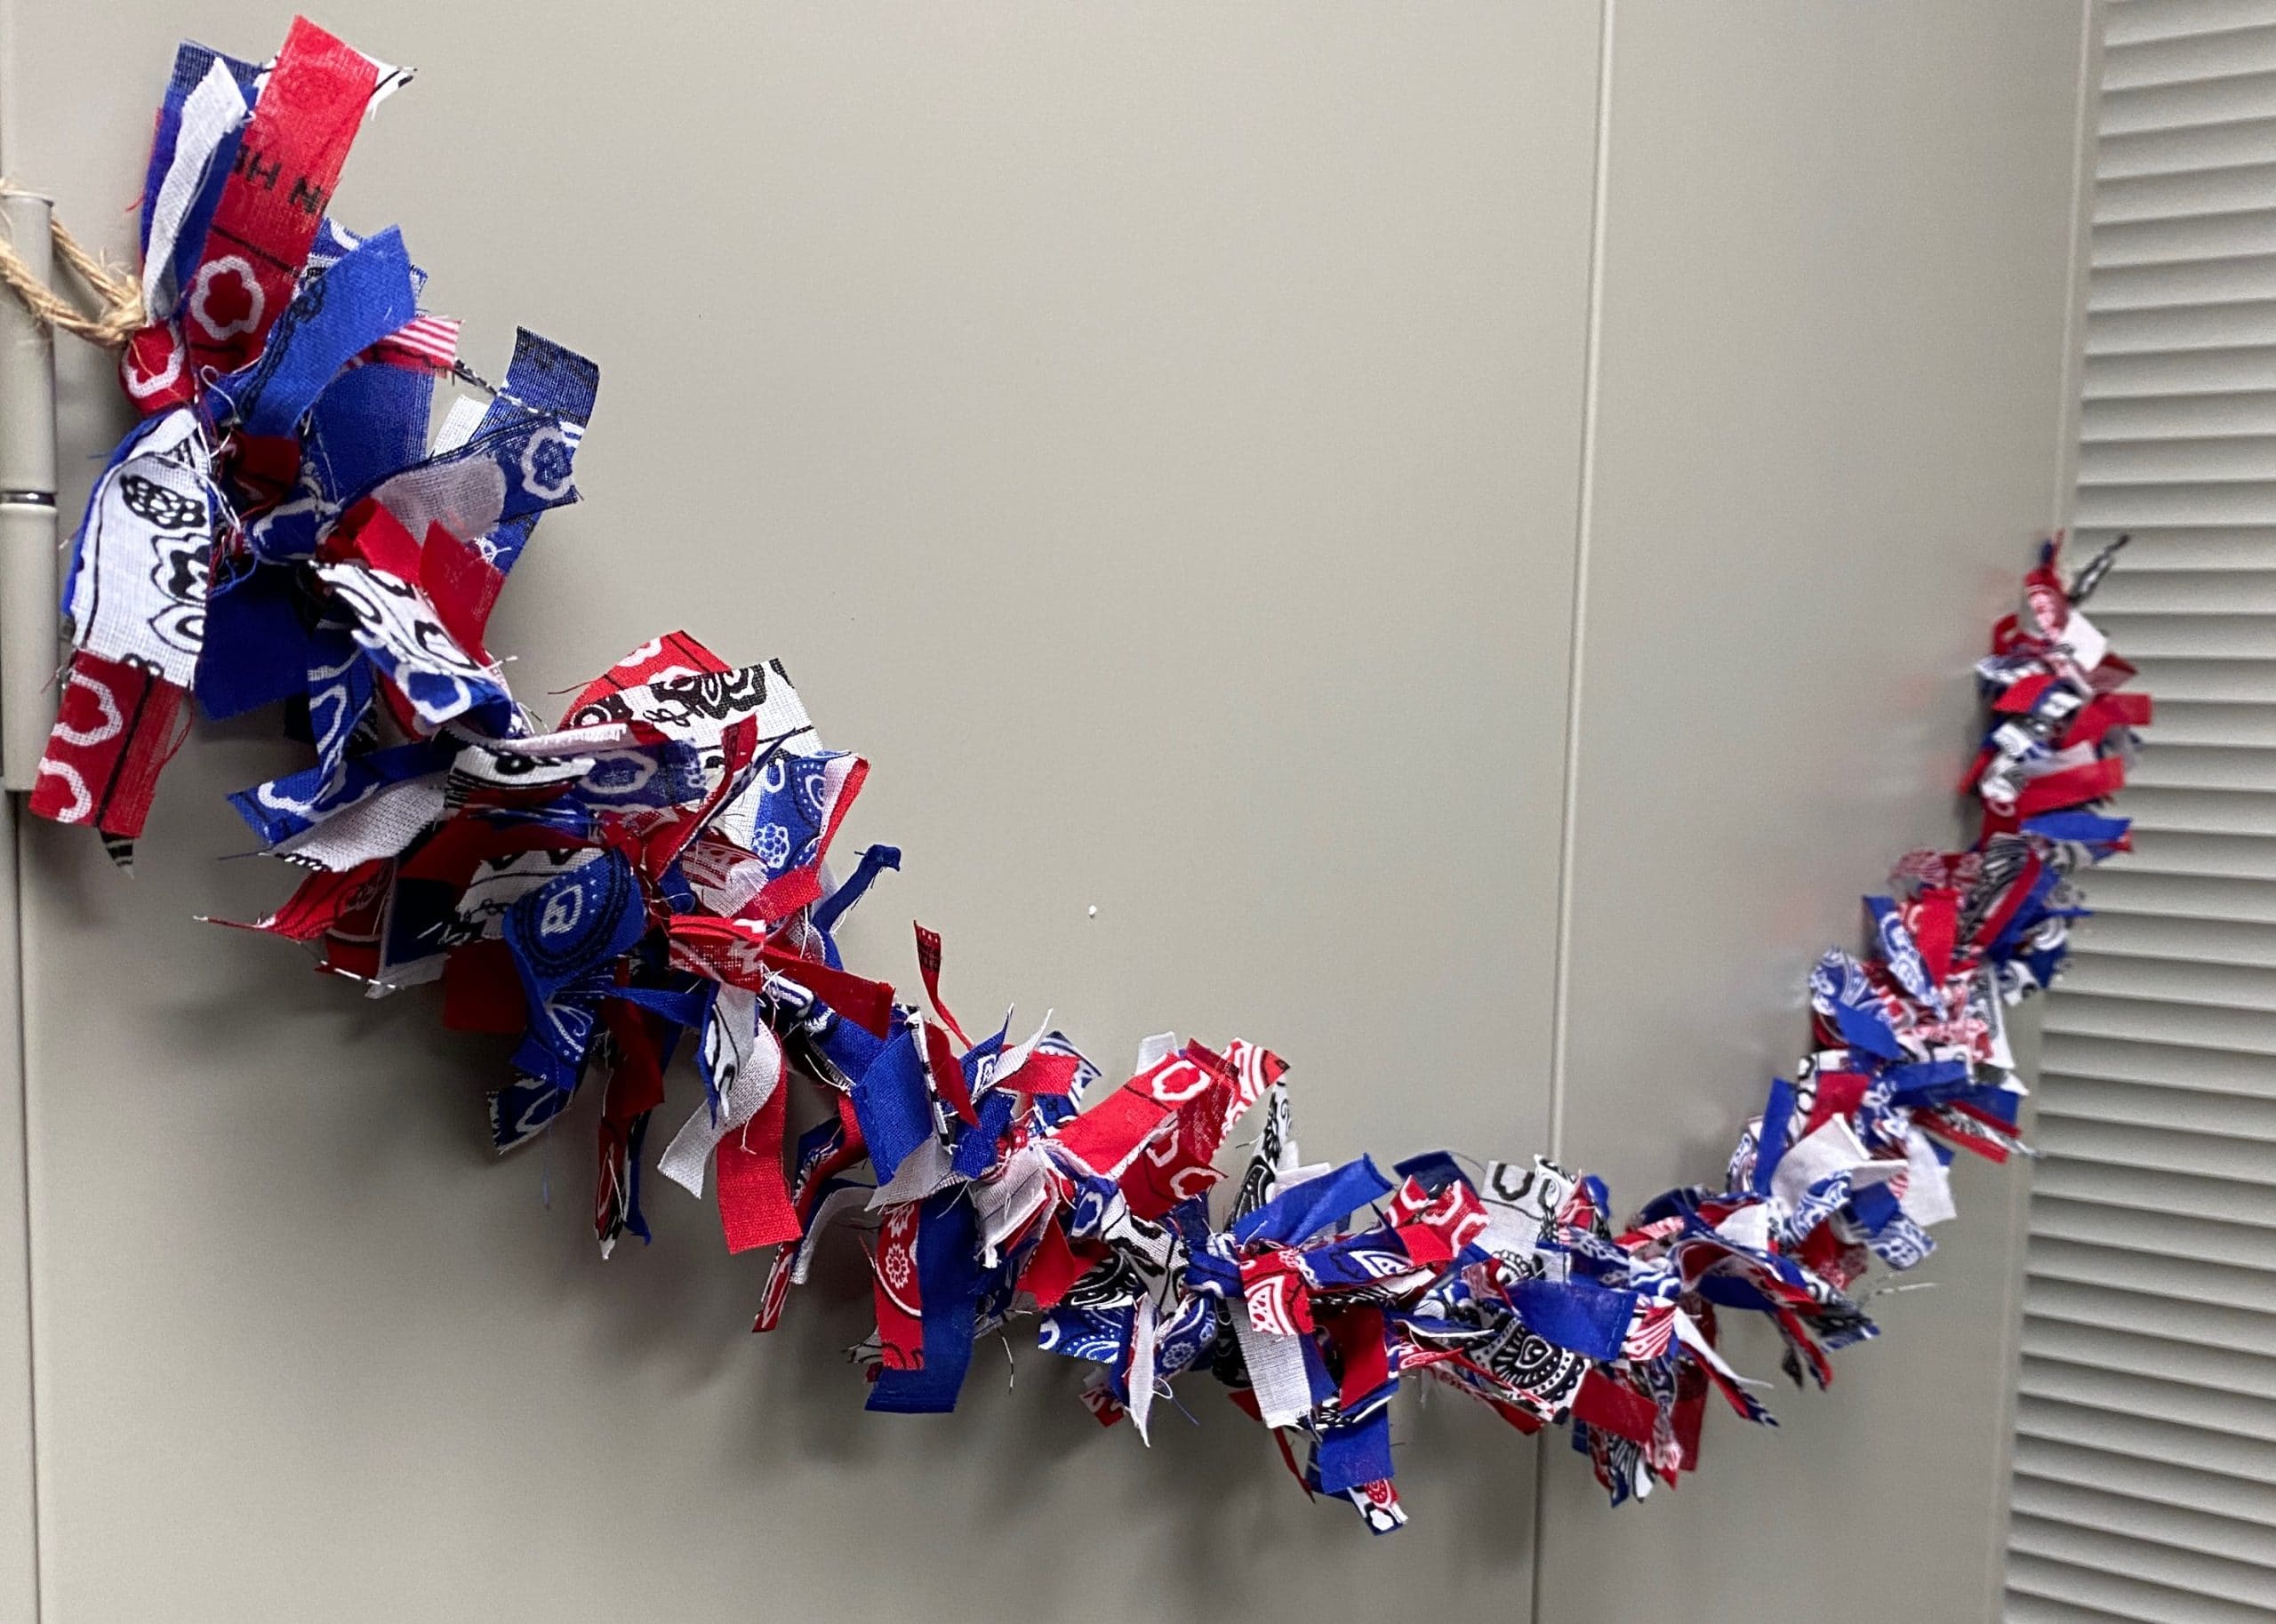
    This month we’re making a patriotic garland using red, white and blue bandanas!

    The idea came from here:  https://www.hgtv.com/lifestyle/entertaining/how-to-throw-a-patriotic-party-on-a-budget

    Included in your kit:

    3 bandanas 

    6 feet of jute rope

    This craft is very easy, but a little tedious.

    1.  Take one bandana and fold in thirds.  Then fold in half twice.  You will have a square with folded edges on the outside. 
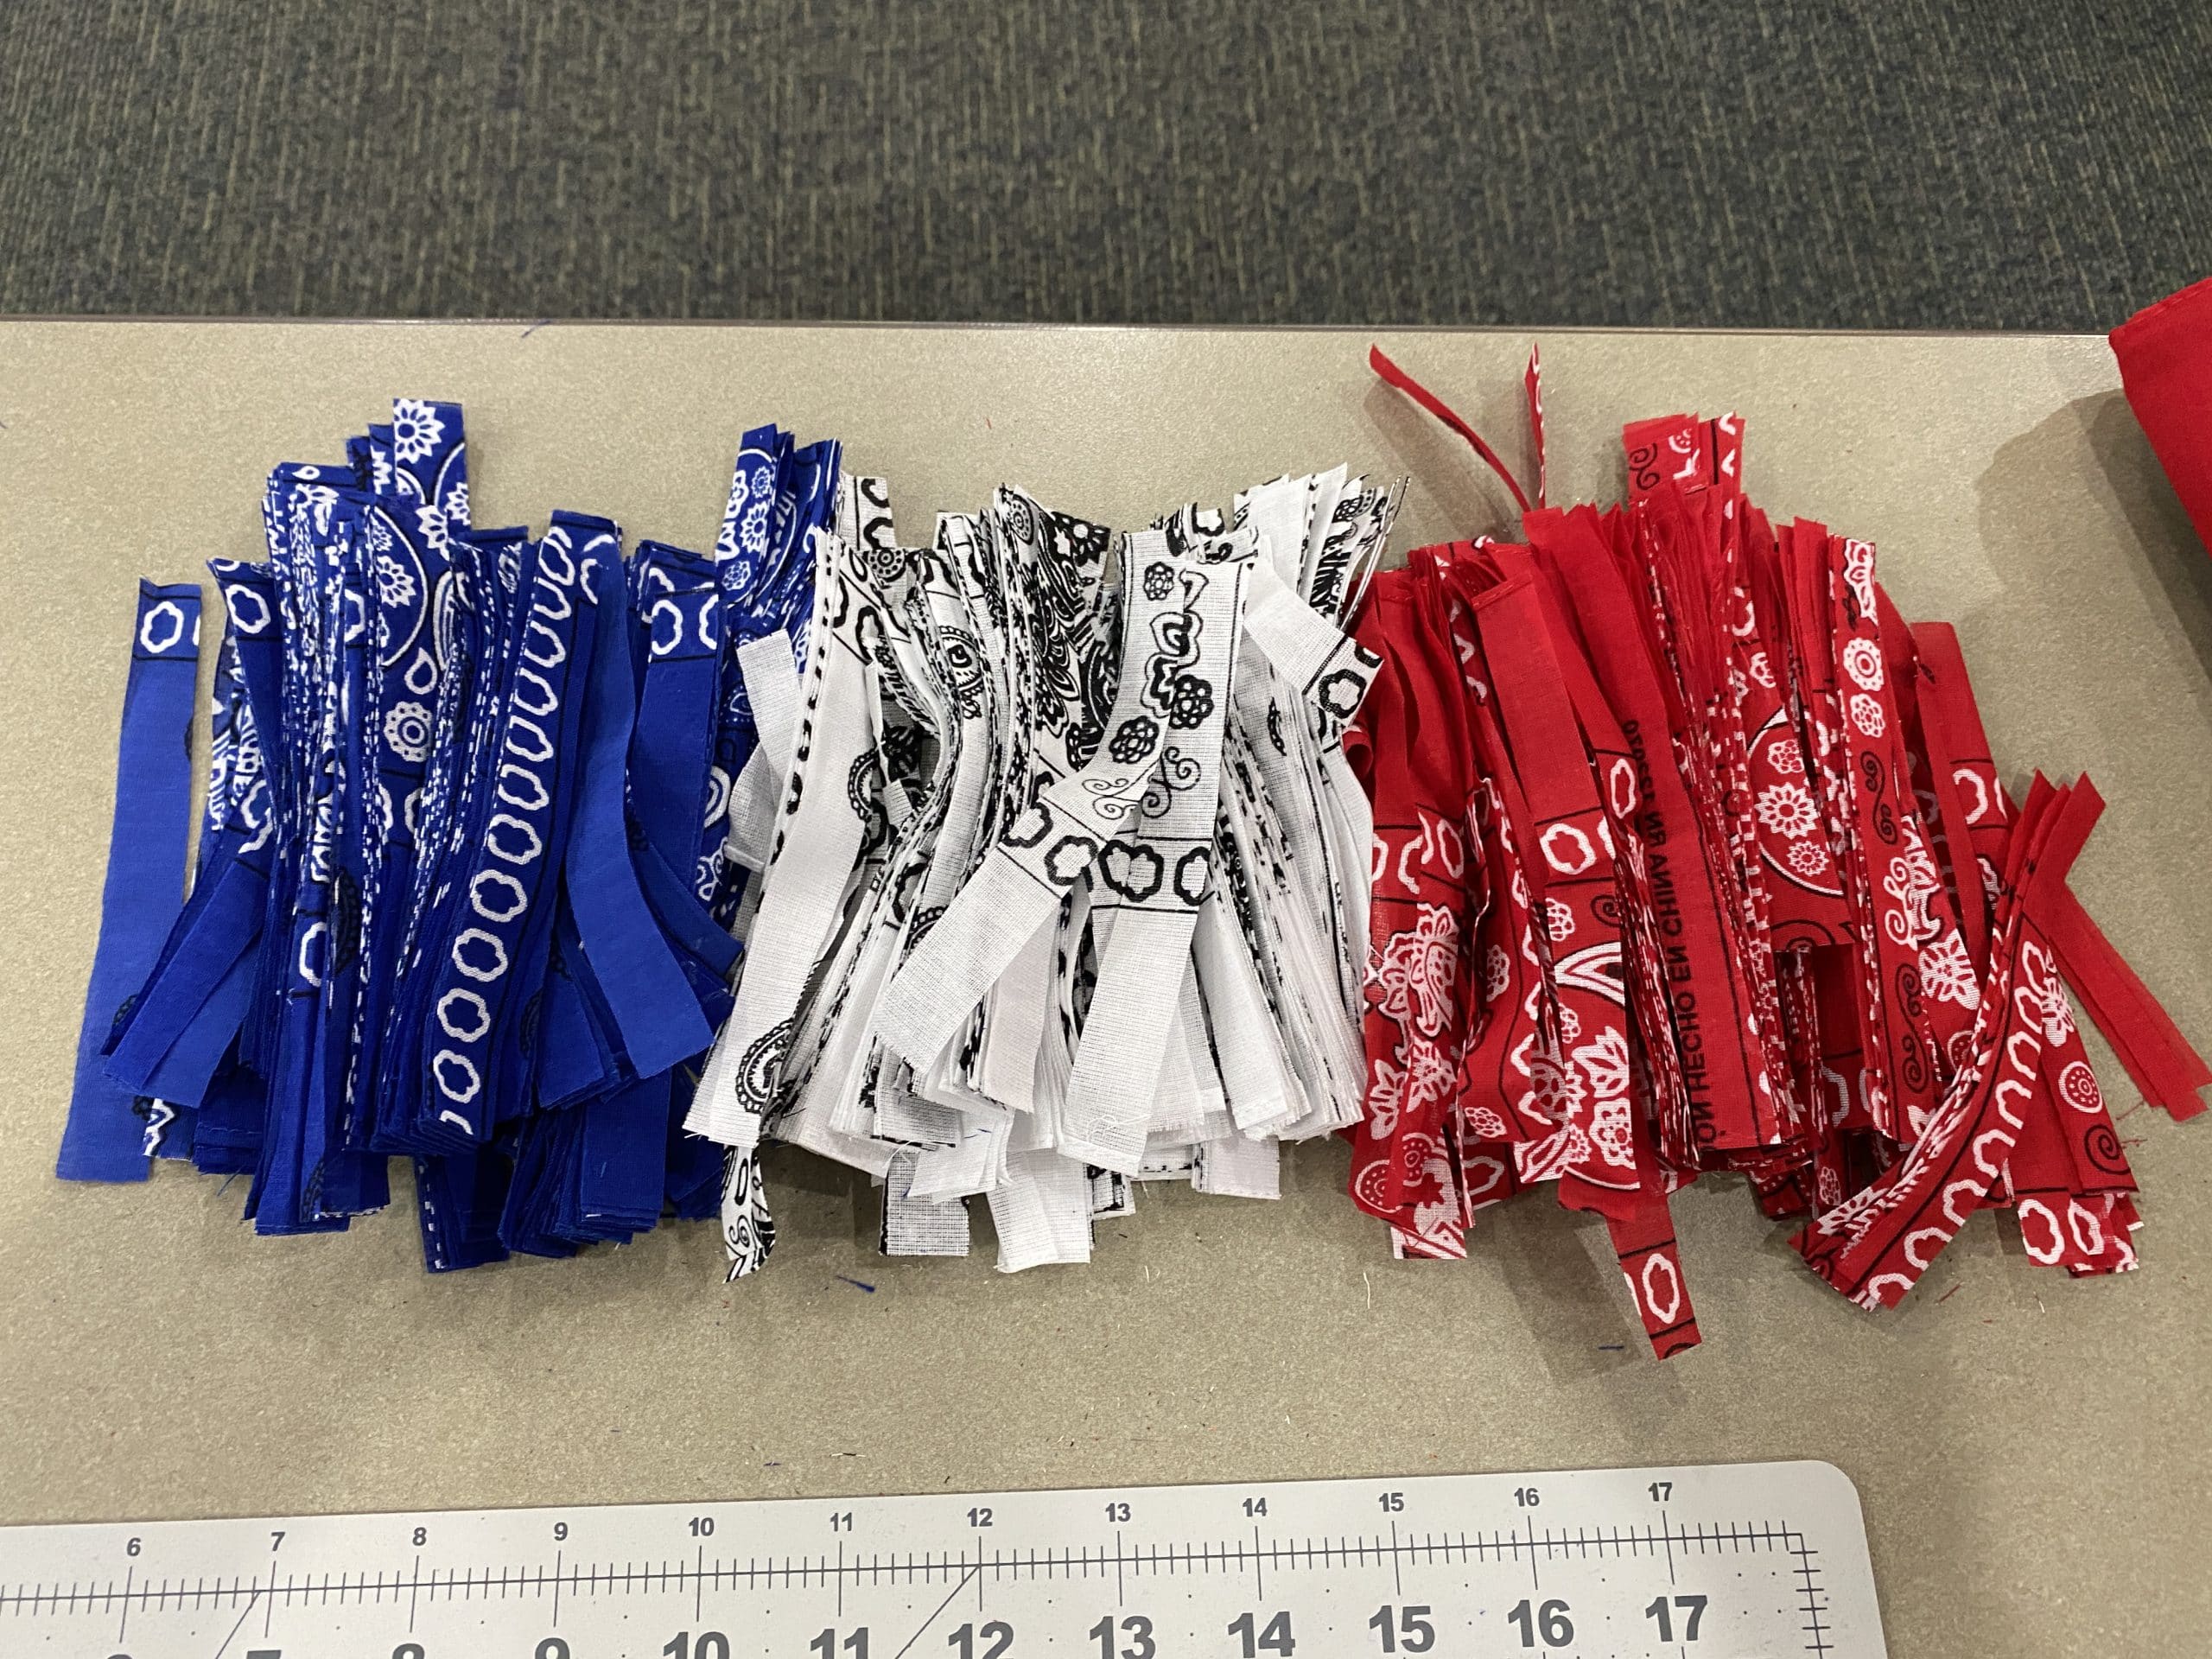
    2.  Using scissors or a rotary cutter, cut off all the folded edges so you have a stack of squares.
    3.  Cut the squares into 1/2″ strips.  Make sure the strips aren’t much bigger than 1/2″ or you may not have enough to finish.
    4.  Repeat with the other 2 bandanas.

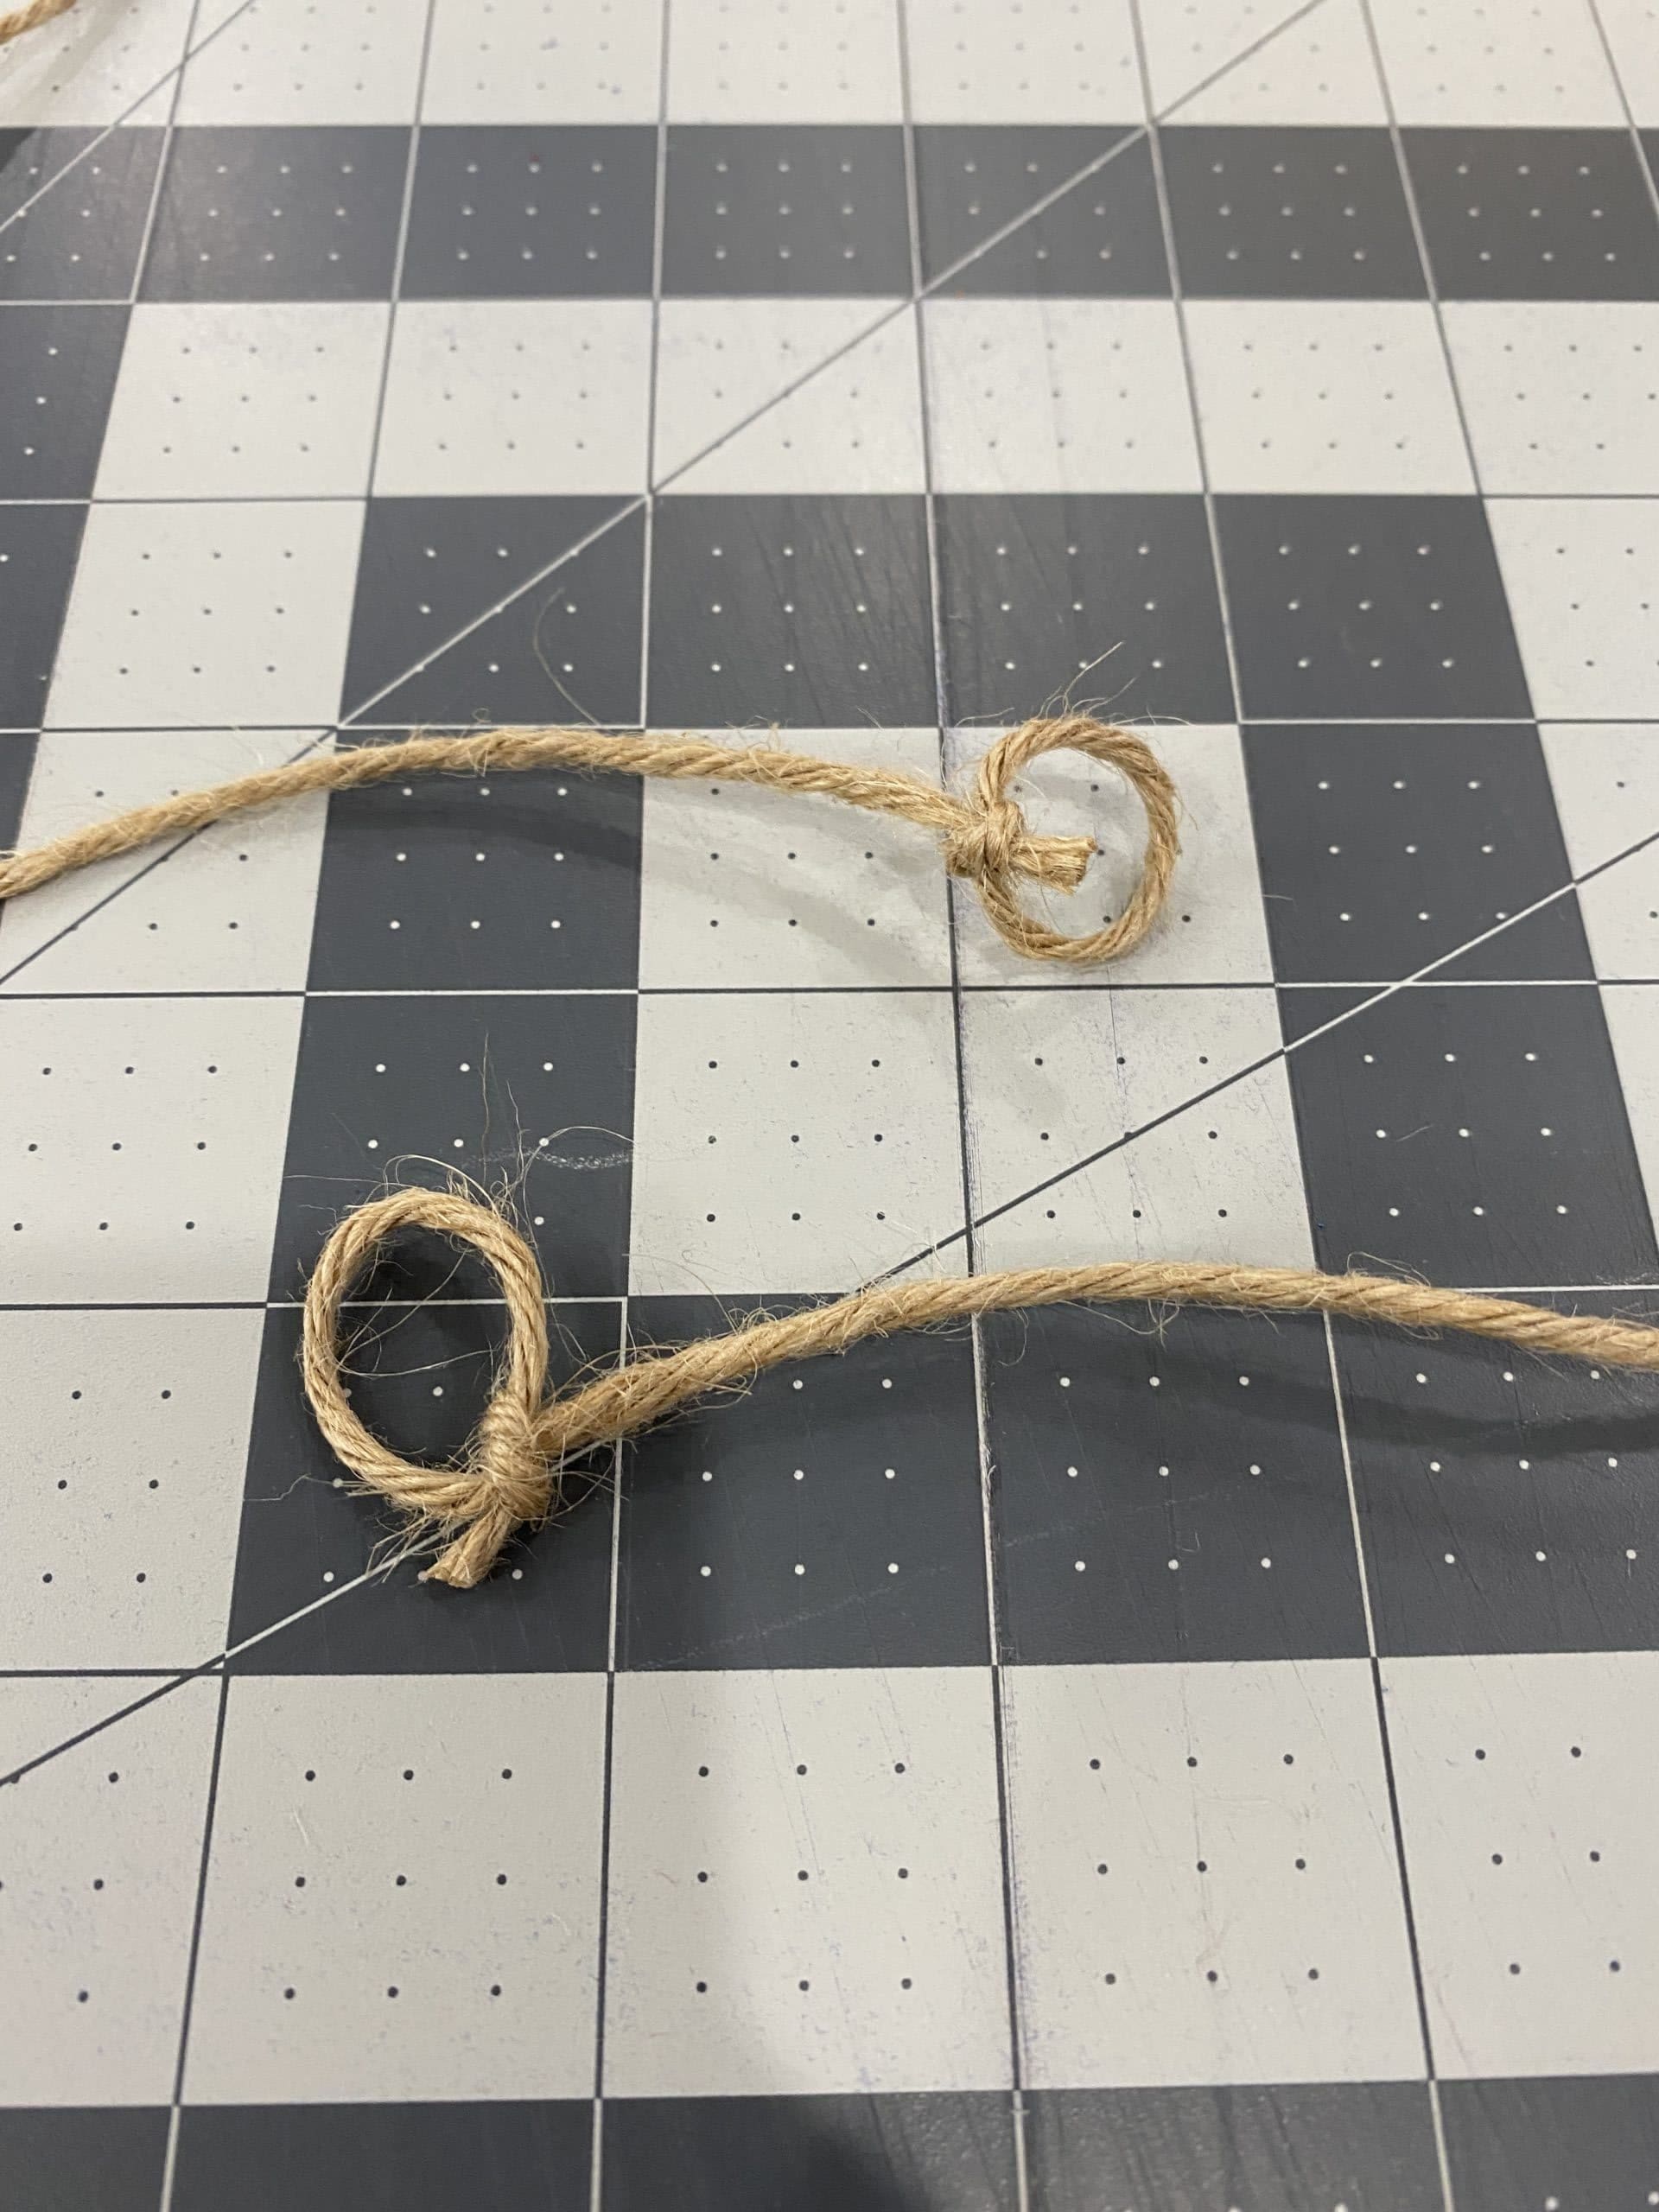
    5.  On the jute rope, loop each end, and tie a knot (so that you can easily hang it later).


    6.  Stack one strip of each color bandana and tie it in a knot around the jute rope.  I’m not going to lie, this is tedious work and slow going at first.  However, after a few, a found a good rhythm and it wasn’t so bad.  Once you’ve tied the knot, fluff out the strips and slide to the end of the rope.  This is a perfect opportunity to listen to an audiobook!

    7.  When you’ve run out of strips or rope, you’re done!  Your garland should be 5-6 feet in length.

    As always, we love to see your finished projects!  Feel free to post them to our facebook page here:  https://www.facebook.com/BeavercreekCommunityLibrary

    Happy Crafting!

    -Morgan
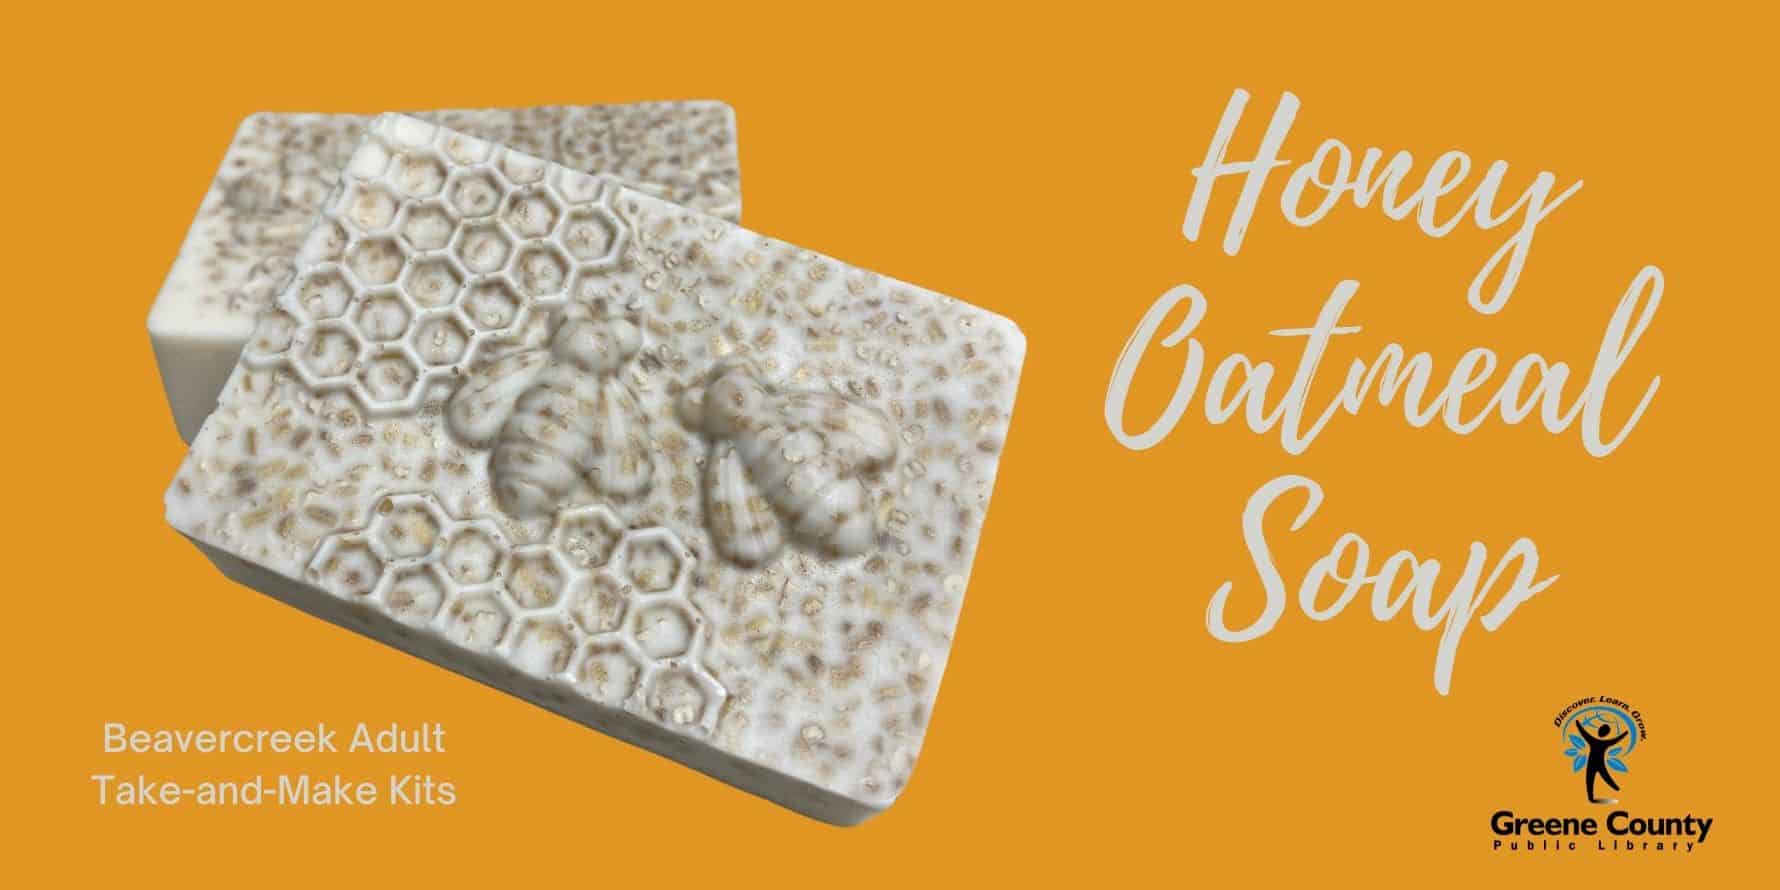
  • Beavercreek Adult Take-and-Make: Honey Oatmeal Soap

    Register for your kit here:  https://greenelibrary.bibliocommons.com/events/62979a7558568df7273155bf

    This month’s craft is very simple and lots of fun!  

    Included in your kit:

    2 soap molds

    soap base

    2 honey packets

    approx. 1/4 cup steel cup oats

    Instructions:

    1.  Cut the soap base into small-ish cubes.
    2. Melt the soap base in a small glass container in the microwave at 30 second intervals.
    3. Add the honey and steel cut oats.  The oats give the soap an gentle exfoliating quality.
    4. It’s not included, but adding some kind of essential oil or other fragrance is recommended to improve the smell of the finished soap.
    5. Pour the soap into the molds:
      1. Tip- If you pour the soap into the molds all at once, the oats will settle on the bottom (the top of the finished soap).  If you want the oats evenly distributed in the soap, I recommend pouring a little into the mold and letting it partially set up.  Then pour a little more and repeat until the molds are full.  You may have to reheat the soap in the microwave a few times if using this method.

    That’s it!  It’s so easy! You could use the soap yourself or give as gifts.

    As always, we love to see your finished product on our Facebook page!

    Happy crafting!!

    Morgan

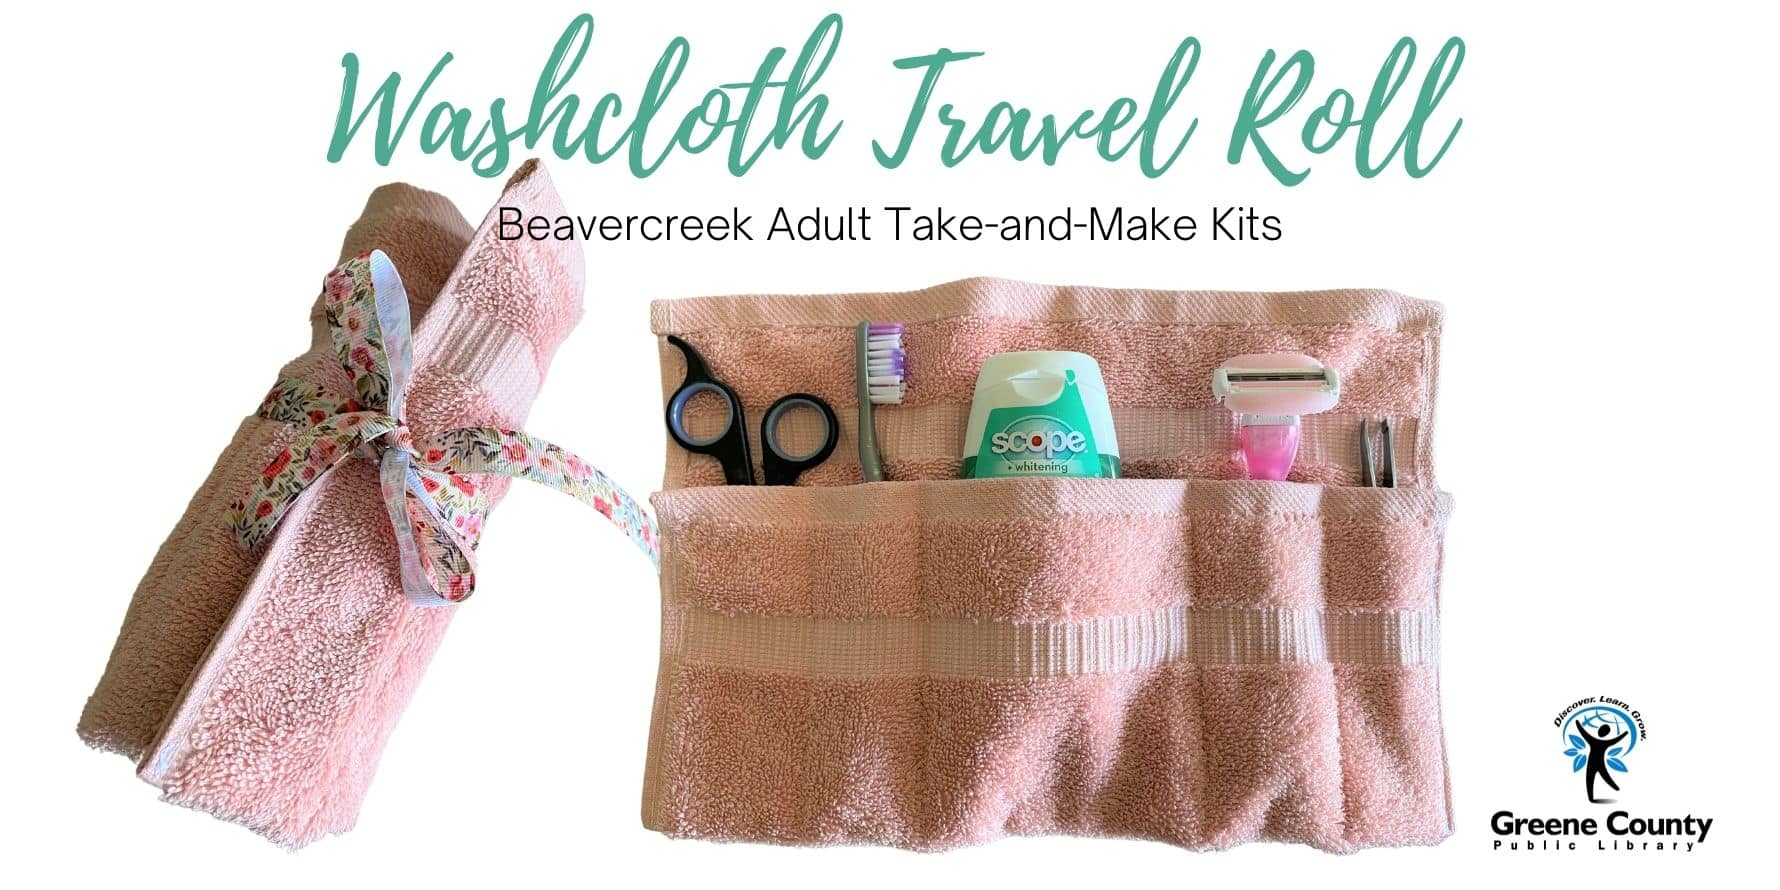
  • Beavercreek Adult Take-and-Make: Washcloth Travel Roll

    To grab your kit, click here https://greenelibrary.bibliocommons.com/events/series/624c94039c2426280028c494/

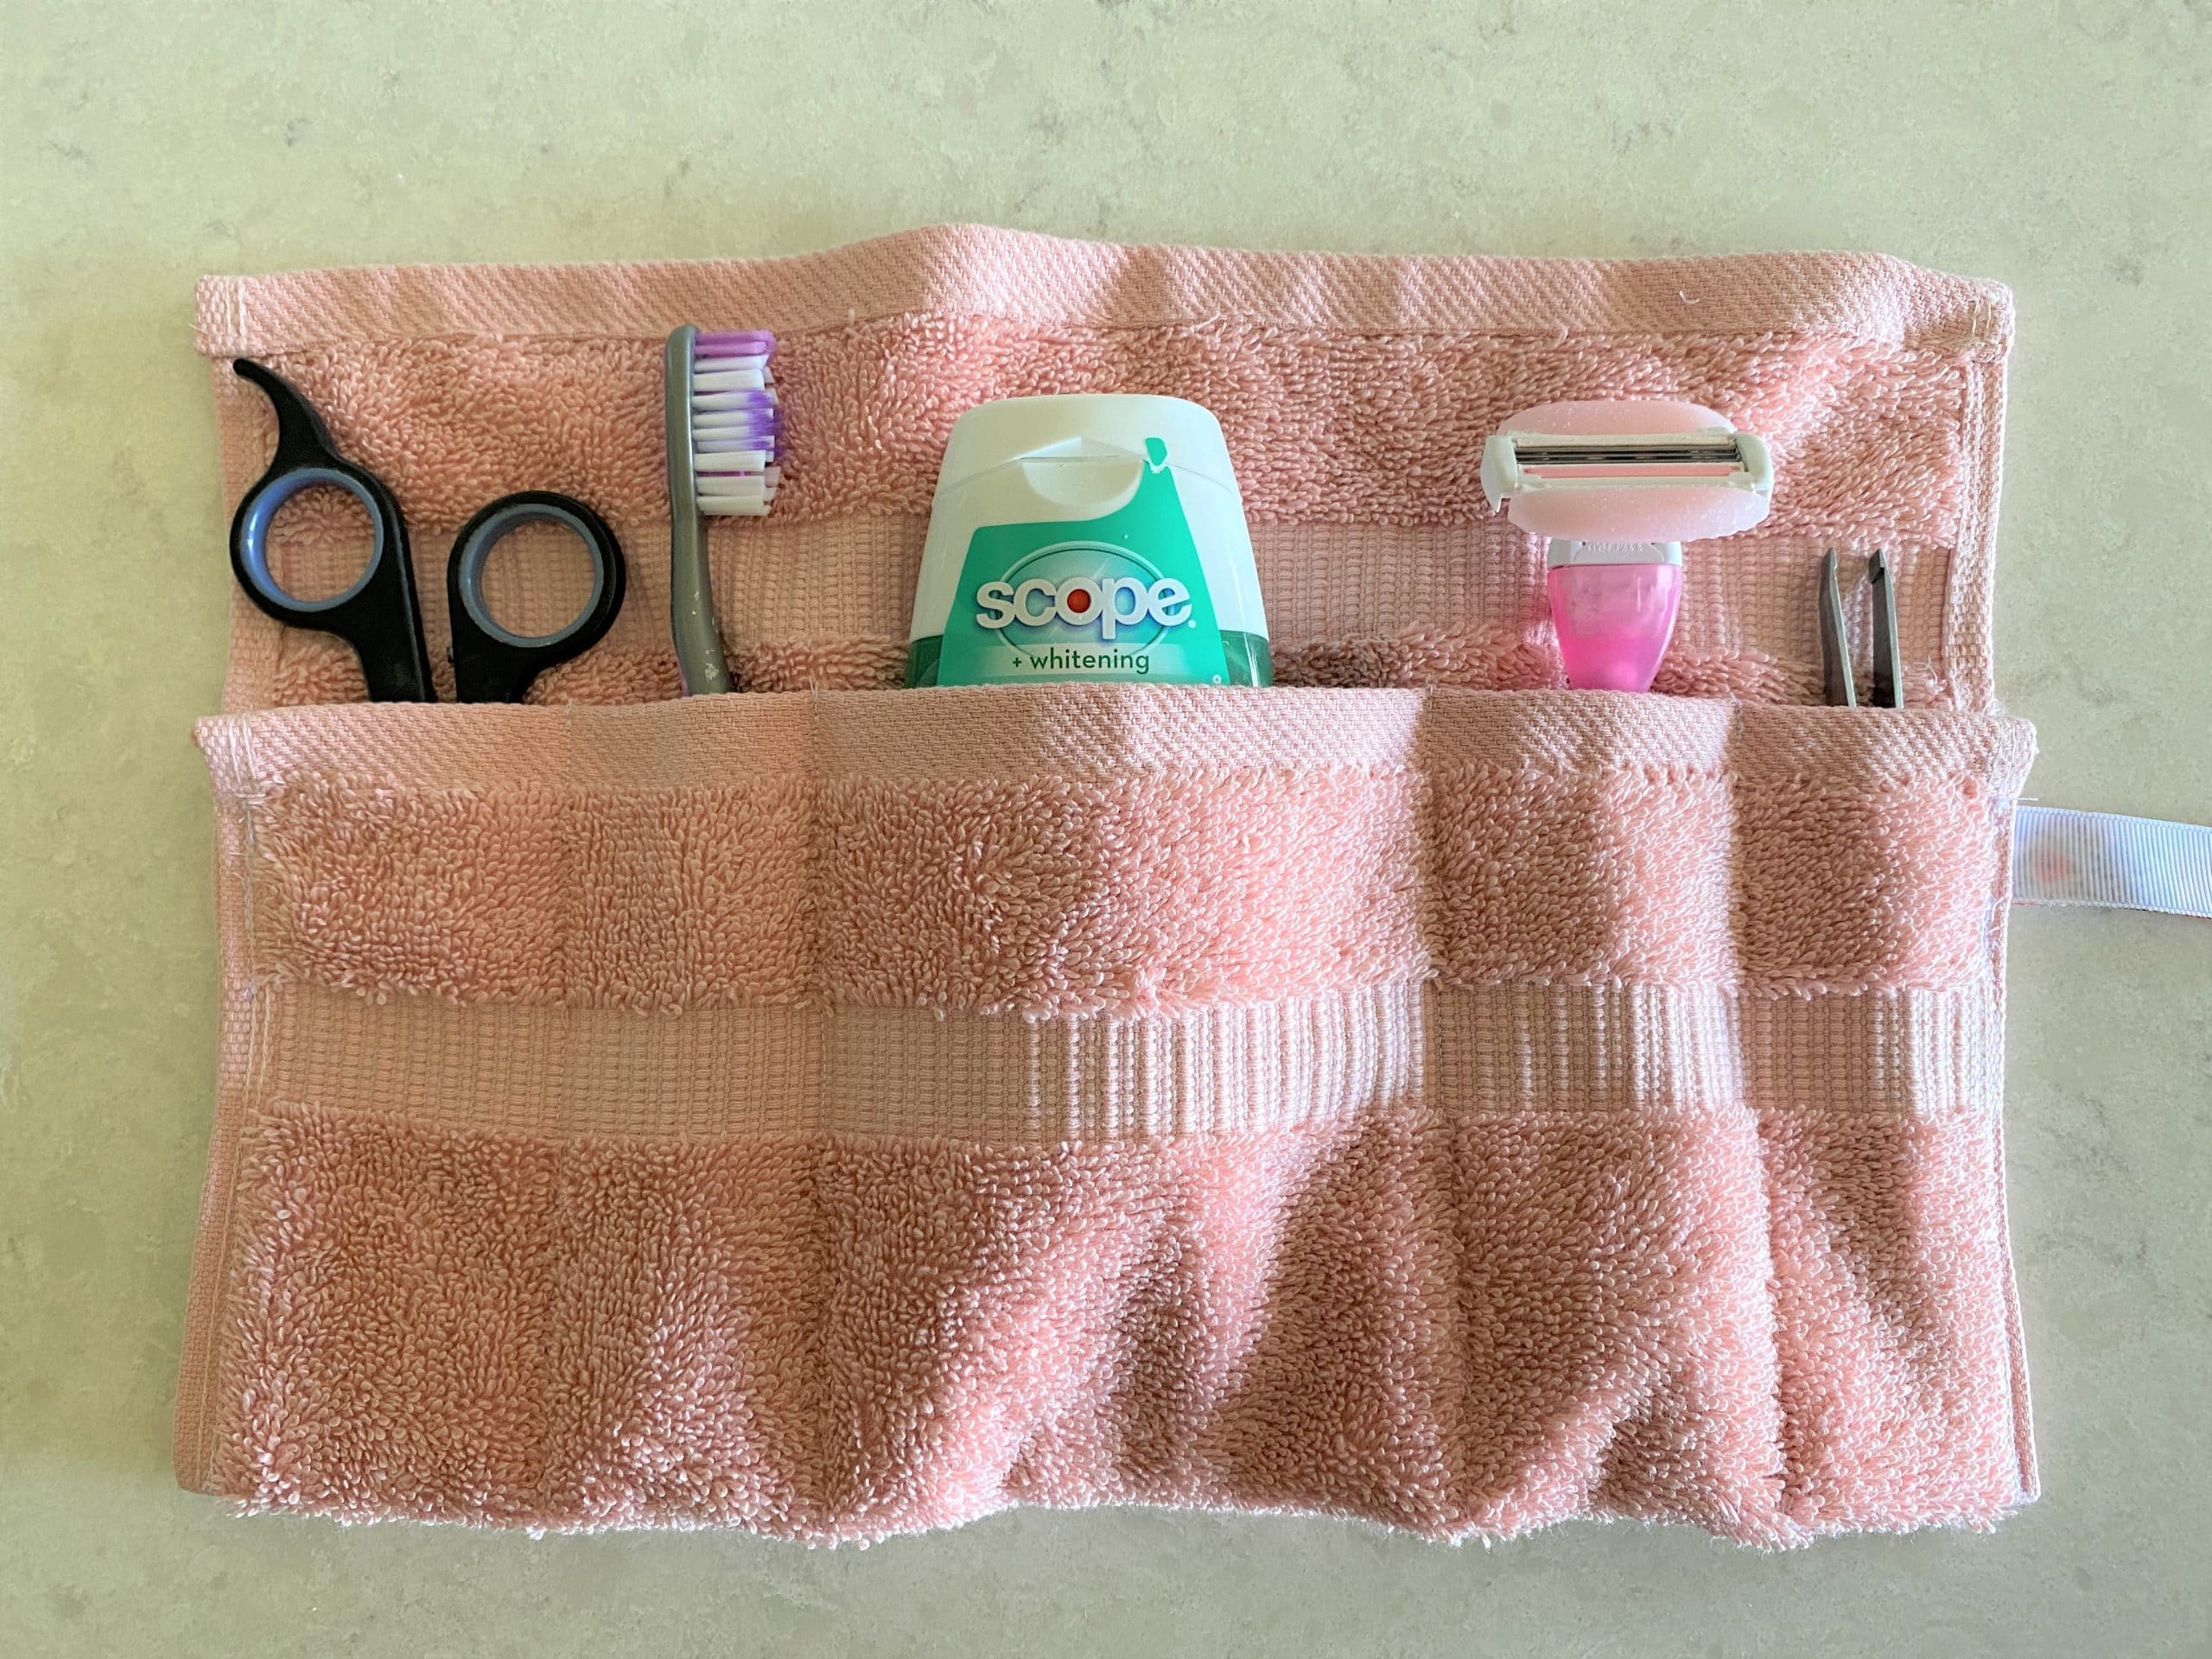
    Spring is officially upon us, which means I’m already looking toward summer!  Something my kids have always enjoyed in the summer is attending summer camps with the scouts.  We also like to travel around the country in our RV, which sometimes means having to use shower houses.  When I saw this idea on Pinterest, I thought it would be great for kids or adults who need a quick way to carry their toiletries when they travel.  This is a super simple pattern and the best part is, the washcloth can be just thrown in the washer when it gets dirty or in between trips!

    While the original intended use for this was toiletries, I’ve since had several suggestions of other things you could hold in this including crochet hooks, crayons, eating utensils for a picnic, etc.  The sky’s the limit!

    Included in your kit:

    1 washcloth

    1 12″ piece of ribbon

    1 18″ piece of ribbon

    You will also need:

    sewing machine (optional)

    thread

    scissors

    The first step is to decide how big you want your pockets to be.  It might be helpful to decide what items you want to put in the roll before sewing.

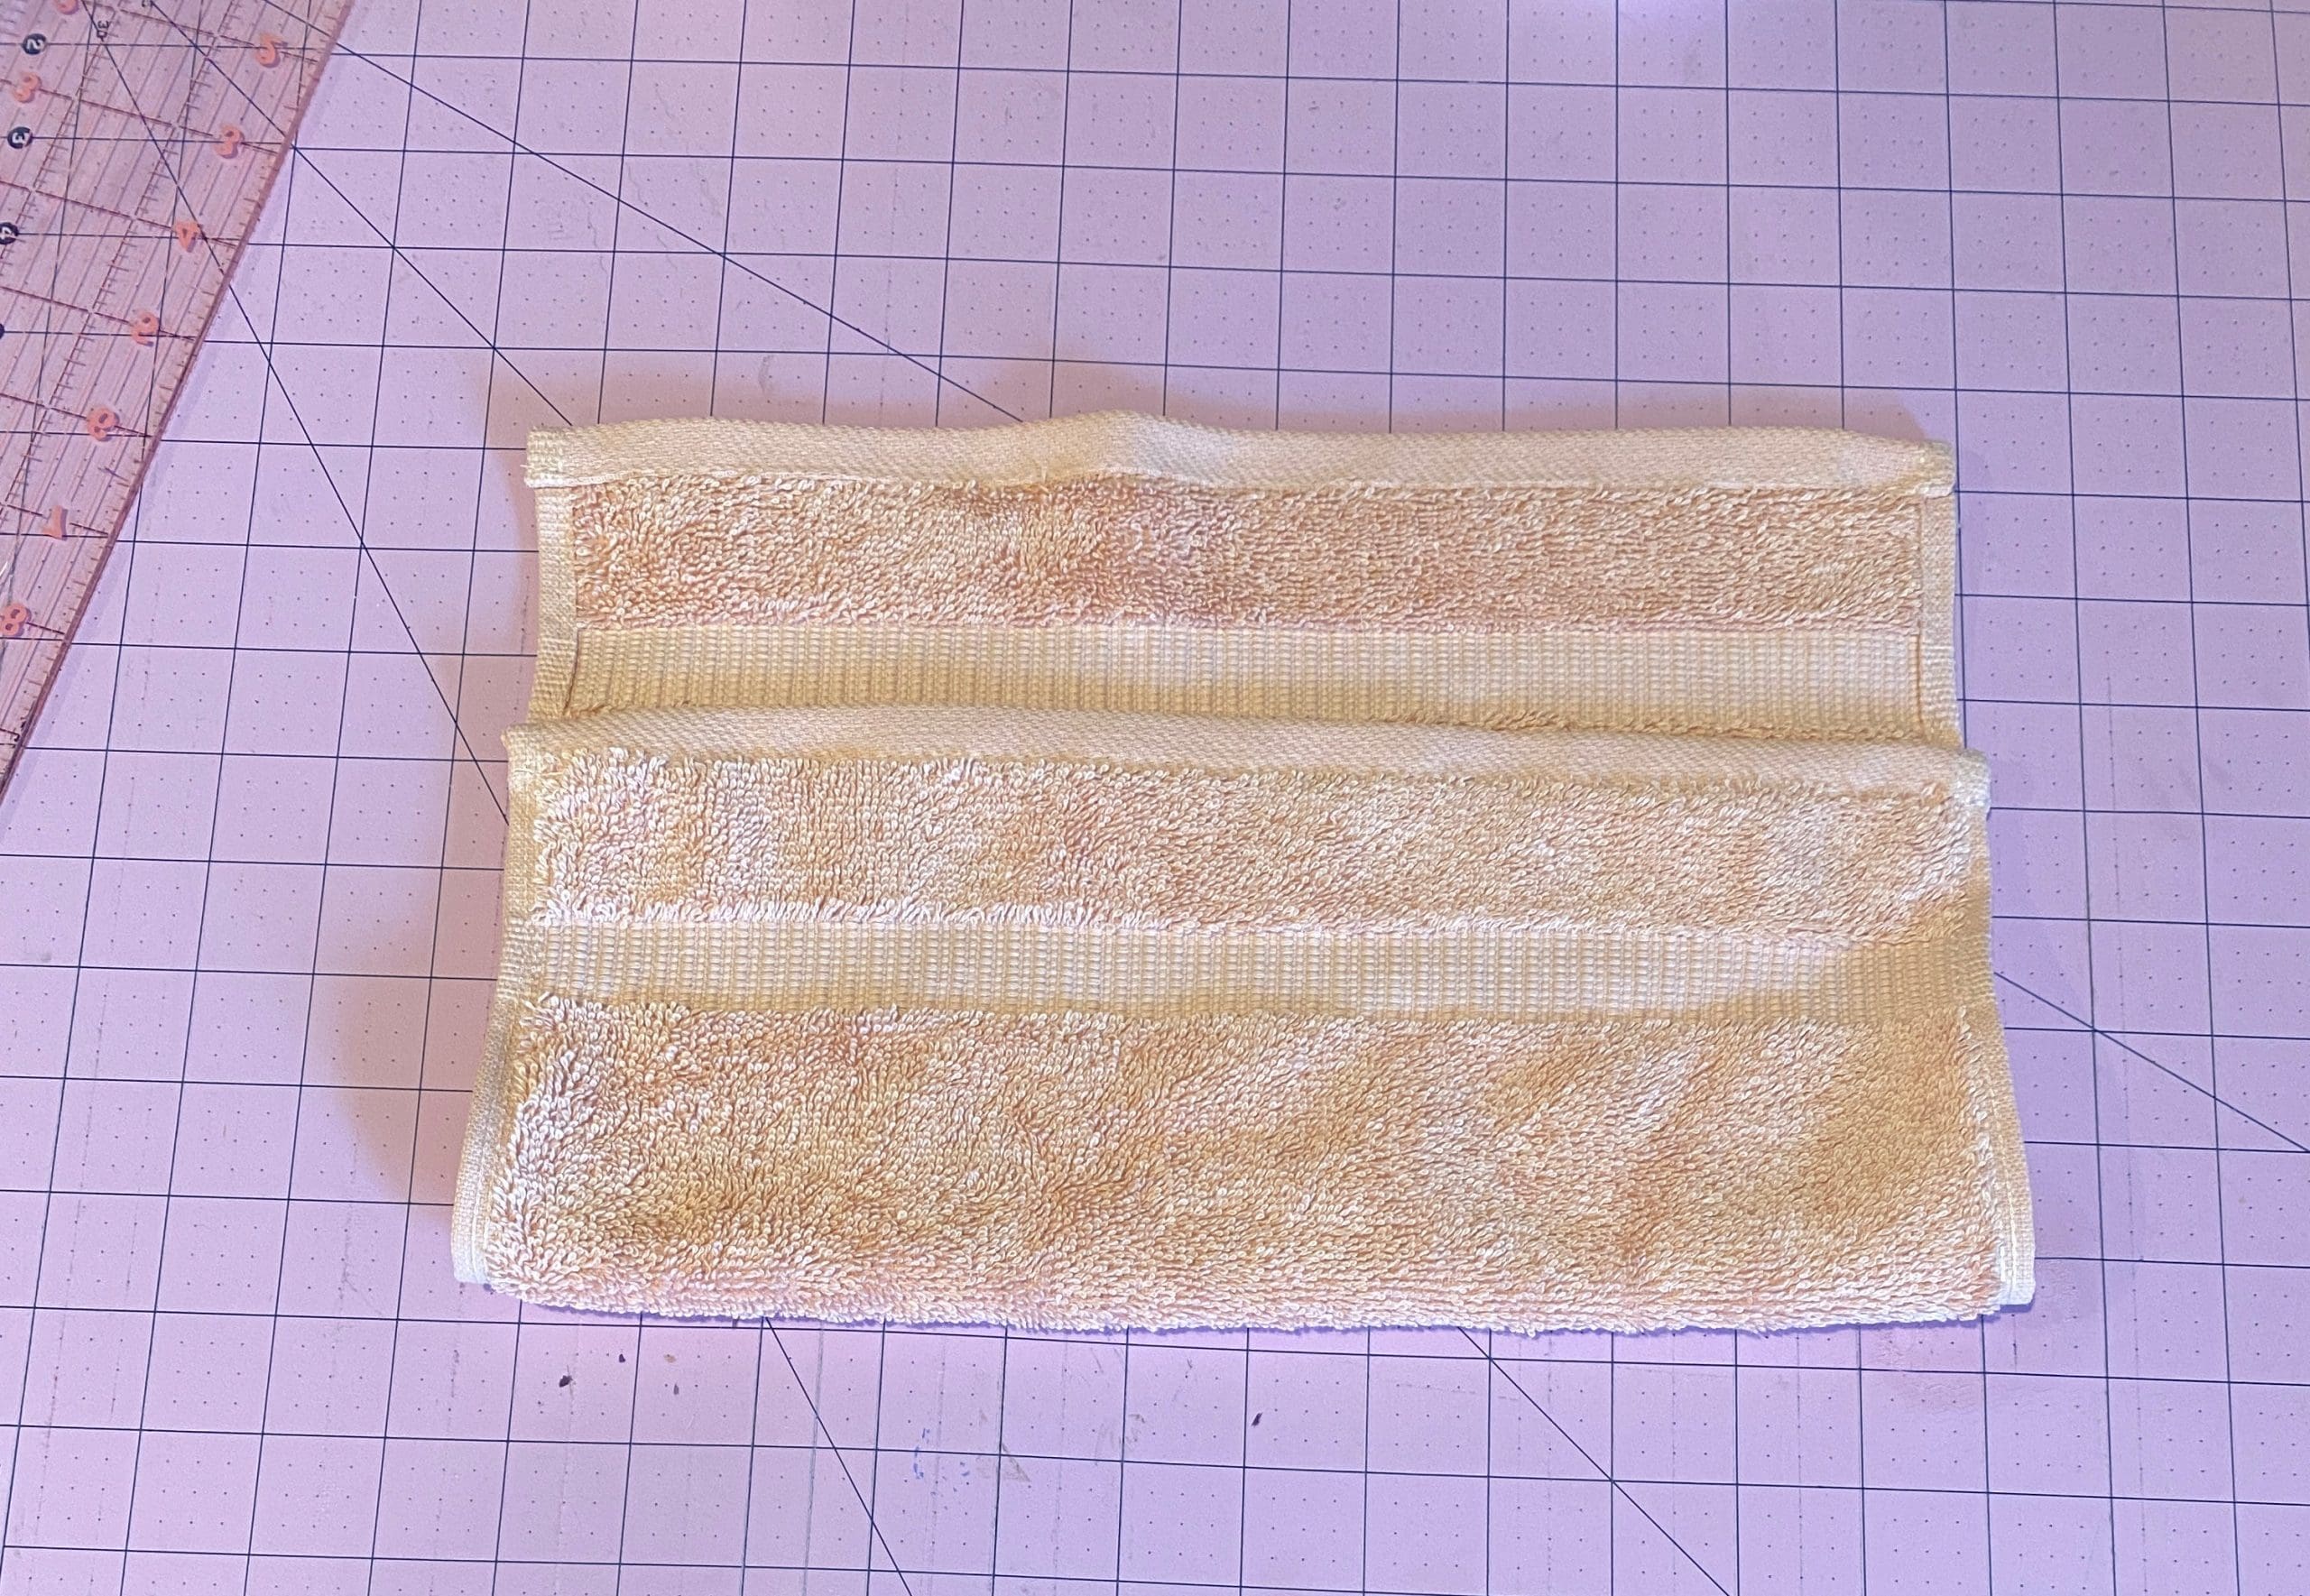
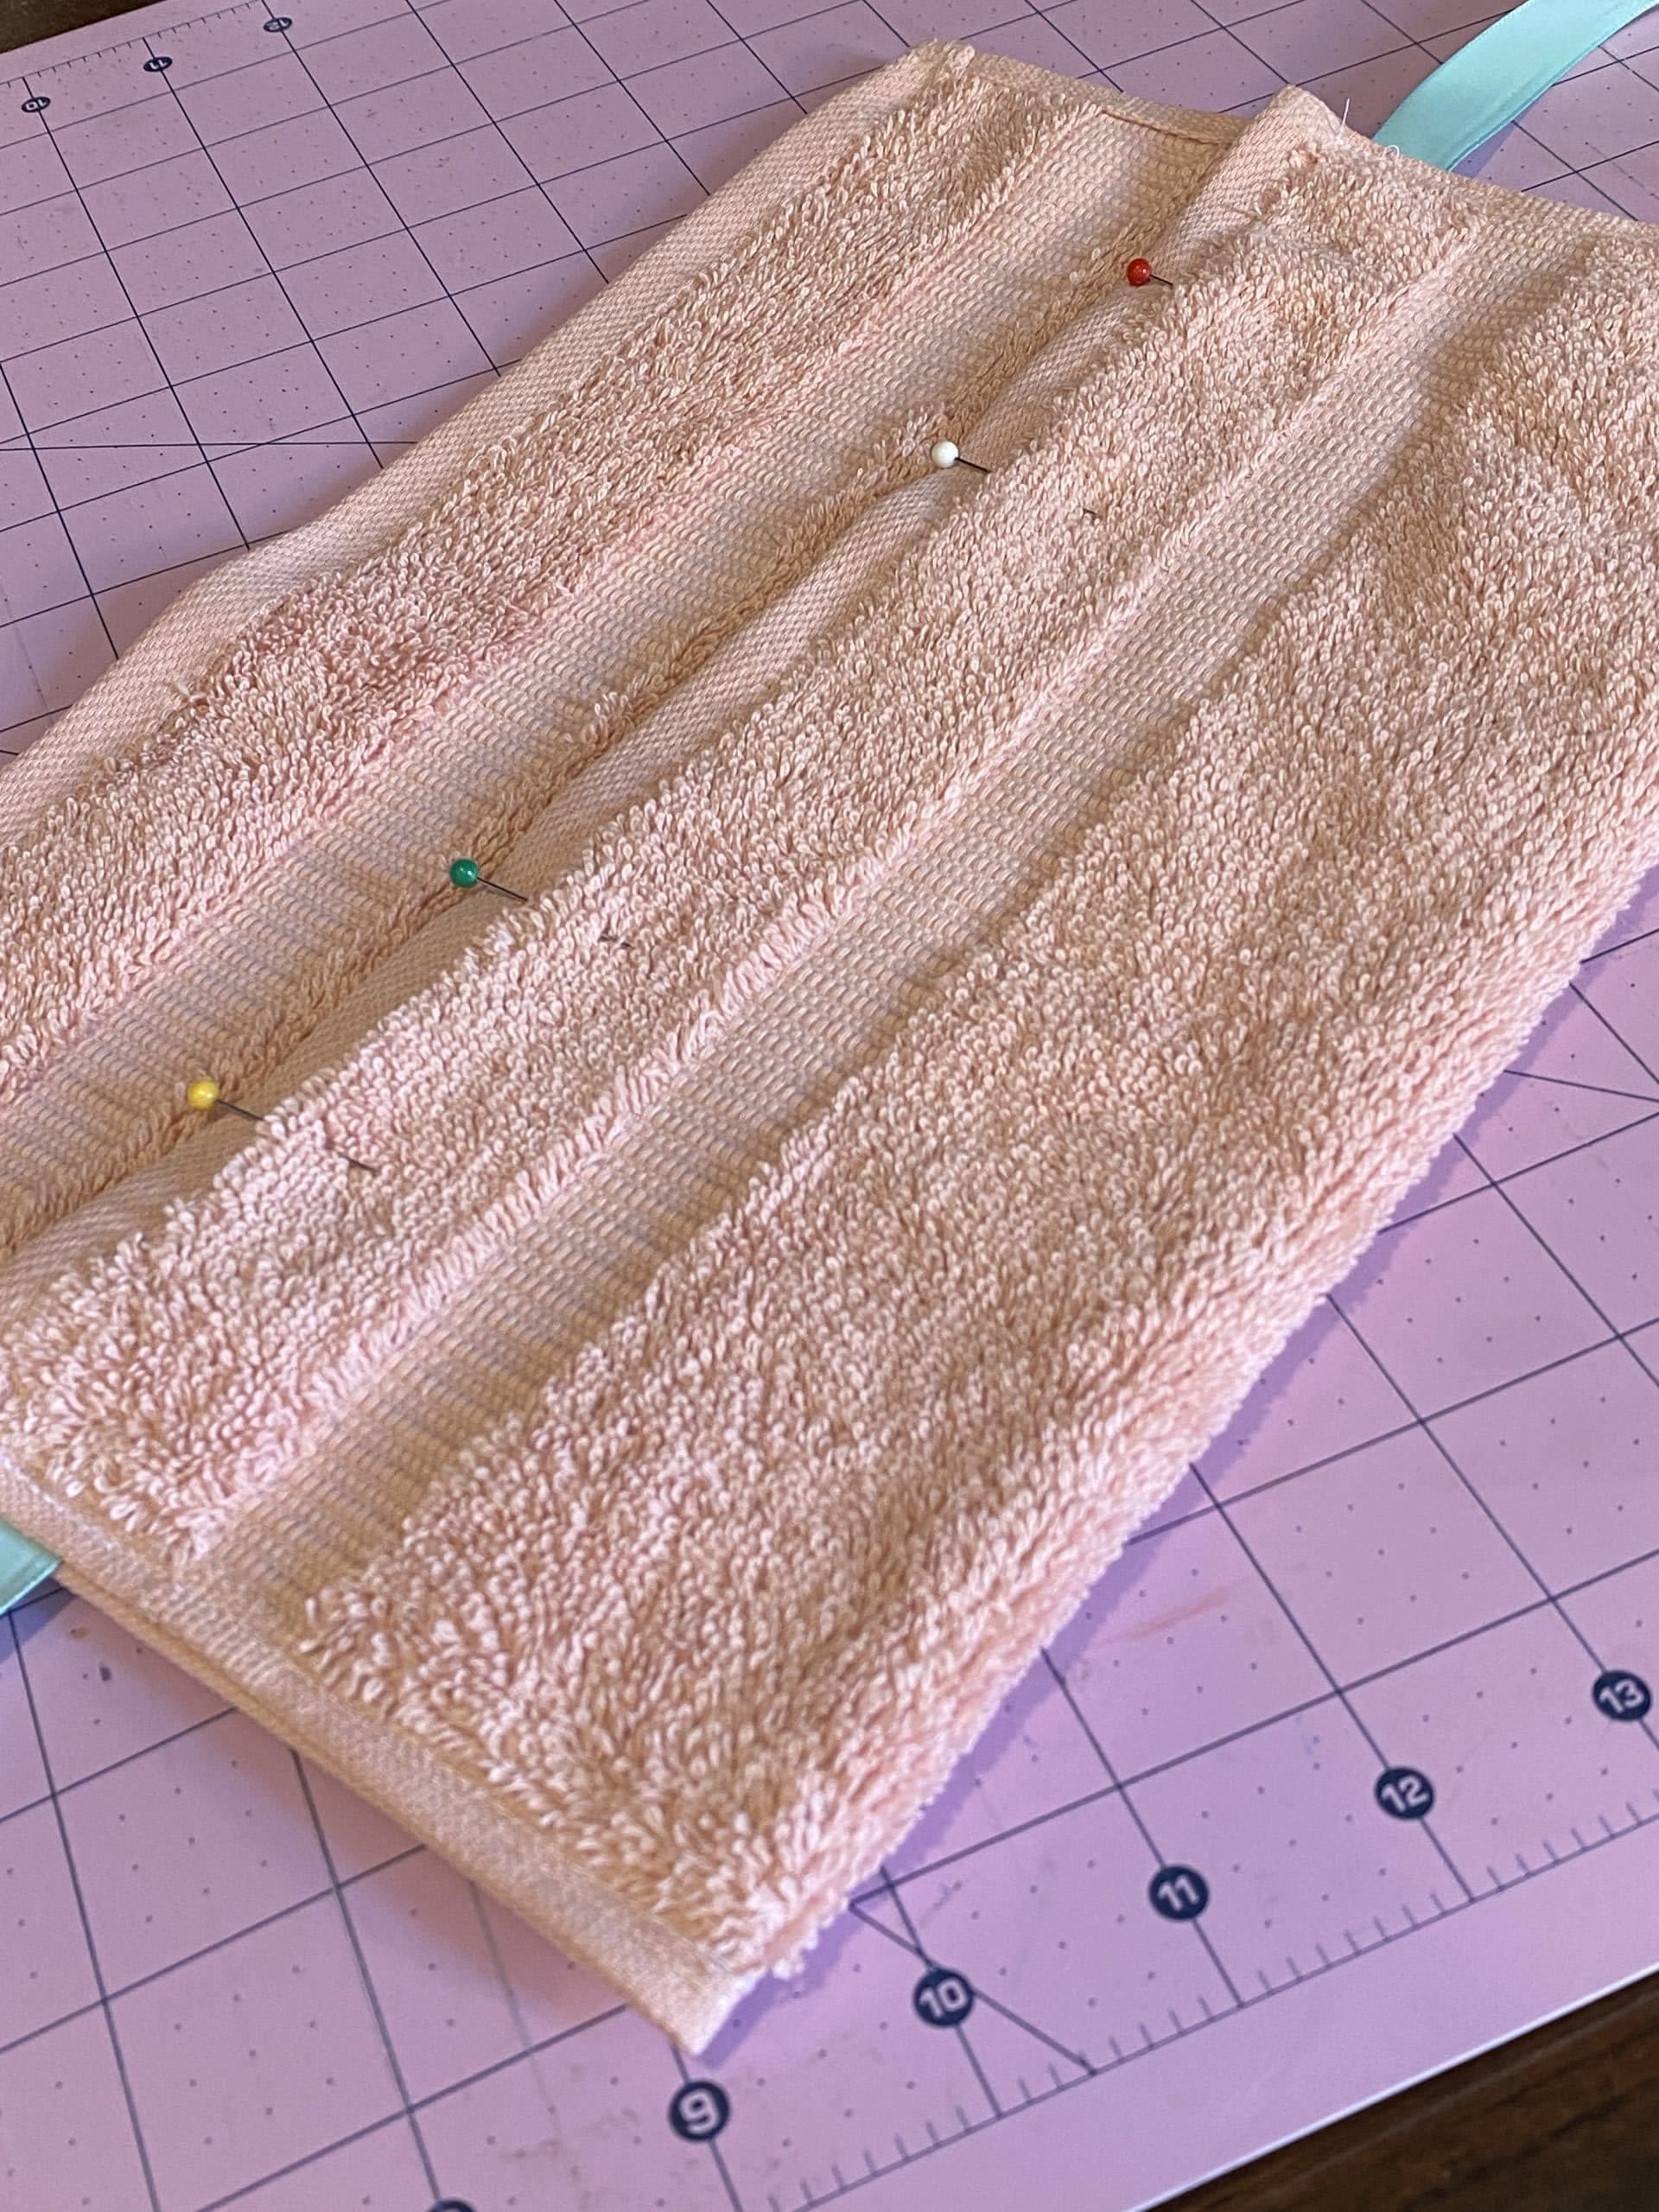
    Next, fold the bottom of the washcloth up about 2/3 of the way and pin where you want to sew the dividers.Next, sew the left side of the washcloth closed and then sew all the pocket dividers.  Stop when you have everything sewn but the right side of the washcloth.

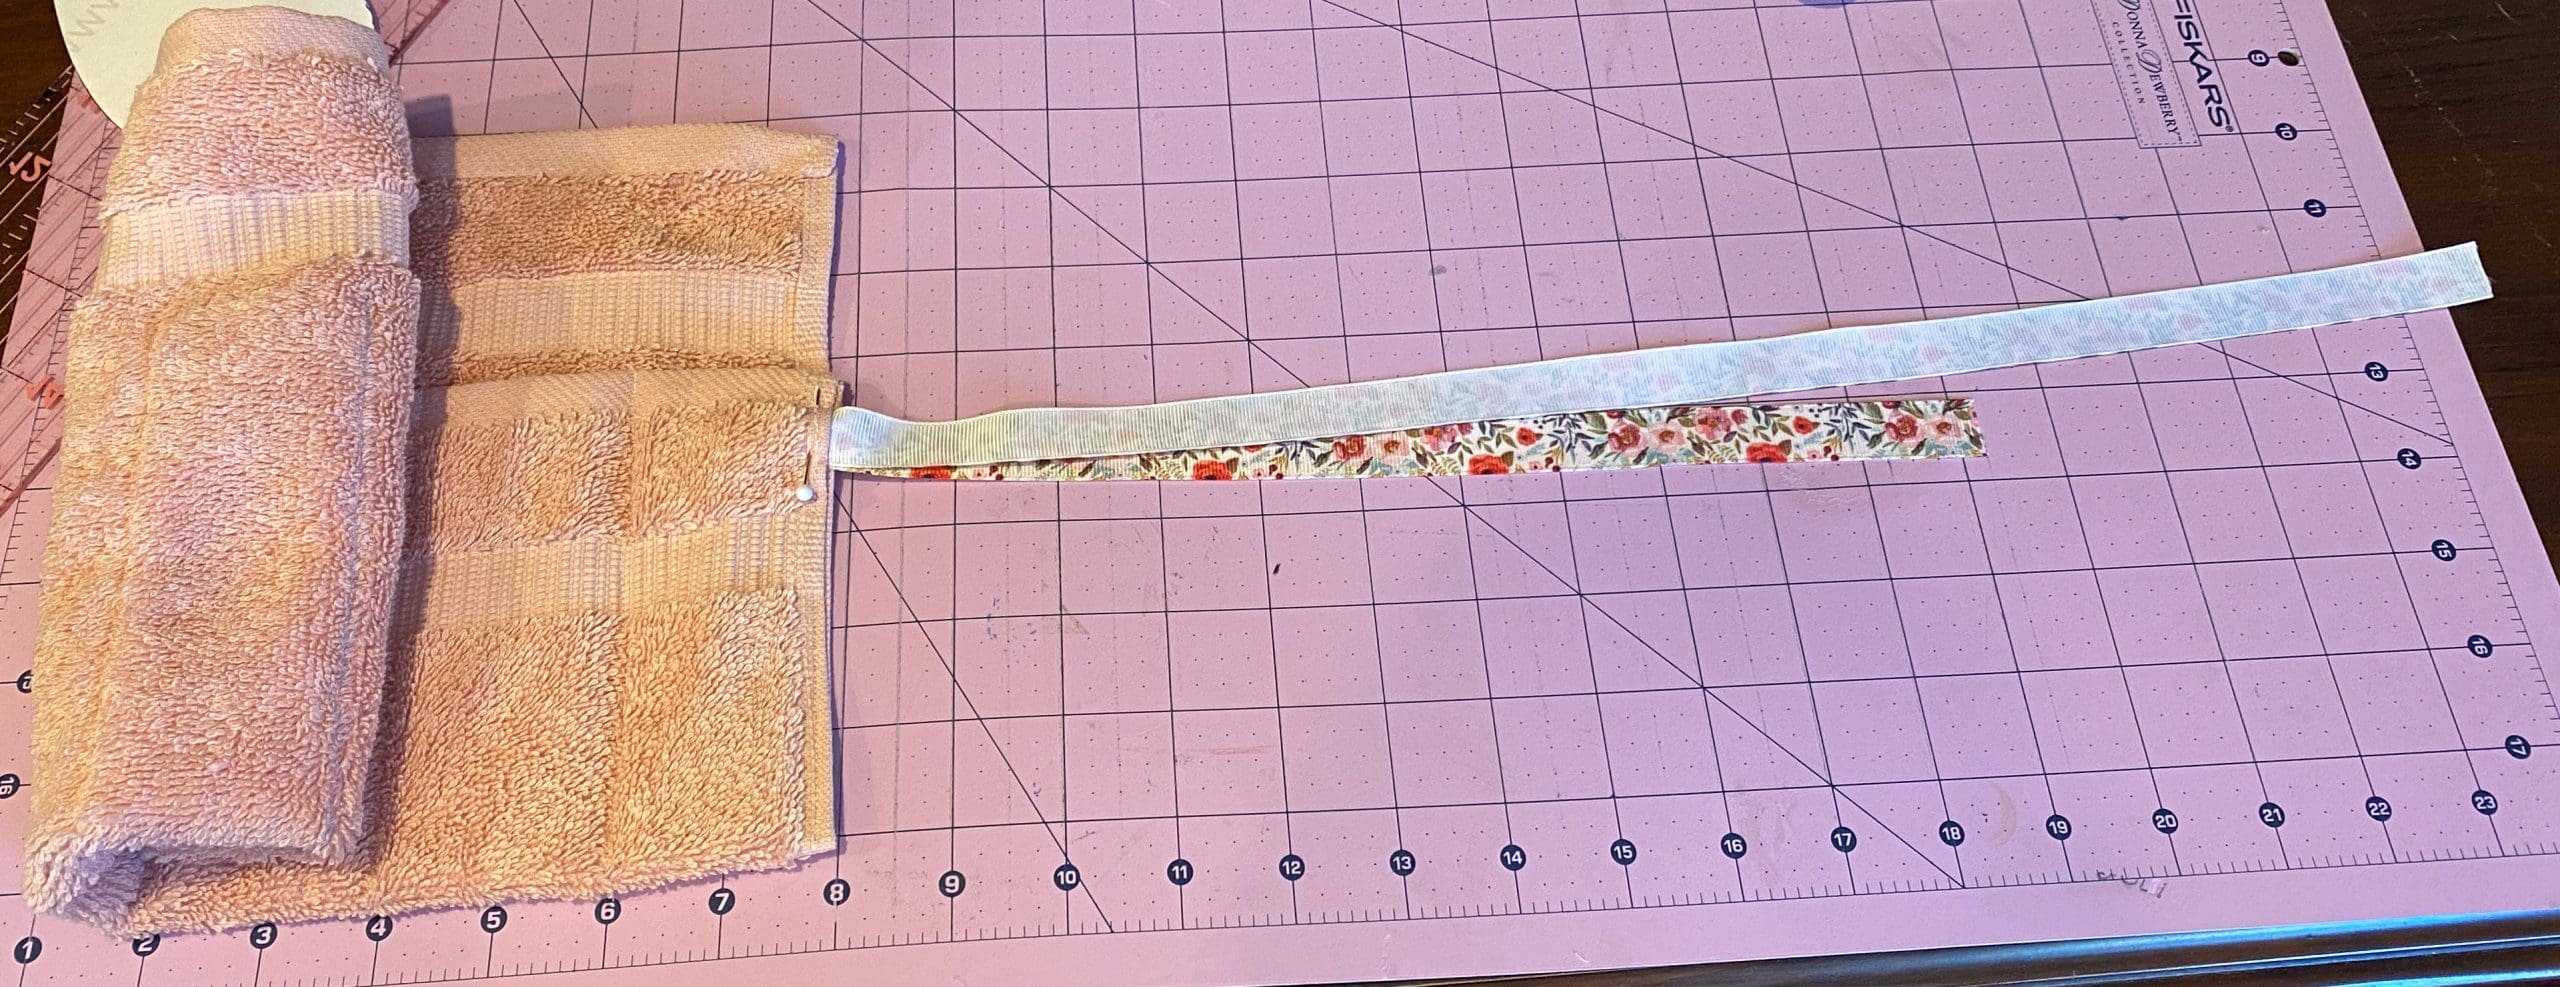
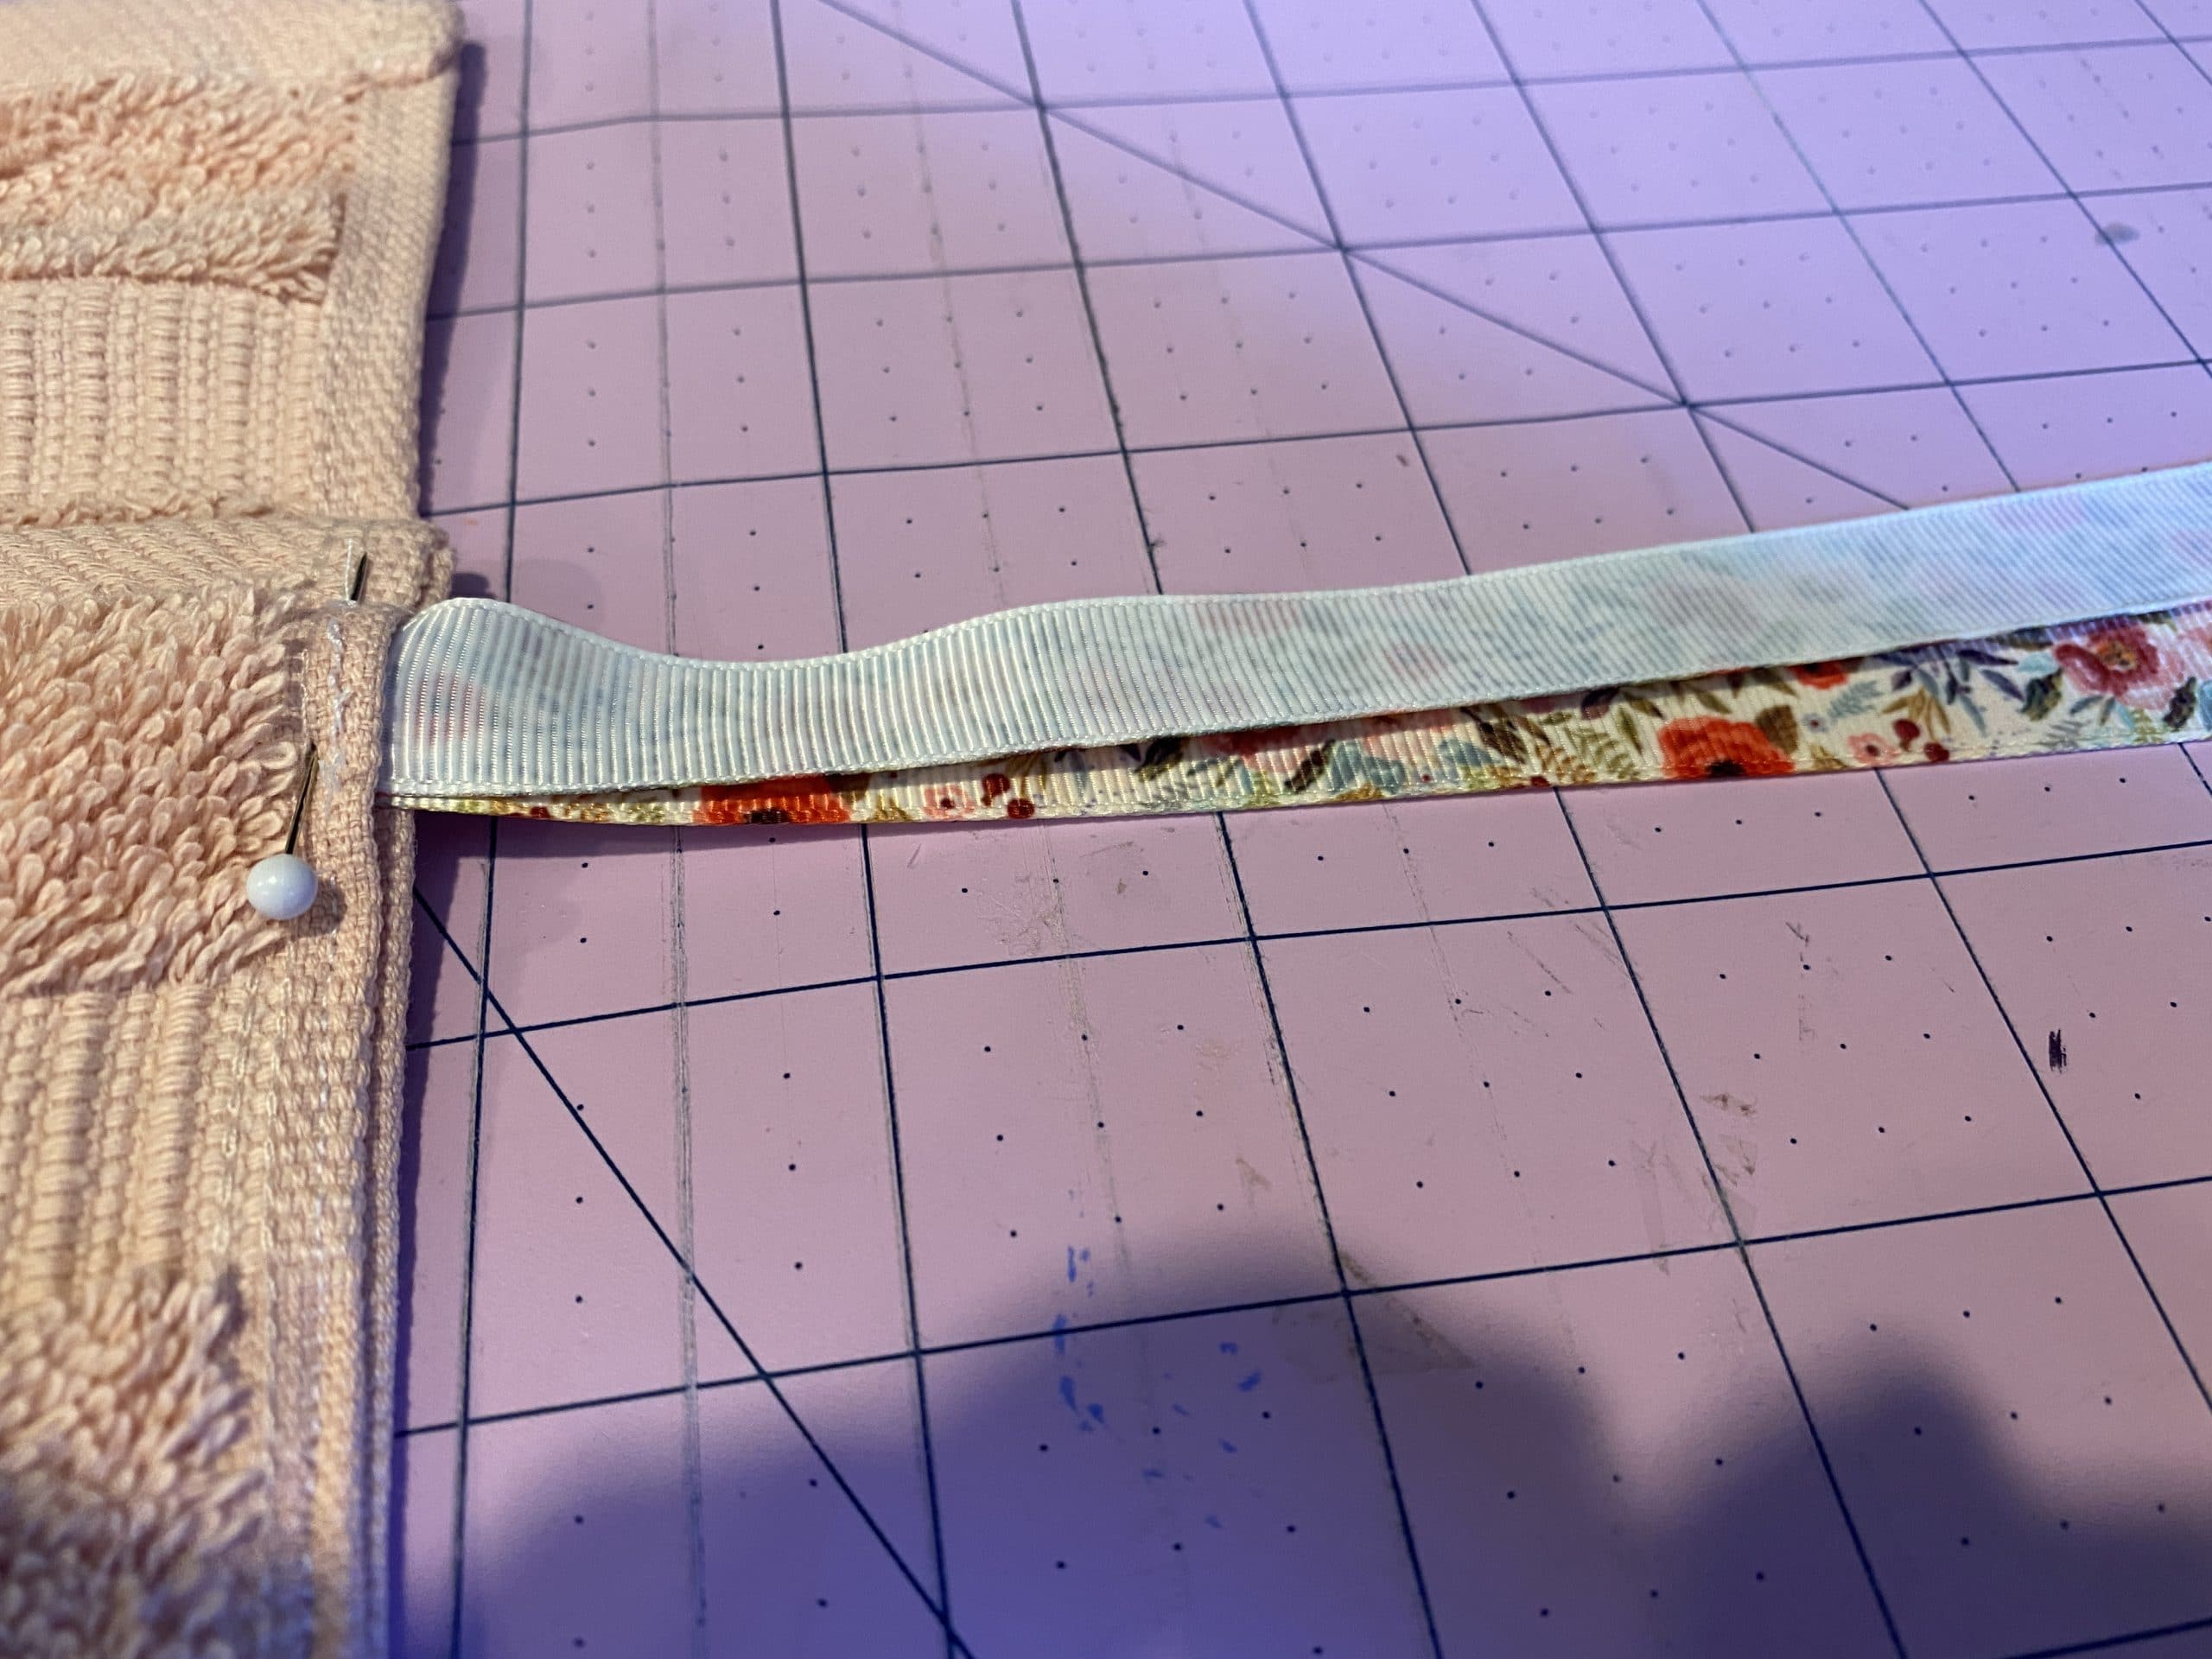
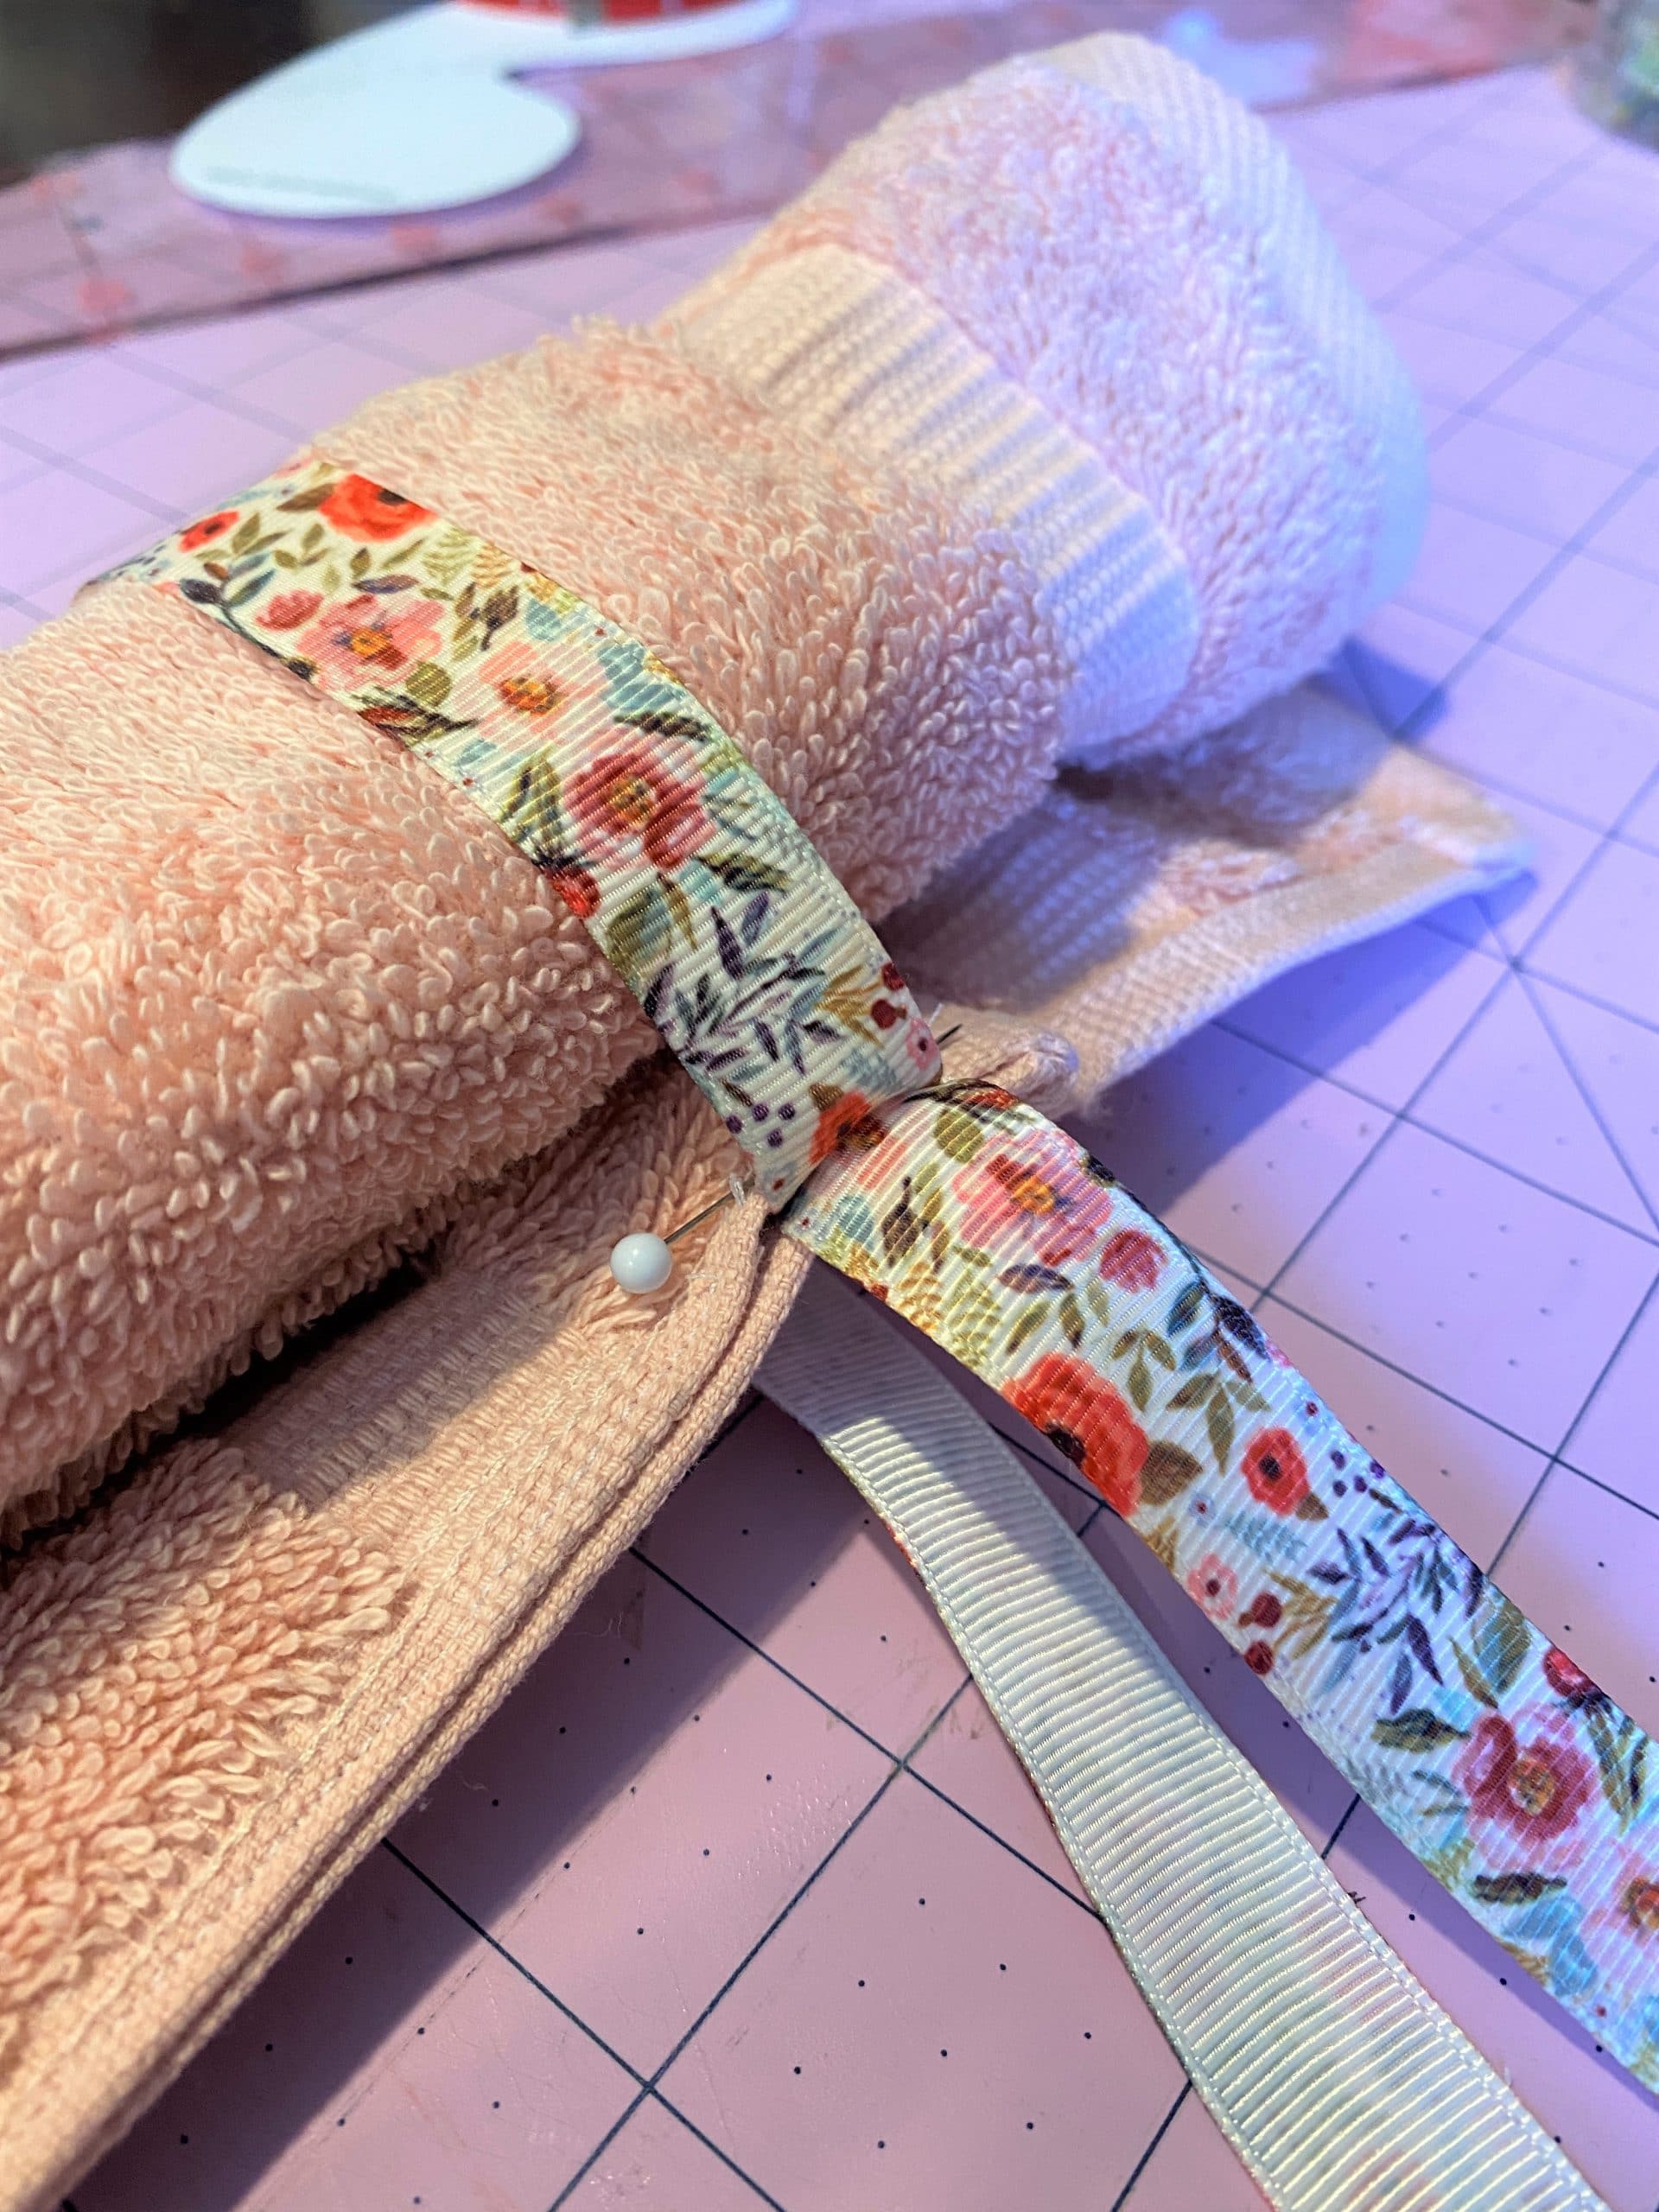
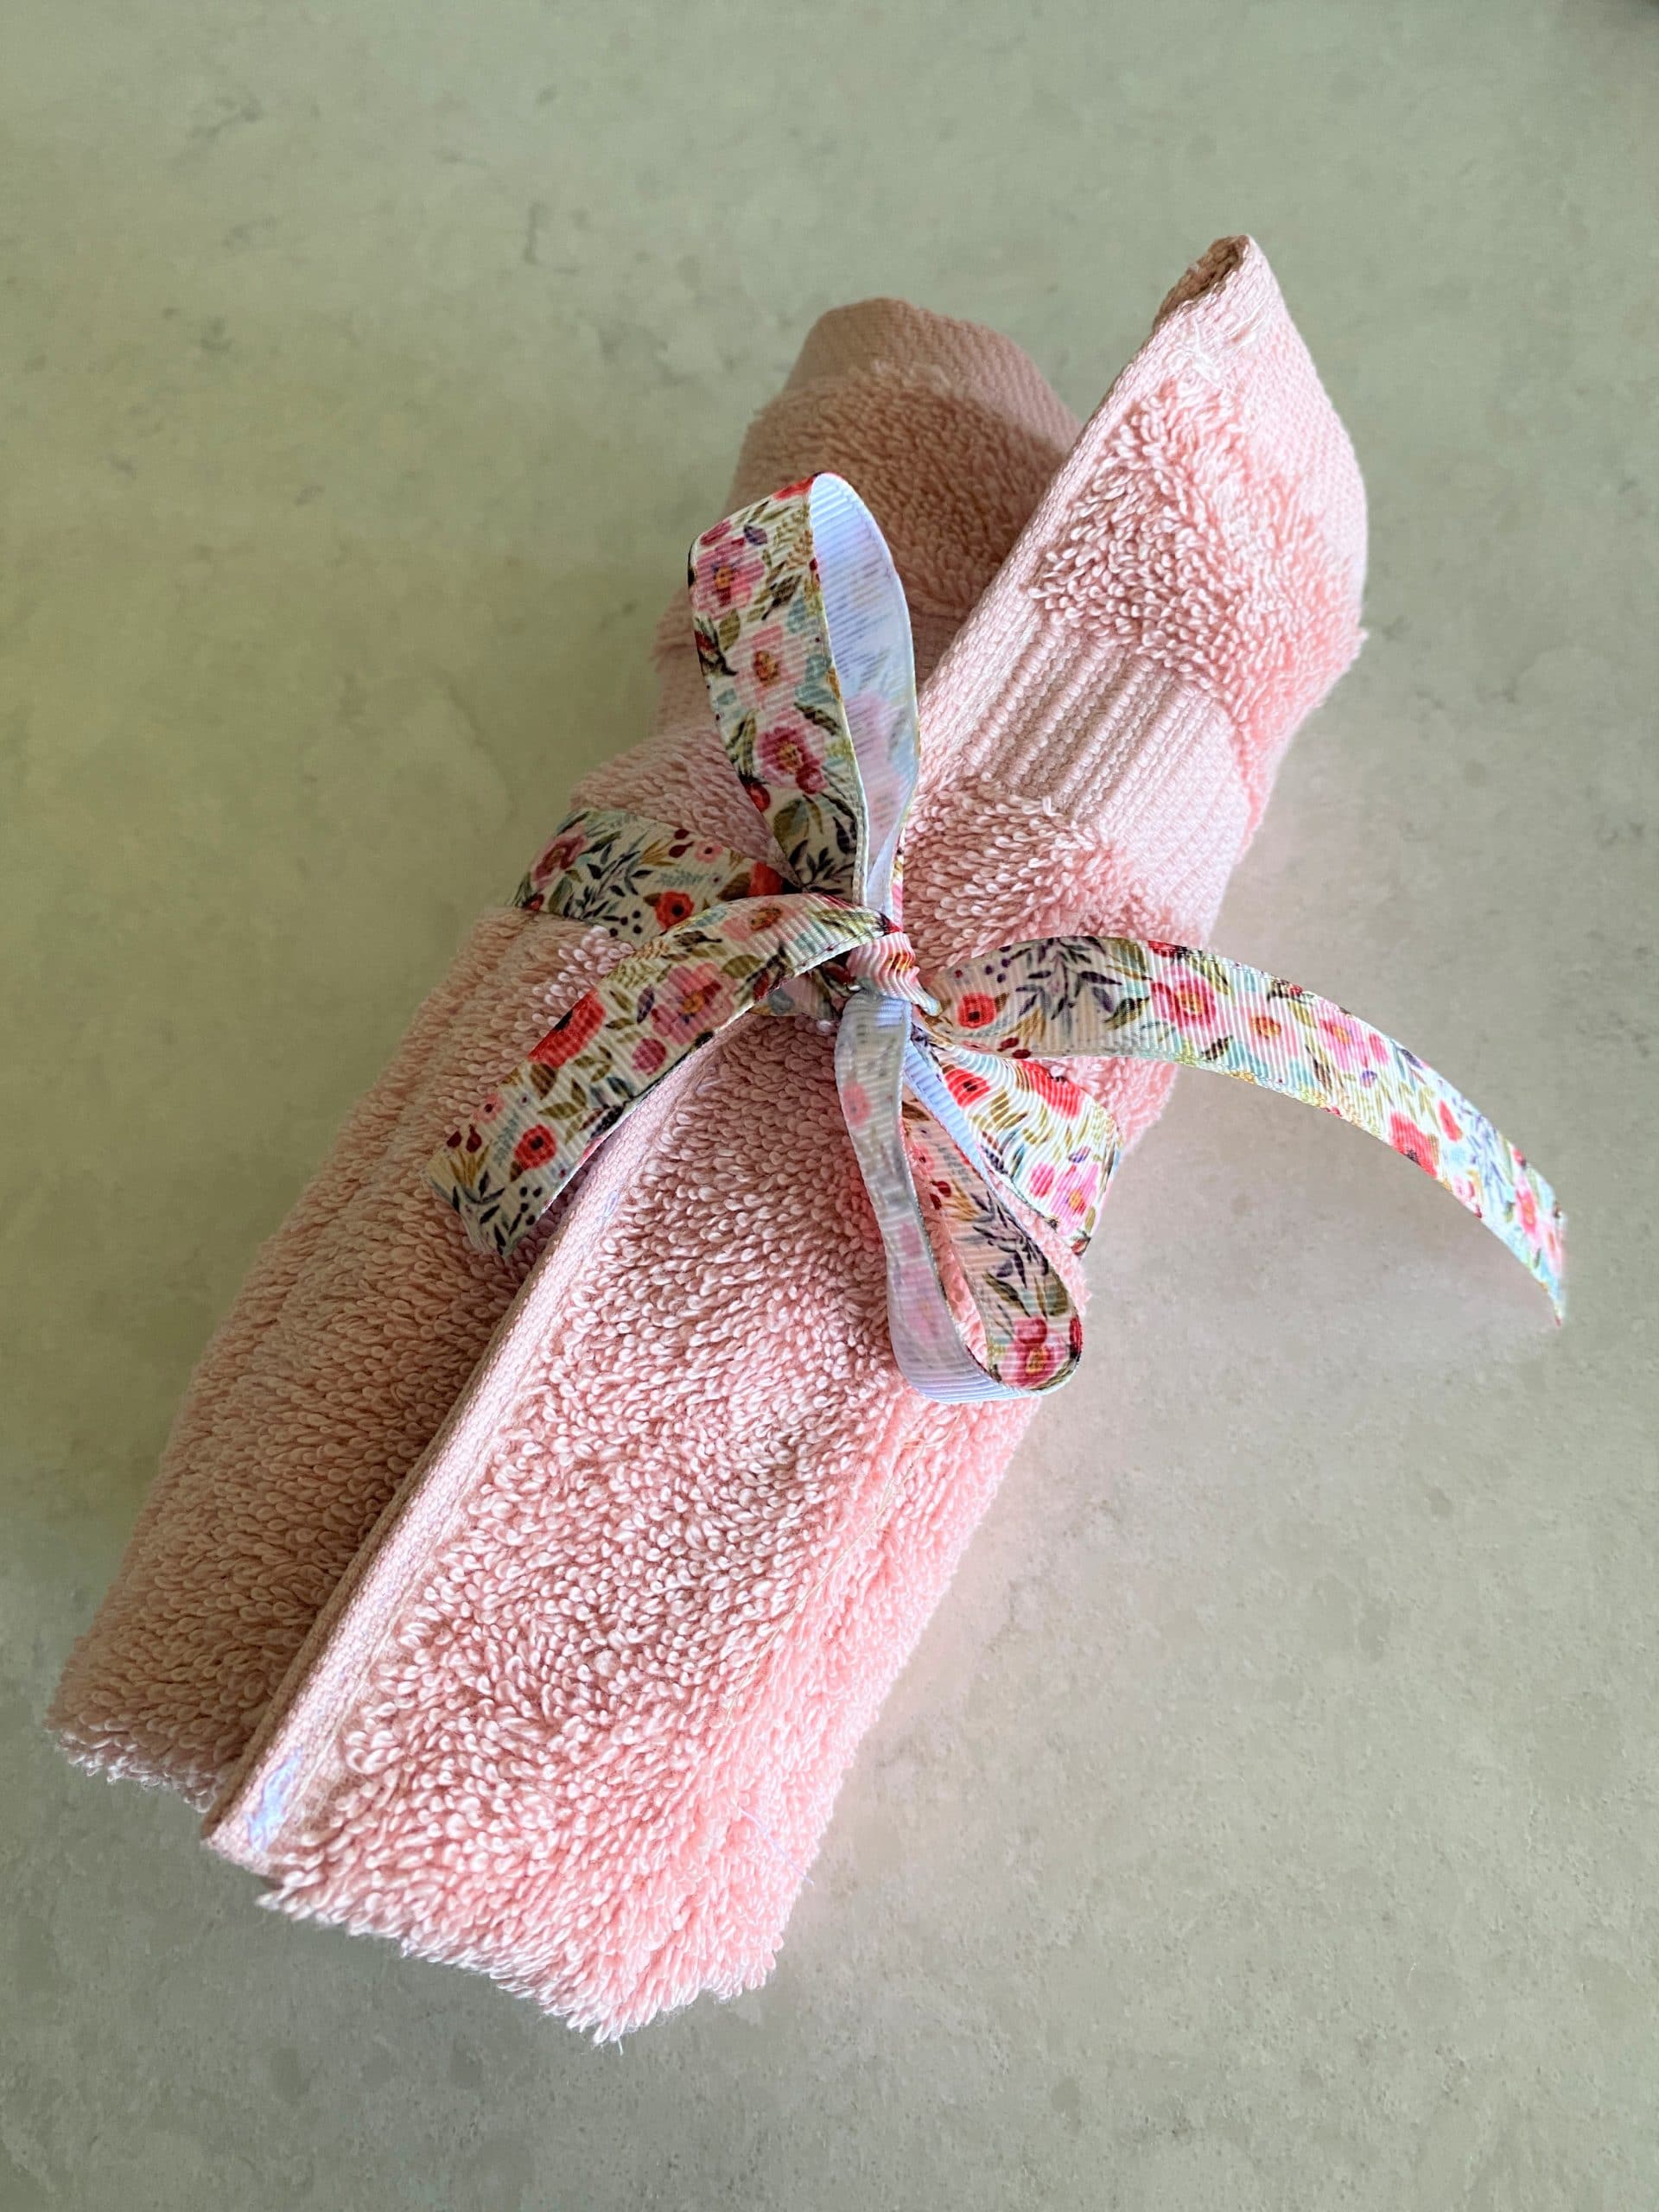
    Place the longer ribbon (design side down) on top of the shorter ribbon (design side up) and pin inside the right side of the washcloth (like in below image).

    Sew the right side of the washcloth closed attaching the ribbon while doing so.

    Attaching the ribbon like this ensures there’s enough ribbon to wrap around the roll and then tie with the shorter ribbon.

    The last thing I did was take a lighter and lightly singe the ends of the ribbon to prevent fraying.  You could also fold down the end and sew to make a nice finished edge to the ribbon.

    Ta-Da!  You’re done!

    As always, I’d love to see your finished products!  You can post them to our Facebook page at facebook.com/beavercreekcommunitylibrary

    Happy Crafting!

    -Morgan
  • Beavercreek Adult Take-and-Make: Soothing Eye Mask

    Sign up for your kit here:  

    HELLO CRAFTERS!

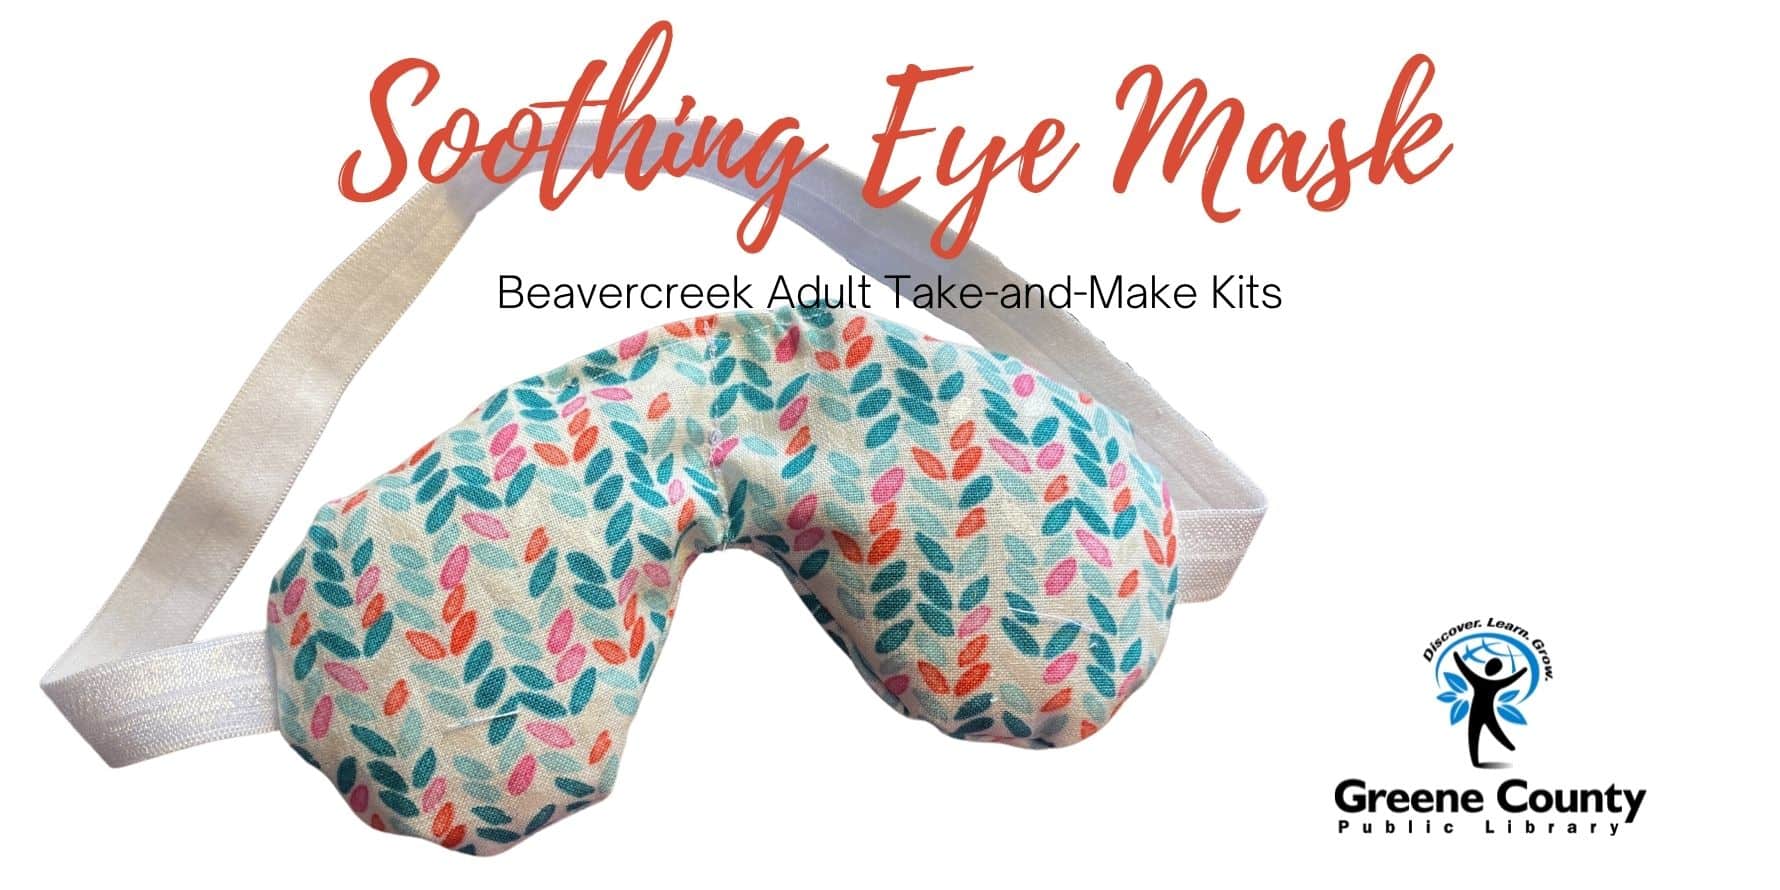
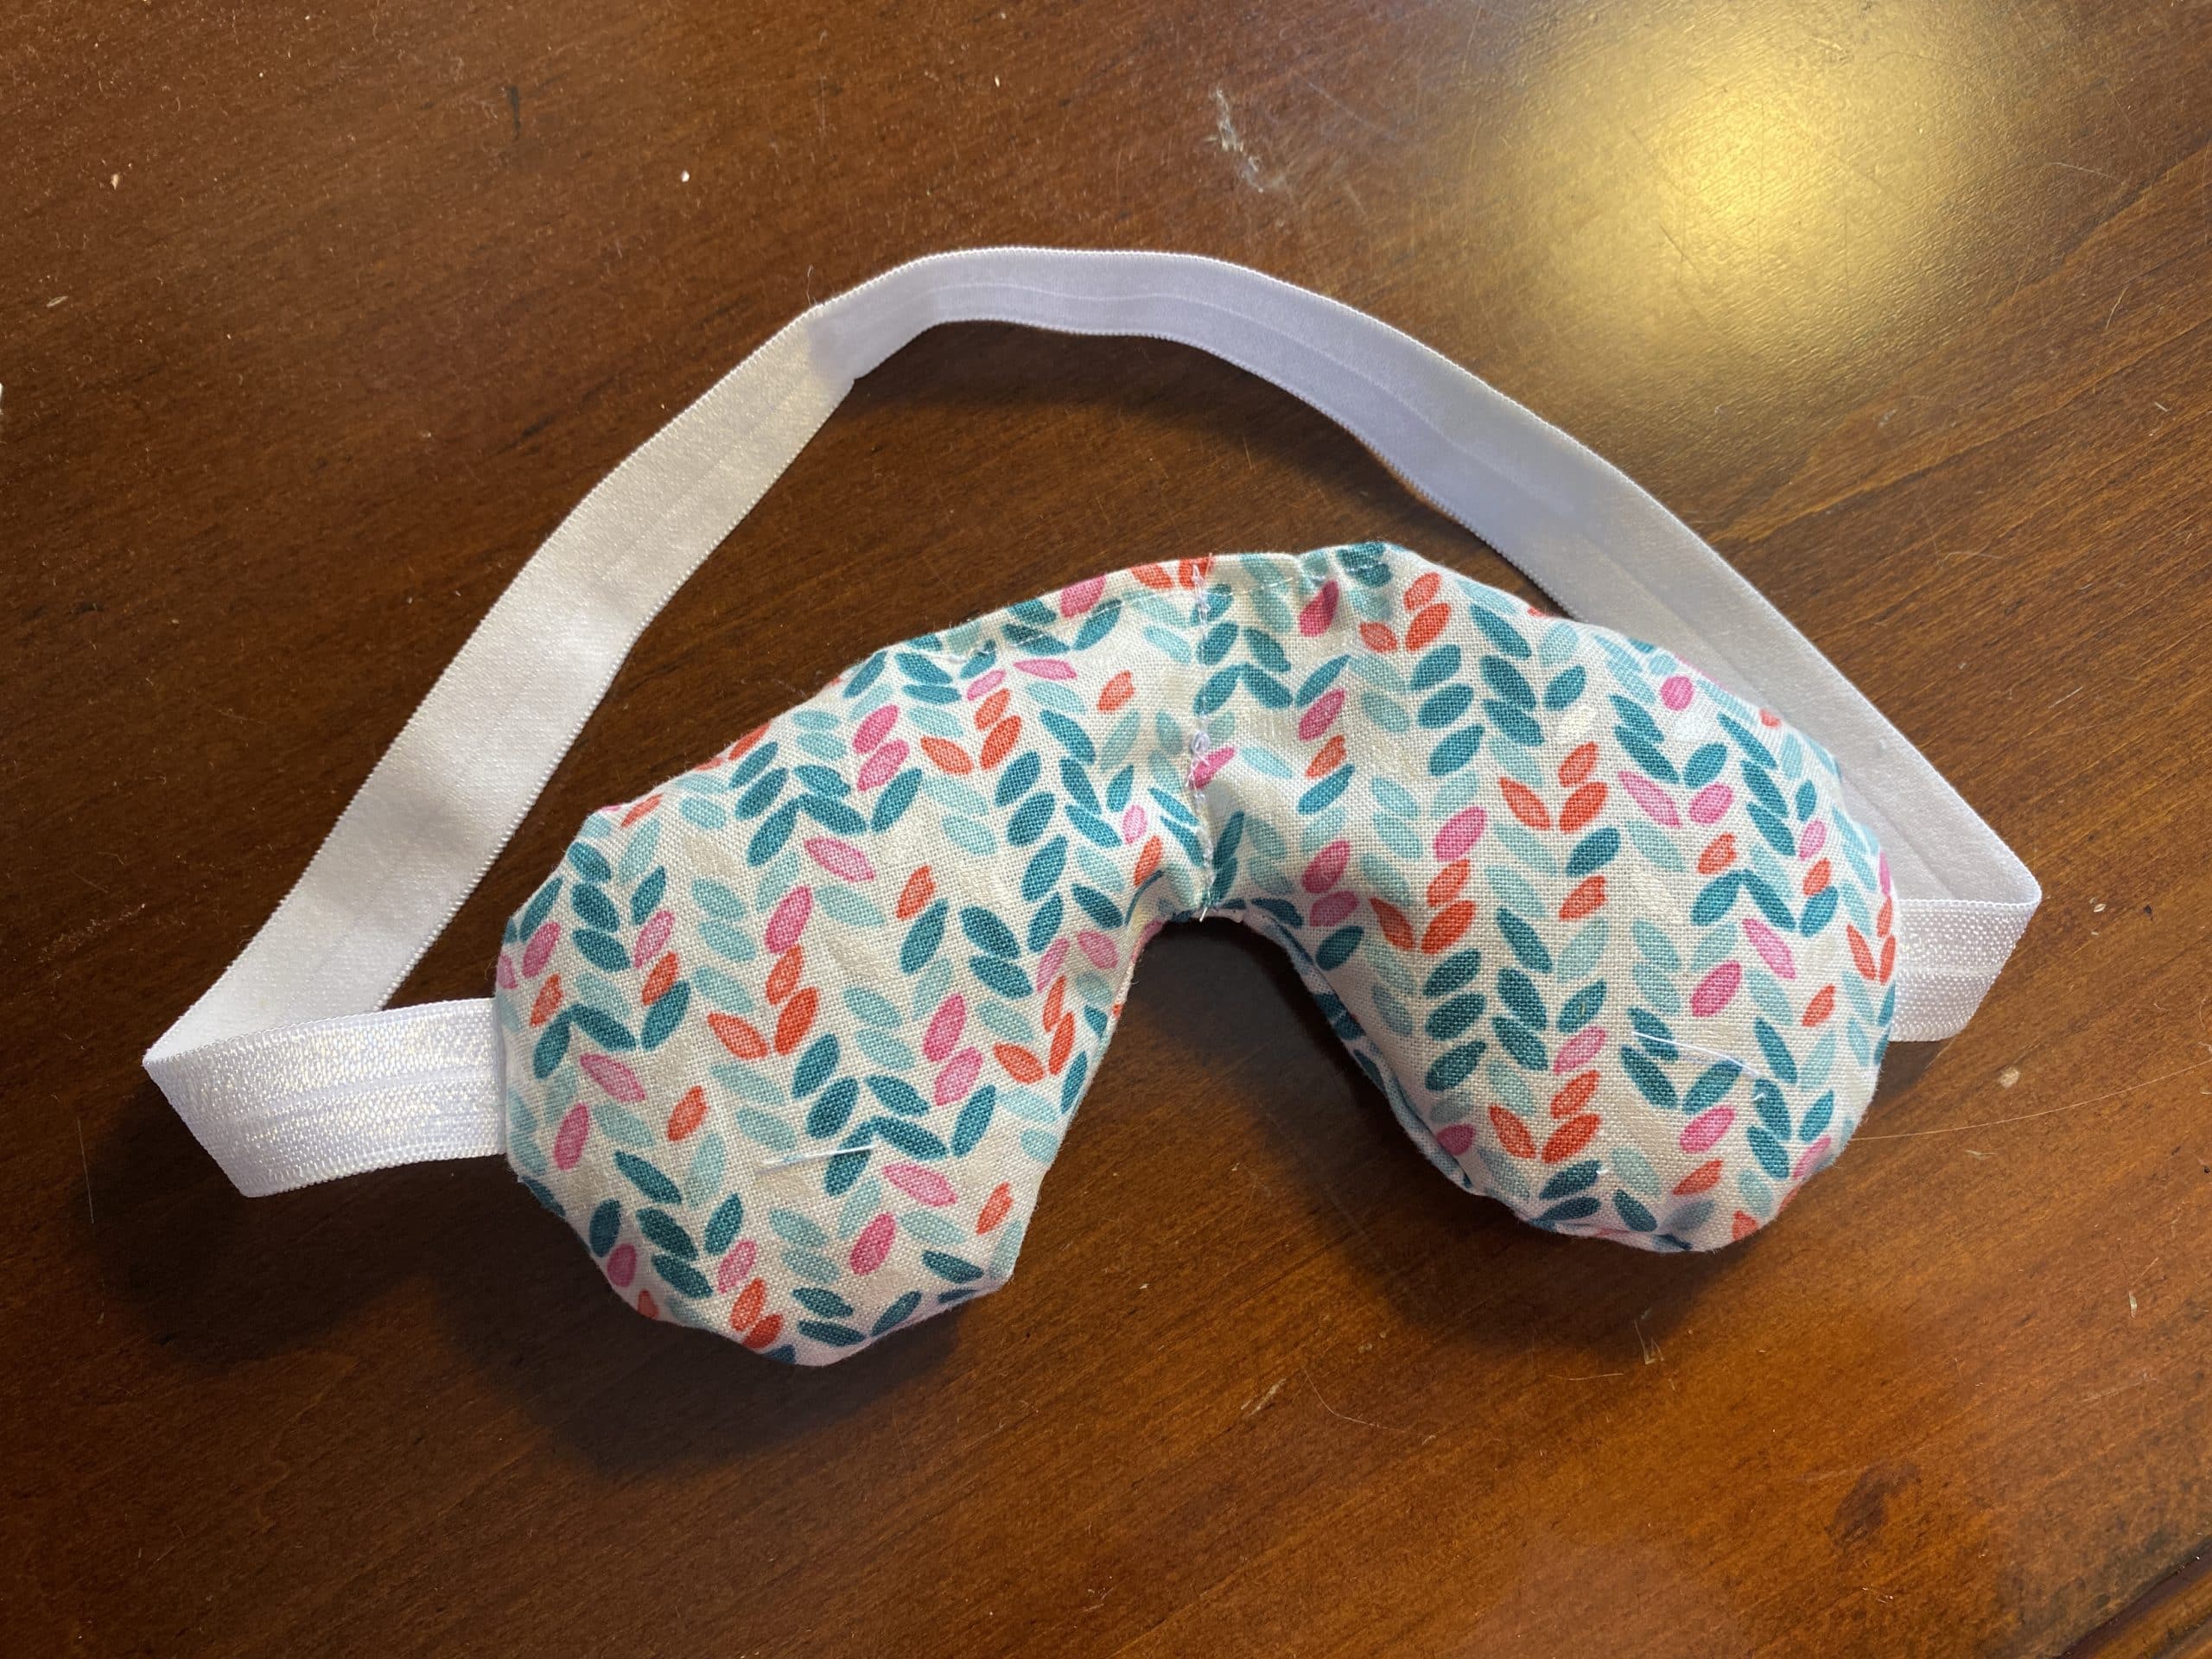
    This month we’re making an eye mask that can be put in the freezer and used for headaches or puffy eyes. I’ve been a migraine sufferer for most of my life, so I always have a collection of ice packs and cold eye masks in my freezer.  This pattern was super easy to make and can be reused over and over.  So let’s get started!

    Included in your kit:

    2 – 7.5″ x 4.5″ pieces of fabric

    mung beans

    elastic (optional)

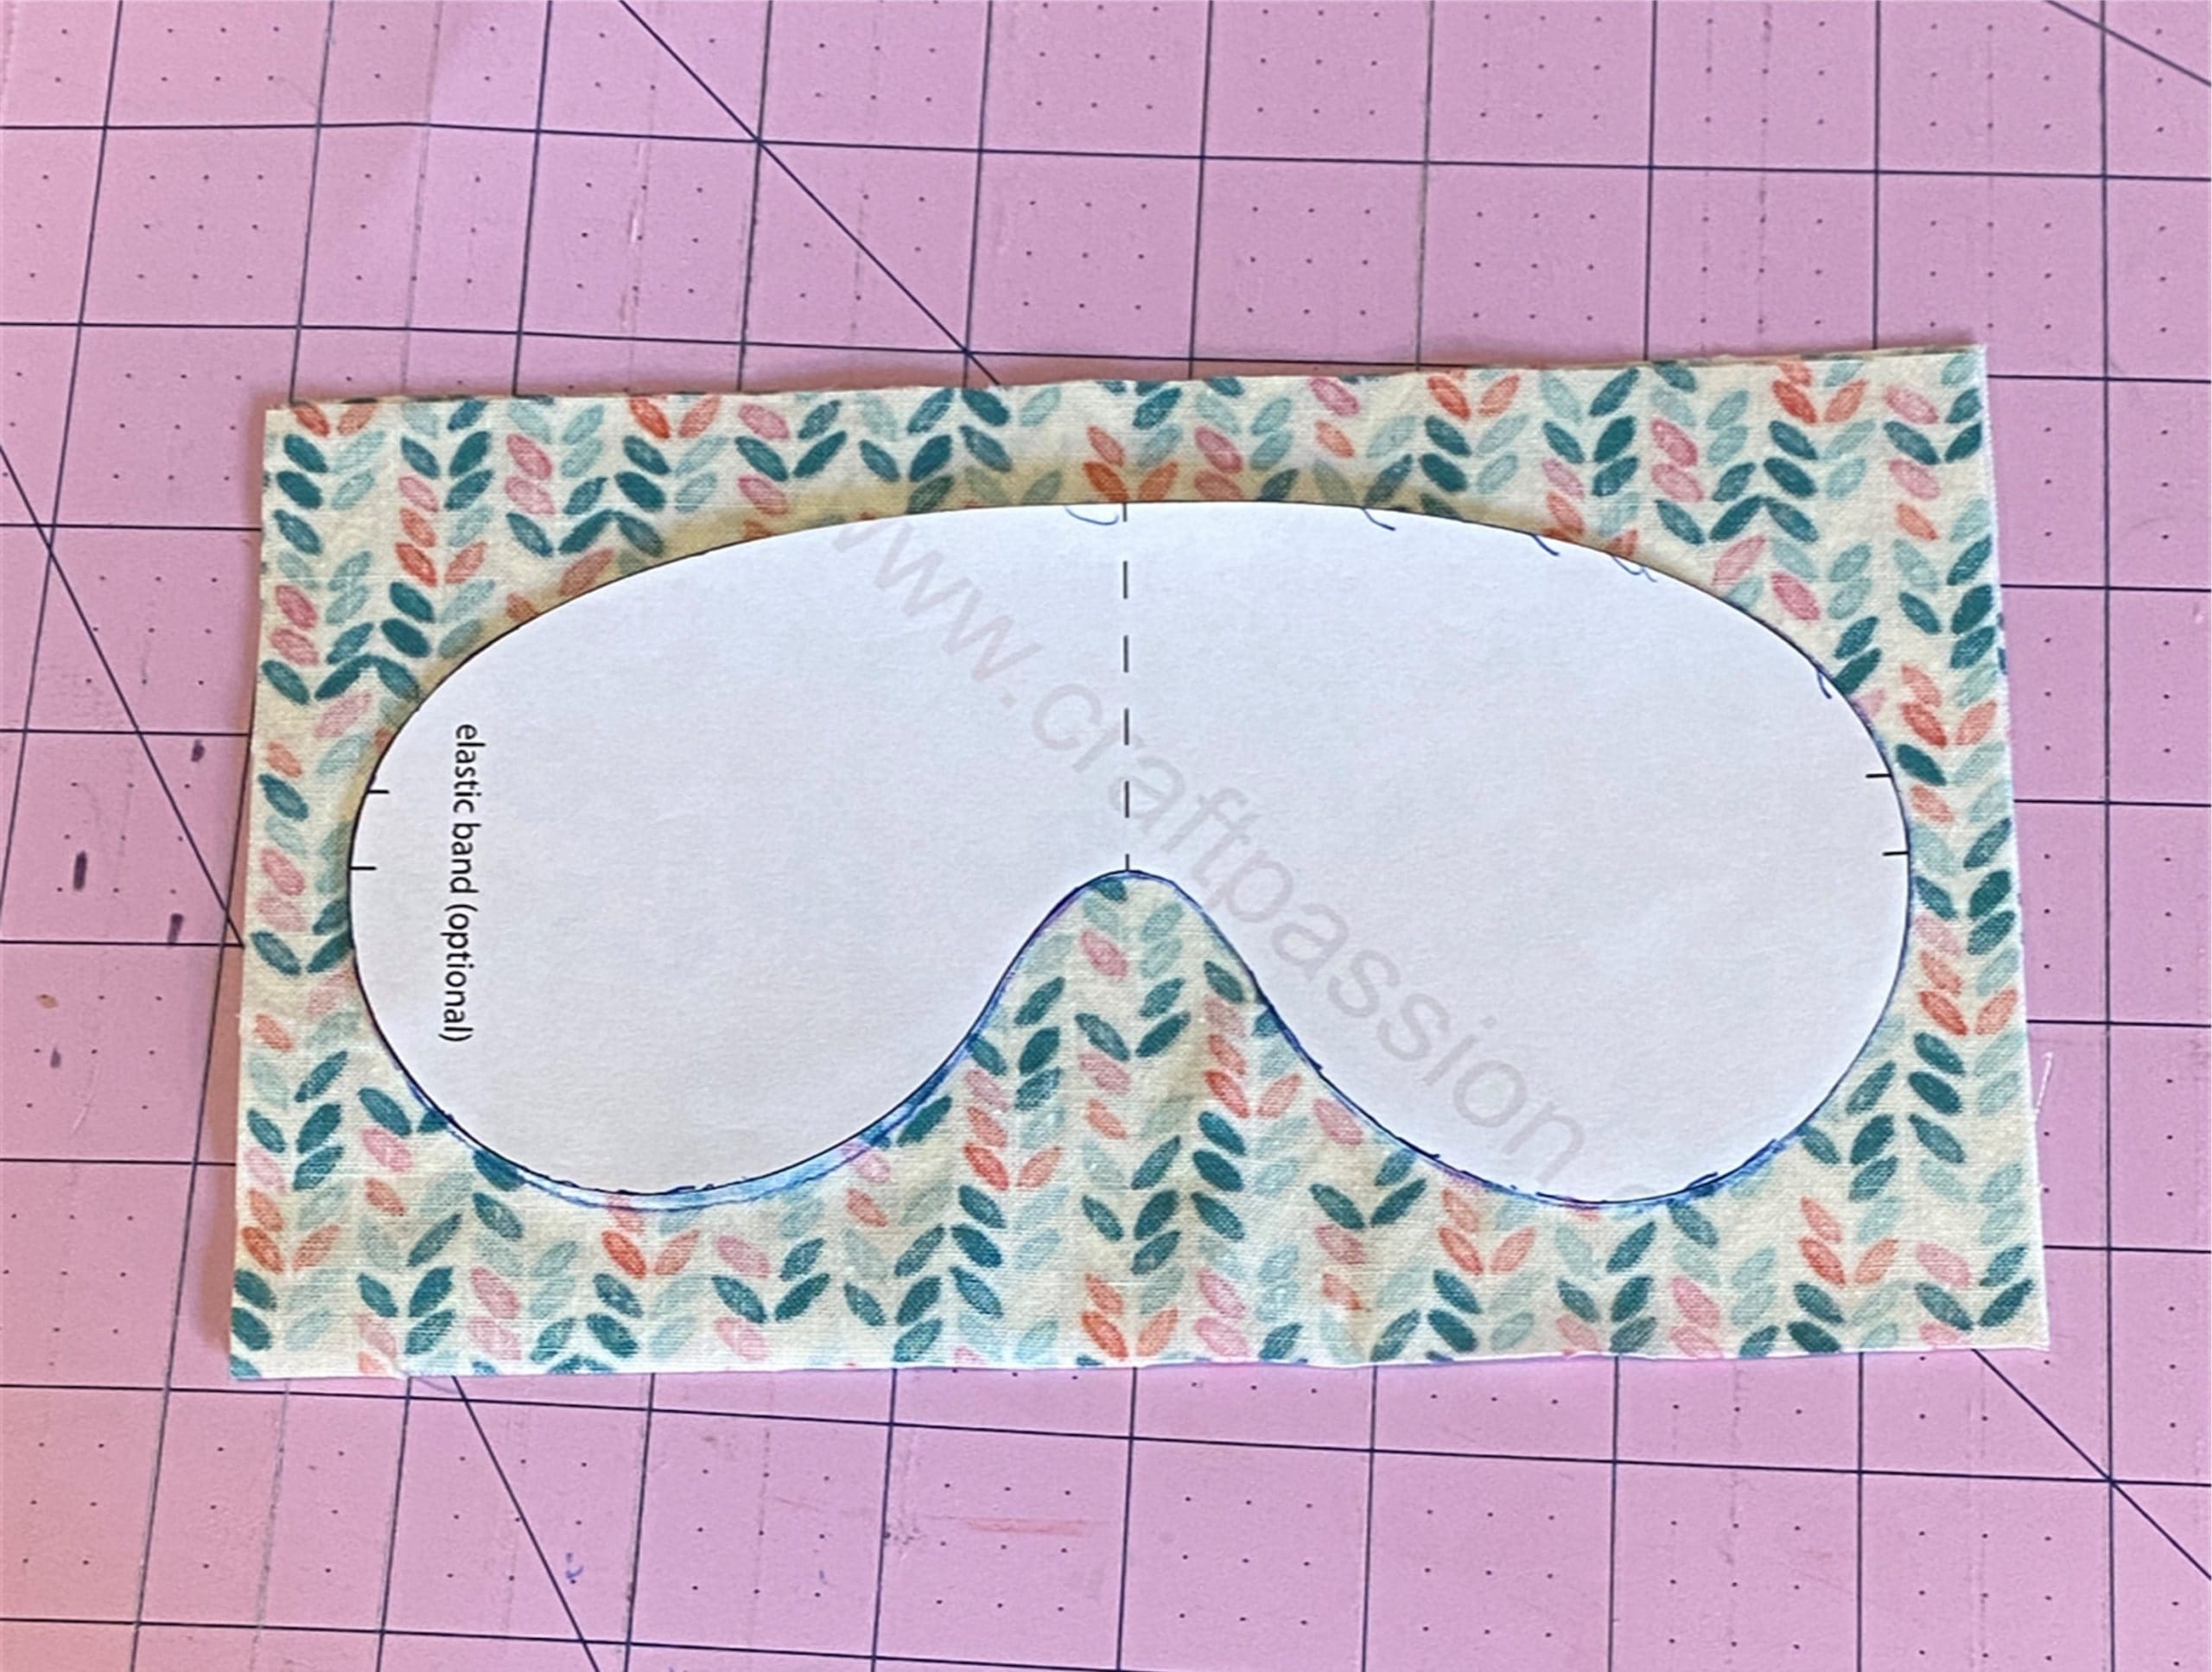
    mask template  

    Not included in your kit:

    Sewing maching

    thread

    scissors

    pins

    I used the following website for step-by-step instructions.  

    Eye Mask Sewing Pattern

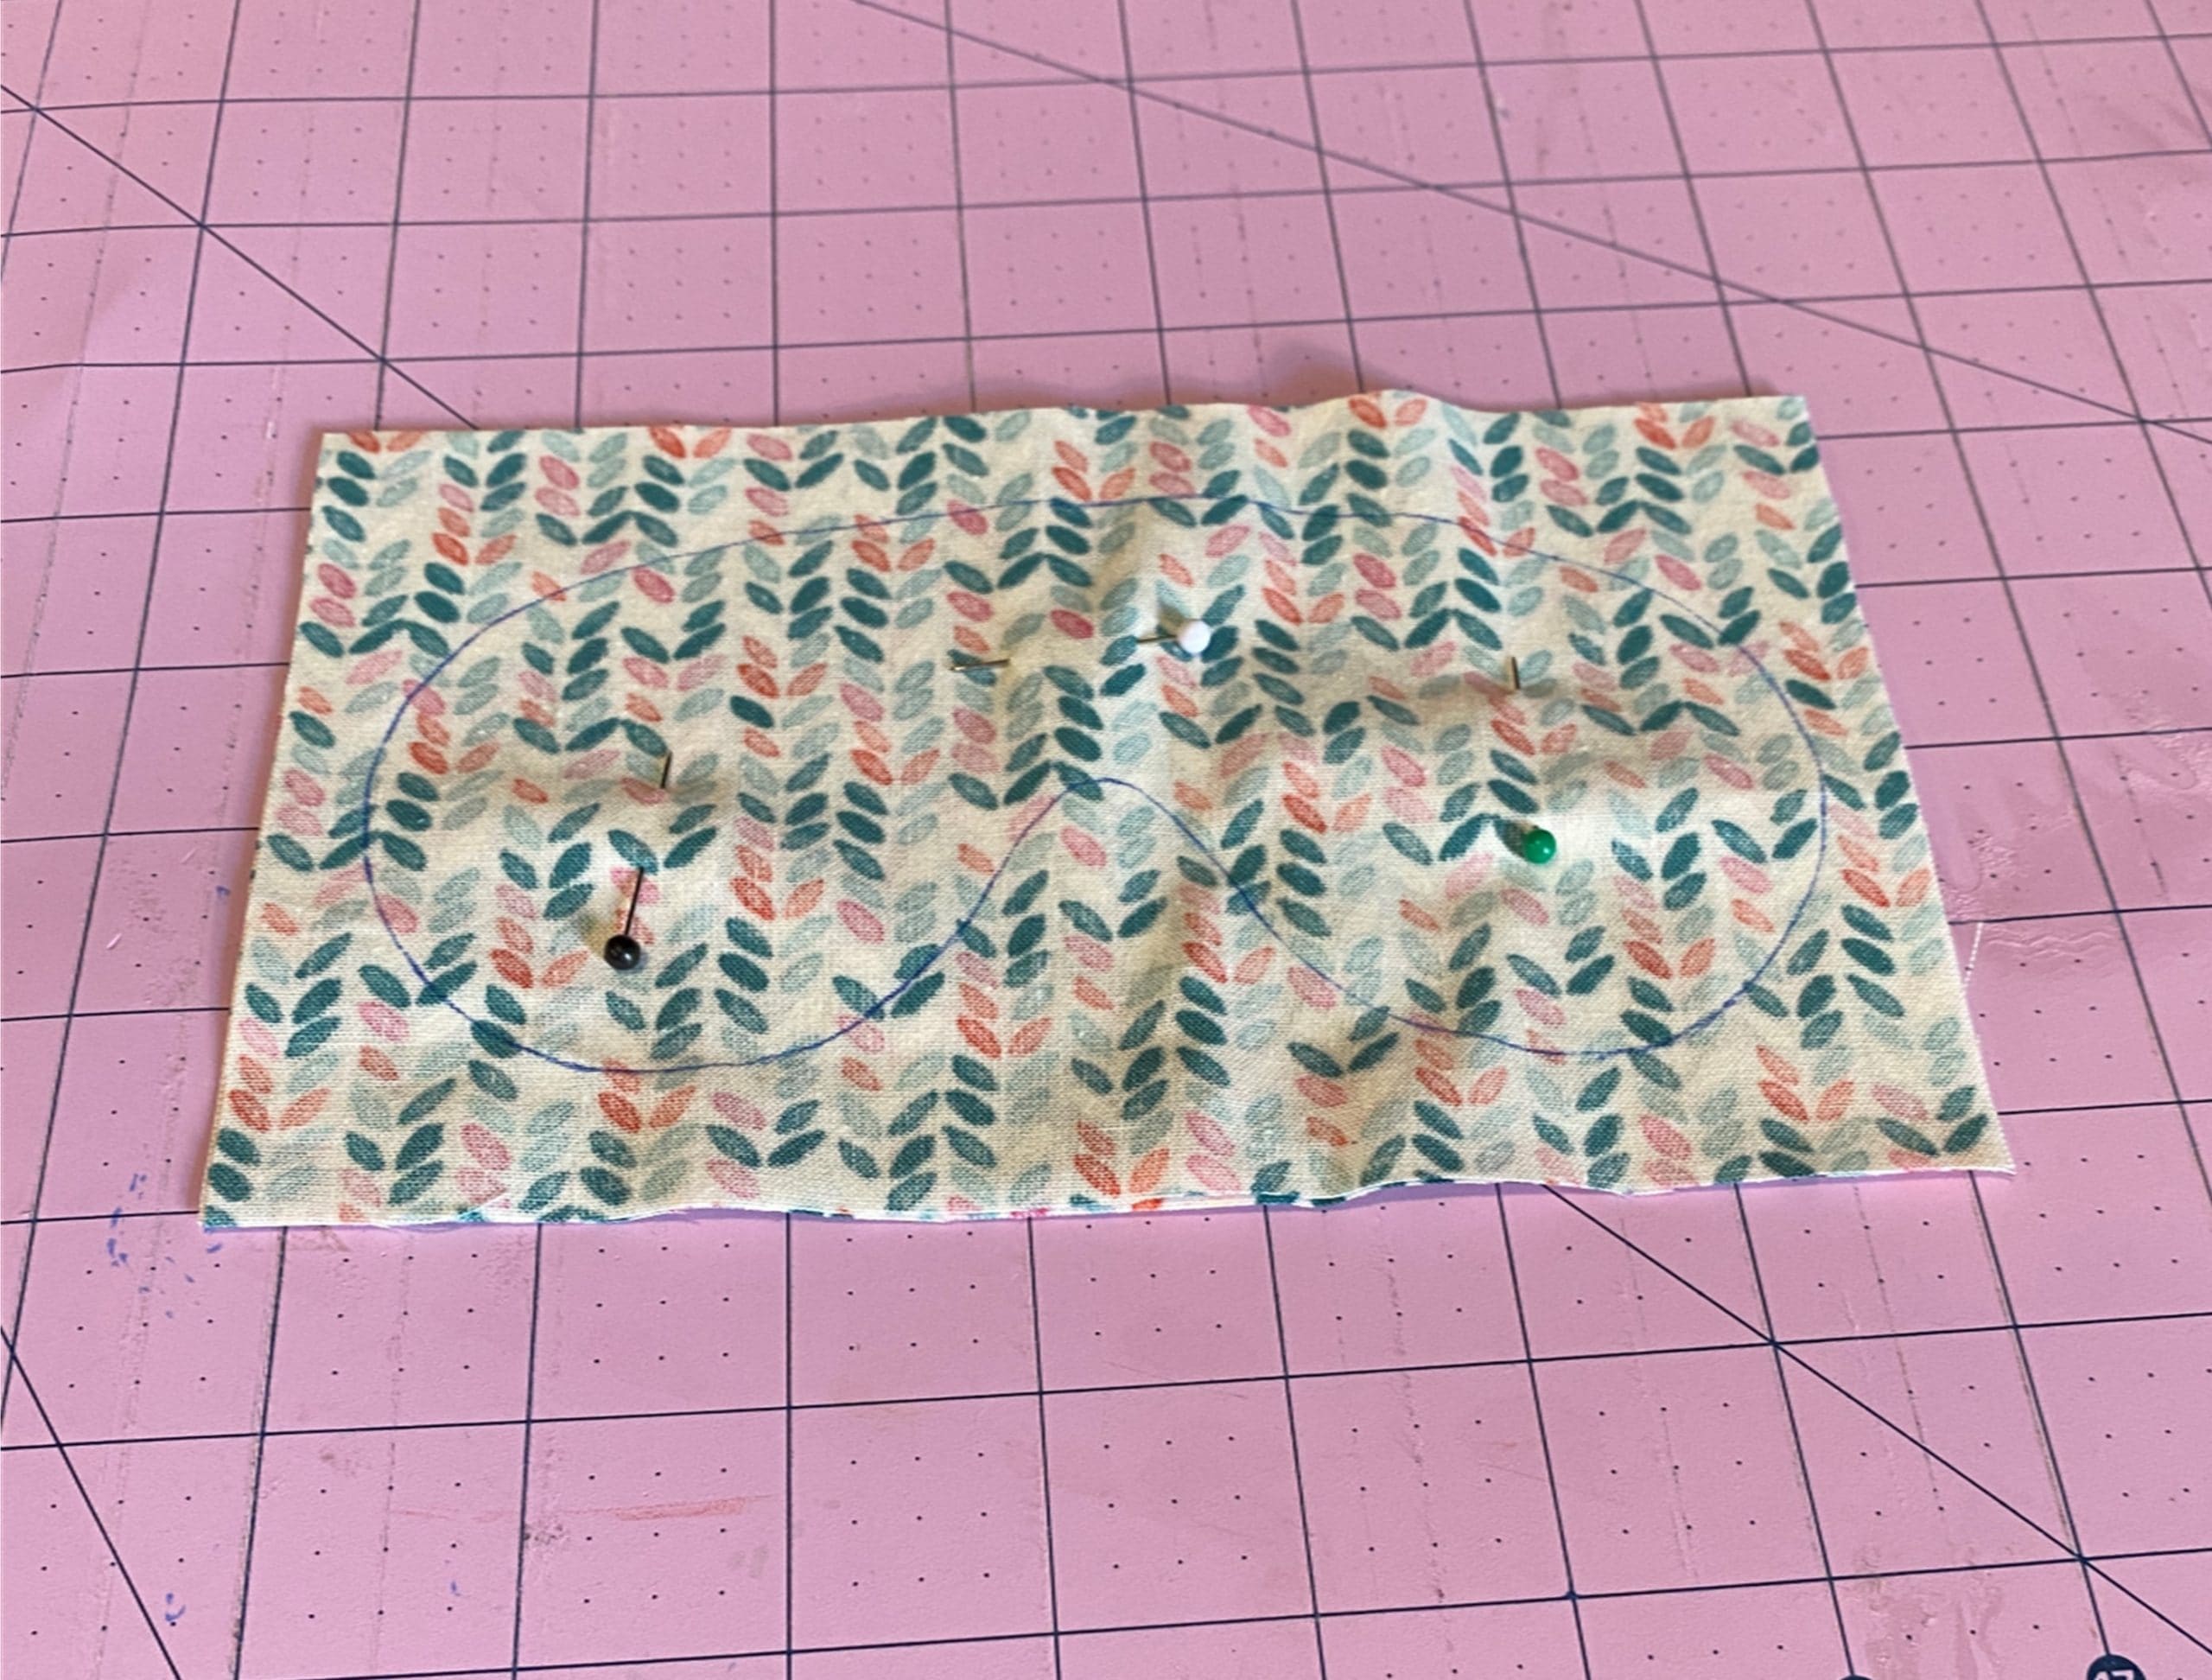
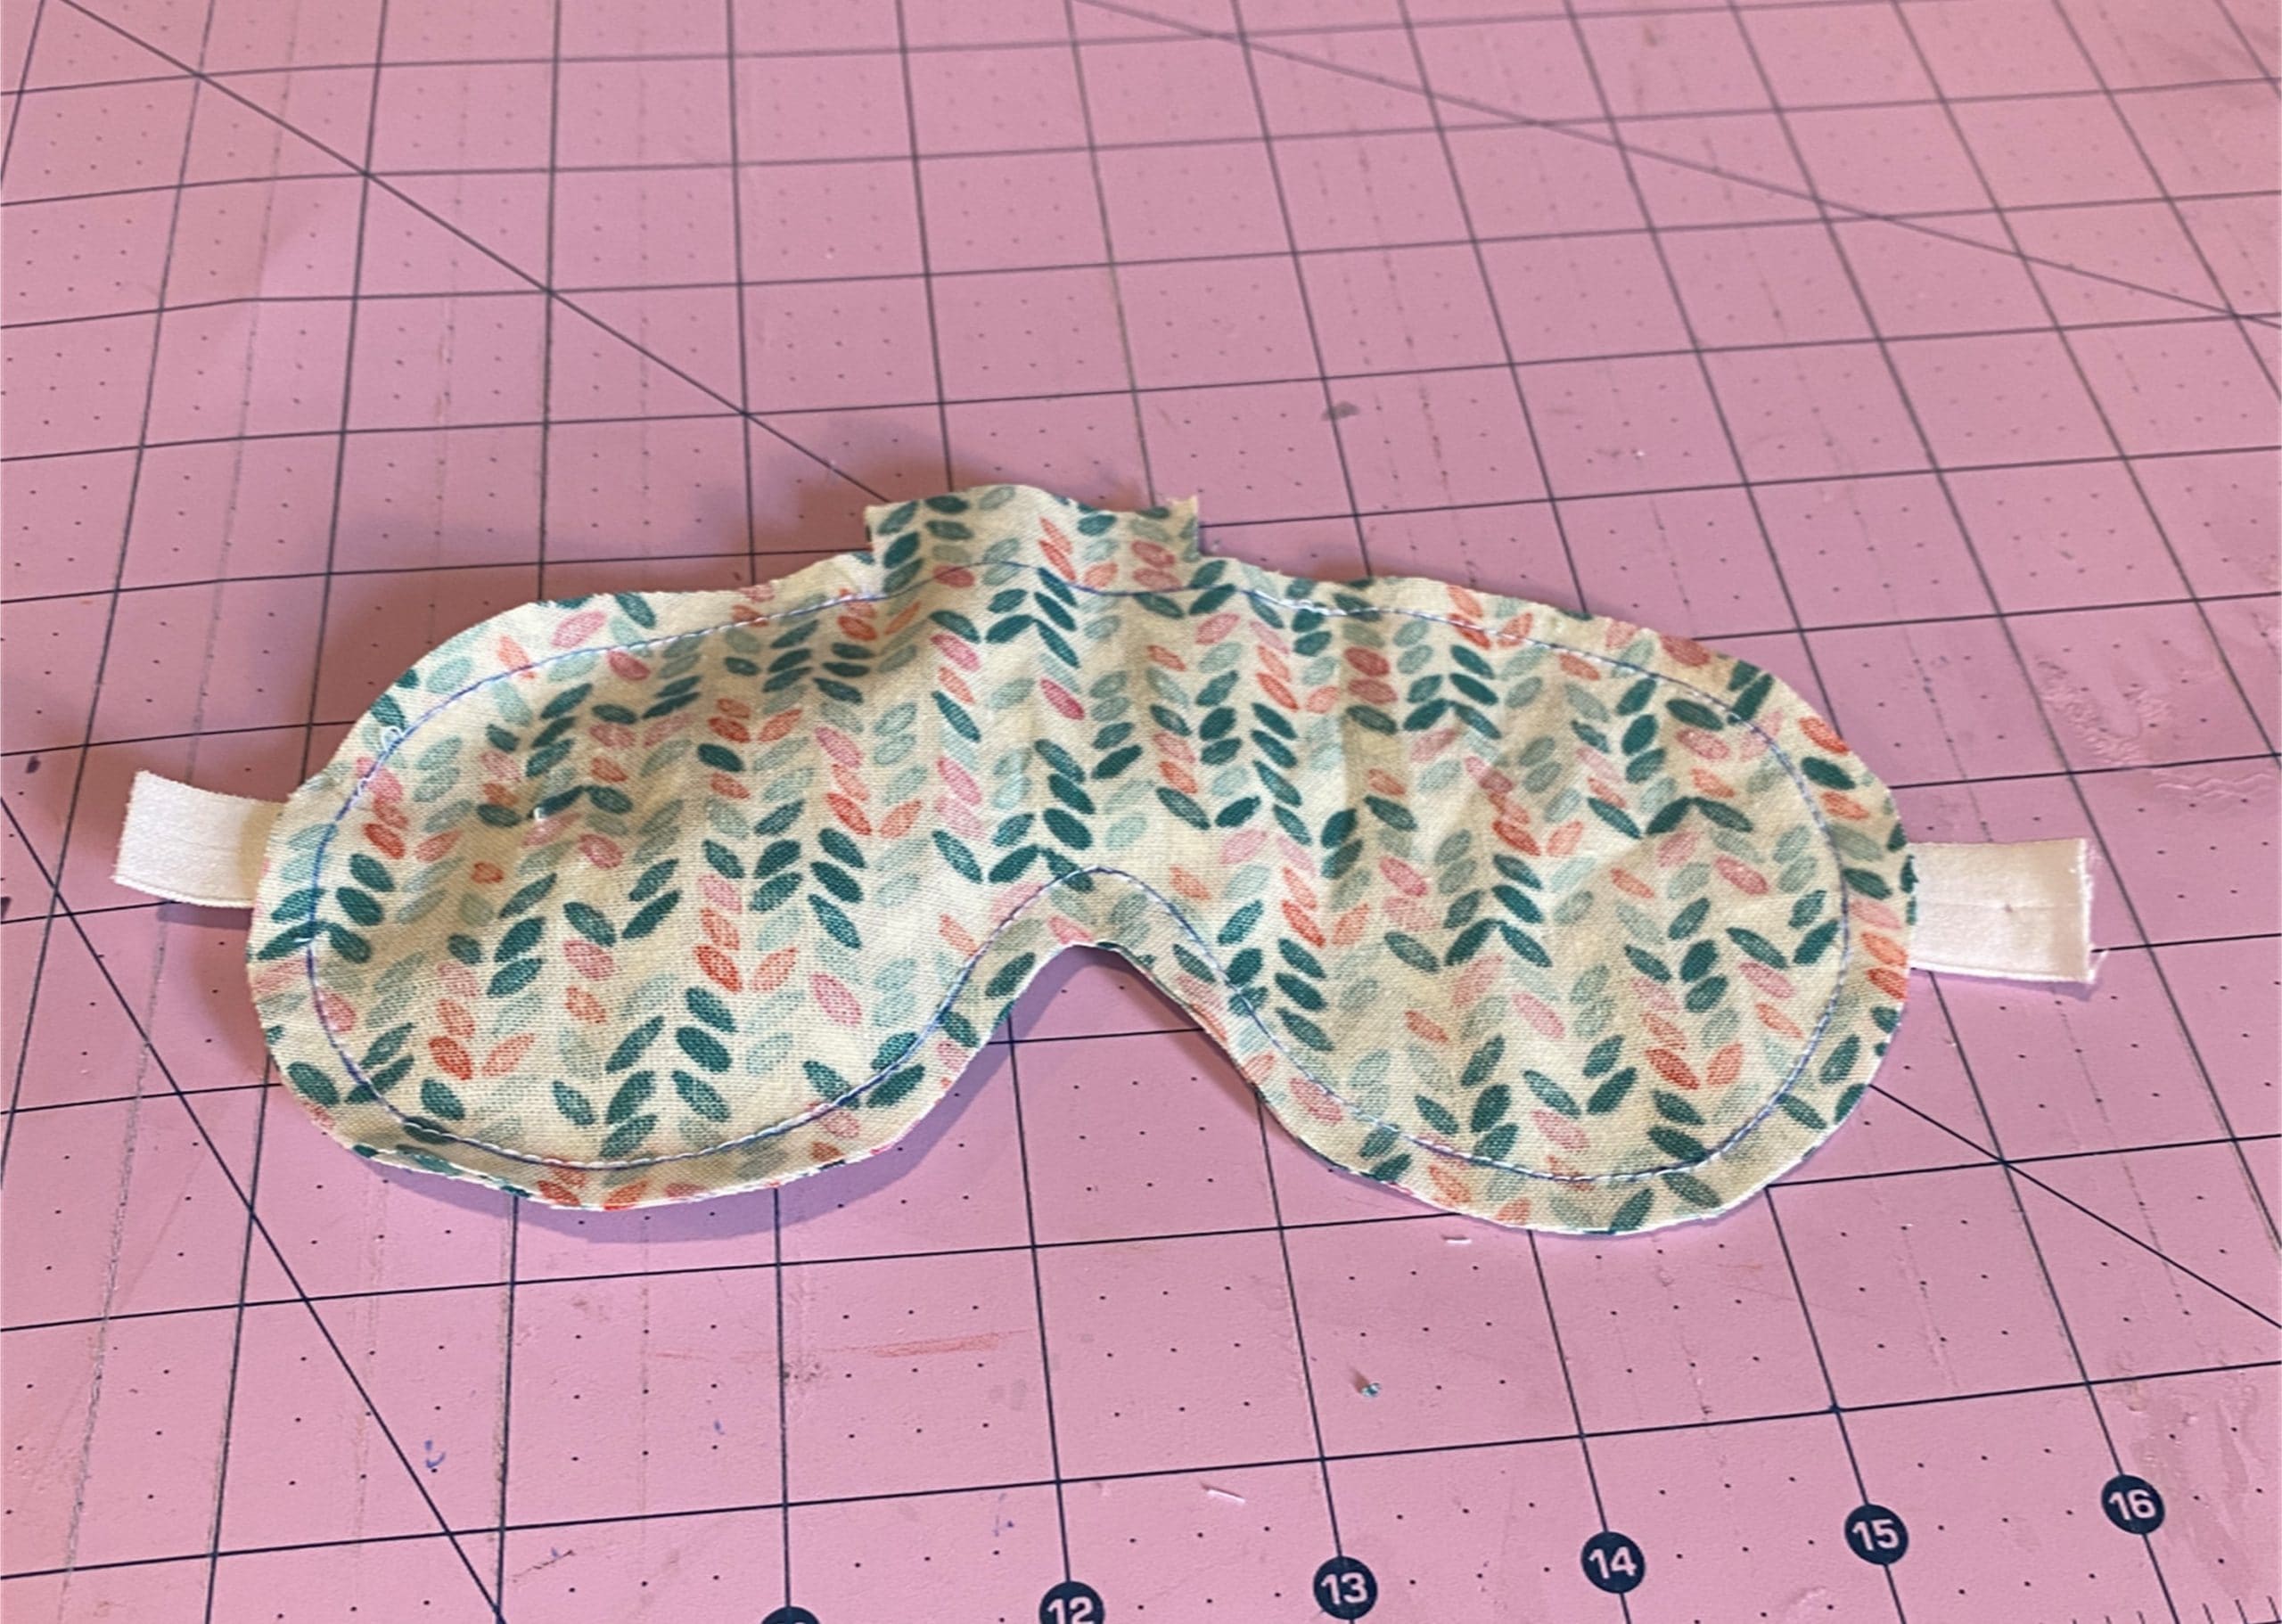
    Here are some pictures of my process:

    As always, I love to see your finished projects!  Post them on our Facebook page:  https://www.facebook.com/BeavercreekCommunityLibrary

    Happy Crafting!

    -Morgan