wlma

Author: mcrumbacher

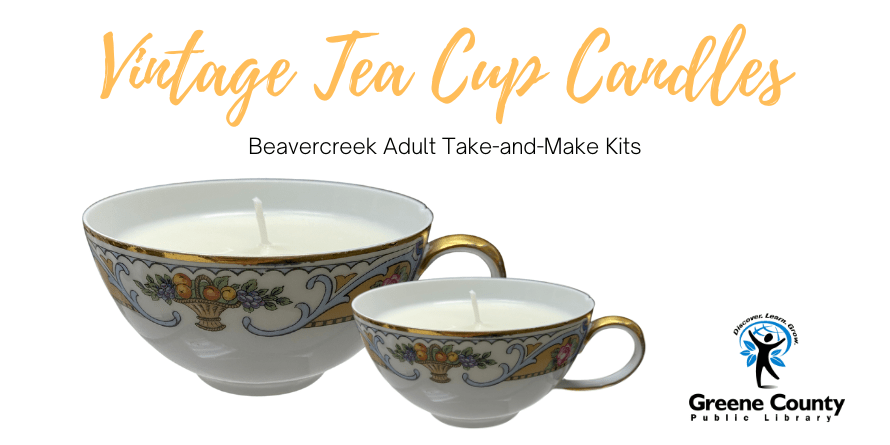
  • Beavercreek Adult Take-and-Make: Vintage Tea Cup Candles

    You guys.  I have been preparing for this month’s take and make craft since last August!  I’ve been frequenting the Goodwill stores in Centerville and Beavercreek and buying up all the vintage (and not so vintage) tea cups I can find.  I’m really excited about this one!

    Please keep in mind that because these tea cups are Goodwill finds, they may not be in perfect condition and some of them are without matching saucers.  No matter what, they are super cute!  They would make a great Valentine’s Day gift for a friend or co-worker – or just enjoy it yourself!  If you like this craft, you can easily pick up more tea cups and go to town!

    Included in your kit:

    1 tea cup or tea cup set – Goodwill

    2 cups of soy wax flakes – https://www.amazon.com/gp/product/B07PCWGHD4/ref=ppx_yo_dt_b_asin_title_o00_s00?ie=UTF8&psc=1

    2 candle wicks – came included with the wax flakes

    Not included in your kit:

    scissors

    1 sauce pan

    1 glass measuring cup (at least 2 cups)

    2 pencils or chopsticks

    rubber bands

    essential oils for adding scent (totally optional)

    I used this website for instructions:  https://yesmissy.com/diy-teacup-candles/

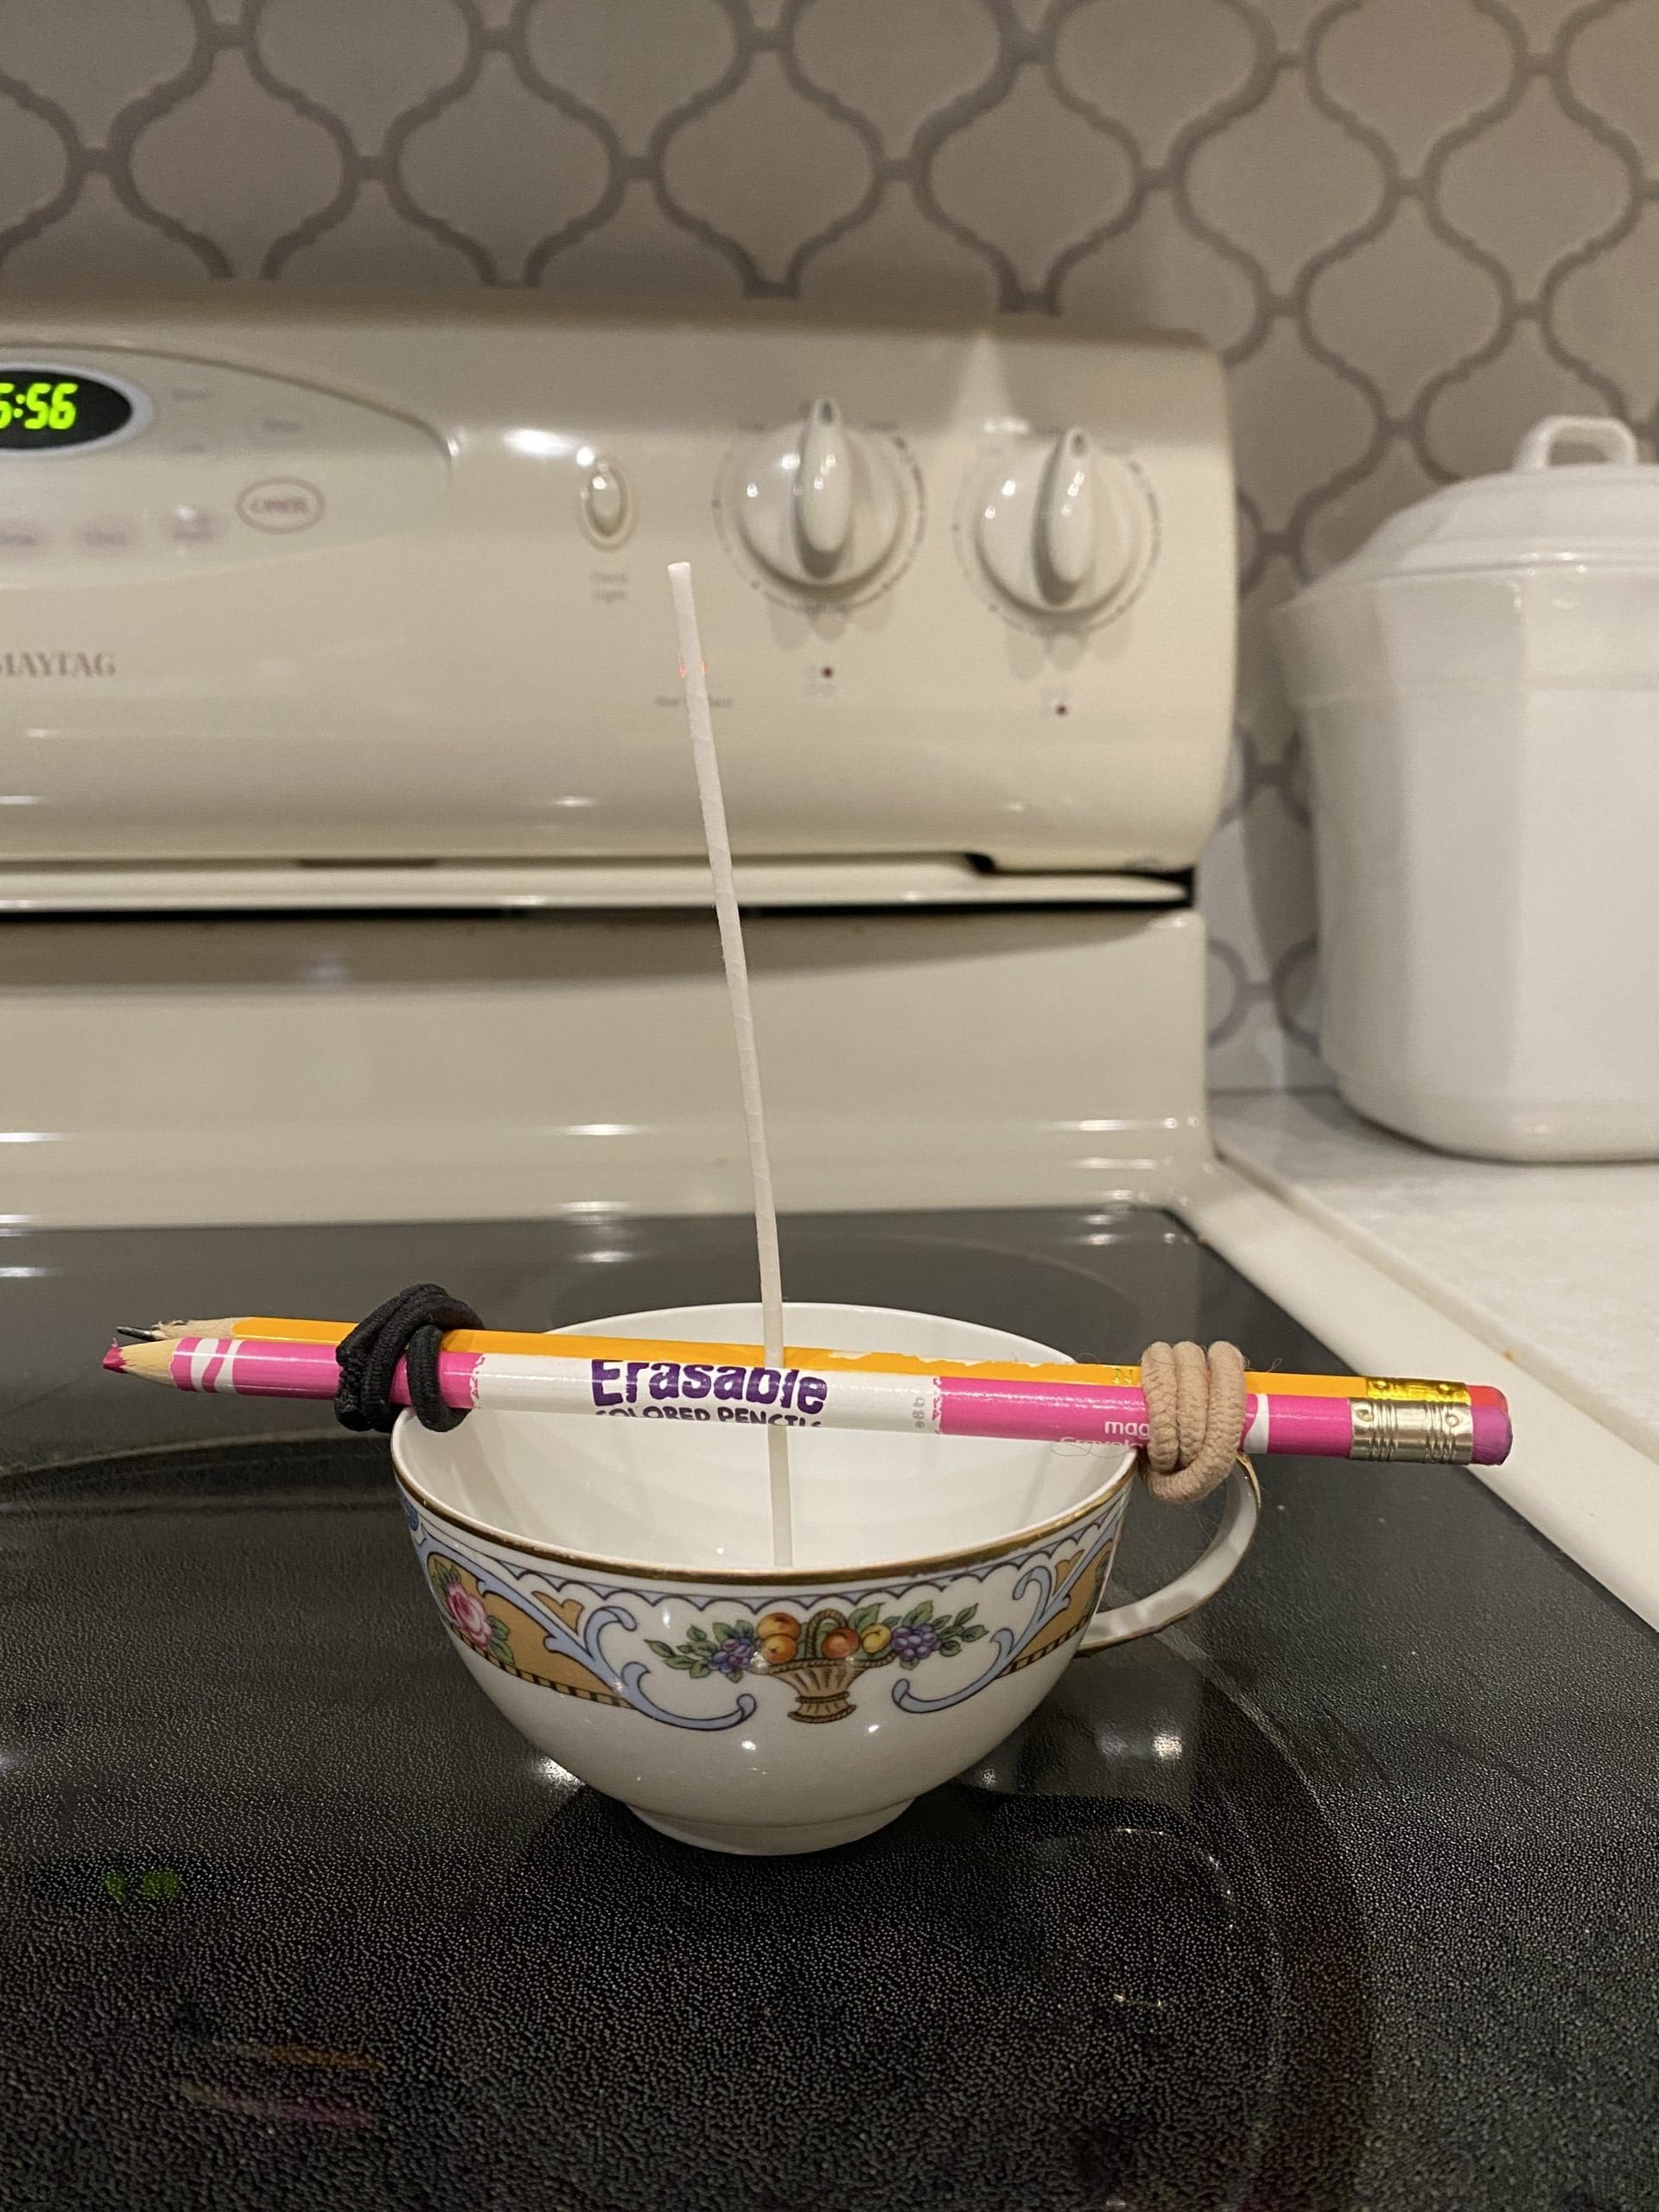
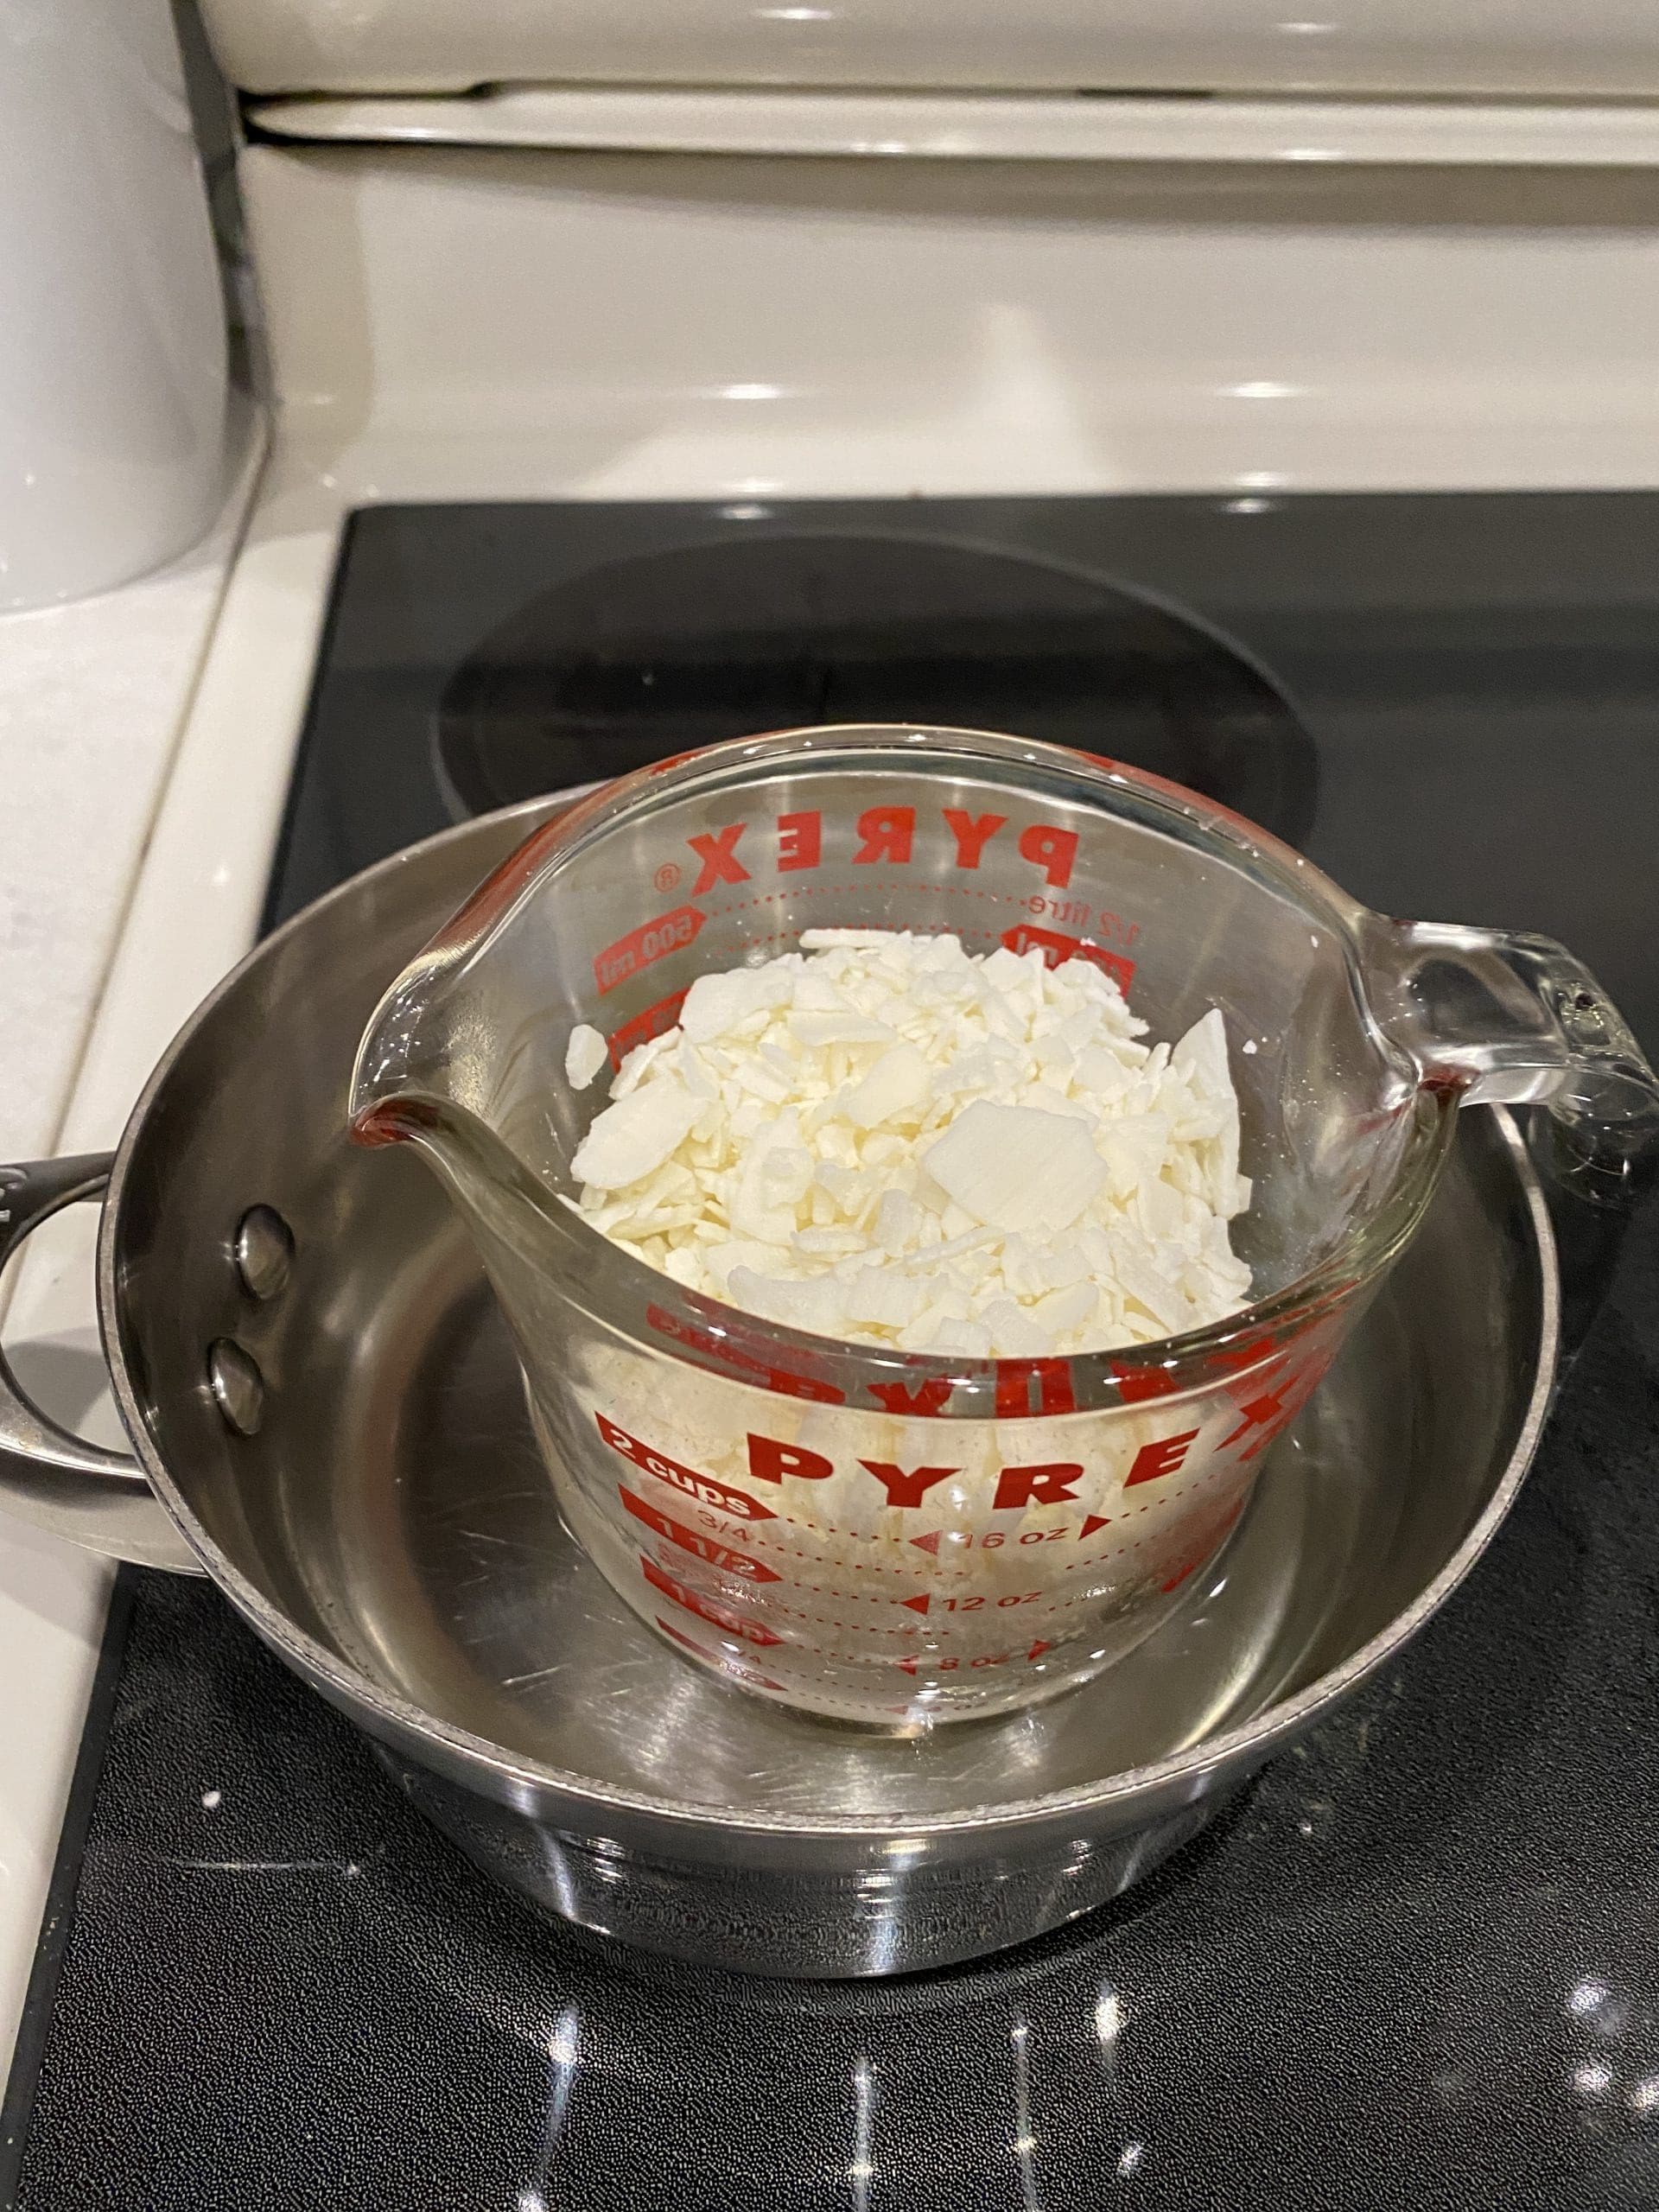
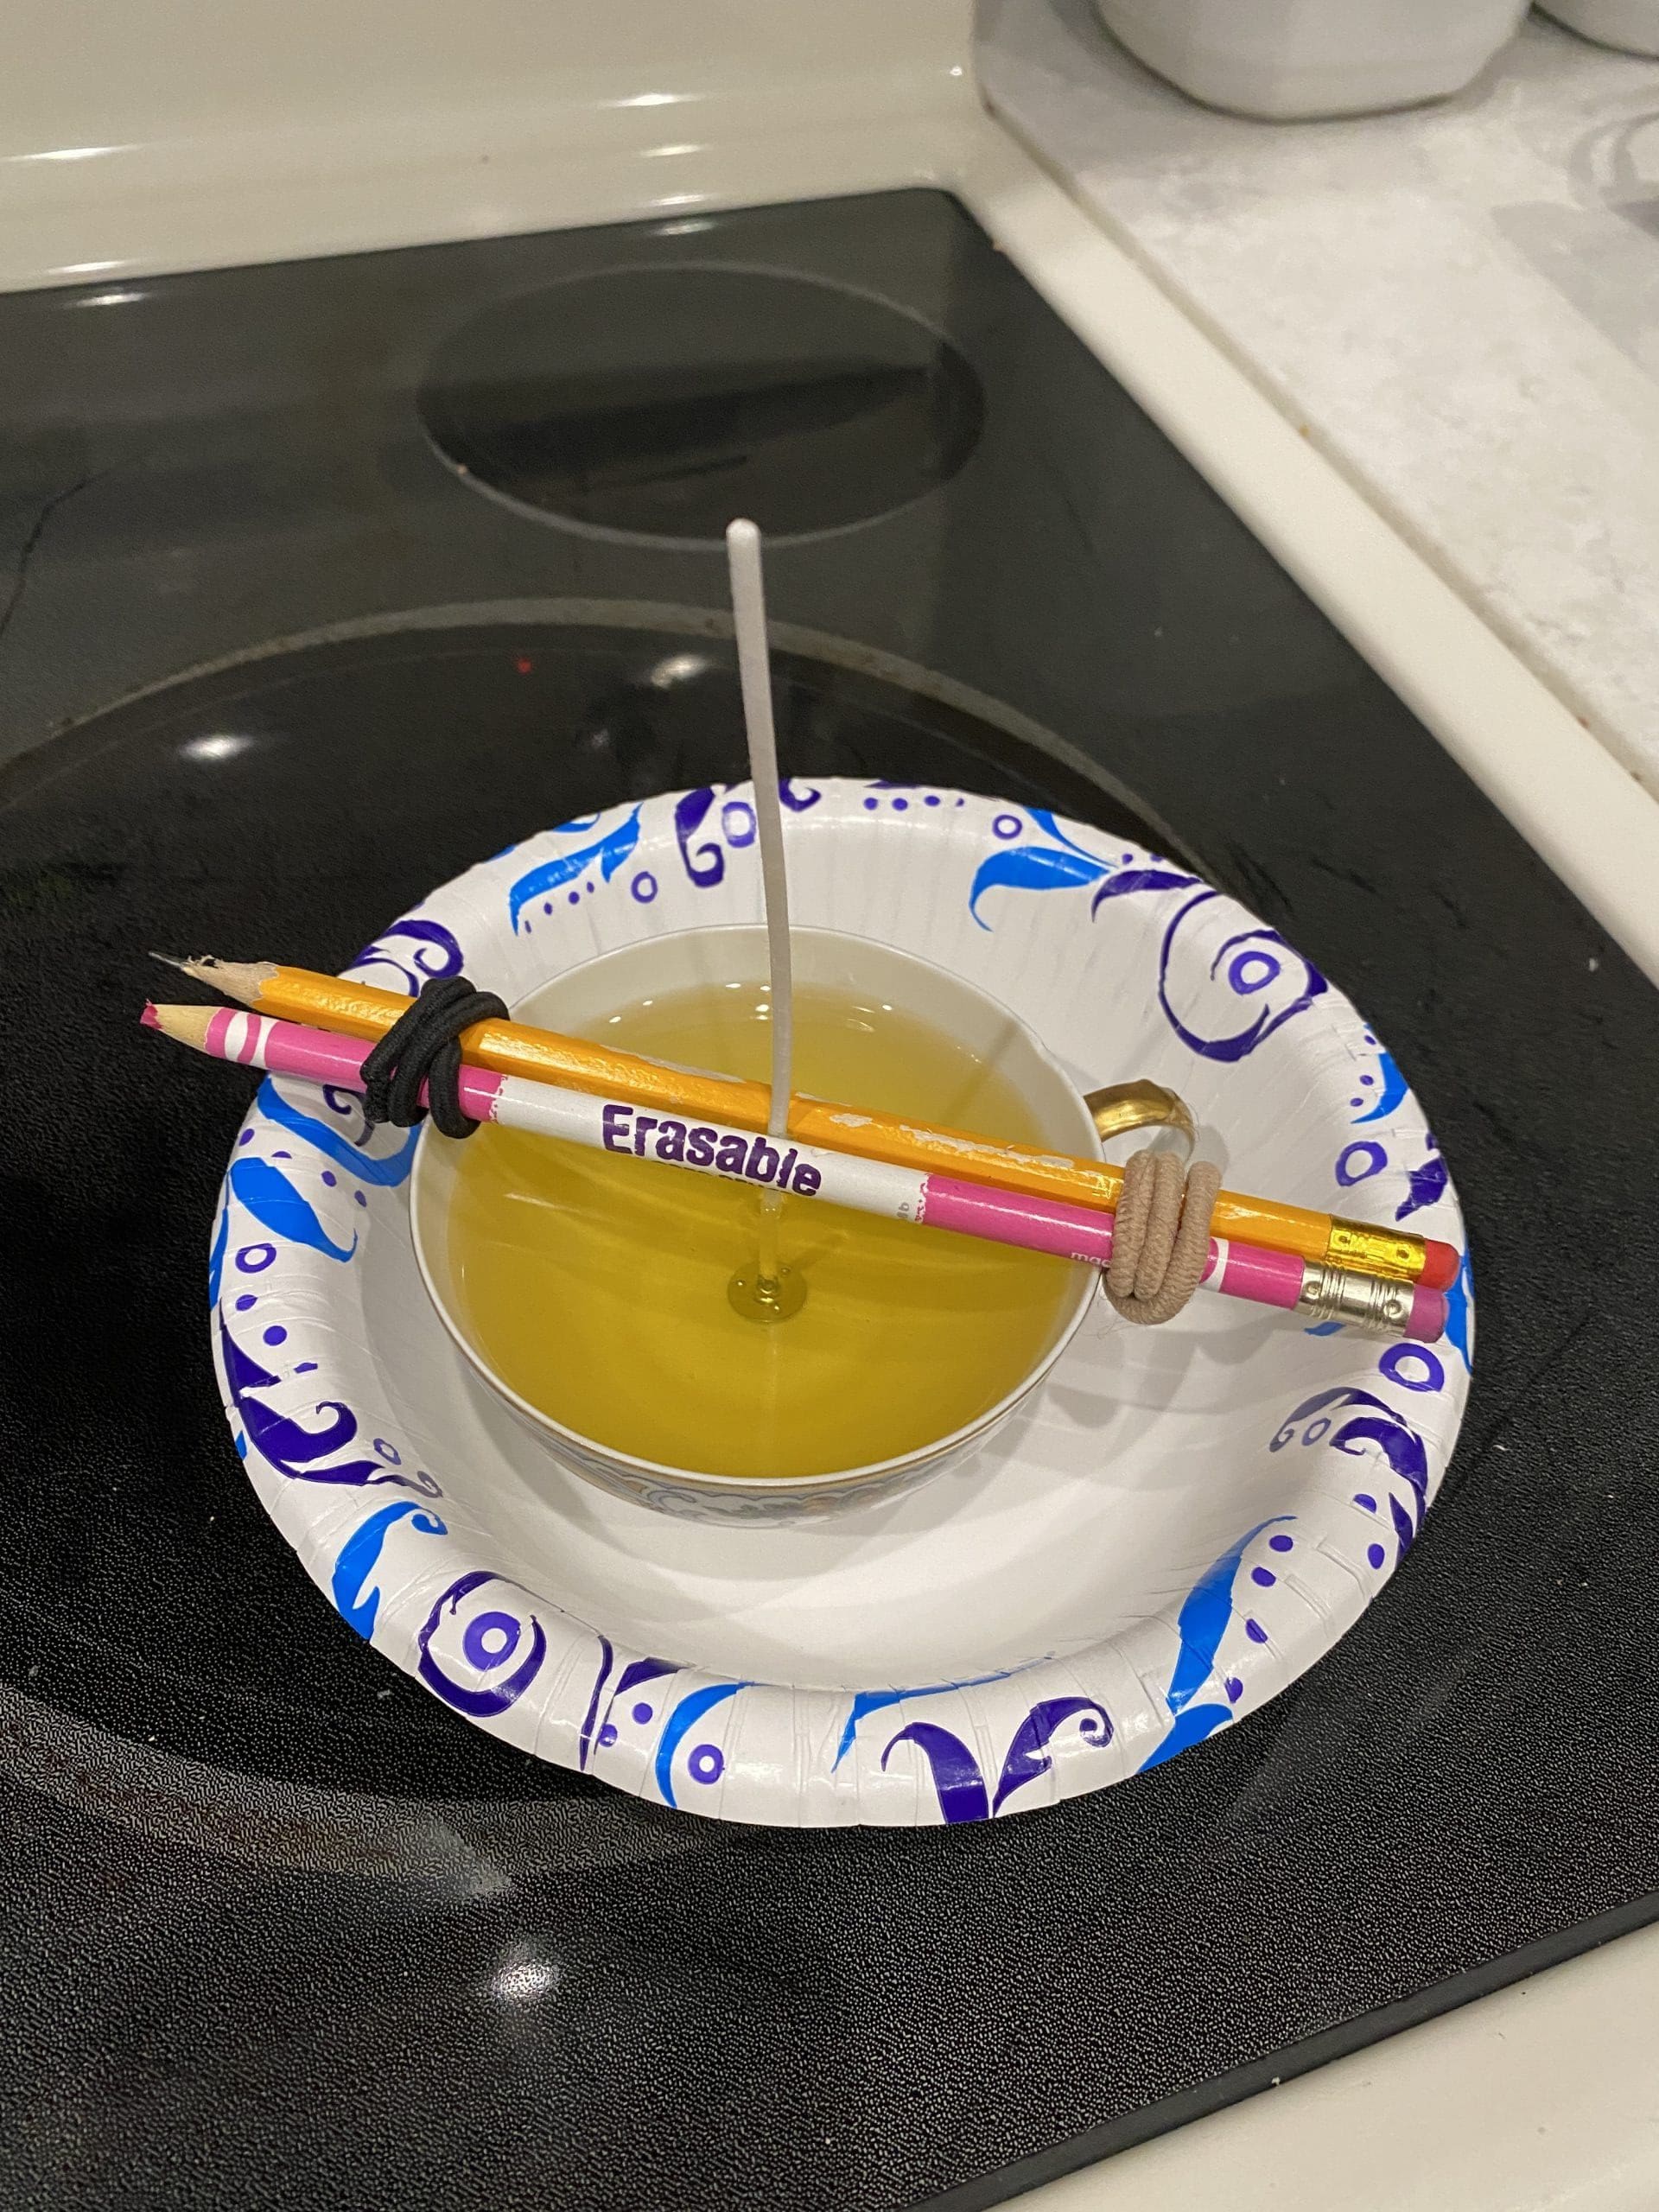
    Here are some pictures of my process:

    This project goes pretty quickly.  Waiting for the wax to melt takes more time than anything else.

    I hope you enjoy this one and I’d love to see your pictures by email or Facebook!

    Happy Crafting!

    -Morgan

  • Beavercreek Adult Take-and-Make: Crocheted Ear Warmer

    It’s finally here!  Unfortunately, shipping delays caused this month’s craft to be postponed a bit.  Thank you for being patient!

    Firstly, to sign up for your kit, please click here: https://greenelibrary.bibliocommons.com/events/61e82635950fa036000cc454

    Your kit includes:

    1 skein chunky yarn

    1 crochet hook (9.0 mm)

    1 yarn needle

    The pattern can be found here:  https://www.mjsoffthehookdesigns.com/glacier-twist-headband/

    There is a free video tutorial here below.

    IMPORTANT NOTE ABOUT SIZING:

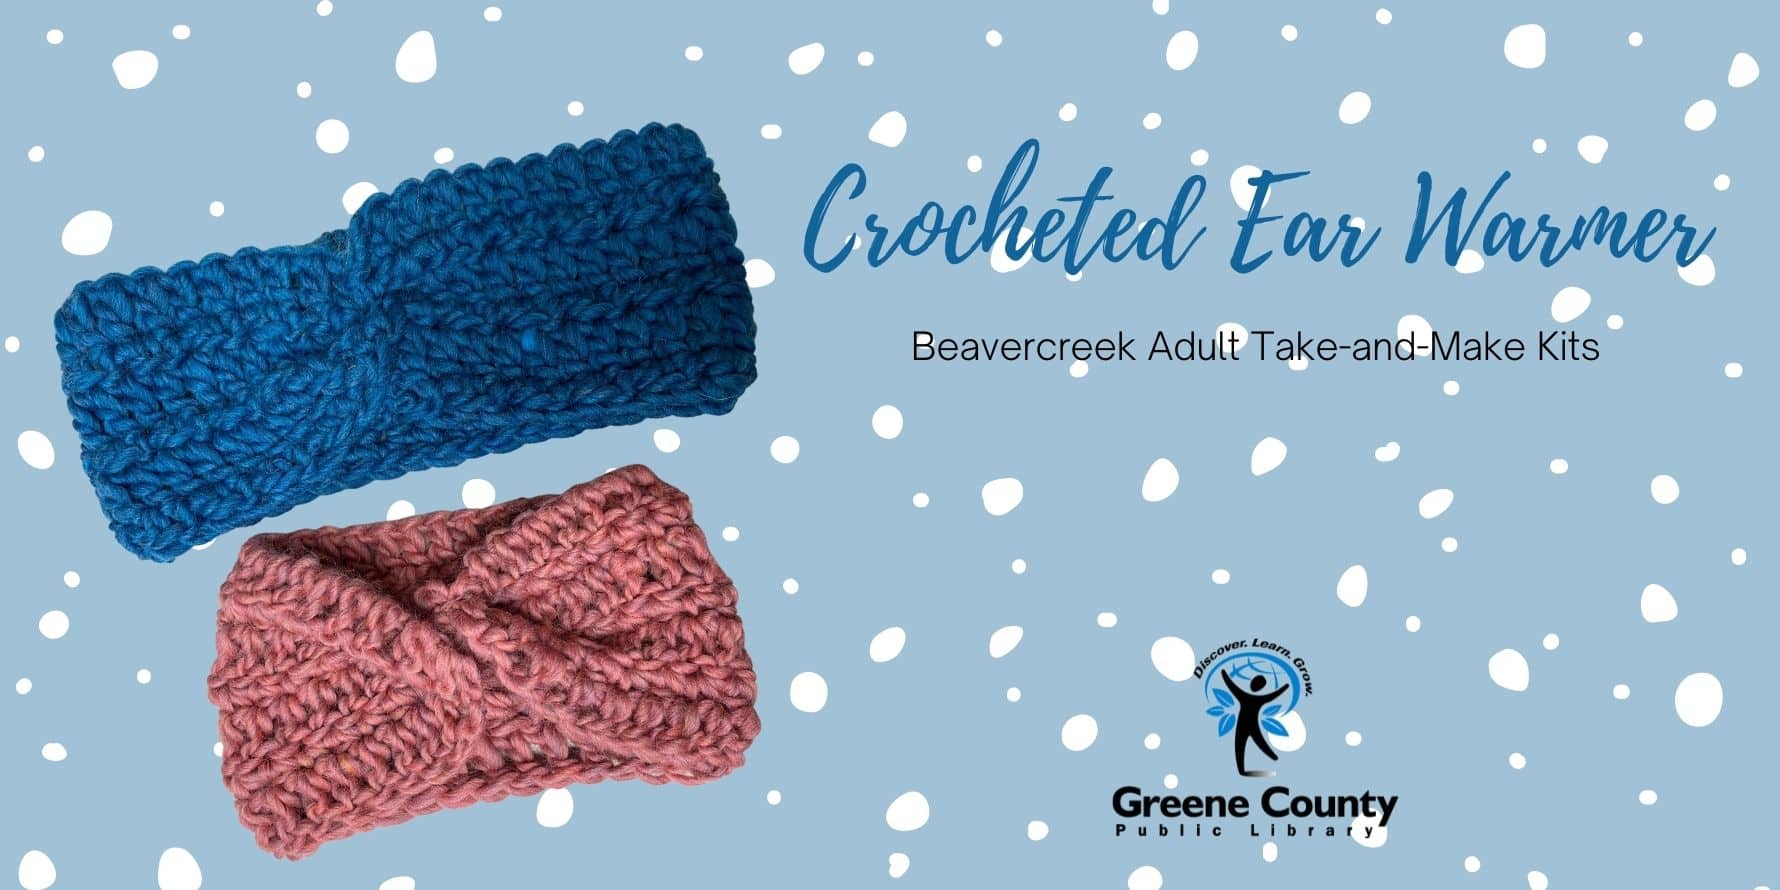
    The first headband I made was the pink one in the top picture using the pattern on the website.  It definitely came out smaller than I expected.  I would recommend this size for a child or small adult.  I increased/modified the pattern to better fit an adult head. 

    The changes to the pattern are as follows:

    Instead of chaining 34 stitches initially, chain 48.

    Only work rows 1-6 (do not work row 7).

    If you follow this modified pattern, you will have a headband like the blue one in the top picture.

    This pattern is beginner friendly, but if you have any questions, I’m always available for advice!

    Happy Crafting!

    -Morgan

    mcrumbacher@gcpl.lib.oh.us

  • Beavercreek Adult Take-and-Make: Mason Jar Snow Globe

    Happy Holidays, Crafters!  I know everyone is super busy this time of year, so this month’s craft is simple and fast!

    Included in your kit:

    1 mason jar

    1 tree

    1 gold reindeer

    2 jingle bells

    red & gold twine

    fake snow

    NOT included in your kit:

    hot glue/super glue

    water bottle lids

    Instructions:

    1.  Turn the lid upside down and separate the flat part of the lid from the ring (if you have separate pieces – not all kits do). 
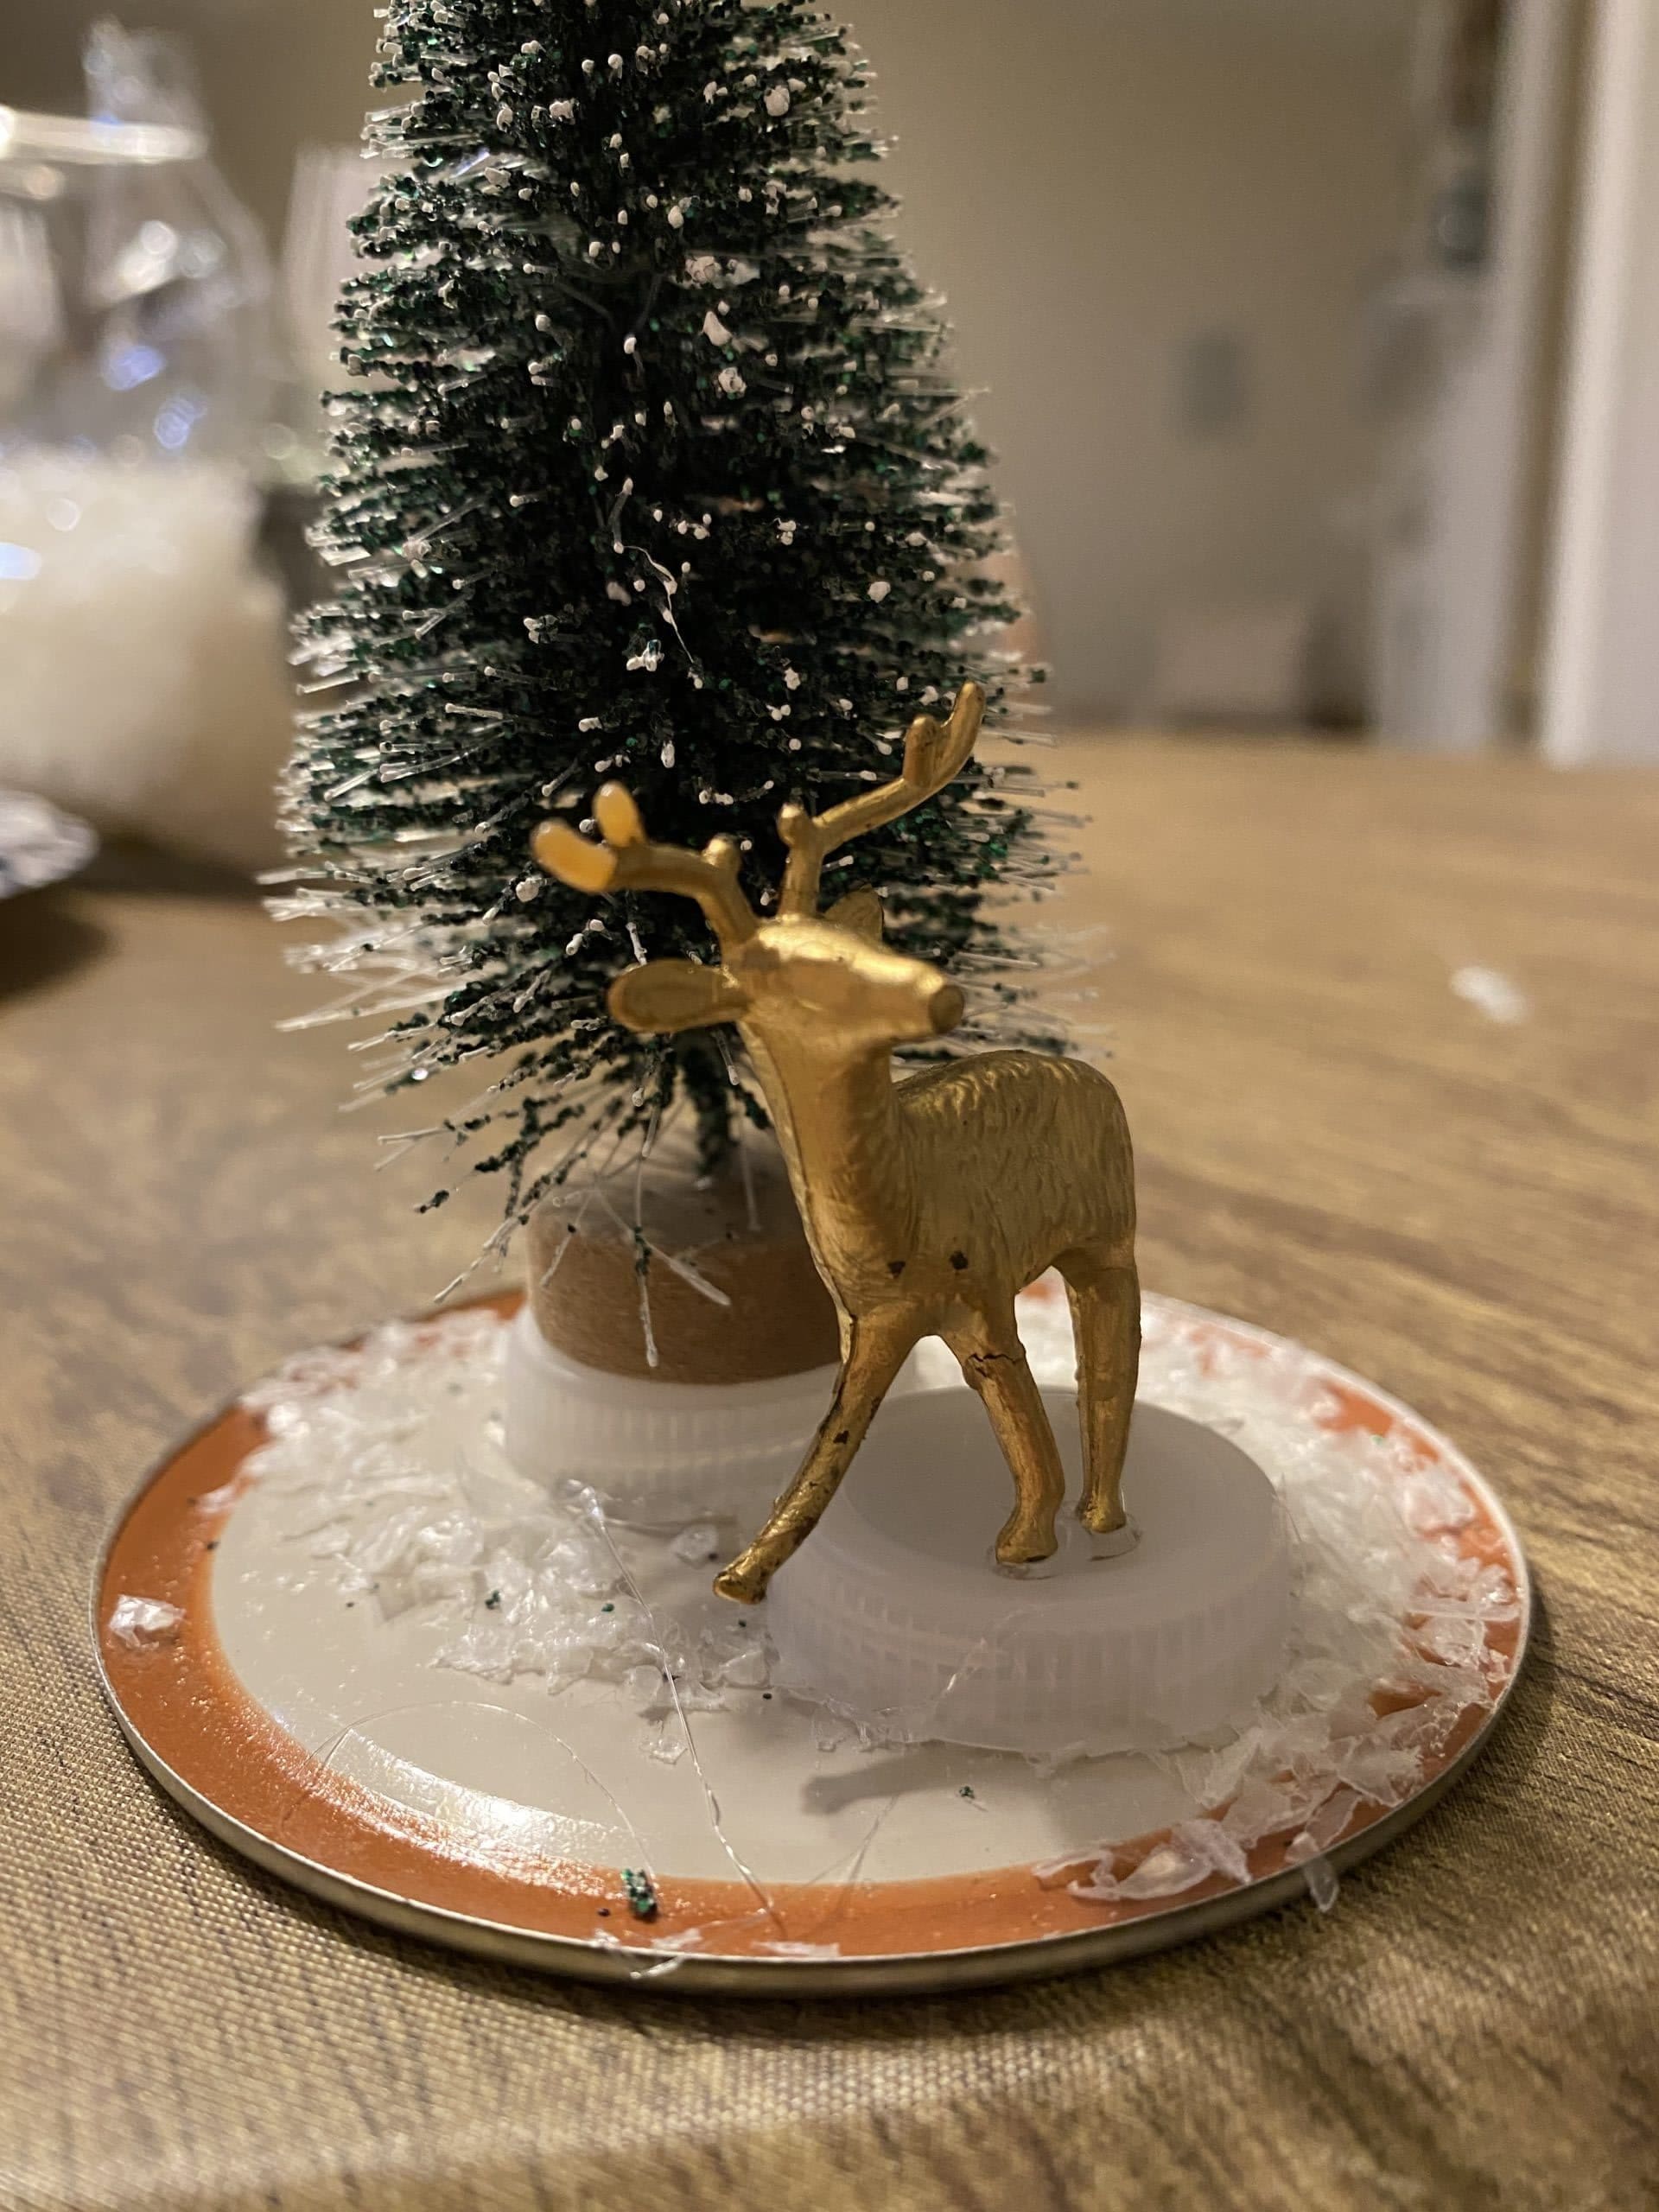
    2. Decide where you want to place the tree and reindeer and then glue a bottle cap to those places (see below picture).  The bottle caps give the tree and reindeer a little height so you can add more snow without them being swallowed up.

    3.  Glue tree and reindeer onto the bottle caps. (I could only get 3 legs of the reindeer on the cap – I left the front one off)

    4.  Dump the baggie of fake snow into the jar, then put the flat part of the lid inside the jar and screw the ring on the jar.

    5.  Tie the twine around the bottom of the jar attaching the jingle bells just before tying the bow.  All done!

    I love that the bells add just a little jingle as you turn the jar over.

    I hope your holiday season is filled with good food, family and friends!  We’ll see you in January!

    Happy crafting!

    -Morgan

  • Beavercreek Adult Take-and-Make: Flannel Hand Warmers

    Click here to sign up for your kit here:  https://greenelibrary.bibliocommons.com/events/6181743f4a11c24100a1ba4d

    Colder weather is officially upon us and winter sports season is here!  So this month I thought we’d make handwarmers.

    The great thing about this project is that anyone can make these no matter their skill level.  There are three different ways these can be made.

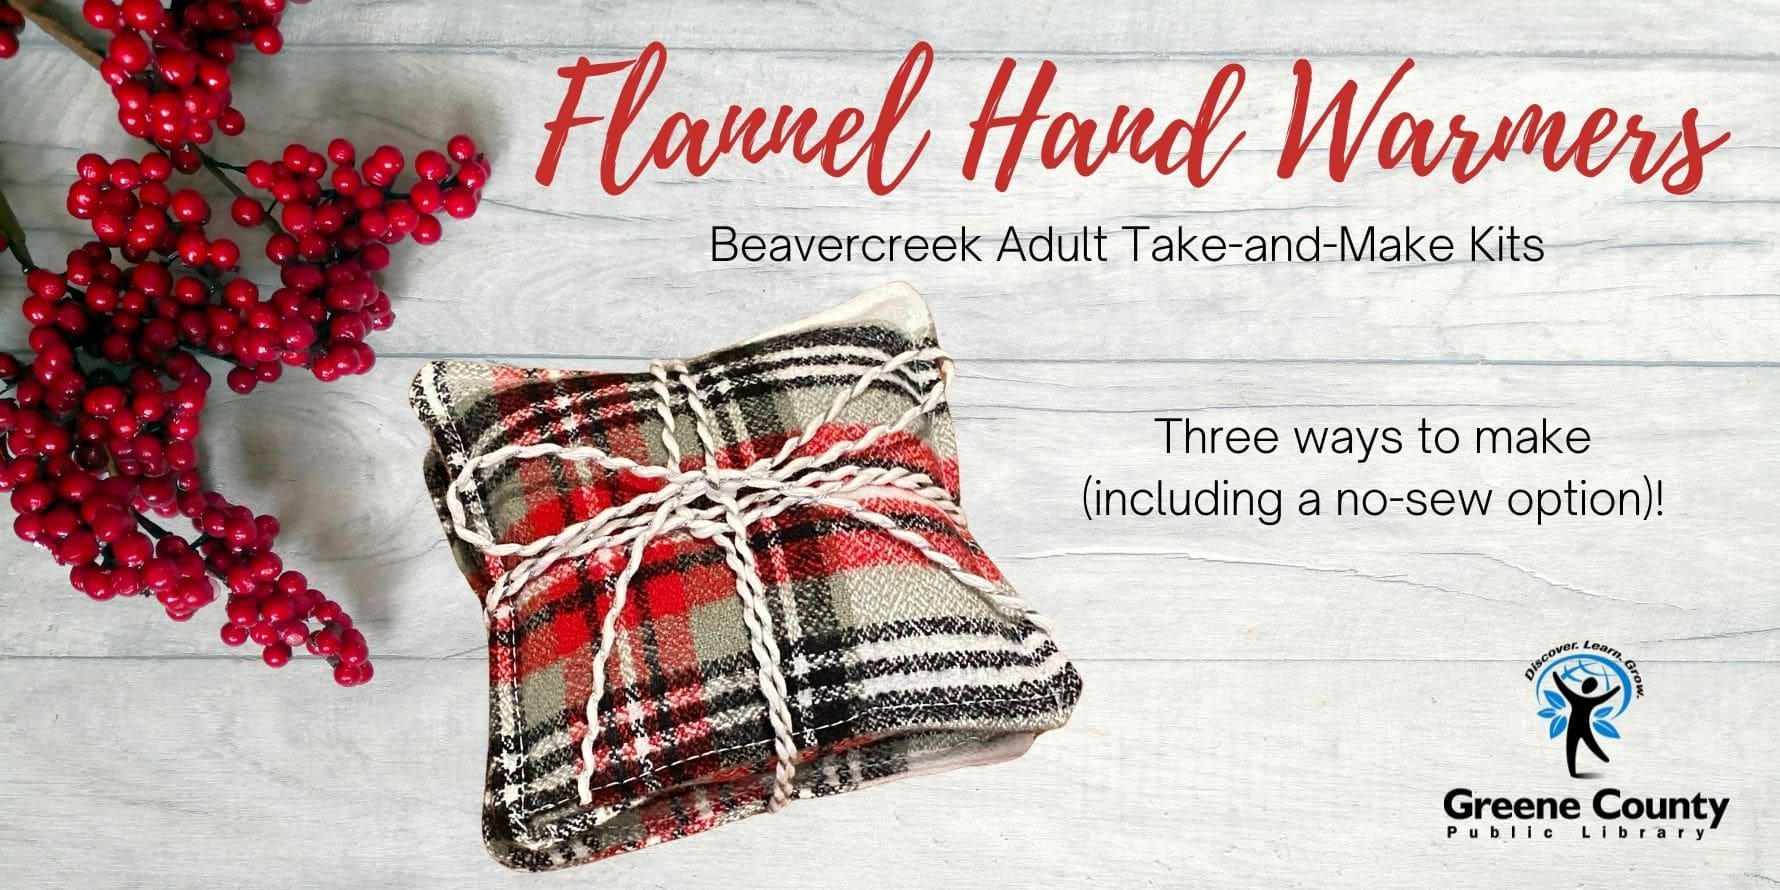
    1.  Machine sewed.  This is the method I used to make the samples in the picture.  Put the right sides together, sew around three sides and turn right side out.  Next, top stitch around the same three sides.  Fill with 1/2 a cup of rice.  Fold the edges of the 4th side in and top stitch it closed.
    2. Hand sewed.  In this method, you would still want to put the right sides together and hand sew three sides using a running stitch.  Turn the square right side out.  Fill with 1/2 a cup of rice.  Using a blanket stitch, sew the open side closed and then continue around the rest of the edges (embroidery floss not included in kit).
    3. Glue.  With right sides facing out, use a bead of hot glue/fabric glue around three sides of the square.  Once dry, fill with 1/2 cup of rice then glue the open side closed.  Use pinking shears to create a finished edge (optional).

    Take a look at the following websites for more detailed instructions:

    Pocket Hand Warmers

    DIY Hand Warmers from Flannel Shirts

    How to Make Hand Warmers

    To use your handwarmers, just pop them in the microwave and put them in your pockets!

    I always love to see your finished projects!  Feel free to send me pics at mcrumbacher@gcpl.lib.oh.us or post them to our Facebook page at https://www.facebook.com/BeavercreekCommunityLibrary

    Happy Crafting!

    Morgan

  • Beavercreek Adult Take-and-Make: Microwave Bowl Cozy

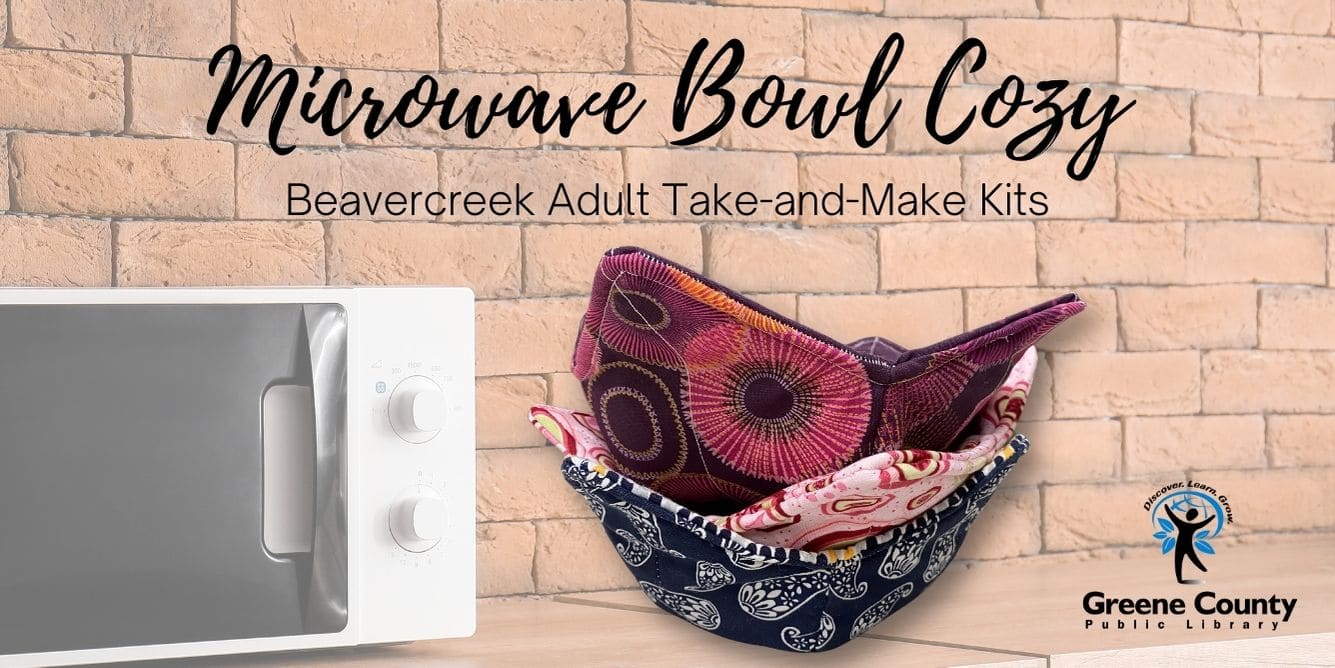
    Hello fellow crafters!  We’re back this month with a new craft – microwave bowl cozies!

    As always, please register for a take-and-make kit here:

    After you’ve registered, please pick up your kit from the adult services desk at the Beavercreek Community Library.

    LET’S GET STARTED!

    Included in your kit, you should have:

    2 10″ squares of cotton fabric

    2 10″ squares of 100% cotton batting

    8 sewing clips

    Not included in your kit:

    sewing machine

    scissors

    pen or marker

    There are LOTS of tutorials on how to make bowl cozies online, but I used this one since it had simple directions and good pictures:

    https://tarareed.com/bowl-cozy-pattern/

    Note:  It’s important to use 100% cotton batting when making anything that will go in the microwave or be subjected to heat.

    As always, if you have any questions or want to share your finished product, please email me at mcrumbacher@gcpl.lib.oh.us.

    You can also share your finished craft on our Facebook page here:  https://www.facebook.com/BeavercreekCommunityLibrary

    Happy Crafting!

    -Morgan

  • New Free Little Fiber Library at Beavercreek

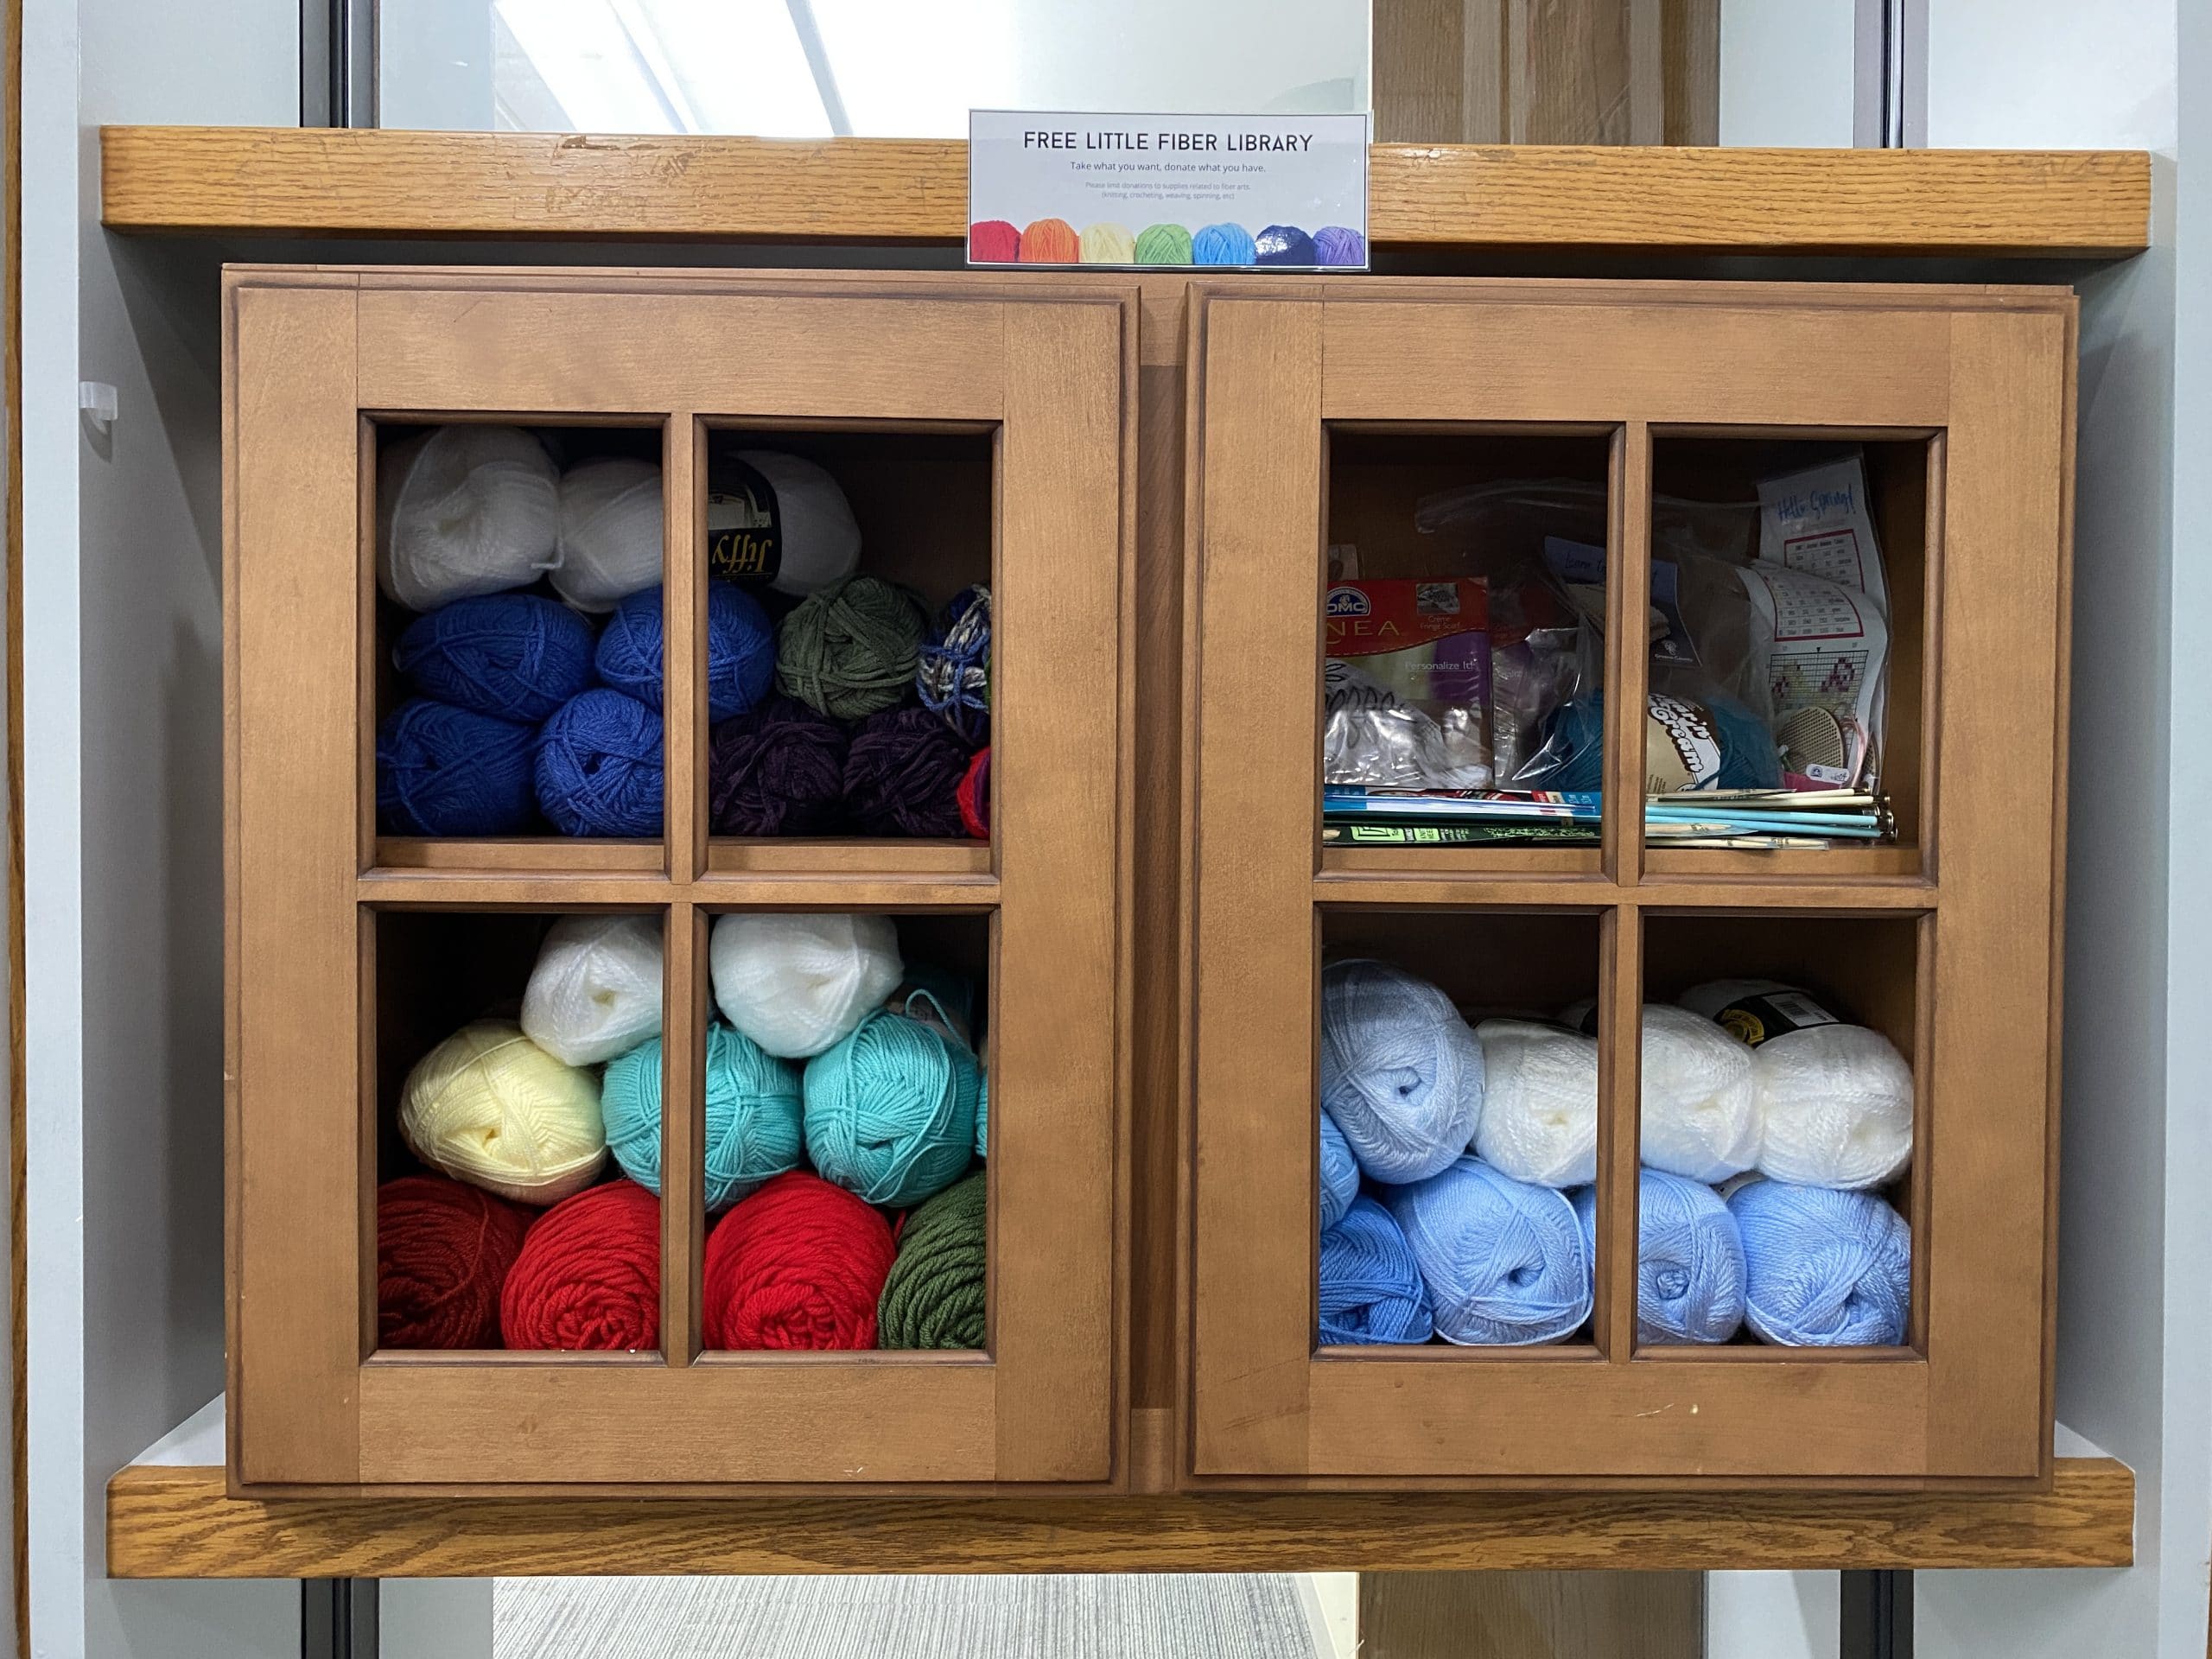
    We’re excited to announce our new Free Little Fiber Library here at Beavercreek!  Just like those roadside Free Little Libraries, this is a place where yarn crafters and fiber artists can exchange yarn and other supplies.  Just imagine knitting needles and yarn balls instead of paperback books.  

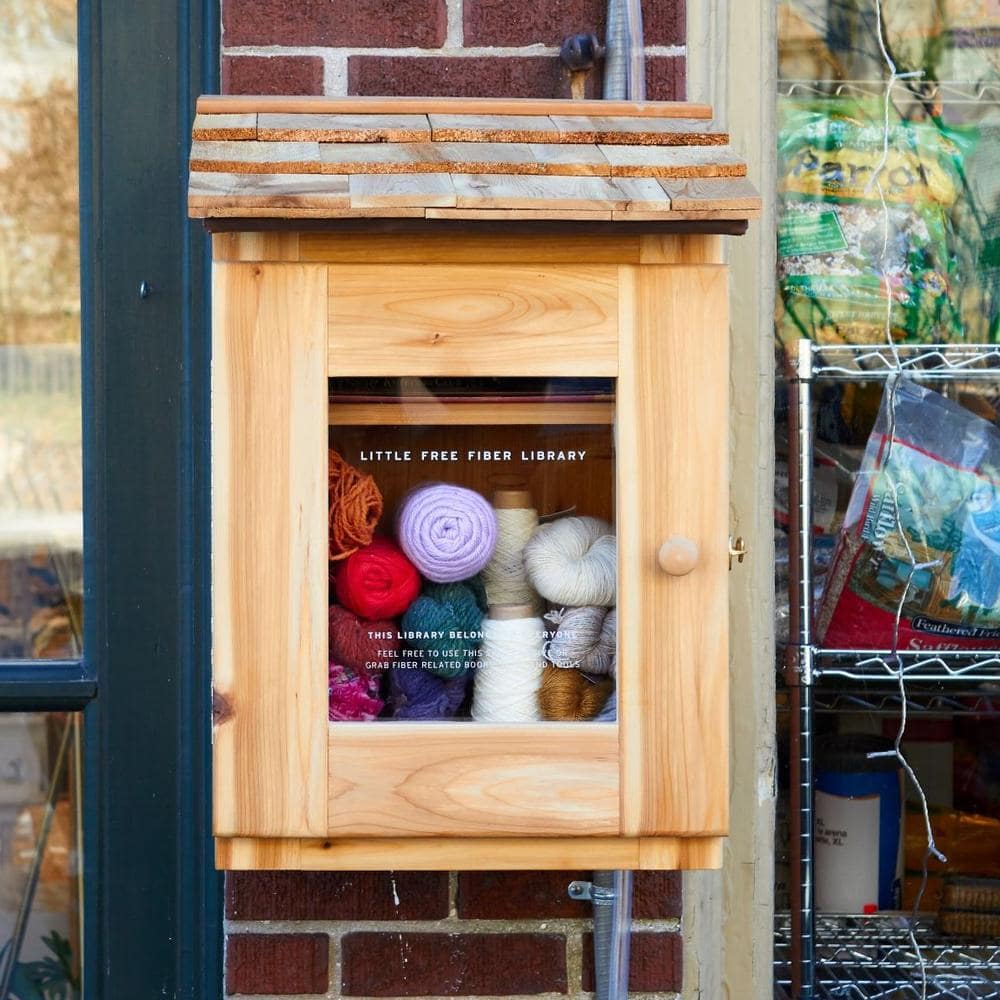
    The inspiration for this came from an adorable yarn shop outside Philadelphia called Wild Hand.  You can read about their little fiber library here.  It was an instant success and even Martha Stewart took notice!

    First Free Little Fiber Library outside Wild Hand.  Image source:  https://wild-hand.com/products/little-free-fiber-library

    As an avid crocheter myself, this idea instantly appealed to me and I couldn’t pass up the opportunity to create one here!

    Here at Beavercreek, we have a thriving craft community as well as a yarn crafters group that meets every Thursday morning (more on that here).   Our hope is that crafters can now exchange supplies and donate that yarn they bought for the exciting new project that never became a reality.  Because let’s face it, we all have that bin in our closet full of yarn we couldn’t wait to buy, but never made anything with.

    Happy Crafting!

    -Morgan

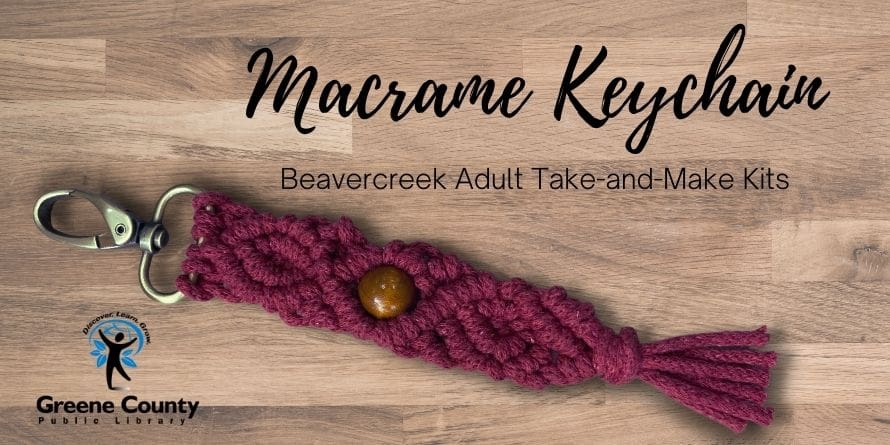
  • Beavercreek Adult Take-and-Make: Macrame Keychain

    Hello Crafters!

    As always, first things first.  If you haven’t already, please register for your kit here:  https://greenelibrary.bibliocommons.com/events/search/fq=branch_location_id:(B)/event/61081a074662f336001269bc

     Once you’ve registered, pick up your kit from the adult services desk at the Beavercreek library.

    I’m pretty excited about this month’s craft kit!  I had never done macrame before and I thought this would be a good way to learn.  Macrame seems to be all the rage right now and I wanted to jump on the bandwagon – and bring you all with me!

    My goal with each craft kit is to introduce a skill that you can practice on a small scale.  Hopefully, you can then take your new skill and apply it to bigger projects in the future!

    INCLUDED IN YOUR KIT:

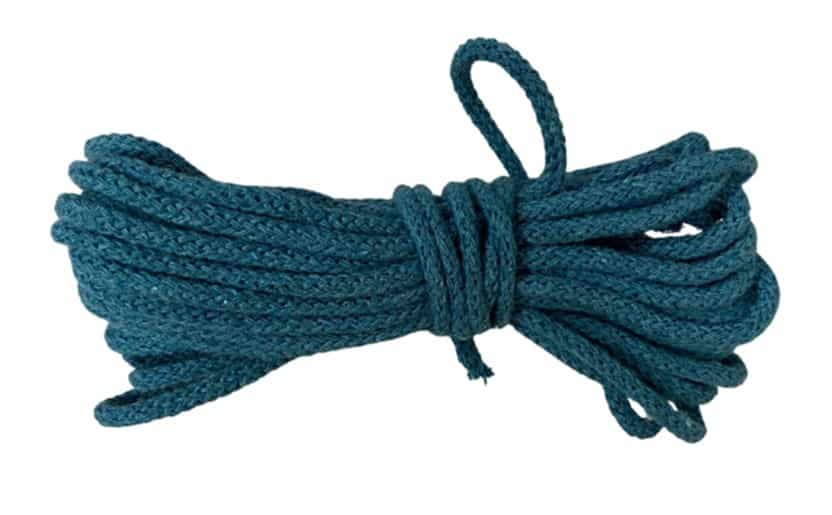
    3mm braided macrame cord

    16mm bead (can be found online or any craft store)

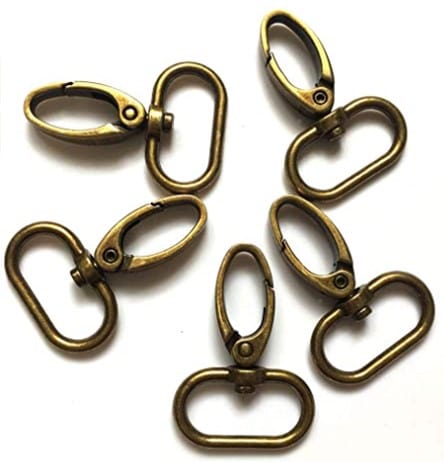
    1″ lobster clasp ring

    I have to admit, there was a steeper learning curve to macrame than I anticipated.  It’s not difficult, but it took a few tries to get the knots to look the way they are supposed to.  I used the below video to make the sample keychain. 

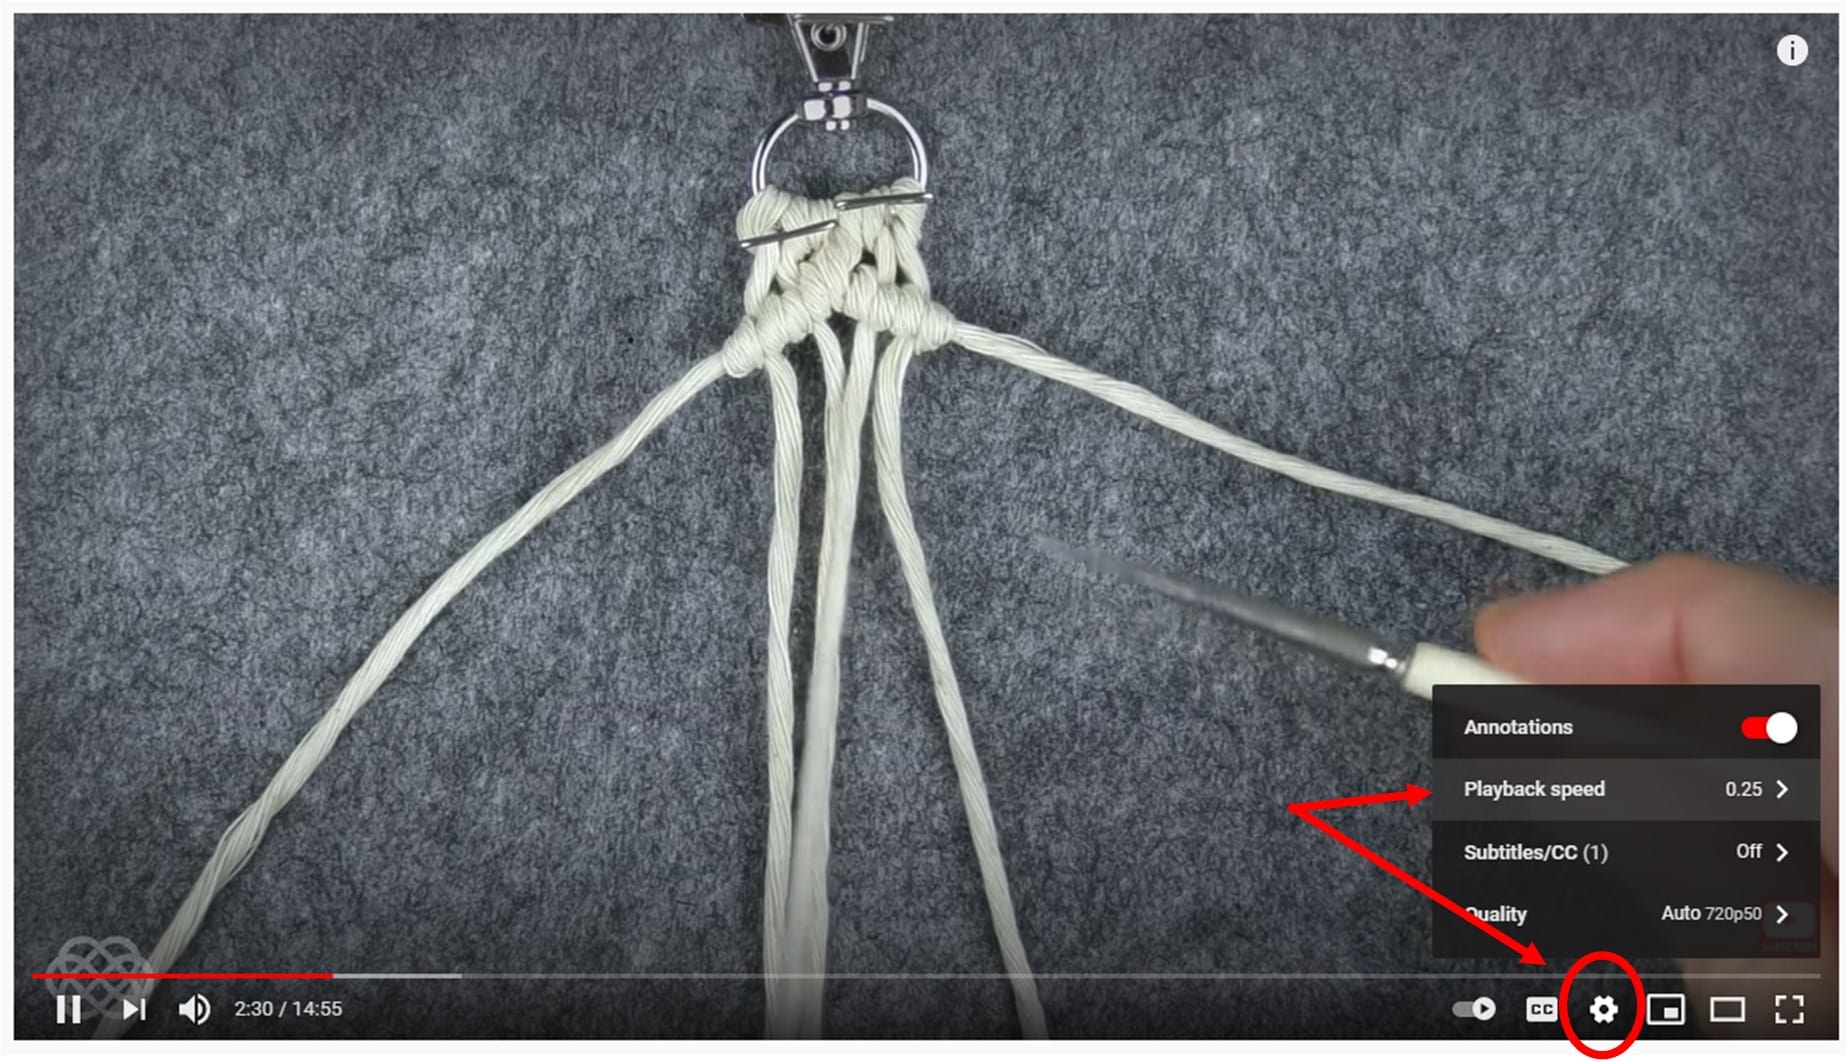
    I HIGHLY RECOMMEND watching the video at 0.25 speed.  You can do this by clicking settings, then playback speed and changing it to 0.25 (see below).

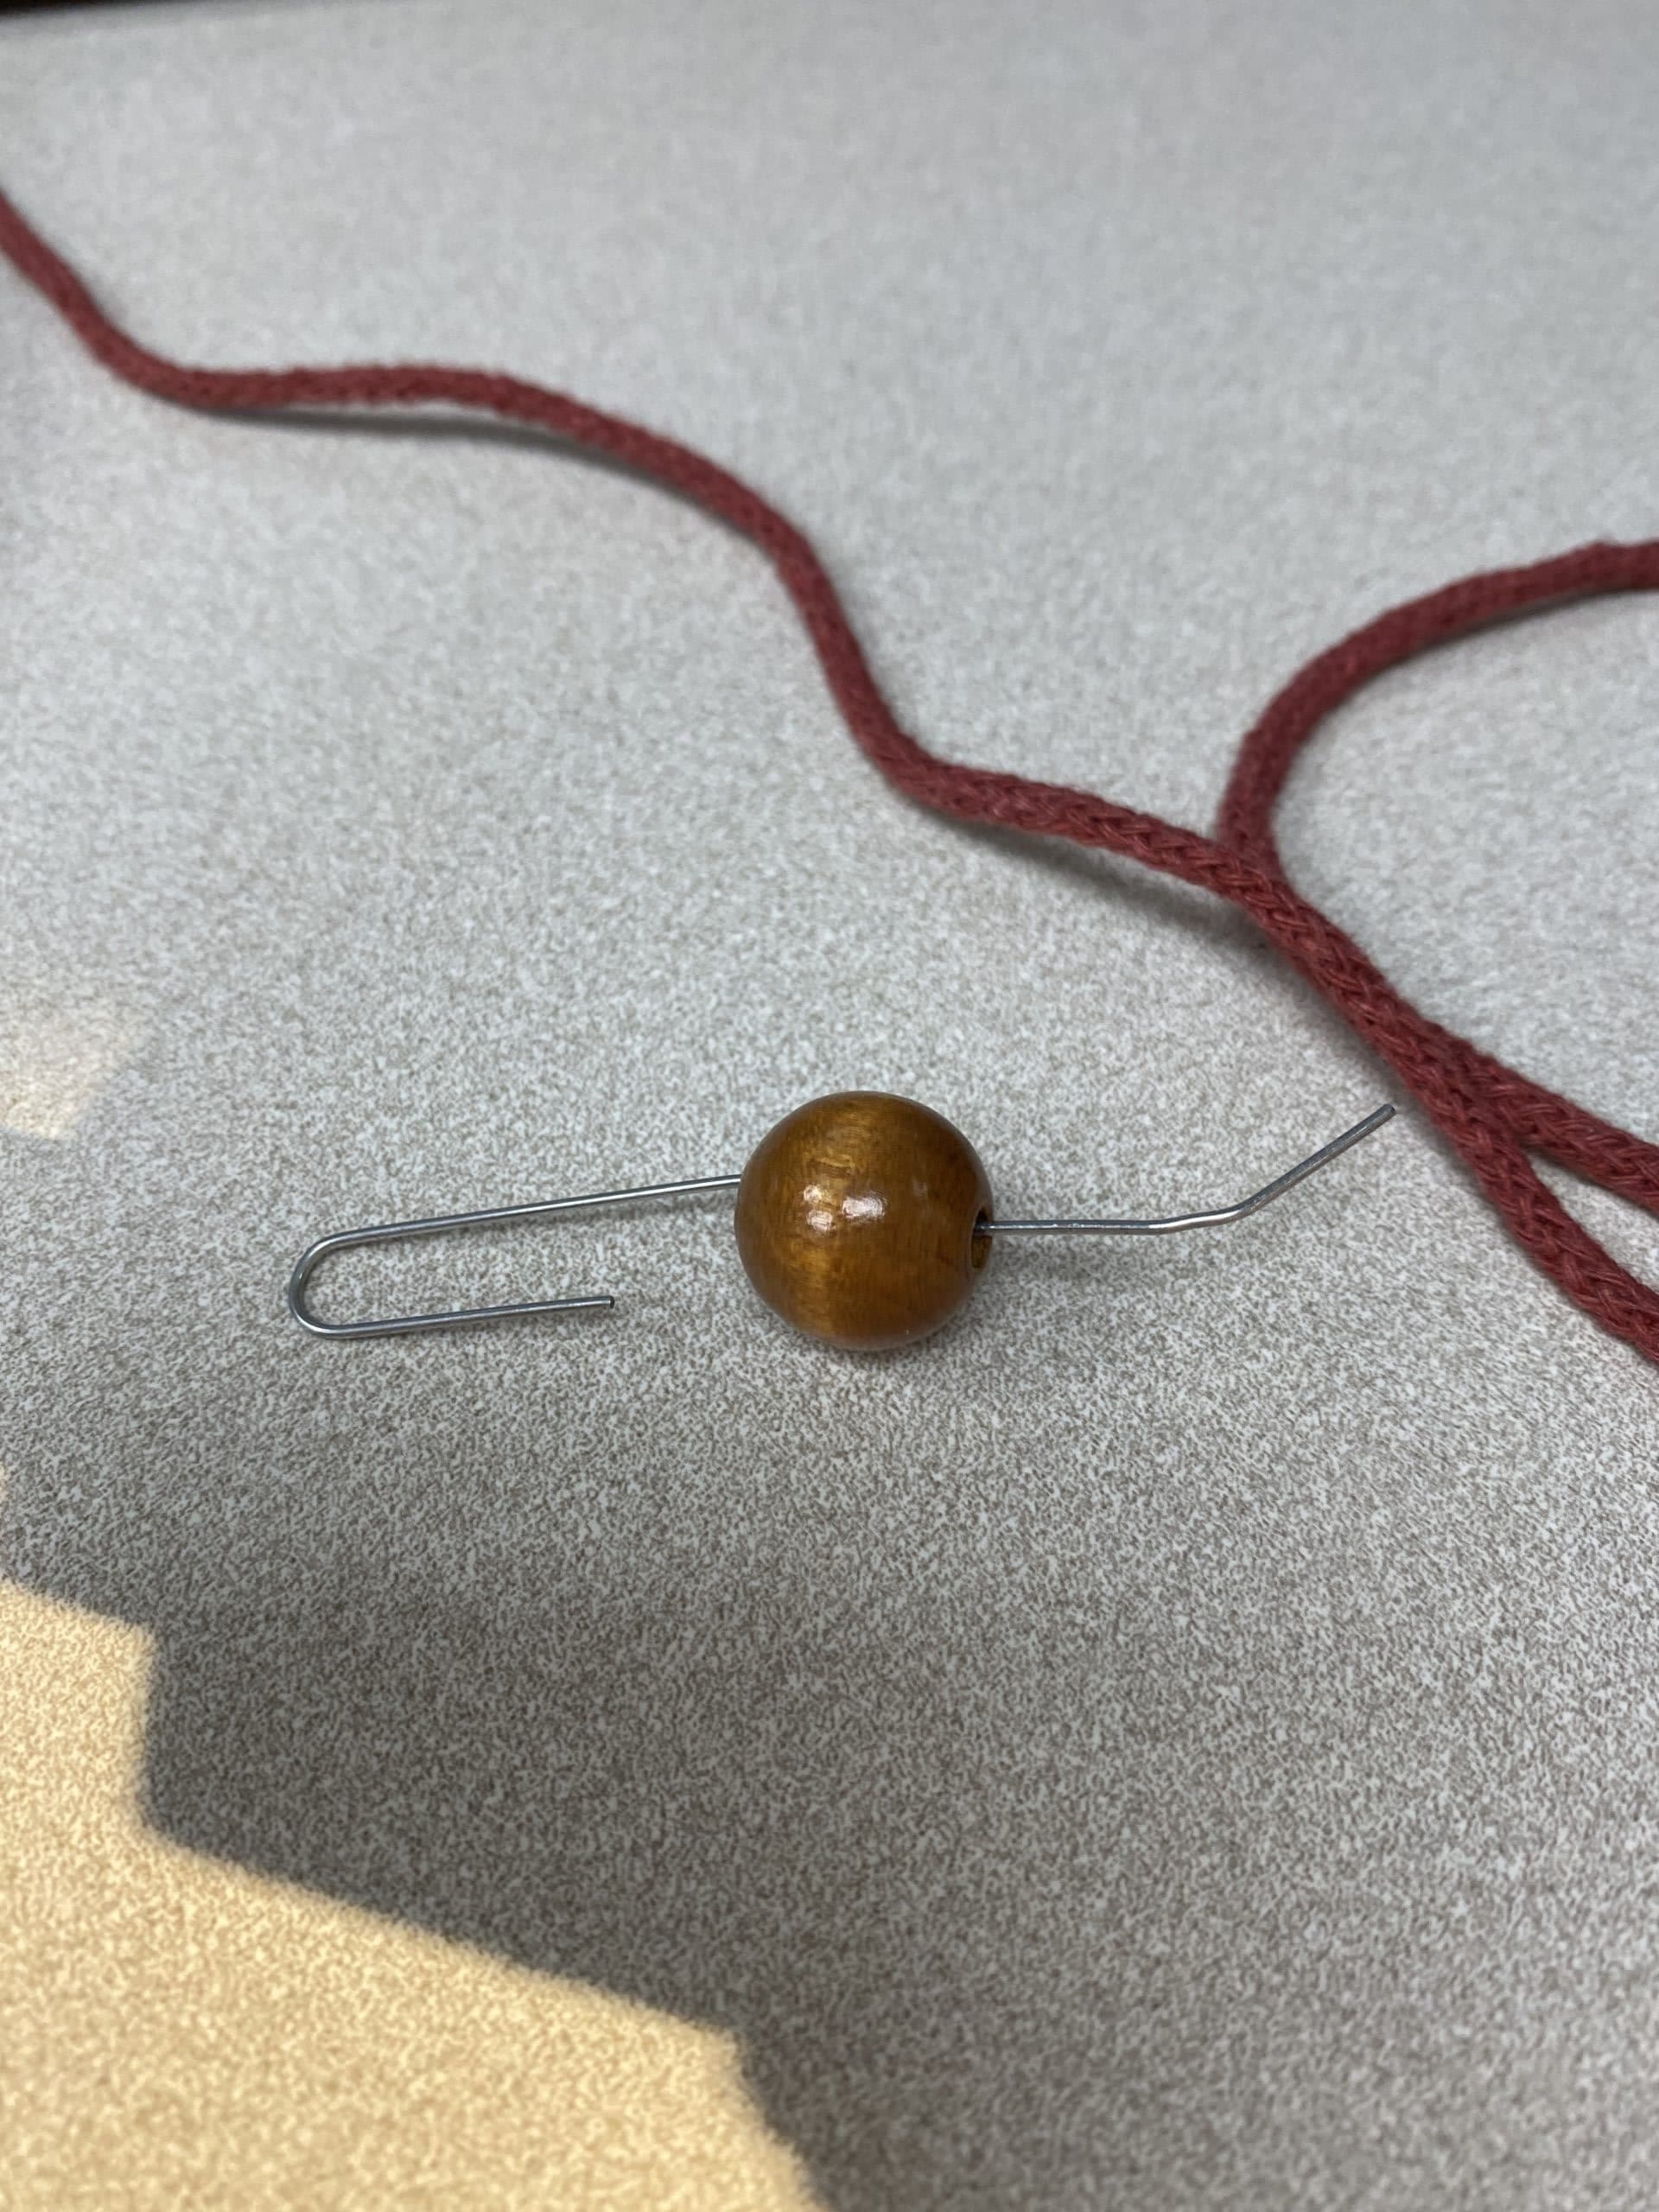
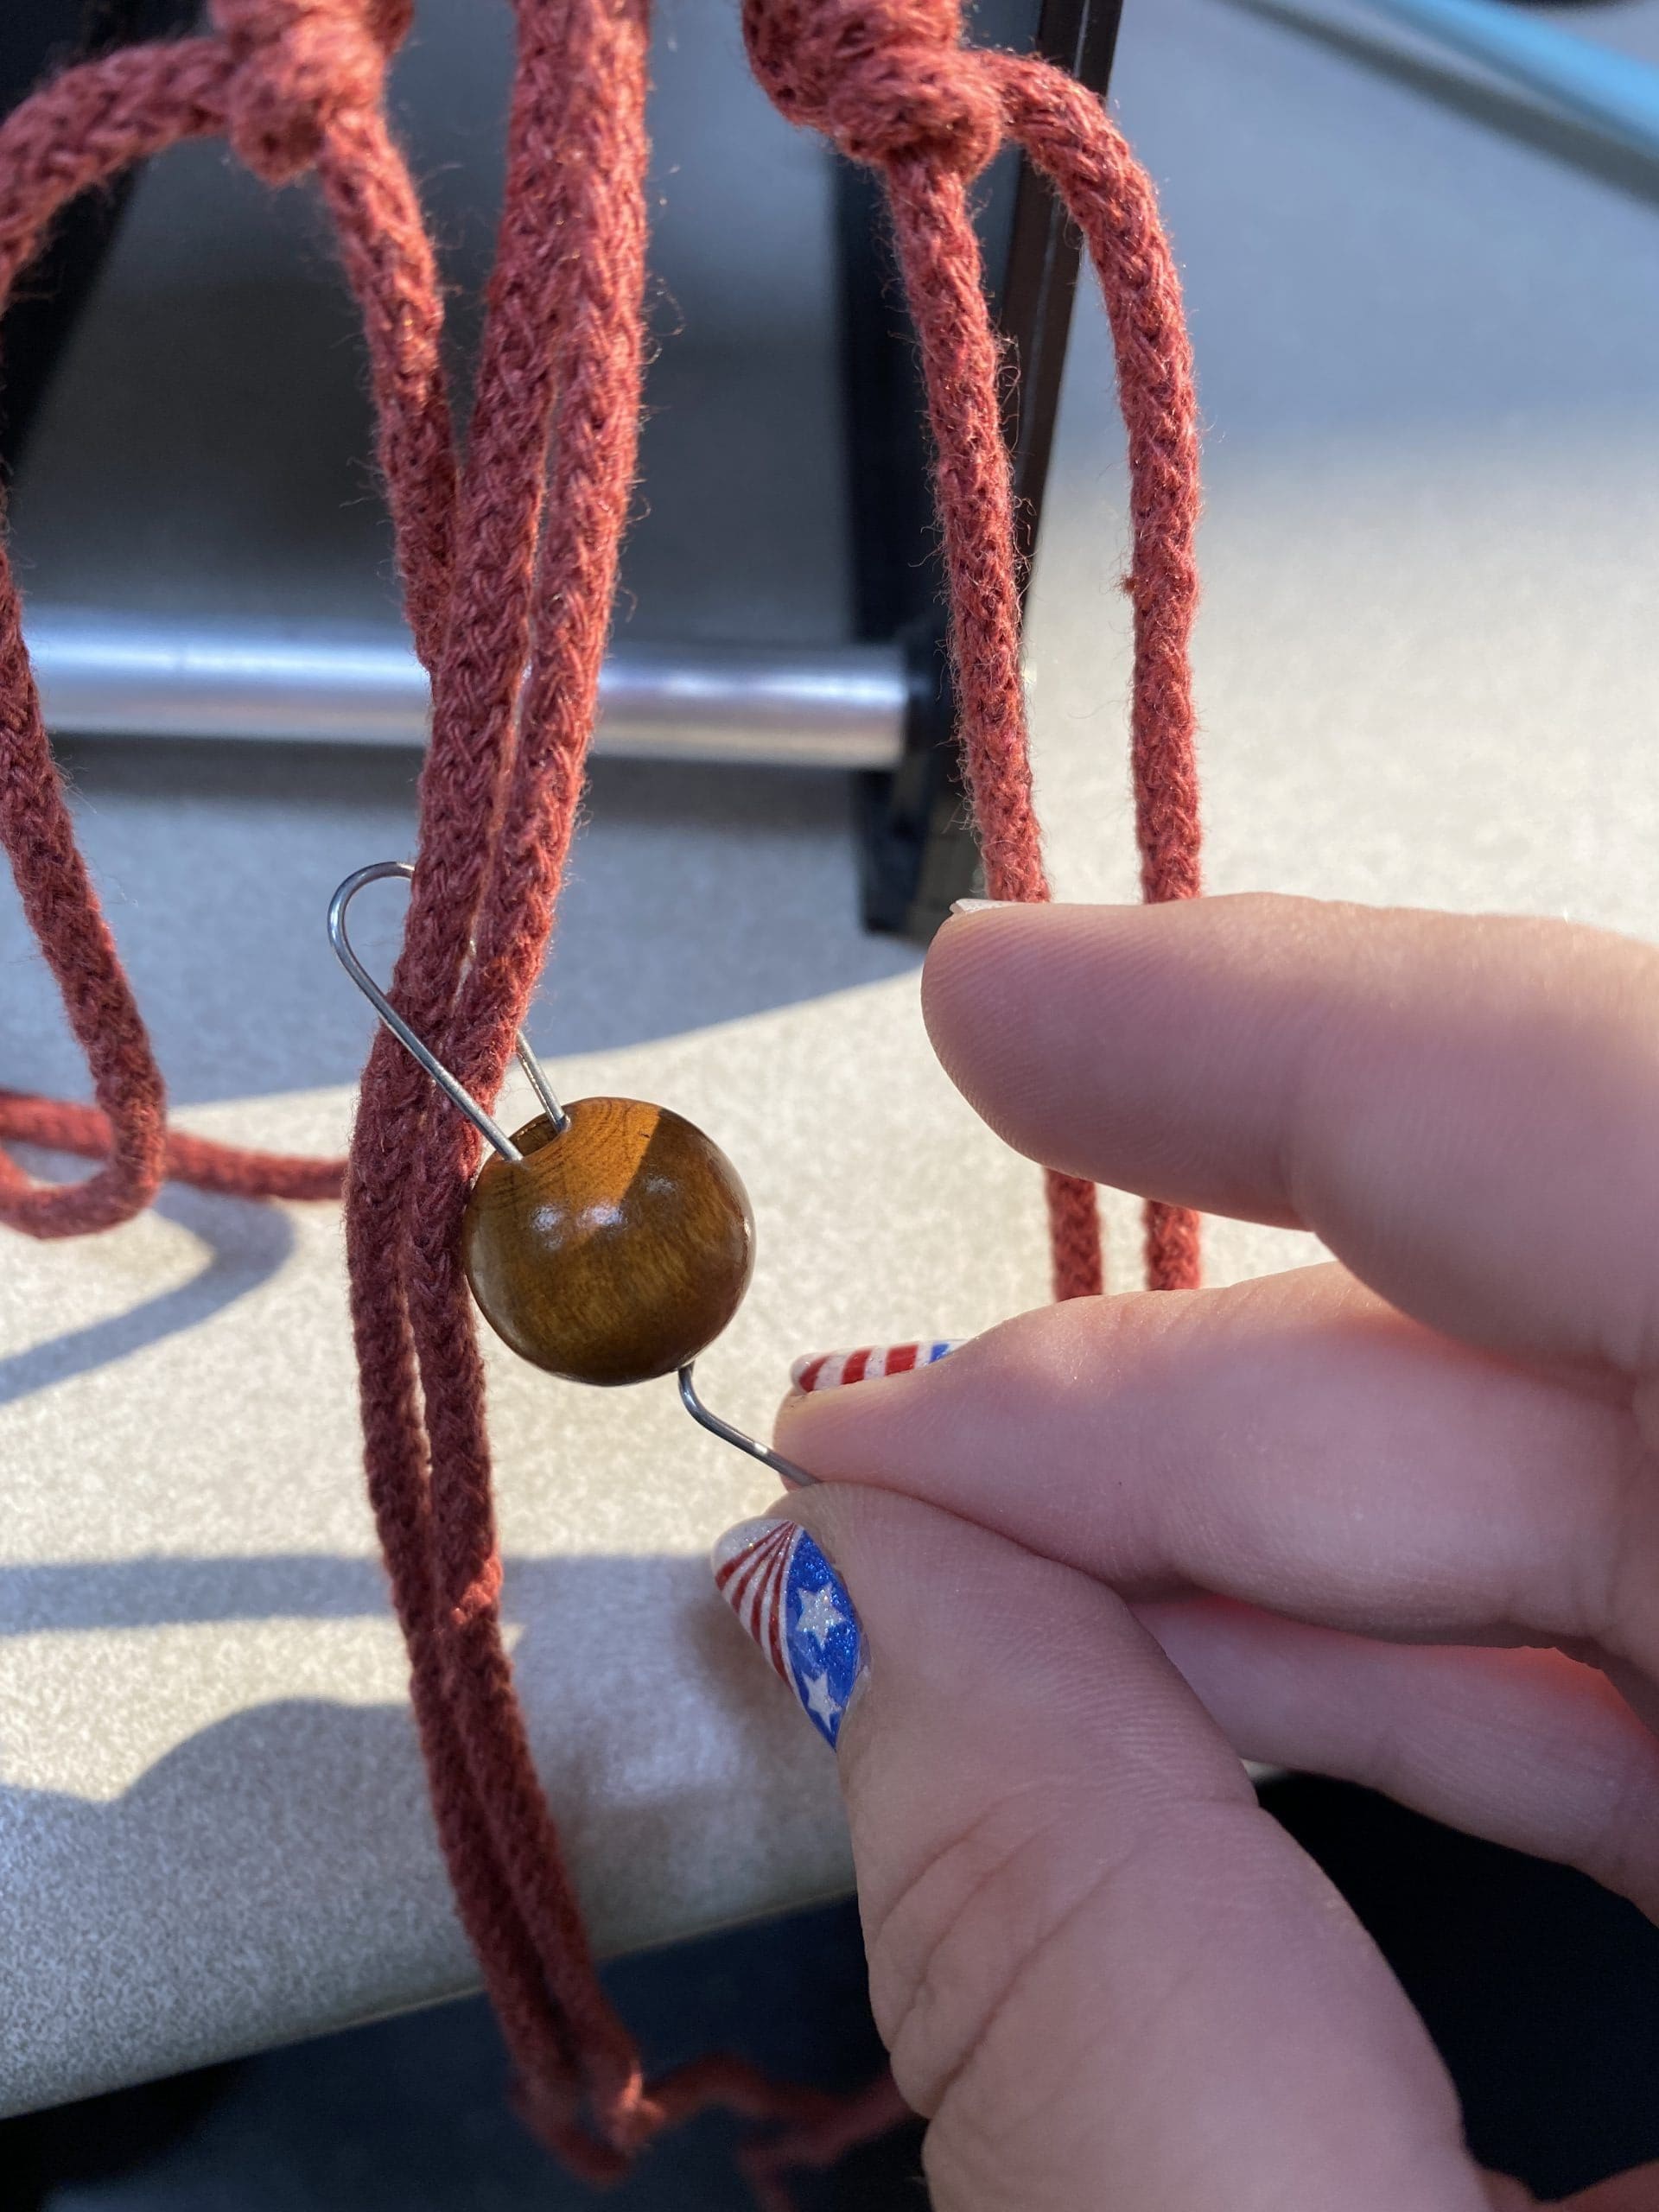
    Unfortunately, one thing the video doesn’t show you how to do is put the bead on.  I did that by unfolding one side of a paperclip and sticking it through the hole of the bead.  Then I put the remaining loop around the cord and pulled it through the center of the bead.  See below pics.  It took a fair amount of tugging to get it through.

    Once the bead is on, it’s smooth sailing until it’s time to make the tassel.  The video shows you what to do and I just used a small crochet hook to pull the cord through the middle of the tassel.

    If you’d like to buy more supplies, click the below images.

    I hope you love your keychain and I would be thrilled to see it! 

    You can email me pics at mcrumbacher@gcpl.lib.oh.us or post them to our Facebook page and tag us!

    Until next time, happy crafting!!

    -Morgan

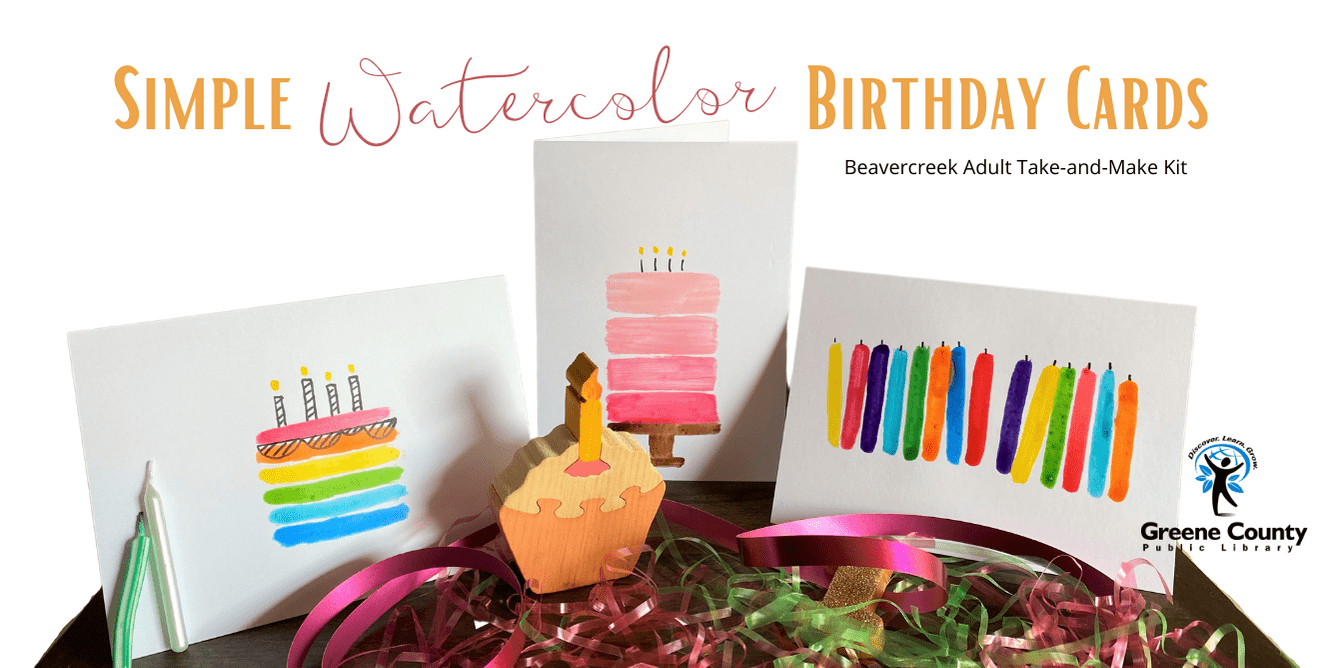
  • Beavercreek Adult Take-and-Make: Simple Watercolor Birthday Cards

    Hello Crafters!

    This month’s take-and-make kit features watercolor birthday cards.  Have no fear!  You don’t need any artistic ability to create these cards.  I know that because I certainly don’t have any.  

    I’ve always really liked the look of watercolor and it’s very forgiving for those of us with little artistic talent.  I came across some cards on Pinterest that were super cute and I knew that even I could recreate them.  

    To claim a kit for yourself, go here and register:  https://greenelibrary.bibliocommons.com/events/search/fq=branch_location_id:(B)/event/60e4793913bfe22900be0cac


    Items in your kit:

    5 blank cards and envelopes

    Watercolor paint set

    1 Sharpie

    Washi Tape (I didn’t use this in my samples, but thought it might be fun to play around with)

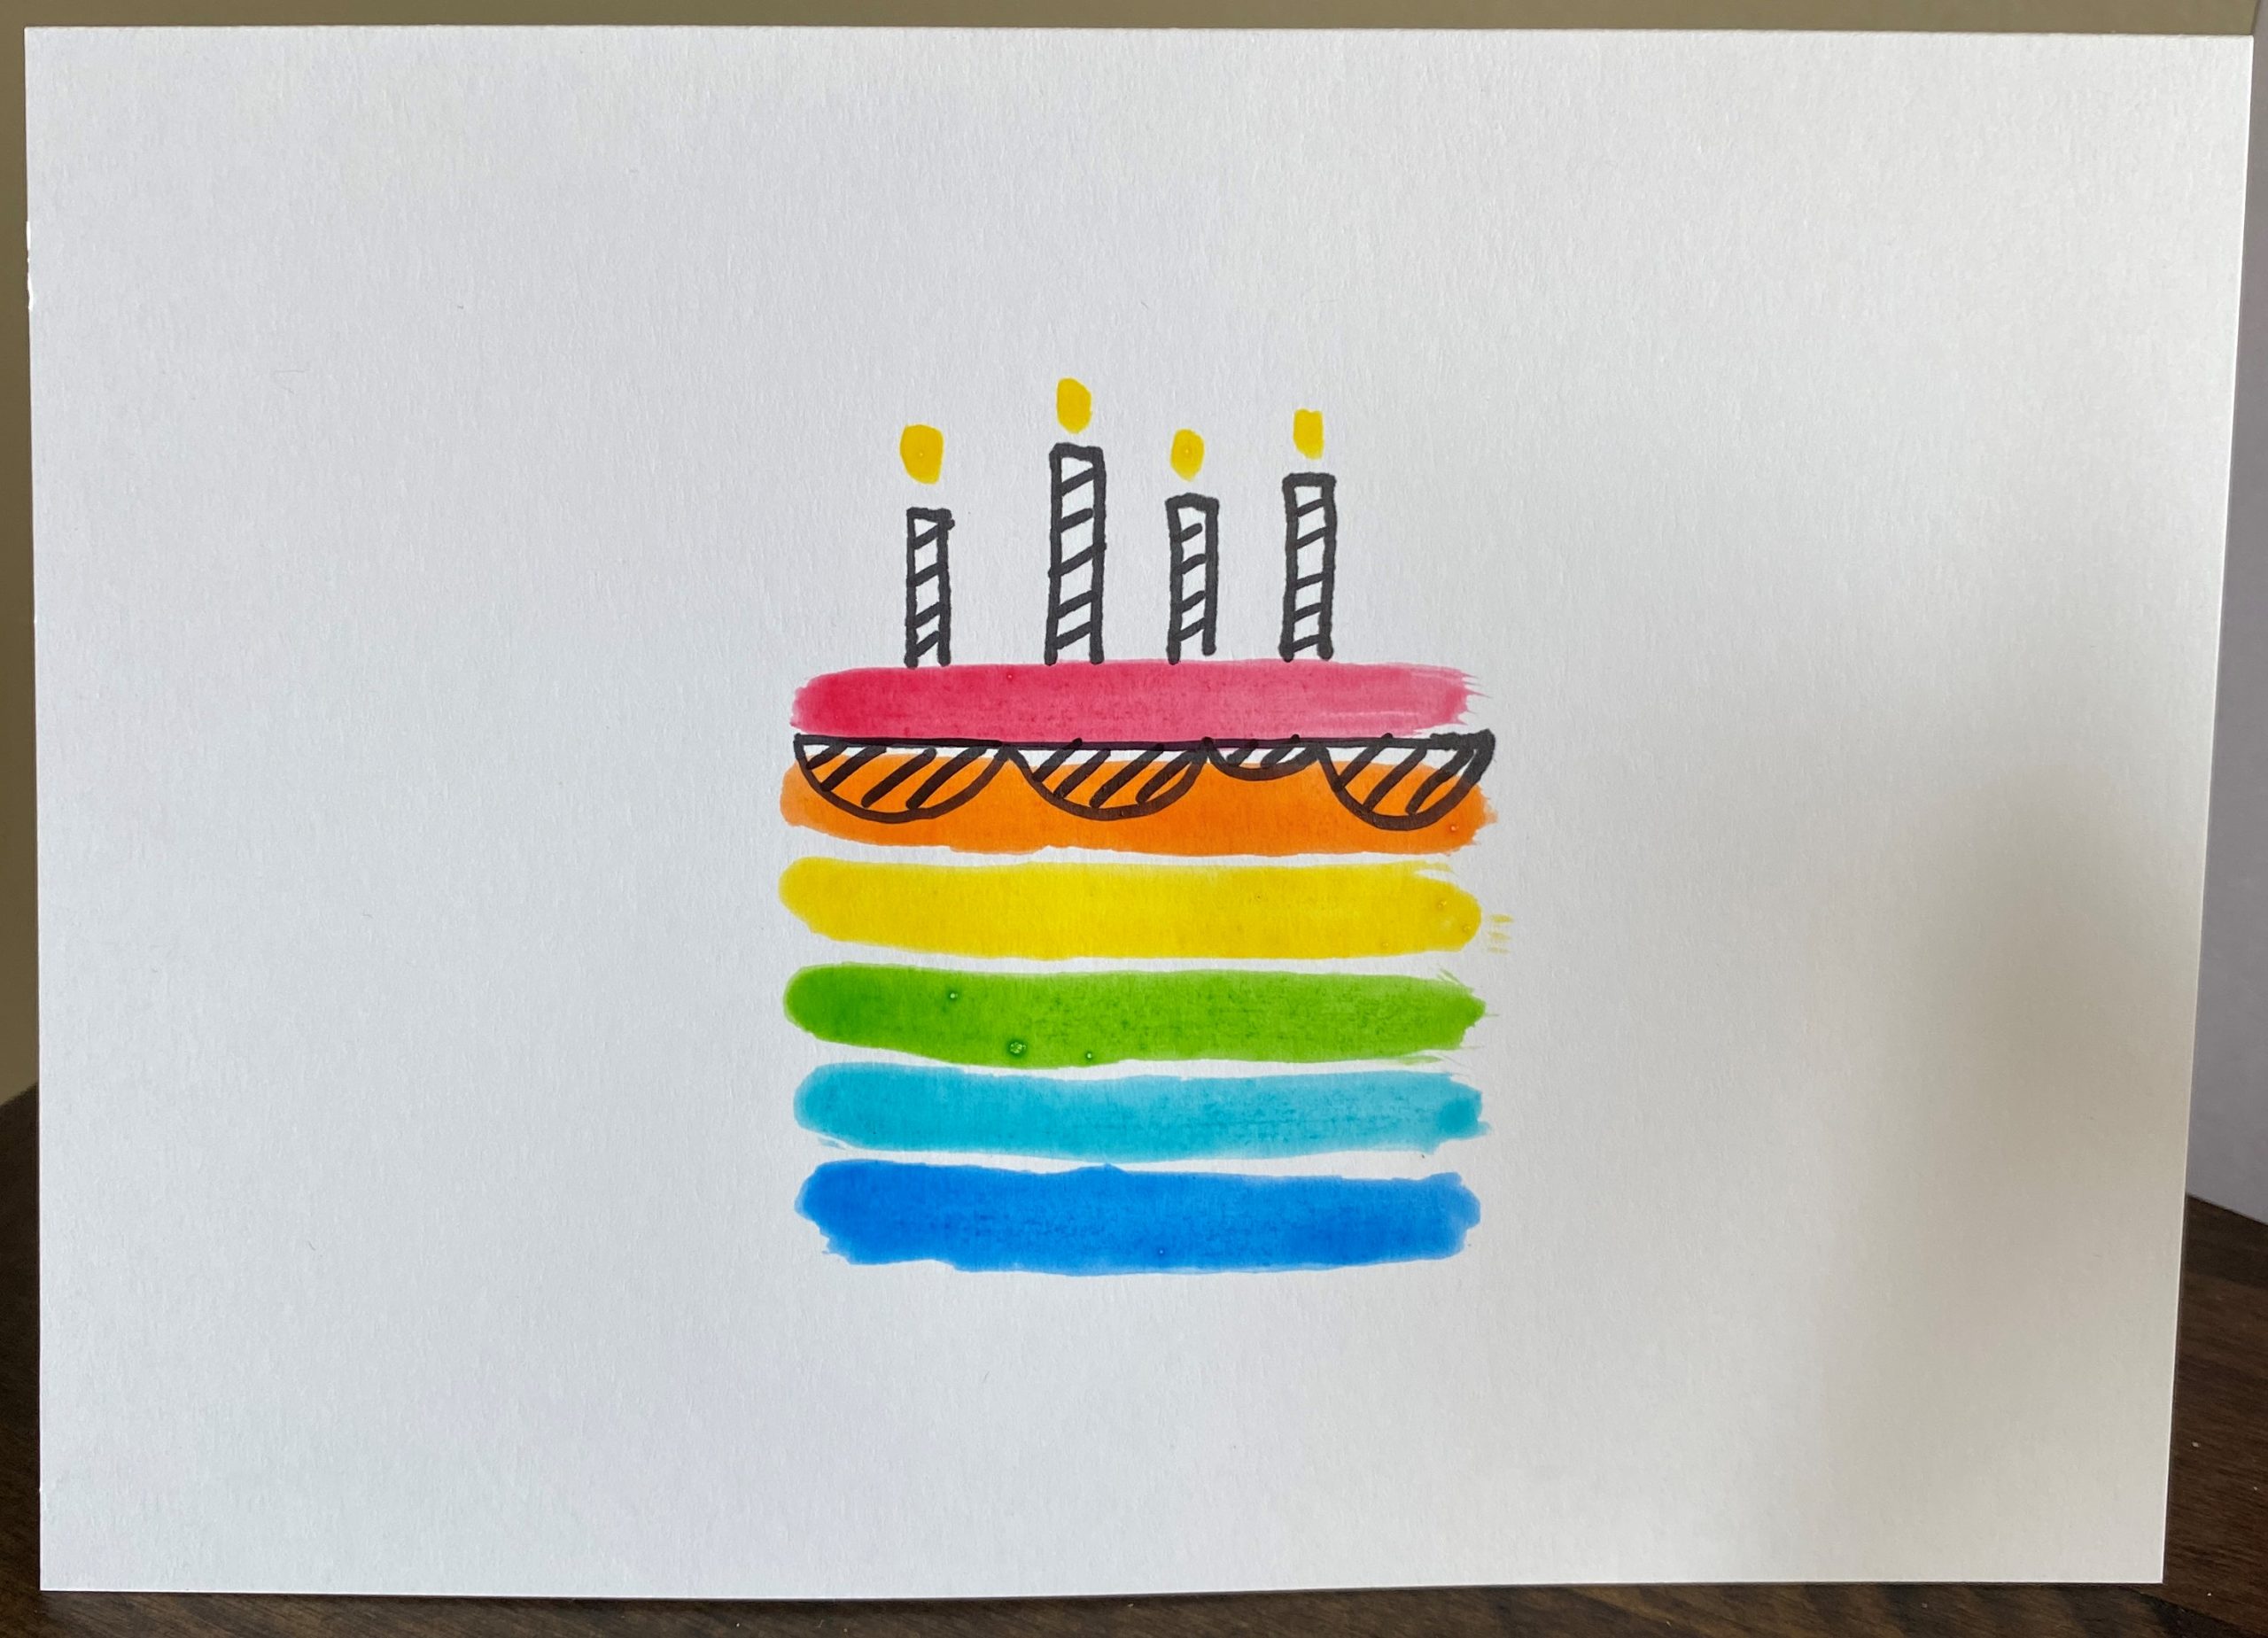
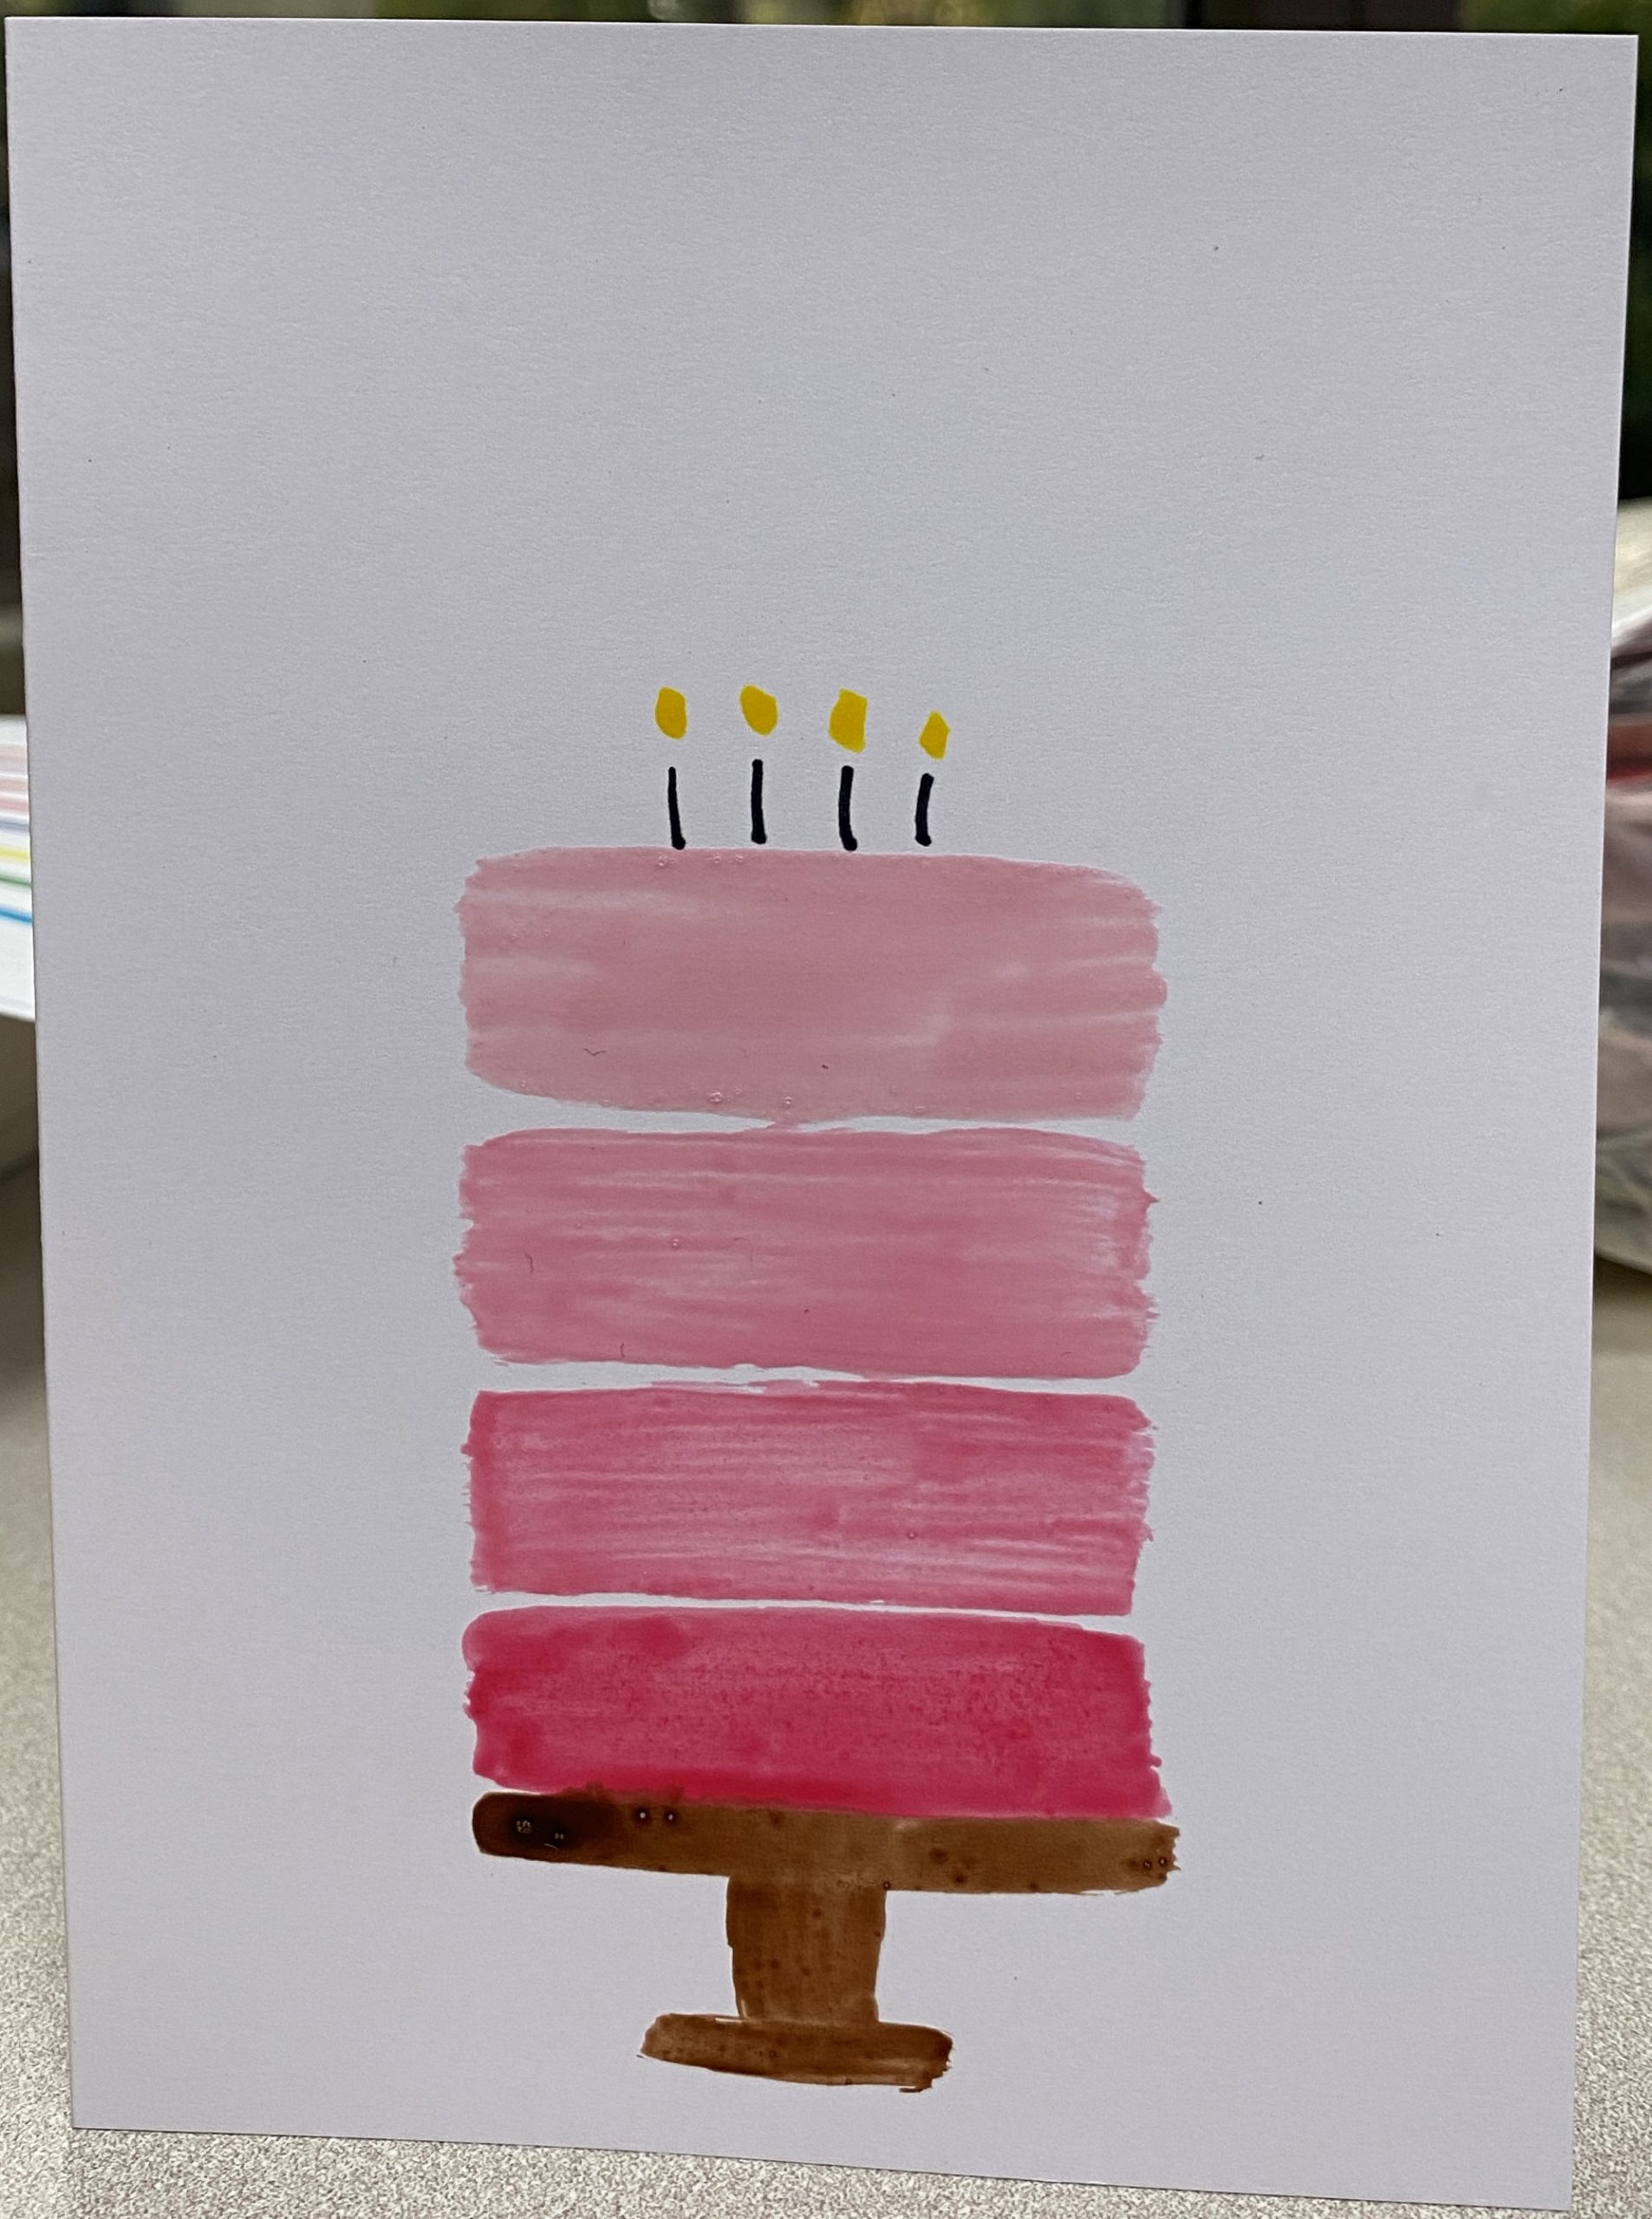
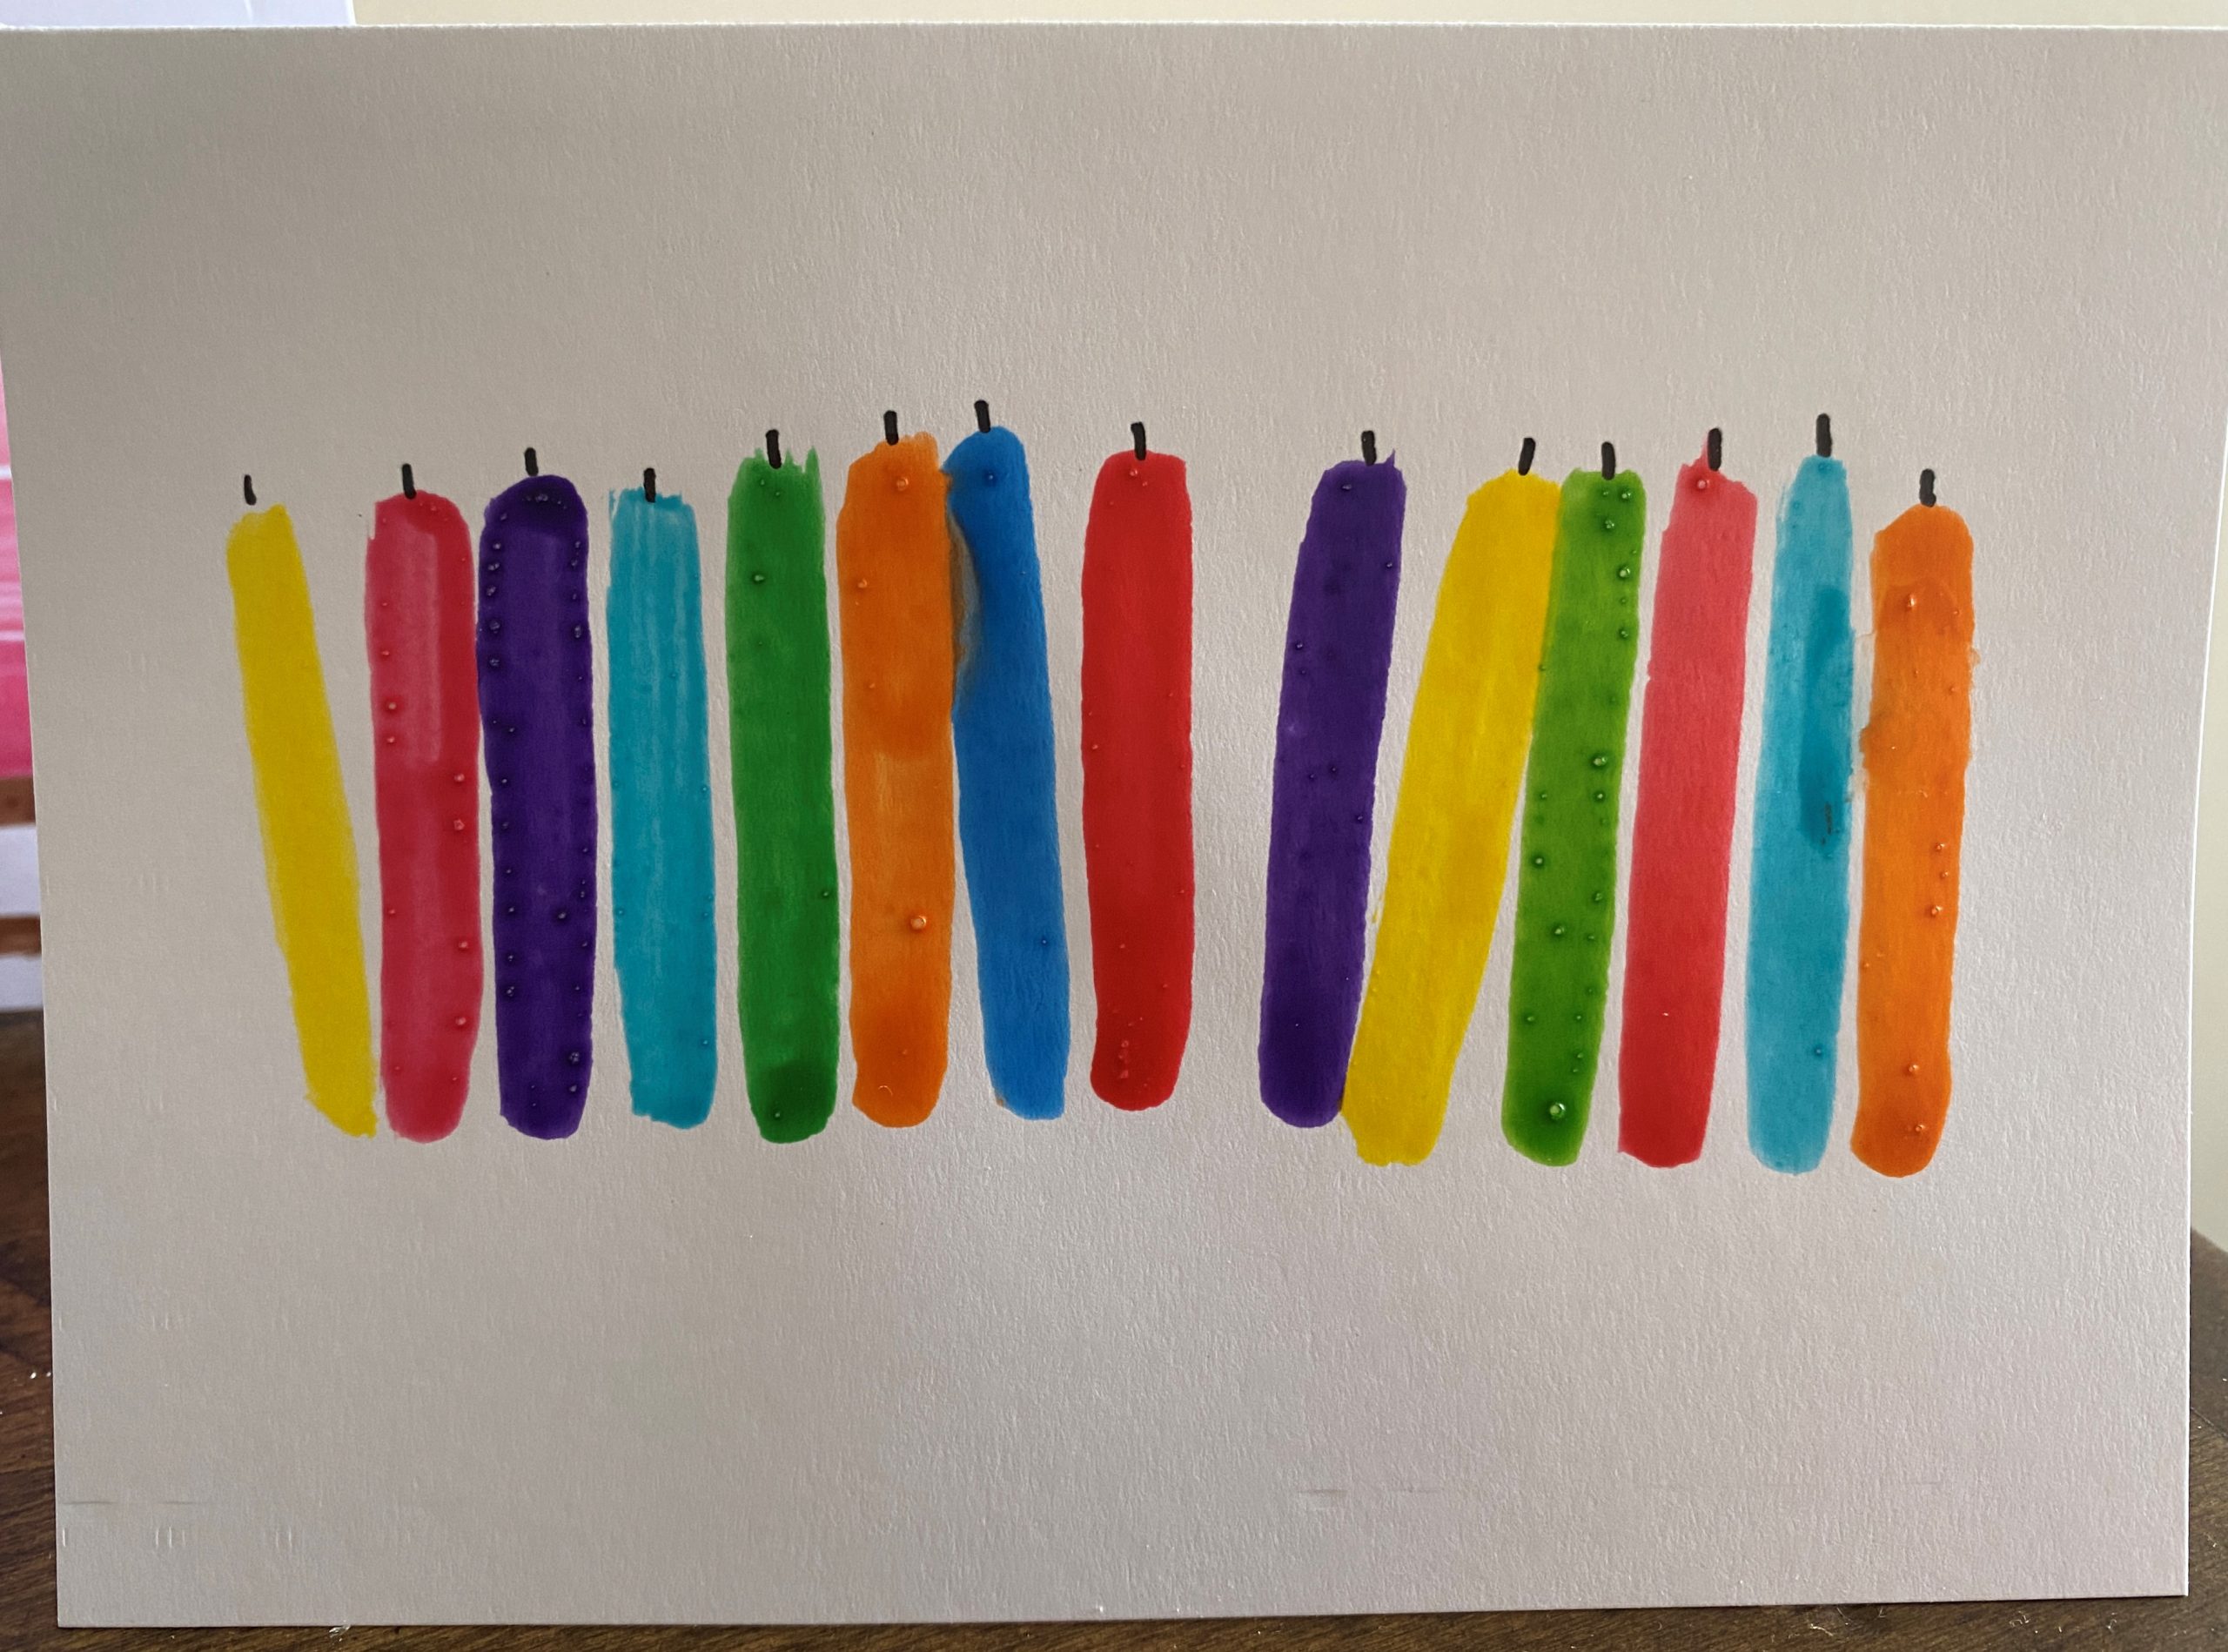
    Using the items from the kit, I created the below cards.  Feel free to use mine as a guide or use your imagination to create your own!

    Source:  Etsy (seller no longer available)

    Source:  Etsy (shop name:  Somerpress)

    Source:  https://www.etsy.com/listing/795898892/watercolor-birthday-card-simple-birthday?epik=dj0yJnU9c0tOdmV4dkM5cUl4TzhjYTZTOEppTW5aWXBfUjVkRzEmcD0wJm49eFFyb1FhdE10dmFxdkRPWm5icF9jUSZ0PUFBQUFBR0RrYm1J

    Other simple inspiration cards:

    Source:  https://www.papersource.com/stationery/watercolor-dots-thank-you-card-set-4661007688.html

    Source: https://www.etsy.com/twentyfiveandco/listing/568162814/set-of-5-watercolor-thank-you-cards?utm_campaign=Share&utm_medium=social_organic&utm_source=MSMT&utm_term=so.smt&share_time=1514233364000

    Source:  https://www.notonthehighstreet.com/arbee

    carousel image 0

    Source:  https://www.etsy.com/listing/777359546/i-miss-you-card-friend-card-thinking?epik=dj0yJnU9elhFcjNDMEpNa0pHVDFiSGZnUzZpMlgxUDJfRmV4LWwmcD0wJm49V0pvZTNybVZuNGdDMmpzS1pEYkhkQSZ0PUFBQUFBR0JWLURF

    Source:  https://shopabigailjaynedesign.com/

    Source:  Pinterest – Pauline Dravet

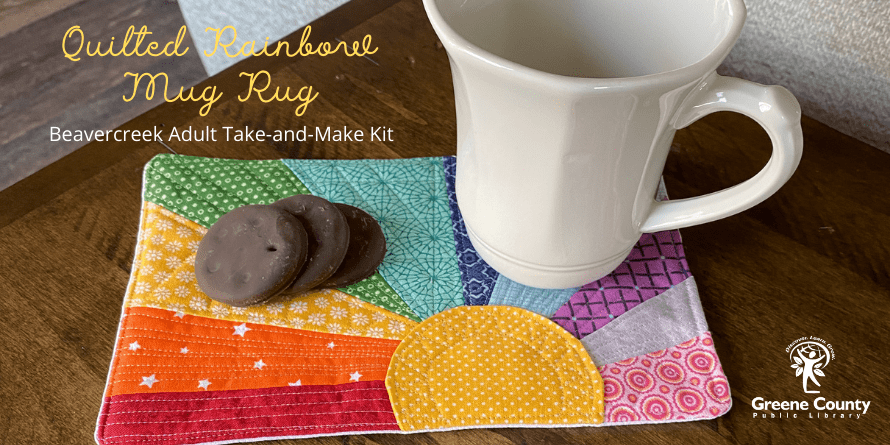
  • Beavercreek Adult Take-and-Make: Quilted Rainbow Mug Rug

    First things first:  You must sign up to reserve your kit here.  Once you’ve registered, please pick up your kit from the adult services desk at the Beavercreek Community Library.

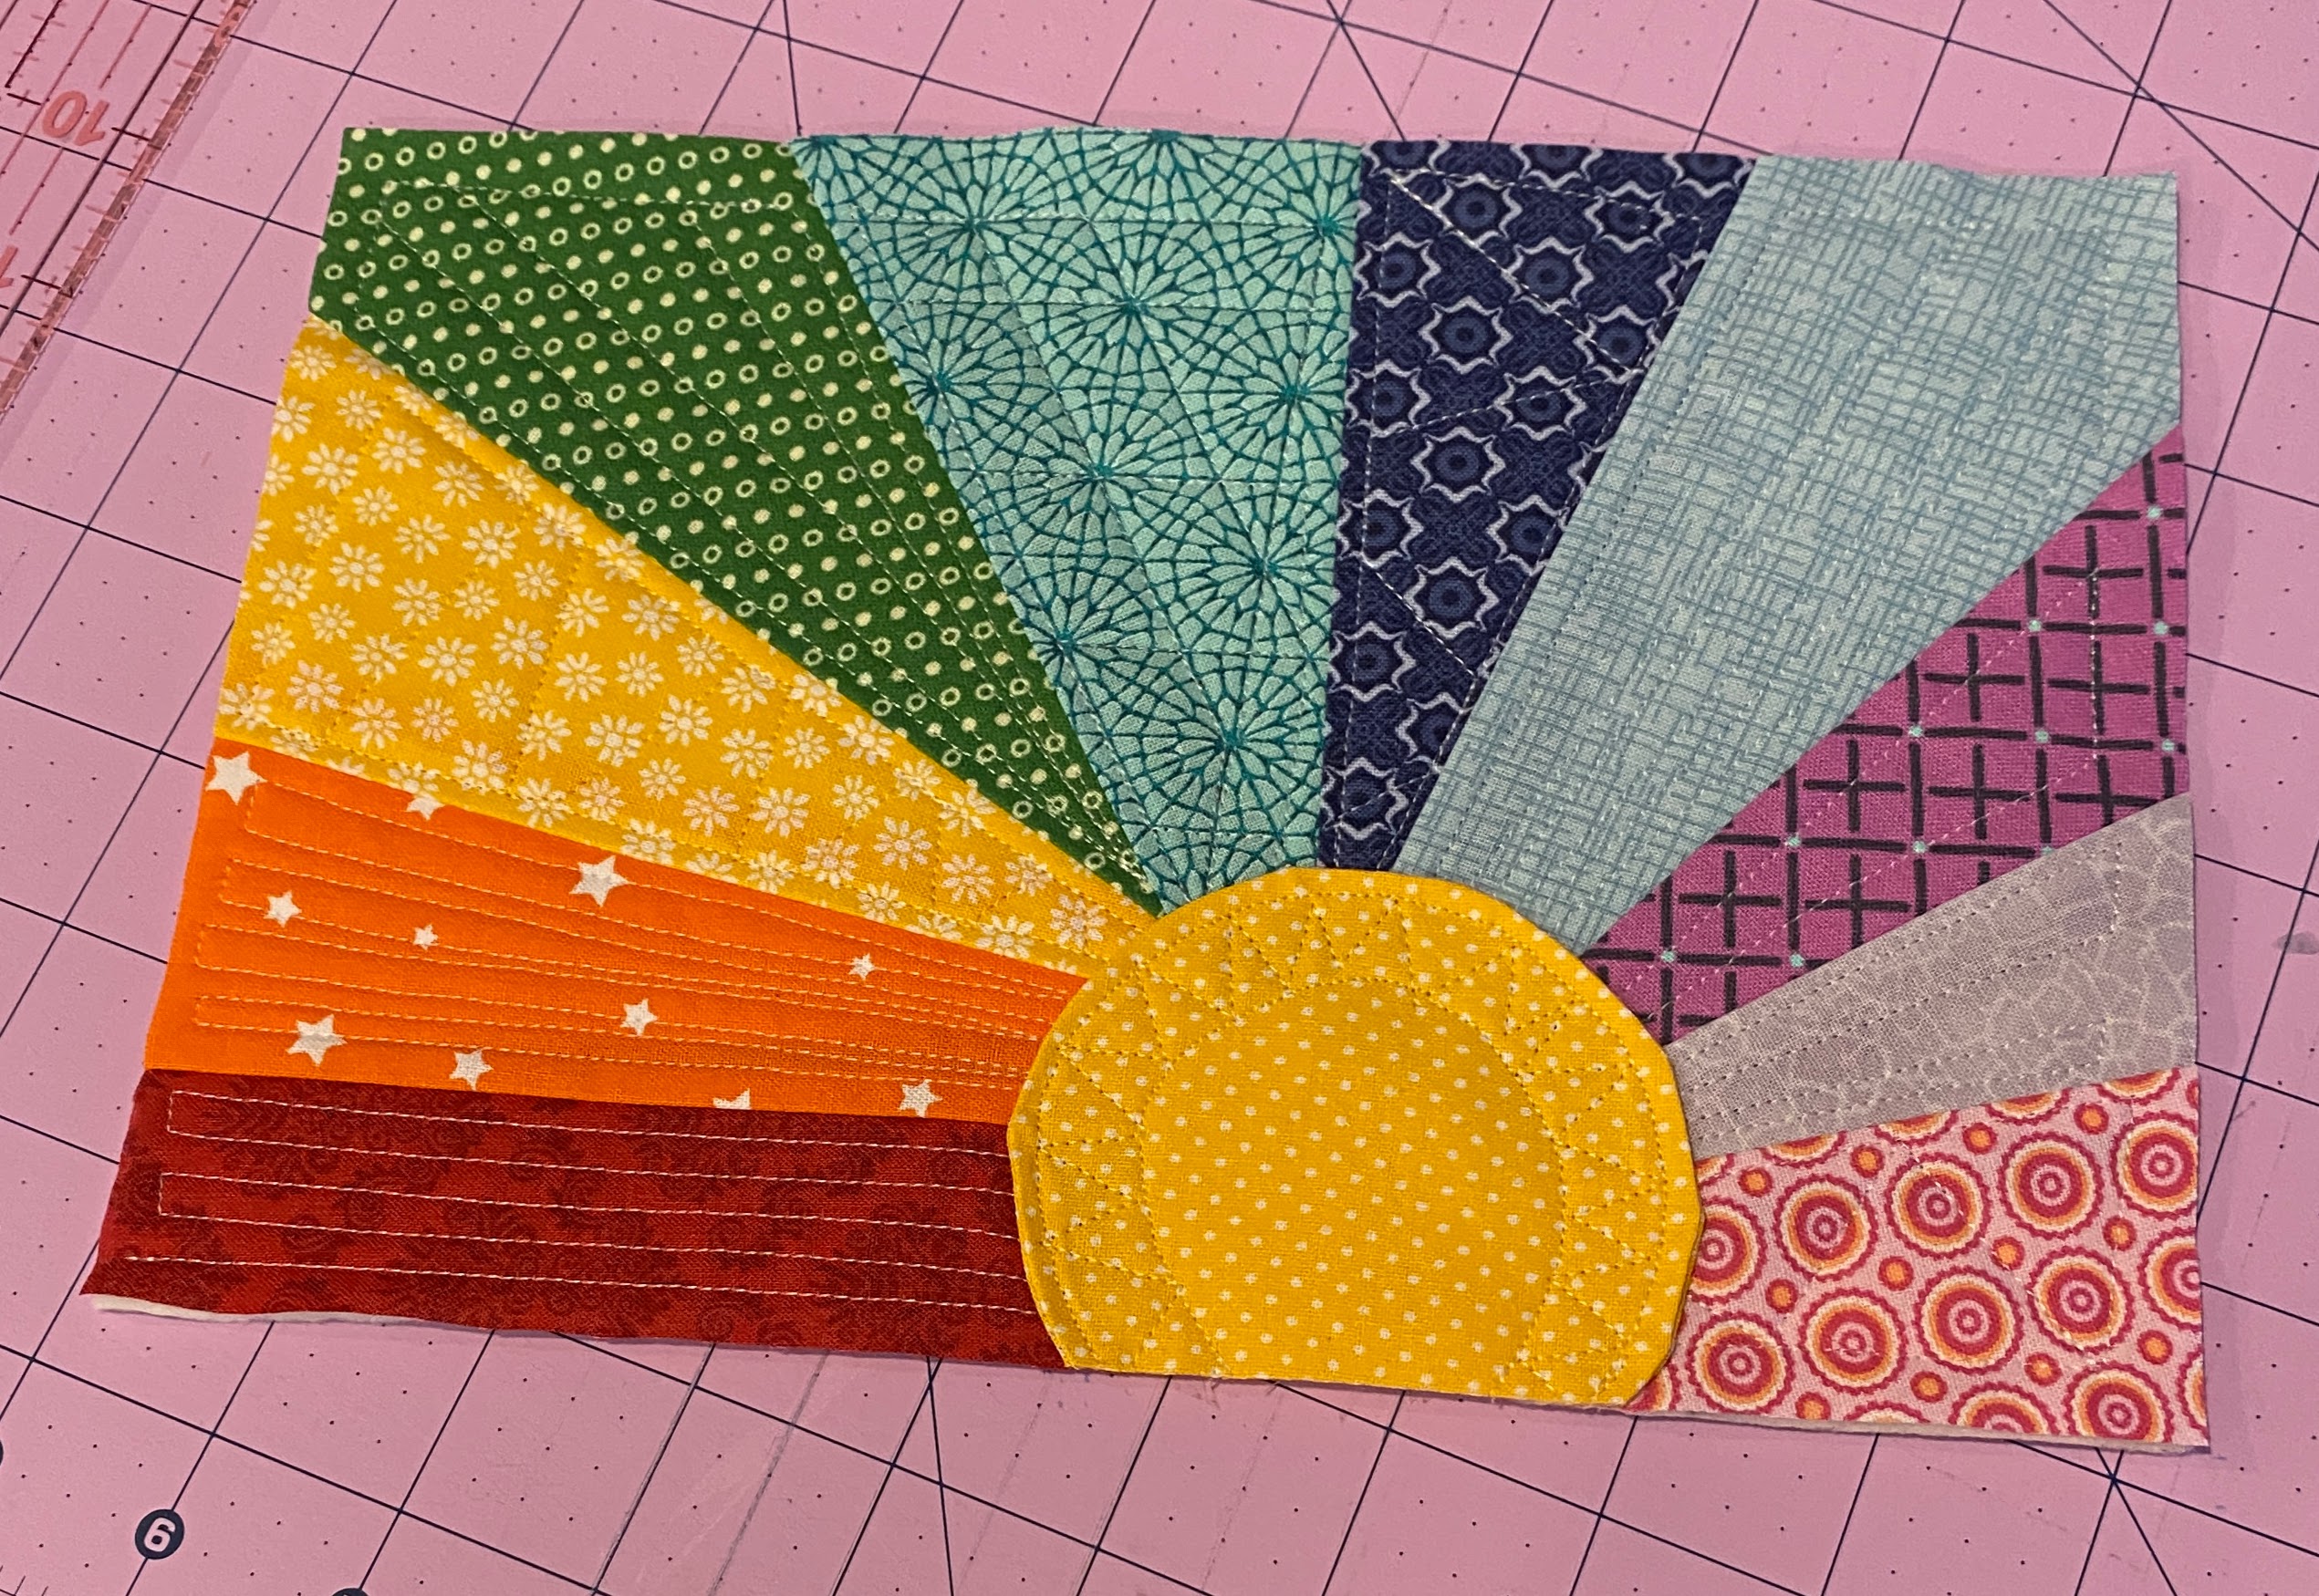
    OK, guys.  I am really excited about this month’s craft!  I can’t take credit for the design or the pattern as I found that here:  https://amerooniedesigns.com/rainbow-sunset-mug-rug-tutorial/

    Now, you may be wondering, do my mugs really need a rug?  Probably not.  BUT, think of this craft as a way to practice quilting techniques on a small and more manageable scale.

    Personal Note:  I first became interested in quilting when I was in college.  I started small with things like pillowcases

    One thing I love about this pattern is that it’s a QAYG (quilt as you go) pattern.  This means you’re sewing your fabric pieces right onto the batting thus eliminating the need to piece the top and then quilt it onto the batting.  If you like this technique, there are LOTS of patterns like this out there on Pinterest and Etsy.

    So, lets get started!

    In your kit, you will have the following materials:

    10 Rainbow fabric pieces (3″x7″)

    1 Yellow “sun”

    1 9″x6″ piece of 100% cotton batting

    1 9.5″x6.5″ piece of backing fabric

    You will need to supply the following materials:

    Sewing machine (or needle, if hand sewing)

    thread

    scissors

    If you’ve never quilted before, this is a perfect project to start with!  All you have to do is be able to sew in a straight line (or straight-ish).  If you don’t have a sewing machine, you could certainly hand sew this, it would just take longer.

    I followed the instructions on this tutorial except for the binding method.  I chose to finish off the mug rug without using binding and only top stitching.  I think it has a cleaner look. 

    1.  Prepare your batting by trace where you’d like to place the sun.
    2. Place your first piece of fabric (red) on the batting and make sure it overlaps the sun area.
    3. Put the right side of the second fabric strip (orange) on top of the first strip and sew using a 1/4″ seam allowance.
    4. Use an iron to press the second strip away from the first.
    5. Quilt on top of the first fabric strip using any method you like.  I used this as an opportunity to be creative.  This is where you can really practice your quilting techniques.  You can use straight lines, zigzags, whatever your heart desires!
    6. Position the third strip of fabric (yellow, right side down) and sew.  Press away from the orange strip.
    7. Quilt the orange strip.  As you add strips of fabric, you can trim the excess from the edges.  This makes the project a little more manageable.
    8. Repeat above steps for all the strips of fabric.  When you are finished, you should have the entire batting covered except for the sun area.
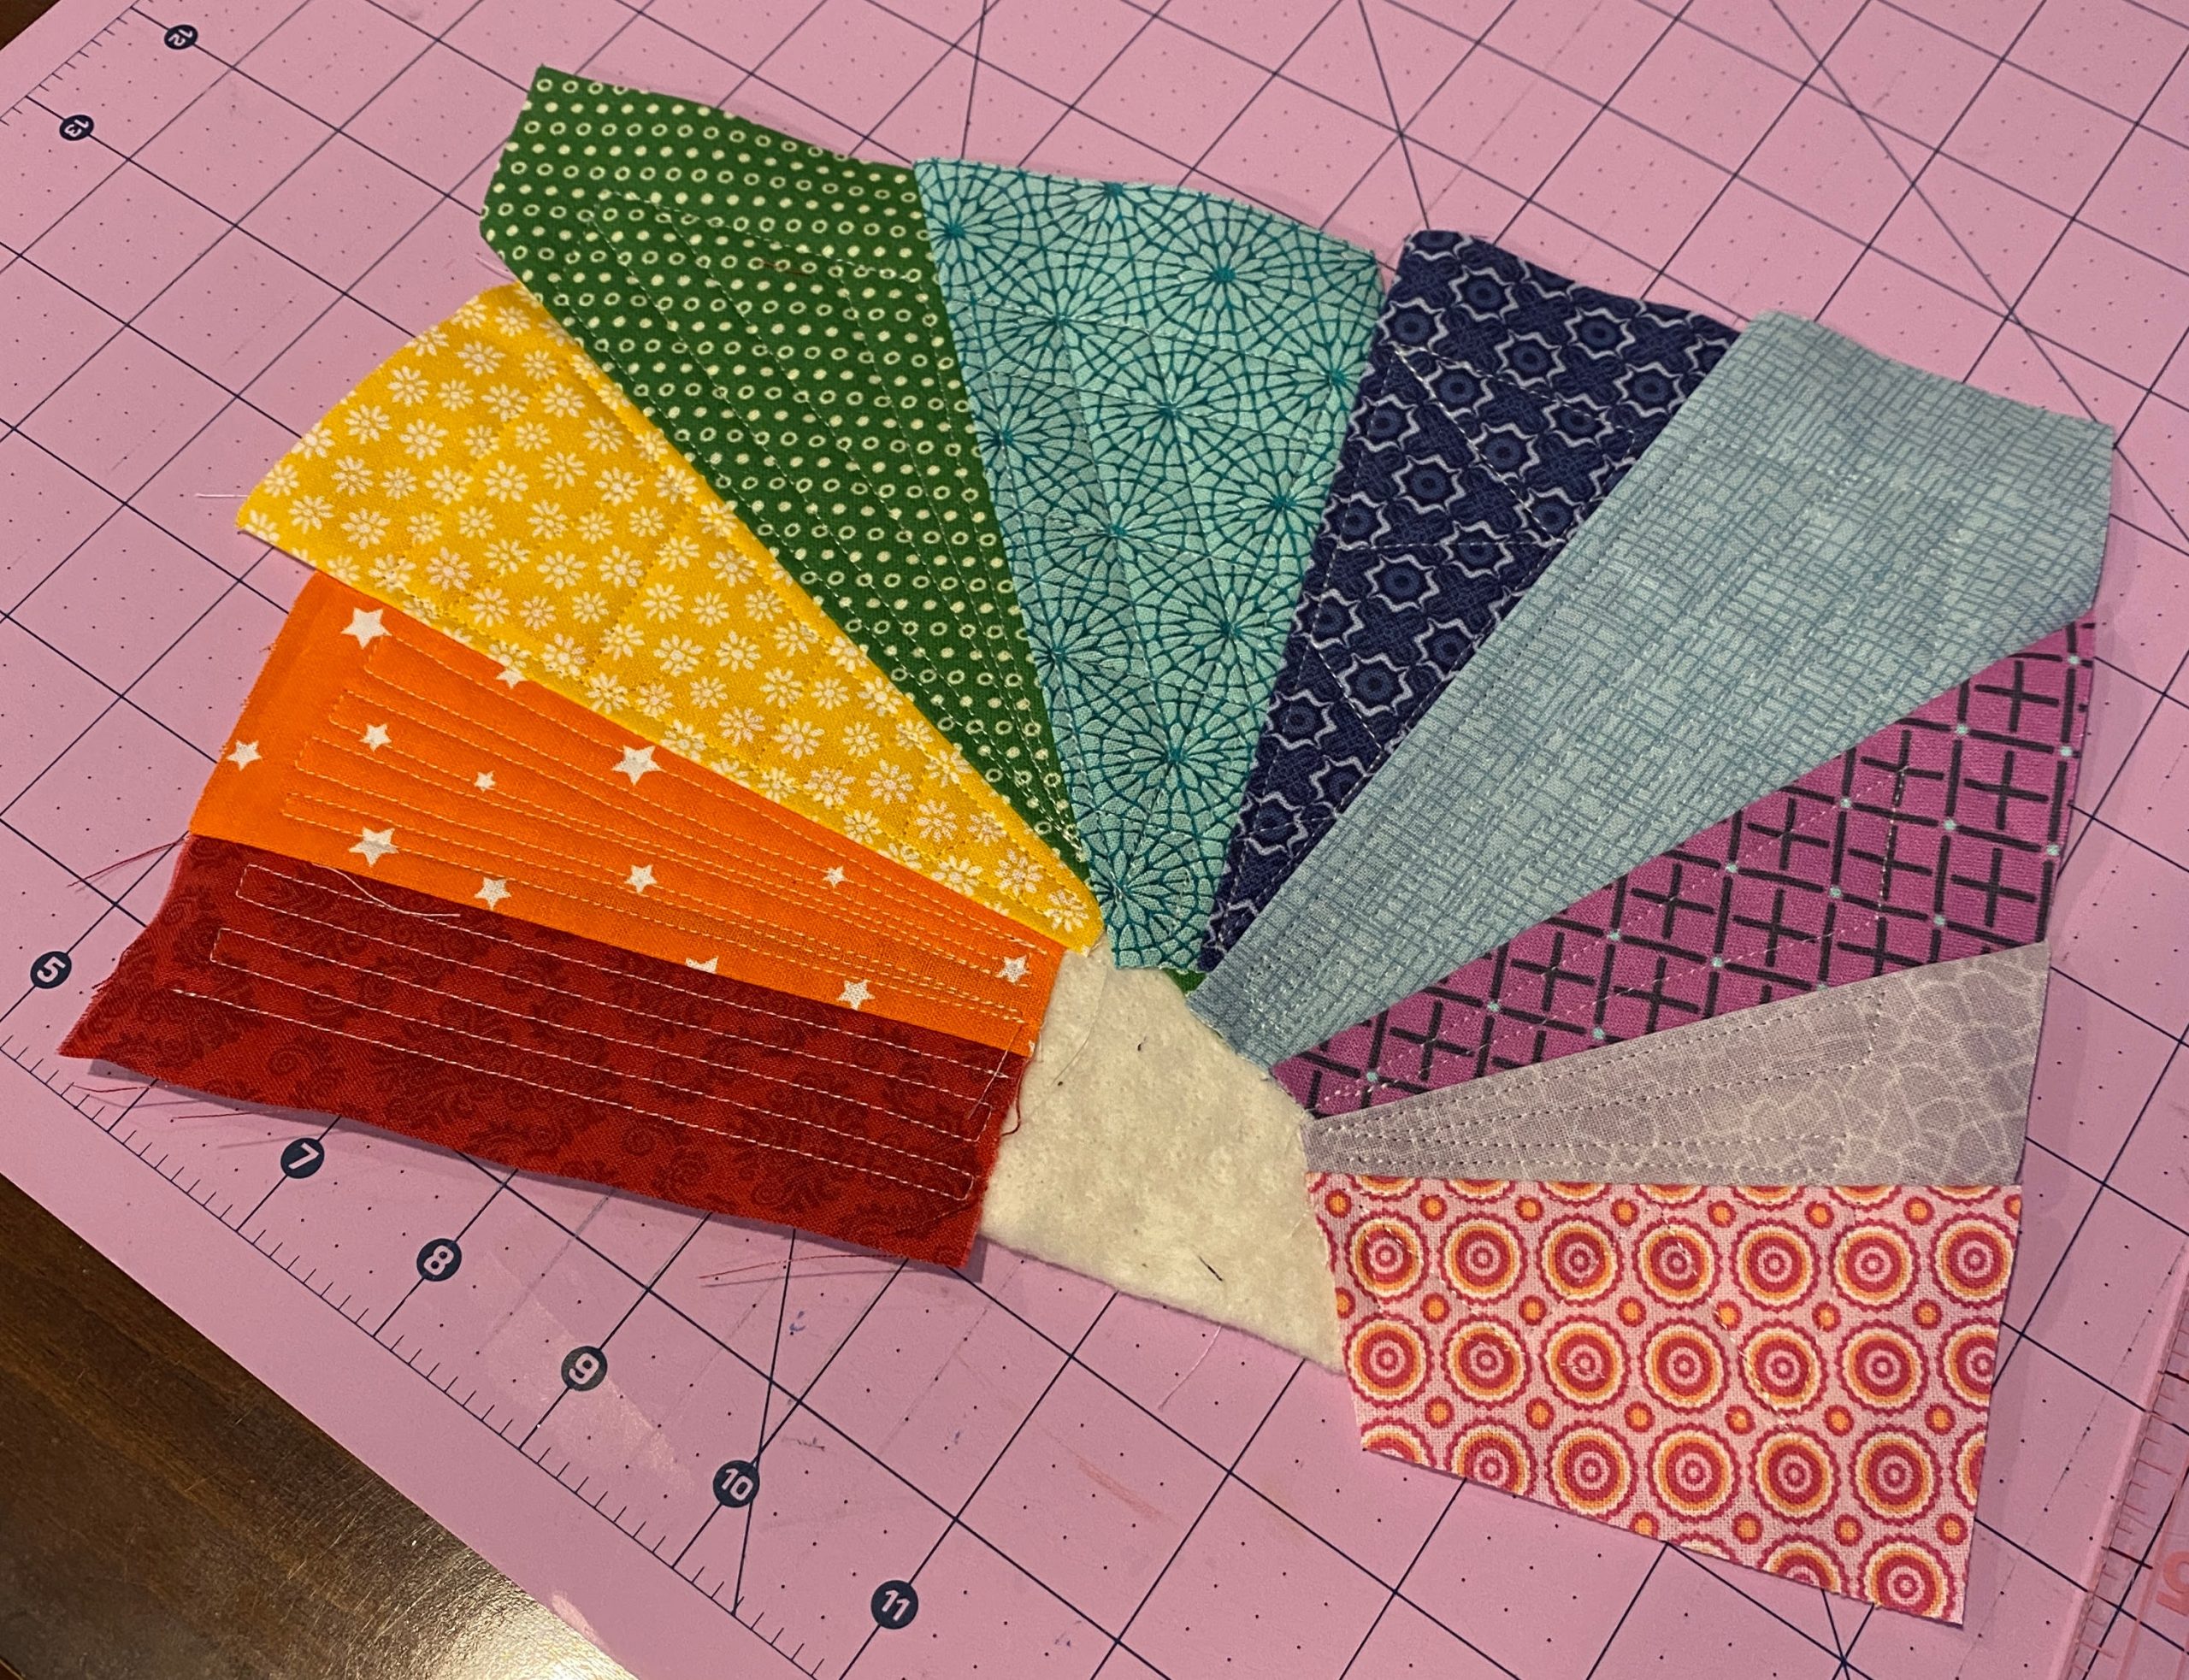
    9. Now, we’ll make the sun.  Sew around the outlined circle on the yellow fabric.  Trim away the excess fabric.  Pinch the fabric on one side and cut a small slit into it.  Turn the sun inside out and press flat with an iron.
    10. Put the sun where you want it on your batting, pin and sew around the outside circle.  Then, quilt the sun anyway you’d like.
    11. Trim the entire rug down to 6″x9″
    12. Now we will put the finishing touches on it.  Place the backing fabric (white) face up and then place the quilting batting on top, face down.  Right sides of both fabrics should be touching.
    13. Sew around the outside of the entire rug using at least a 1/4″ seam allowance.  Make sure to leave a few inches open on one of the sides.
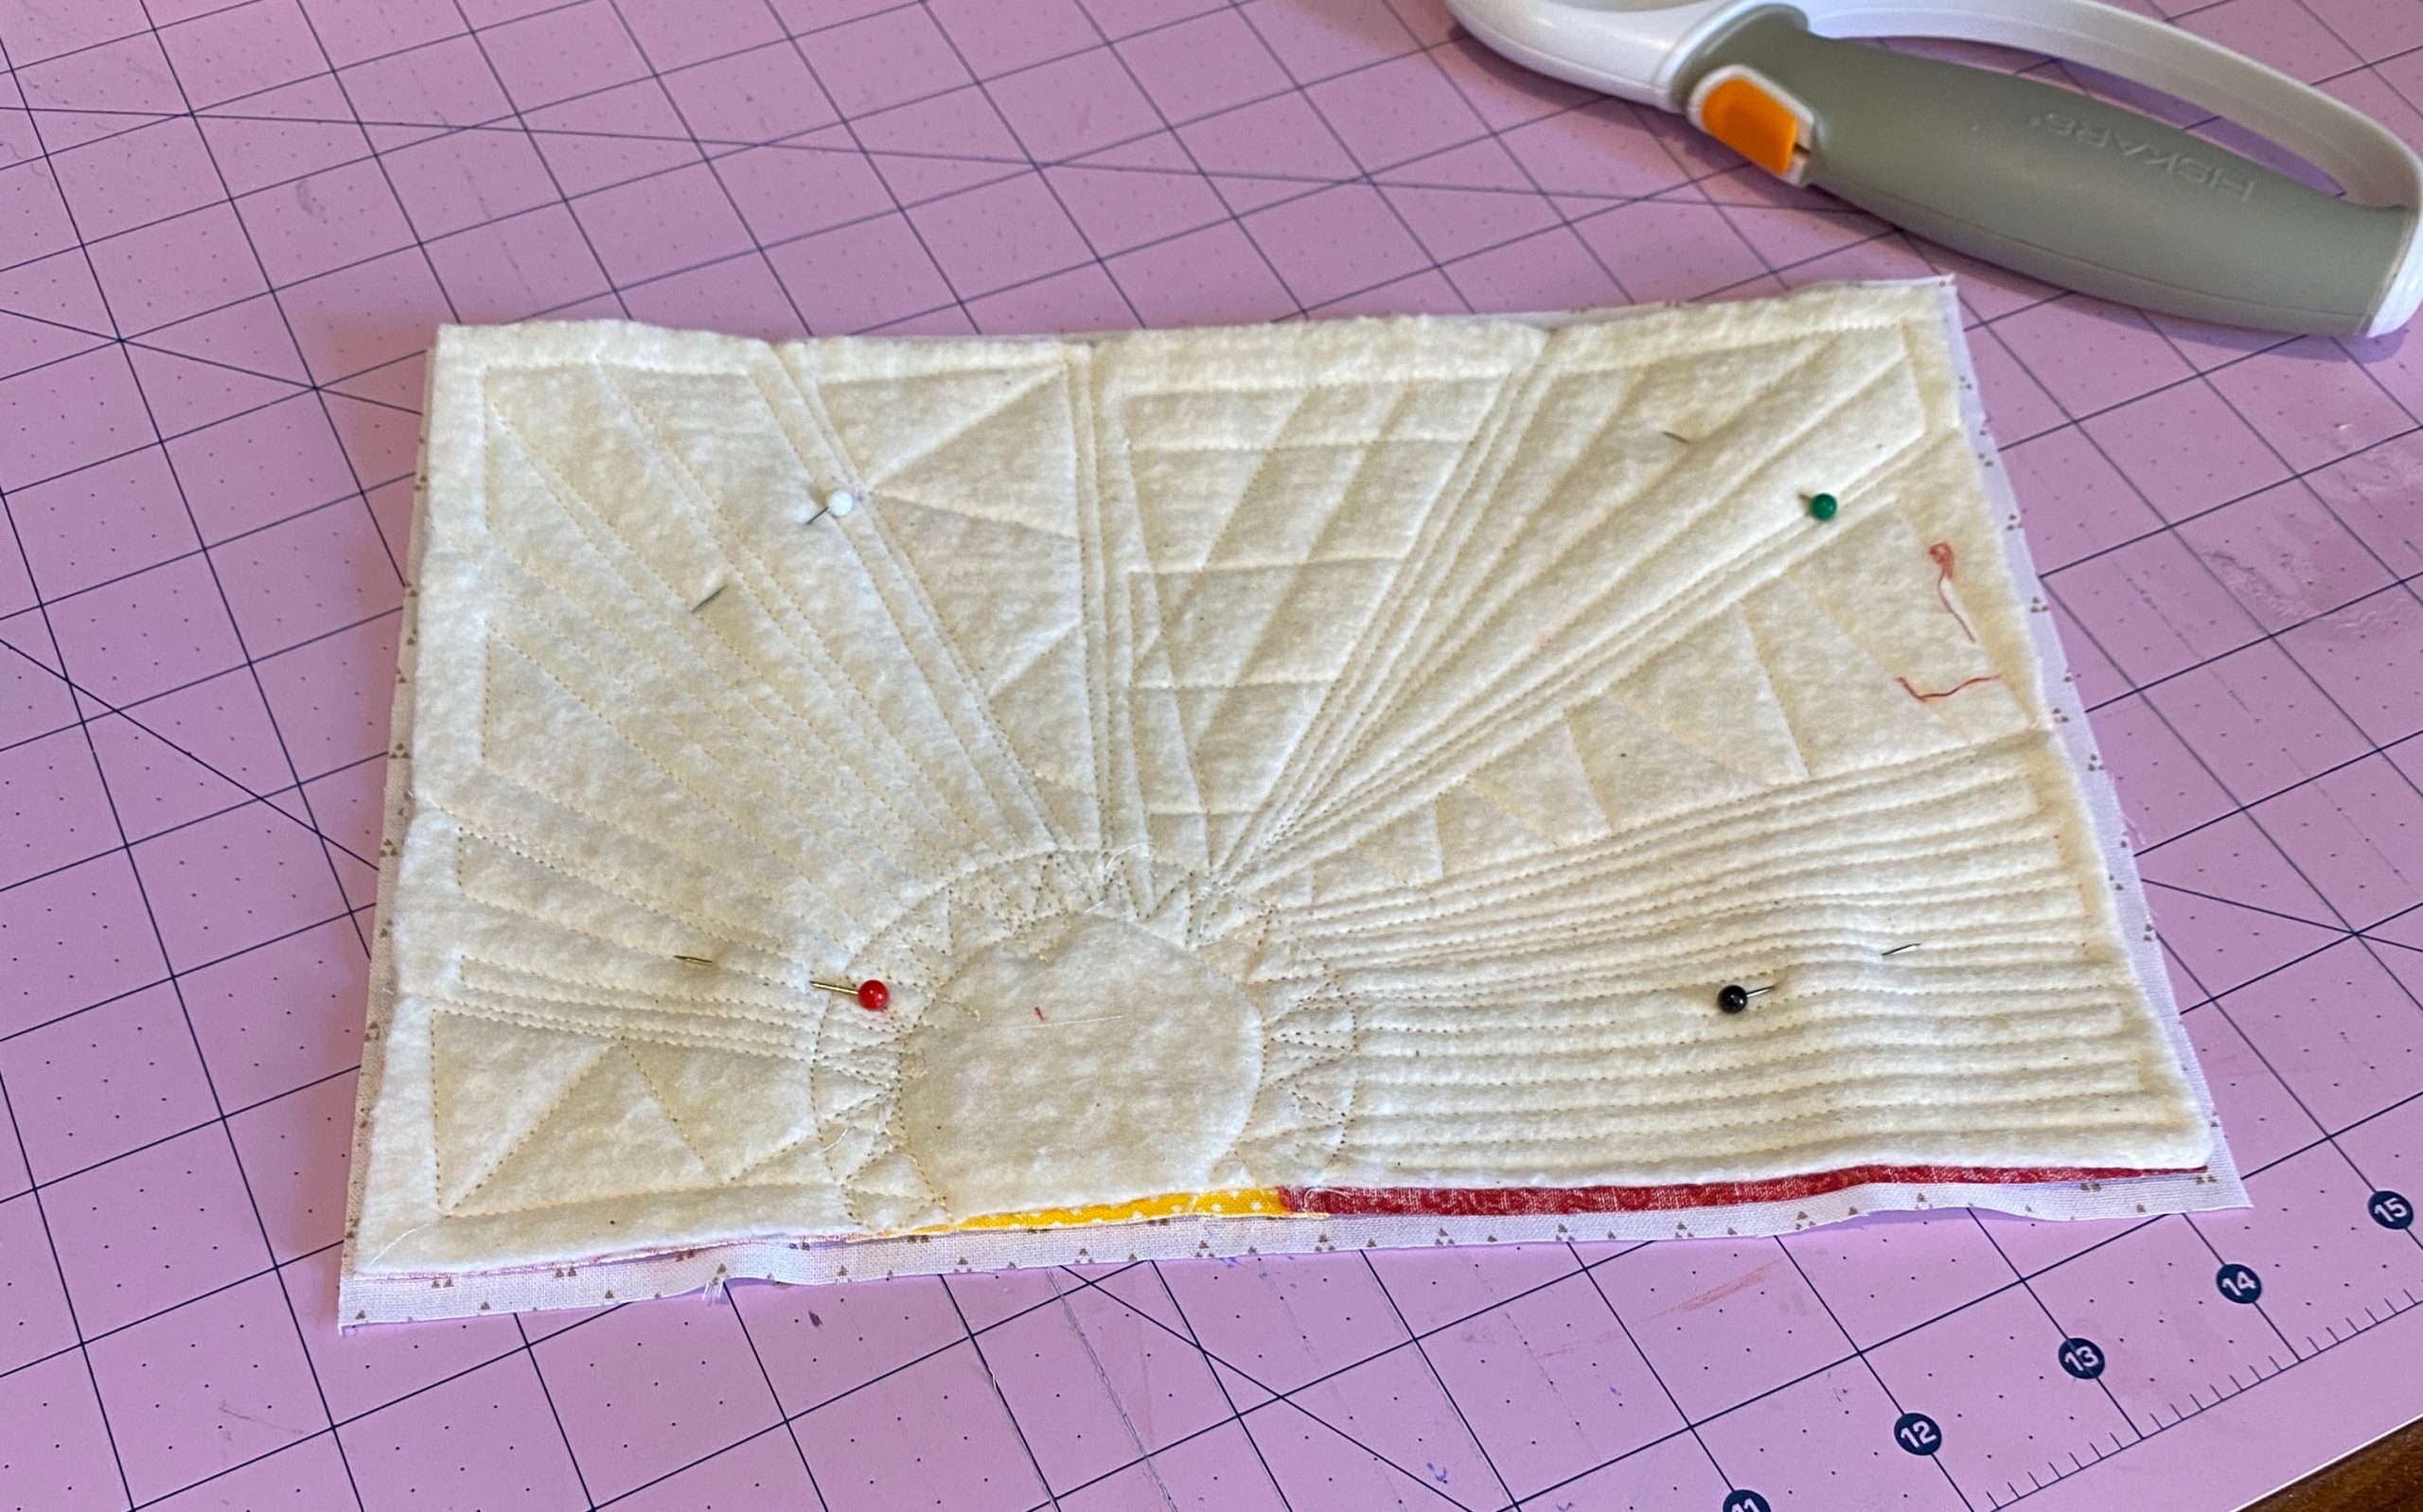
    14. Before turning right side out, snip the corners of the project to reduce bulk.
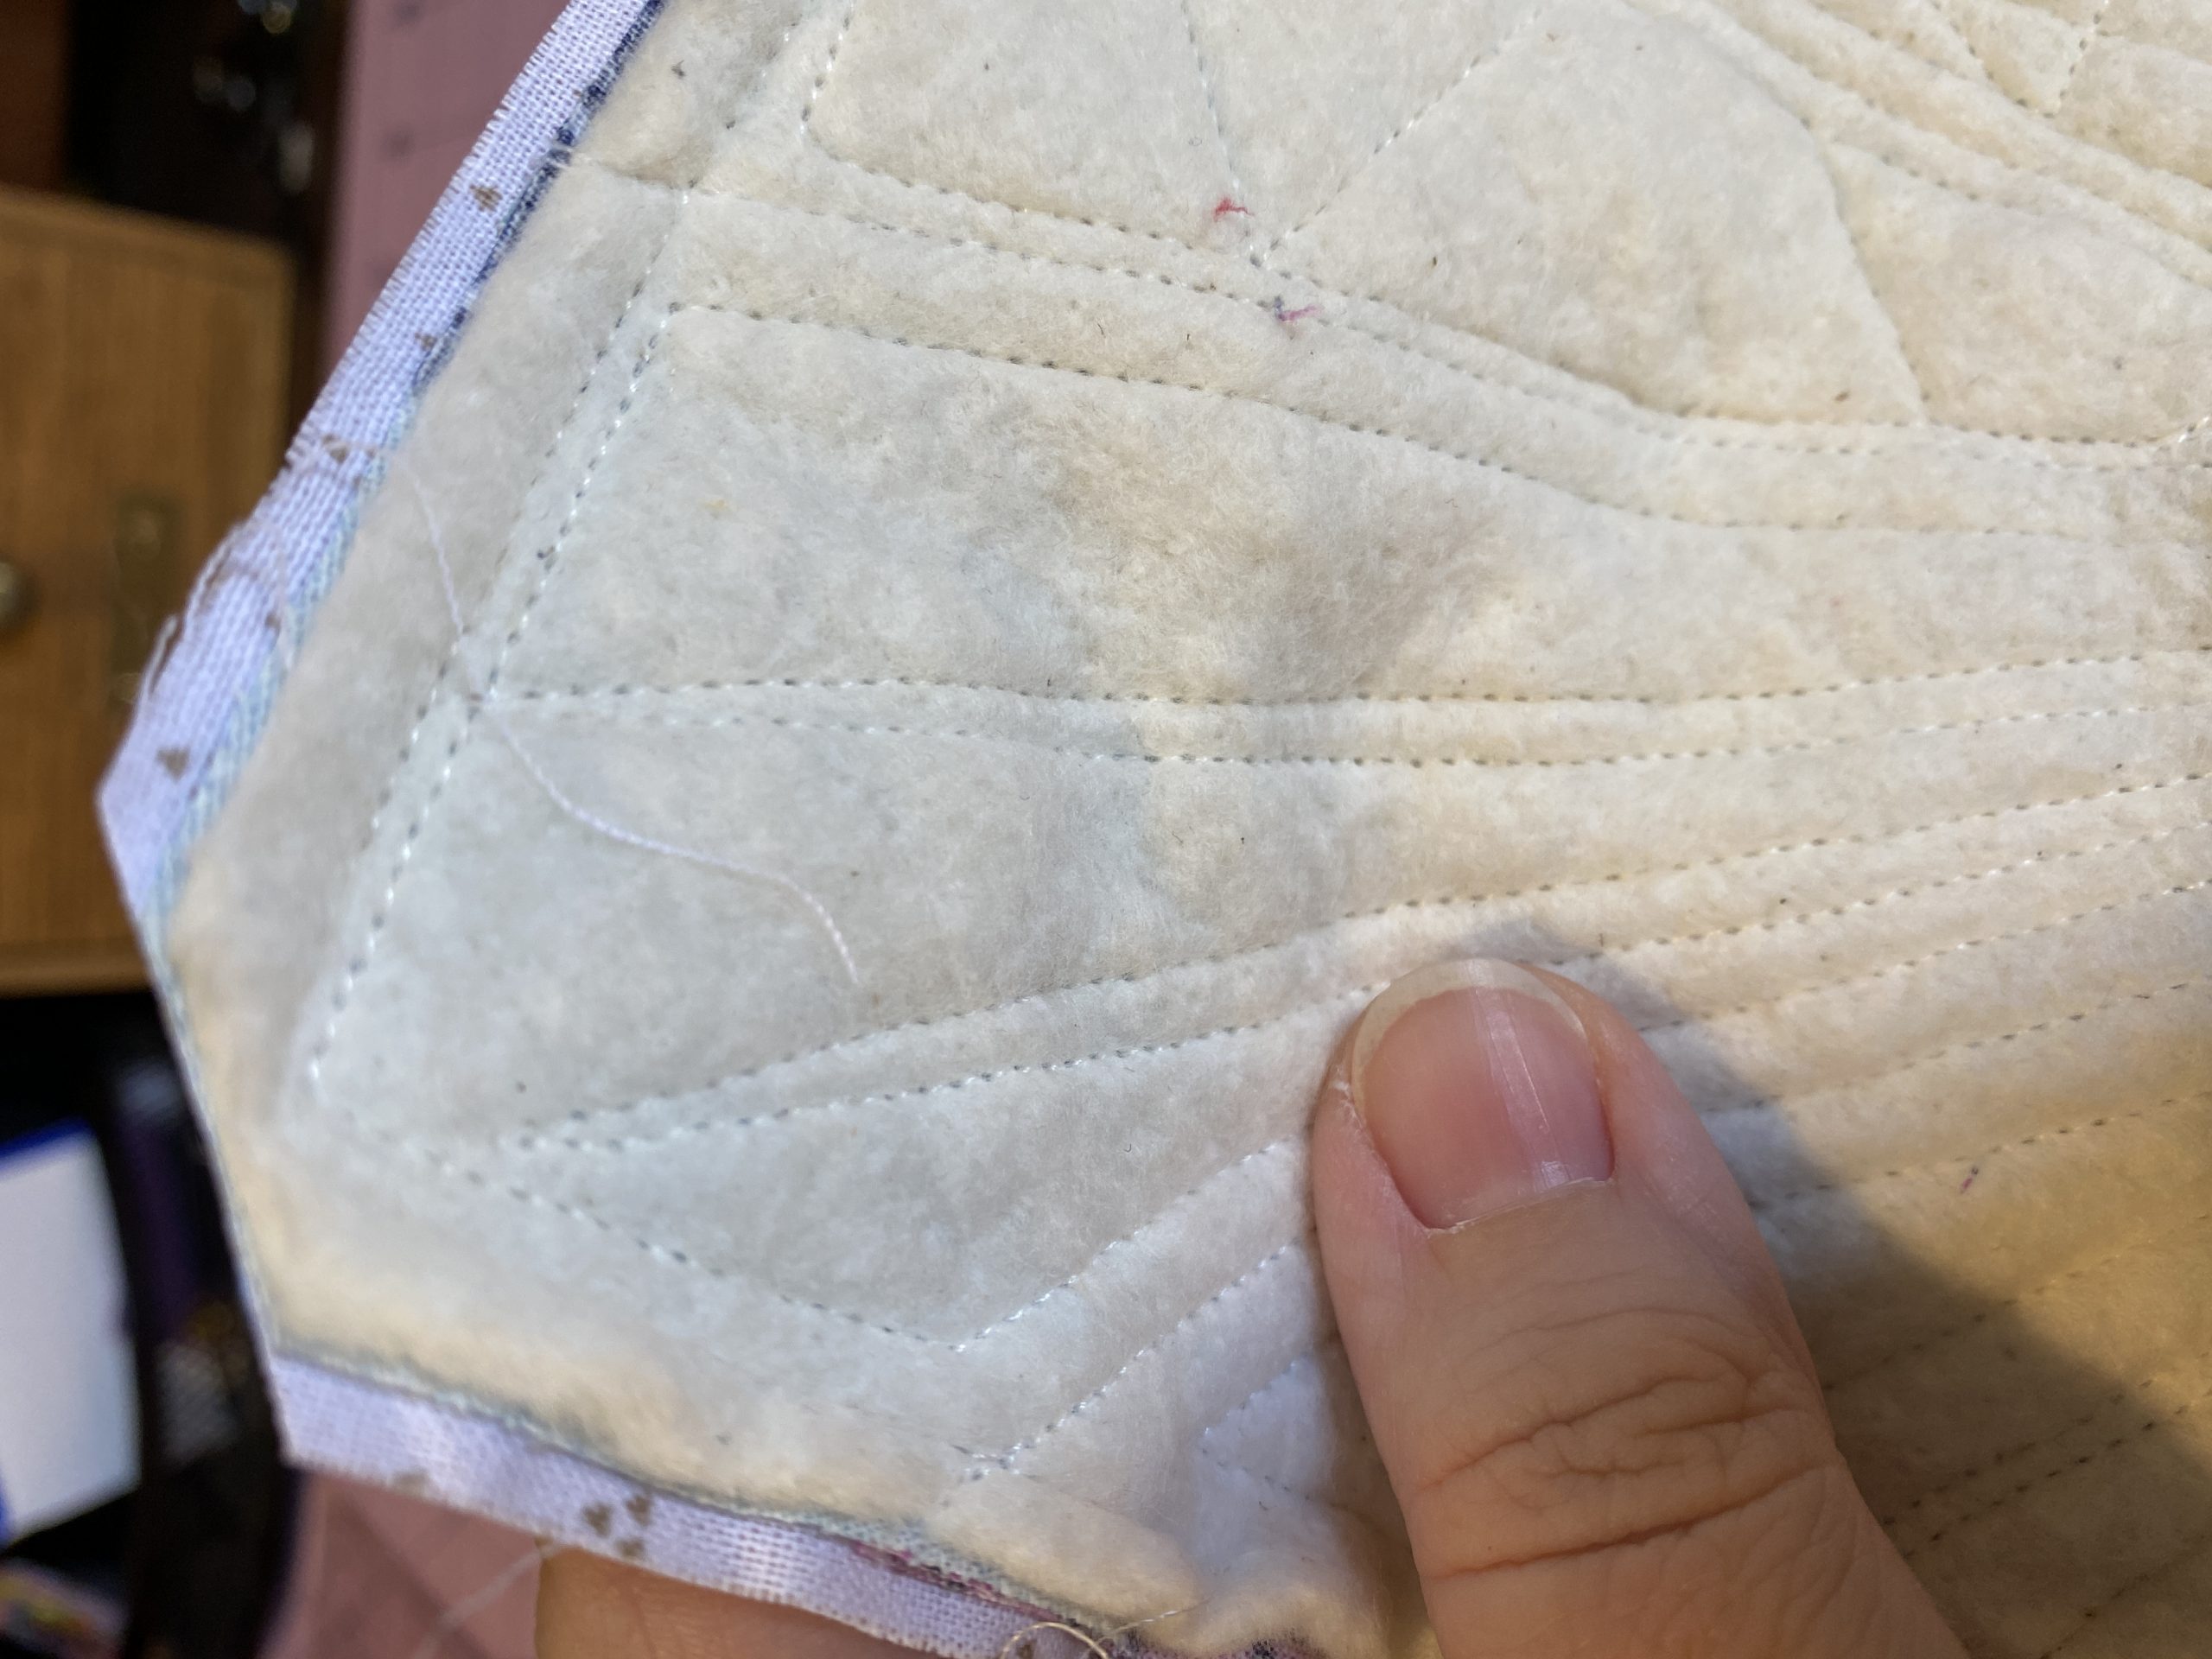
    15. Turn the project right side out.  On the open side, turn the fabric inward so it matches the rest of the side and pin.  The outside edge will seem bulky, but that will go away when you top stitch.
    16. Top stich around the entire outside of the project to finish it off.
    17. Celebrate a job well done with a cup of your favorite hot beverage and a cookie!

    I would LOVE to see your finished projects!  You can post pictures to our Facebook page here or email them to me at mcrumbacher@gcpl.lib.oh.us

    Happy Sewing!!
  • Beavercreek Adult Take-and-Make: Spring Cross Stitch Heart

    Adult Take-and-Make Kit

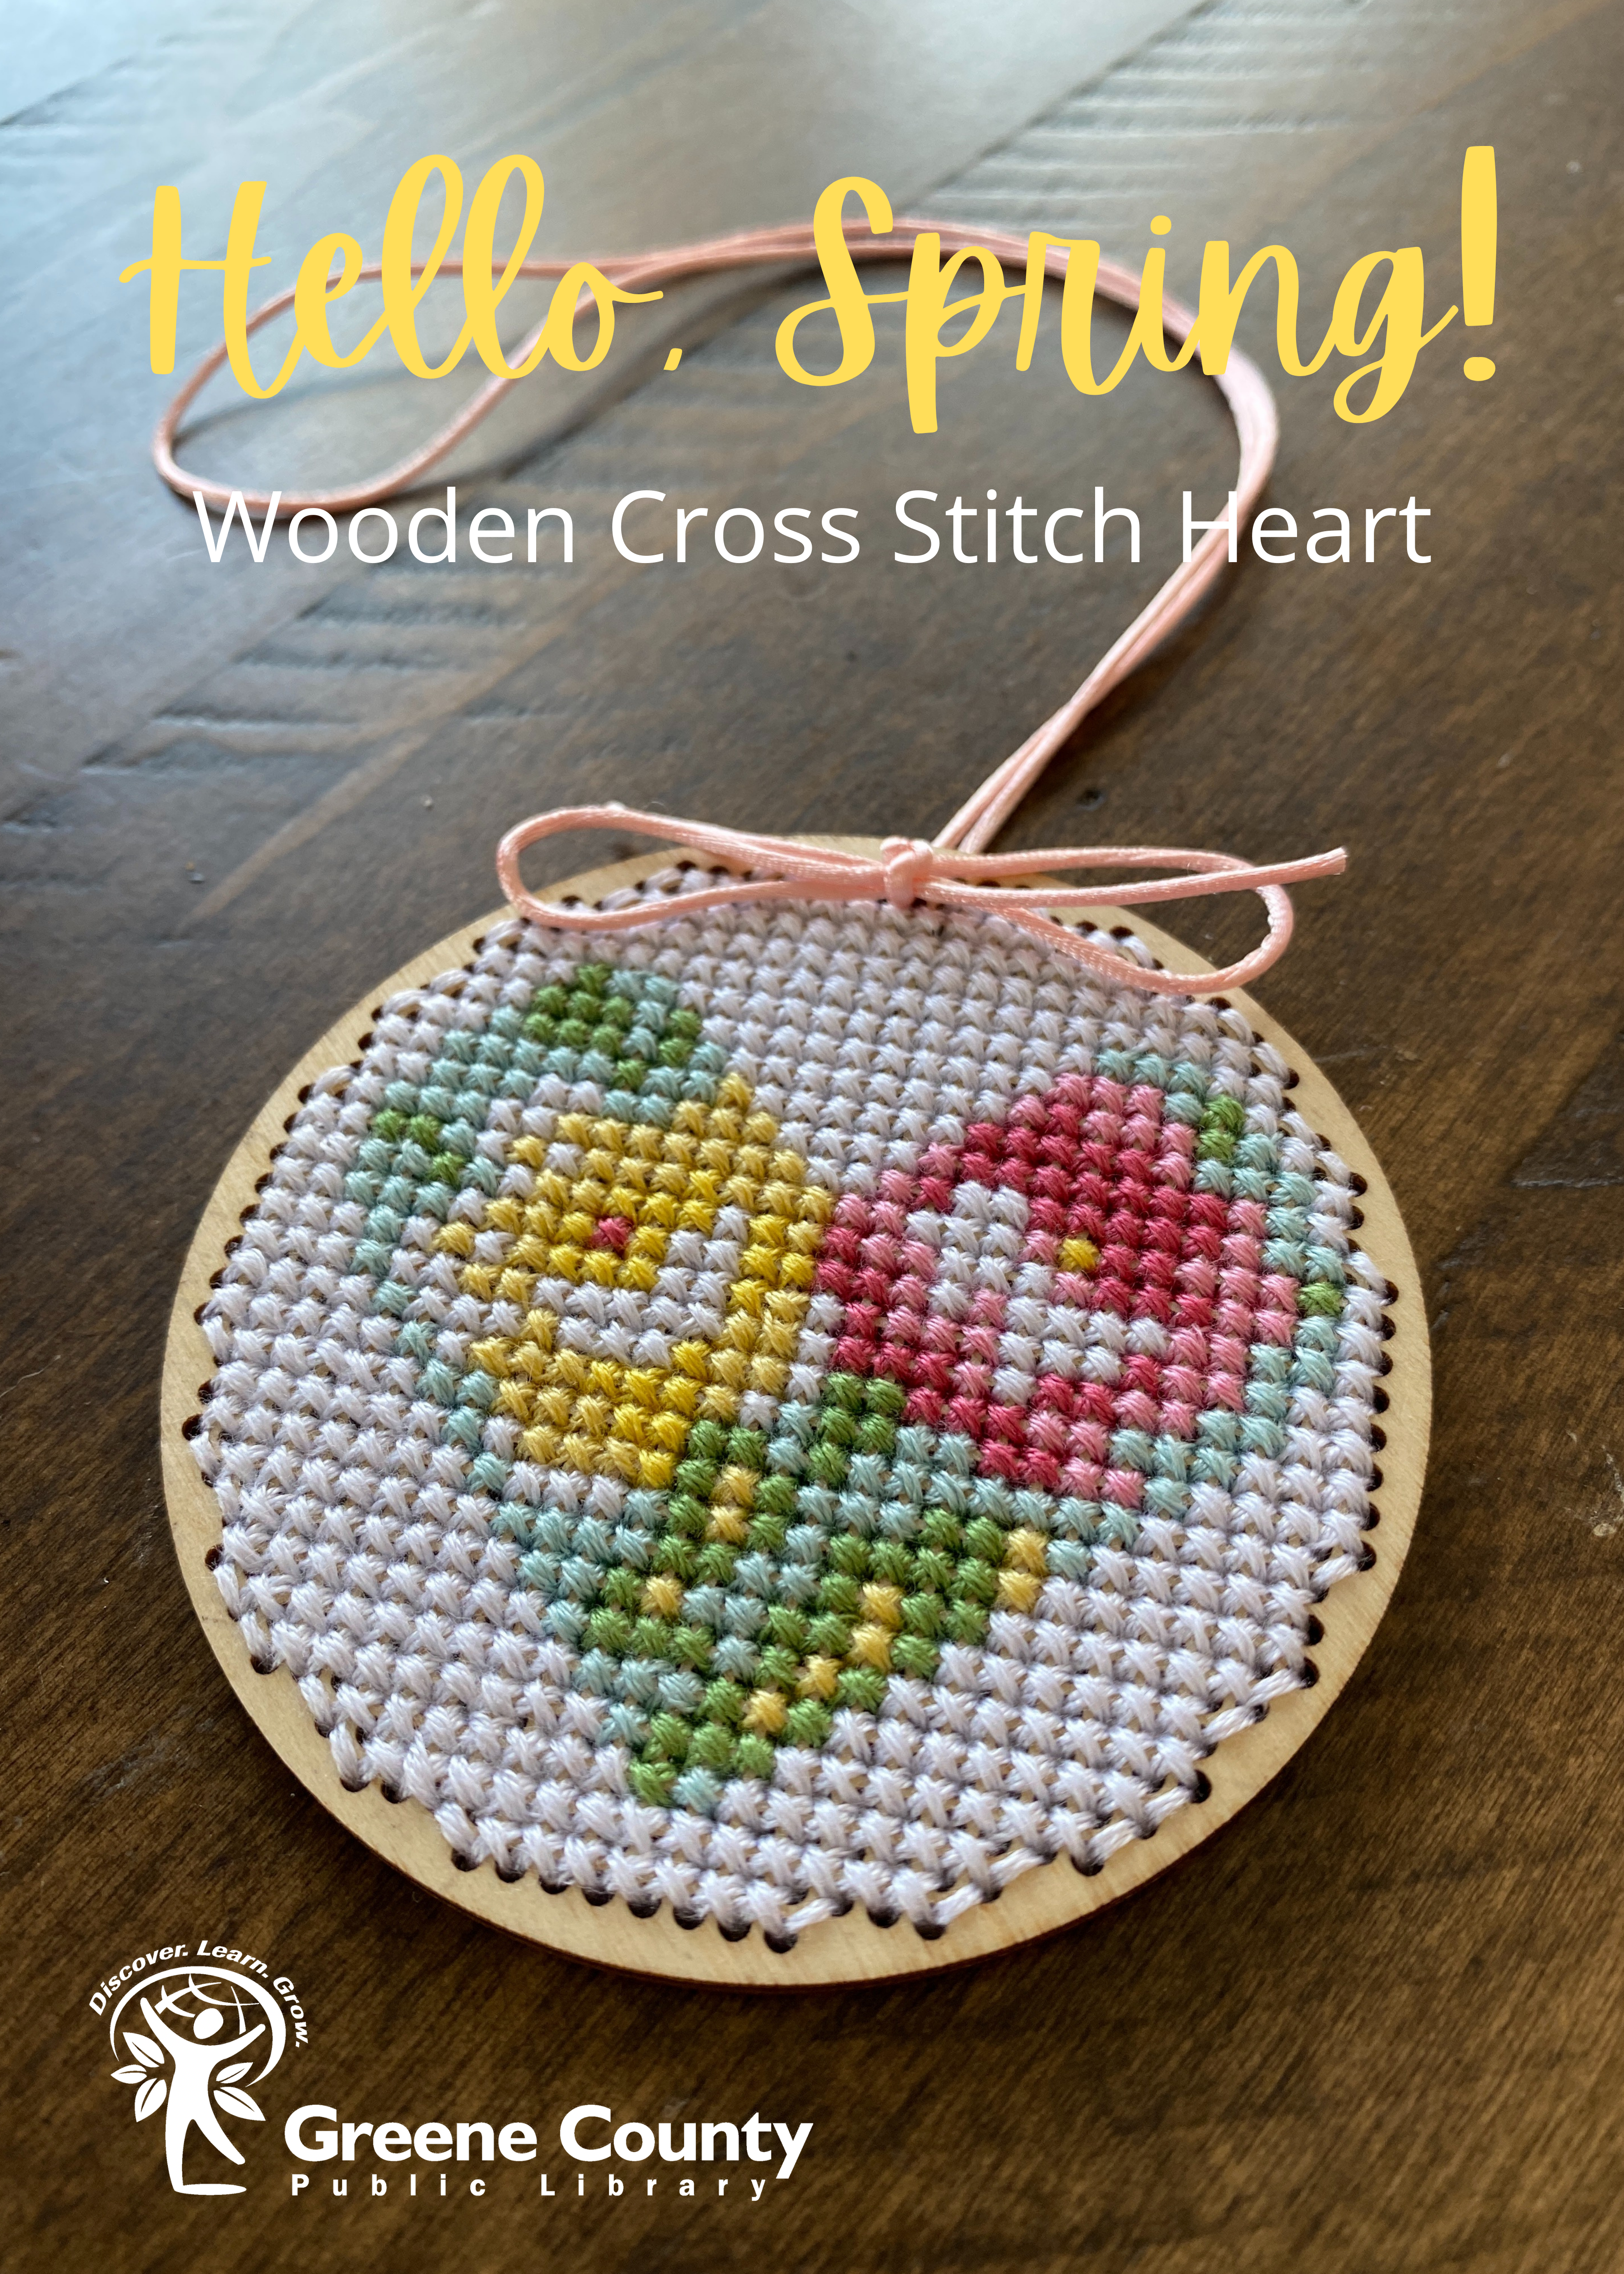
    Welcome to Beavercreek Library’s “Spring cross stitch heart” adult take-and-make!  We’ve got you covered whether you’re a seasoned pro or a brand new cross stitcher.  

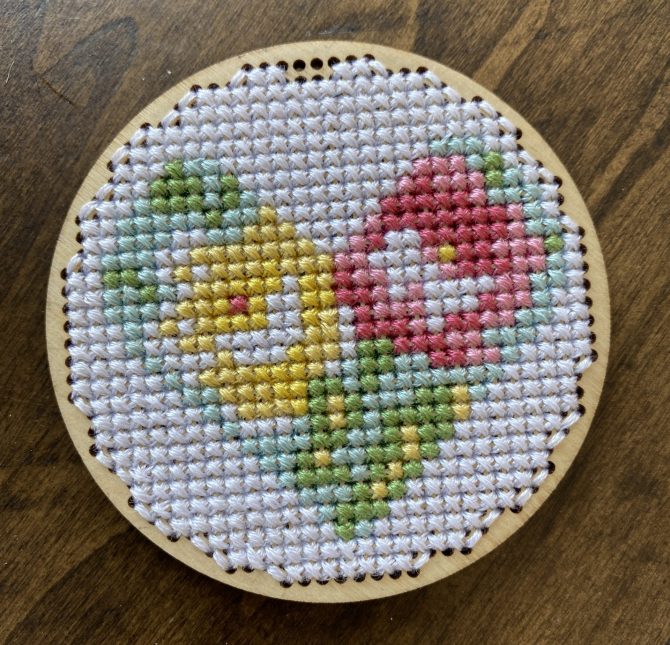
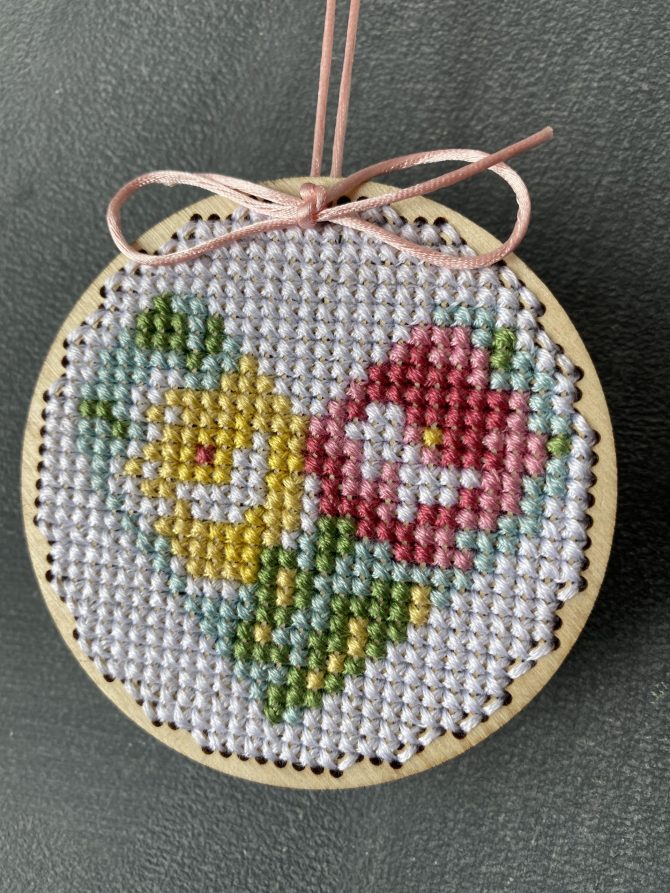
    We’ll provide you with all the resources you need to create this adorable wooden heart.


    Completing your project is as simple as 1, 2, 3…4!

    1.  Make sure you register for this take-and-make program to reserve your kit. 

    Do that here:  https://greenelibrary.bibliocommons.com/events/search/index/event/603d1e38f9ff4a3a0022fd32

    2.  Pick up your project materials at the Adult Services Desk of the Beavercreek Library.

    3.  Complete your project using the instructions below.

    4.  Post your completed project on the Greene County Public Library (Beavercreek) Facebook page!

    First things first…If you haven’t already, please pick up your materials from the Beavercreek Library’s Adult Services Desk.  Once you have your kit, continue below for instruction on how to complete your project.

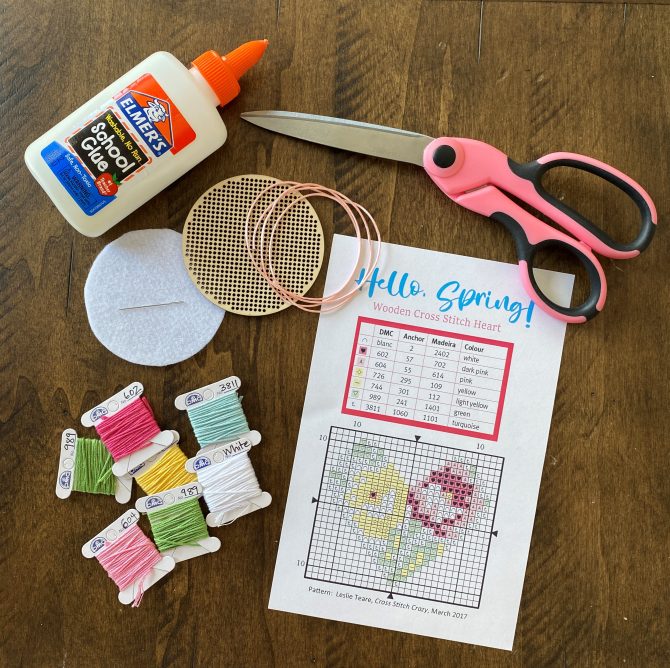
    Supplies:

    Provided in kit:
    Wooden blank
    DMC embroidery floss
    Needle
    Felt backing
    Ribbon
    Pattern
    Not provided in kit:
    Scissors
    Glue (I used regular Elmer’s school glue)
    Tape

    Cross Stitch Basics

    How to Read a Cross Stitch Pattern:


    Getting Started:


    Project Instructions:

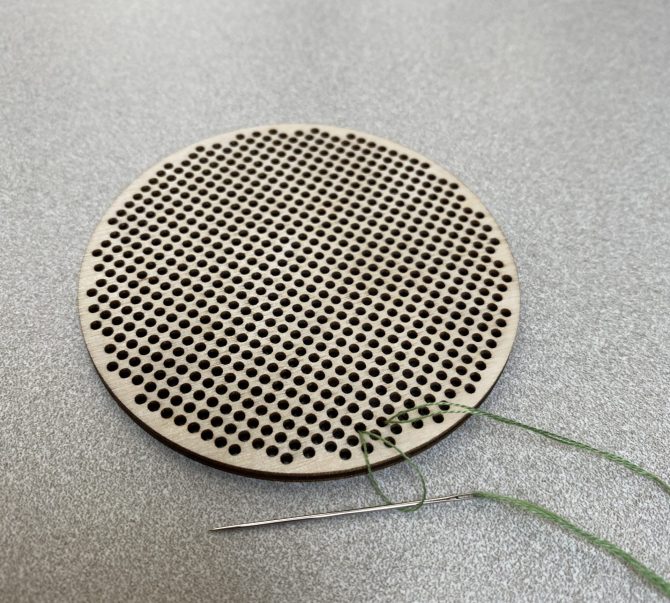
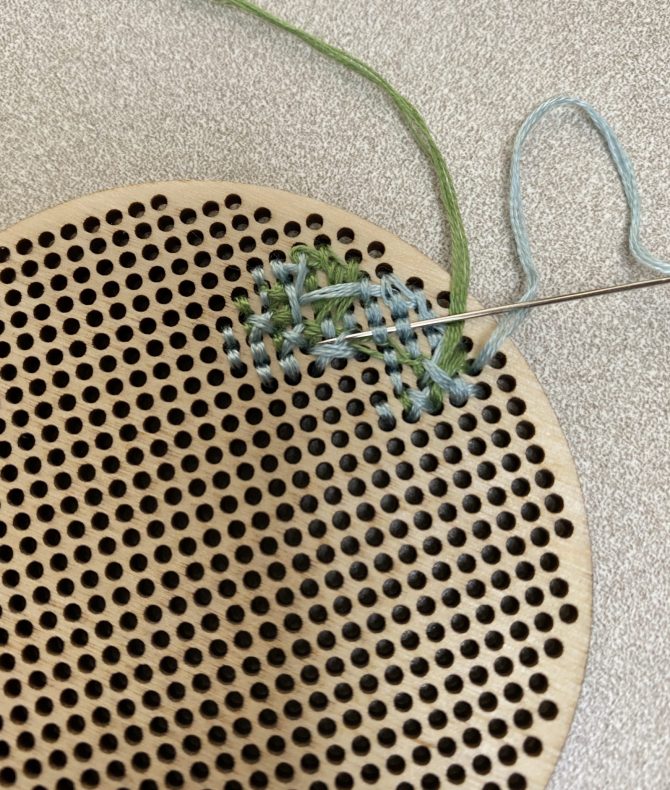
    1.  I started stitching with the light blue color floss (3811). Take a look at the picture below to see which hole to start on.  The heart will not be perfectly centered on the wooden blank (I’m sorry if that makes you crazy, like it did me)  Once you stitch all the white around it, it’s not that noticeable. 

    These stitches are made using 4 strands of floss.  I accomplish this by taking 2 very long pieces of floss and folding them in half (making 4 strands).  When folded, the floss is roughly the length of my arm (shoulder to wrist). 

    On the first stitch, I put the needle through the back and pull the thread almost all the way until there is a loop on the back.  Then I put the needle through the hole from the front and insert the needle through the loop at the back and pull through (see picture).  This way, the threads on the back stay nice and flat and you don’t have to worry about a knot coming through the (rather large) holes in the blank.

    When I have finished with a length of floss, I thread the needle under some stitches before making a knot.  Since you’ll be gluing felt on the back, you could skip a knot if you thread the tail through several stitches, but that’s a personal call.

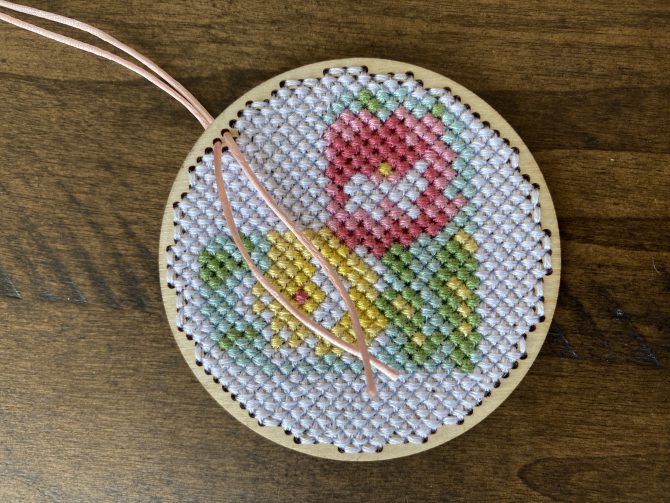
    2.  Once you’ve finished stitching the color heart, fill in with the white if you choose. Use half stitches where there aren’t enough holes for a full stitch.  Leave two stitches at the top empty so you can thread the ribbon through (see picture).

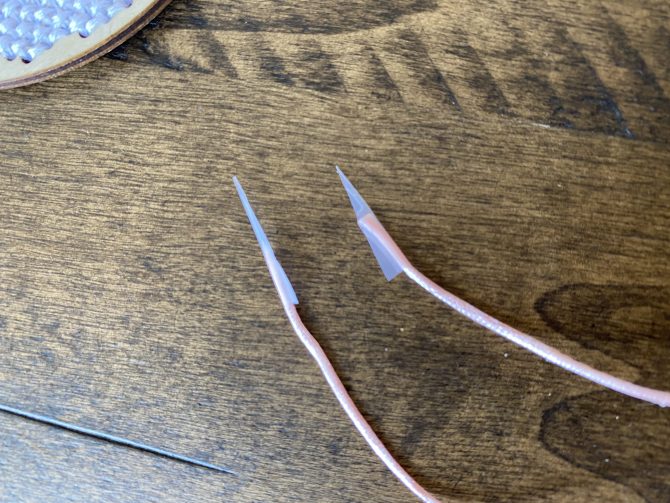
    3.  Cut the ribbon to the length you want and thread through the back.  I put pieces of tape on the end of the ribbon and cut them to points so I could thread it through the holes (see picture).  Then I just cut off the taped ends.

    Make a knot and then tie a bow.

    4.  Spread a thin layer of glue on the felt and affix it to the back of the wooden circle.  Voila!

    5.  Hang and enjoy!

    Sources:

    Pattern:  Lesley Teare, Cross Stitch Crazy, March 2017