wlma

Author: mcrumbacher

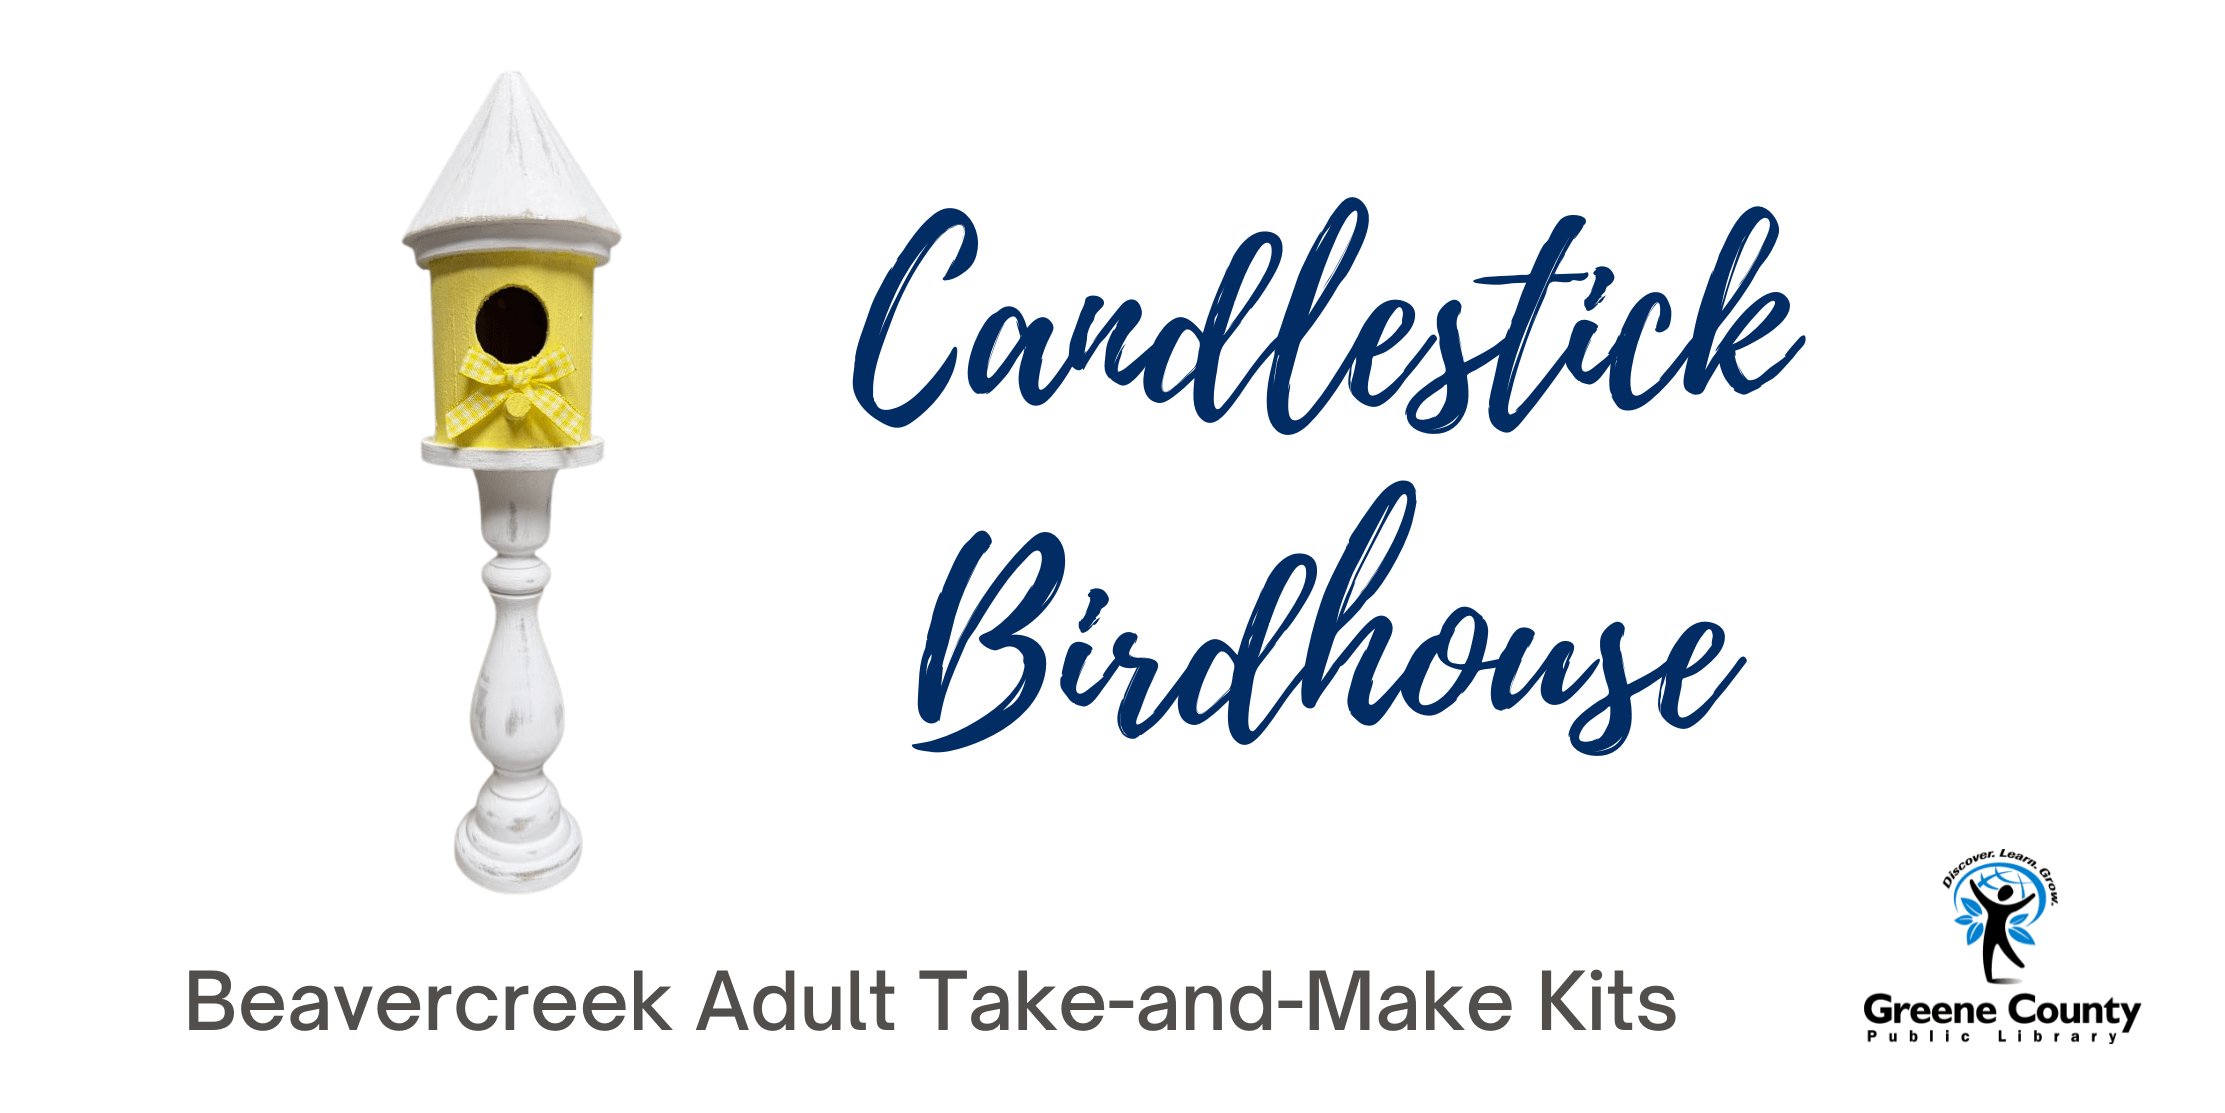
  • Beavercreek Adult Take and Make: Candlestick Birdhouse

    Click here to reserve your kit:  https://greenelibrary.bibliocommons.com/events/69f8b6b0f6bd012f00658c39

    *Please note:  Due to the increased cost of this project and the limited quantity, patrons will be limited to 1 kit per person.

    Included in your kit:

    1 unfinished candlestick

    1 unfinished birdhouse

    1 bottle yellow paint

    1 bottle white paint

    1 yellow gingham ribbon

    Not included in your kit:

    sandpaper (optional)

    hot glue

    Instructions:

    1. Paint the candlestick and the roof and base of the birdhouse white.  Allow to dry between coats.
    2. Paint the body of the birdhouse yellow.
    3. When everything is dry, use sandpaper to distress the candlestick and birdhouse (optional).
    4. Glue the birdhouse to the top of the candlestick.
    5. Glue the ribbon to the front of the birdhouse above the perch.
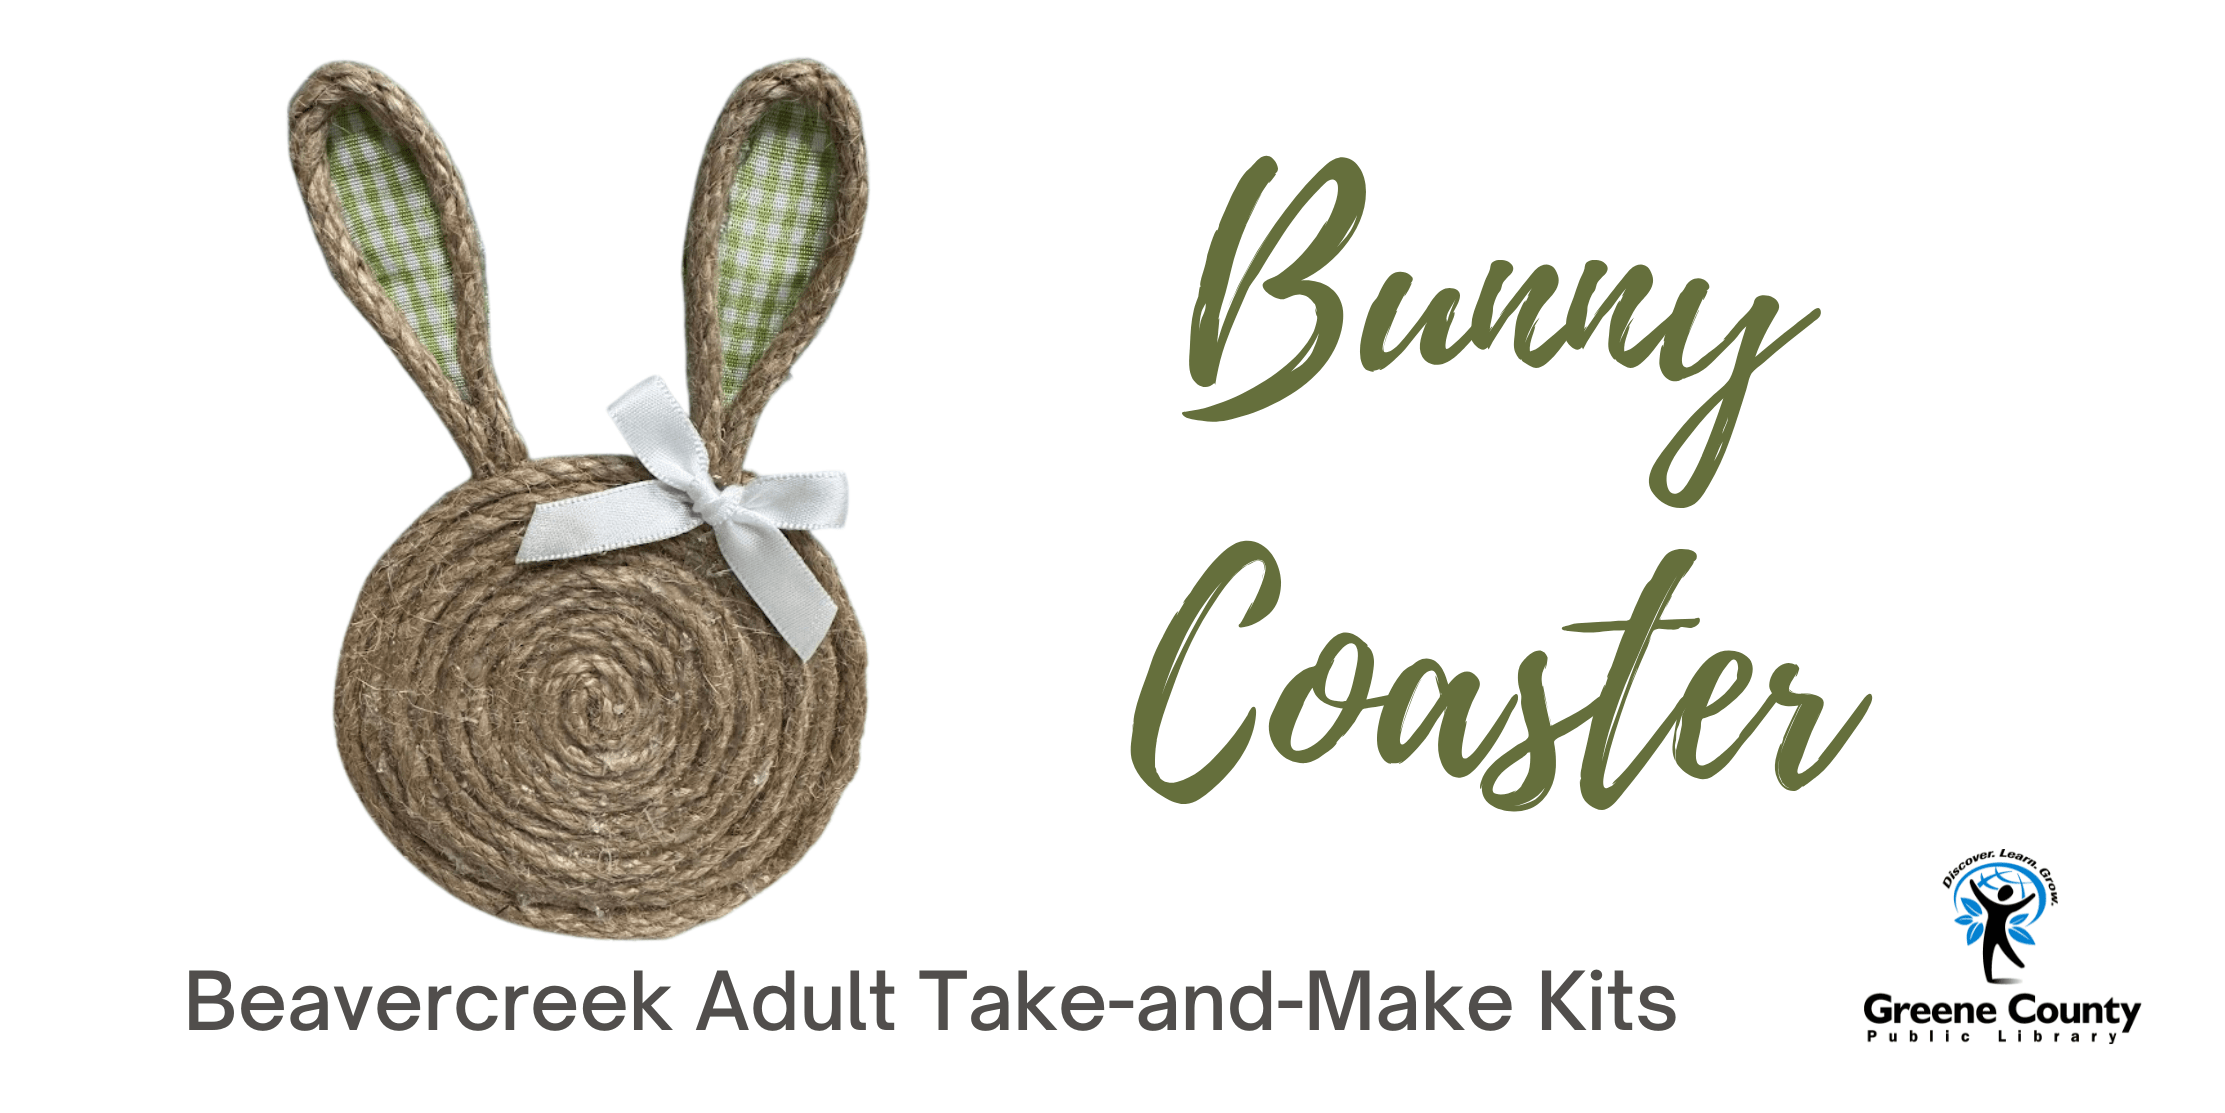
  • Beavercreek Adult Take-and-Make: Bunny Coaster

    Click here to reserve your kit:  https://greenelibrary.bibliocommons.com/events/69ce88c54dacf581ff860d21

    Included in your kit:

    1 long piece of jute twine

    1 short piece of jute twine

    1 green gingham ribbon

    1 white bow

    Not included in your kit:

    hot glue

    Instructions:

    1.  Wind the large piece of jute twine in a circle using the hot glue to keep it together.
    2. Cut the shorter piece of jute twine into 2, 4-5″ pieces to make the ears.
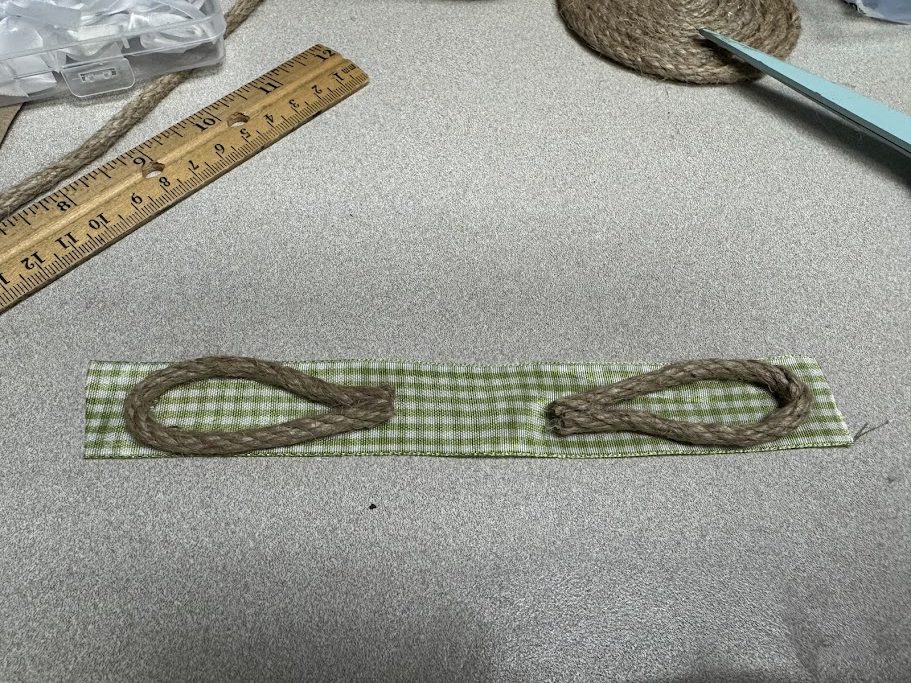
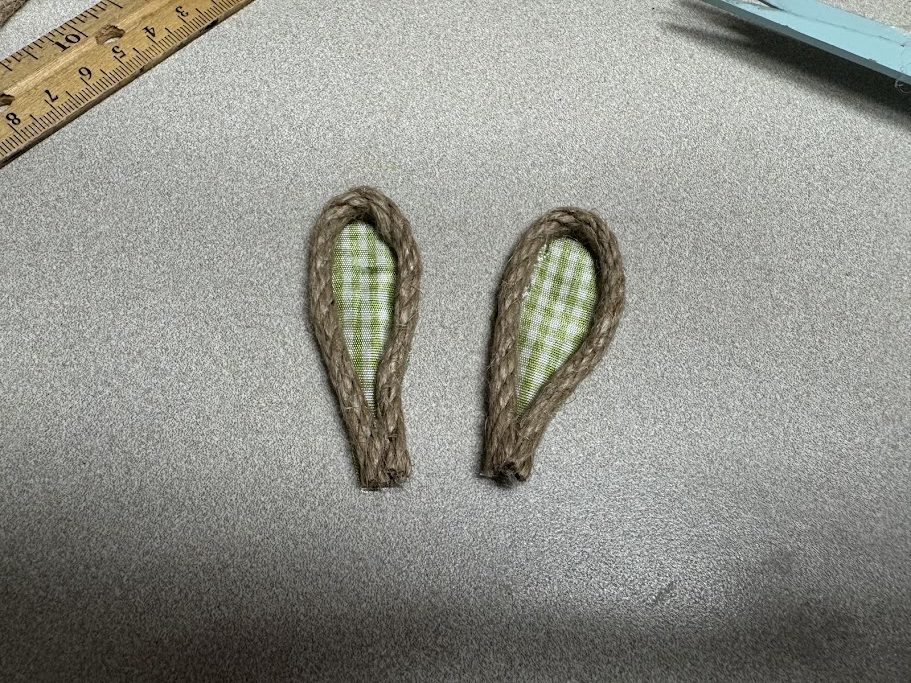
    3. Hot glue the twine for the ears to the green ribbon.  Once glue has dried, cut around the ribbon so you can’t see it from the front of the ear. 
    4. Glue the ears onto the top of the twine circle.
    5. Glue the white bow below one of the ears.
    6. You’re done!
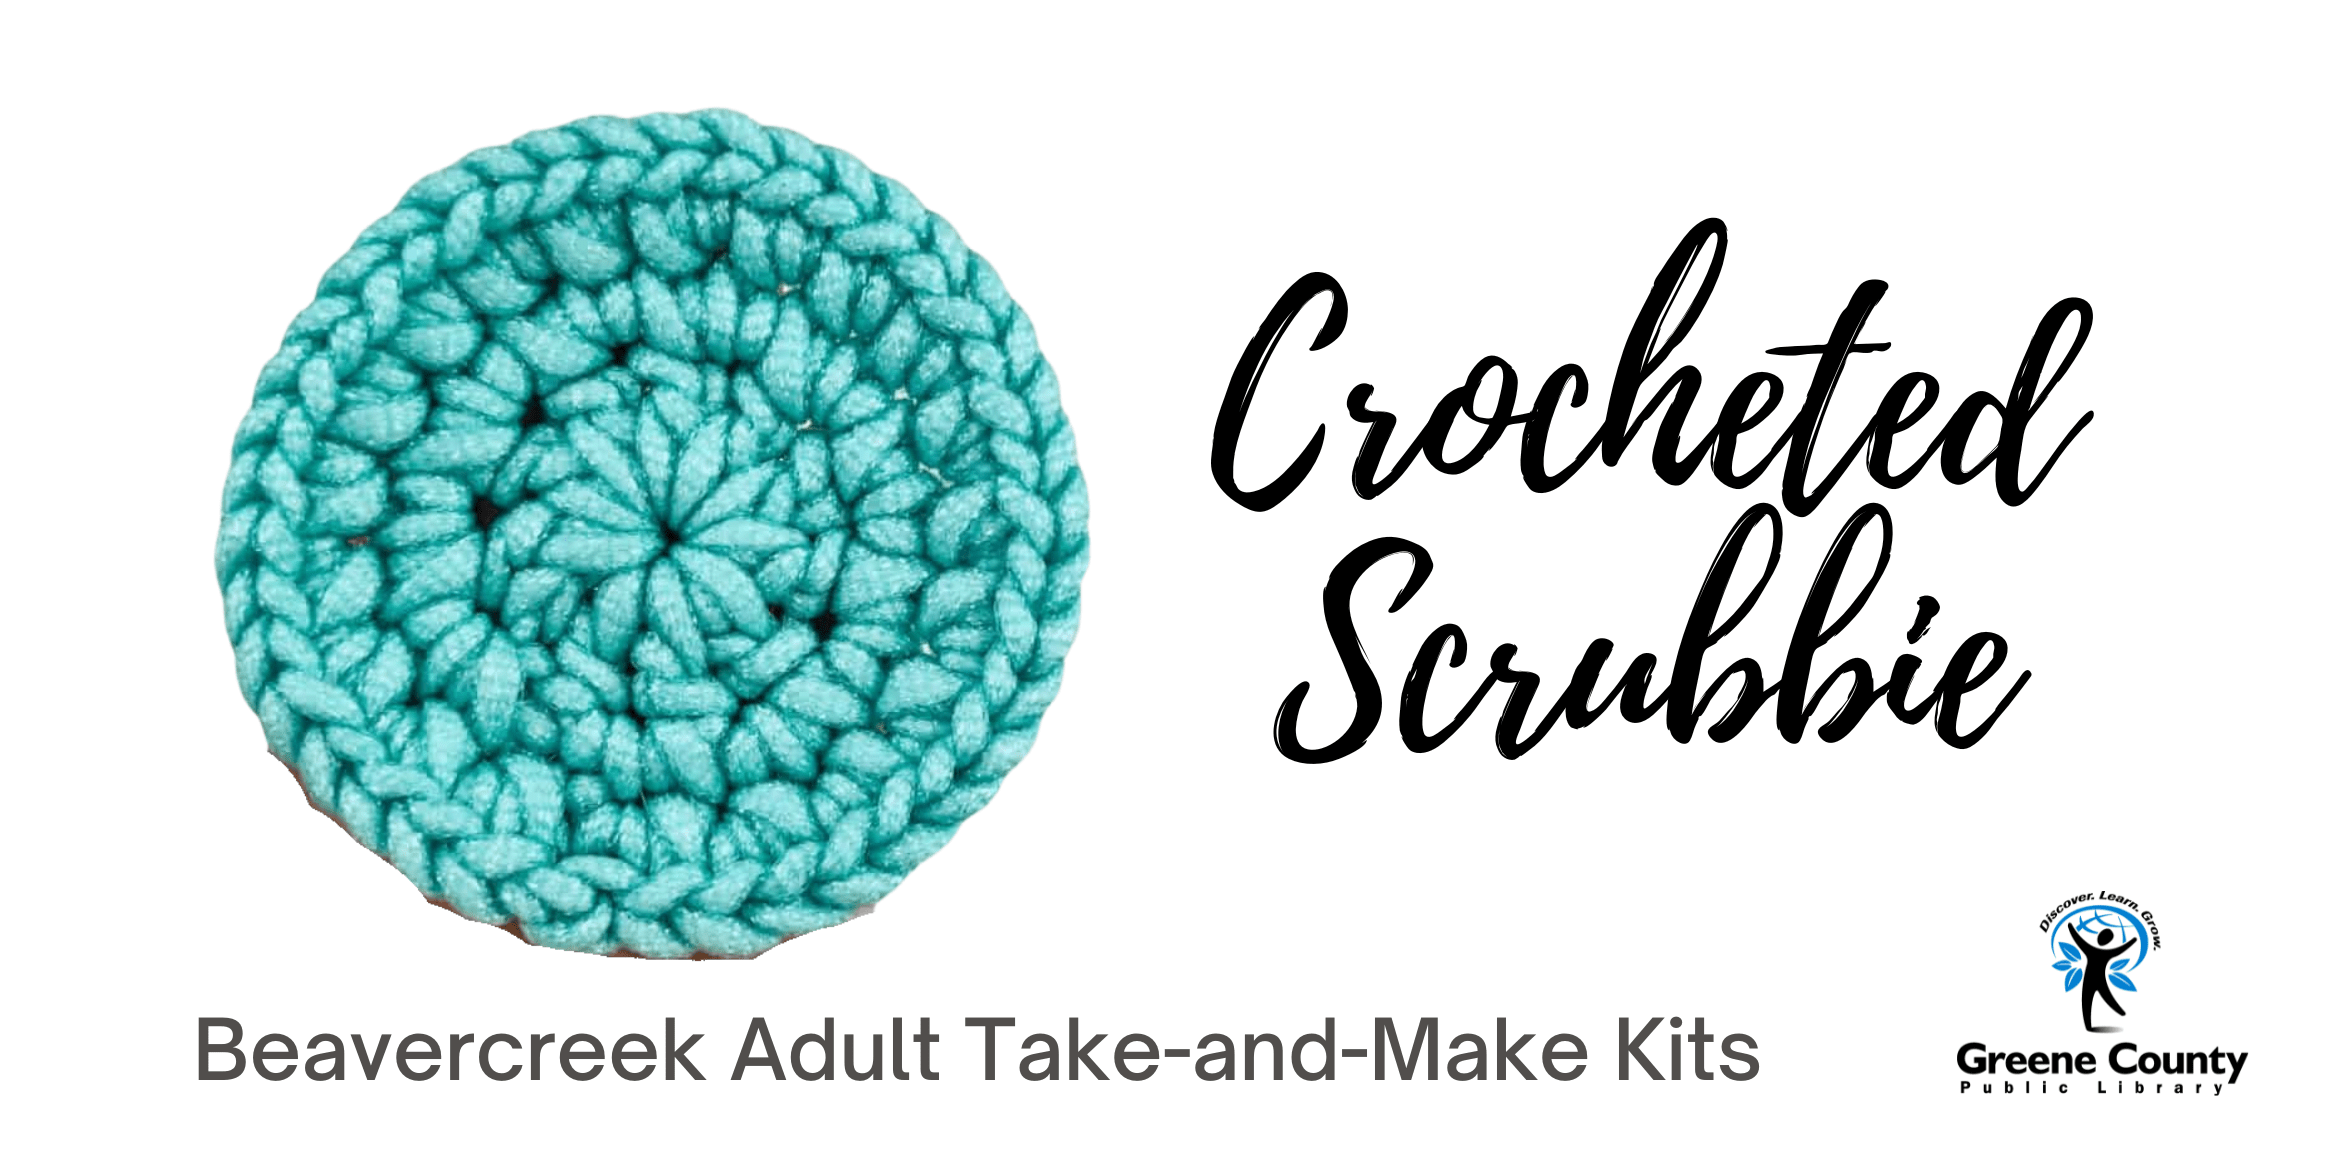
  • Beavercreek Adult Take-and-Make: Crocheted Scrubbies

    Click here to reserve your kit:  https://greenelibrary.bibliocommons.com/events/69a739188b29ea2800d3ceed

    Included in your kit:

    1 skein scrubbie yarn

    1 crochet hook

    Instructions:

    I found the instructions for this scrubbie pattern here:

    FREE Round Scrubby Crochet Pattern

    It uses a different yarn, but the pattern is the same.

    There’s a video here:

    Happy Crafting!

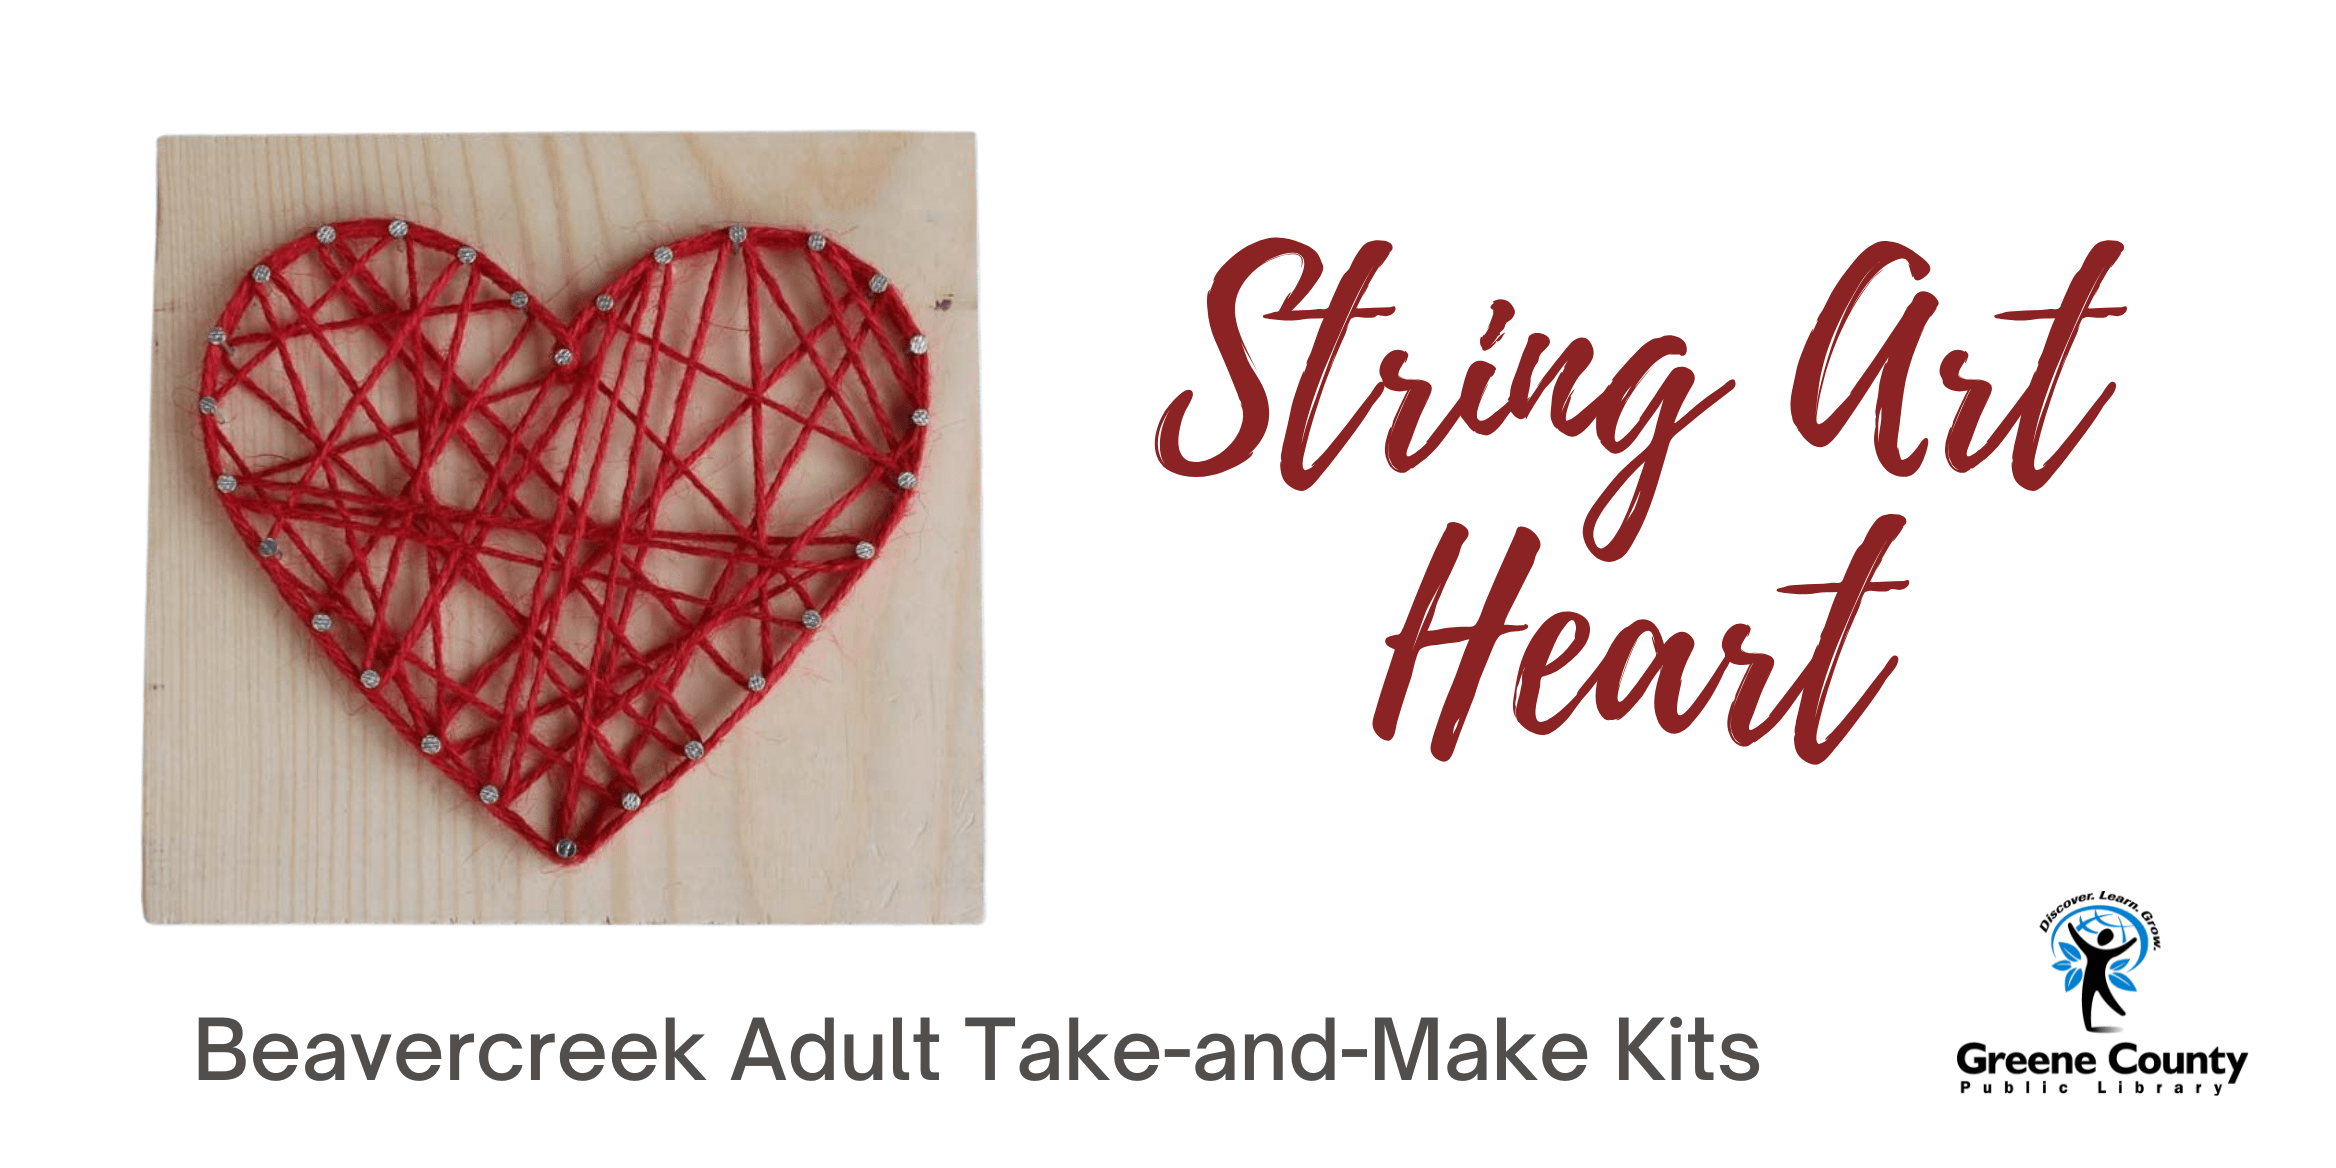
  • Beavercreek Adult Take-and-Make: String Art Heart

    I apologize for the delay in getting this month’s take and make to you.  The snowstorm plus lost packages made for a bad combination.

    Click here to reserve your kit:

    Included in your kit:

    1 block of wood

    30 nails

    1 skein of red embroidery floss

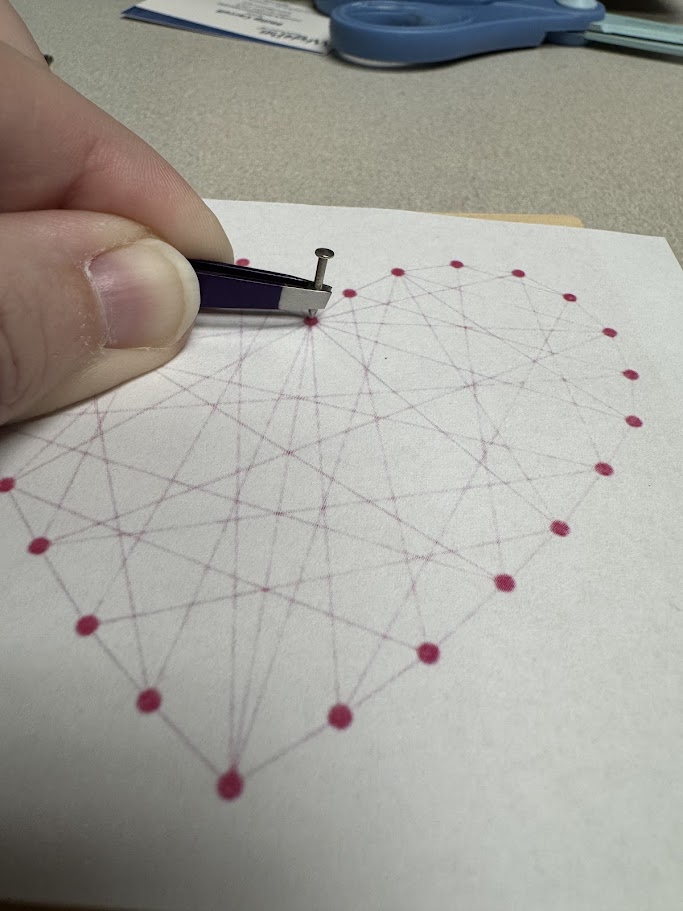
    1 template

    Not included in your kit:

    hammer

    tweezers

    Instructions:

    1.  Center the template on the block of wood and tape it down if necessary.
    2. Nail the nails into the wood where the template shows.  I used tweezers to hold the nail in place.  Be sure to leave the nail sticking out a little bit so you have something to wind the string around.                                                                                                                                                                                                                                                     
    3. Tie a piece of embroidery floss around any nail you choose and start winding the floss around the nail heads on the outside of the heart.  Once you’ve outlined the heart, wind the string randomly around the nail heads to create a criss cross pattern.
    4. When you’re satisfied with your design, cut and tie off your embroidery floss.
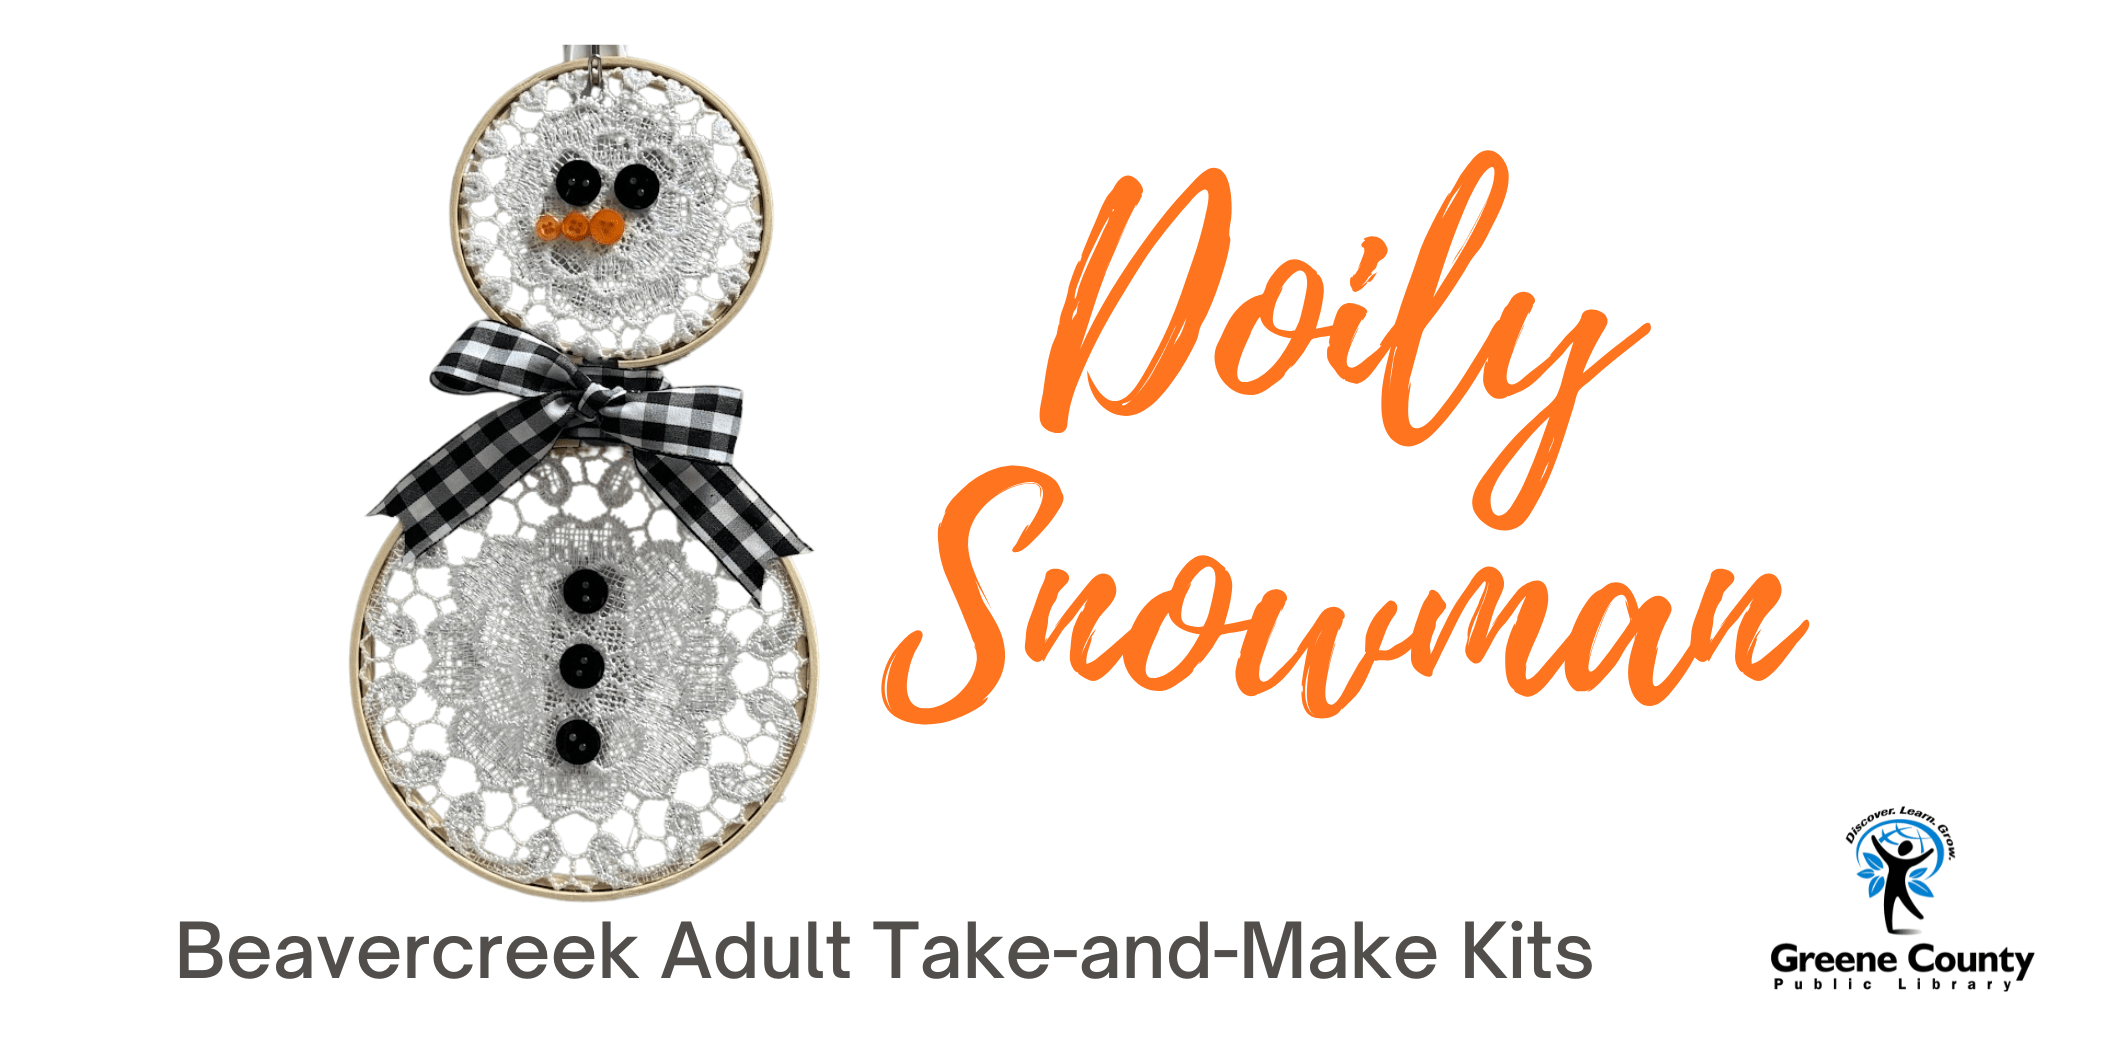
  • Beavercreek Adult Take-and-Make: Doily Snowman

    To reserve your kit, click here:  https://greenelibrary.bibliocommons.com/events/695e916ac967cb4120809062

    Included in your kit:

    1 6″ embroidery hoop

    1 8″ embroidery hoop

    2 doilies

    5 black buttons

    3 orange buttons

    ribbon

    1 pipe cleaner

    Not included in your kit:

    hot glue

    Instructions:

    For the most part, I used this tutorial to make my snowman:

    Upcycled DIY Snowman from Embroidery Hoops

    I used the pipe cleaner to attach the two embroidery hoops together.  Then, I wrapped the shorter piece of ribbon around that area to hide the screws and pipe cleaner.  I used the longer ribbon to make the bow/scarf.

    Happy crafting!

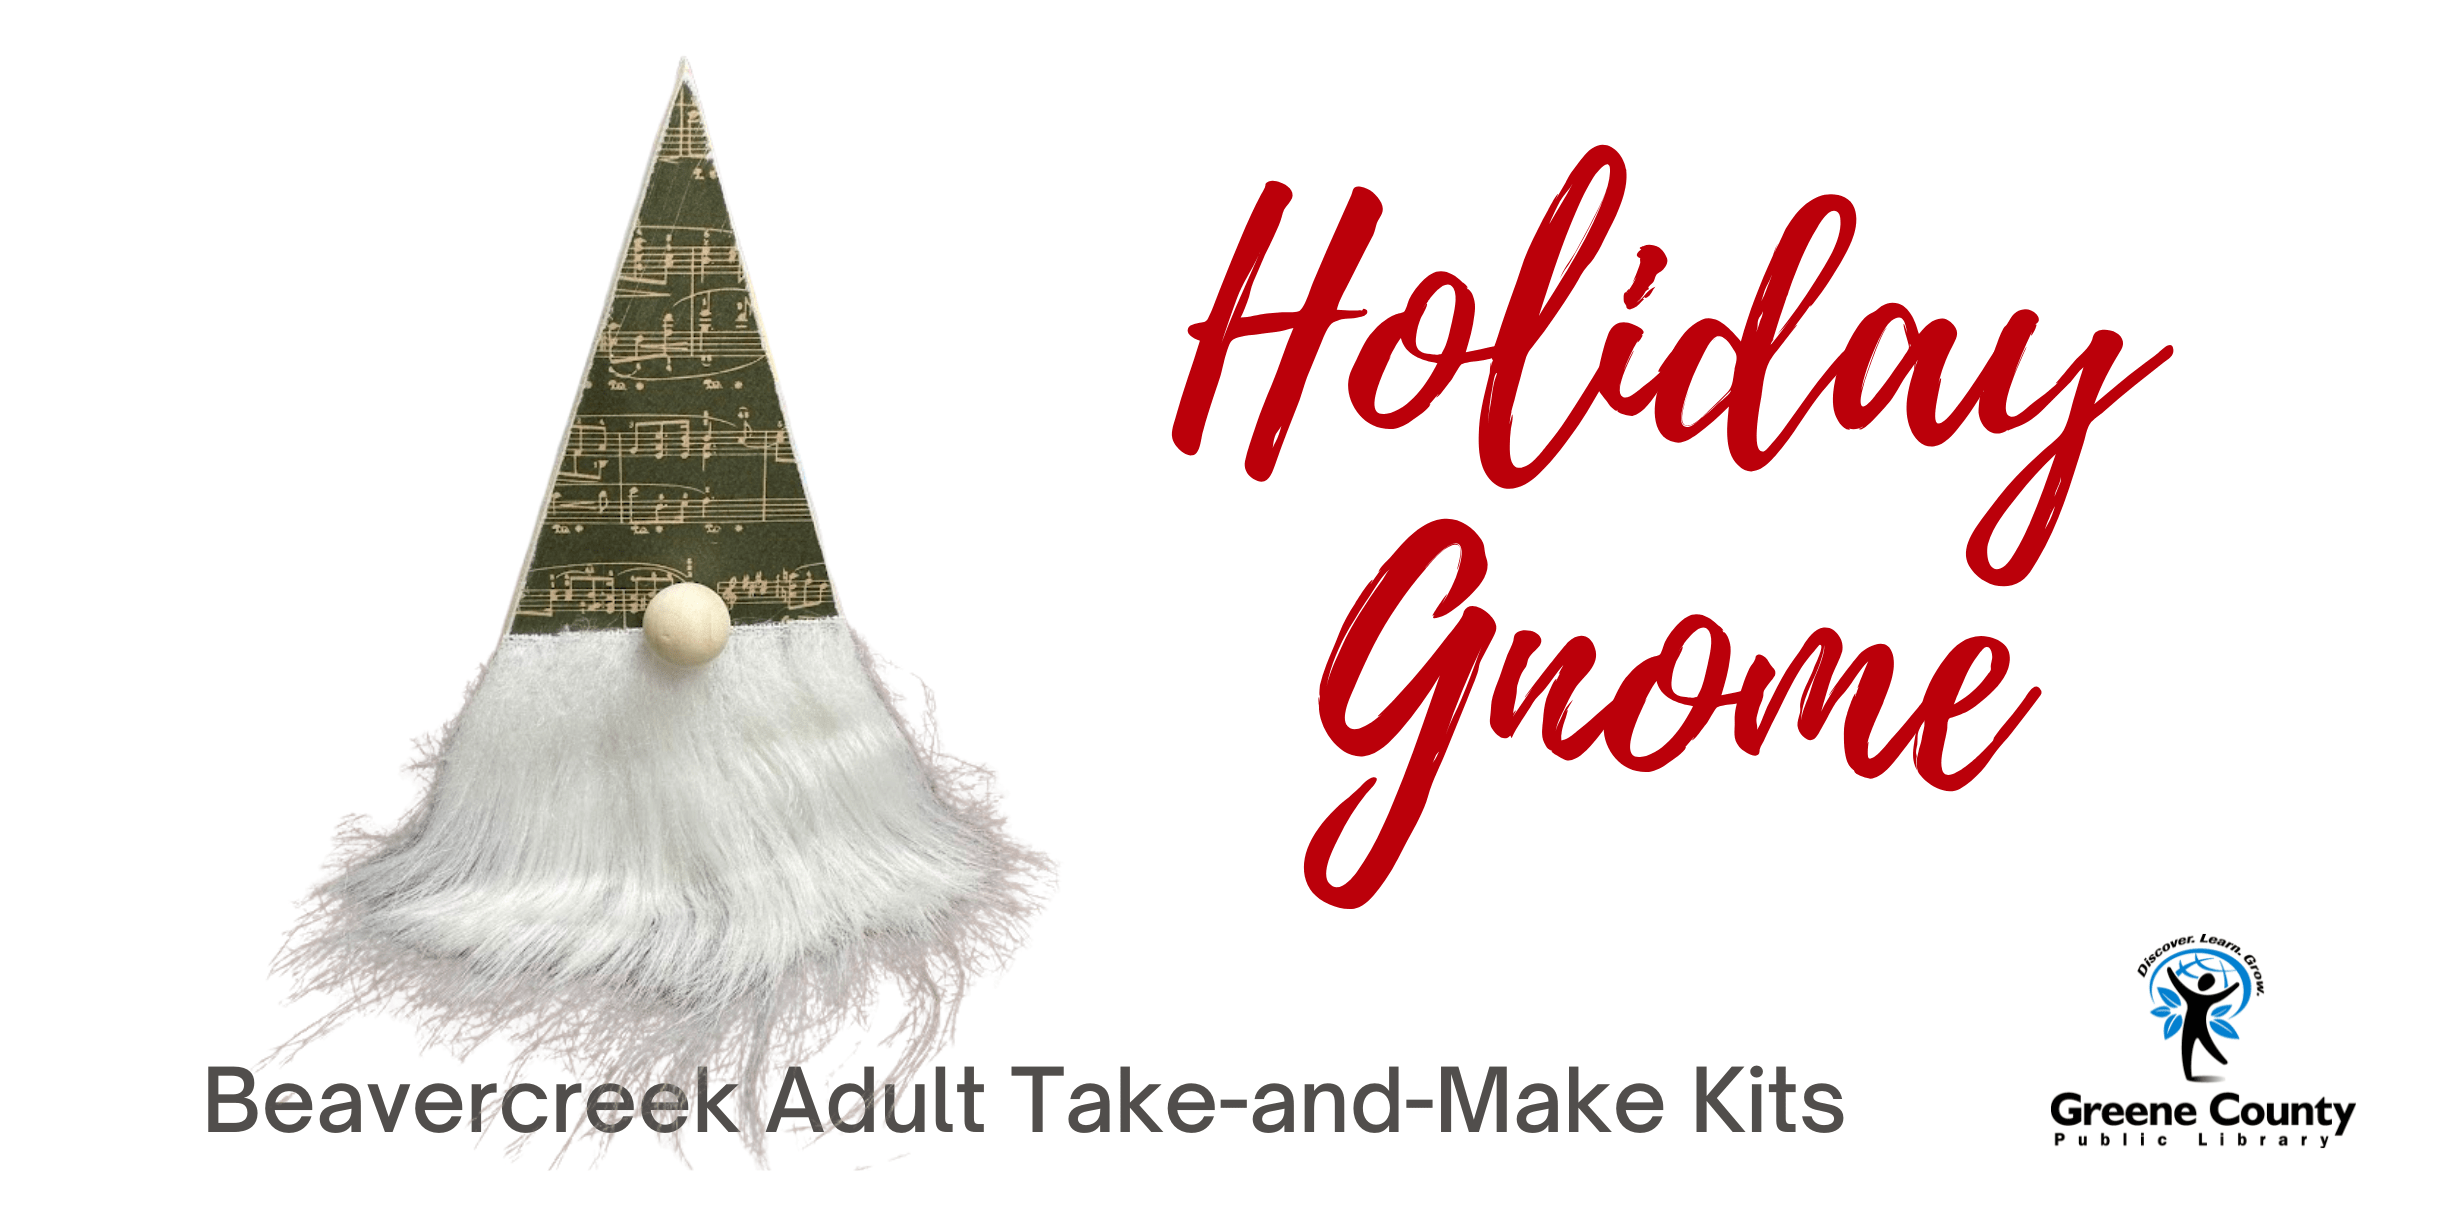
  • Beavercreek Adult Take-and-Make: Holiday Gnome

    Reserve your kit here:  https://greenelibrary.bibliocommons.com/events/692f6f203df0e43700060a7d

    Included in your kit:

    1 block of wood

    1 piece of holiday themed scrapbooking paper

    1 gnome beard

    1 wooden gnome “nose”

    Not included in your kit:

    mod podge or other glue

    hot glue

    sandpaper (optional)

    Instructions:

    1.  Trace your piece of wood onto your scrapbook paper and cut out.
    2.  Use mod podge or glue to glue the paper to your piece of wood.
    3. (Optional) if you want to give your gnome a more rustic look, sand down the edges of the triangle and scuff up the paper around the edges.
    4. Trim the beard down so that it covers only the bottom third (approximately) of the triangle.  I suggest trimming from the top of the beard (the straight edge, not the curved edge).
    5. Use hot glue to attach the beard and the nose to your gnome.
    6. Trim off excess beard to make it your desired length.  Give it a little brush too!
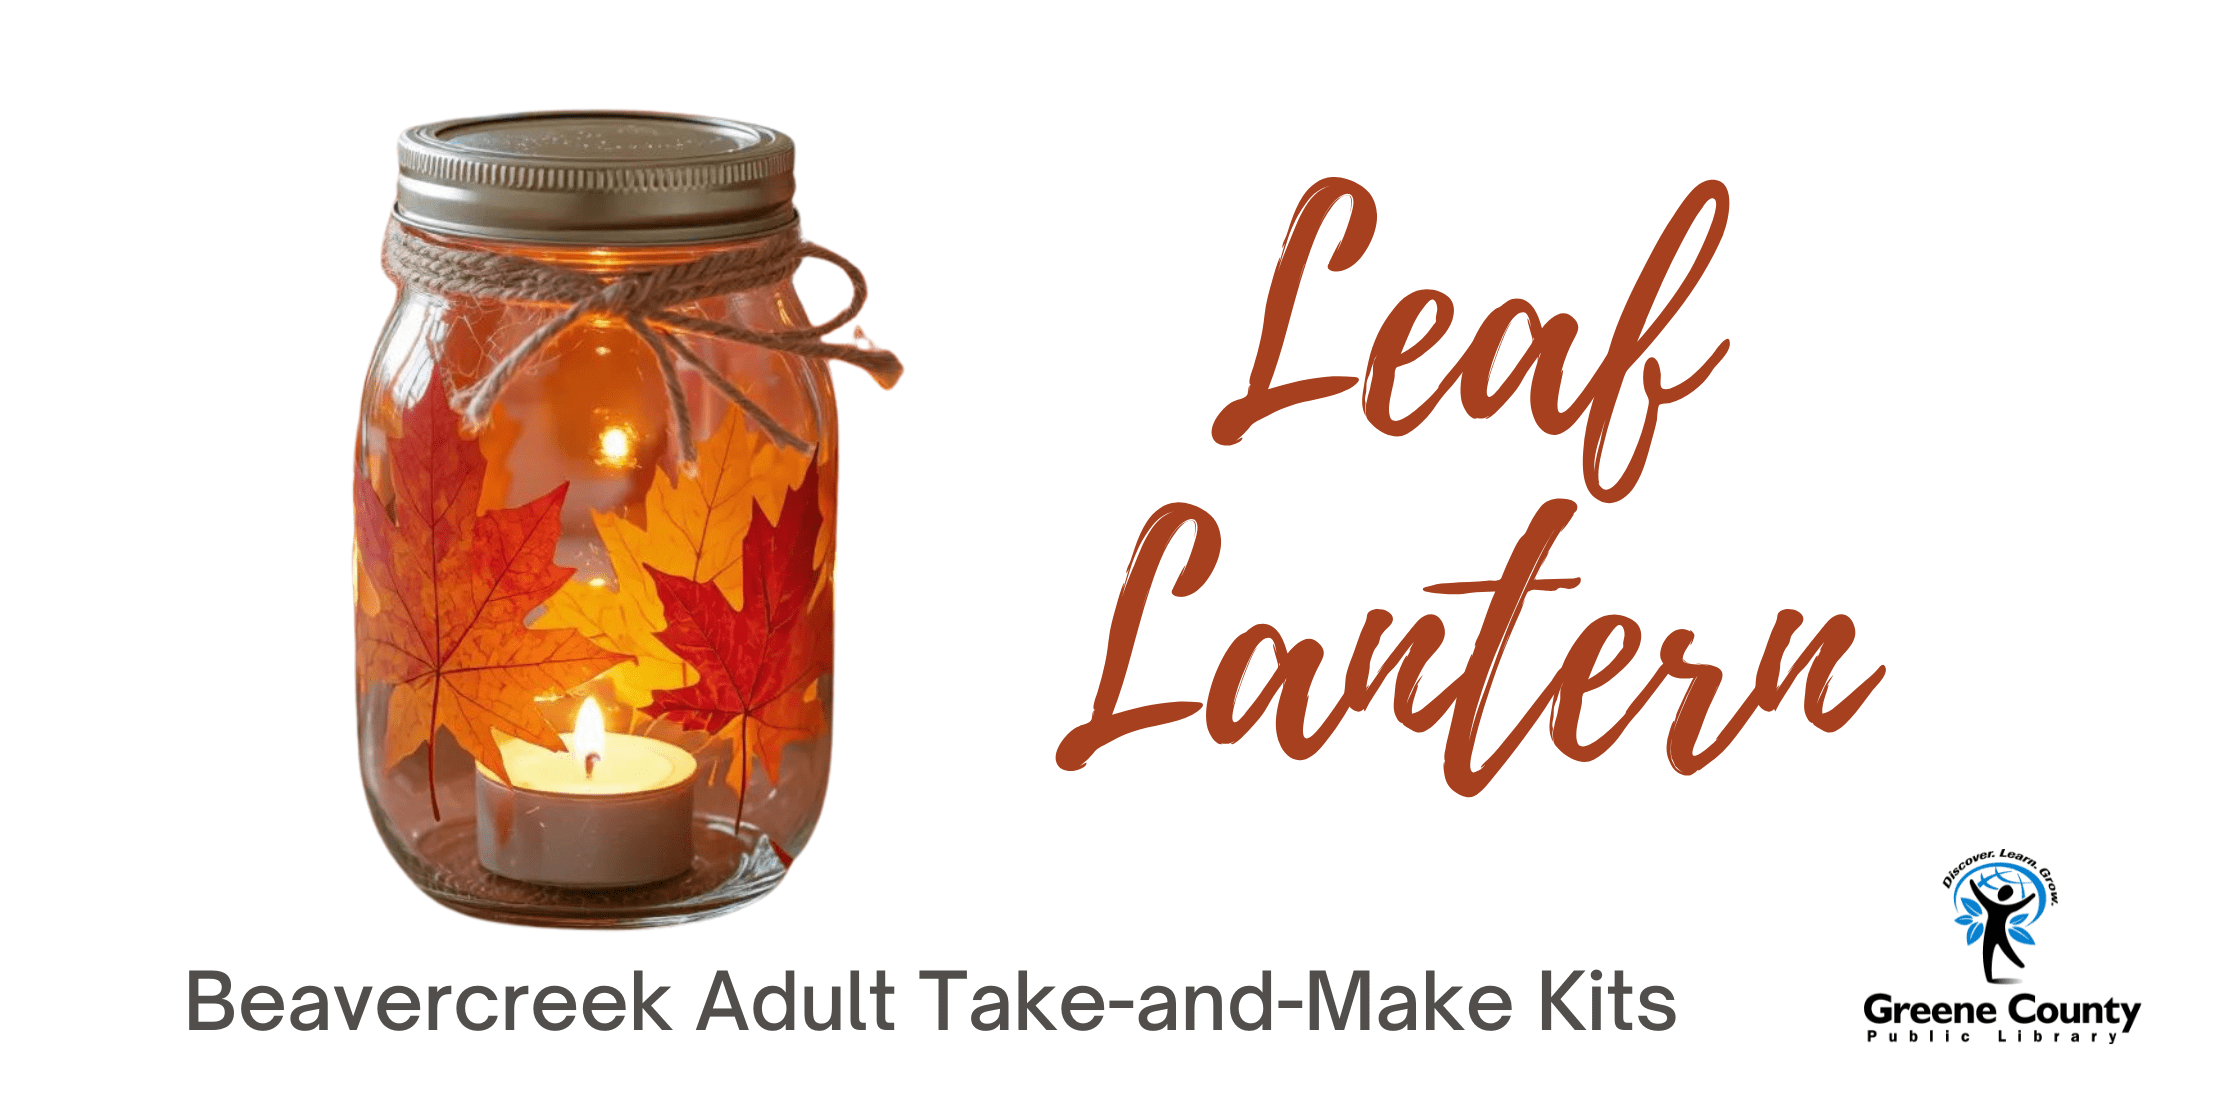
  • Beavercreek Adult Take-and-Make: Leaf Lantern

    This month we’re making lanterns out of leaves and mason jars!

    To grab your kit, click here:  https://greenelibrary.bibliocommons.com/events/690a20c664ad59251cba986b

    Included in your kit:

    1 mason jar

    1 votive candle

    leaves

    2 oz. mod podge

    1 foam brush

    jute twine

    Instructions:

    1.  Prepare your leaves.  You’ll want to remove the plastic veins from the back side of the leaves.  You should also iron the leaves to make them flatter.  All of this will help the leaves stick better to the side of the mason jar.
    2. Prepare your jar.  Wash the outside of your jar with soap and water to remove any dirt of grease.  If you have any rubbing alcohol, use a cotton ball to wipe down the outside of the jar.  Again, all this is to help the leaves stick to the jar.
    3. Add your leaves.  Use a thin layer of mod podge on the side of the jar just larger than your leaf.  Wait a few minutes until it gets sticky and then add your leaf.  Continue adding leaves around the outside of the jar.
    4. Once all the leaves are added, wait for the outside to dry for 15-20 minutes.  The leaves should not be able to move.
    5. Add a generous layer of mod podge to the outside of the jar to seal in the leaves.
    6. Allow to air dry for a couple of hours until the mod podge is clear.

    That’s it!  Light your candle and enjoy!

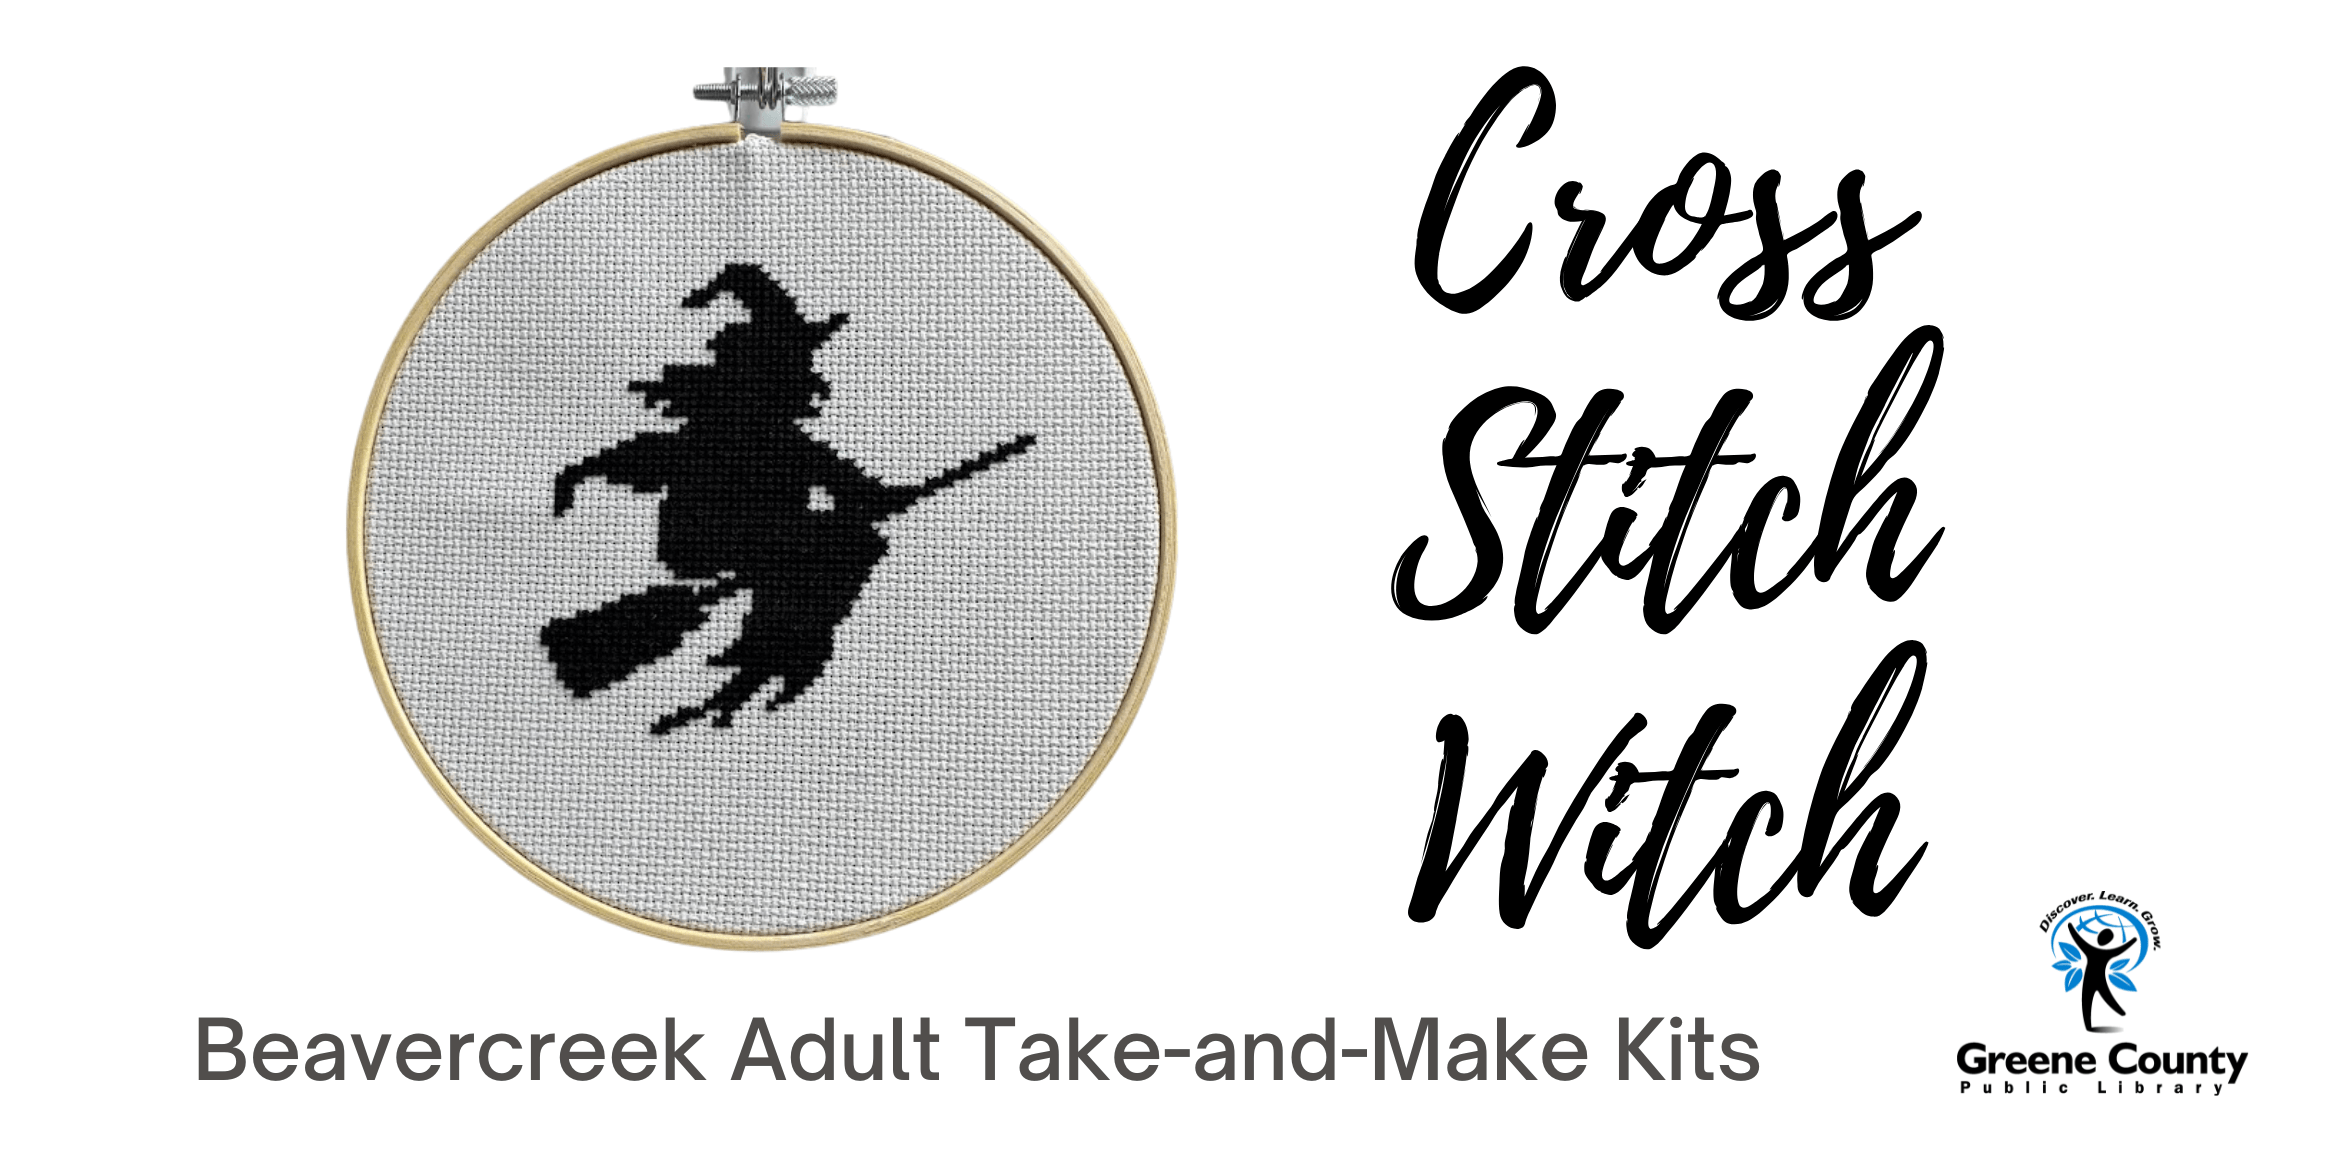
  • Beavercreek Adult Take-and-Make: Cross Stitch Witch

    Hello!  I can’t believe it’s October already!  This month’s craft is so relaxing and I hope you love it.

    Click here to register for your kit:  https://greenelibrary.bibliocommons.com/events/68e02e9dfe1db36a65440fca

    Included in your kit:

    Aida cross stitch fabric

    1 skein embroidery floss

    1 embroidery hoop

    1 piece of felt for backing

    1 pattern

    1 needle

    If you’re new to cross stitching, this instructional video may be helpful for learning the basics.

    Instructions:

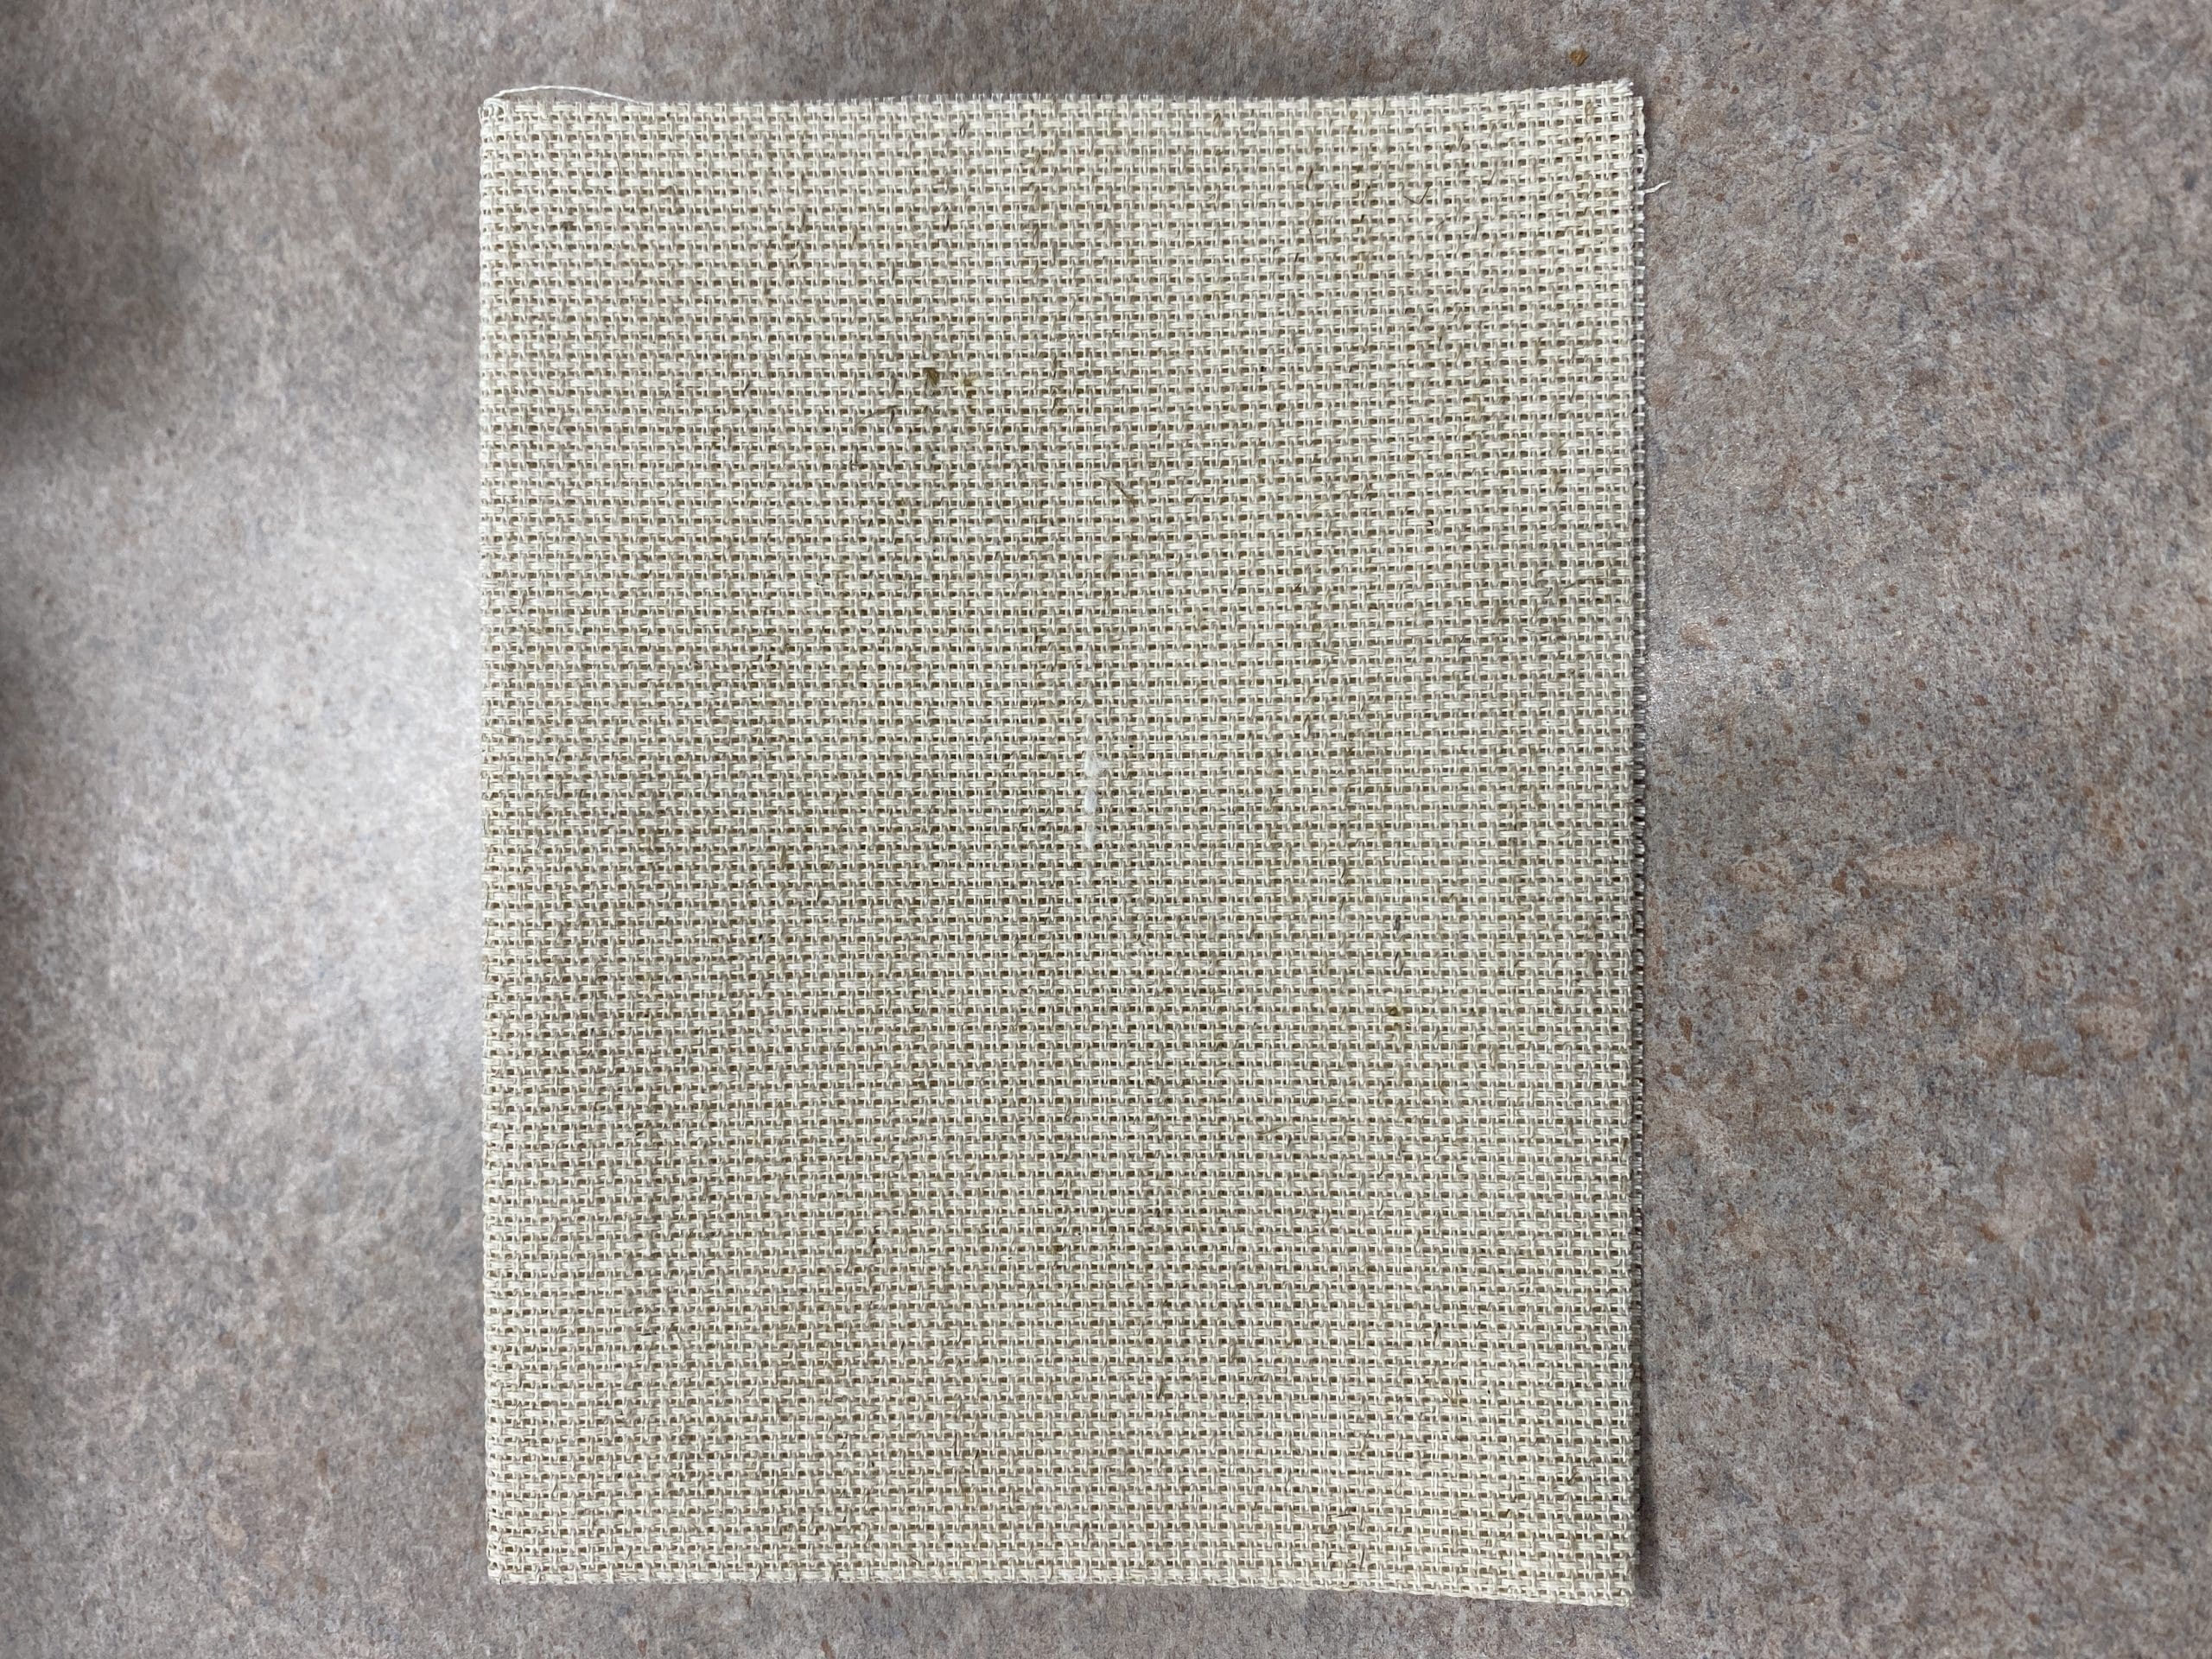
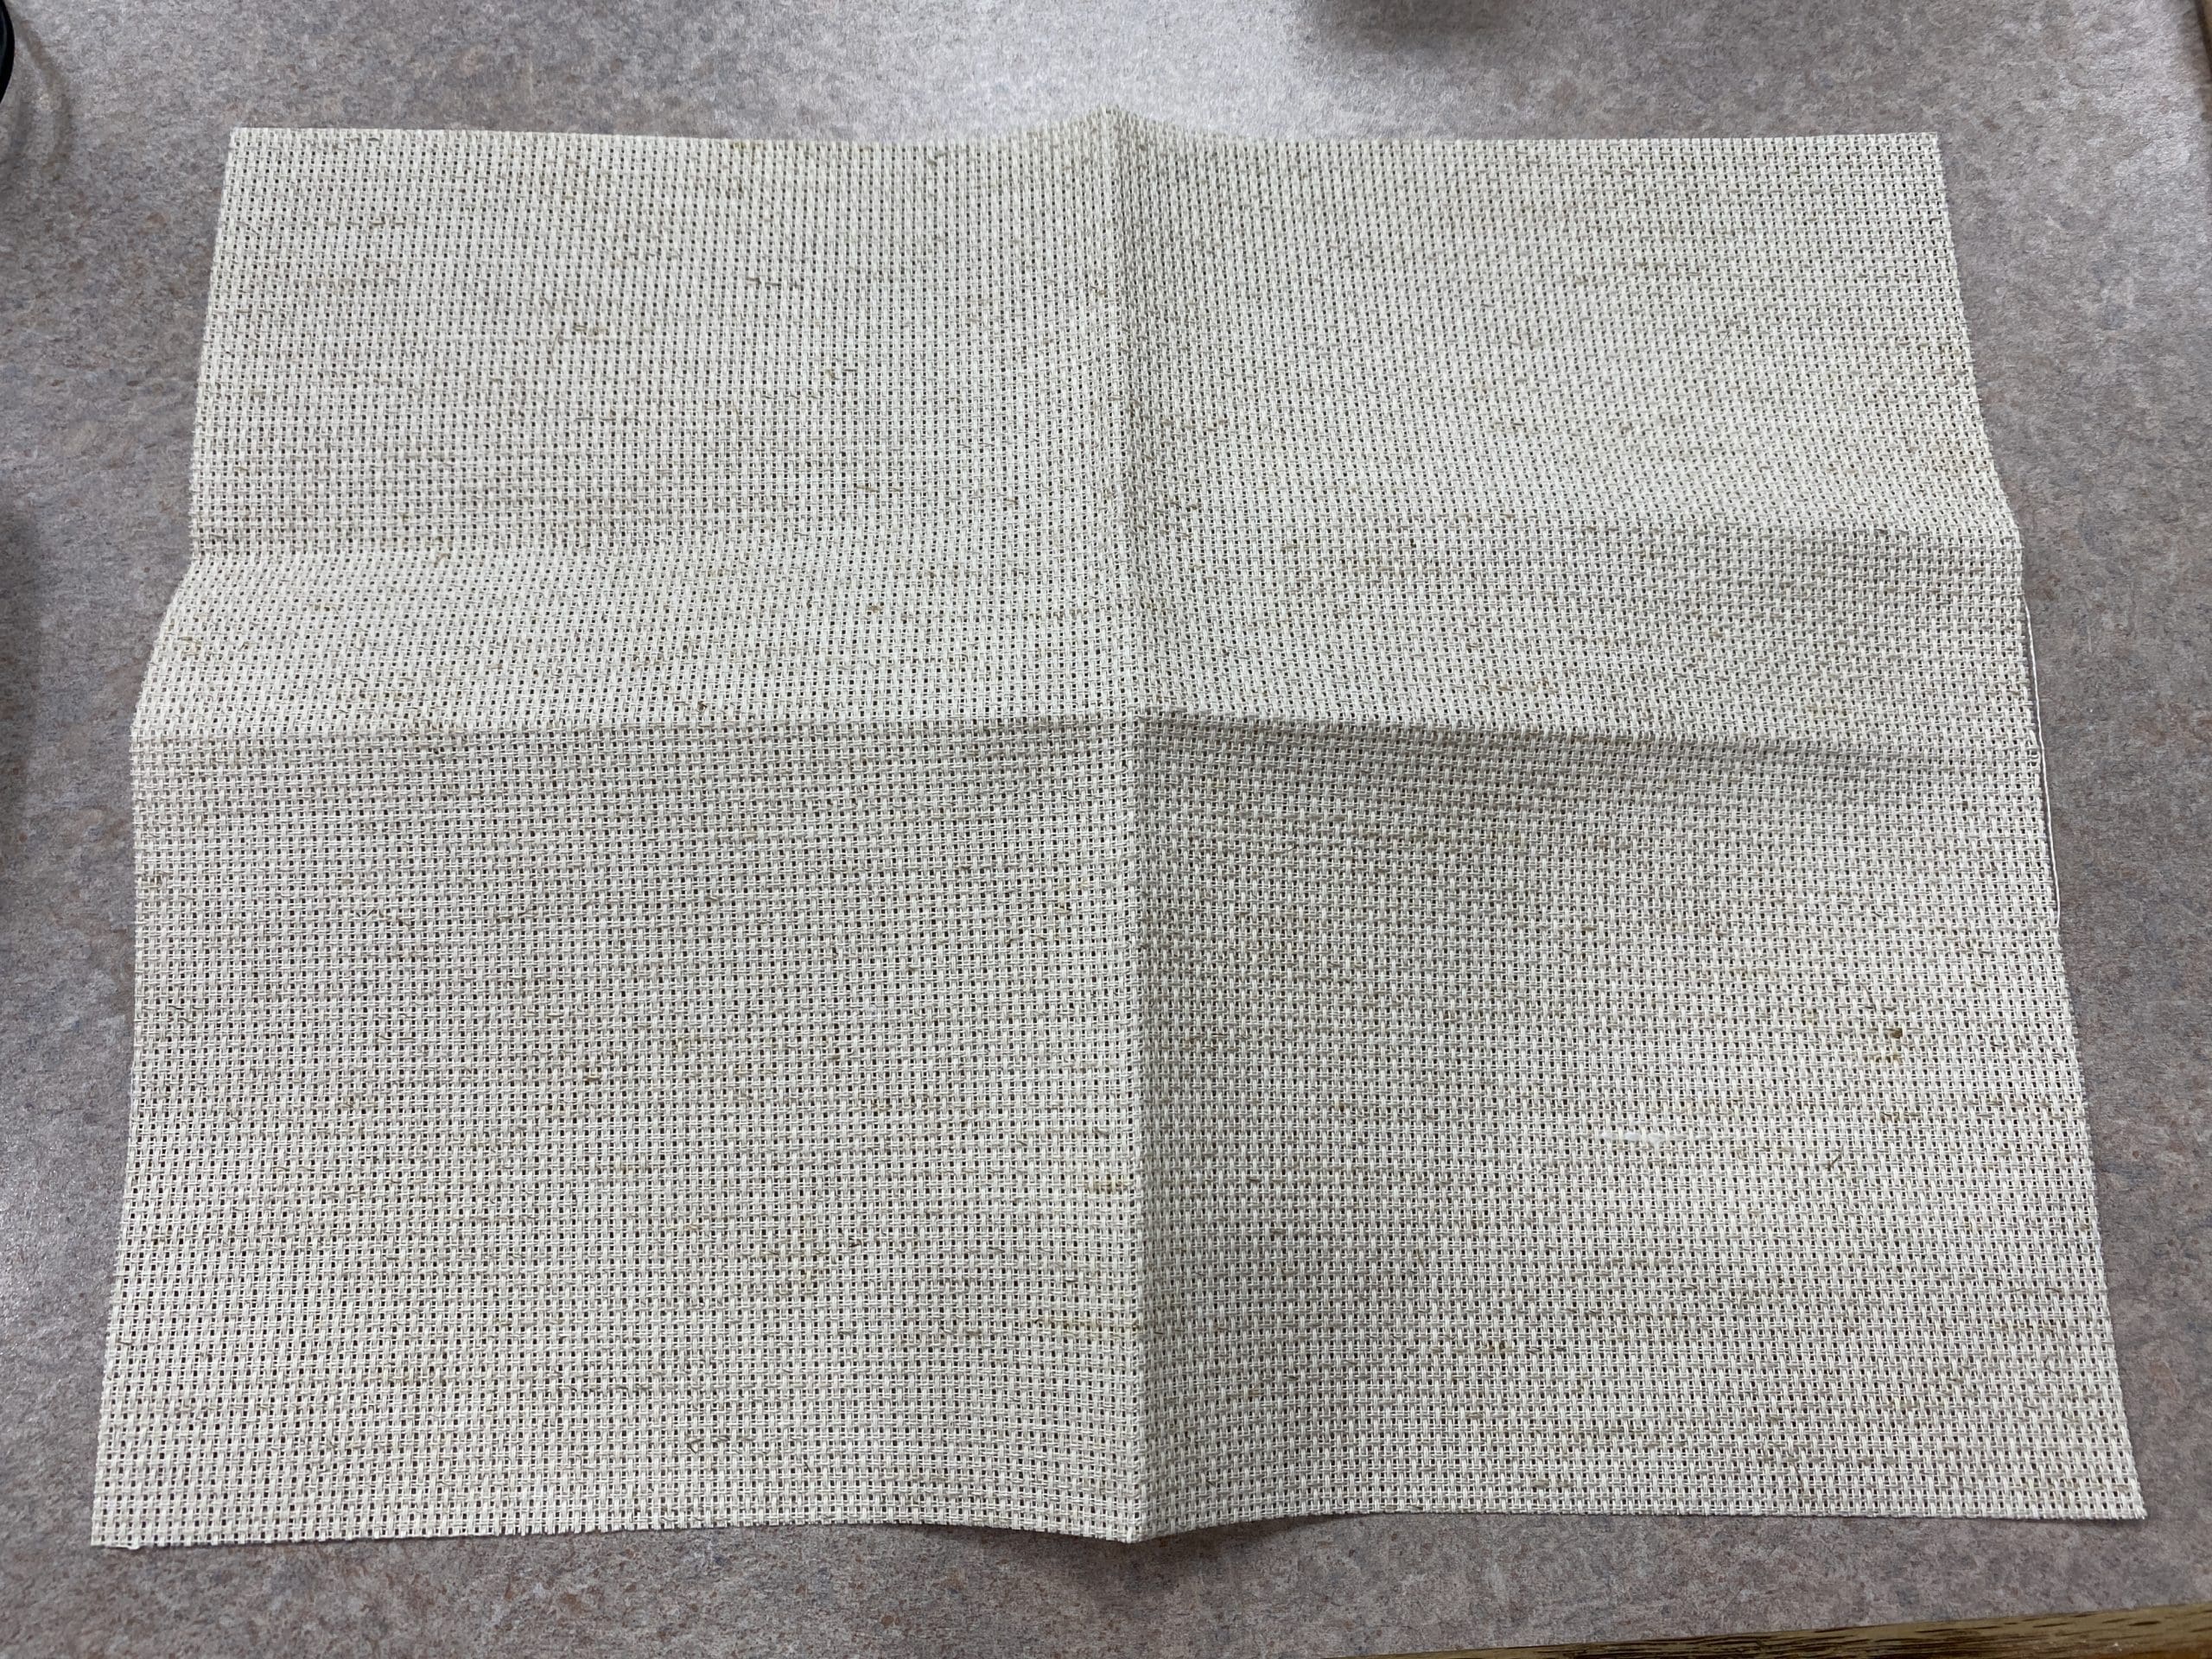
    1.  Fold your Aida cloth in half and then in half again.  Unfold it and you should see the center point of the fabric.  I usually mark this center point with the needle. 
    2. Next, put your fabric in the embroidery hoop trying to get the center point as close to the center of the hoop as possible.  If you don’t, you may have to take it out and adjust it when you’re finished stitching.
    3. Find the center of the pattern (marked by the arrows on the sides of the pattern).  Count up to the area of the pattern you want to start.  I suggest just stitching top to bottom.
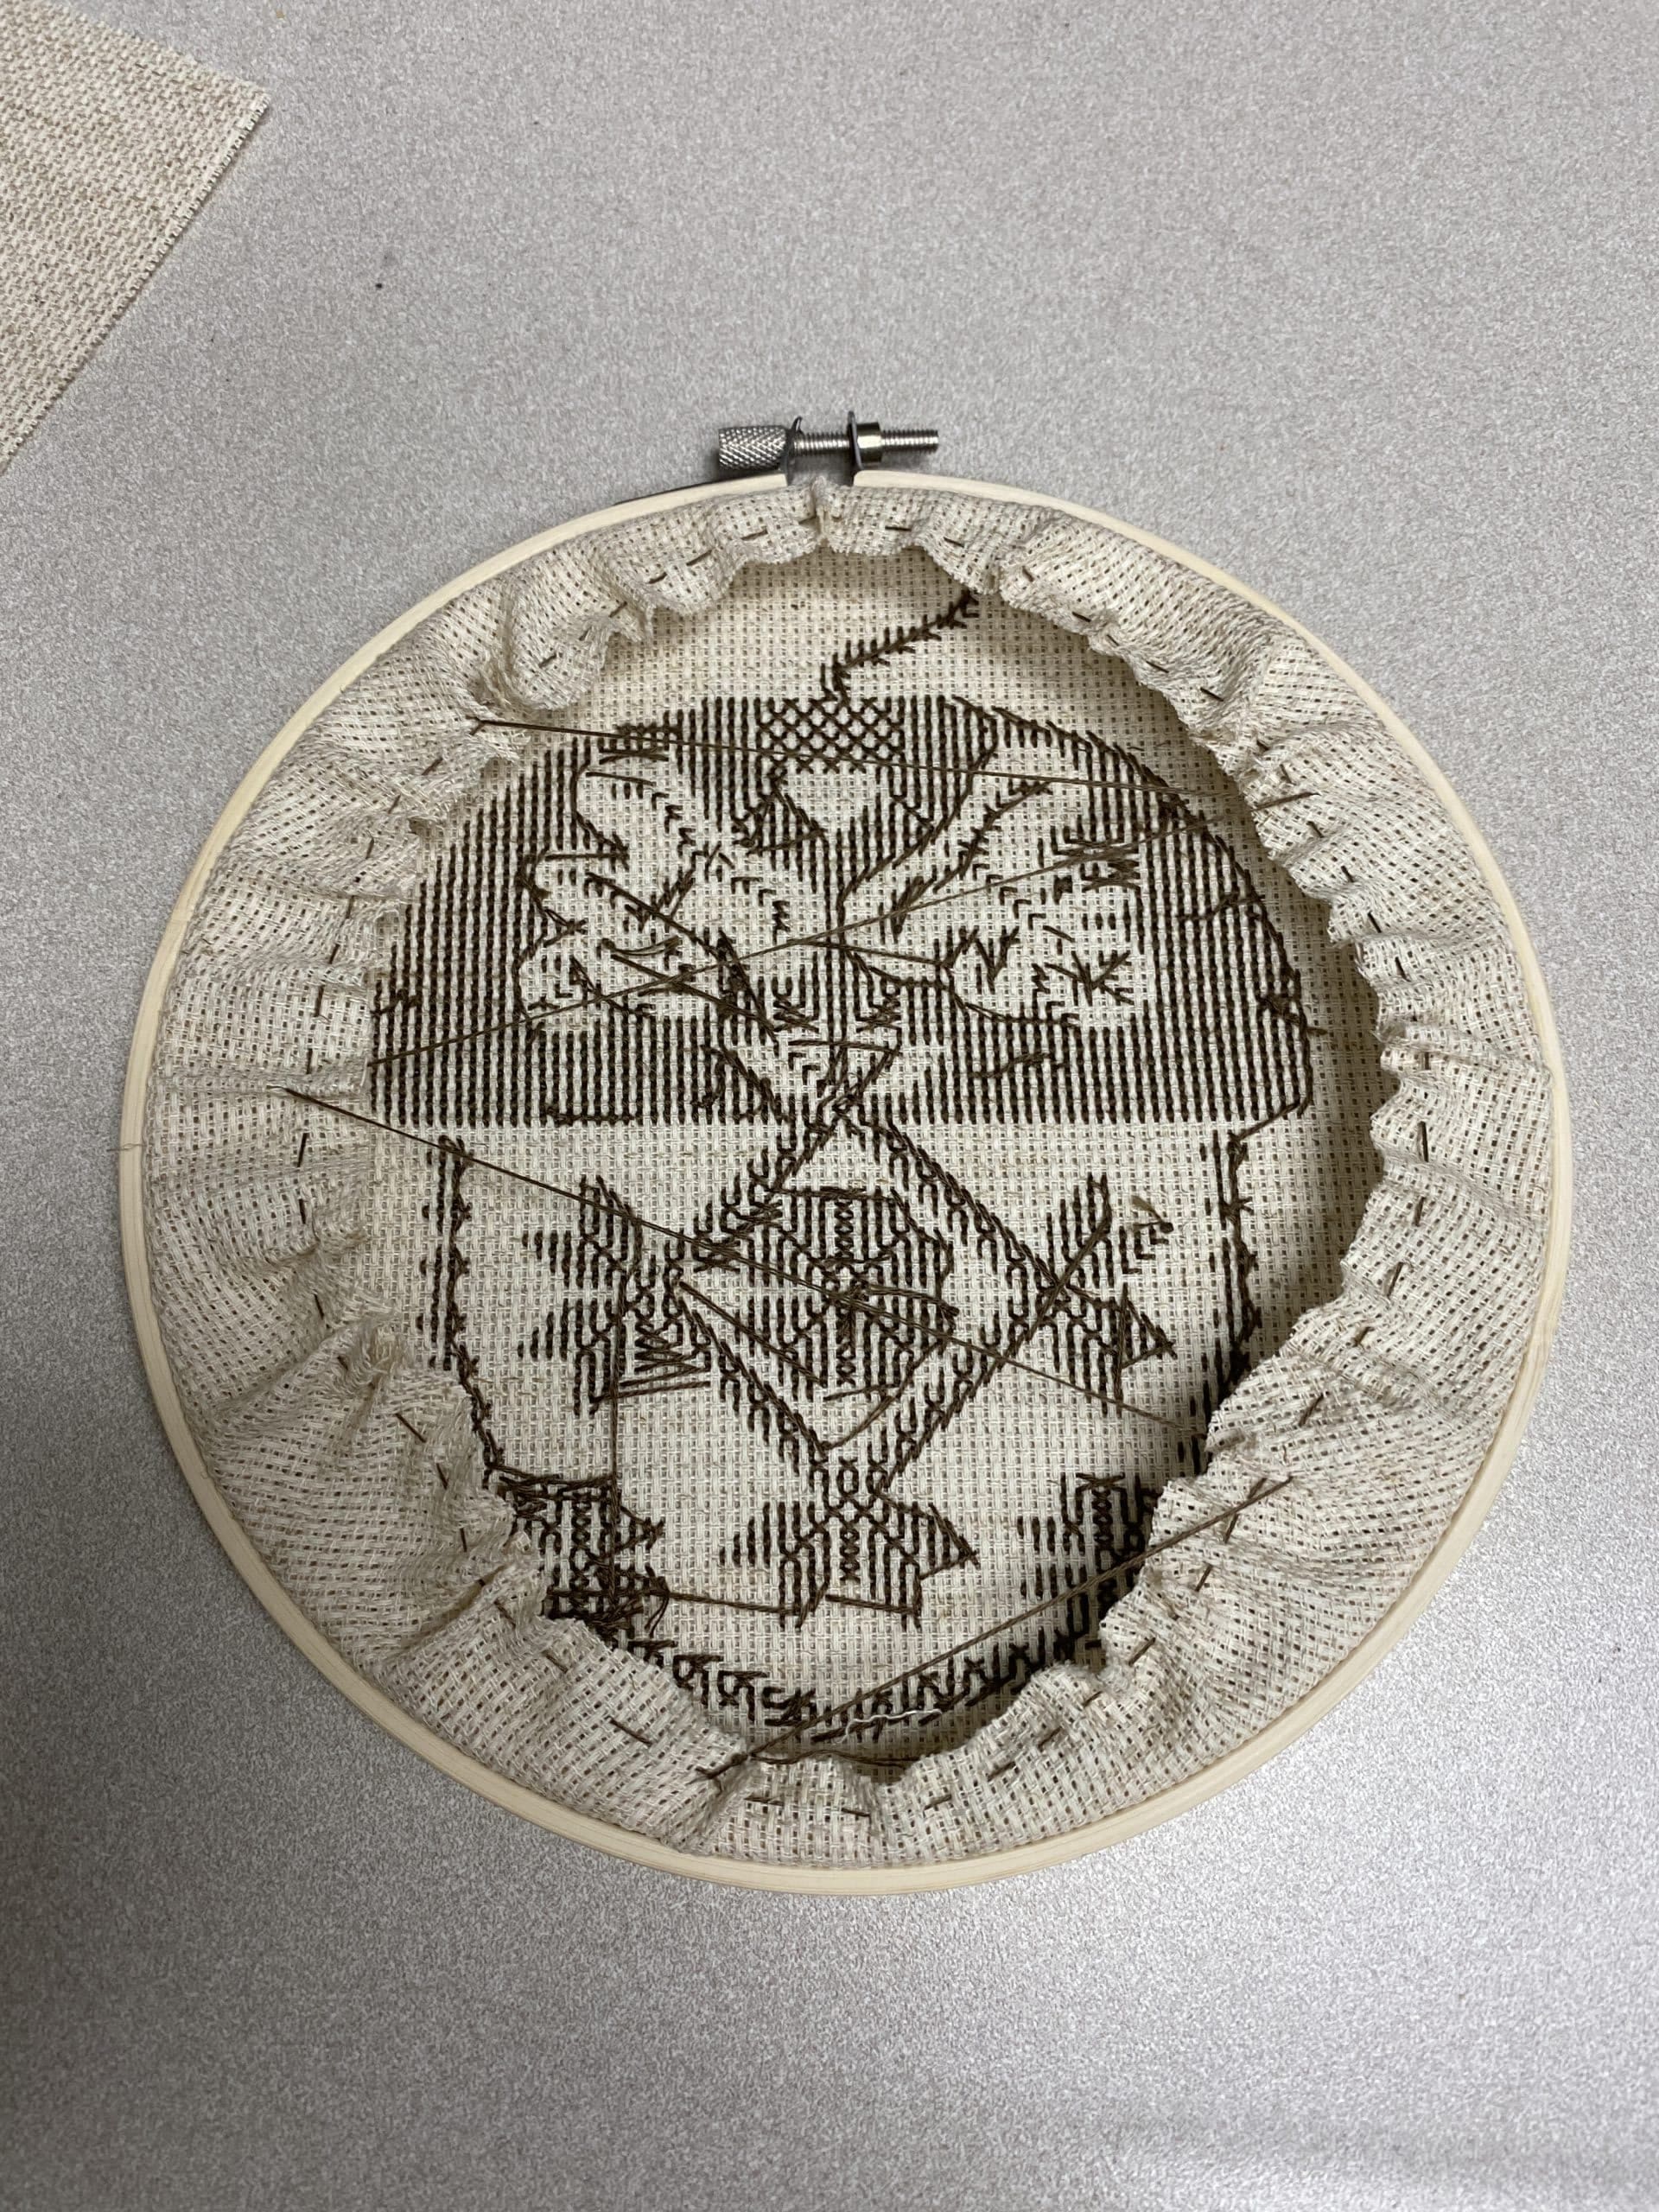
    4. When you’ve finished stitching and are ready to finish it, first make sure the design is centered in the hoop.  Then cut the excess fabric around the outside in a circle leaving 1.5-2″ all the way around.  Sew around the outside to gather the fabric and then I zigzag from side to side for added stability (see picture and video at the end).  This picture is from a previous project.                                 
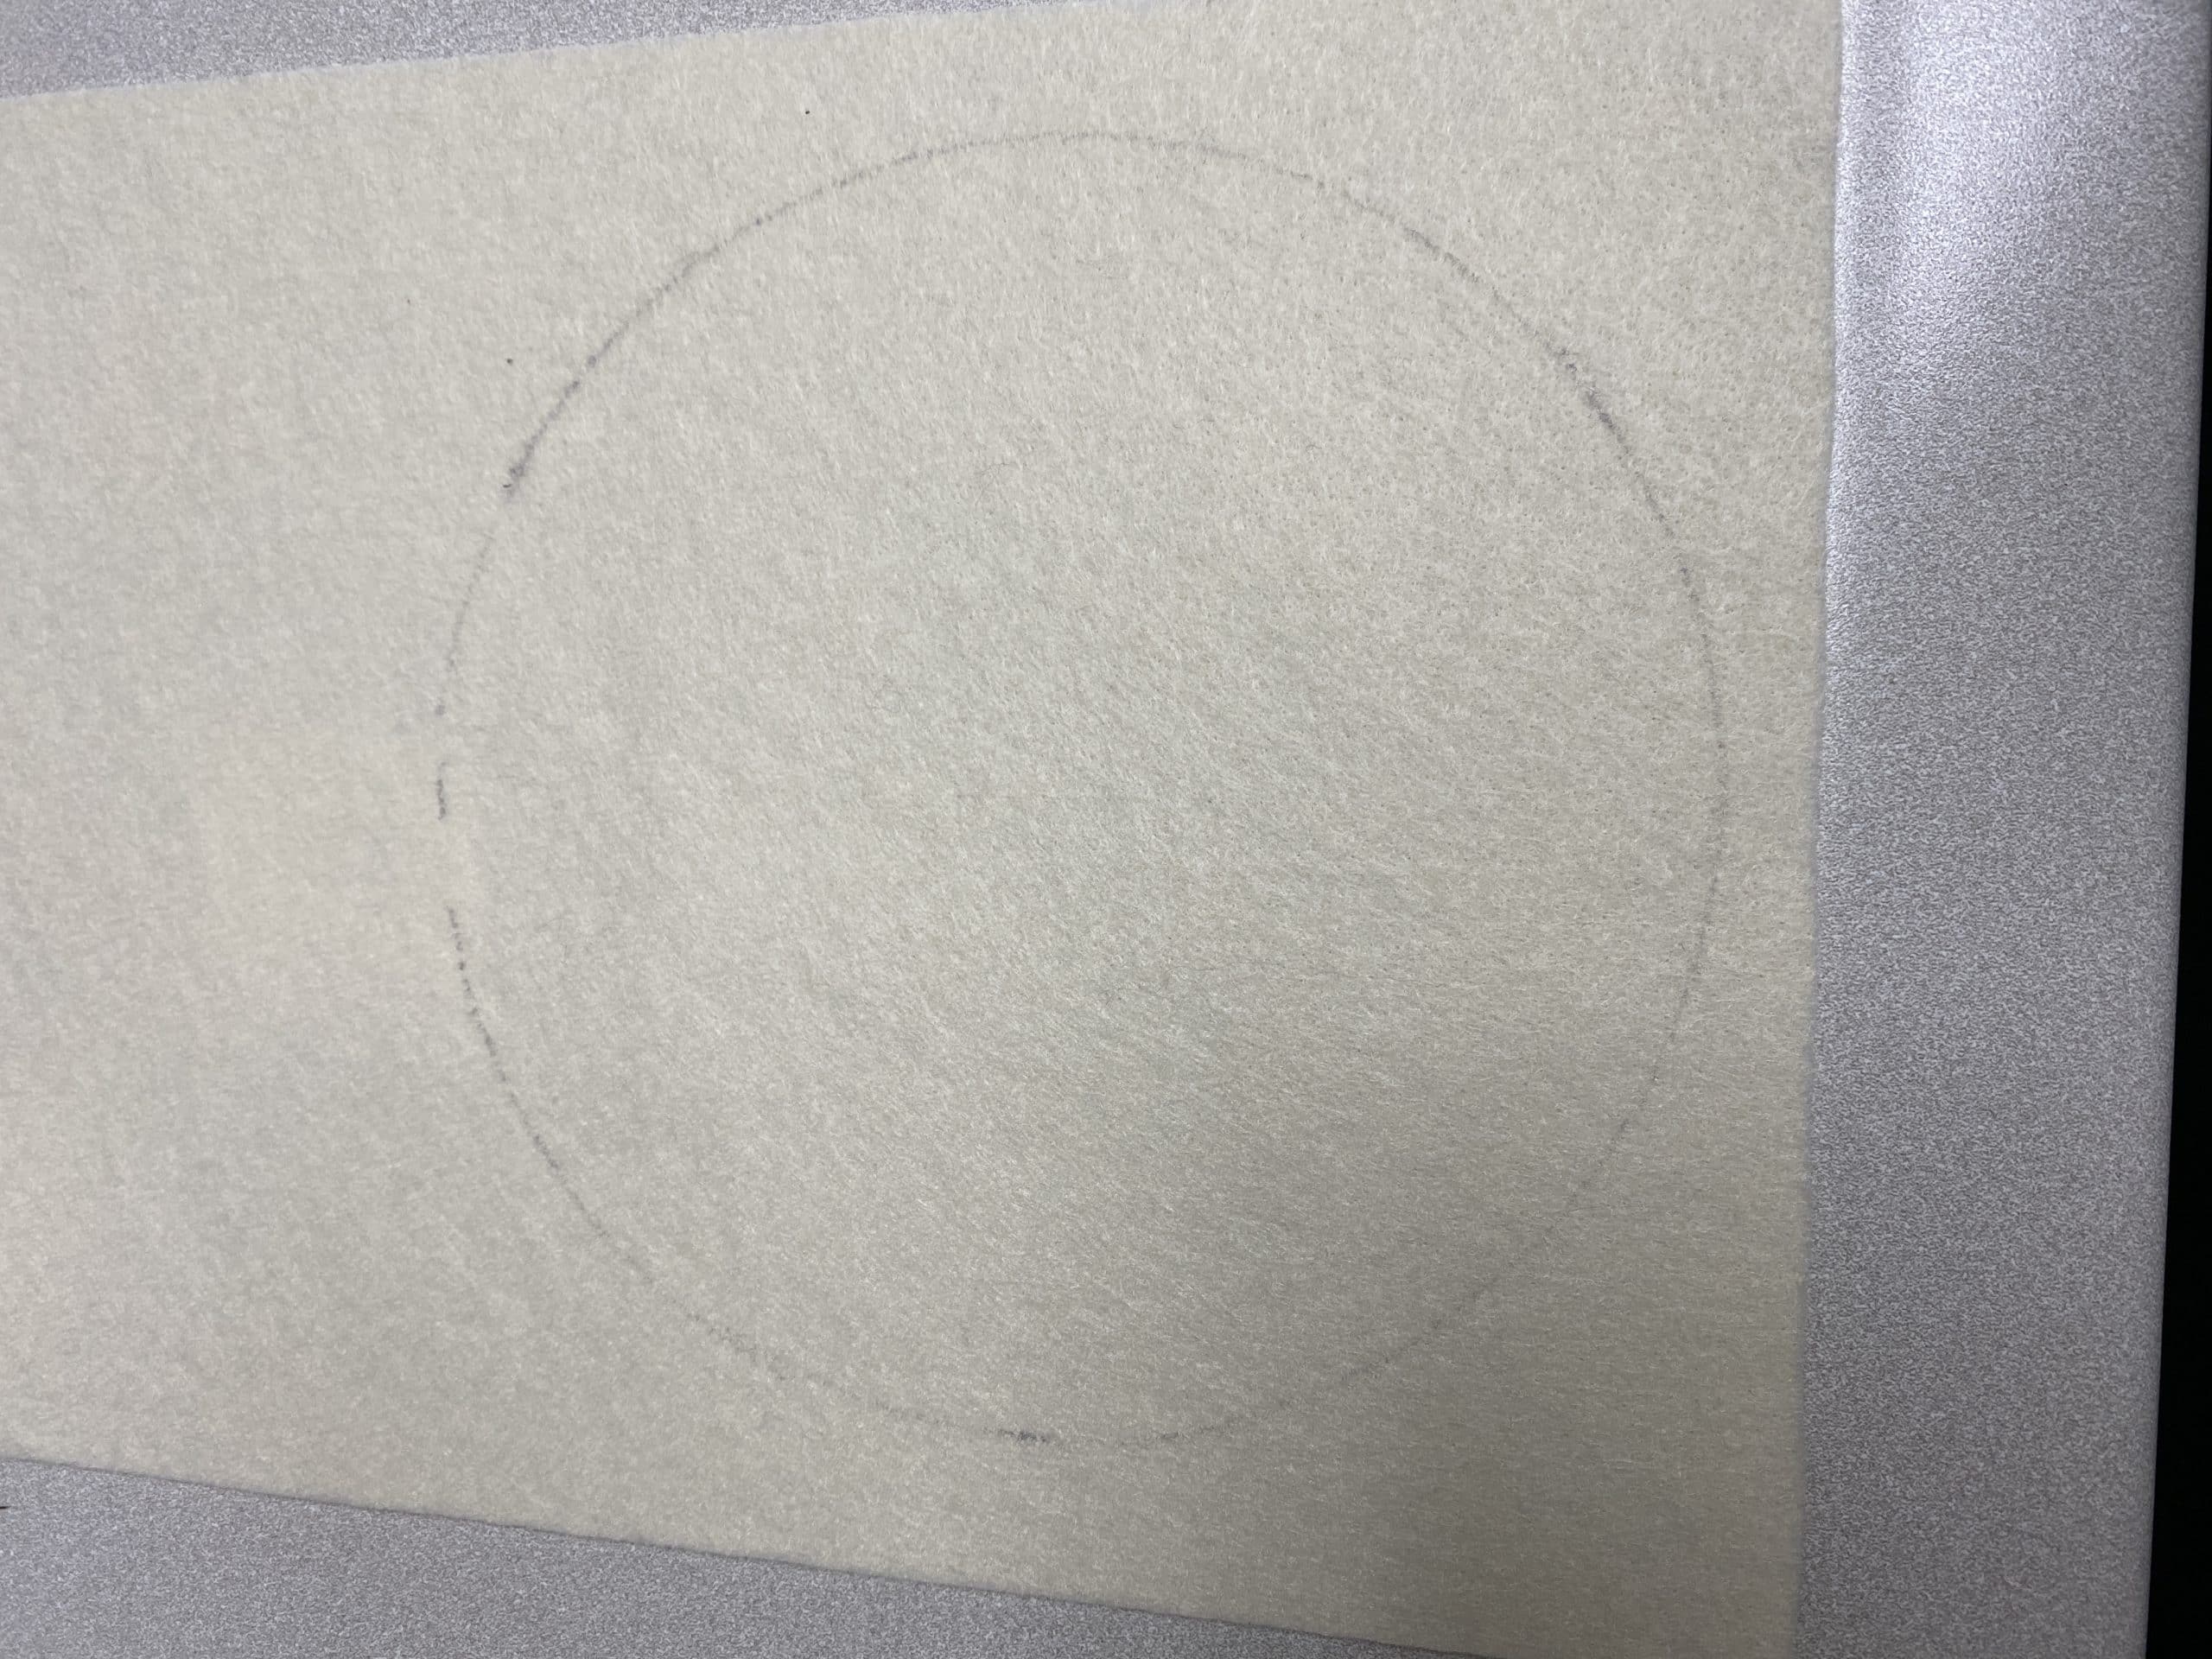
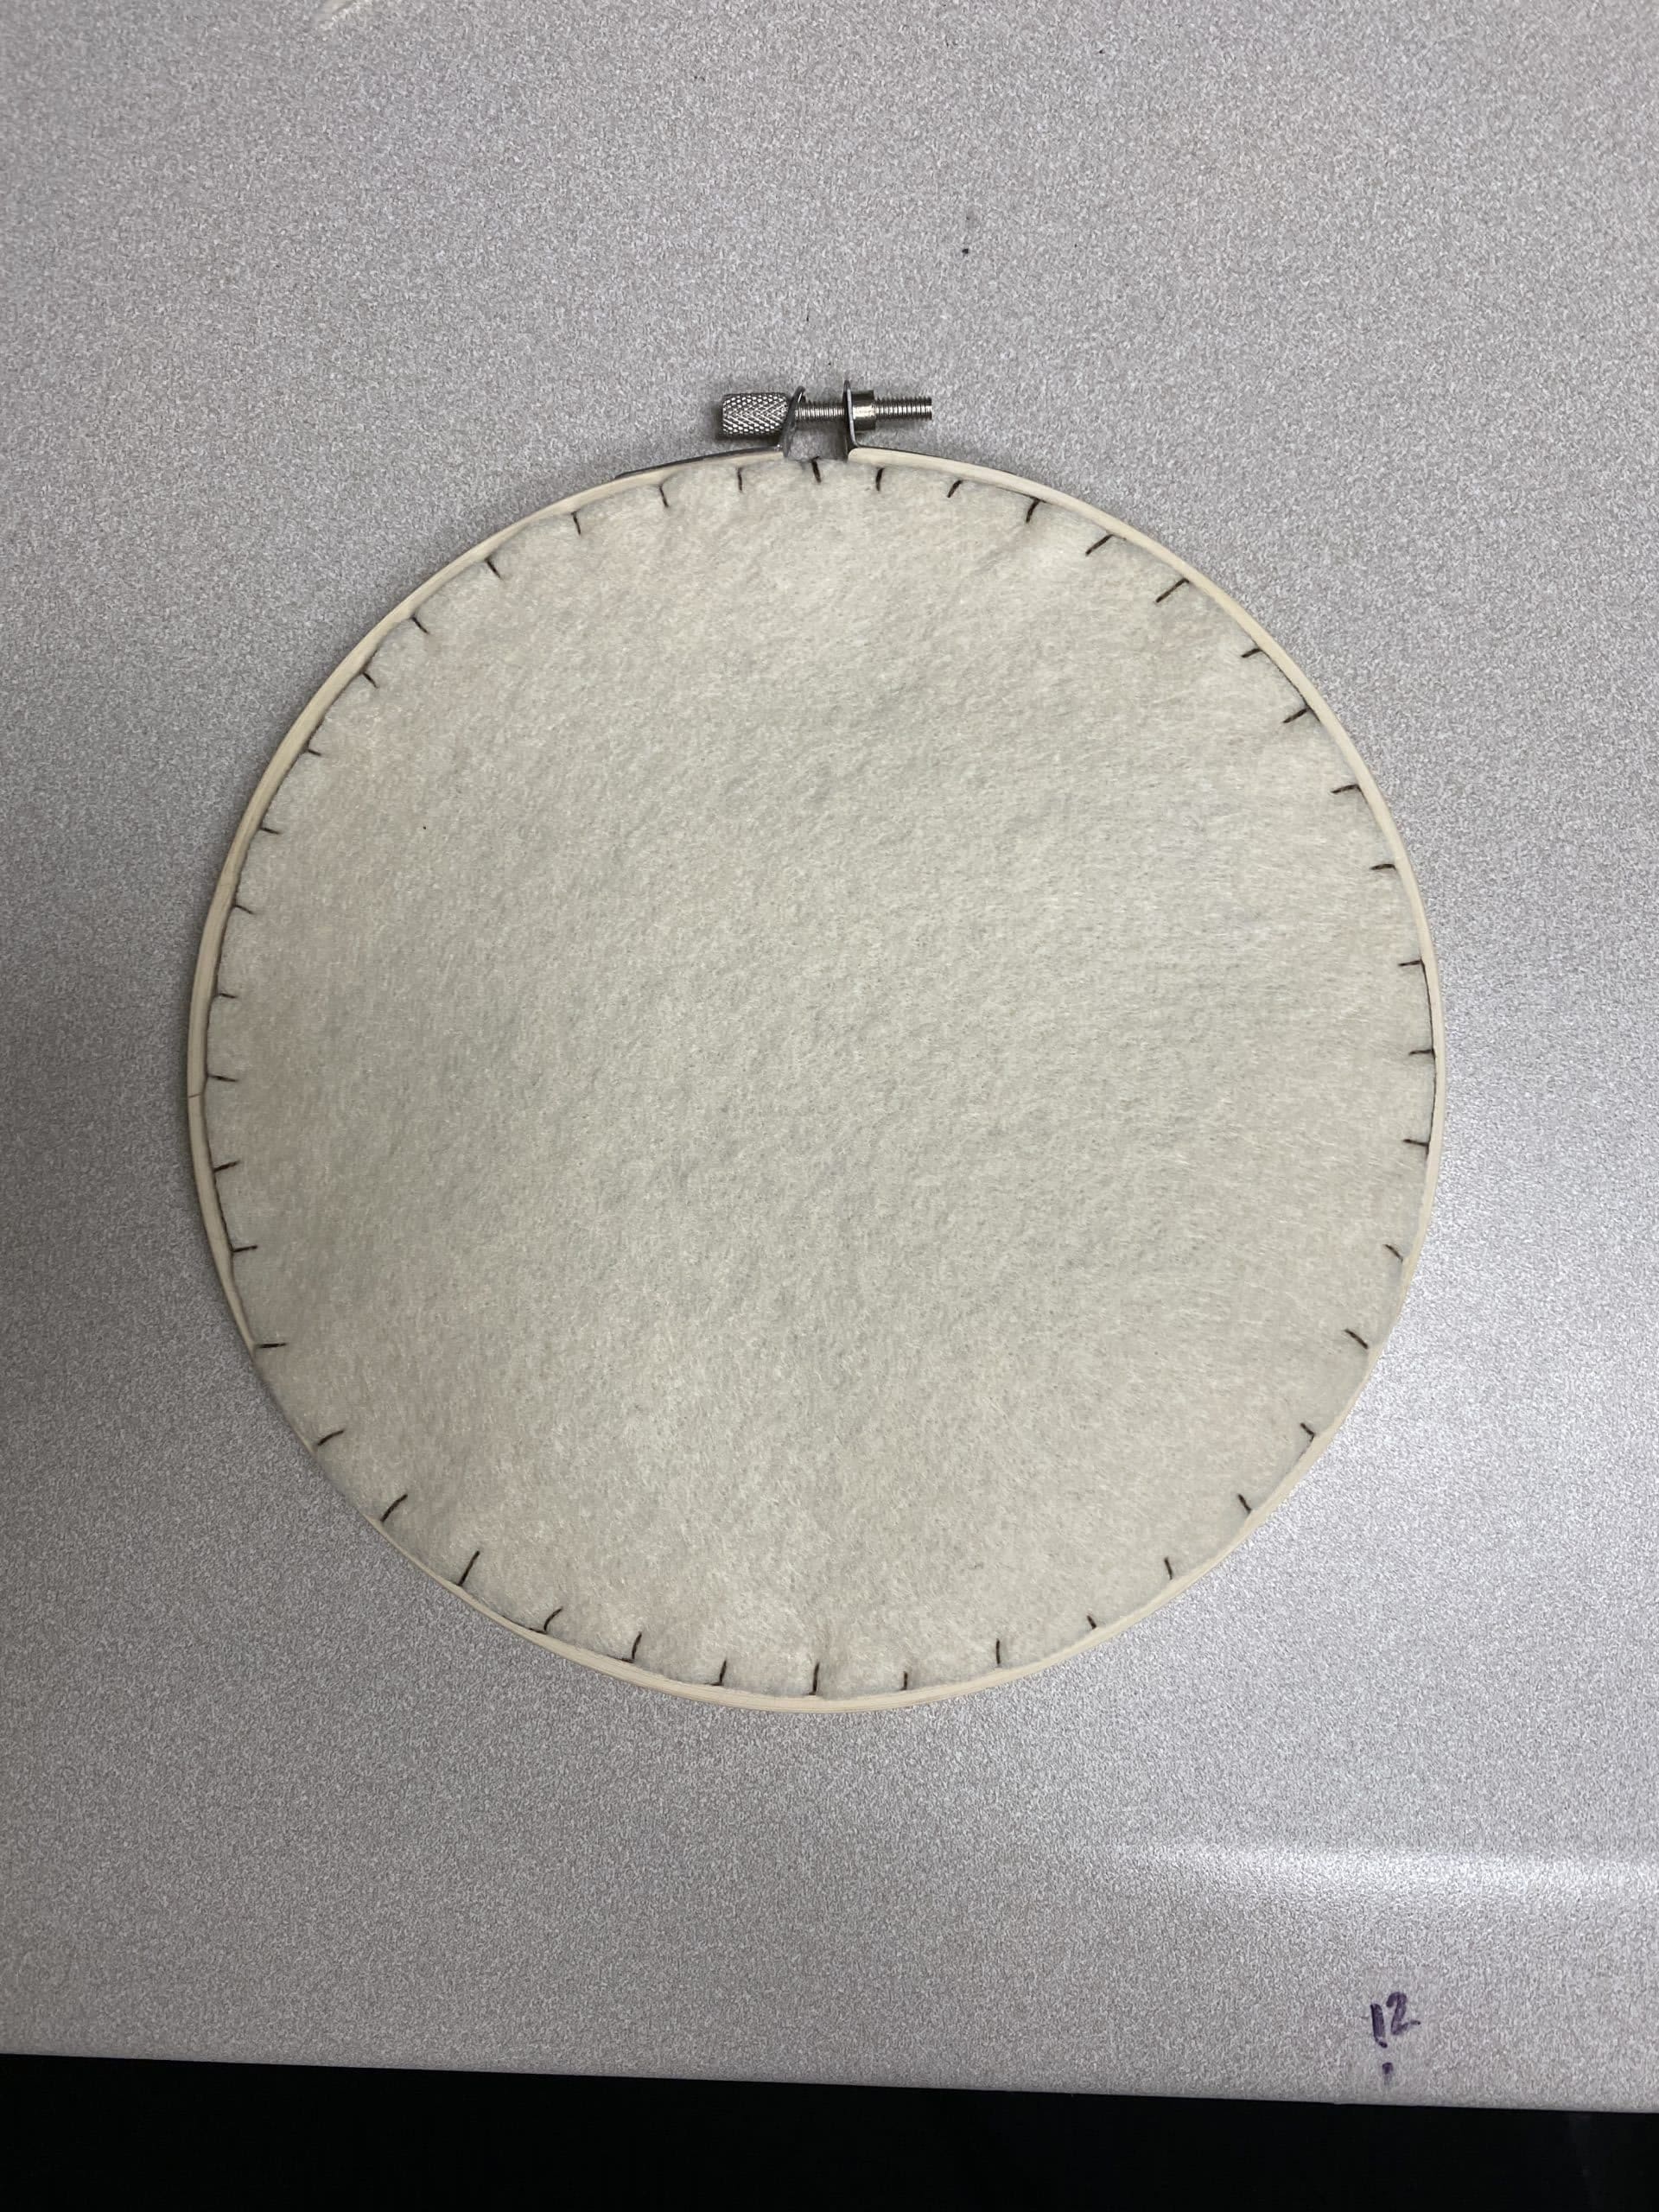
    5. Next, trace around the hoop on the piece of felt and cut it out.  Use a blanket stitch to attach to felt to the back of the fabric.  See the video for more detailed instructions.                 
    Use this video for more detailed instructions on finishing your project:  https://youtu.be/eJqp0gpja8g

    That’s it!  I hope you loved this fun fall project!

    As always, we’d love to see your finished work.  Share it with us on our Facebook page here:  https://www.facebook.com/BeavercreekCommunityLibrary

    Happy crafting!

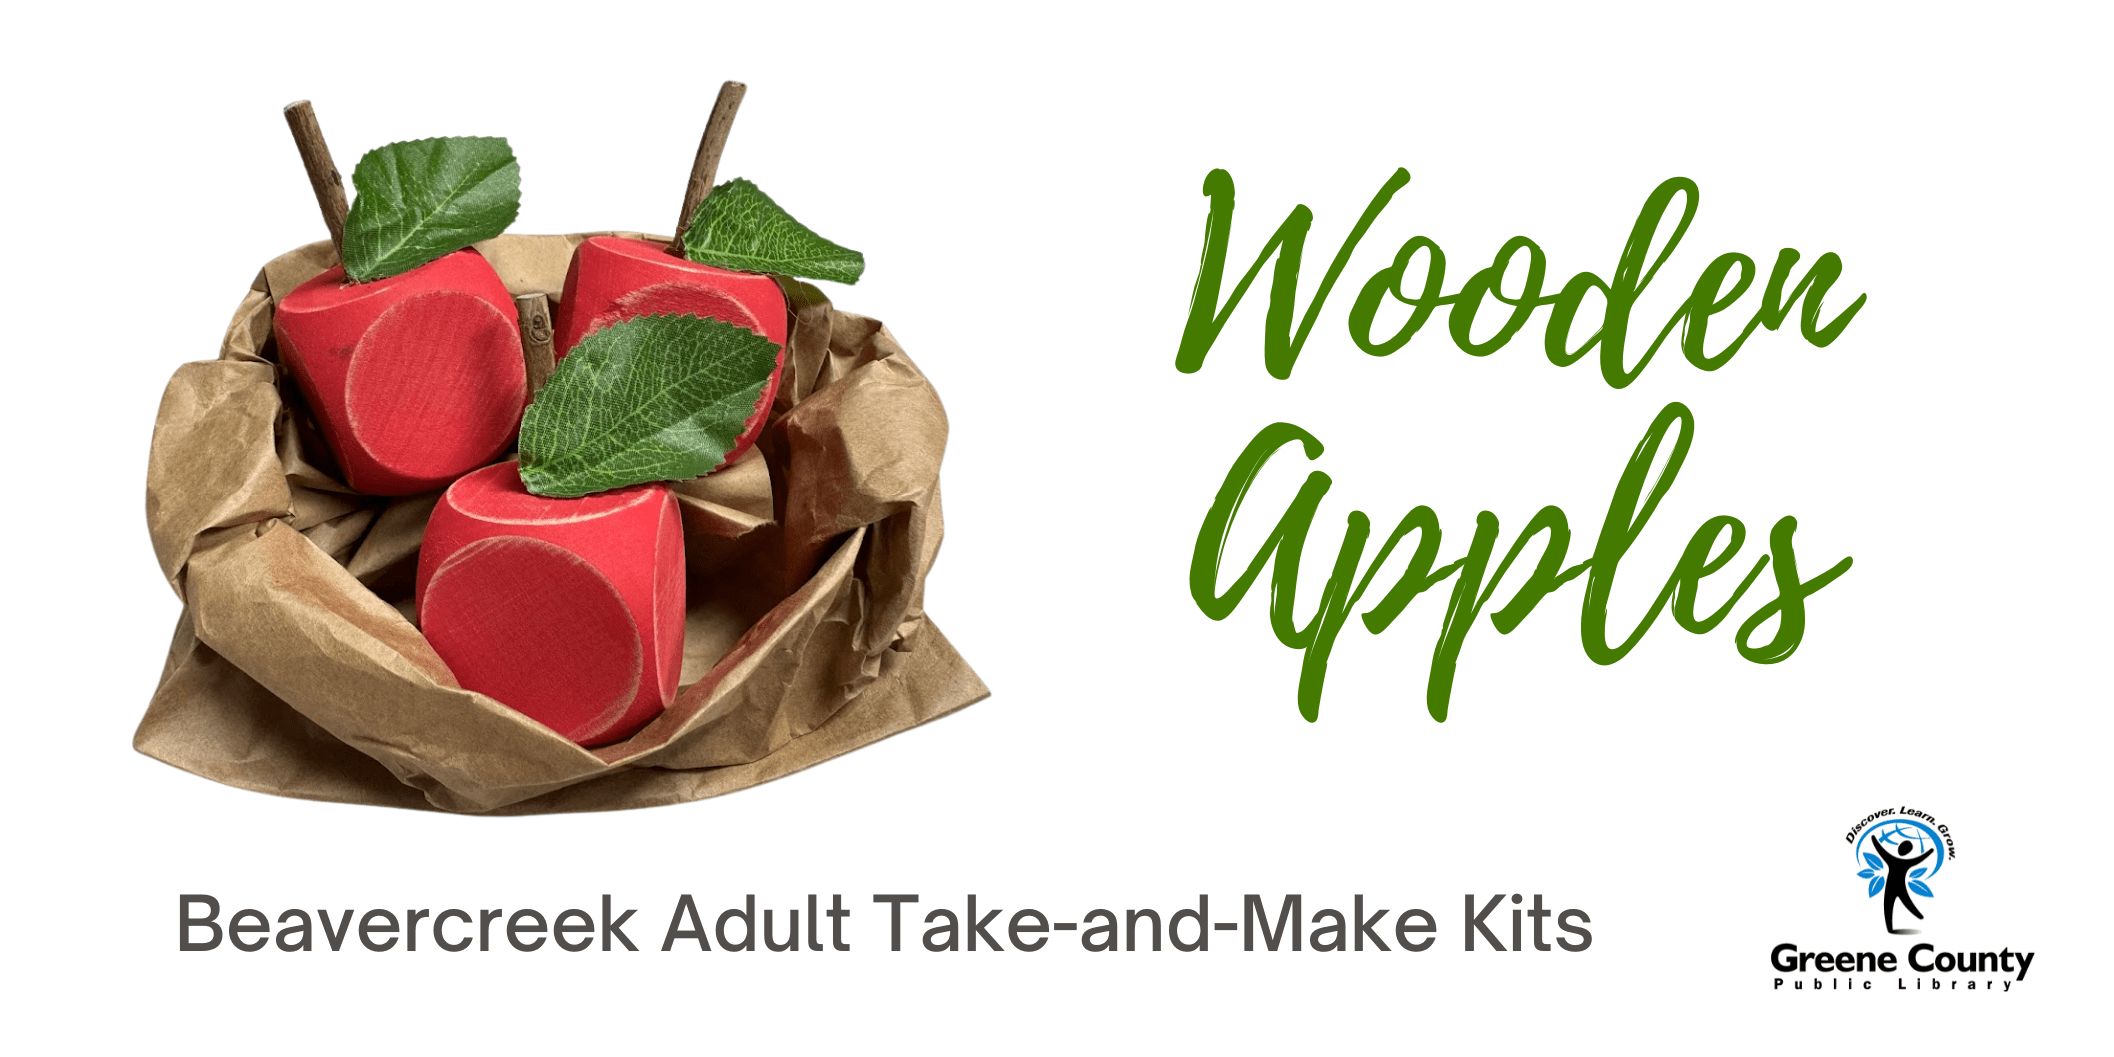
  • Beavercreek Adult Take-and-Make: Wooden Apples

    Hello crafters!  This month we’re making little wooden apples out of unfinished dice.

    Reserve your kit here:  https://greenelibrary.bibliocommons.com/events/68bc38e19b6a35582f6f6237

    Included in your kit:

    3 unfinished dice

    red paint

    1 stick

    3 leaves

    1 paintbrush

    1 piece of sandpaper

    Not included in your kit:

    hot glue

    Instructions:

    1.  Paint the unfinished dice with a coat of red paint.  Allow to dry and paint a second coat.
    2.  Use the sandpaper to distress the edges of the “apples.”
    3. Cut the stick into three equal pieces and hot glue to the top of the apples to make the stems.
    4. Cut the leaves apart and glue on top of the apples near the stem.  

    All finished!  Display them with your other fall decorations!

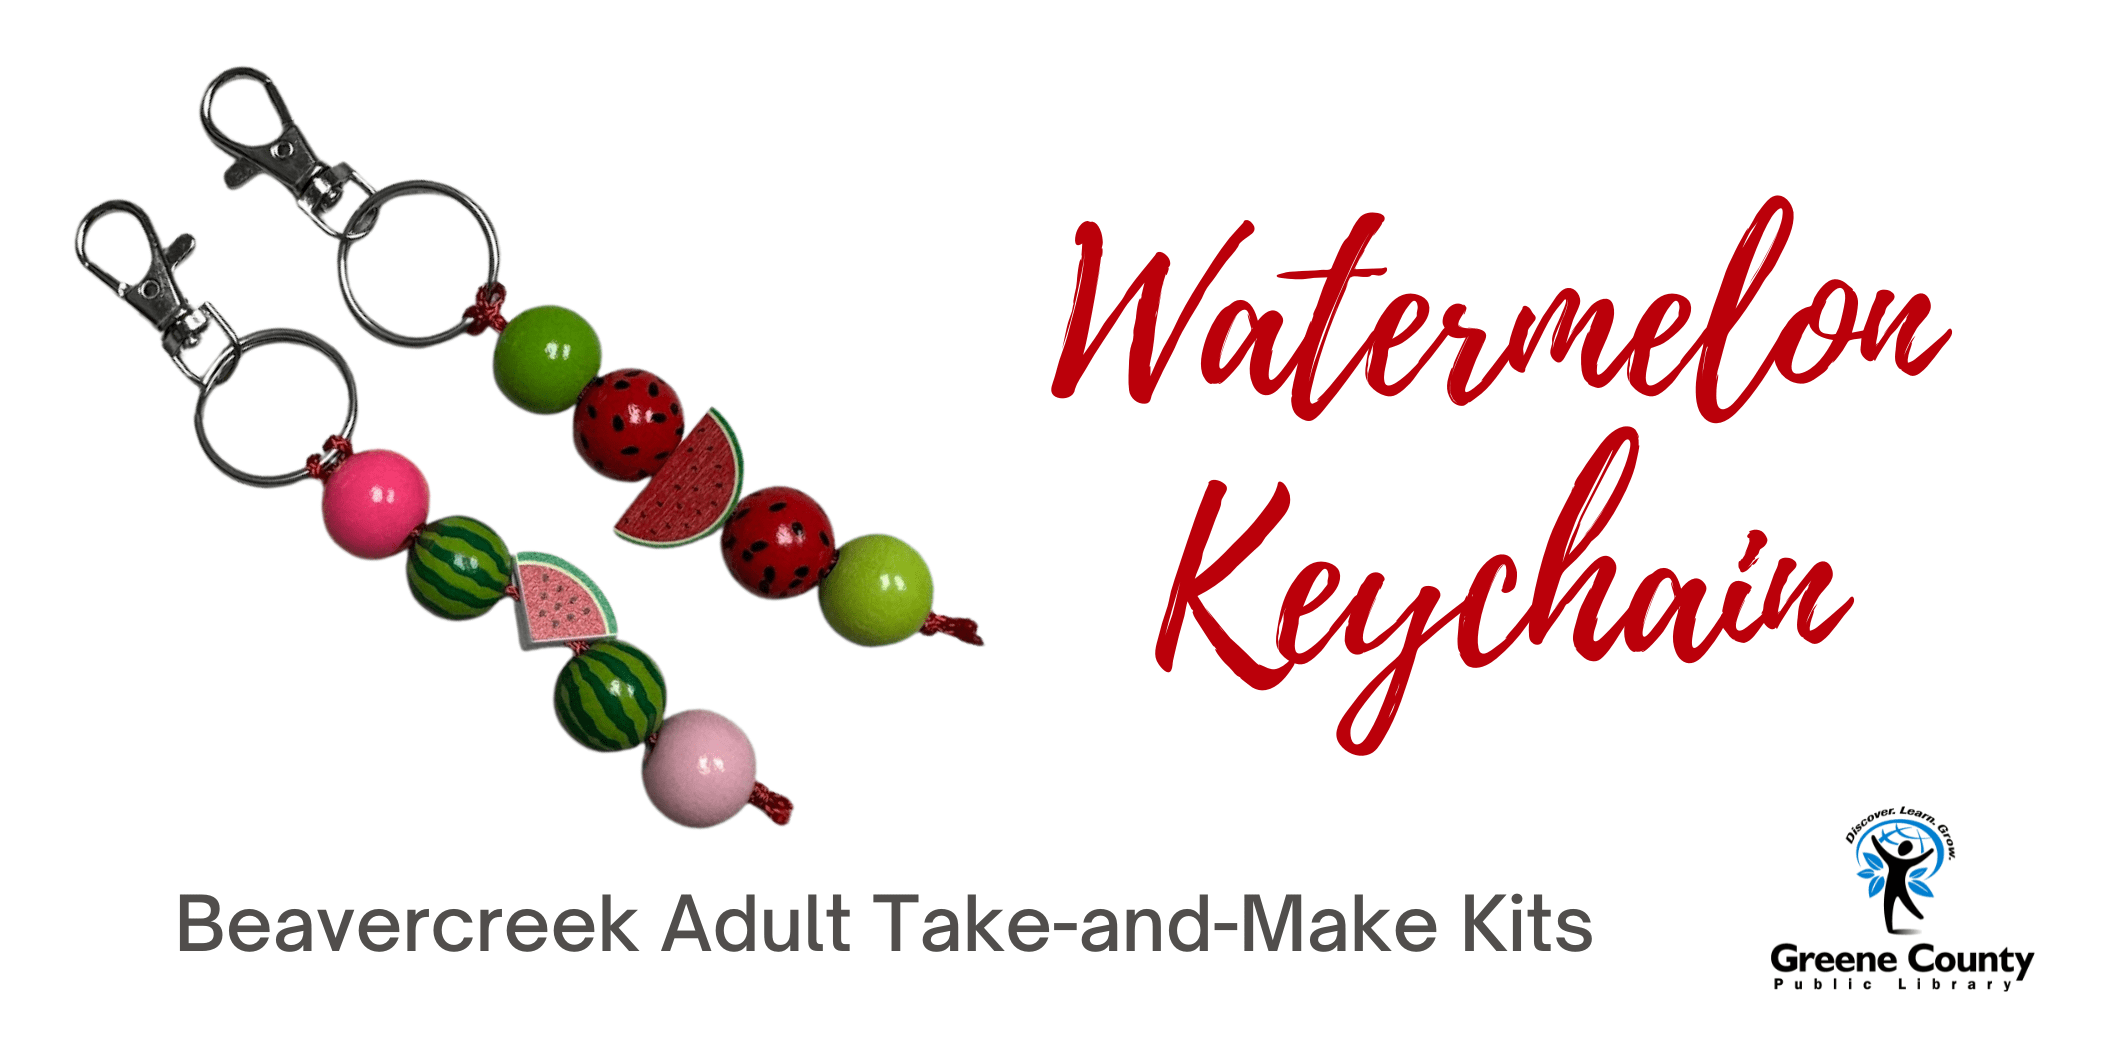
  • Beavercreek Adult Take-and-Make: Watermelon Keychain

    This month we’re making a summery keychain with watermelon beads!

    Click here to reserve your kit:  https://greenelibrary.bibliocommons.com/events/688b7b757845026da0ebd12c

    Included in your kit:

    5 beads (including one watermelon shape)

    1 key ring 

    1 clasp

    red string

    Instructions:

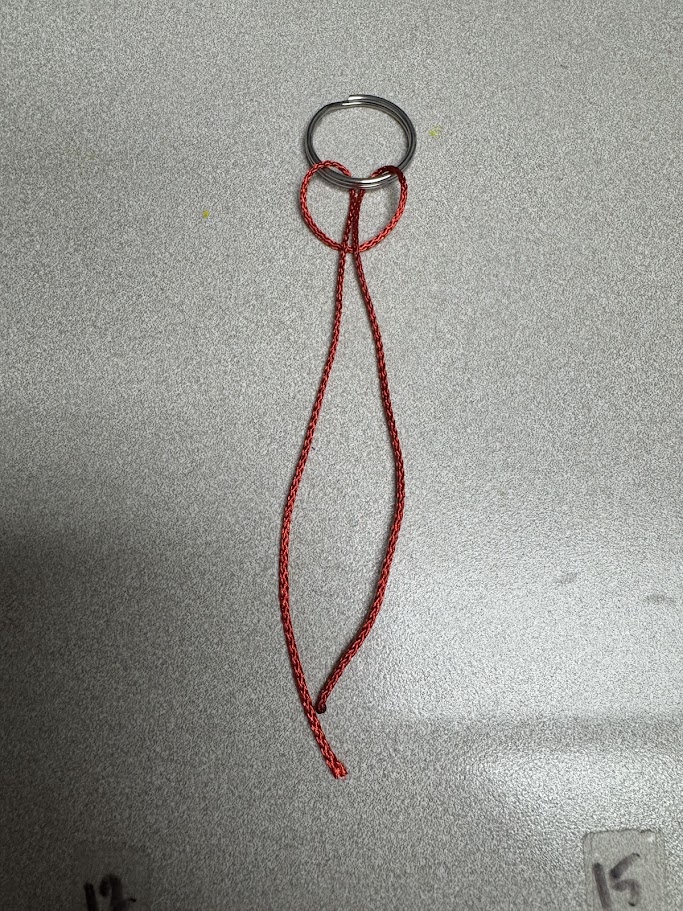
    1.  Loop the string around the key ring and fasten it like in the picture below.

    2.  String the beads on the string.

    3.  Tie a knot (or two) at the end of the string to secure the beads.

    That’s it!  A simple, but cute craft!