wlma

Author: mcrumbacher

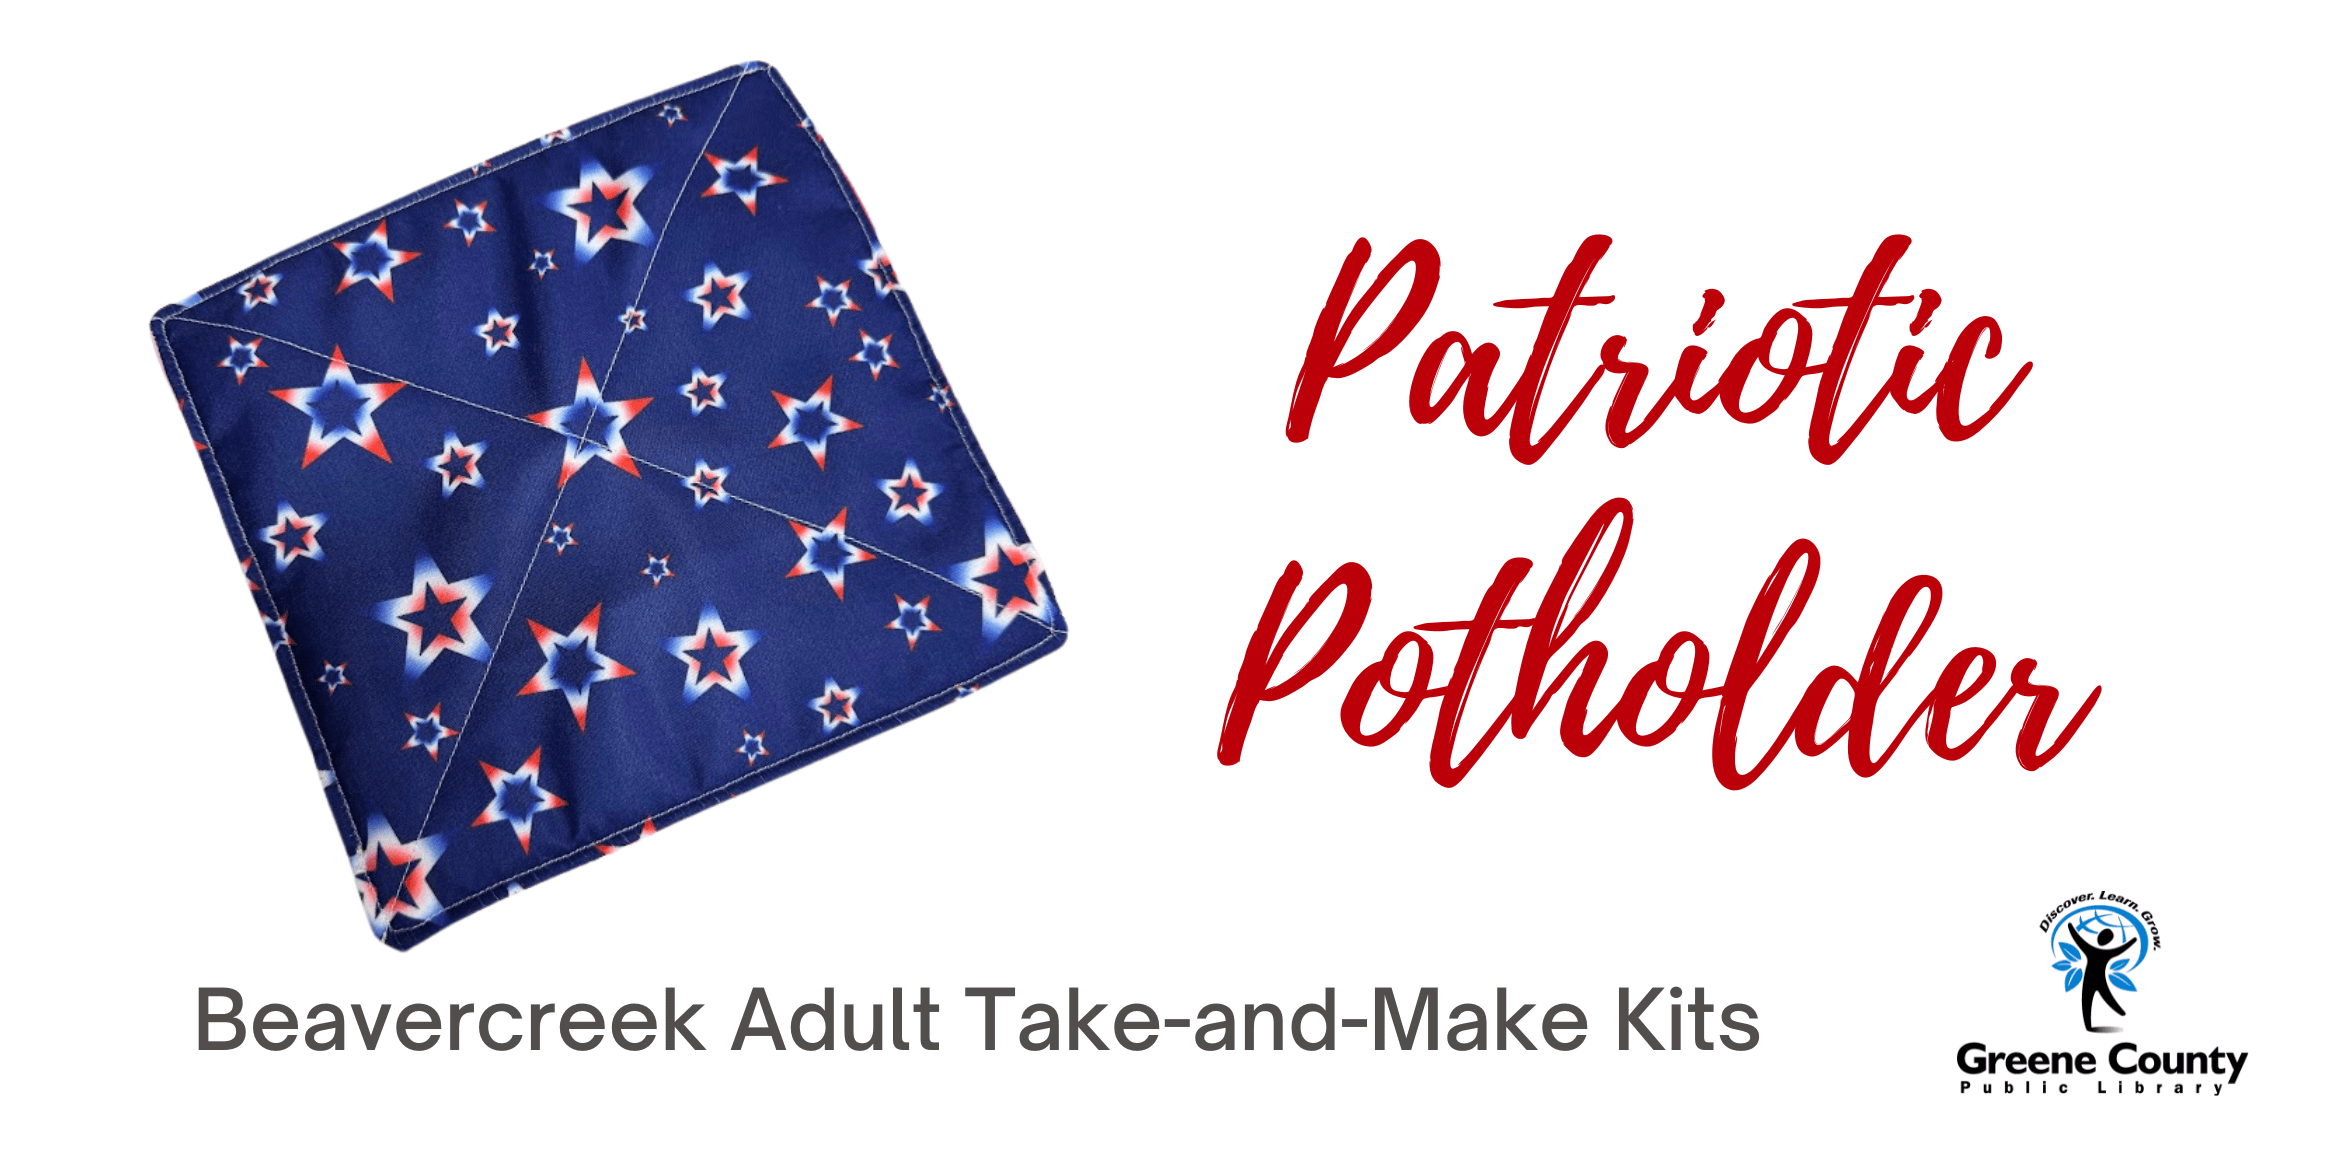
  • Beavercreek Adult Take-and-Make: Patriotic Potholder

    Click here to reserve your kit:  https://greenelibrary.bibliocommons.com/events/6866bb5794bf1f3c4e5ee2cc

    Included in your kit:

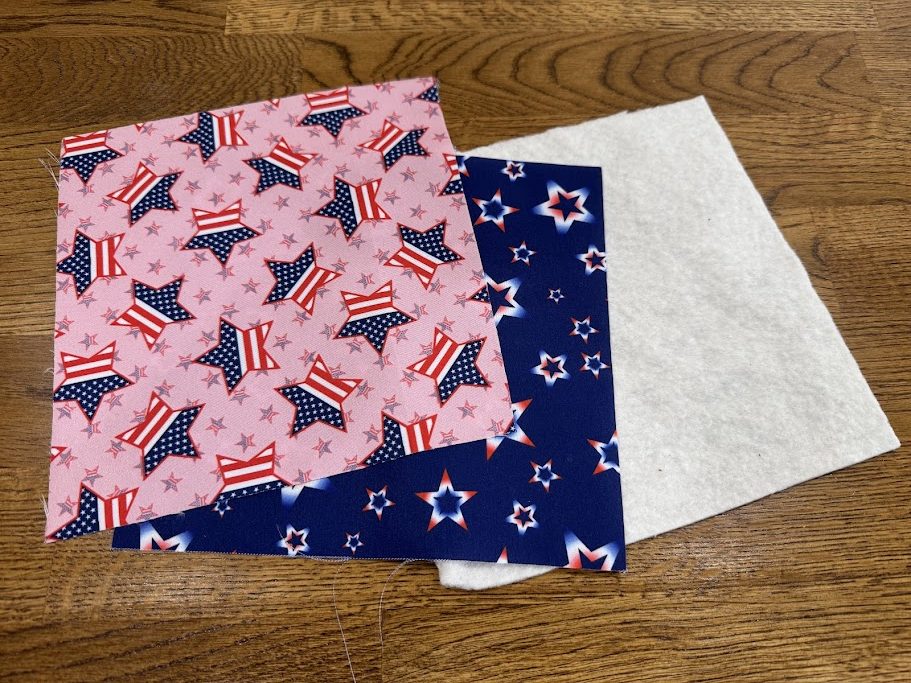
    2 pieces of patriotic fabric

    1 piece of batting

    Not included in your kit:

    scissors

    sewing machine or thread (if hand sewing)

    Instructions:

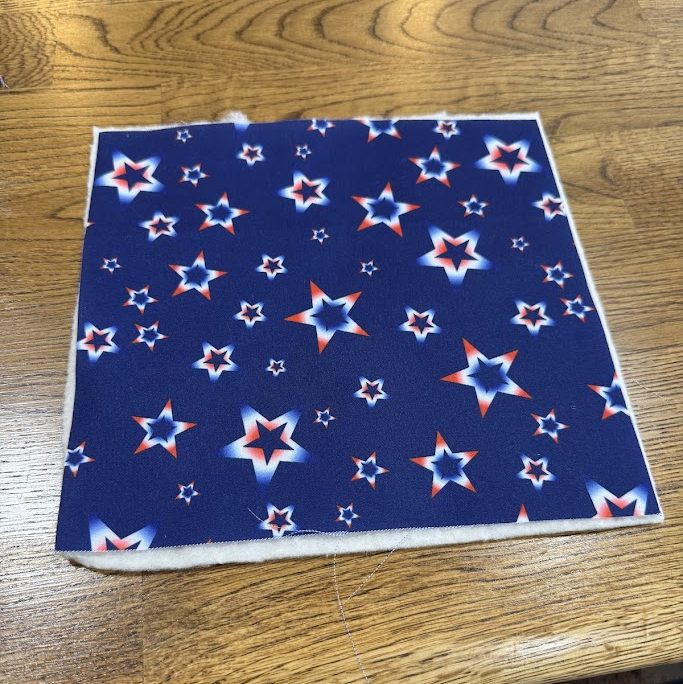
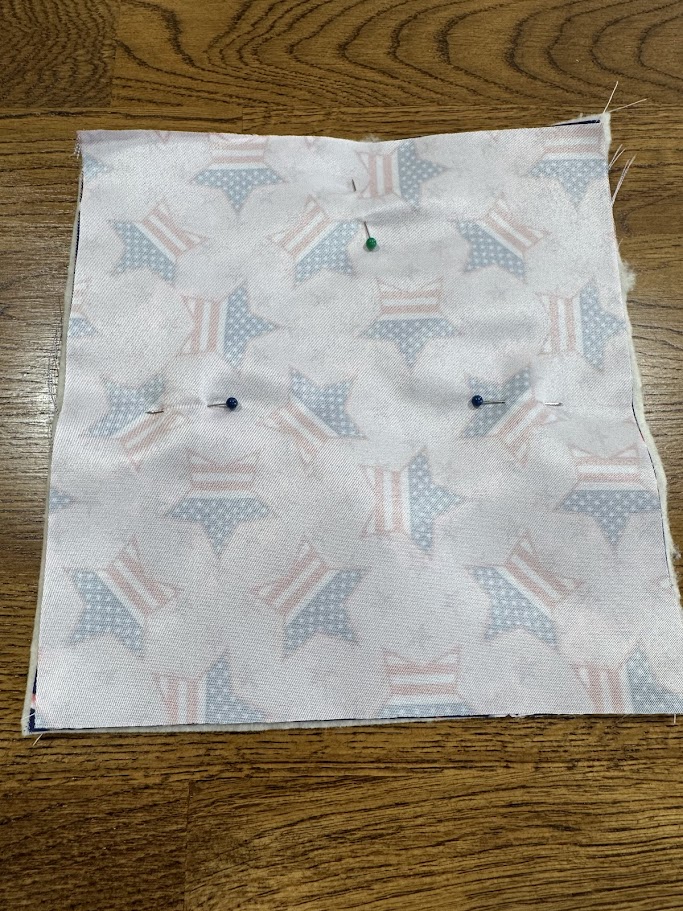
    Take one piece of fabric and layer it right side up on the piece of batting.  

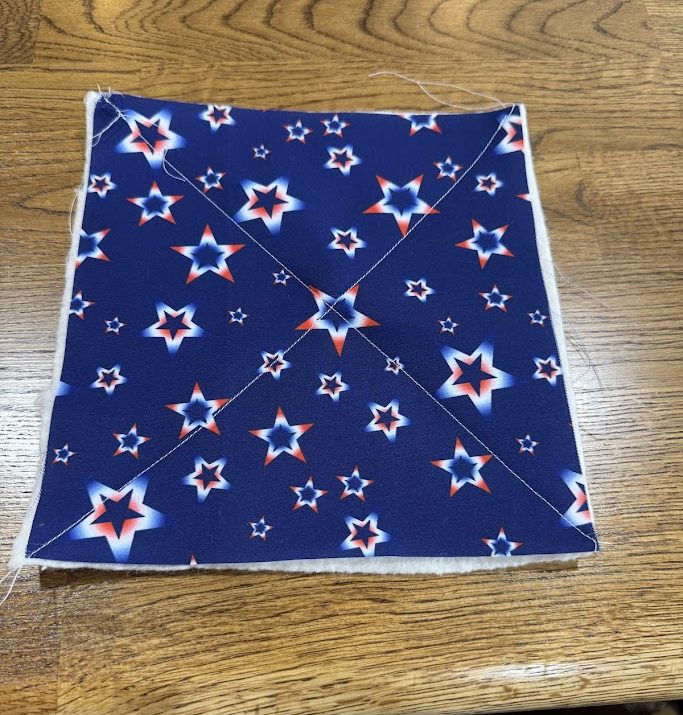
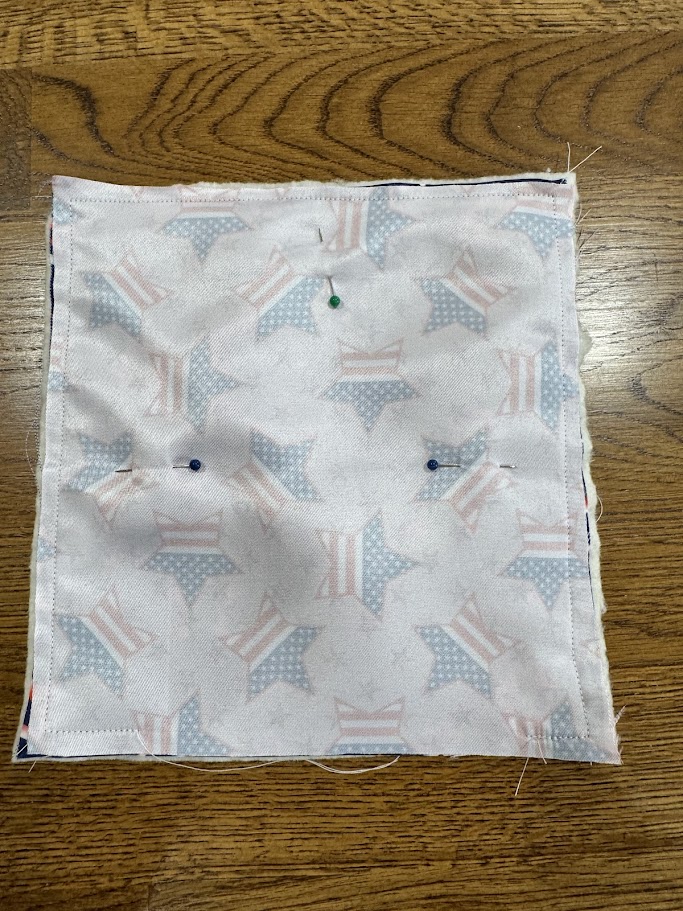
    Sew the fabric to the batting in any pattern you like.  I went with a simple X, but you can use any quilt stitch or pattern.

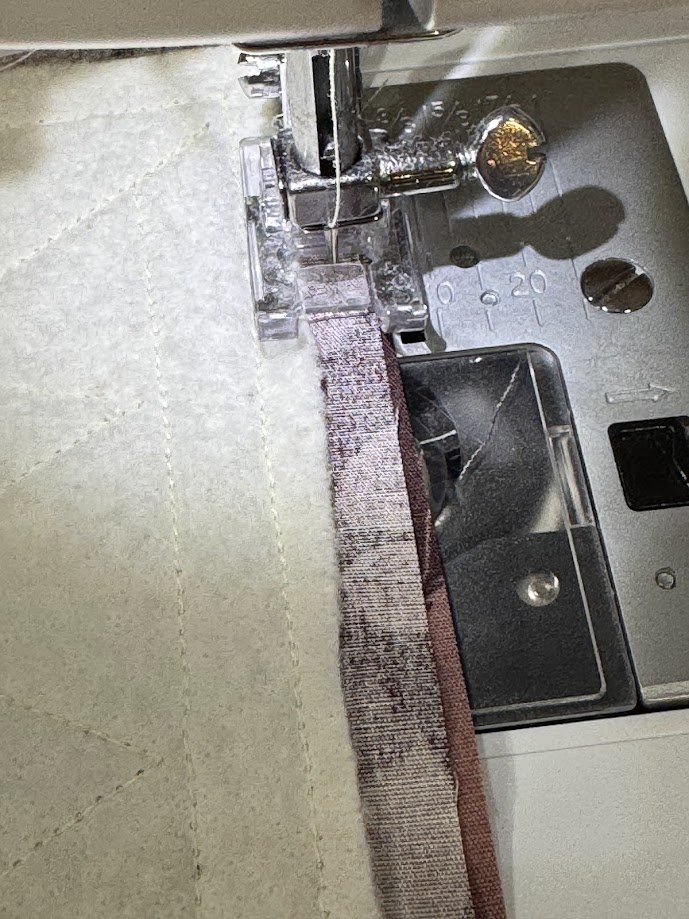
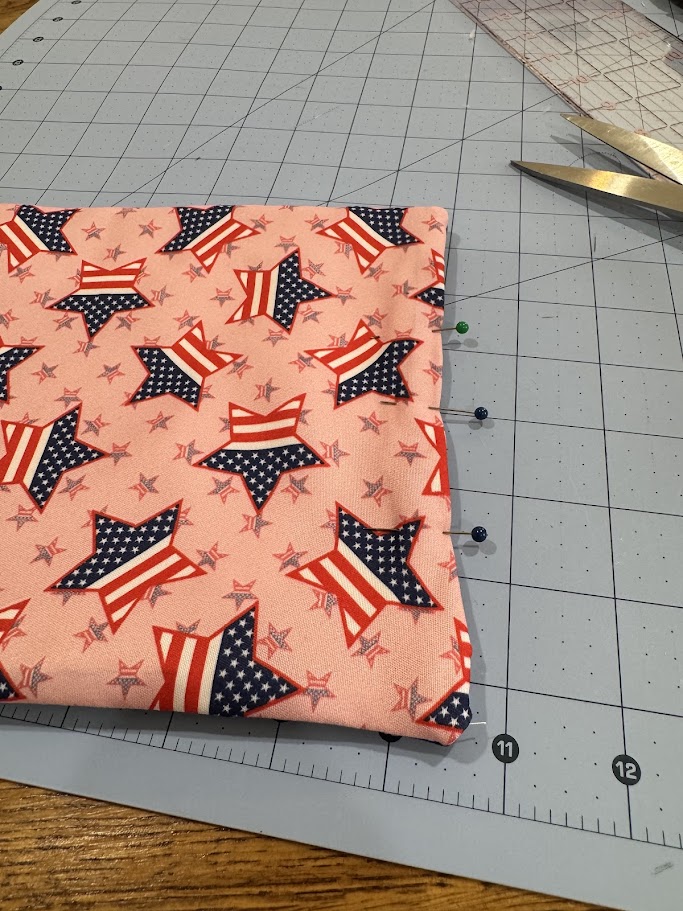
    Next, layer the two pieces of fabric right sides together and pin.  Sew around the outside leaving a 3-4 inch open space.

    Turn the potholder right side out.  Turn in the edges of the open space and pin closed.

    Top stitch all the way around the potholder.  You’re done!

  • Beavercreek Adult Take-and-Make: Birdseed Ornament

    Hey Everyone!  This month we’re making a little treat for the birds!

    Reserve your kit here:  https://greenelibrary.bibliocommons.com/events/68418e0a709d27410029fa78

    Included in your kit:

    Birdseed

    1 straw

    1 cookie cutter

    1 piece of twine

    1 packet gelatin

    Instructions:

    1. Combine the gelatin and 1/4 cup water in a small saucepan and bring to a simmer, stirring constantly. Keep stirring until the gelatin is completely dissolved. Remove the pan from heat and allow the mixture to cool for one minute. Stir in 3/4 cup birdseed, adding extra as needed until all the liquid is absorbed. (You won’t want to add much more than 1 cup, otherwise there won’t be enough “glue” to bind the birdseed once dried.)
    2. Place the cookie cutter on a parchment or waxed paper on a baking sheet. (You can make the ornaments right on the counter, but a baking sheet allows for them to be easily moved aside later.) Fill each ornament to the top with the birdseed mixture making sure to pack it down firmly.
    3. Cut a piece off the straw and put it near the top of the ornament to make a hole for the twine to go through.  Allow the ornaments to dry for several hours or overnight. Once completely dried, gently press the ornaments out of the cookie cutters. Remove the straw and thread the twine through the hole.  Hang from a tree for the birds to enjoy!
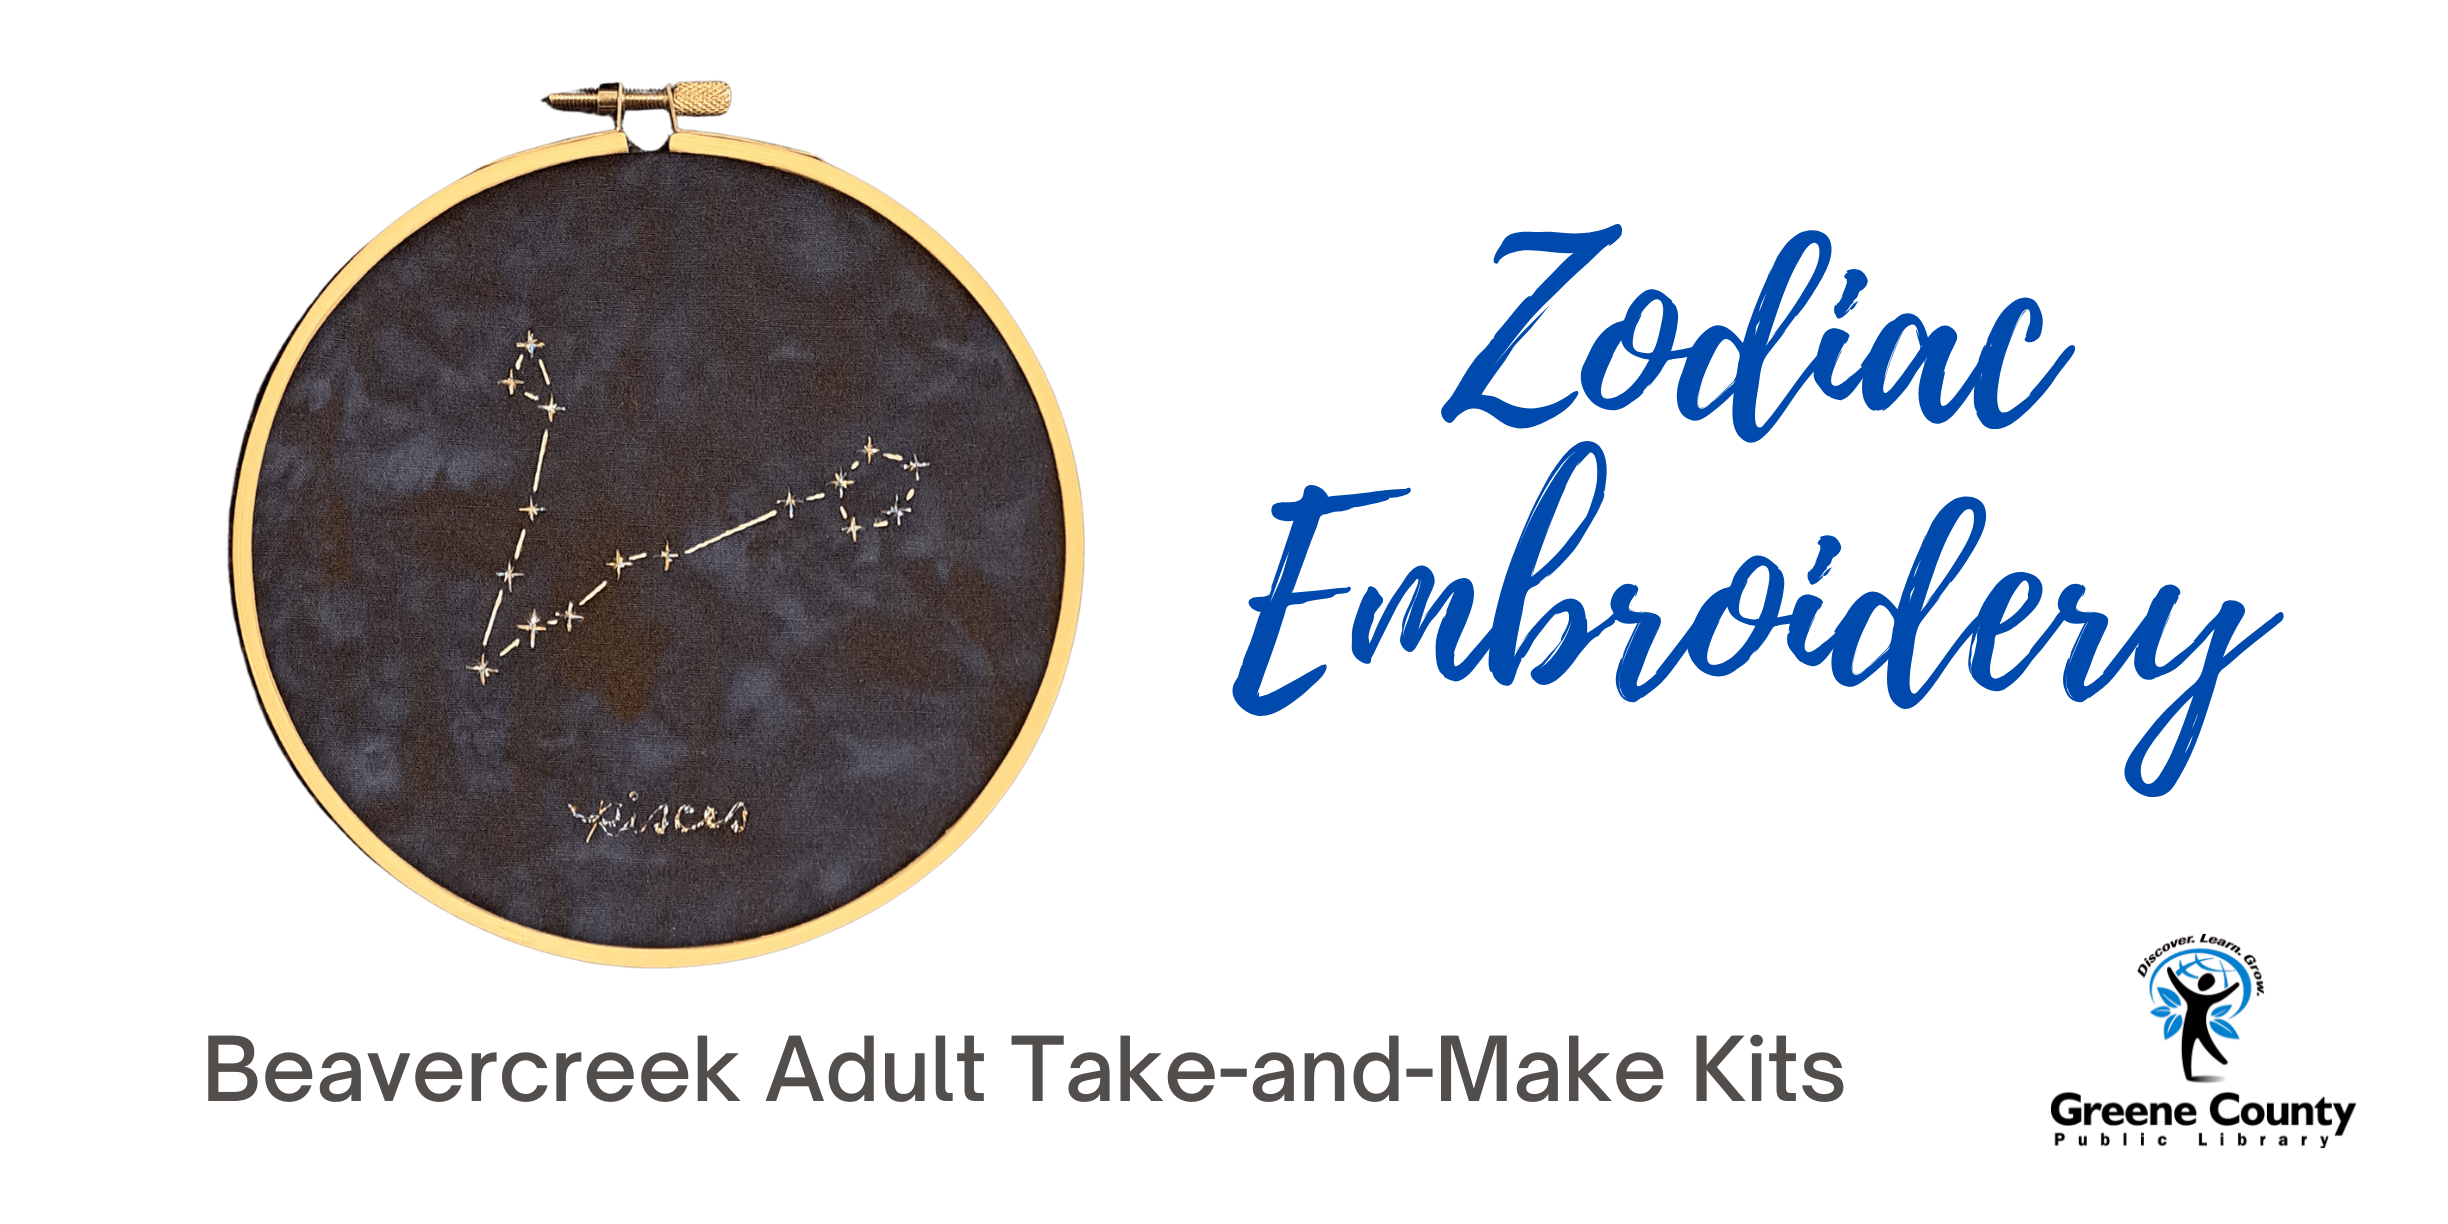
  • Beavercreek Adult Take-and-Make: Zodiac Embroidery

    Click here to reserve a kit:  https://greenelibrary.bibliocommons.com/events/6813b1302b0fb15d9fb2951e

    Included in your kit:

    1 4″ embroidery hoop

    1 piece of fabric

    1 piece of white transfer paper

    1 embroidery needle

    metallic thread

    Not included in your kit:

    Constellation pattern – you need to download and print

    Instructions:

    This project came from the library’s craft database called “Creative Bug.”  You can access it here:

     
    You may need to enter your library card number or create an account to view the project.   The above link includes all instructions as well as a video with explanations.
     

    Instructions:

     
    1.  Click the below link to download the constellations.  Print out the one you’ll be using.
     
     
    2.  Put the printed constellation on top of the white transfer paper and use a writing utensil to trace the constellation onto the fabric.  
     
    3.  Use the metallic thread to embroider over the constellation pattern.  Watch the video on Creative Bug to see how to do the star stitch.
     
    4.  Finish the project by trimming the fabric all the way around the hoop.
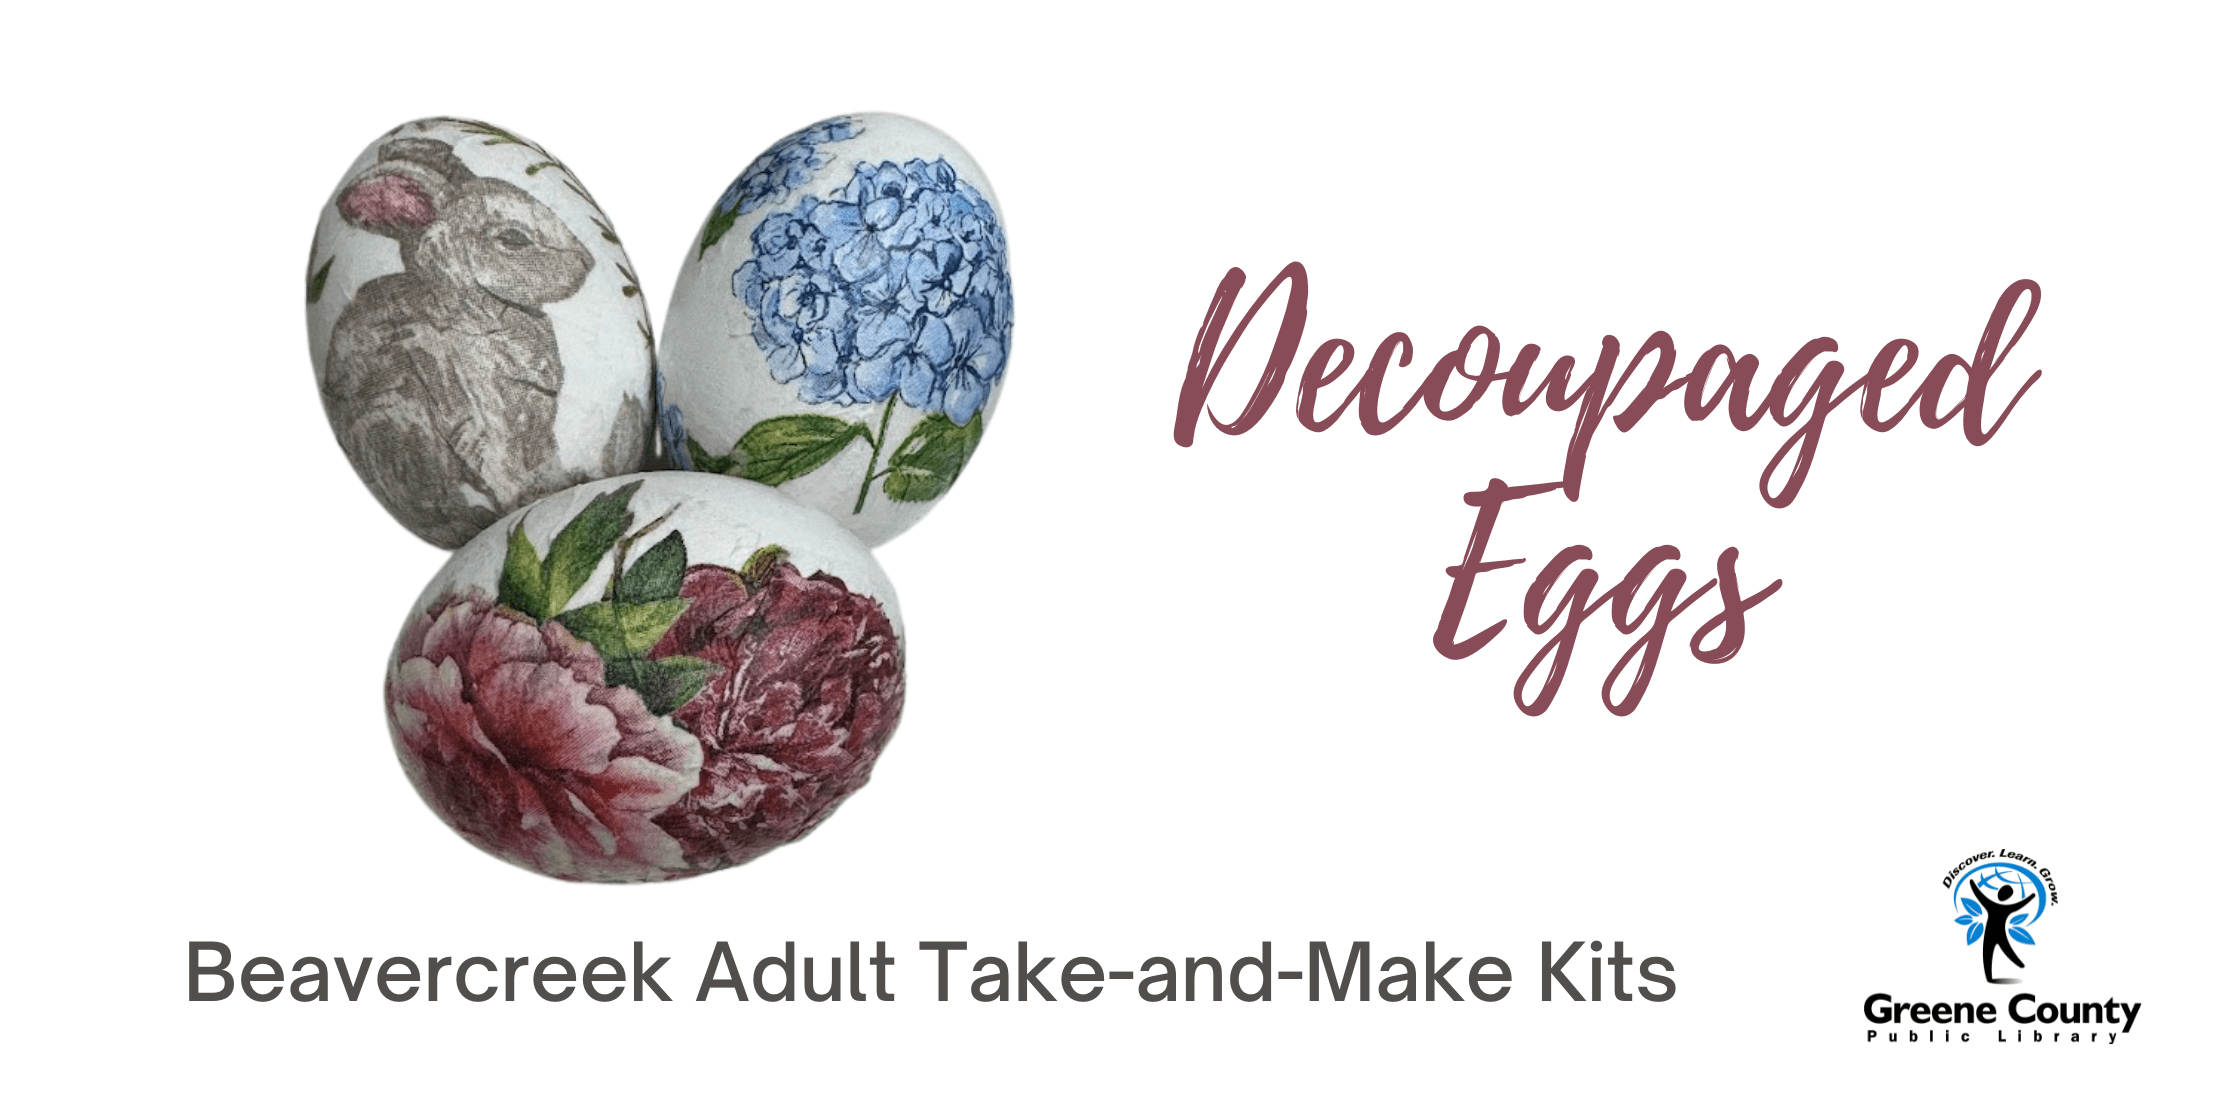
  • Beavercreek Adult Take-and-Make: Decoupaged Eggs

    Hello crafters!  This month we are making adorable eggs out of mod podge and napkins!

    Sign up for your kit here:  https://greenelibrary.bibliocommons.com/events/67ed4197e5bd80b51c3157aa

    Included in your kit:

    3 white wooden eggs

    3 napkins

    mod podge

    1 paint brush

    Instructions:

    Separate the decorative layer of the napkin from the plain layer. 

    Cut out the designs you want to use.

    Put a little bit of mod podge on the egg to hold the napkin piece in place and then apply your design to the egg.  Put a thin layer of mod podge all over the design to adhere it to the egg.

    Repeat this process until the egg looks as you want it to.  You can completely cover the egg, or leave some white areas.

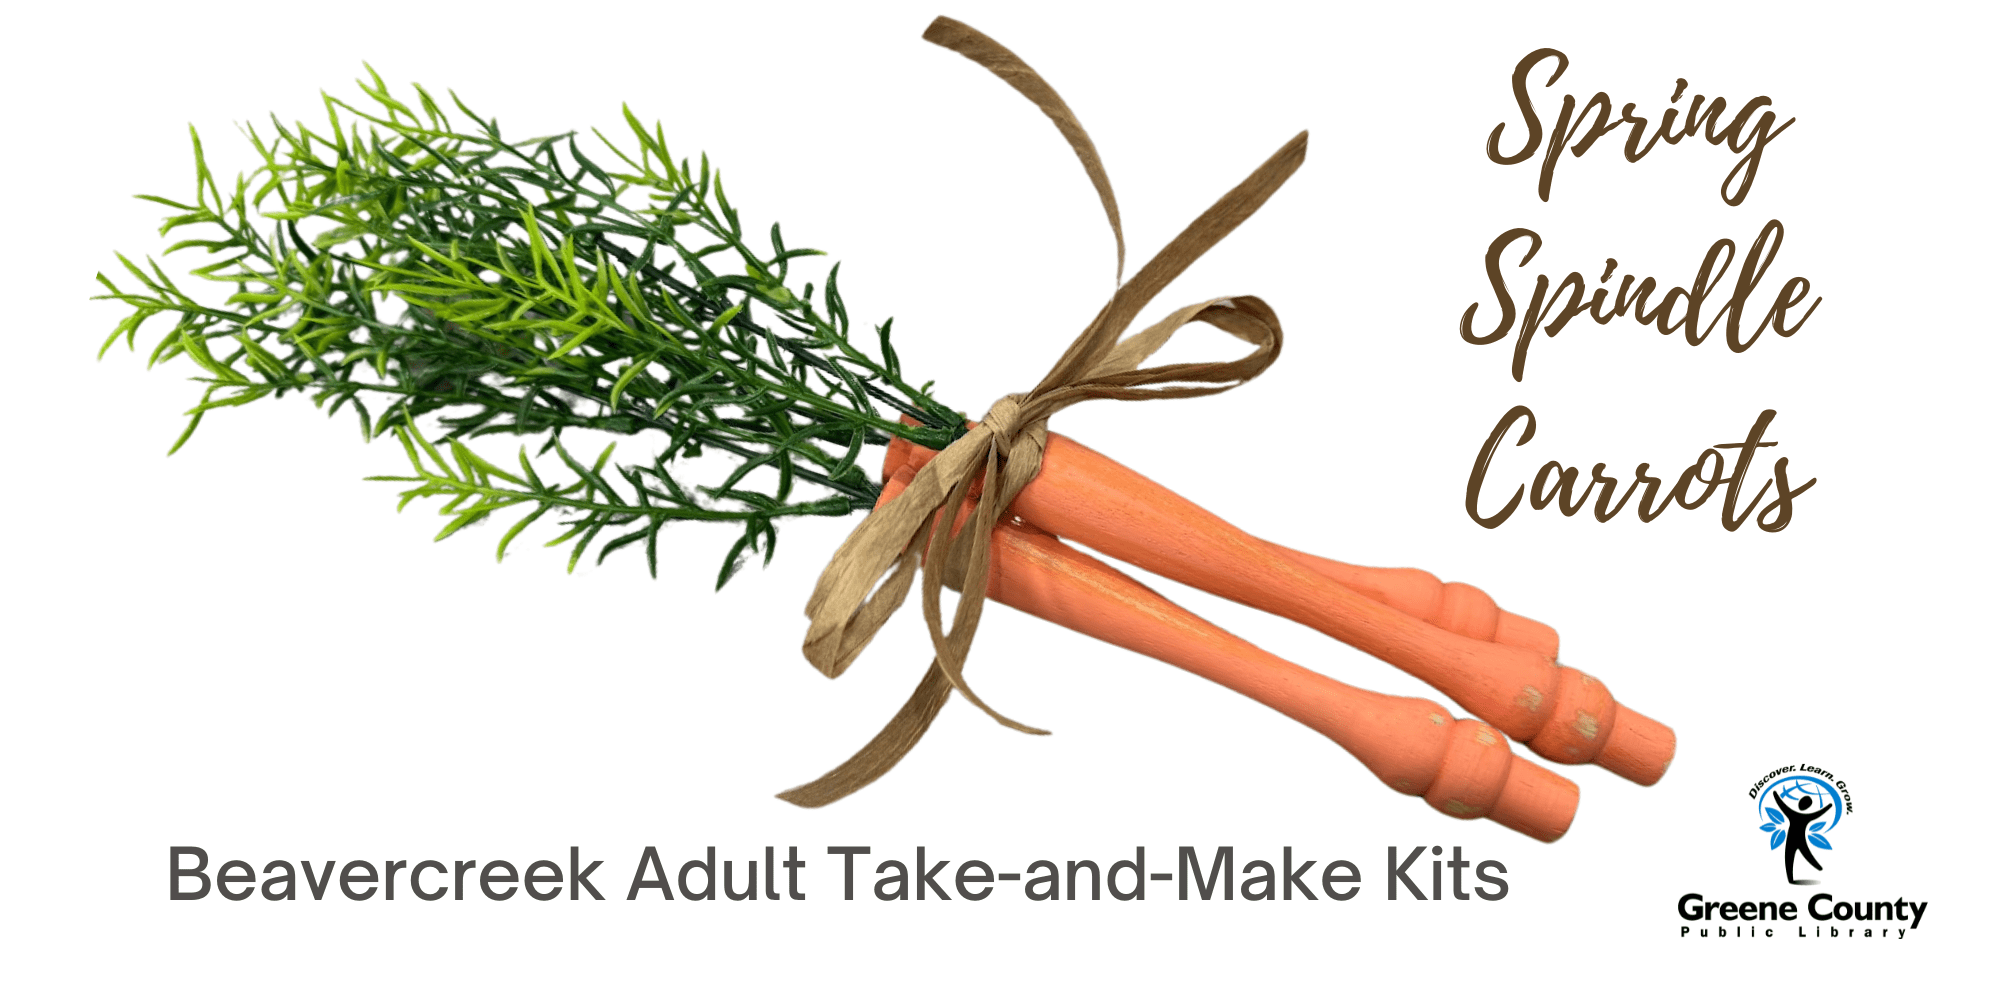
  • Beavercreek Adult Take-and-Make: Spring Spindle Carrots

    Hey, Hey Crafters!  Spring is right around the corner and I saw a tutorial for these adorable spindle carrots and knew we had to make them!

    Sign up for your kit here:  https://greenelibrary.bibliocommons.com/events/67c71087c871a641003bb630

    Included in your kit:

    3 spindles

    orange paint

    1 paintbrush

    3 carrot toppers

    1 piece sandpaper

    raffia

    Not included in your kit:

    glue (I used hot glue)

    Instructions:

    I got the original idea from this video: 

    https://www.facebook.com/reel/1161000685430167

    There’s another tutorial here: 

    https://roostandrestore.com/diy-spindle-carrots/?epik=dj0yJnU9cE5ZLUczSzhXT1EwODg0a3NGZGIyUjEwcWV3cUJuNlkmcD0wJm49QzBNTEVNeWZQeFl2UDVKQWNWZy04QSZ0PUFBQUFBR2ZEWERv

    Basically, I painted the spindles with two light coats of paint.  After it dried, I used the sandpaper to scuff up the spindles to give them a more rustic look.  I used just a dab of hot glue on the end of the green toppers and put them in the hole at the top of the spindle.  I arranged the spindles in a way I liked and then used just a touch of hot glue to keep them in place.  Lastly, I tied the raffia around them in a bow.  That’s it!

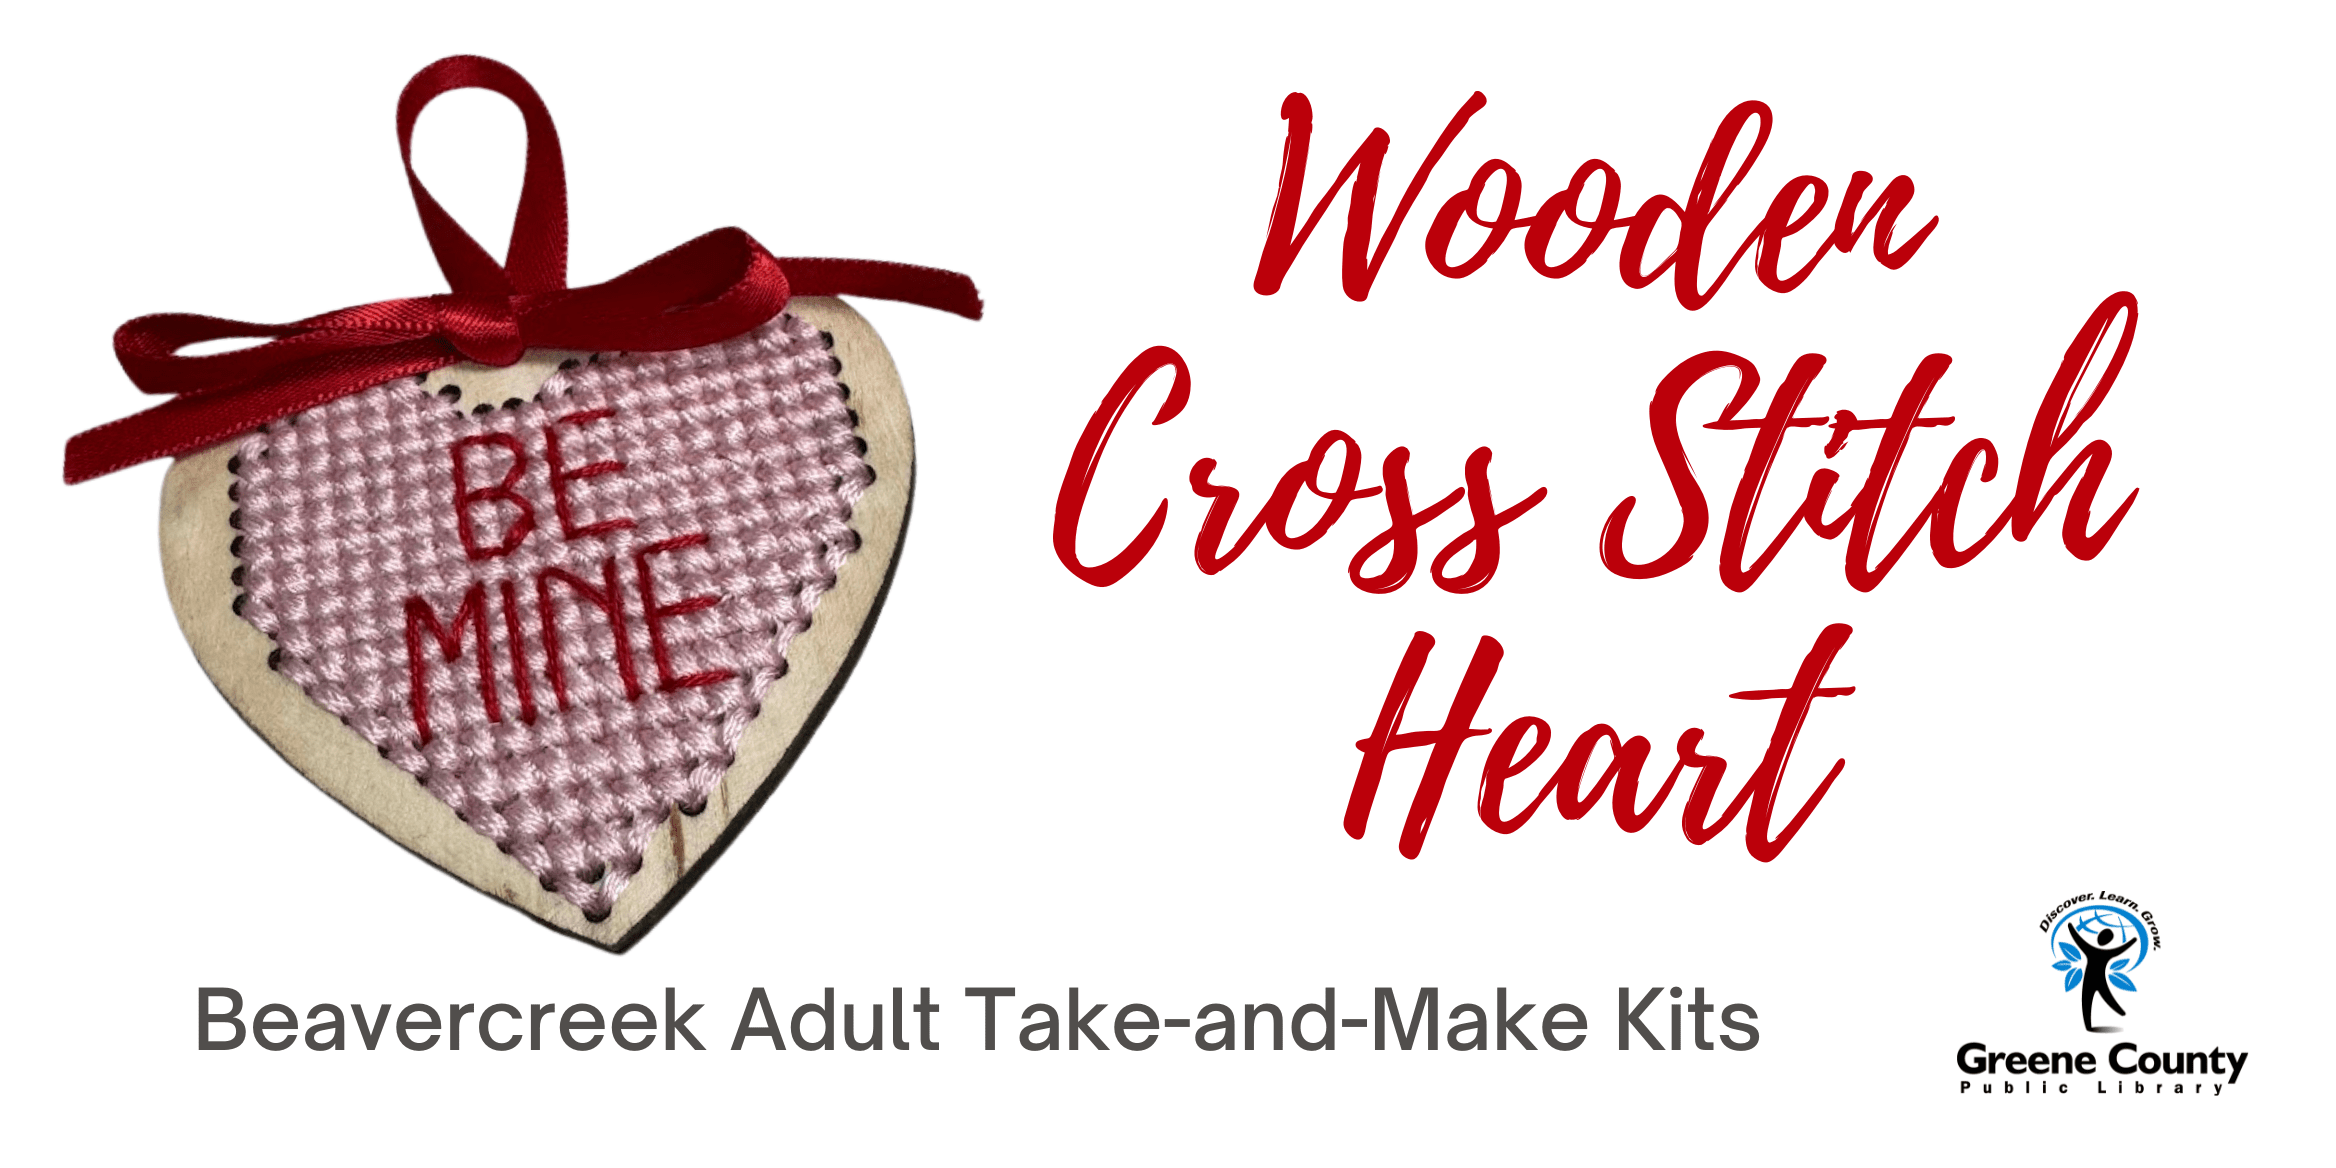
  • Beavercreek Adult Take-and-Make: Wooden Cross Stitch Heart

    Happy February, Crafters!

    This month we’re making a little cross stitch heart!  At least a little prior cross stitching knowledge would be helpful for this project.  

    Sign up for your kit here:  https://greenelibrary.bibliocommons.com/events/67a0f642f347846dfede0793

    Included in your kit:

    1 wooden heart template

    1 skein pink embroidery floss

    1 skein red embroidery floss

    1 needle

    1 piece red ribbon

    1 paper chart

    1 piece felt for backing

    Not included in your kit:

    scissors

    glue 

    Instructions:

    1.  Use the pink floss to cross stitch the entire heart.  I used all 6 strands of the floss.  You can use the chart to see where I used 1/2 and full stitches, but really, it doesn’t matter, just do basic stitches all the way across each row.
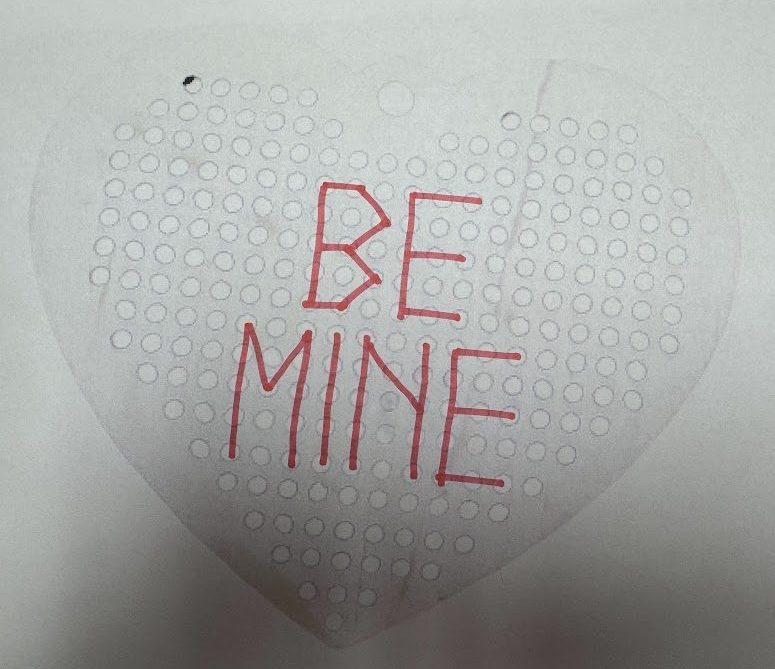
    2. Use the red floss to make the “BE MINE” stitching.  I only used 3 strands of the red floss.  The chart included with the kit didn’t copy as well as I would have liked.  Here’s a picture that is hopefully a little clearer of where the stitching should go.                                   
    3.  Cut out the felt and glue to the back.  Be sure not the cover the hole at the top.
    4.  Thread the ribbon through the hole at the top and tie a bow.

    You’re done!

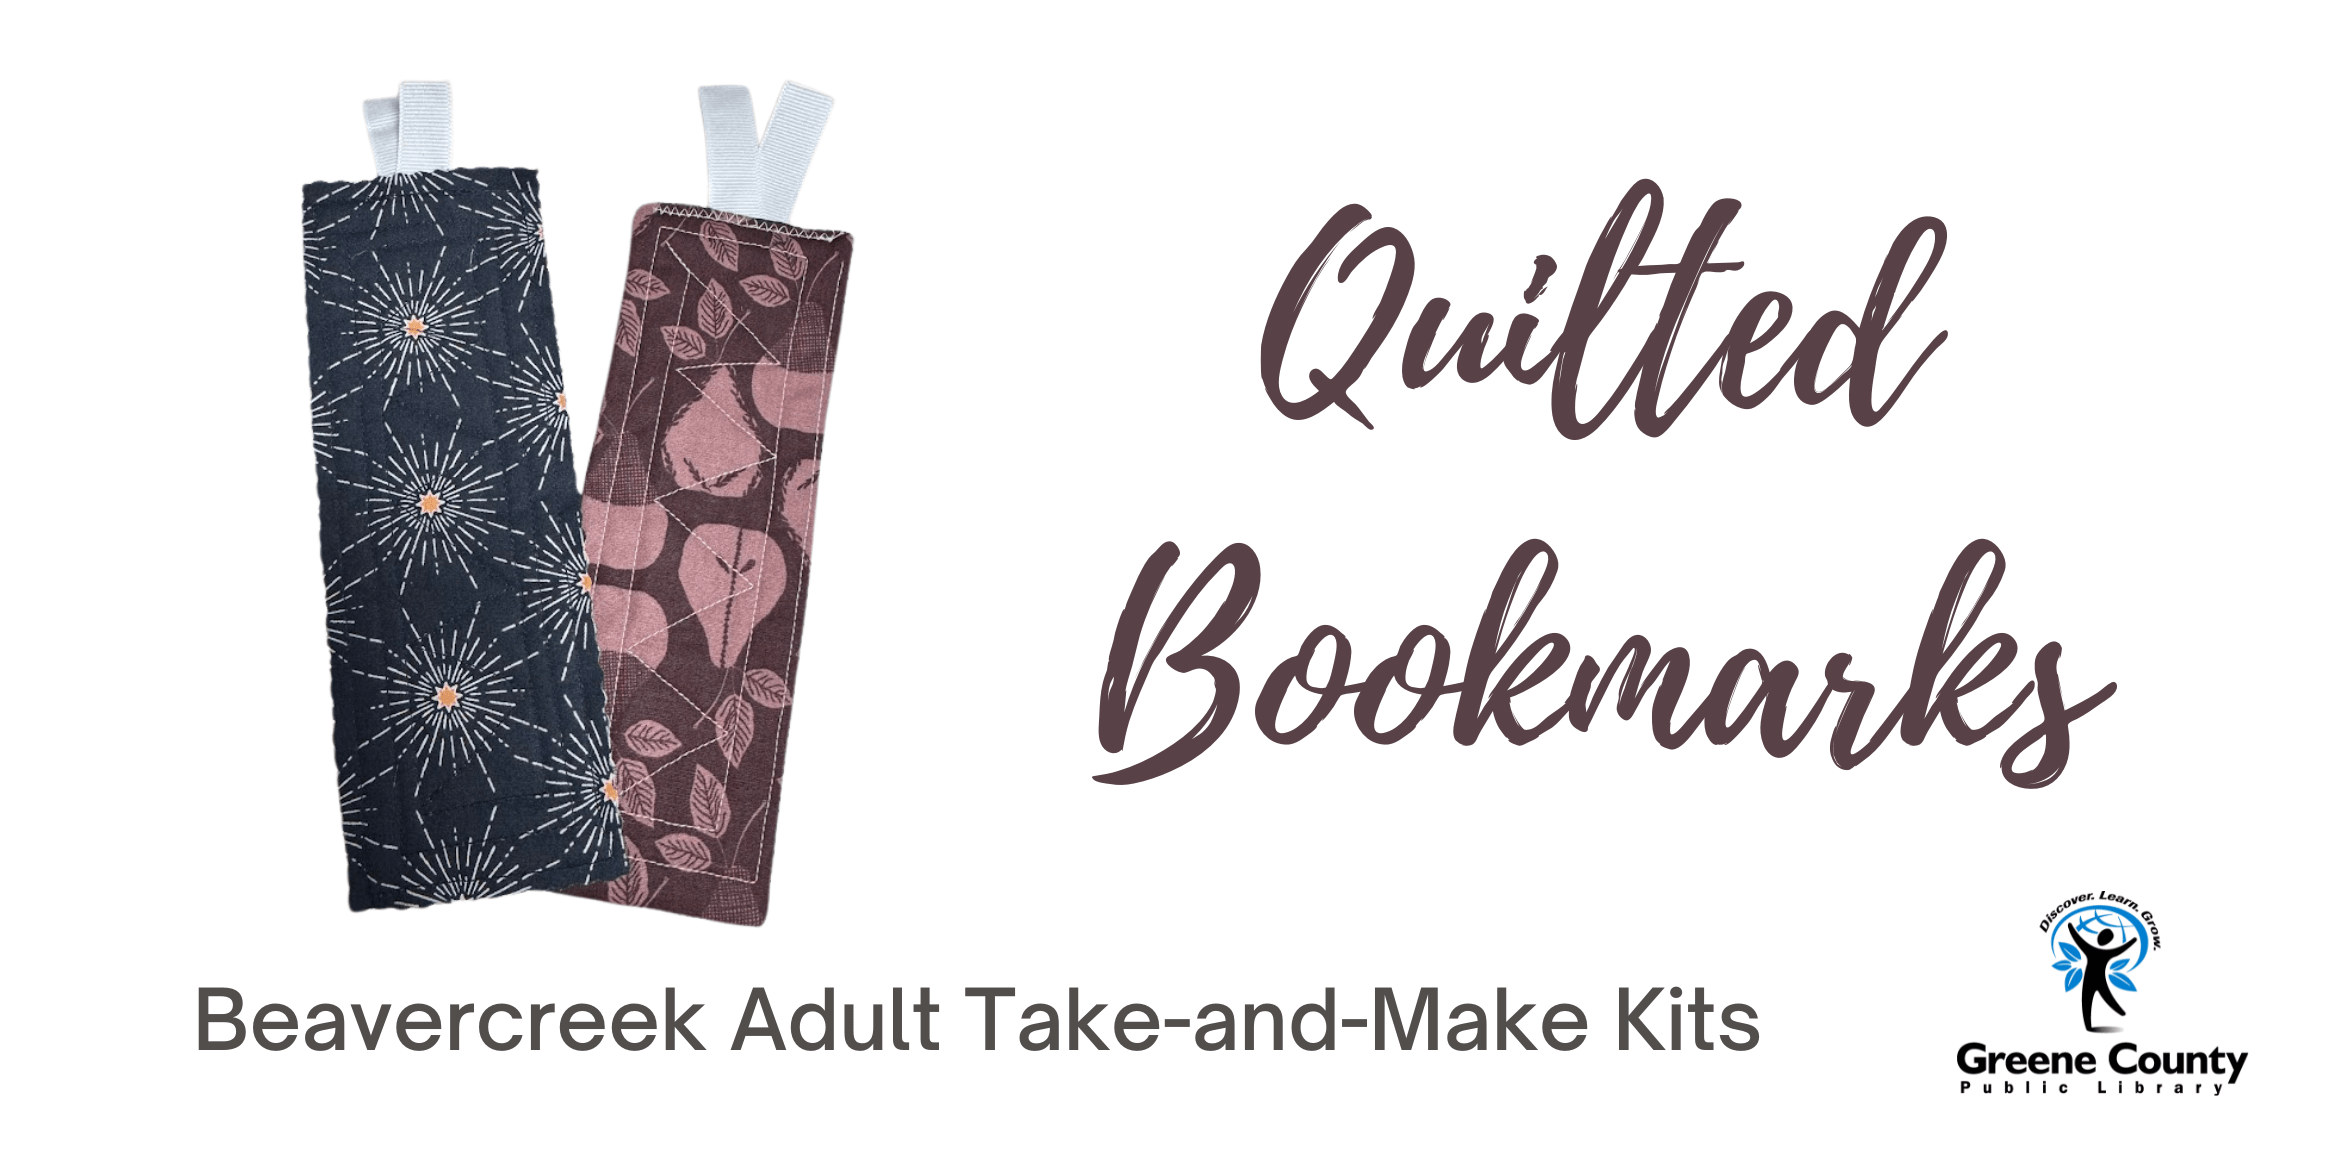
  • Beavercreek Adult Take-and-Make: Quilted Bookmark

    Hello, Crafters!  I hope you had a wonderful holiday season and are ready to get back into crafting!  This month, we’re making quilted bookmarks.  These can be hand sewn or done on a sewing machine.  I will show you two different methods.

    Included in your kit:

    fabric

    batting

    ribbon

    Not included in your kit:

    scissors

    sewing machine (if desired)

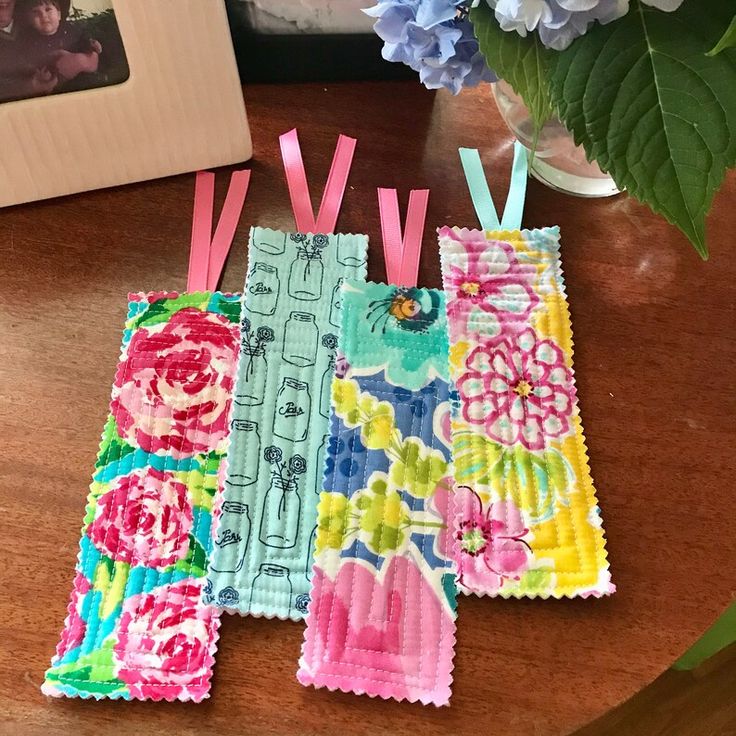
    I got the idea from these cute bookmarks I found on Pinterest:
    Instructions (Method One) – This method uses pinking shears (or rotary blade).  If you don’t have those, move on to method two.

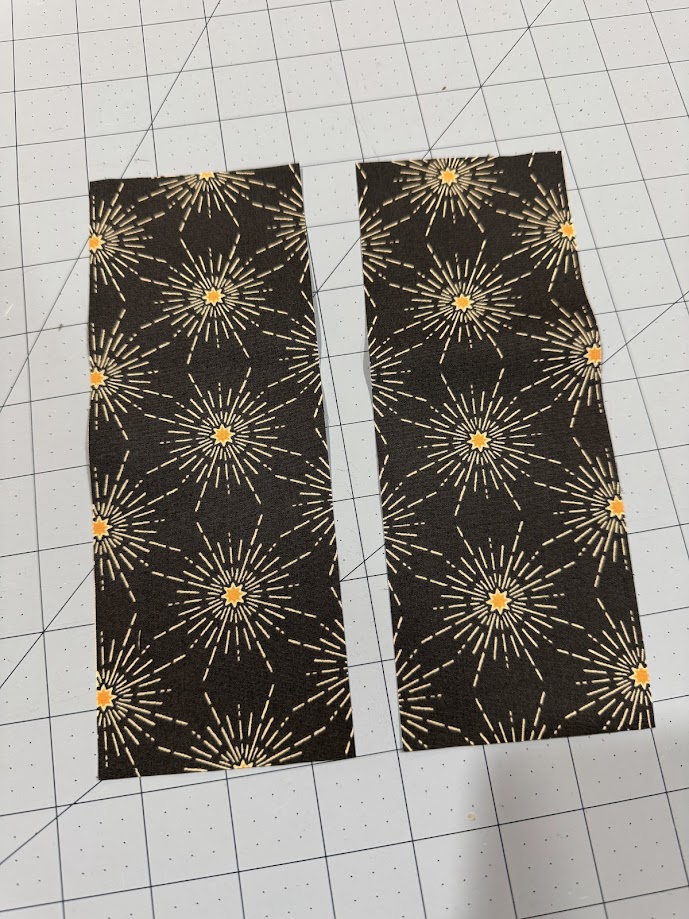
    1. Cut two pieces of fabric approximately 3″x8″.  
    2. Trim the piece of batting about a quarter of an inch smaller than the fabric pieces.
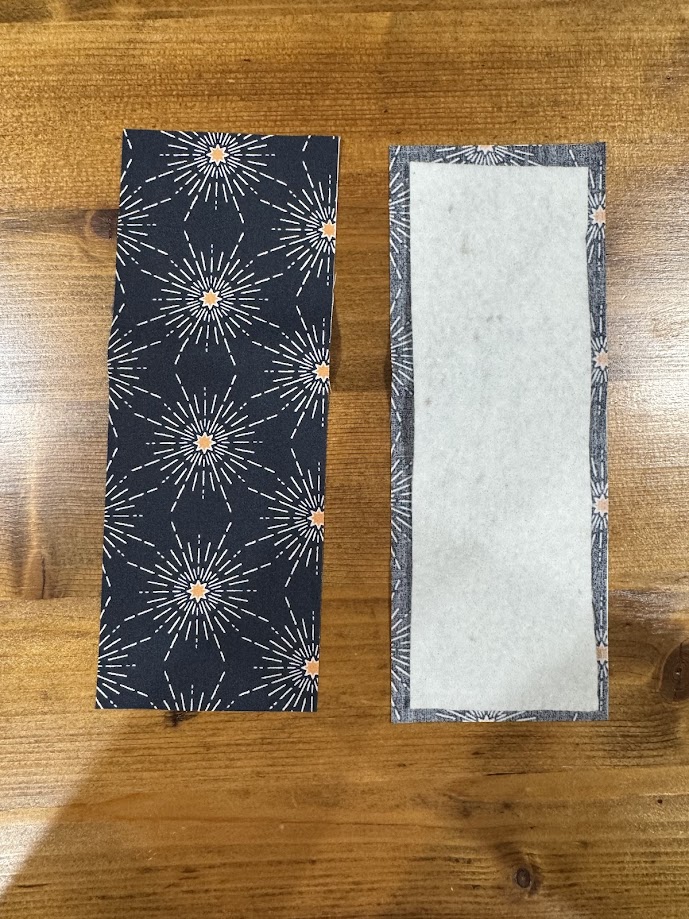
    3. Make sandwich with the fabric and batting with right sides of the fabric facing outward.
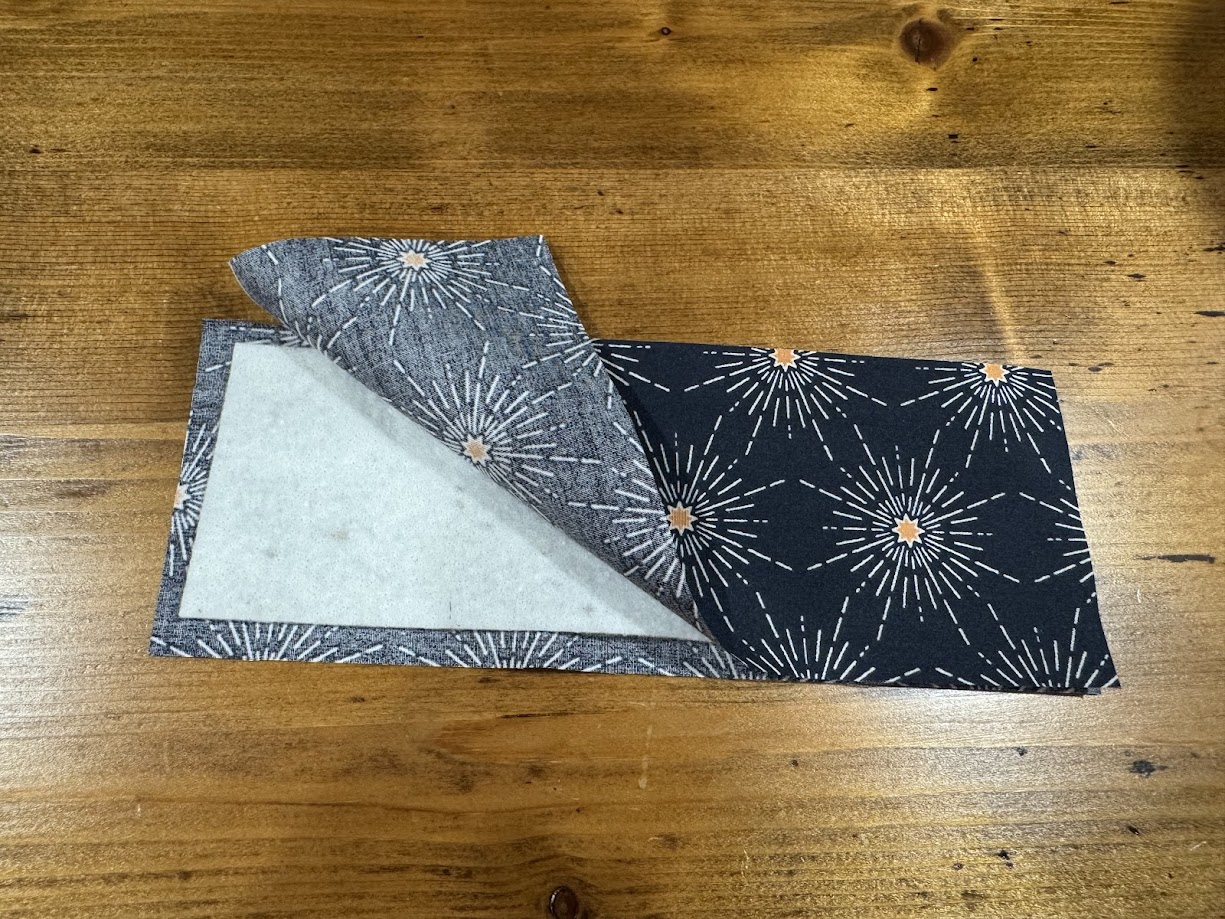
    4. Insert the ribbon into the sandwich with the cut edges inside (making a loop at the top).  Quilt or hand sew all the pieces together making sure to secure the ribbon as well.  You can use any design you want or make it up as you go like I did. (The ribbon isn’t in this picture because I goofed and had to go back and add it later).
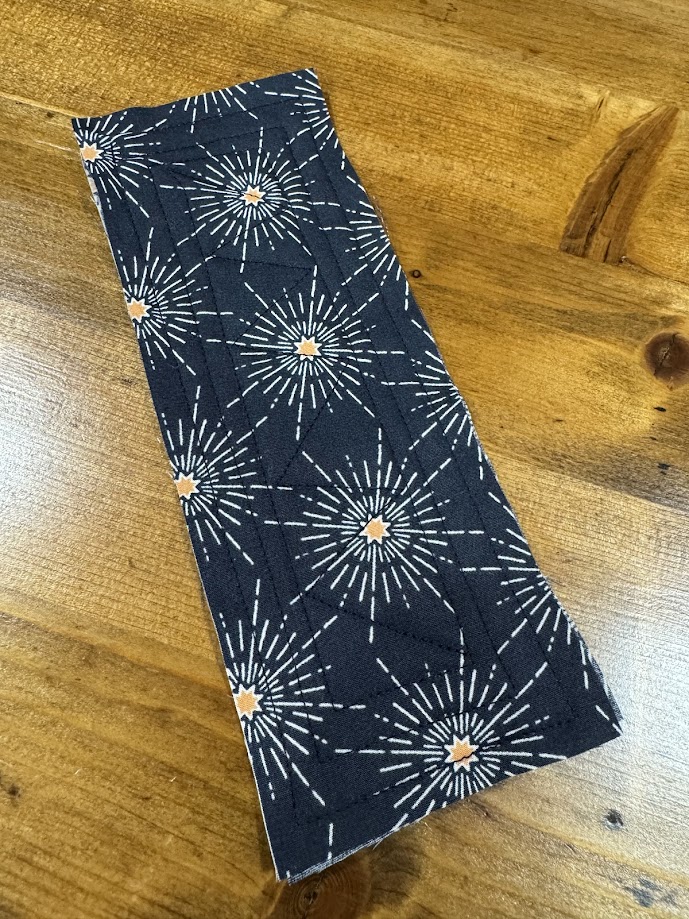
    5.  Lastly, use your pinking shears or pinking rotary cutter to trim all the outside edges to prevent fraying of the fabric.
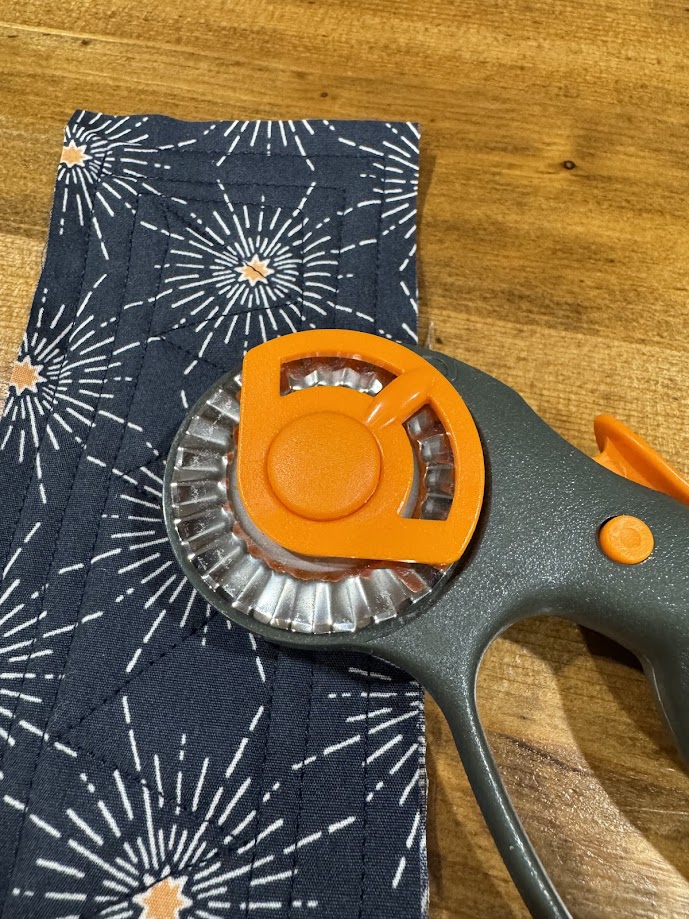
    Instructions: Method Two

    Cut two pieces of fabric approximately 3″x8″.
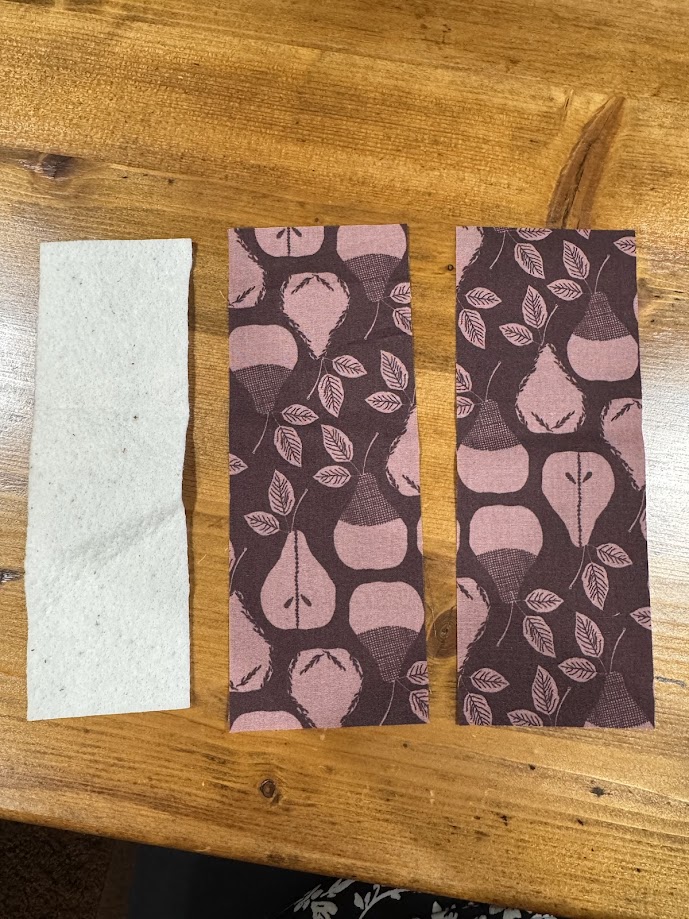
    Cut the batting slightly smaller than the fabric pieces.

    Lay the batting on the wrong side of one of the pieces of fabric.  Quilt or hand sew those two pieces together.  Use any design you want or make it up as you go like I did.
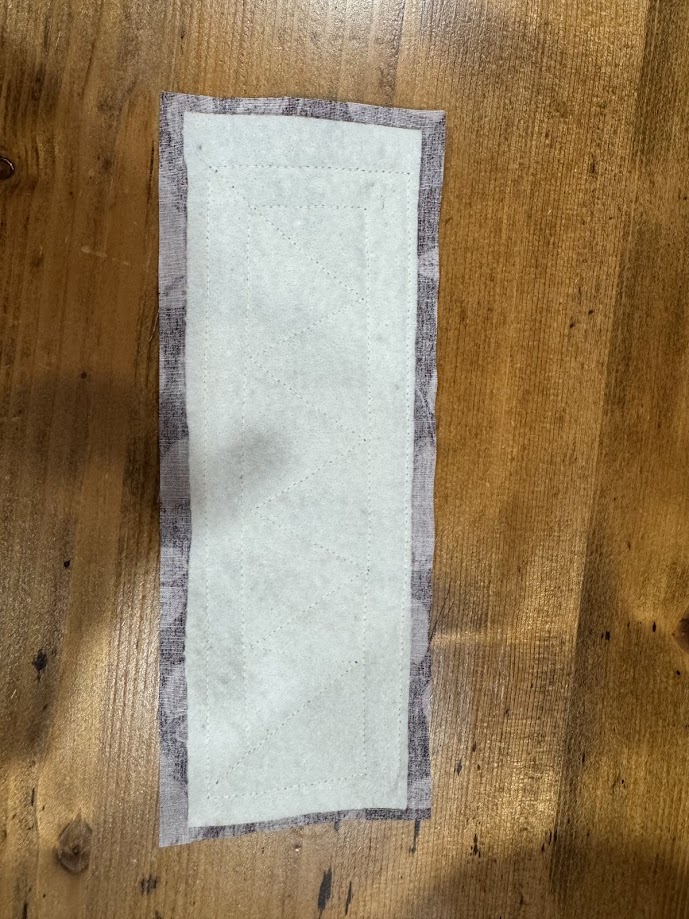
    Next, put the right sides of the fabric together and sew around the outside edges leaving an opening at the top.
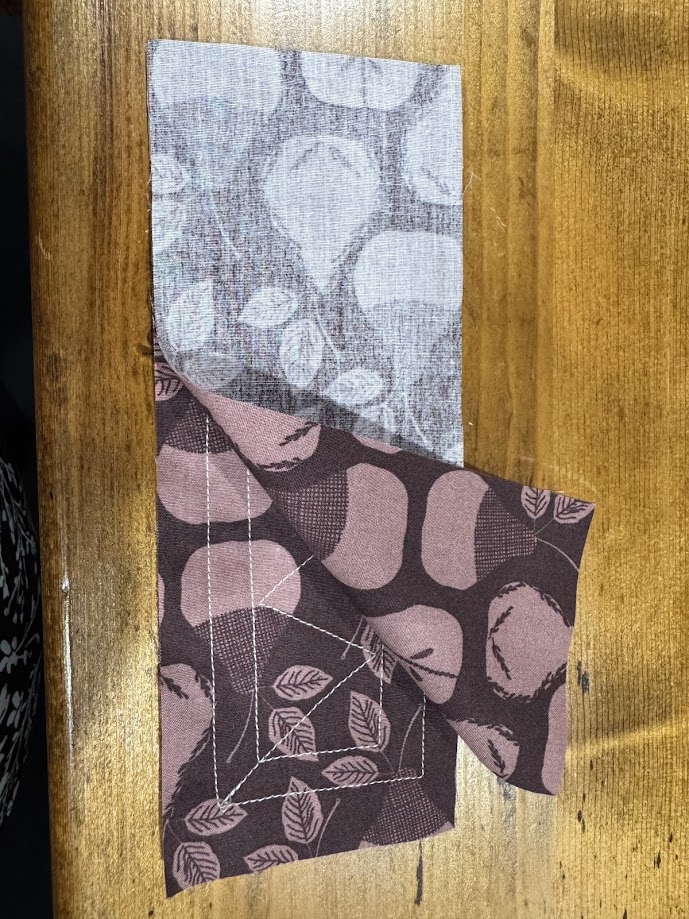
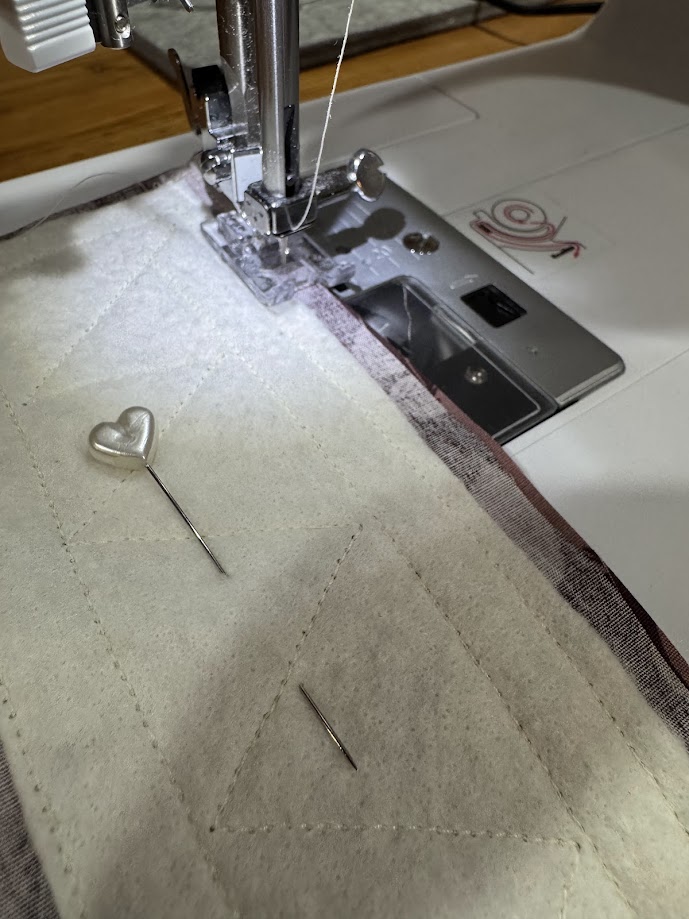
    Turn your bookmark inside out using the opening at the top.  Fold the top fabric pieces inward and insert the ribbon (cut edges inside the bookmark making a loop at the top.  I realize this is different than what’s in the picture).  Sew across the top closing the opening and securing the ribbon inside.  I used a zig zag stitch just to make sure the ribbon is secured.
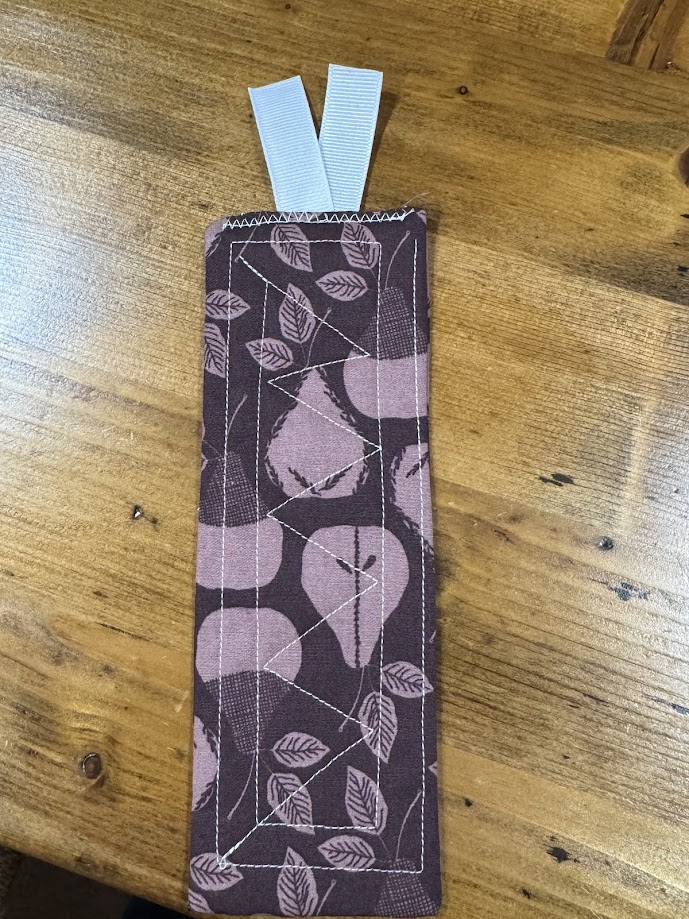
    That’s it!
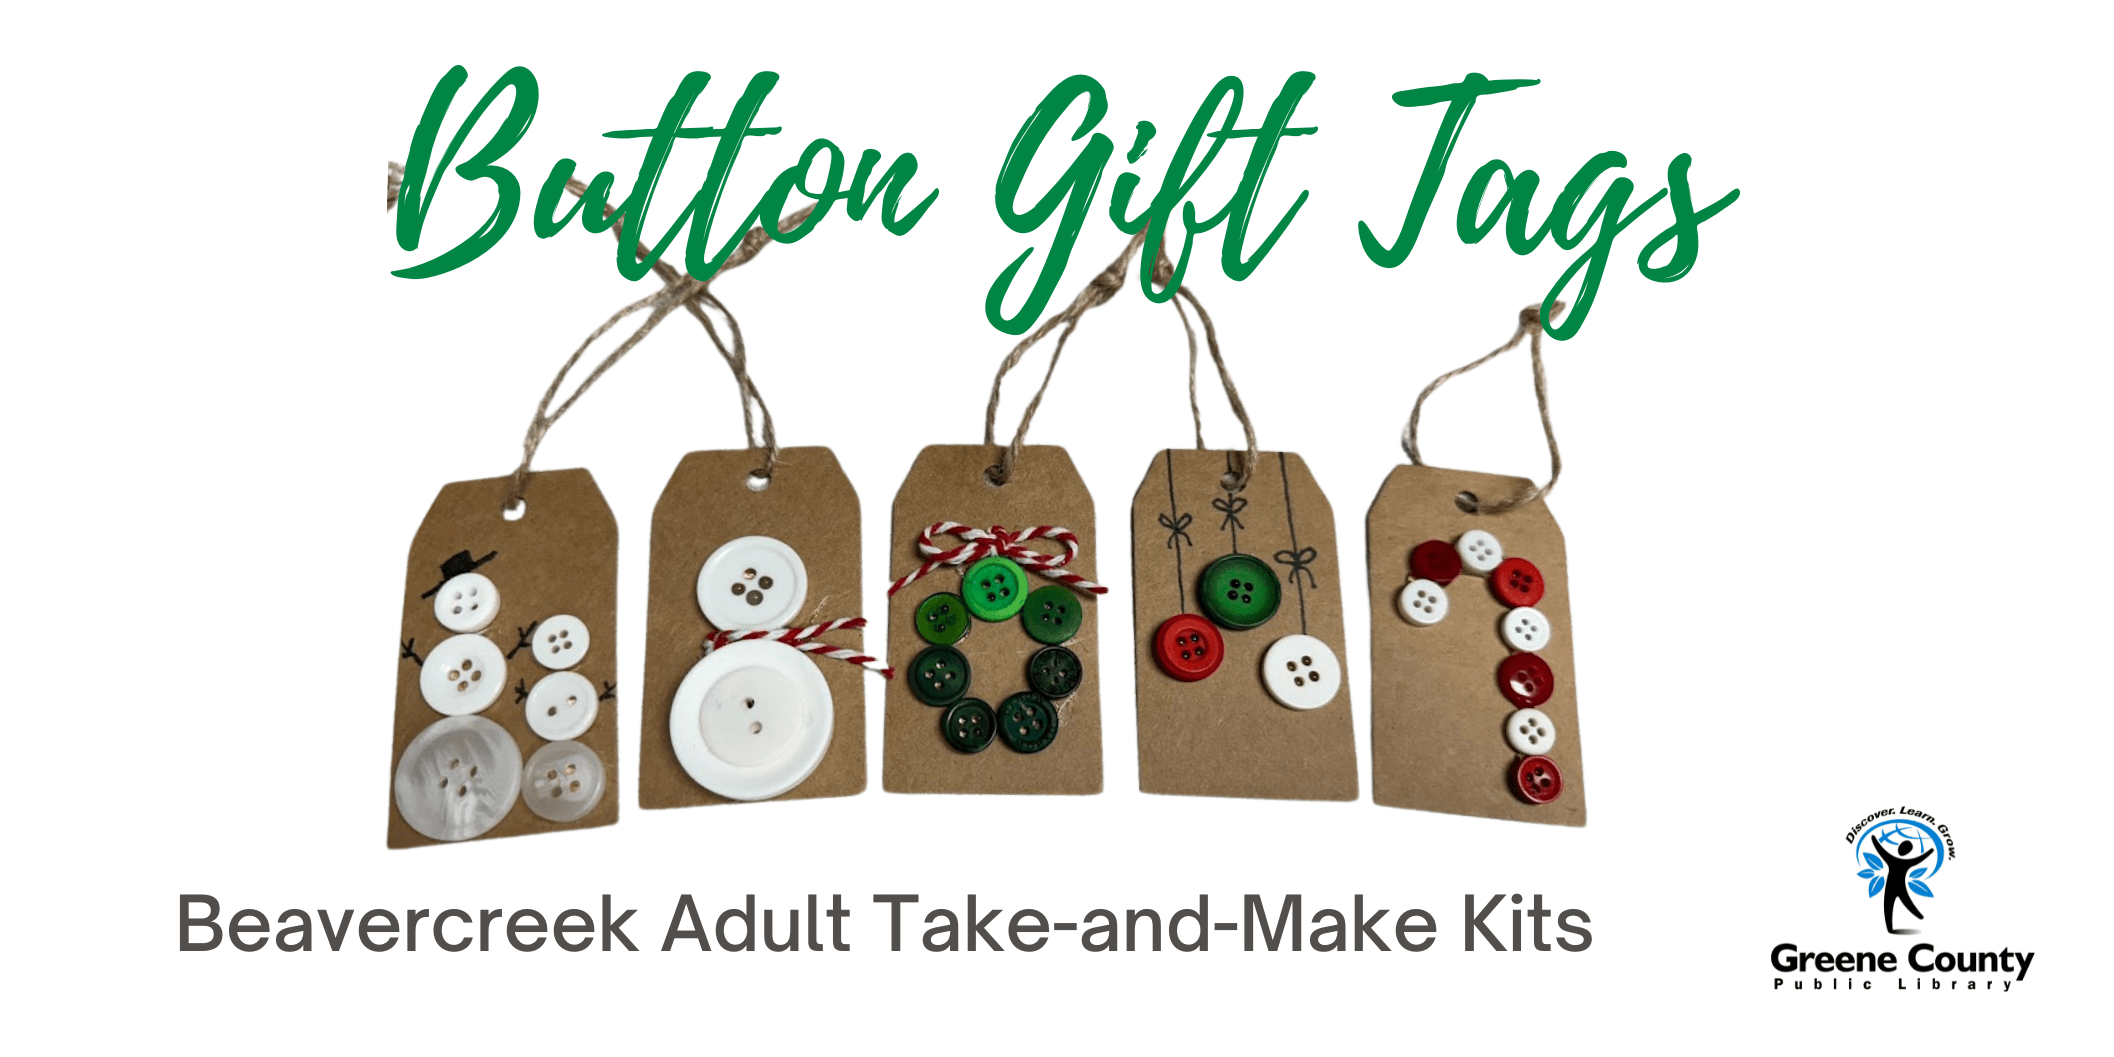
  • Beavercreek Adult Take and Make: Button Gift Tags

    Happy Holidays, Crafters!  This month, we’re making cute gift tags out of buttons!
    Included in your kit:

    Assorted buttons

    5 gift tags with twine

    Red and white twine

    Not included in your kit:

    Glue (I used hot glue)

    Black marker for details

    Instructions:

    These tags are pretty straight forward.  Just glue the buttons on the gift tags and add any embellishments!

    Happy Crafting!

    -Morgan

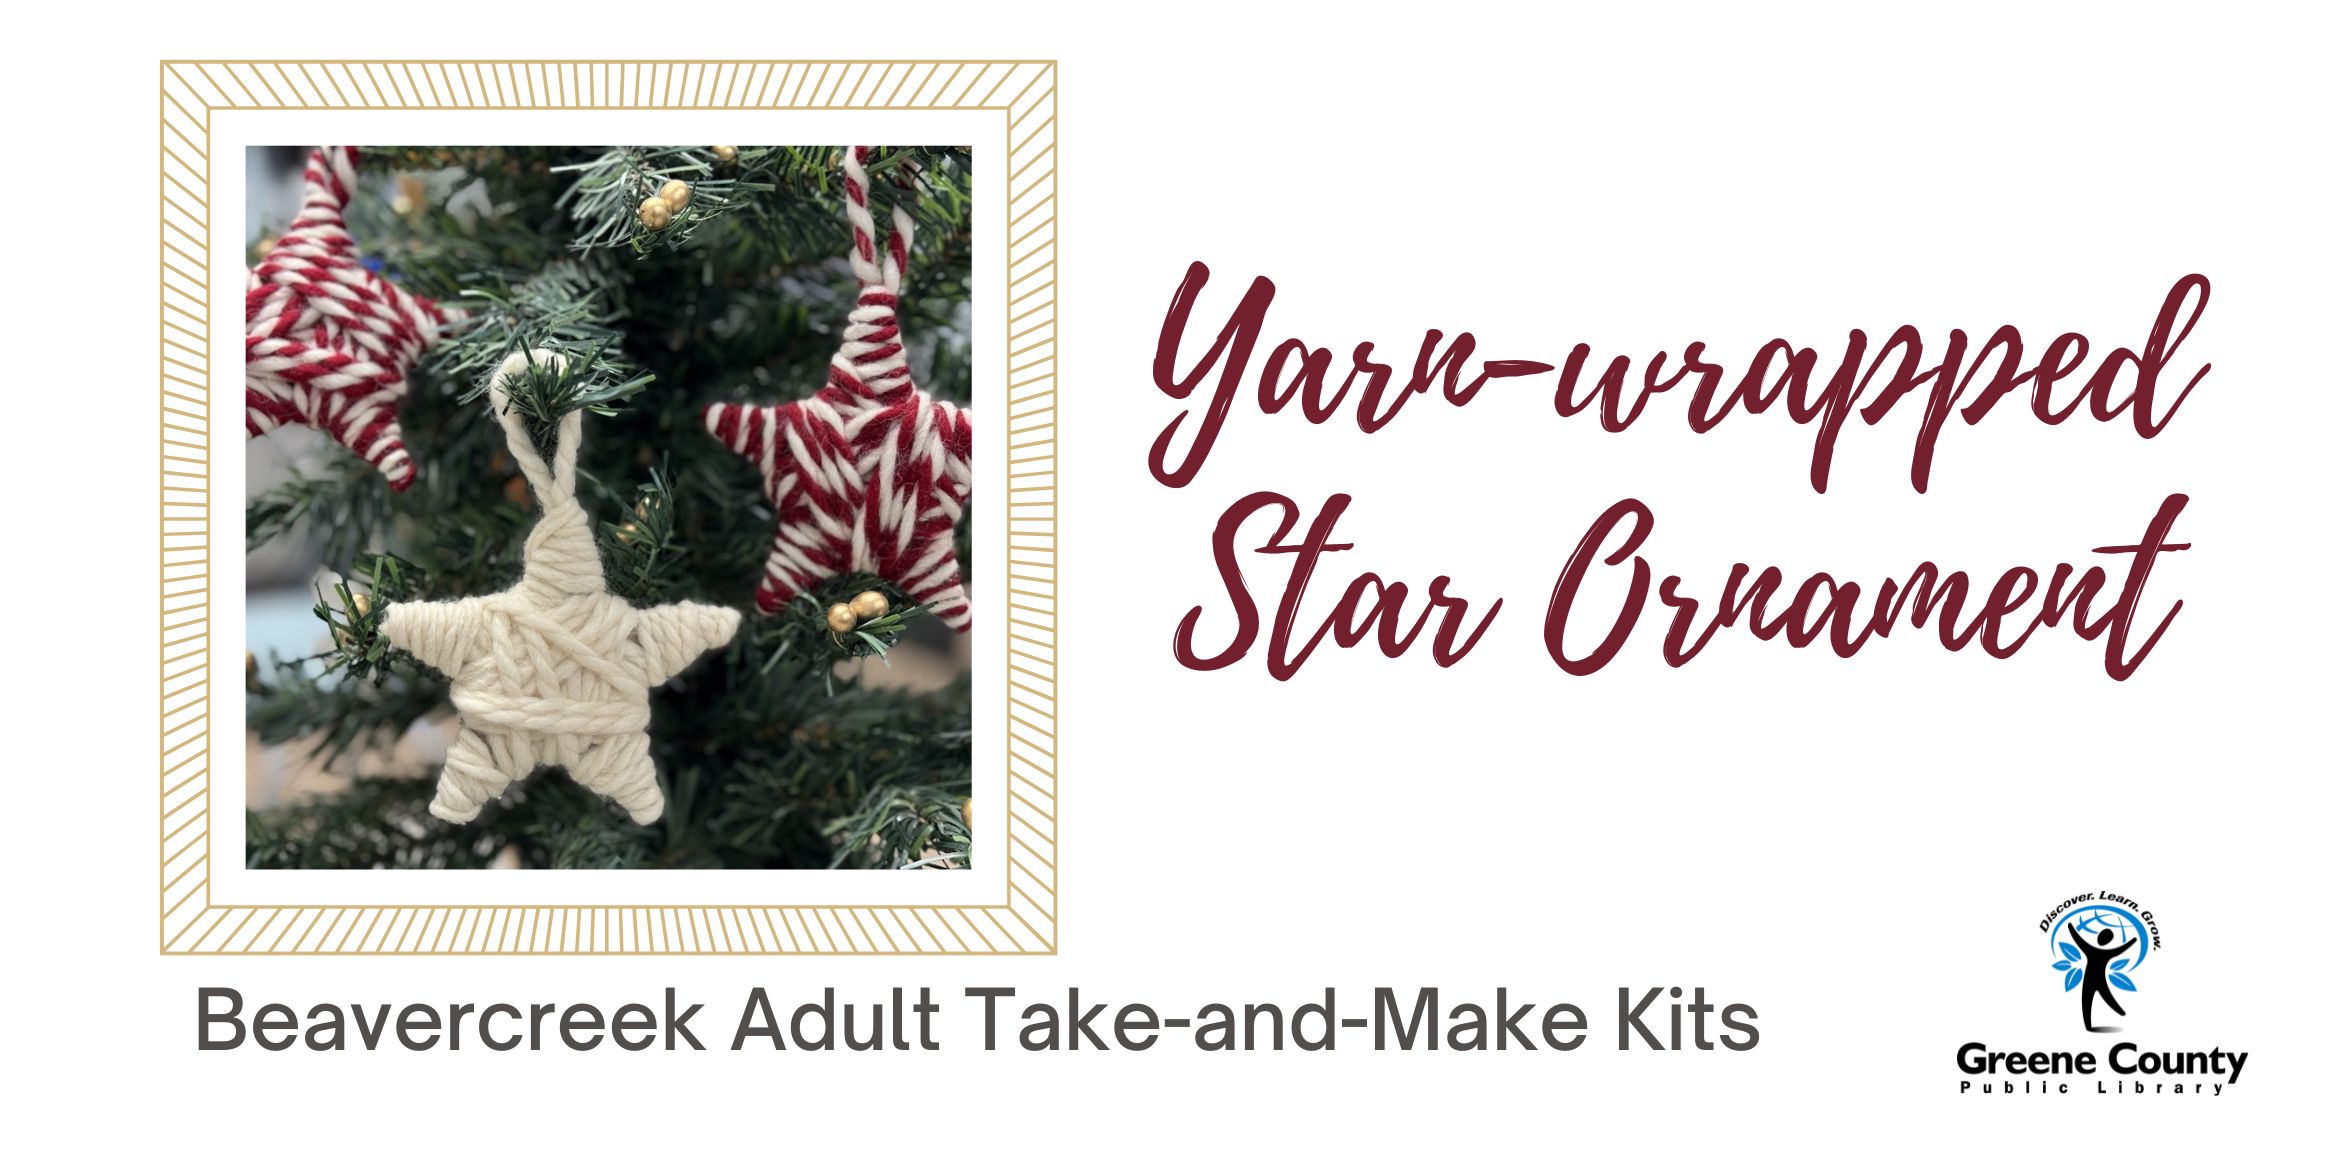
  • Beavercreek Adult Take-and-Make: Yarn-Wrapped Star Ornament

    I can hardly believe it’s almost the holiday season!  These ornaments were SUPER easy to make and lots of fun!

    Click here to reserve your kit:  https://greenelibrary.bibliocommons.com/events/67250b76b41279410054c18e

    Included in your kit:

    Yarn

    2 5×7 pieces of chipboard

    star template

    Not Included in your kit:

    scissors

    glue (I used hot glue)

    Instructions:

    I got the idea from this website which includes instructions:

    https://www.tidbits-cami.com/yarn-wrapped-star-ornaments/

    Tips:

    You can fit two stars on each of the chipboard pieces if you do it carefully.  If you want to make more than 4, use cardboard or other thick material around your house.

    I found it easier to do the tips of the star first, before moving on to the body of the star.  The instructions say to do it the other way around, but I found my yarn wanted to slip off.  (This is where you’ll want to use a little glue.)

    Enjoy and Happy Crafting!

    -Morgan

  • Beavercreek Adult Take-and-Make: Washi tape cards

    This month we’re making greeting cards from washi tape!  The best thing about these cards is that you don’t have to have any artistic ability and the options for designs are limitless!

    To claim your kit, click here:  https://greenelibrary.bibliocommons.com/events/66fea66ef598f32800c9d157

    Included in your kit:

    5 blank cards and envelopes

    1 black sharpie

    several rolls of washi tape

    1 yellow marker

    Not included in your kit:

    scissors

    any embellishments, i.e. stickers, ribbon, etc (optional)

    Examples of card designs:

    CAS Birthday card ... washi tape diagonal lines wirh three candles created with the same tapes ... touches of gold with glitterpaper flamees and plastic faffia bow ... one layer ...